diy craft tutorial: how to make an recycled stuffed animal from a sweater
*Editor’s note: Can we just tell you how much we love Lisa Rios… She is a beacon of crafty and entrepreneurial inspiration and she emanates positivity and authenticity. You may know her from her last Dear Handmade Life tutorial on how to make DIY Halloween bat garland, her line of handmade flasks for awesome people Whimsy and Ink or The Makery, her craft studio. I too used to have an overabundant selection of craft supplies, but like Lisa, I’ve learned to try to work with what I have on hand (instead of stocking up for future ‘maybe’ projects or investing in tons of new supplies for a single craft. If you’re like Lisa and me and you live in Southern California, you should check out her craft supply market.
-nicole s.
Lisa’s take on the craft supply market: If you’re a self-admitted craftaholic like me, you might be interested in destashing some of your supplies at our craft supply market held every other month at The Makery. Or you’re more than welcome to shop our market and pick up supplies at a savings! Our next market is on November 6th, and you can find out more info here.
Confession. I used to have a serious craft supply addiction. Whenever inspiration for a project struck, I feigned for my craft store fix. Occasionally, I came home from supply shopping and actually finished my project. But most of the time I ended up with neatly stacked piles of fabric and drawers full of various other supplies that never again saw the light of day. I justified my craft purchases as a necessary extension of myself. I was creative. I needed those tools to express my creativity. I didn’t realize how bad it had gotten until a move back home left me in need of a storage unit. Sure, the storage unit housed some dusty furniture, college books and various kitchen items. But, mostly, there were boxes and boxes of craft supplies.
Over time I realized that these boxes of supplies weren’t necessary to facilitate my creativity. Instead, they left me with a much lighter wallet and the added burden of figuring out what to do with it all. These days, when inspiration strikes, I first take inventory of what items I have on hand and try my best to make it work. Often times my projects include a little upcycling. For those of you who may be unfamiliar with the process of upcycling, it’s reusing discarded objects or materials to create a whole new item. Like breathing new life into an old sweater by turning it into a cute plushie!
What I love about this project is that it is SO simple, and requires minimal materials but provides maximum satisfaction. This is a great project for beginning sewists, as it does not require a pattern. It can also easily be hand sewn!
what to get:
-Old or second-hand sweater (preferably wool)
-Stuffing (major props for re-using stuffing from an old throw cushion, and adding sweater scraps)
-Embroidery floss in contrasting colors
-Embroidery needle
-Embroidery hoop
-Fabric shears
-Straight pins
-Sewing machine
-Thread
what to do:
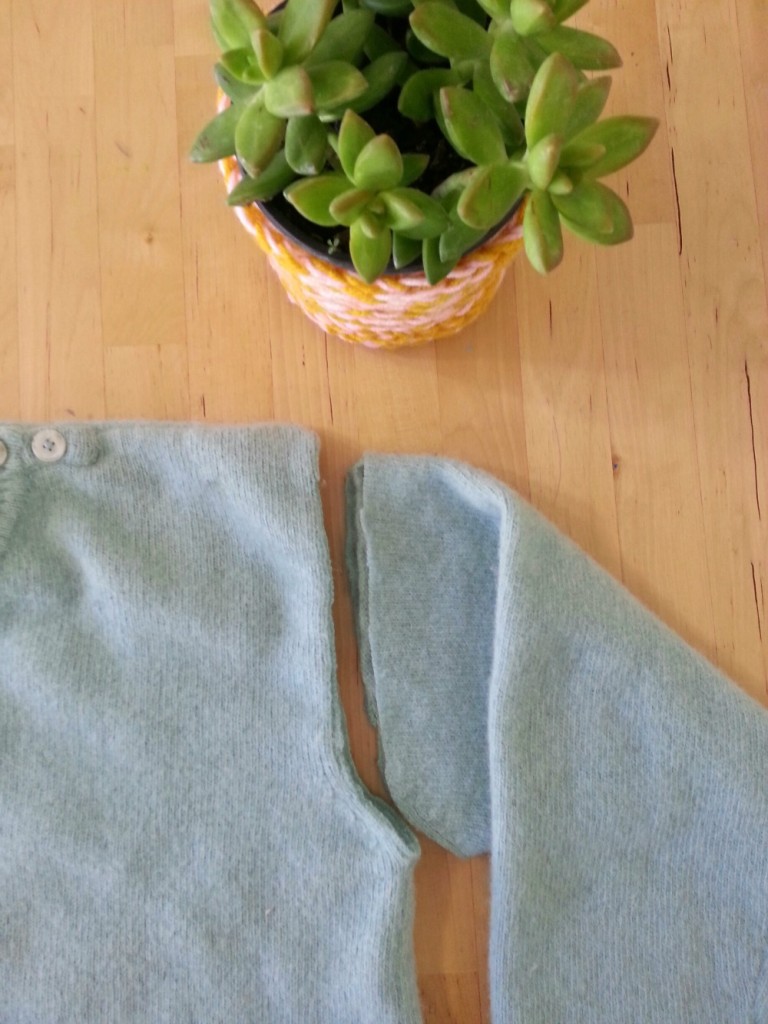
1. Wash and dry your materials. If you’re using a 100% wool sweater, make sure to wash it in hot, soapy water and throw in an old tennis shoe. This will help facilitate a felting process. Lay your sweater on your workspace and cut along the seam lines, starting with the arms and shoulders and working your way down both sides of the sweater.
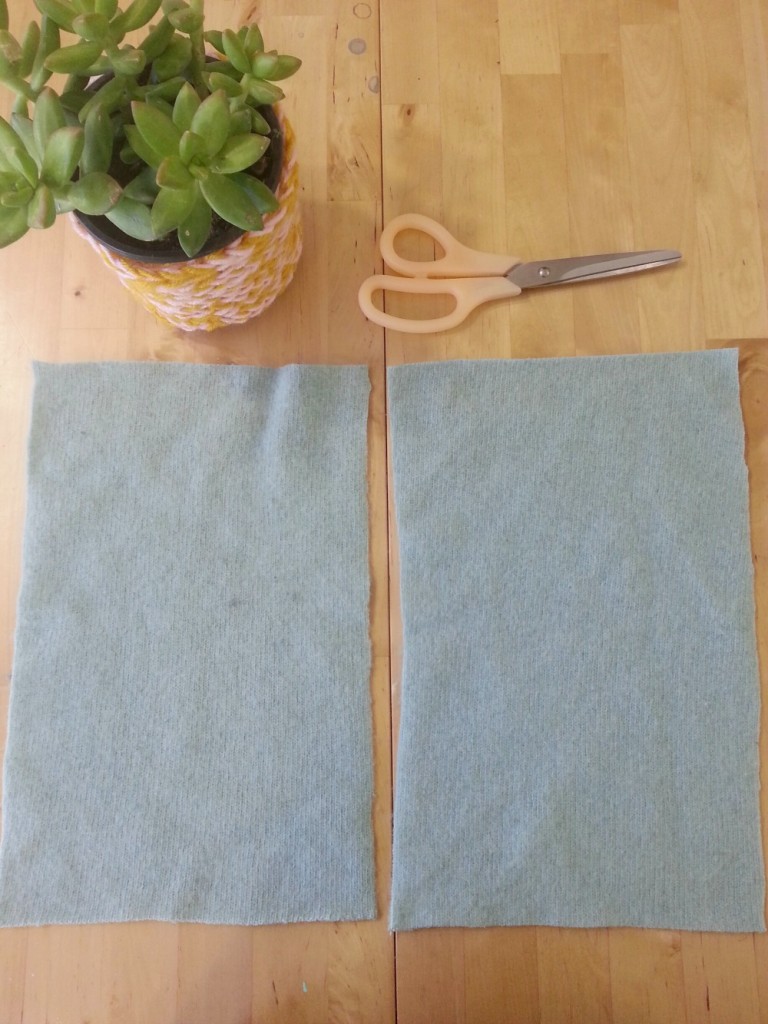
2. Cut out two identical rectangles from one side of the sweater (from either the front or the back).
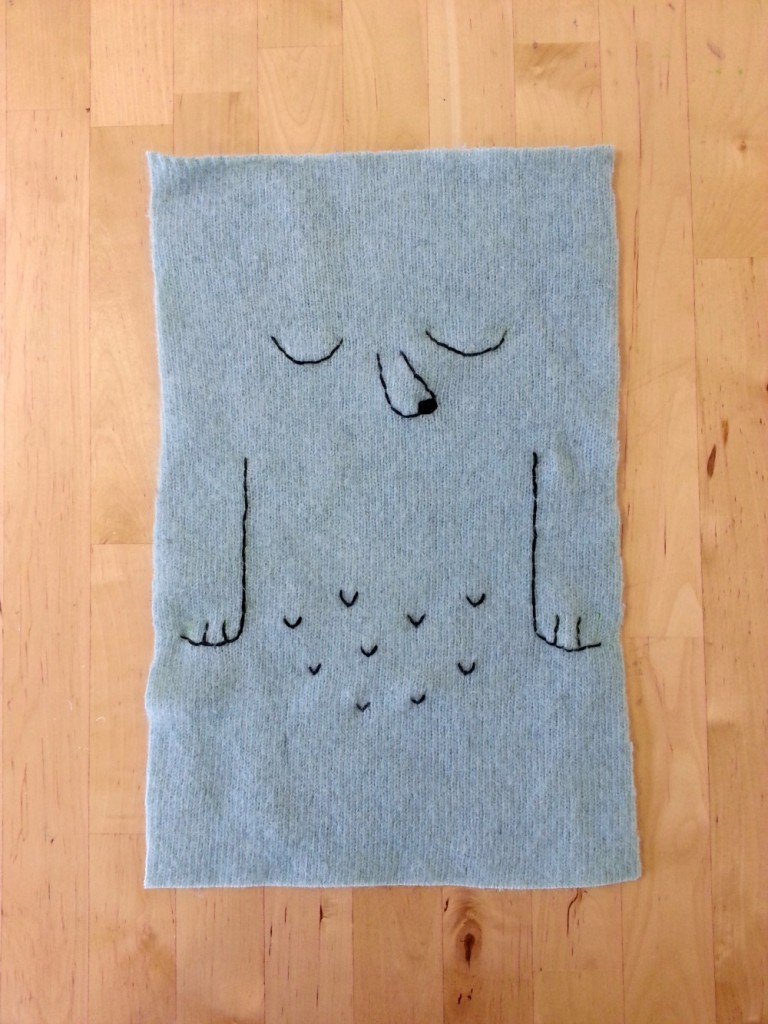
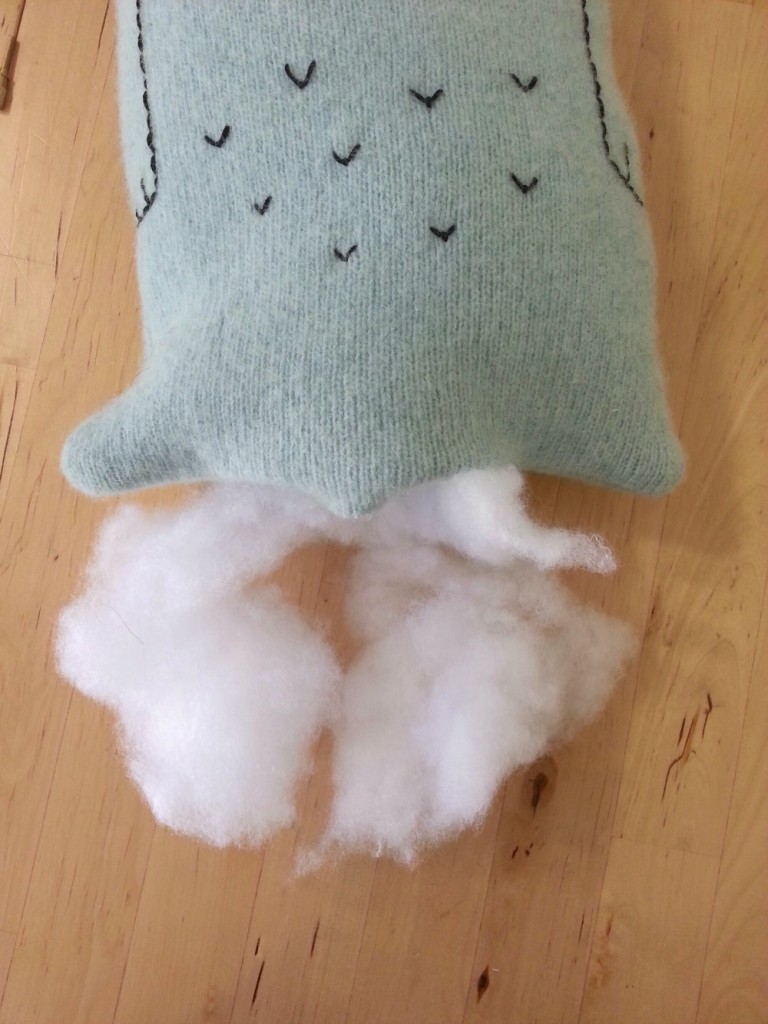
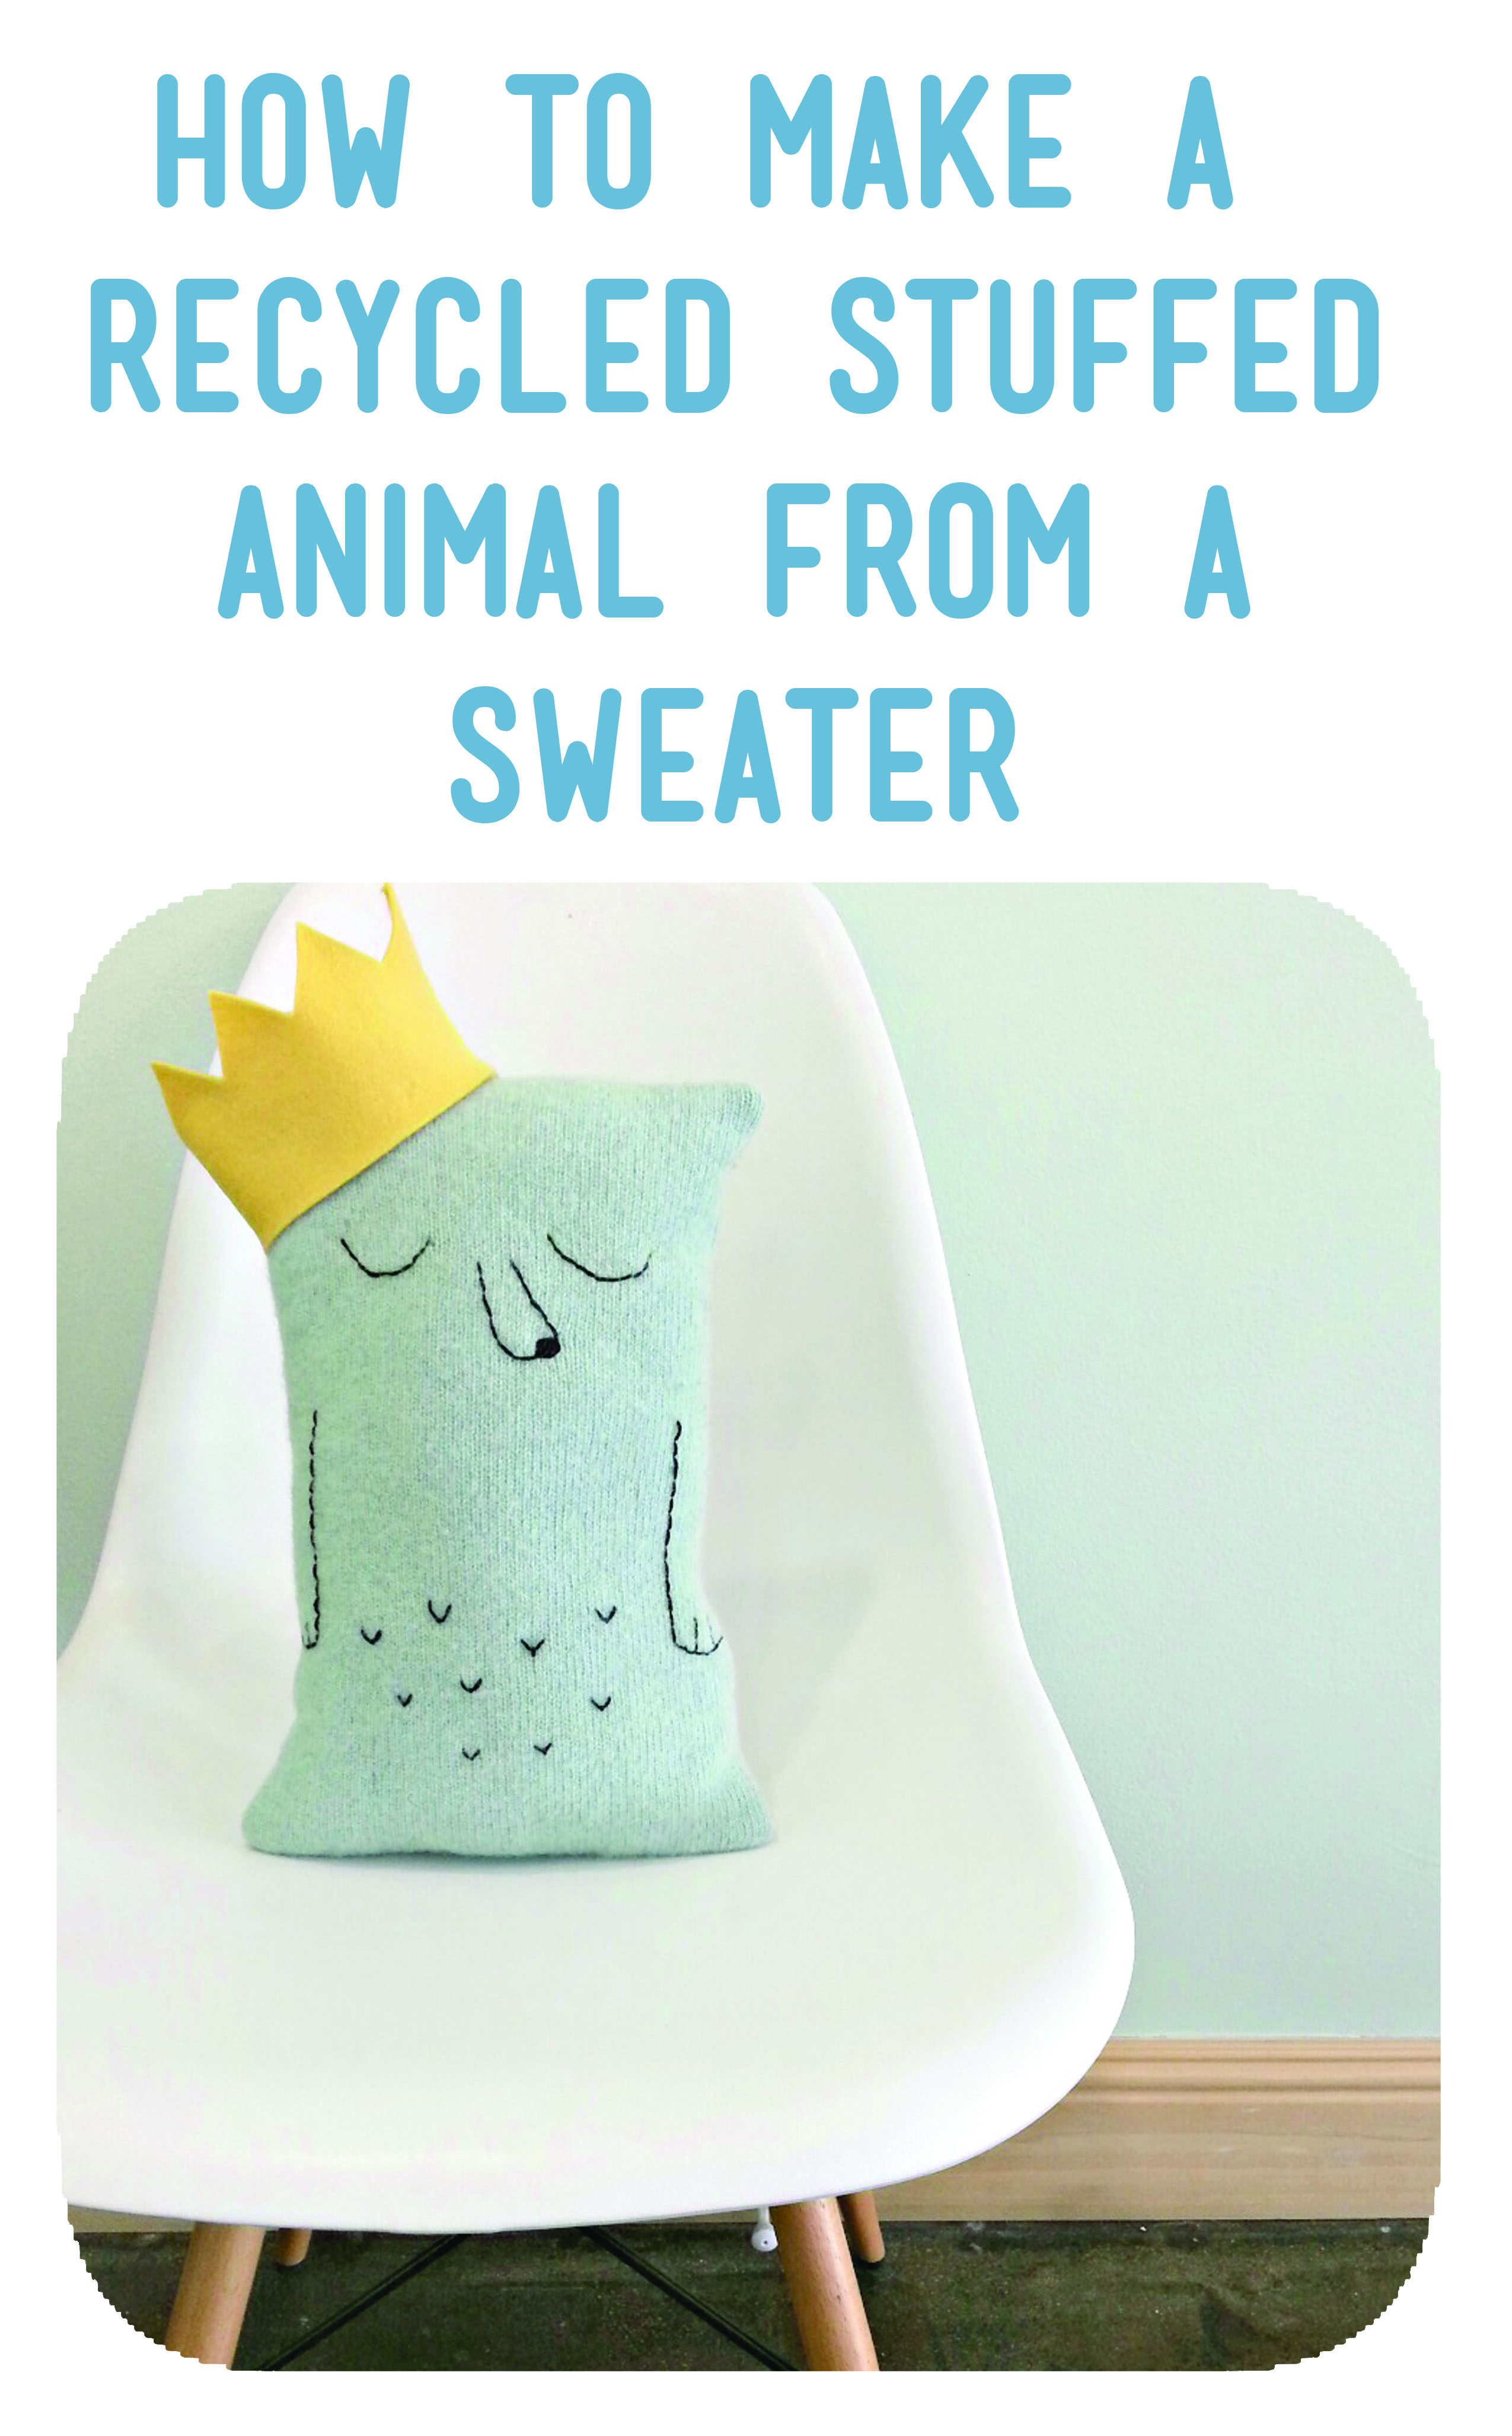
3. Using your embroidery needle, floss and hoop, stitch a few features using a contrasting thread. I used a simple back stitch to create sleepy eyes, a snout, arms and some tummy fur. If your embroidery skills are a bit rusty sublime stitching has some pretty great online tutorials.
It might be a bit tricky to transfer your pattern on to wool, so I suggest free-handing it. This is the part where your project really takes shape, so have fun!
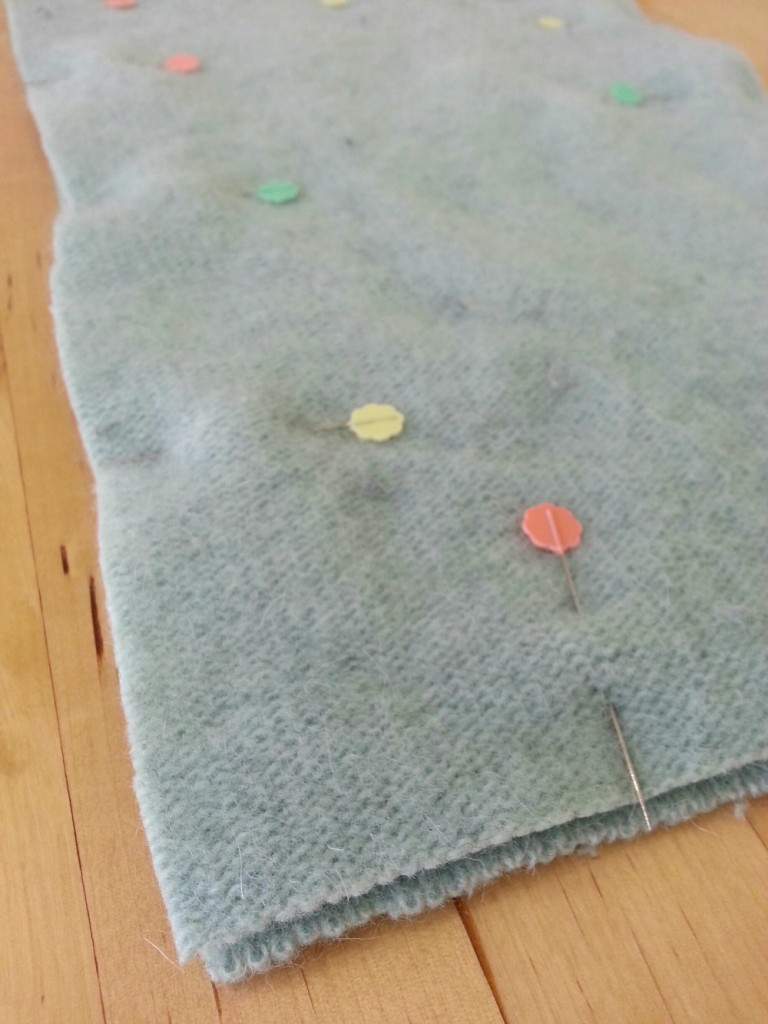
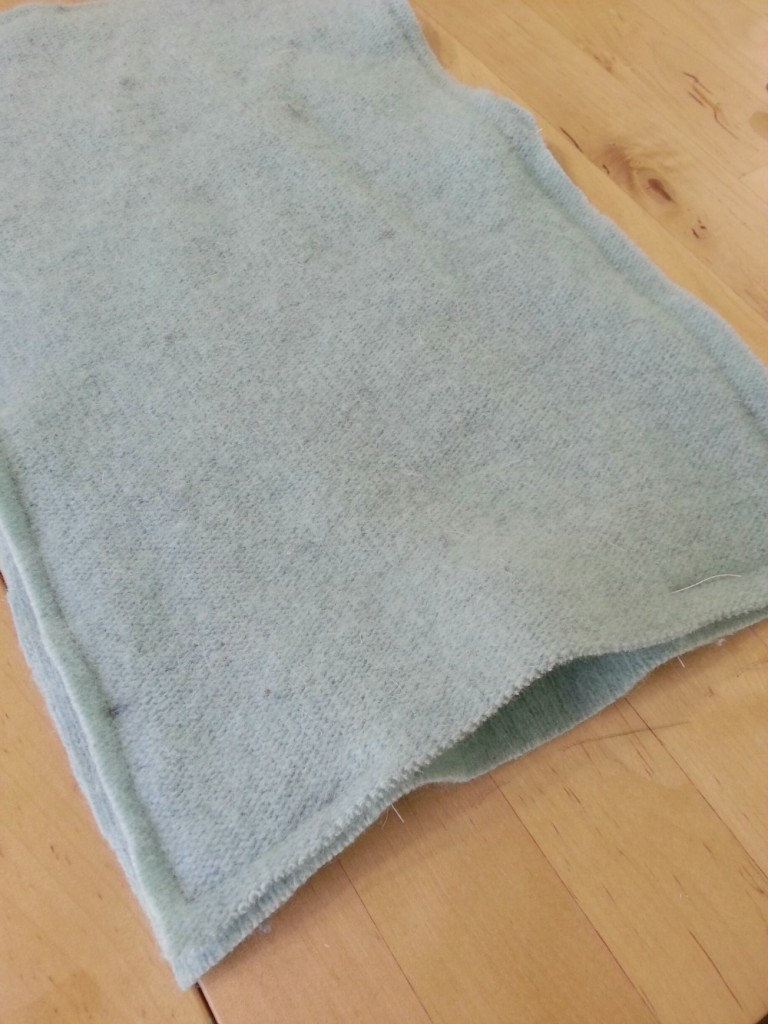
4. Next pin both pieces of your rectangles together, right sides facing together.
5. Sew around your rectangle, leaving a 3-4″ gap in the bottom of your stuffed animal.
6. Turn your project right-side out and insert stuffing. You can also add in some of your left over sweater scraps with the stuffing. Try to distribute as evenly as possibly to avoid lumpiness.
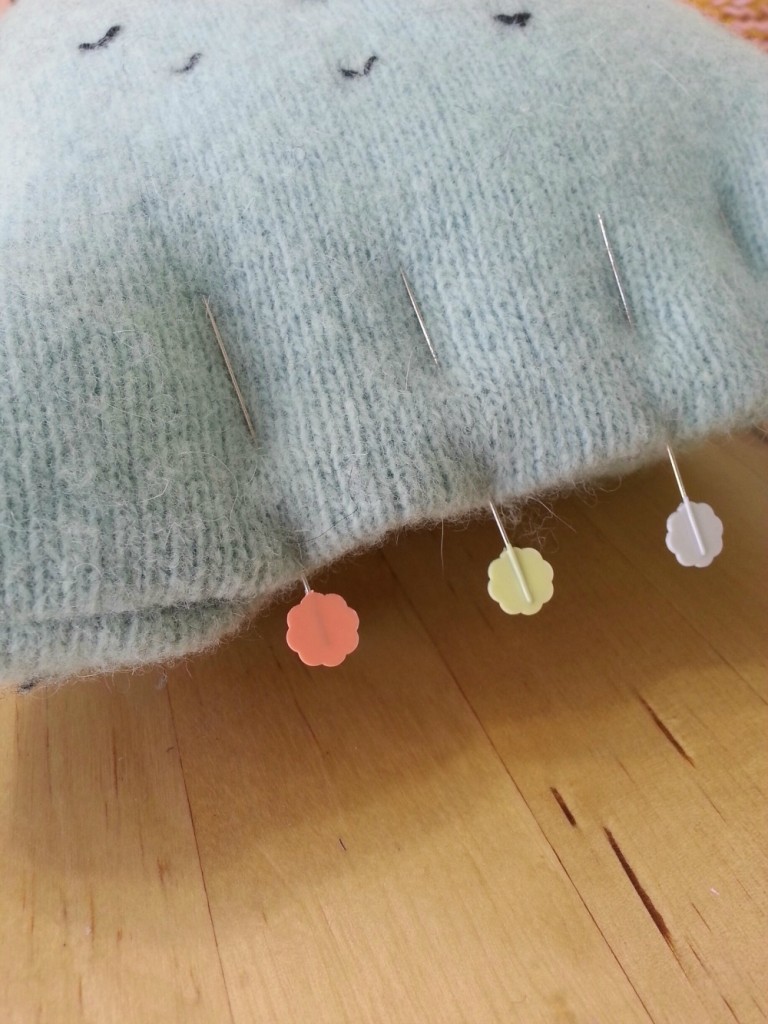
7. Pin together the opening at the bottom your project and sew together with your sewing machine or a hand needle and thread.
8. Snip off your excess thread, and admire your gorgeous work. You should be able make 2-3 medium sized plushies from one sweater. Collar pieces make cute little plushie scarves, and buttons make perfect eyes. Try using as much of the sweater as possible in fun and interesting ways!
-lisa rios
About Lisa:
“If you had asked my 12-year-old self what I wanted to be when I grow up, I probably would have had a perfectly sensible answer. Like a circus trapeze artist or an outer space explorer. Never in my wildest dreams could I have imagined that I would craft for a living. But fast-forward 20 years and I’m the owner of The Makery, a walk-in craft studio located in Anaheim. In addition to teaching and organizing local creative workshops, planning craft parties and designing handmade craft kits, I also design for Whimsy and Ink, the handmade biz I share with my rad hubby. My work has been featured in Real Simple, Brides Magazine, Bust, The Huffington Post, Orange Coast Magazine, Sunset Magazine, in Etsy’s Featured Sellers series, and in my mom’s emails to Grandma.”




Love it! I actually have an old wool sweater that my hubby (accidentally) washed and shrank so this is a perfect project for that tiny little sweater now!
At least he was being helpful by doing the laundry for me, right?? 😉
Sweet! It was a happy accident 🙂
Thanks for the kind words in the editor’s note! Totally made me blush! 🙂
ahhh lisa!! all true stuff 🙂
How sweet are your designs!!! Love them so much! Thank you for showing the instructions. God Bless you!
Thanks for your sweet encouragment!