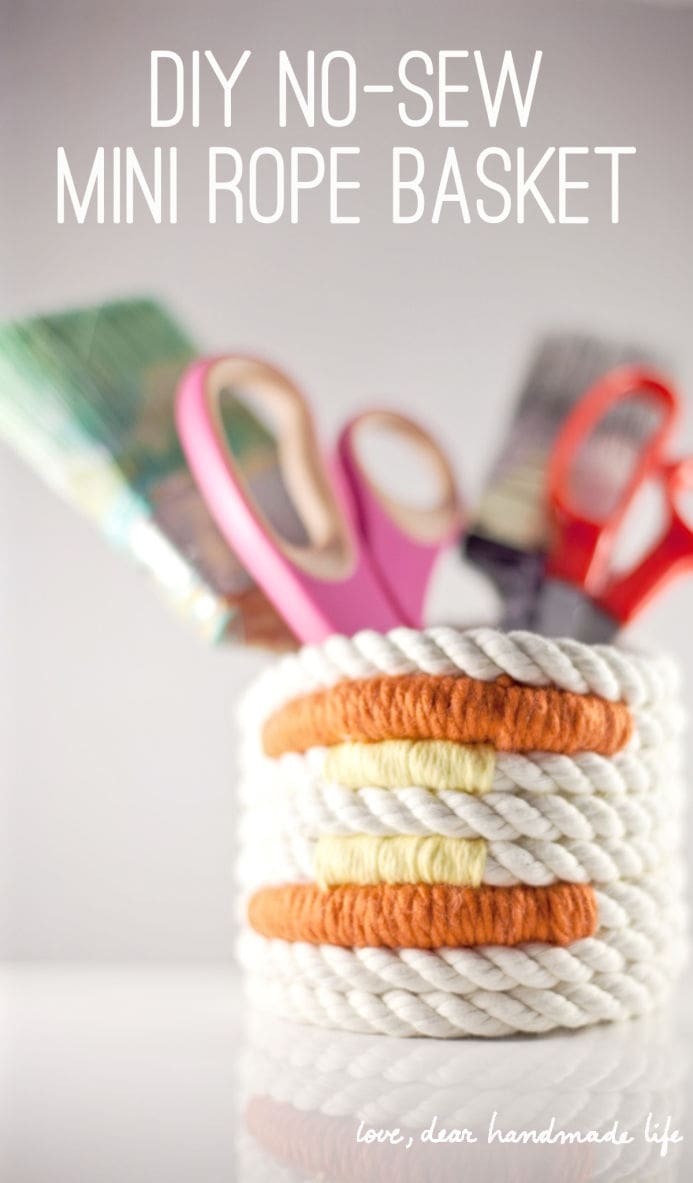
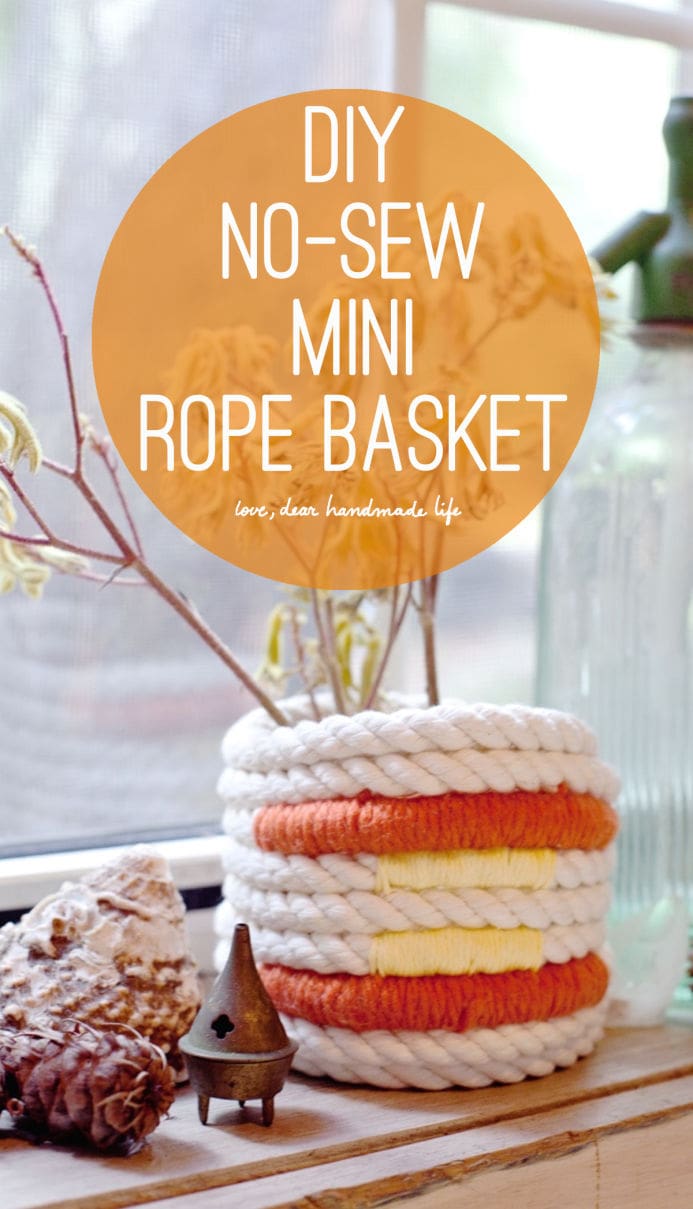
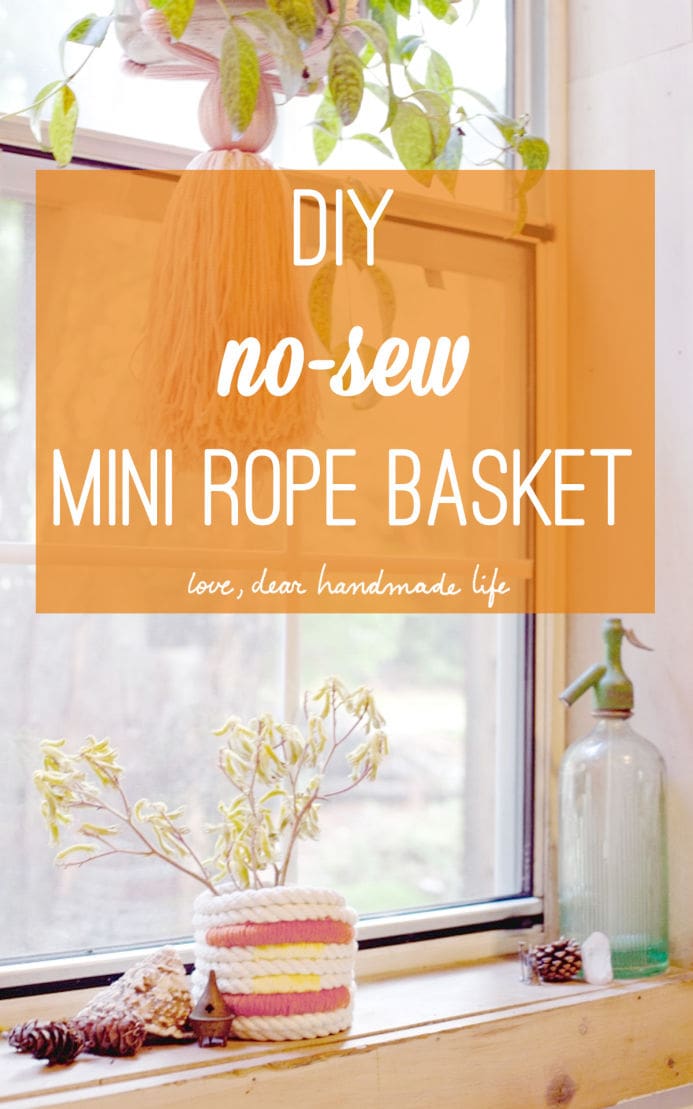
DIY No-Sew Mini Rope Basket
Editor’s Note: We’re beyond excited to welcome Dear Handmade Life staff member LP Hastings to the blog. You may know LP as our photographer, event assistant and videographer (check out the video she made at Craftcation Conference 2015 to see just how awesome she is)! This post is the first post in her new series on our blog: “First-time Crafts”. Although LP is a creative powerhouse she loves trying out new crafts and isn’t shy about embracing the awkwardness and learning curve that goes along with being a beginner. We’re so excited to introduce LP! -Nicole S.
First-Time Crafts: No-Sew Mini Rope Basket
Let me be honest, I love crafts, but sometimes I’m really bad at them. Many times they don’t come out looking Pinterest perfect and instead of being happy that I created something, I feel like it wasn’t good enough! This column is about embracing such crafts for the first time and will include the honest tips that you might not find elsewhere. Let my mistakes not be yours – now go forth, and craft!
The no-sew rope basket was my solution to being broke and needing Christmas presents for the ladies in my family. Unlike many craft projects where you end up spending more time and money at Michael’s than if you’d just bought a gift, this project was cheap and easy! In fact, if you’re a regular on Dear Handmade Life, it will probably be even easier for you than it was for me!
Depending on what items you already have, one basket will cost you less than $10 and will be ready in two hours flat. Once you complete your first basket, you’ll probably wanna make more, too, so order extra rope. Let’s do this!
WHAT TO GET:
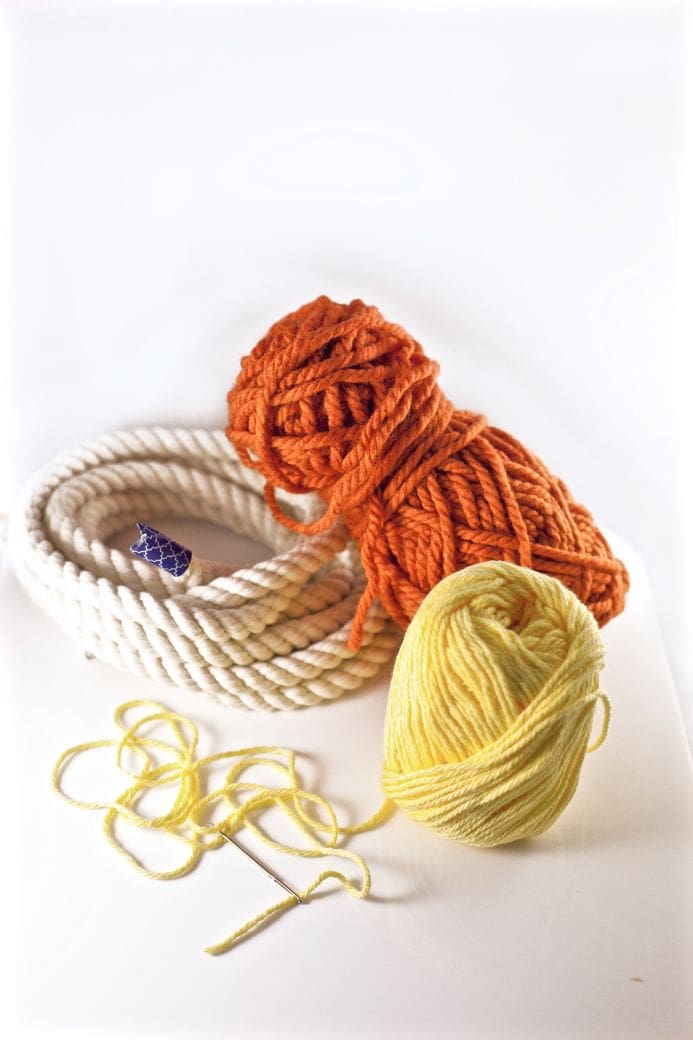
– 15 feet of 3/8” Cotton Rope.
*You can purchase any size rope you like, but 3/8” will give you maximum efficiency. Absolutely purchase your rope from www.knotandrope.com. They have the BEST prices and you won’t find this kind of rope at Home Depot…trust me I even called ahead and there was no such rope when I arrived. I also purchased some Manila Rope, thinking it would make a gorgeous basket, but it was too stiff to glue. If you don’t want to sew, the rope must be pliable and cotton.
– Yarn or…anything
*Use whatever you’d like for the accent color – yarn, mason line, ribbon, smaller rope?! Anything!
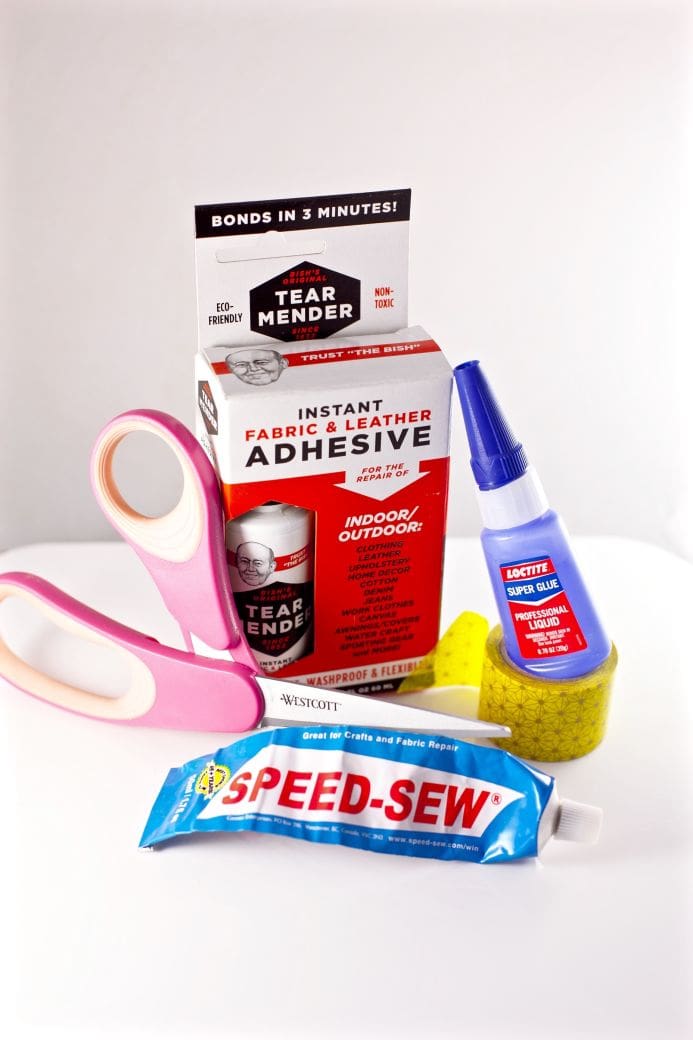
– Glue
*Use only Speed-Sew, Super Glue, or Tear Mend, SERIOUSLY. When my great-grandma’s Speed-Sew ran out I spent probably $20 trying to find comparable glue and nothing worked. Save yourself the money and buy only one of these three.
– Thick needle, used for weaving
– Scissors
– Tape (Washi of course, duh)
*Used for securing craft paper or the end of a rope after you cut it
WHAT TO DO:
STEPS:
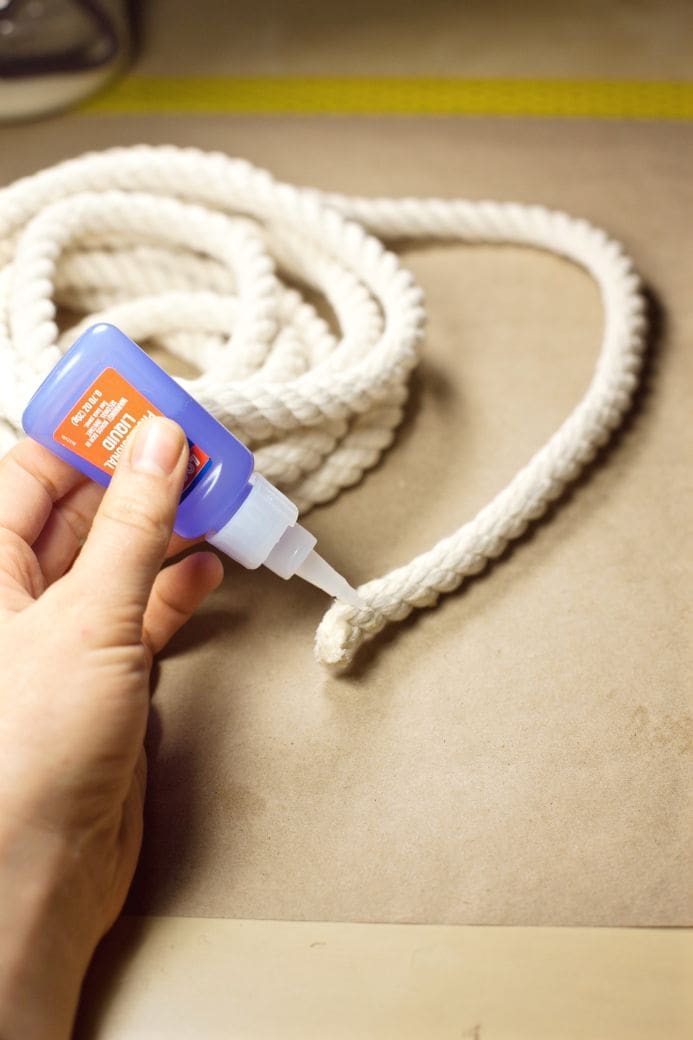
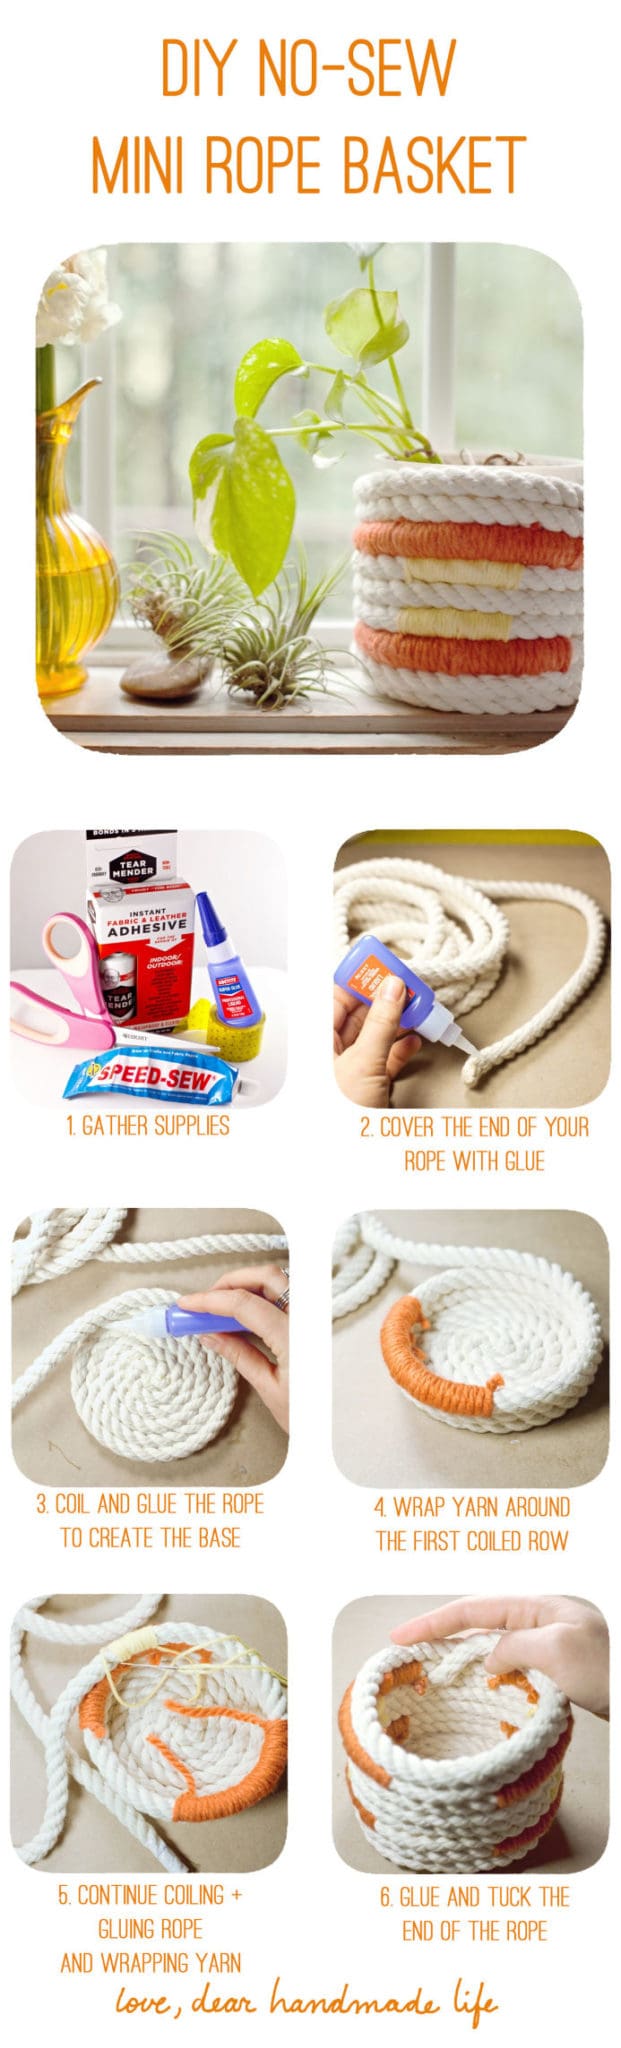
- Tape down craft paper. Cover the end of your rope in glue and lightly push the ends together so it does not fray. I like to use the Speed-Sew or Tear Mend for this.
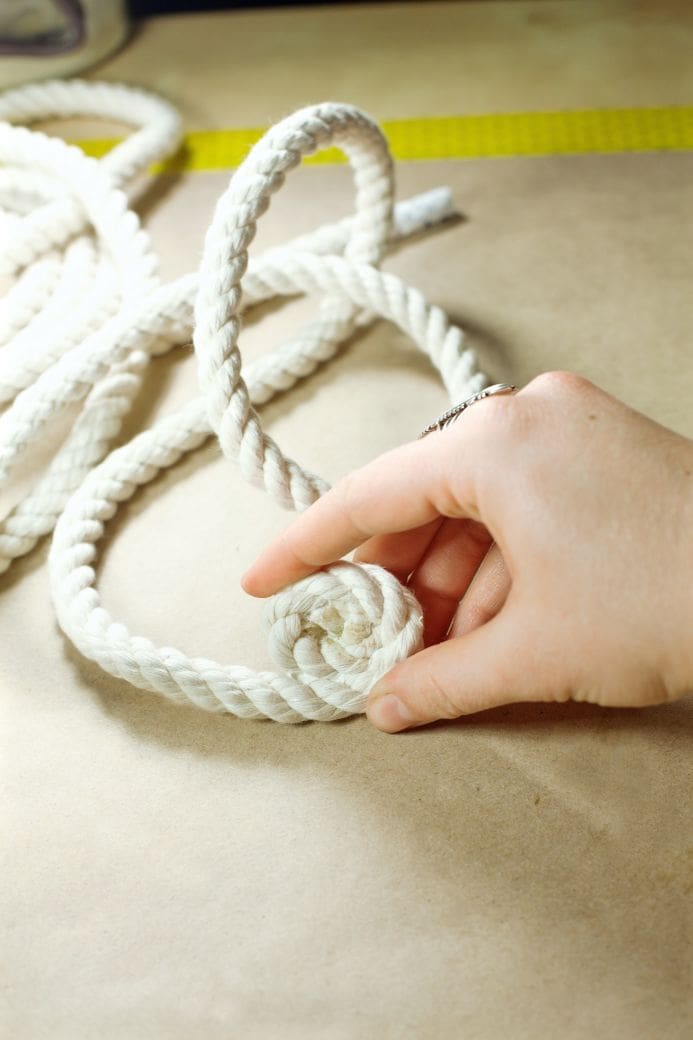
- Once the end is stiff, trace a small line of glue in the middle of the rope and slowly coil the end of the rope against the glue, pressing firmly as you go. I think super glue works best for creating the basket base as it will stay firm, whereas fabric glue will make the bottom poof in or out. Of course, do this next to an open window. Damn those super-glue vapors!
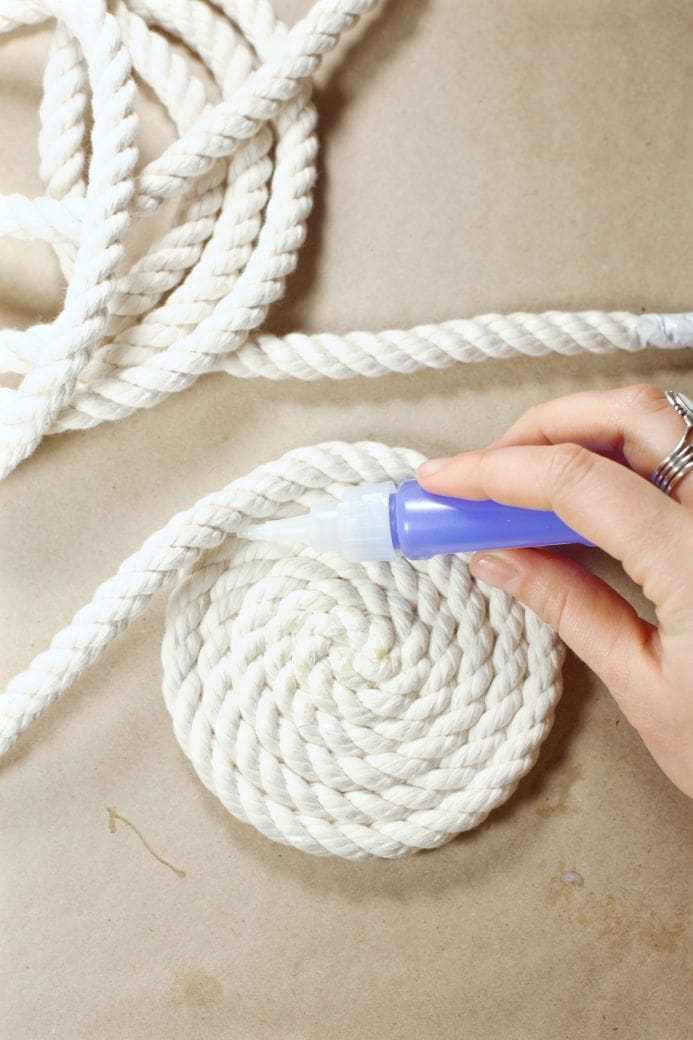
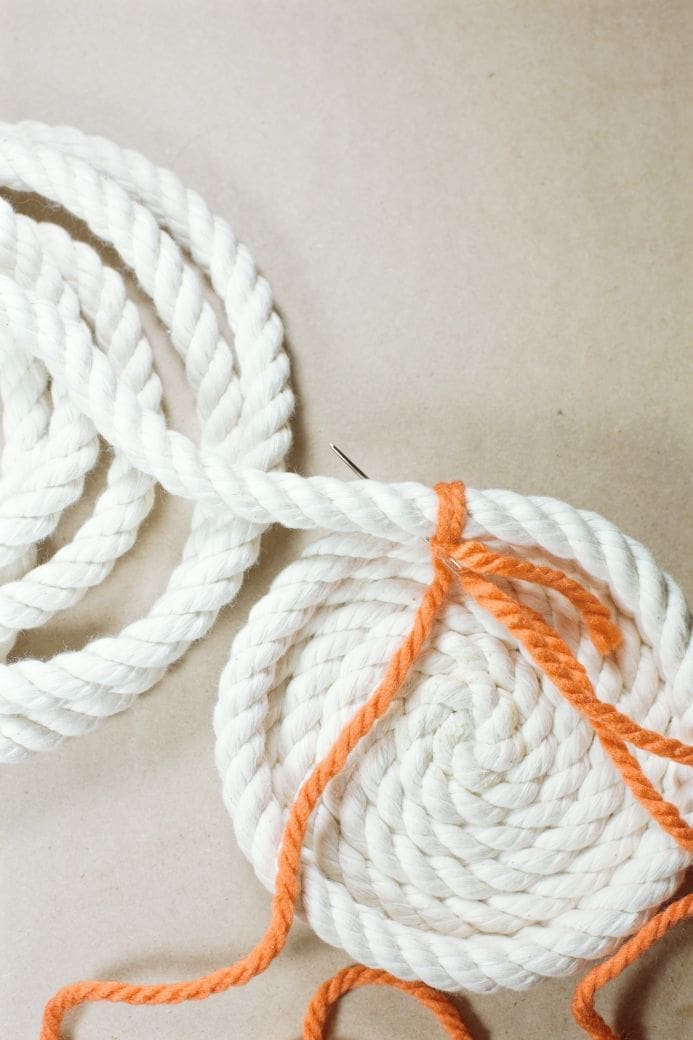
- Continue gluing and rolling a flat circle until it’s the size in this photo. You can make it bigger or smaller, but account for how much rope you need for the basket’s height. Once you’re ready to build the height, gradually bring your glue line up until it is completely on top of the row of rope below.
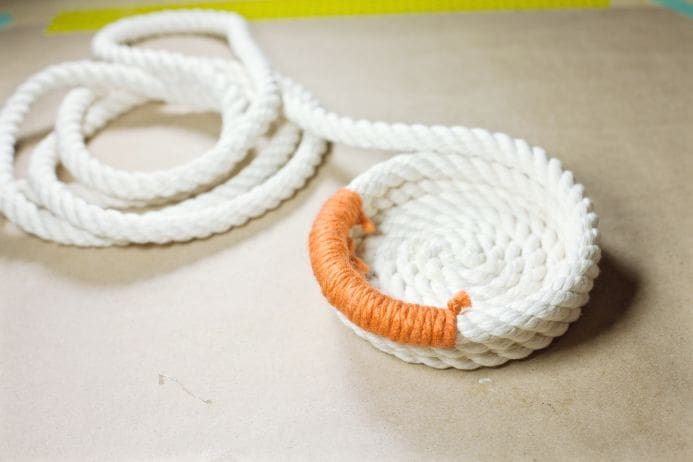
- After one complete circle around on your first row begin to wrap your yarn. I like to pull my needle through the rope below and loop it around to secure a knot, this way my yarn is attached to the rope below. Next wrap the yarn around the rope, pulling it tight as you go. If your first yarn block will be long, pull the needle through the rope below in the middle of your color block so it doesn’t leave an open gap in the basket. Once it is the size you like, pull it through the rope below again and secure just like you did in the beginning. Trim off the excess yarn.
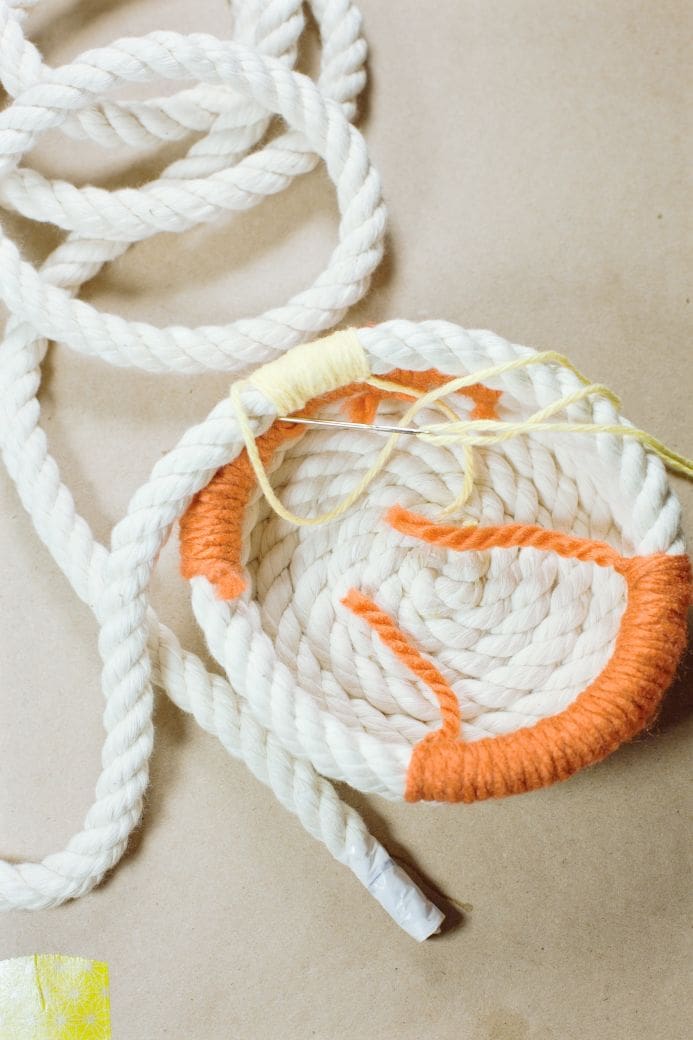
5. Continue gluing the white rope and adding to your yarn pattern as you build the basket upwards. Remember to secure your color blocks into the rope below with the yarn.
- Once you’ve come to the end, save a portion of the rope and cover it in glue, lightly pressing the ends together so it doesn’t fray. Then gradually bring the glue line down inside the basket so that the end of the rope can be tucked inside. Again, Super-Glue is best for this part as you can really stick the rope into the ridge of the basket.

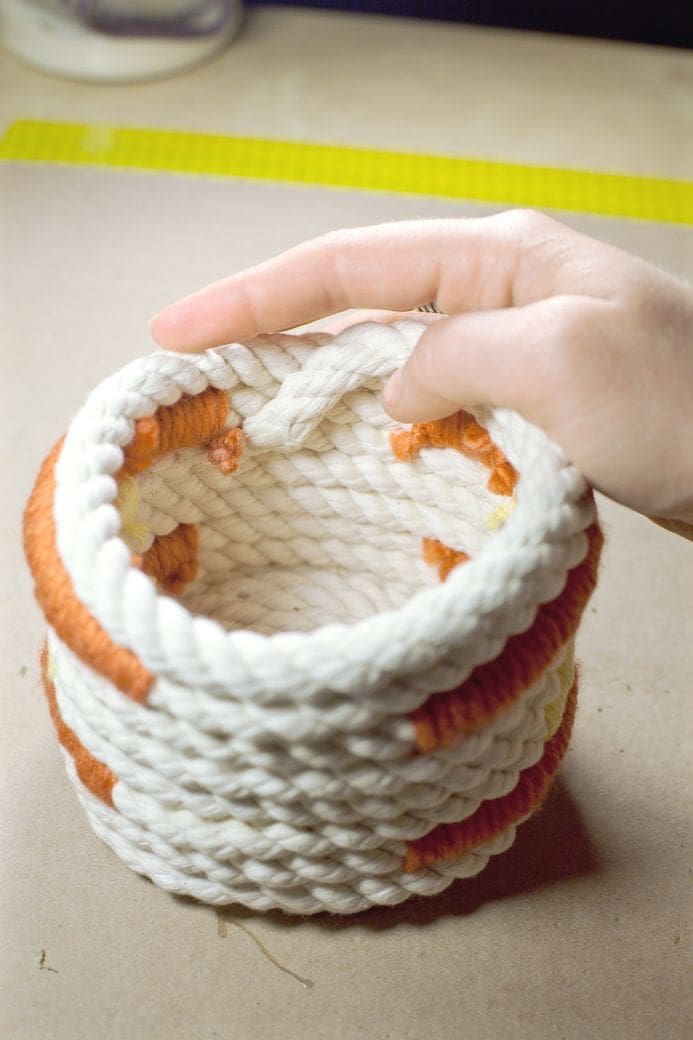
- You’re done! Put cute things in your basket!
LP is a writer, photographer, and videographer living in a tiny cabin in the Santa Cruz Mountains. She’s a regular on the Dear Handmade Life team and loves working with her hands. When she’s not shooting, she’s crafting jewelry for her line The Pod Shop or traveling with her art community at the Magoski Arts Colony in Fullerton. Follow her on Instagram @lphastings or @thepodshop