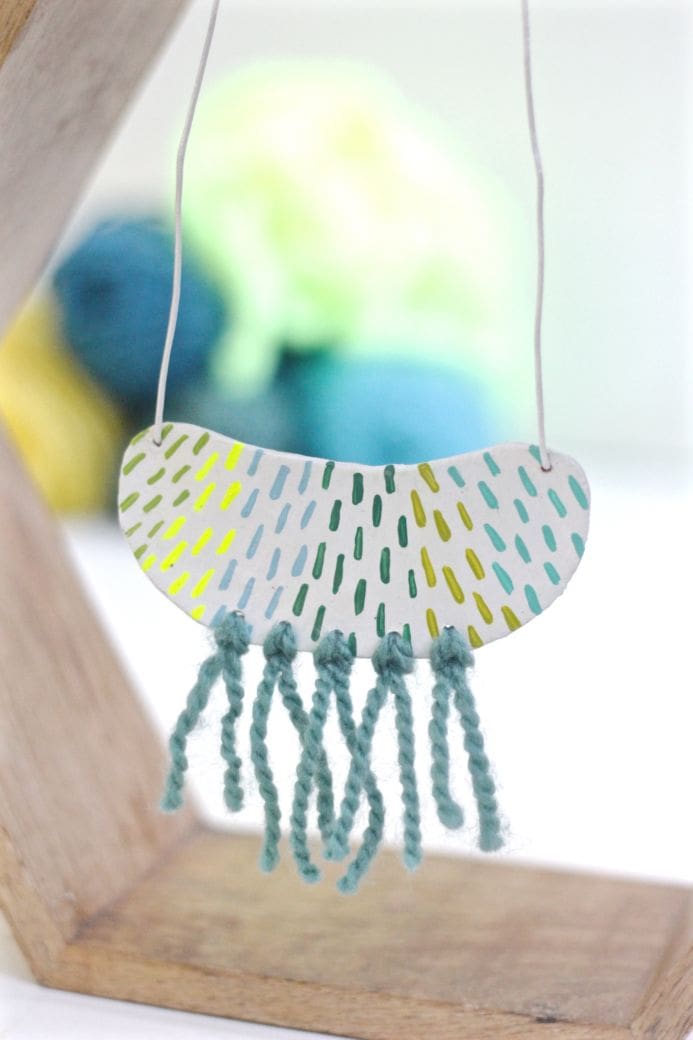
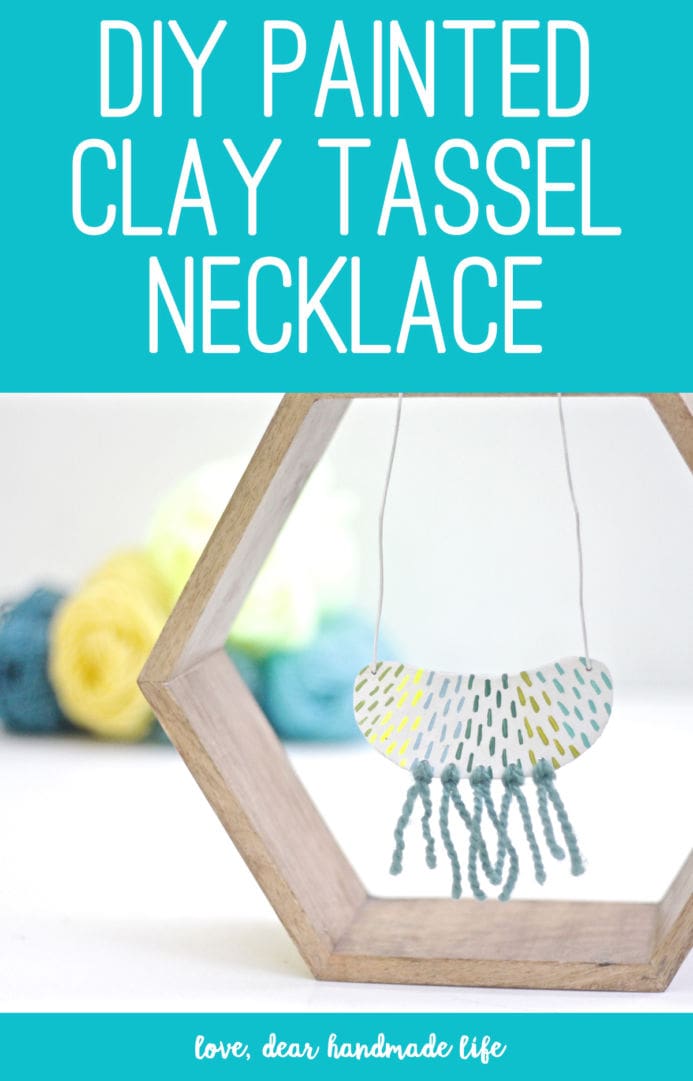
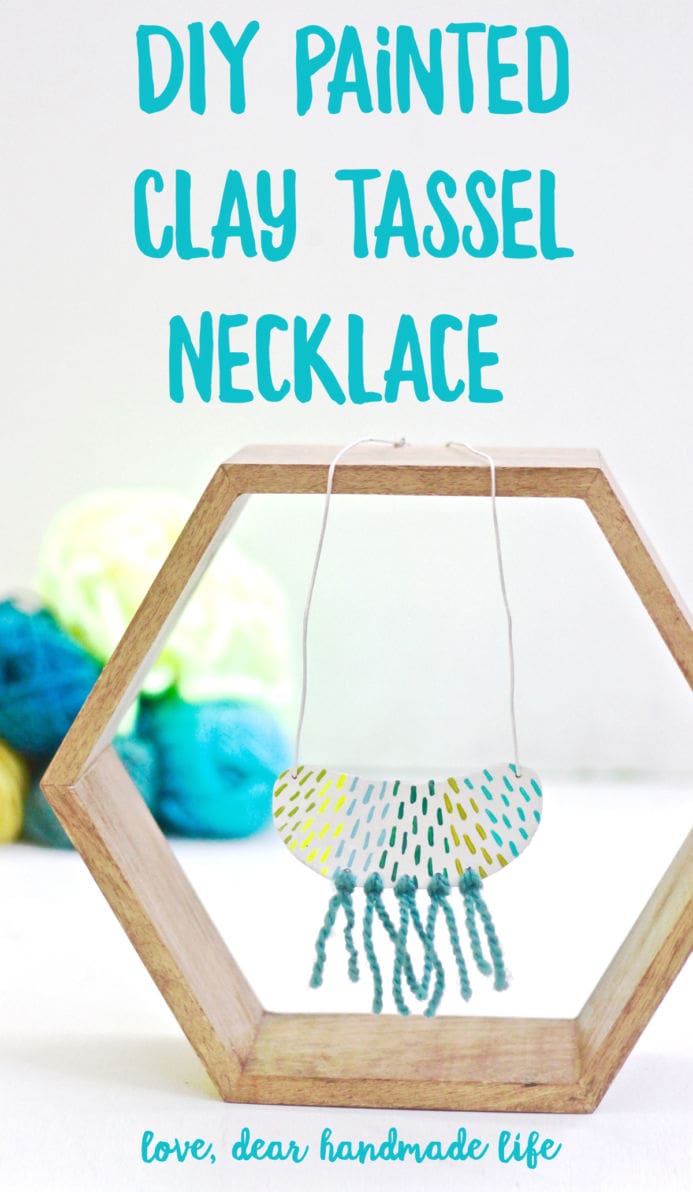
DIY Painted Clay Tassel Necklace
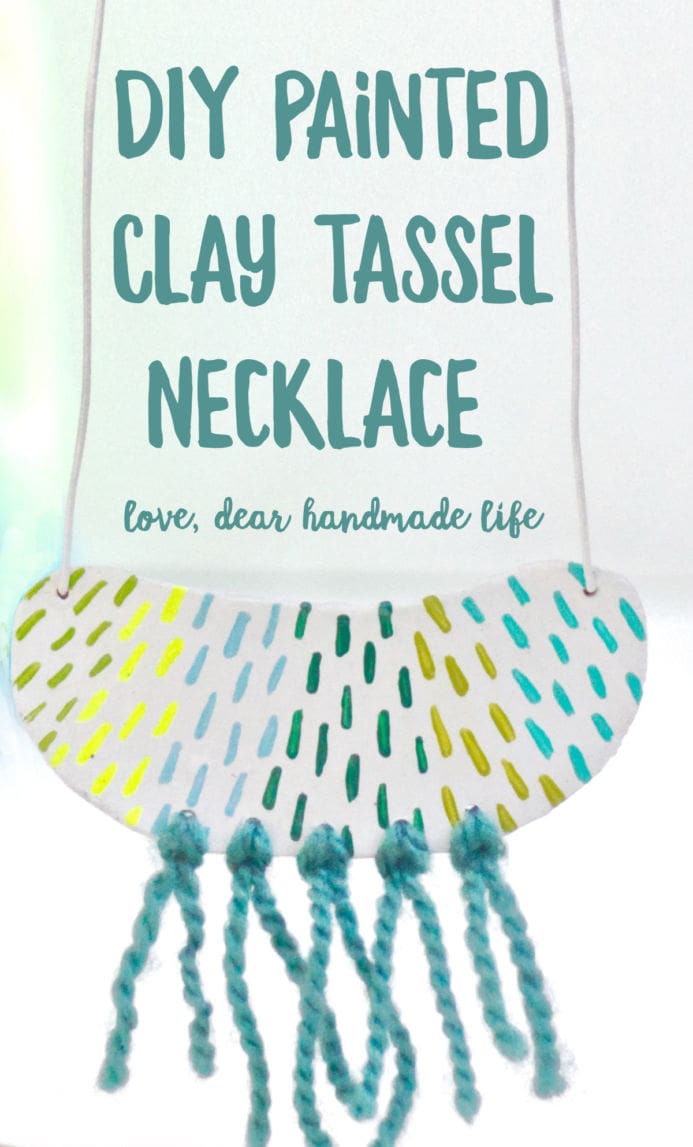
Summer is our slow time of year here at Dear Handmade Life. It’s the time we finally get to take a break from back-to-back events and do some reflection as well as get back into our self-care routines. One of my major goals this summer was to actually stick a daily sketchbook practice. I wrote about it here and posted a lot of what I did on my Instagram. Keeping up with my sketchbook practice helped me rediscover my love of painting and I actually started painting other places aside from my sketchbook. One of the patterns I painted on wood was the inspiration for this DIY painted clay tassel necklace. If you’re ready to try your hand at air-dry clay (super easy and inexpensive to work with) check out the tutorial below or these: DIY abstract painted clay necklace and DIY modern gold clay salt cellar and spoon.
-Nicole S.
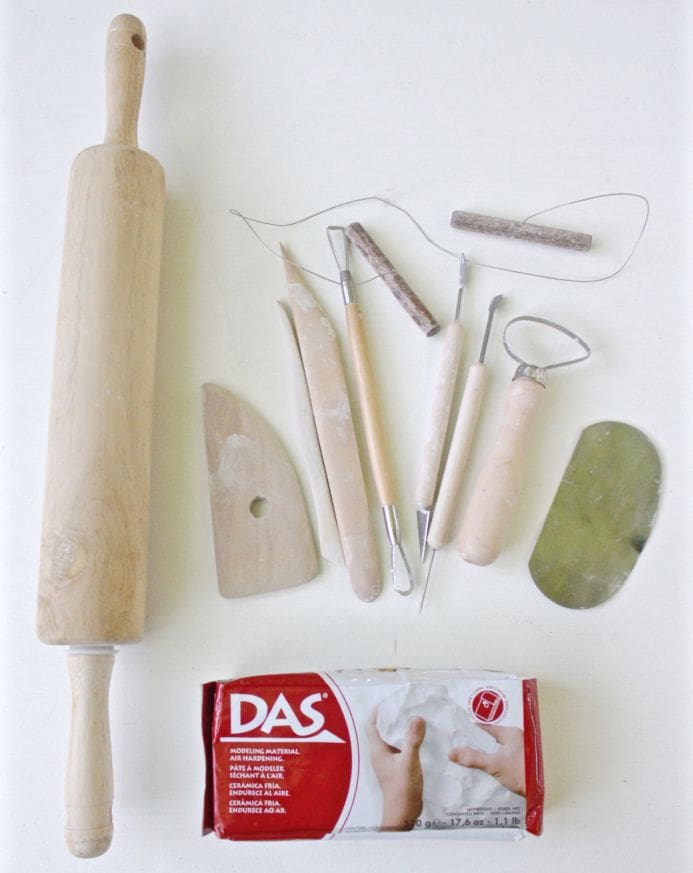
What to get:
-Basic clay tools (we like this set)
–Air-dry clay
-Rolling pin
-Wax paper
-Bowl of water
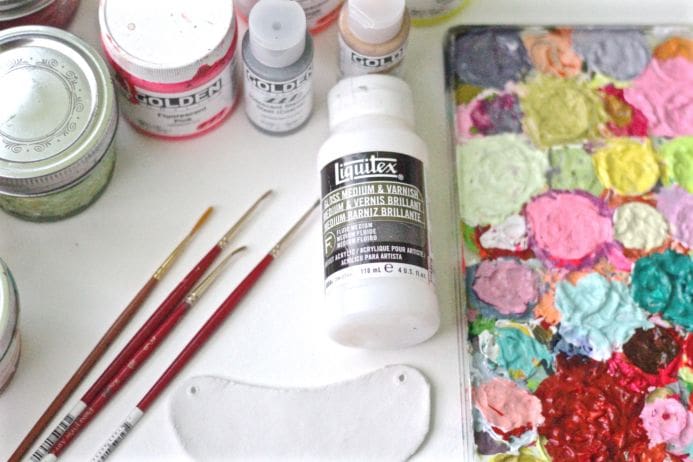
-Paintbrushes
-Acrylic paint
-One sheet of paper or card stock
–Metallic leather cording
-Jewelry findings: 1 lobster clasp, 2 split rings, 2 cord end caps
–Needle-nose jewelry pliers
-Yarn
What to do:
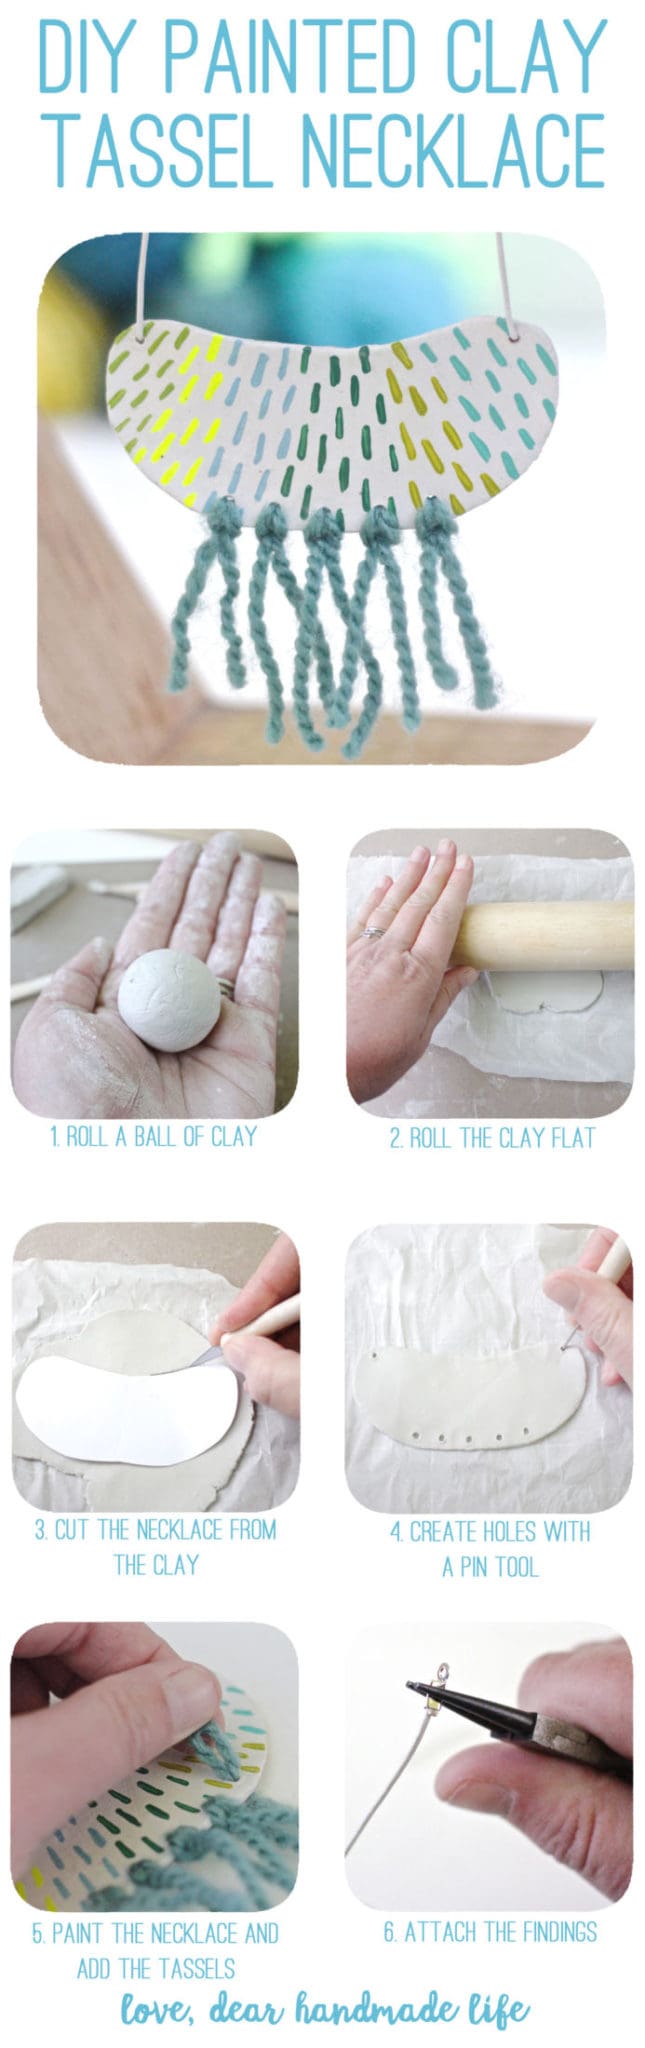
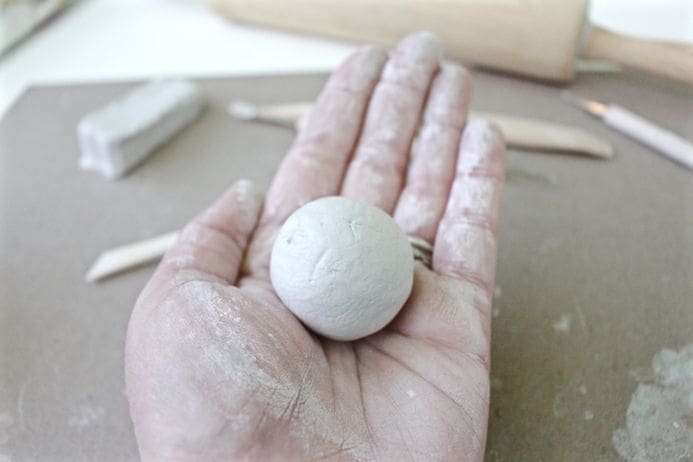
1. Create a ball from the clay (about 3 inches in diameter).
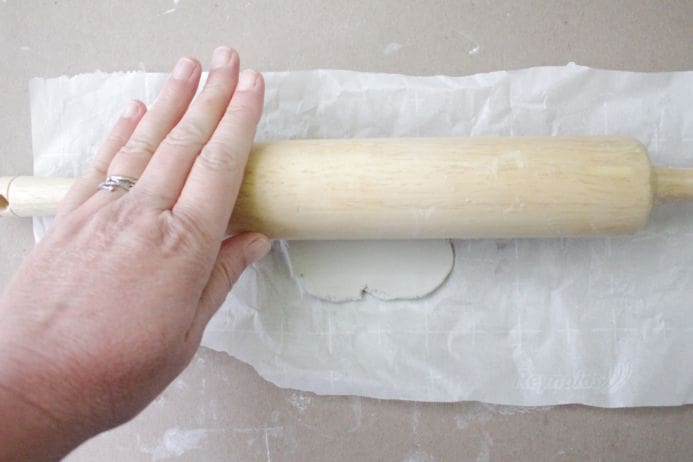
2. Roll out the ball of clay with a rolling pin until it’s flat.
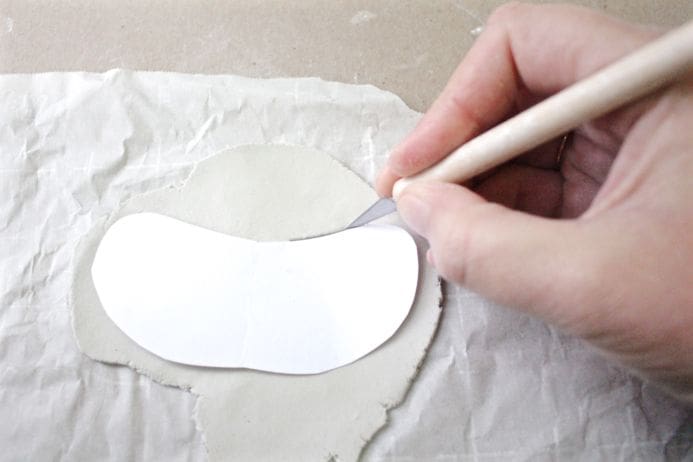
3. Create a template for the shape of your necklace using a piece of paper.
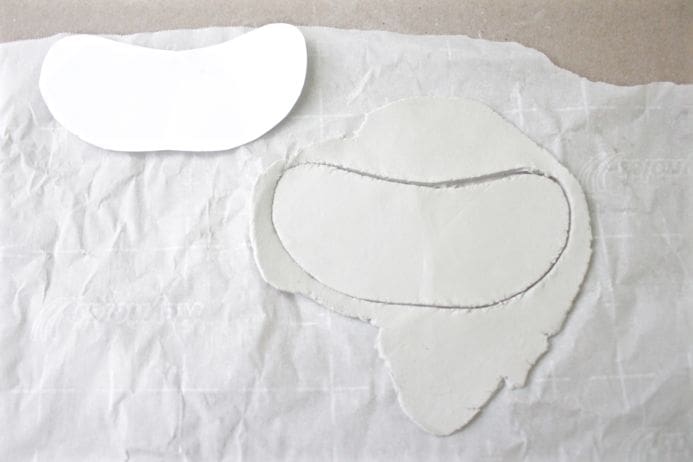
4. Set the template on top of your clay and use a clay tools to carve your necklace shape from the clay.
5. Use the pin tool to create small holes at the top right and left sides of your necklace so you can attach your cording later.
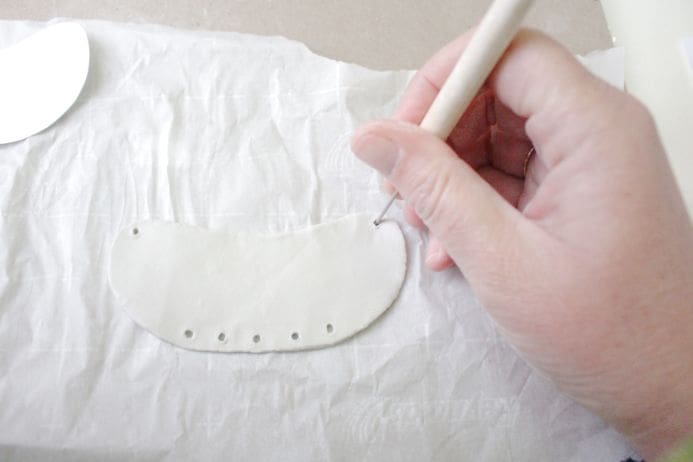
6. Use the pin tools to create small holes along the bottom of your necklace so you can add yarn tassels later.
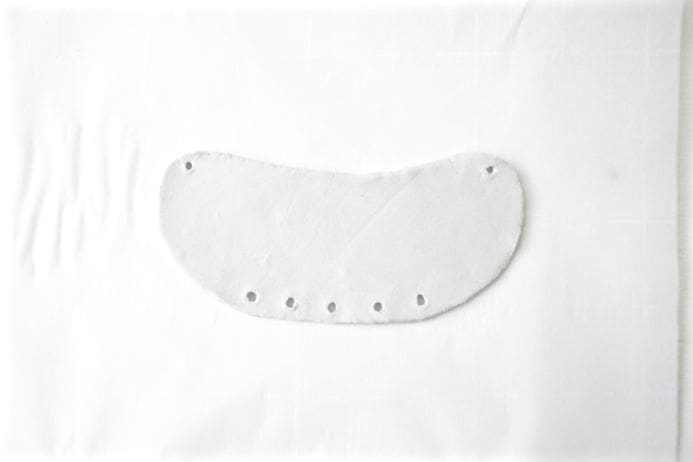
7. Wet your fingers and run them along the edges of the necklace to smooth them out.
8. Let the necklace dry overnight.
9. Once dry, paint the necklace with acrylic paint.
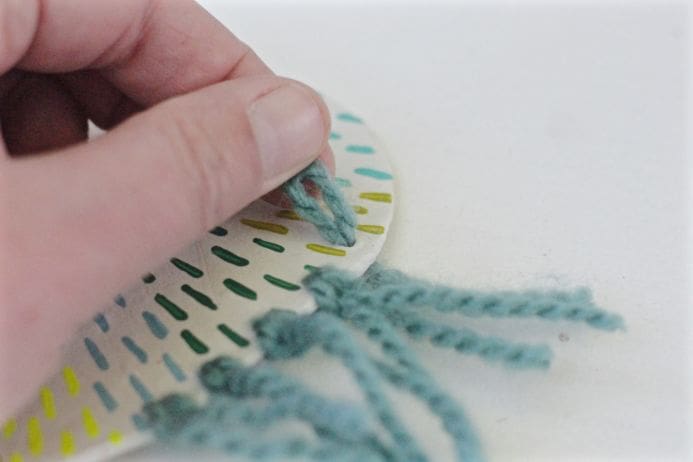
10. Once the paint is dry pull short pieces of yarn through the holes at the bottom to create the tassels.

11. Measure the necklace to see where you’d like it sit on you and then cut a length of leather cording.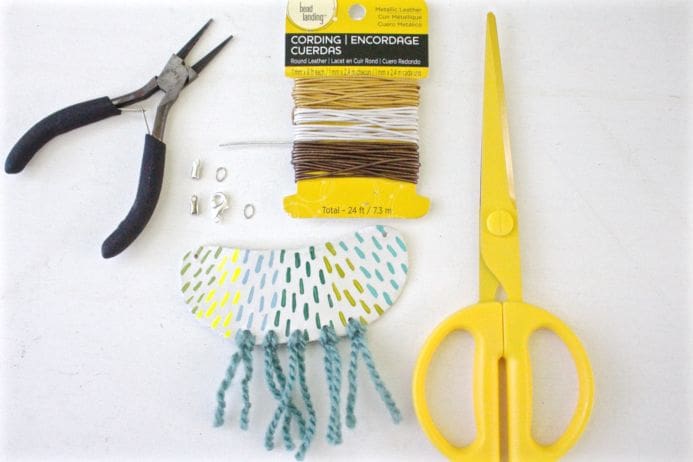
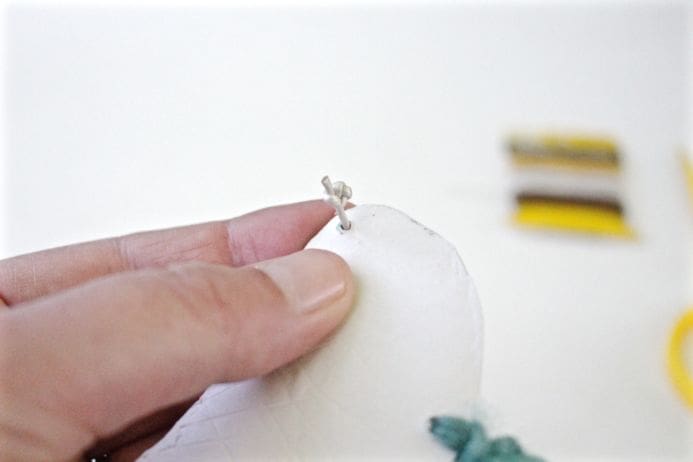
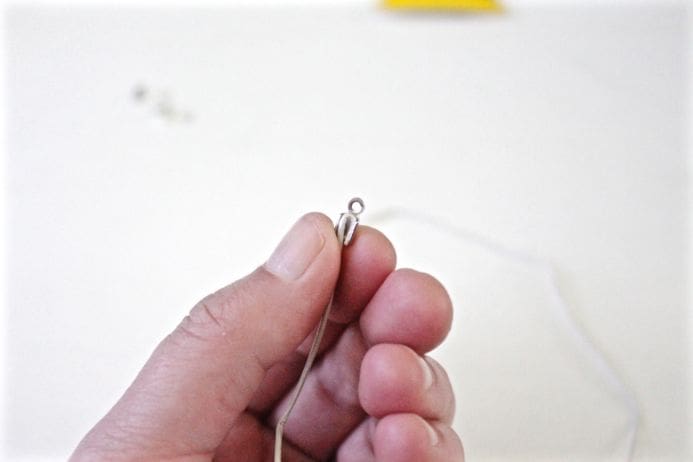
12. Put one end of the leather cording through the front of the hole of the right side of the necklace then tie two knots at the end on the back. Repeat for the other side.
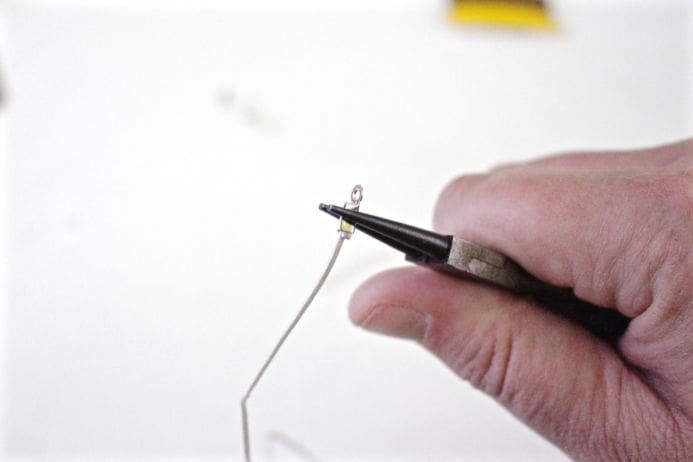
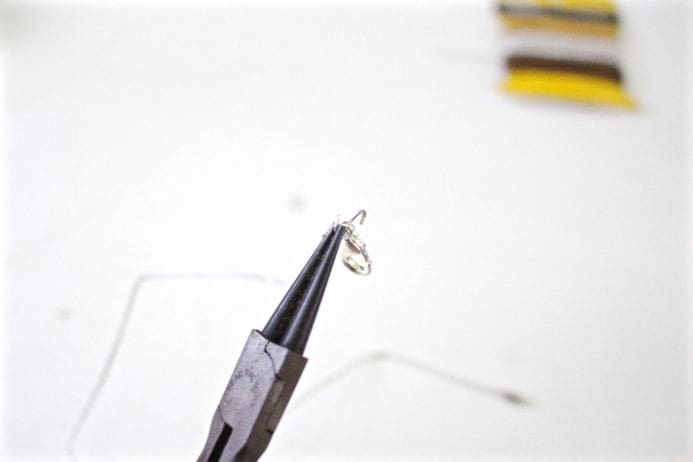
13. Use needle-nose jewelry pliers to attach the lobster clasp and split rings.
*If you work on a sheet of wax paper it will help the clay not stick to the surface you’re working on.