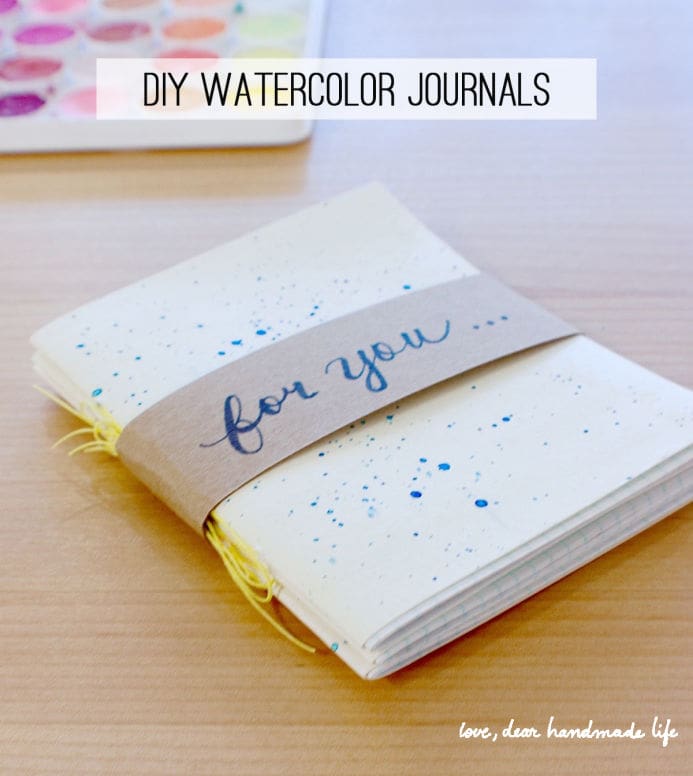
DIY Watercolor Journals
 I’m always on the lookout for a good quick and dirty DIY, and this project is all that plus it’s pretty to look at and useful. So whether you make this now or pin it to your “holiday gifts to make” Pinterest board, you’ll love the process and your finished project – promise!
-Lisa Rios of The Makery
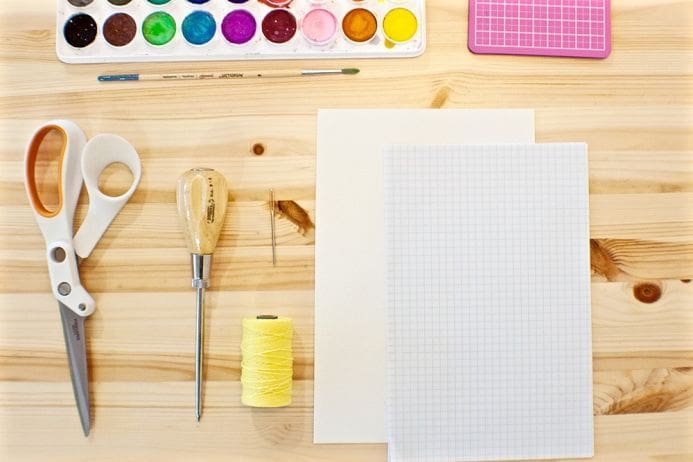
What to get:
-Watercolor paper (cut to 5.5” x 9”)
-9 sheets of copy/grid paper (Cut to 5.5” x 8.5”)
-Waxed linen thread (3 strands of embroidery floss will work in a pinch)
-Tapestry needle
-Scissors
-Awl
-Self-healing mat
-Watercolor palette
-Paint brush
-Pen or pencil
What to do:
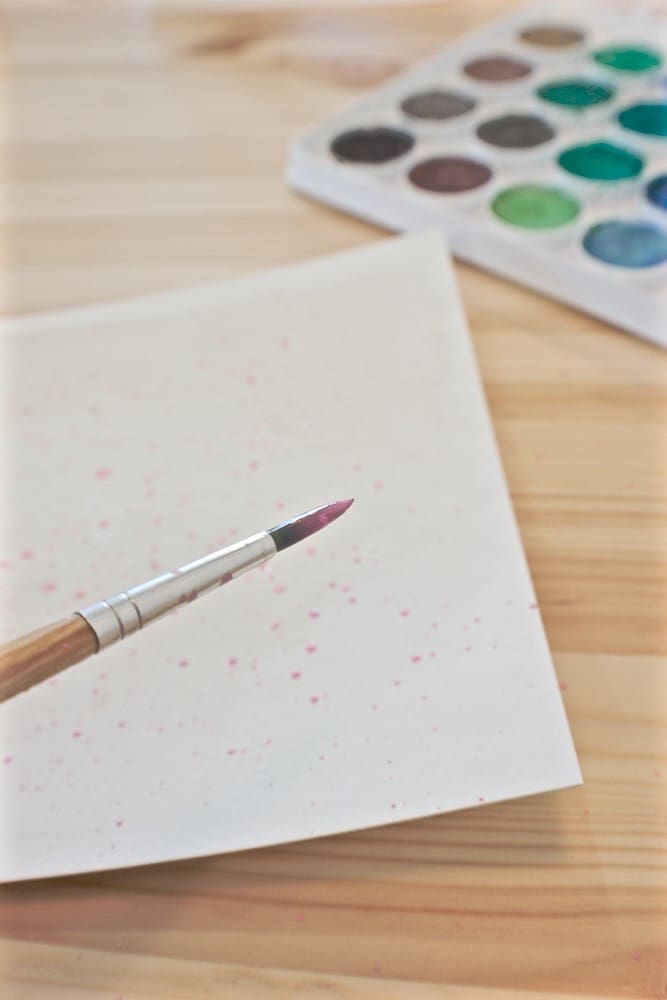
1. Start by painting a design on the watercolor paper. I painted a soft neutral color over the whole sheet and then splattered paint over the top by flicking the brush. Set aside to dry.
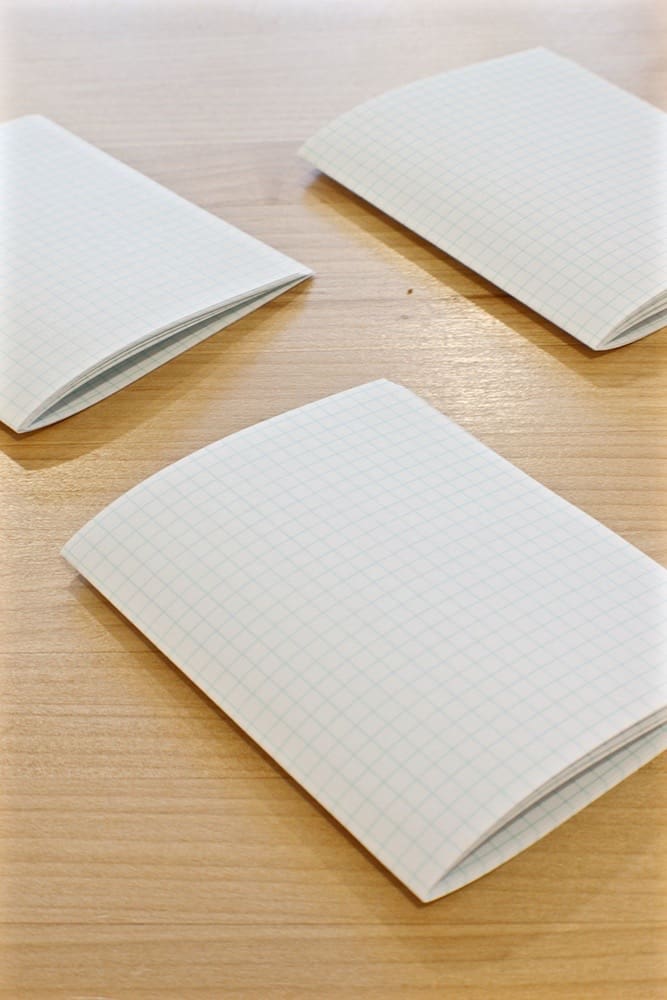
2. Fold 8 sheets of paper so that they measure 5.5” tall by 4.25” wide.
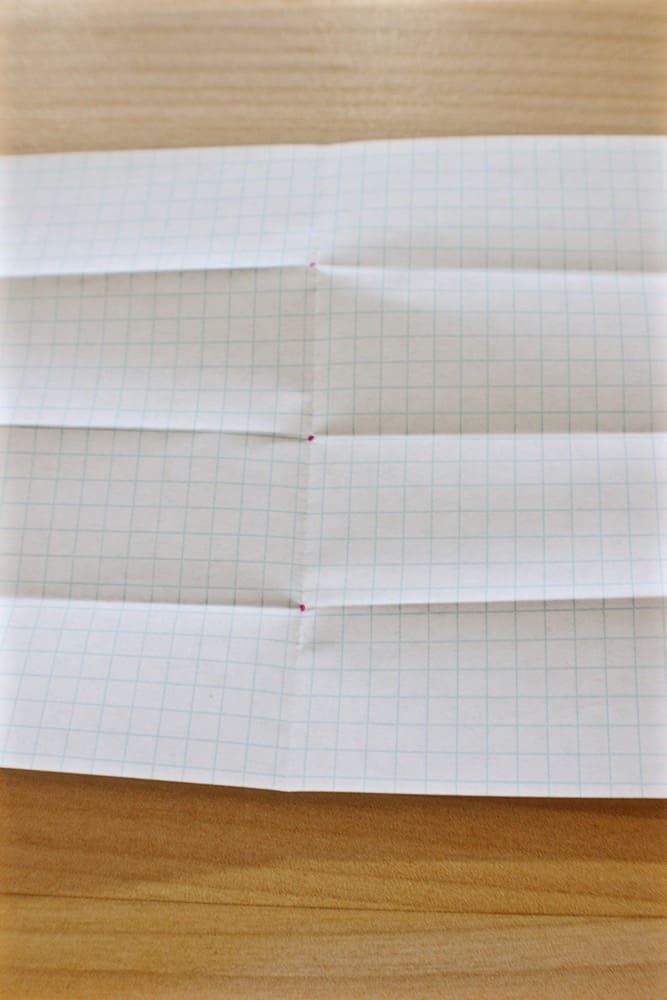
3. To make your template, take 1 sheet and fold to the above dimensions. With your folded side facing to the left, bring the top down to meet the bottom and press down to fold. Fold in half again, so that you have a long rectangle. Open up and make a dot at each of the three intersections.
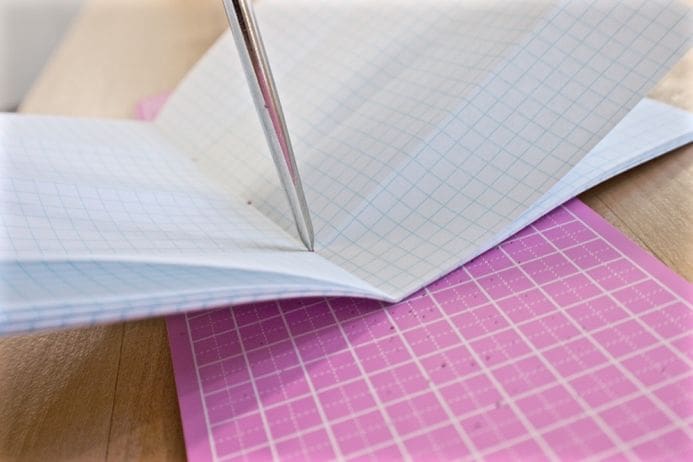
4. To create your sewing holes, place your template inside your 8 folded sheets. Hold the spine over a self-healing mat (to protect your work surface) and push down with an awl over each of the three markings you made. You want the holes to be large enough for your needle to easily pass through, so push down on your awl with medium force, and rotate your tool in a clockwise motion to widen the hole.
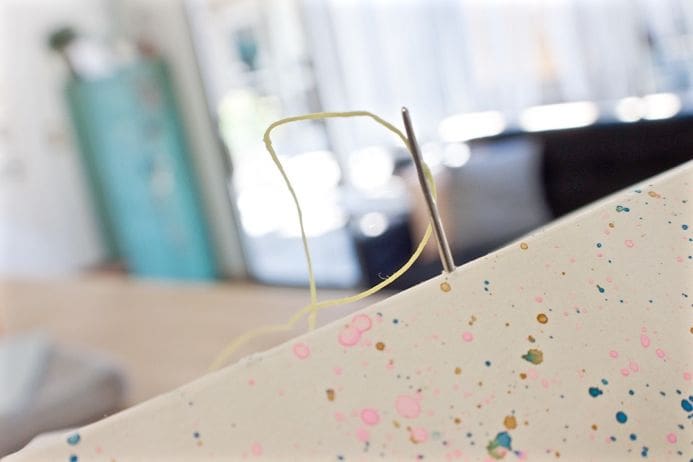
5. Insert your threaded needle through the middle hole, going from the cover through to the inside pages. Leave a 3-4” tail of thread.
6. Next, insert your needle in the top hole, going from the inside pages through to the cover. Pull taut.
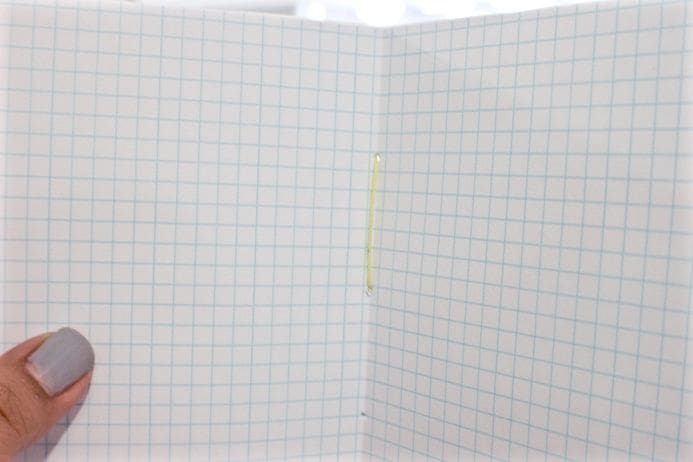
7. Then, insert your needle in the bottom hole, going from the cover through to the inside pages. Pull taut.
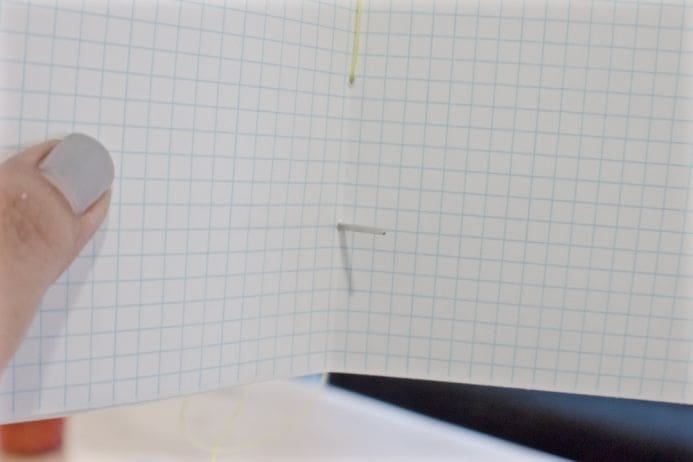
8. Finally, bring your needle from the center hole, going from the inside pages through to the cover and pull taut.

10. Tie in a knot or a bow and trim tails so they are an equal length.
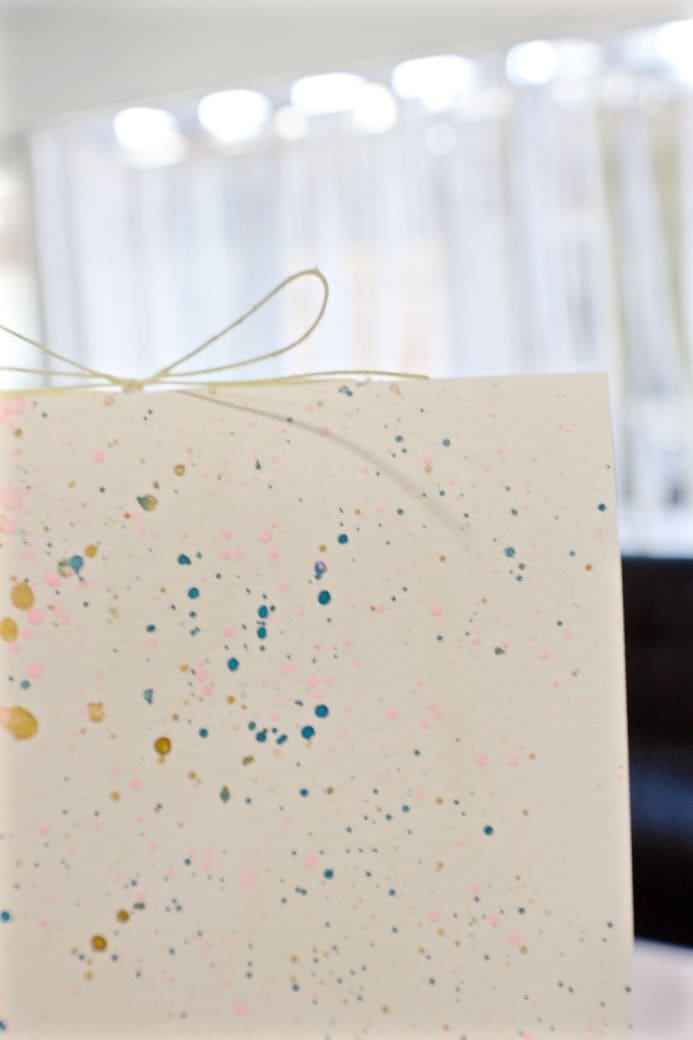
This project is SO easy and fast and makes a wonderful gift item, especially if grouped together and presented with a hand lettered paper band or tag.
Helpful hint – if you find that your watercolor cover is curling upward, place your journal under a stack of heavy books for overnight to flatten.
About Lisa:
“If you had asked my 12-year-old self what I wanted to be when I grow up, I probably would have had a perfectly sensible answer. Like a circus trapeze artist or an outer space explorer. Never in my wildest dreams could I have imagined that I would craft for a living. But fast-forward 20 years and I’m the owner of The Makery, a walk-in craft studio located in Anaheim. In addition to teaching and organizing local creative workshops, planning craft parties and designing handmade craft kits, I also design for Whimsy and Ink, the handmade biz I share with my rad hubby. My work has been featured in Real Simple, Brides Magazine, Bust, The Huffington Post, Orange Coast Magazine, Sunset Magazine, in Etsy’s Featured Sellers series, and in my mom’s emails to Grandma.”