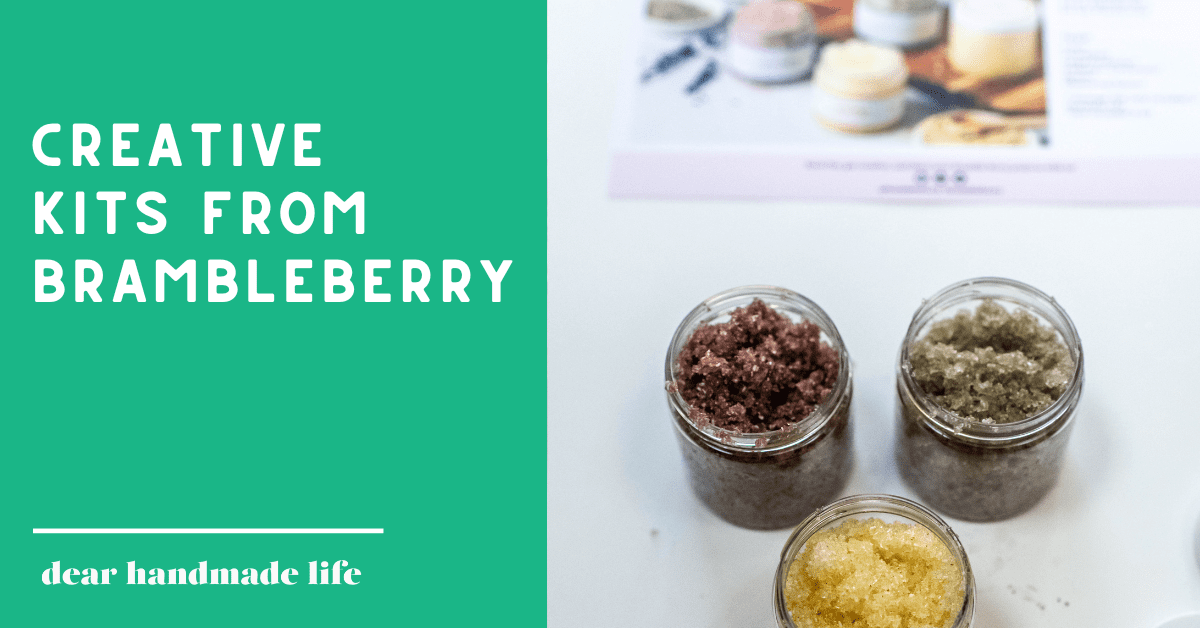
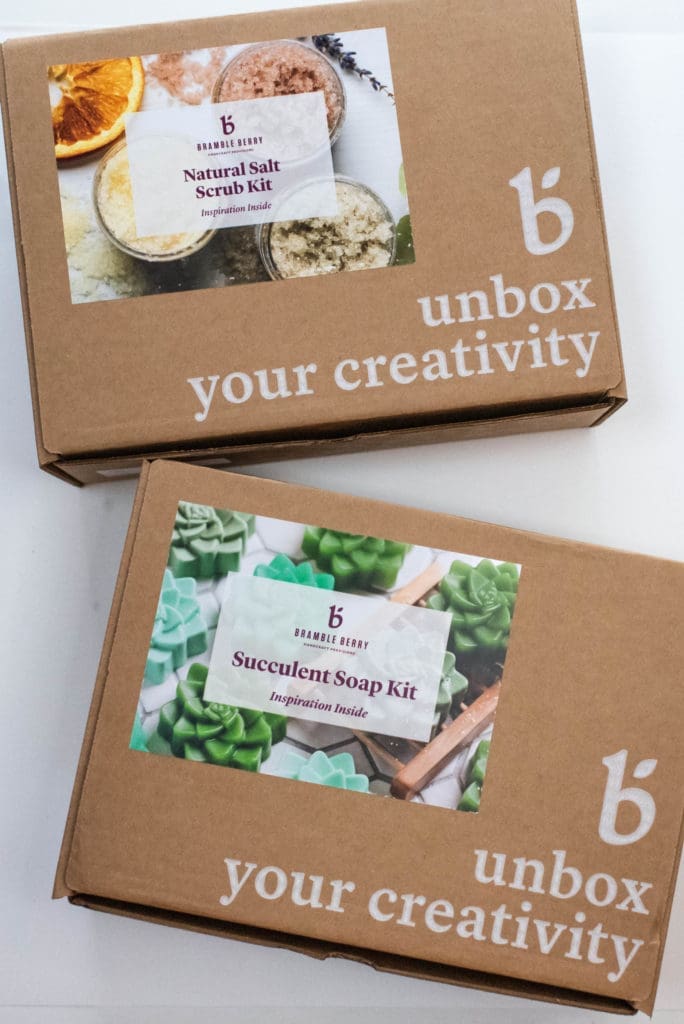
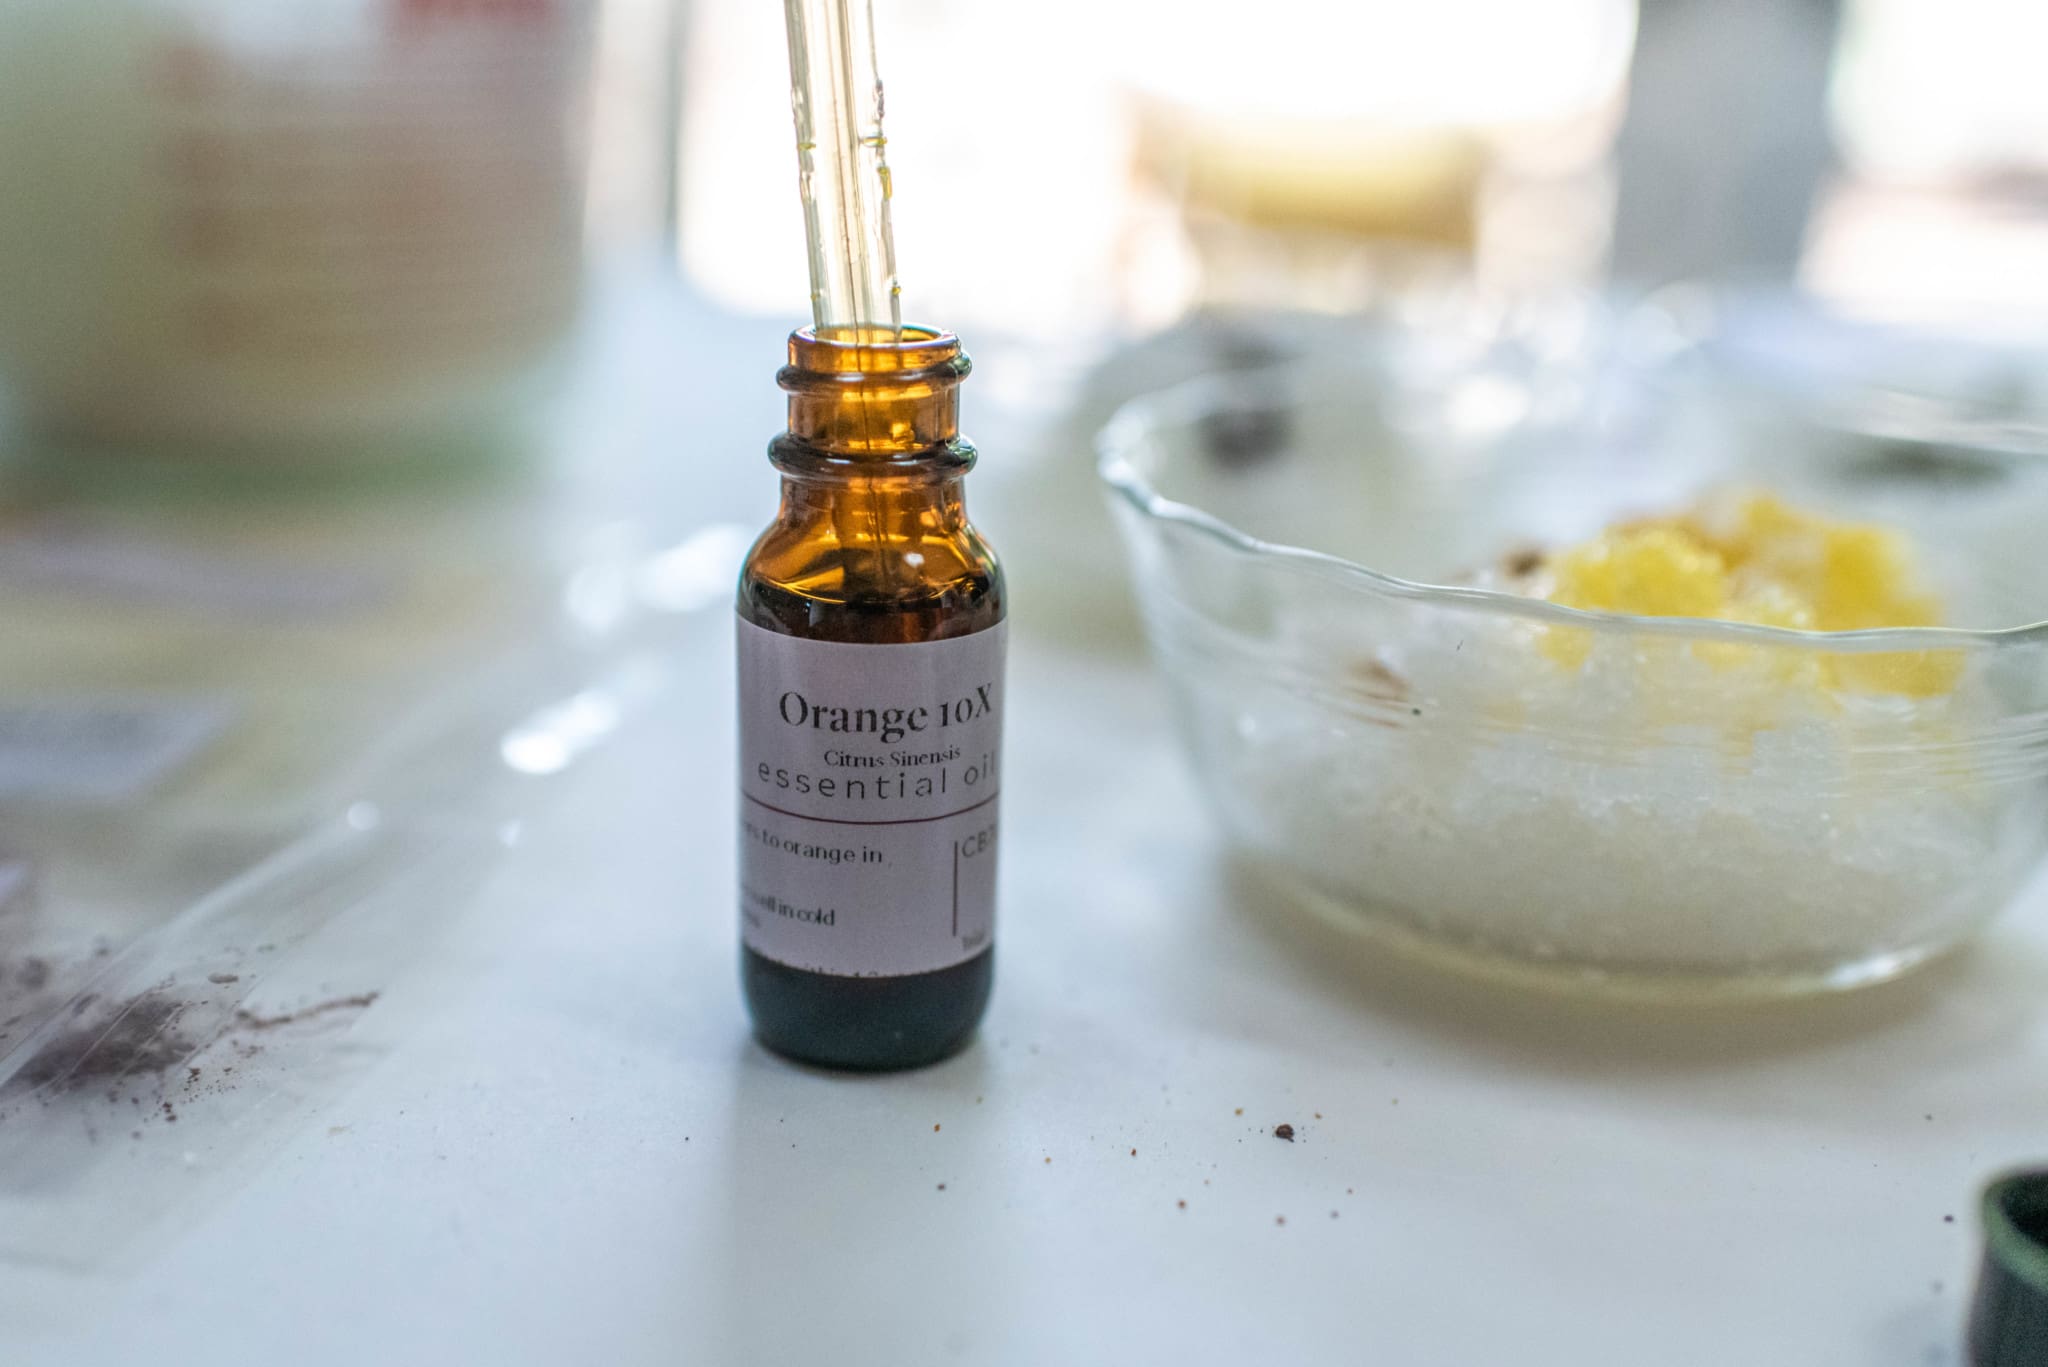
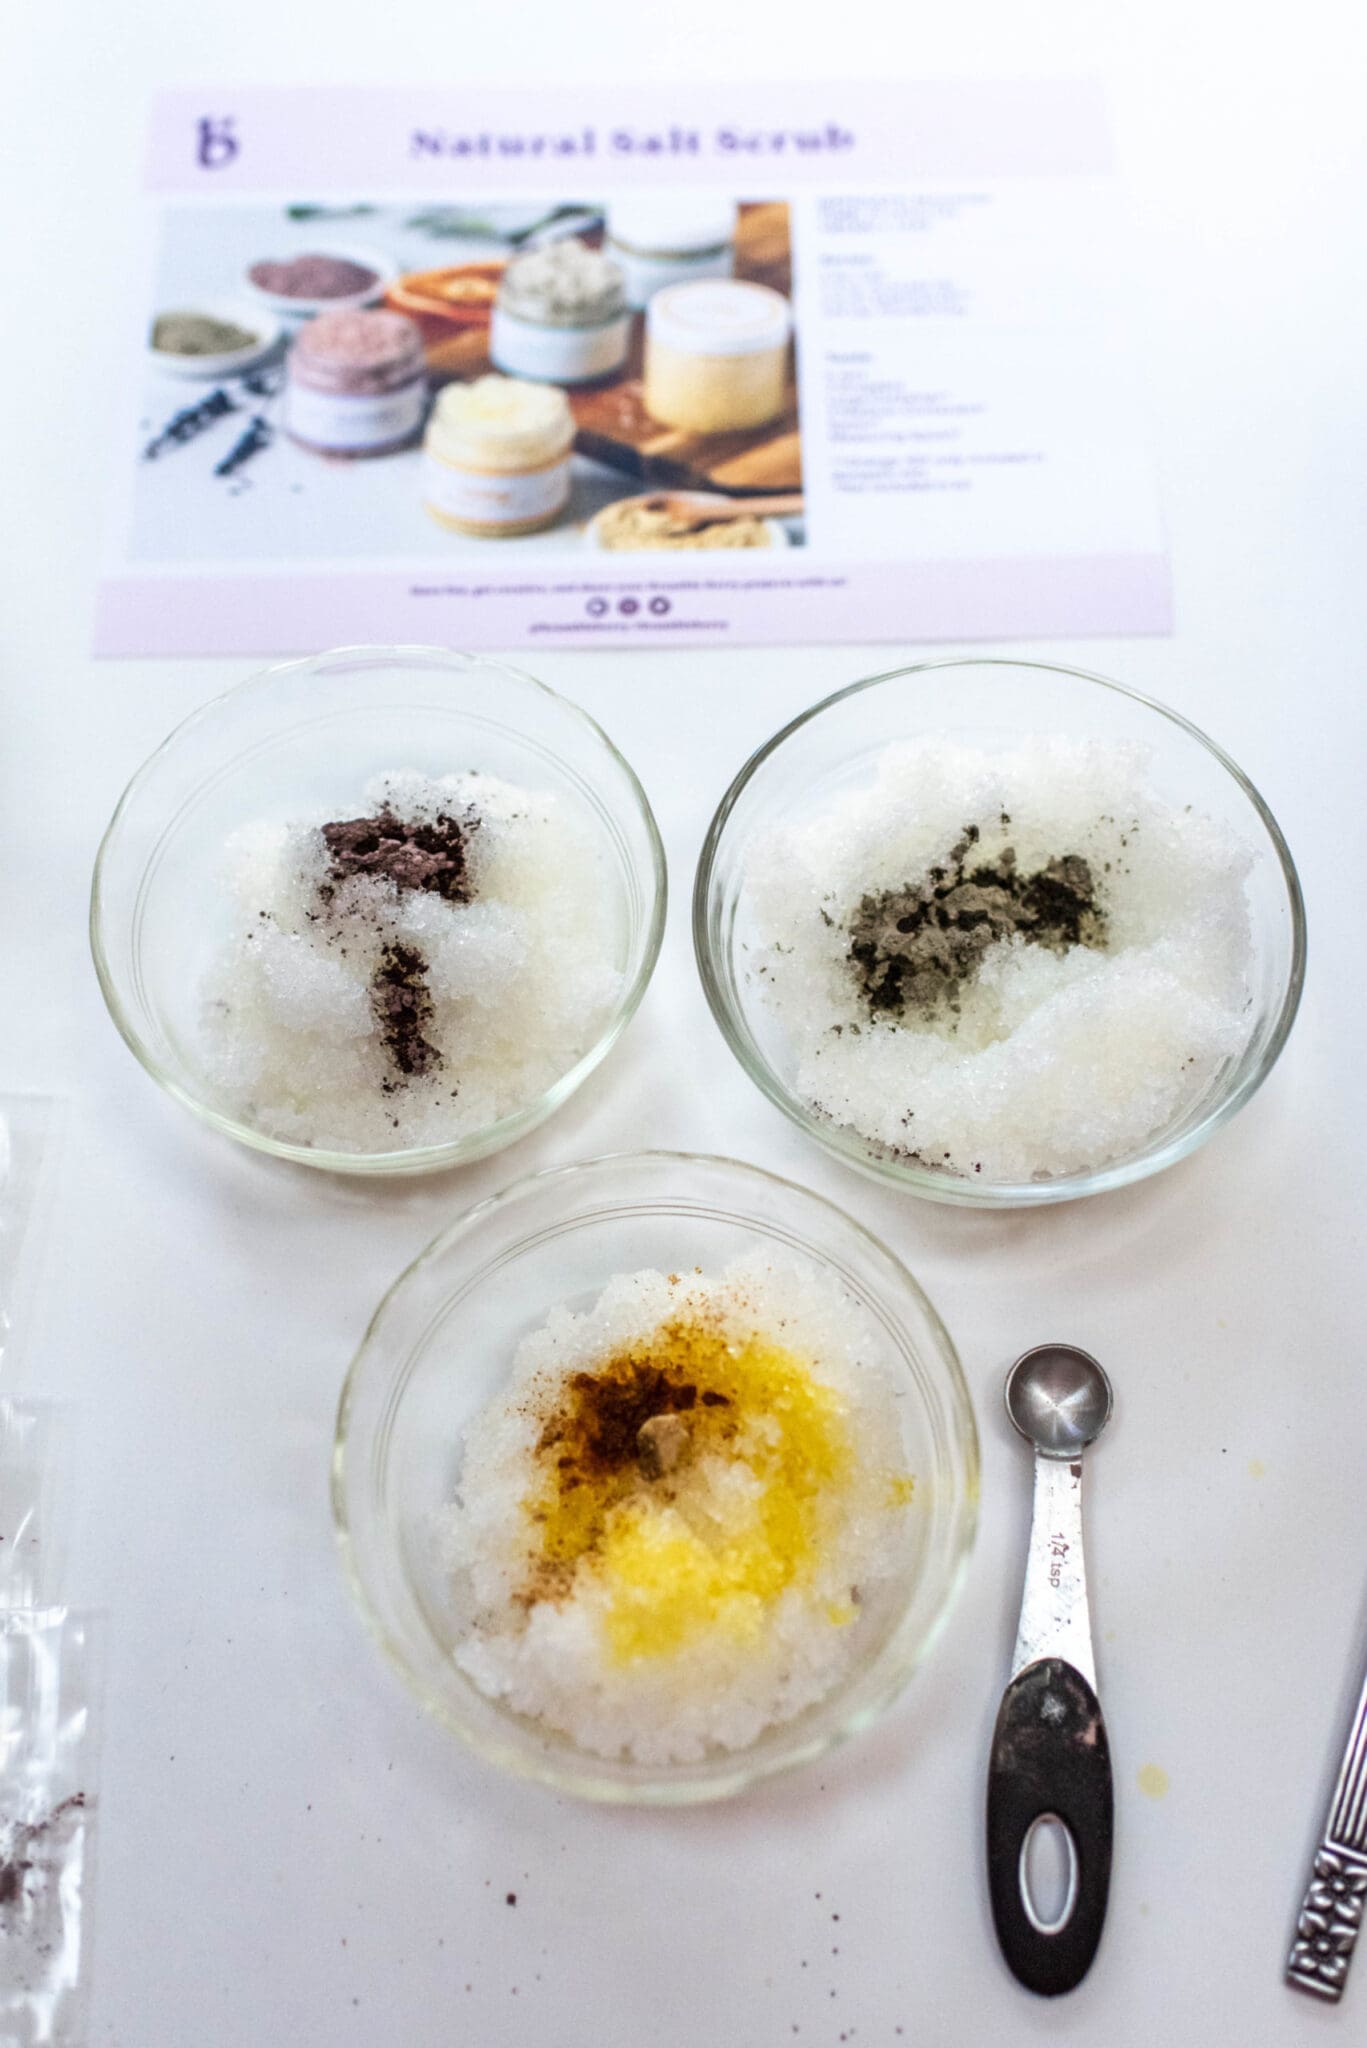
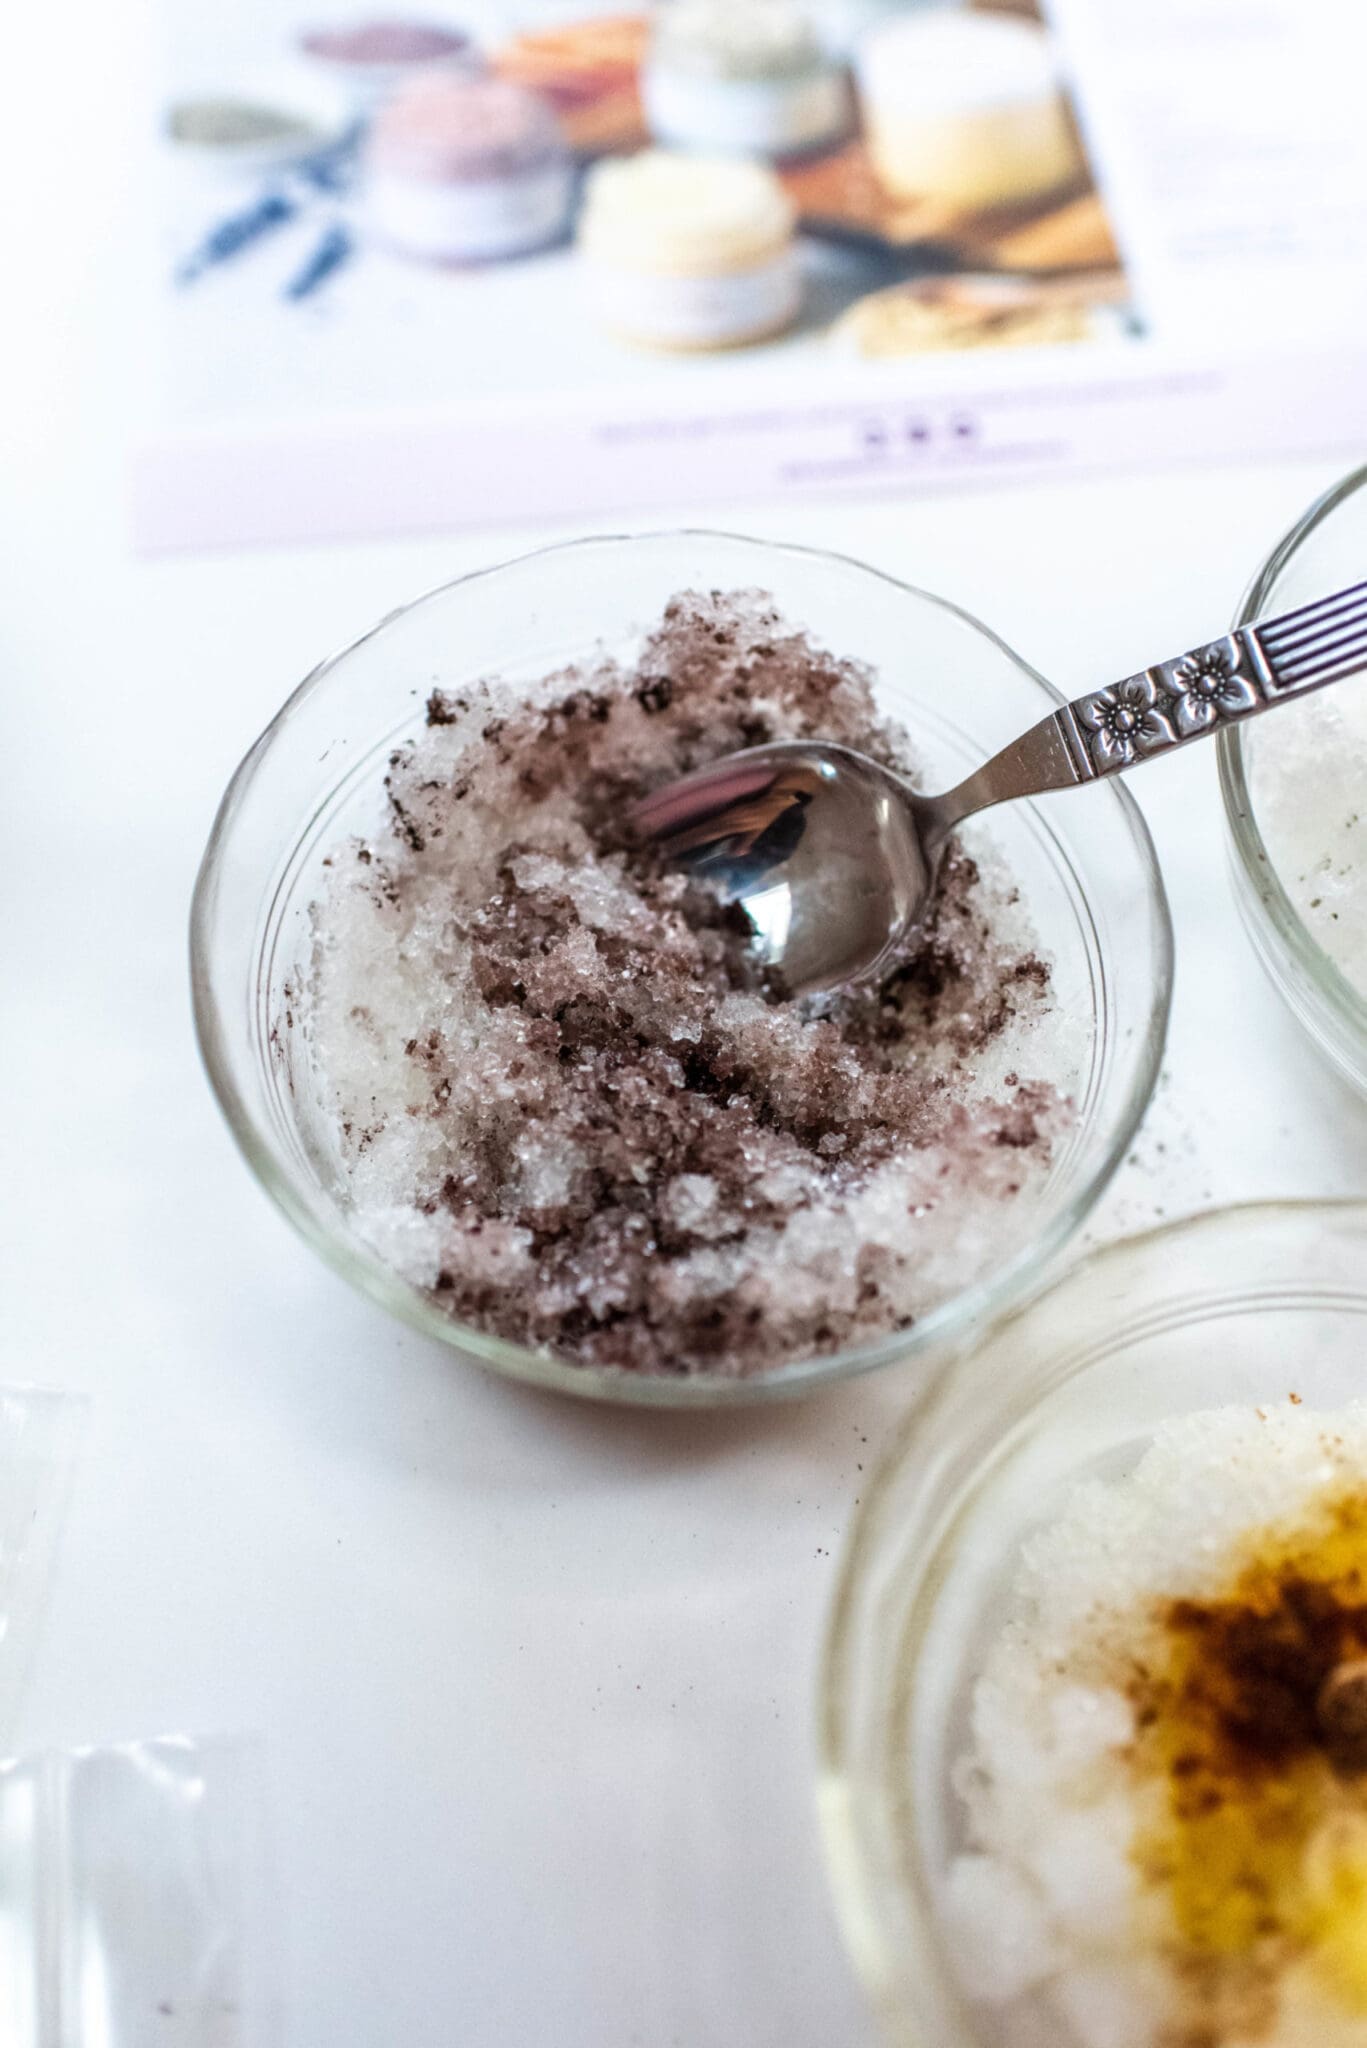
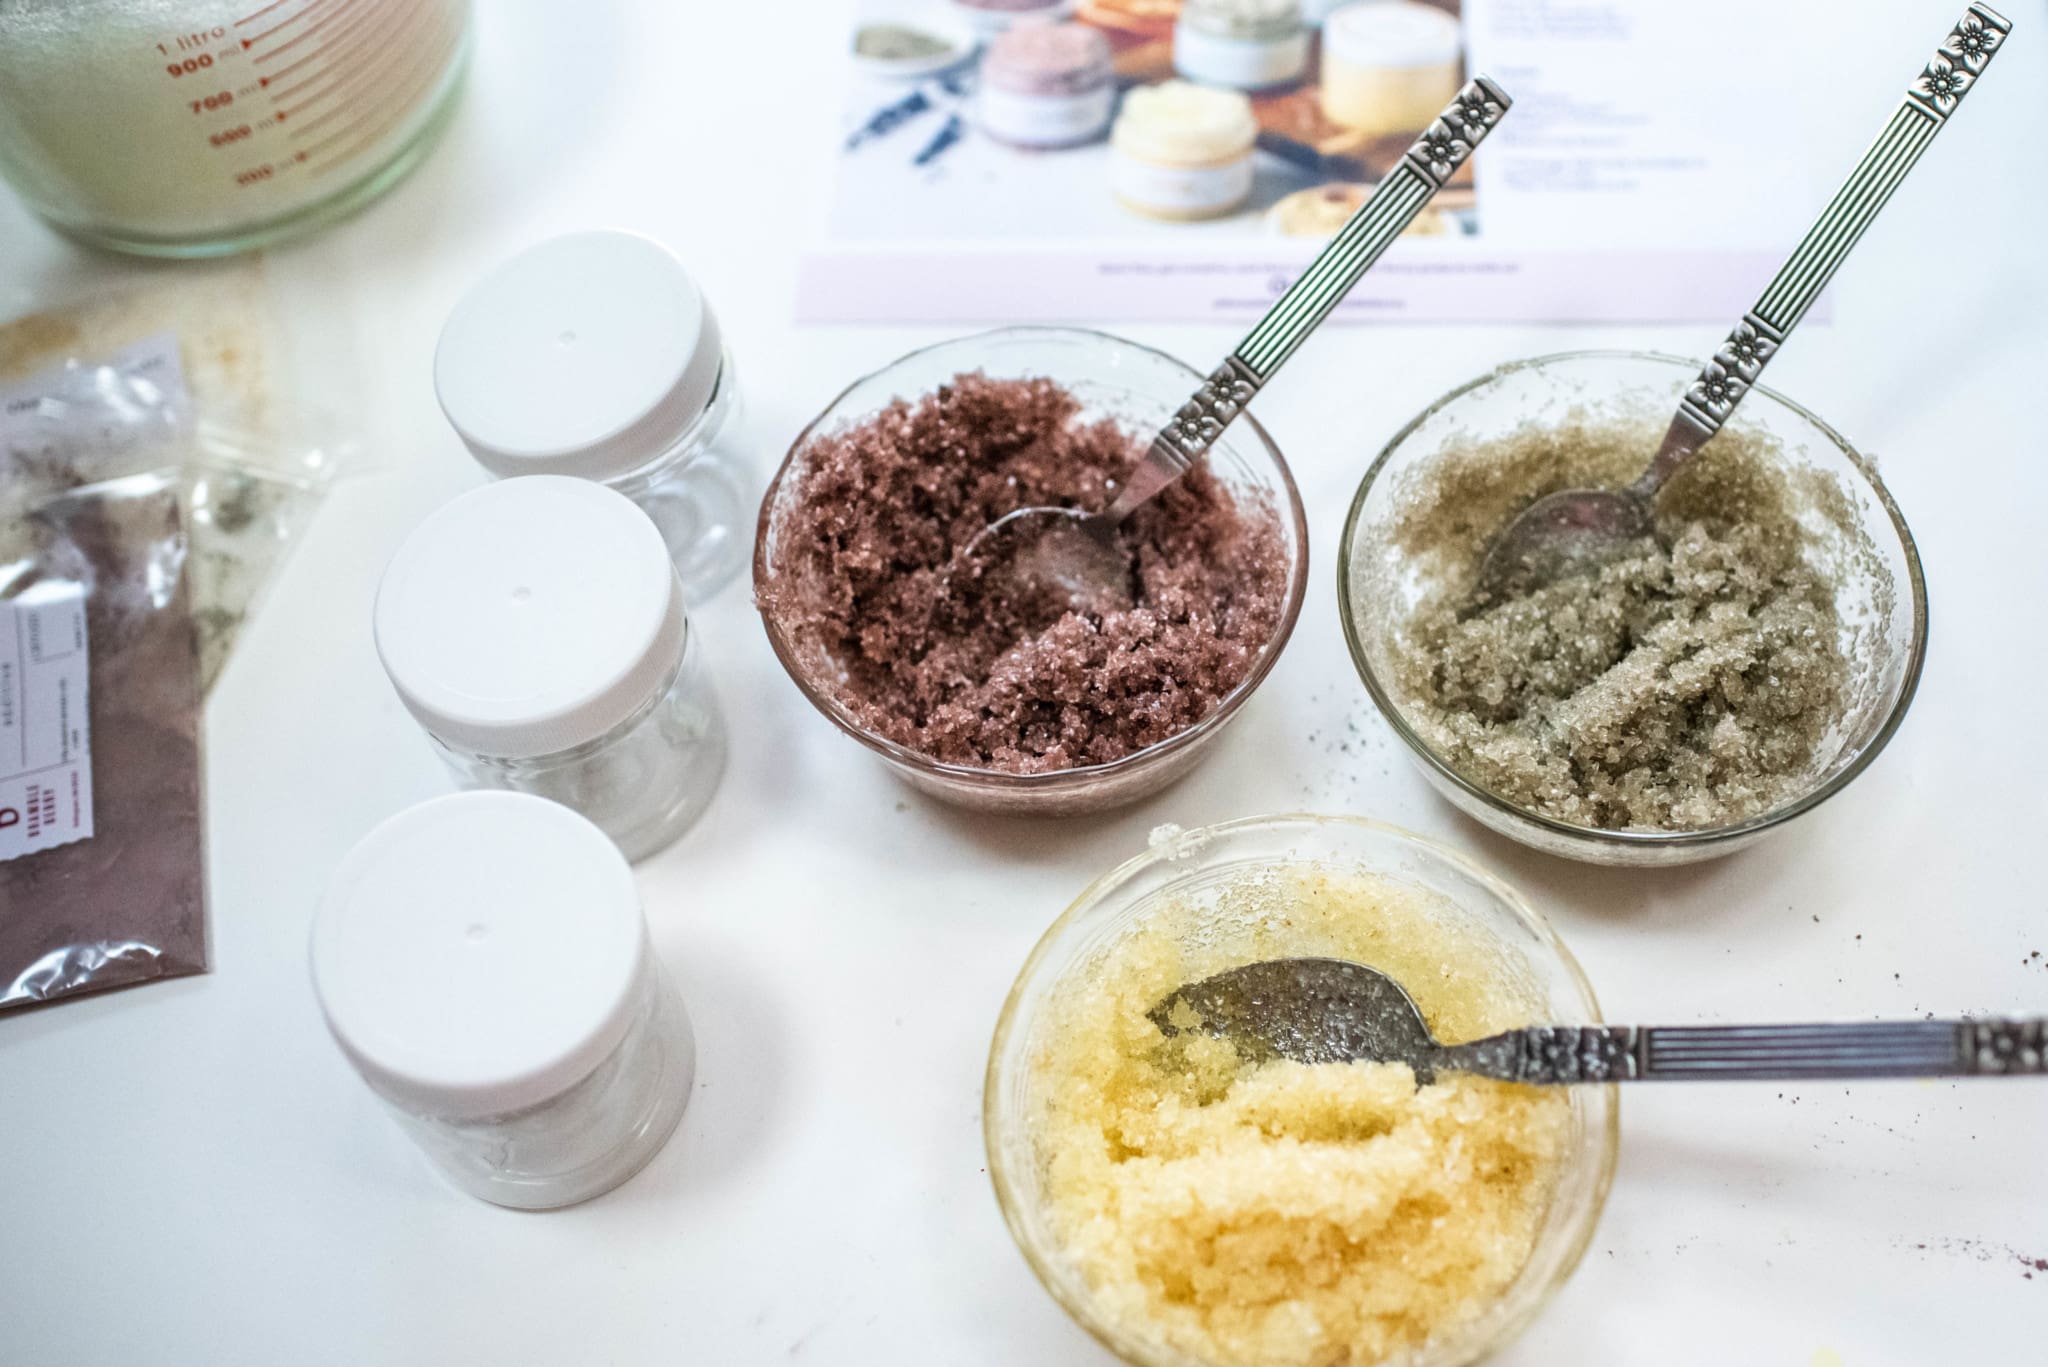
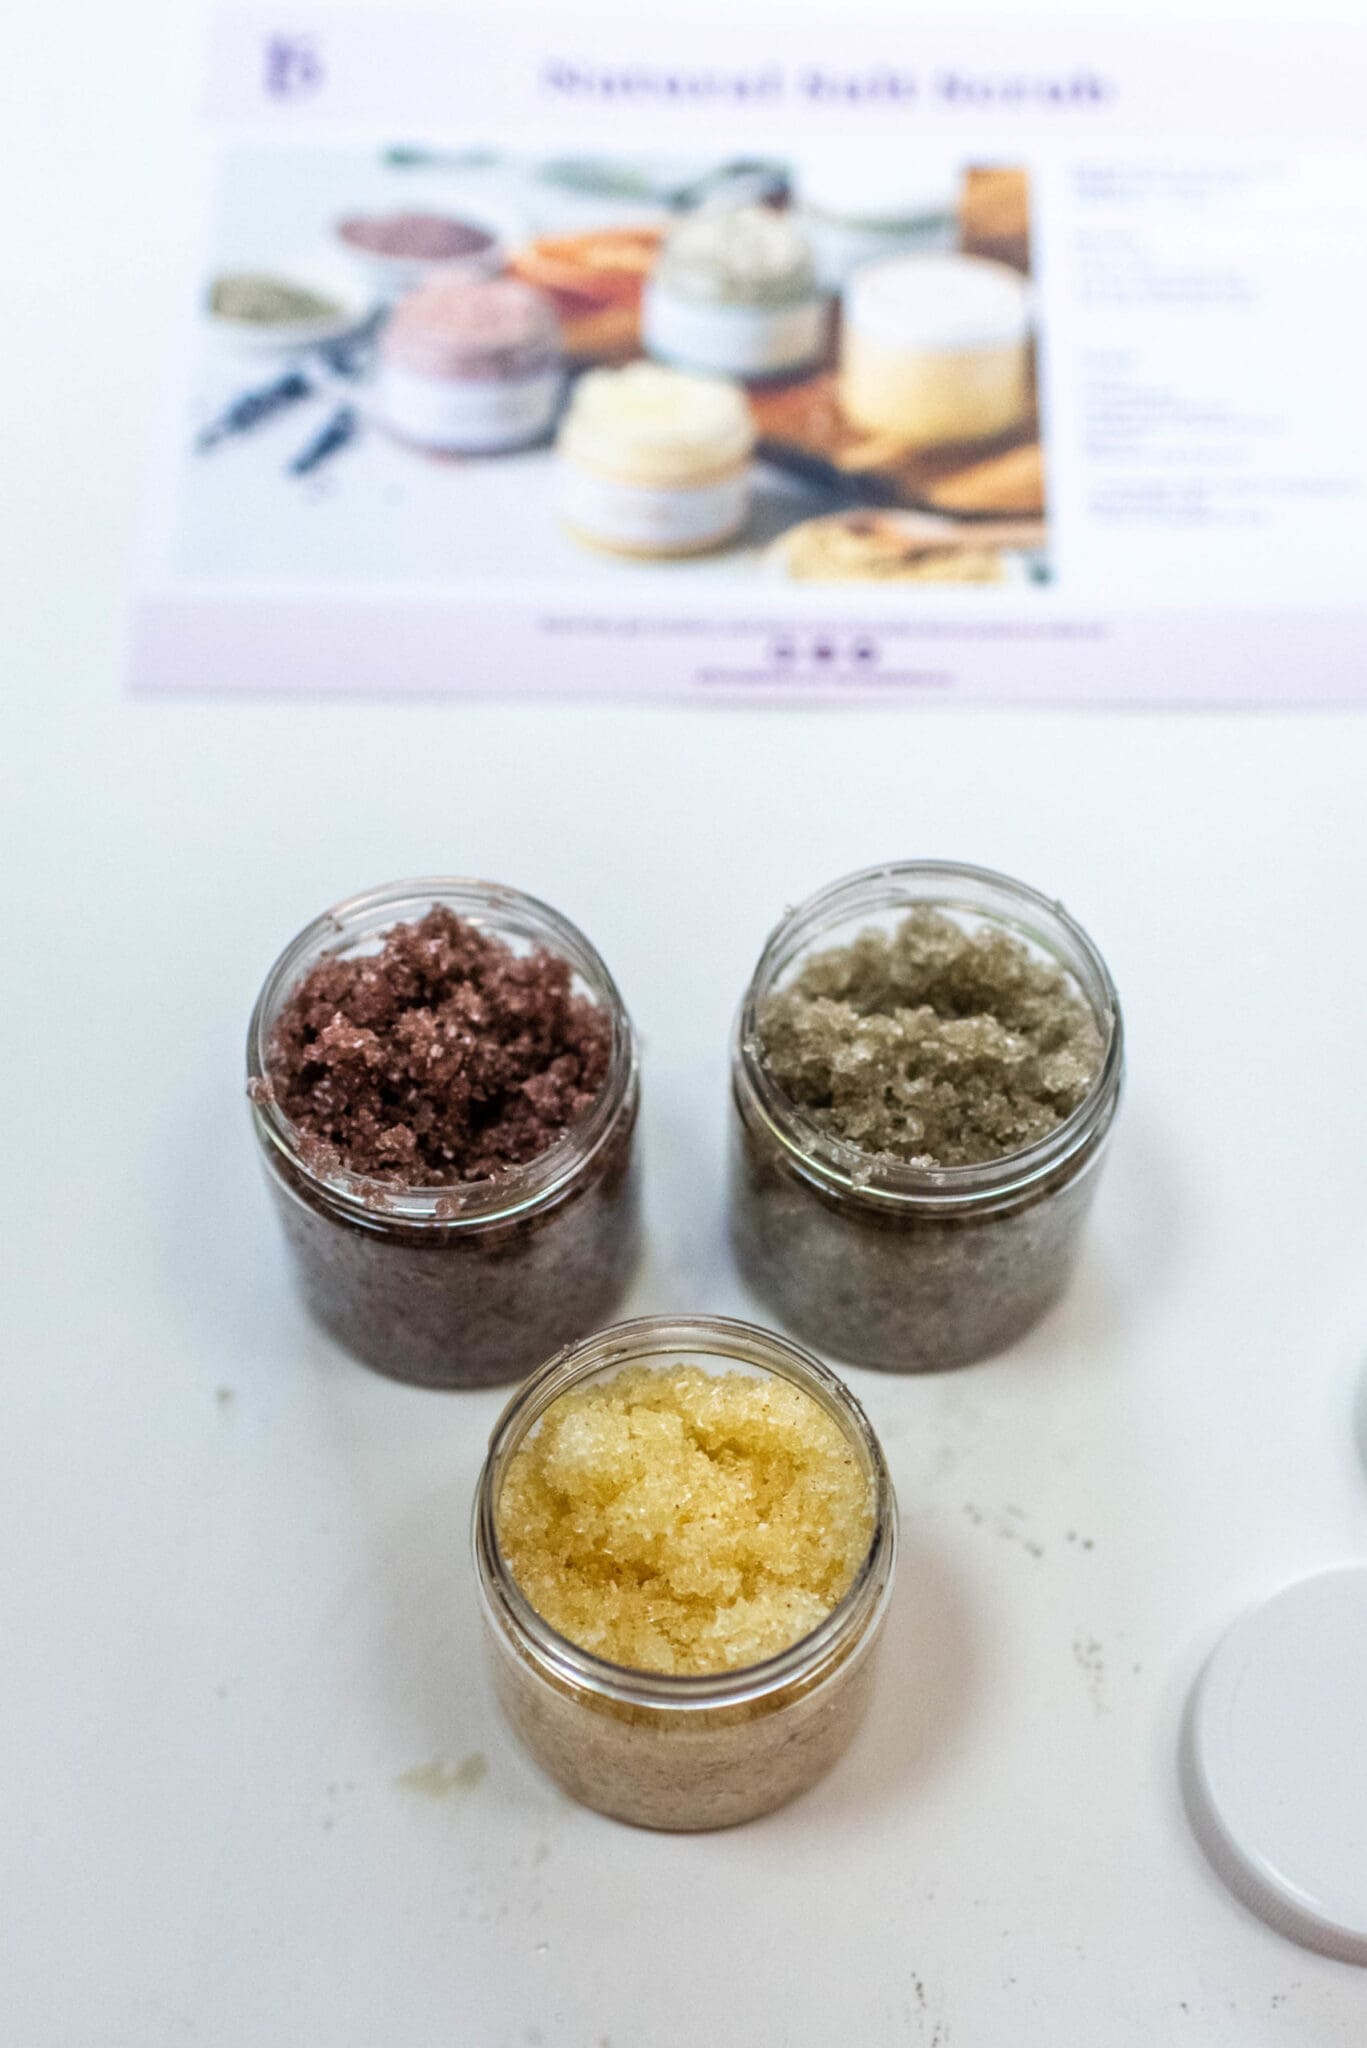
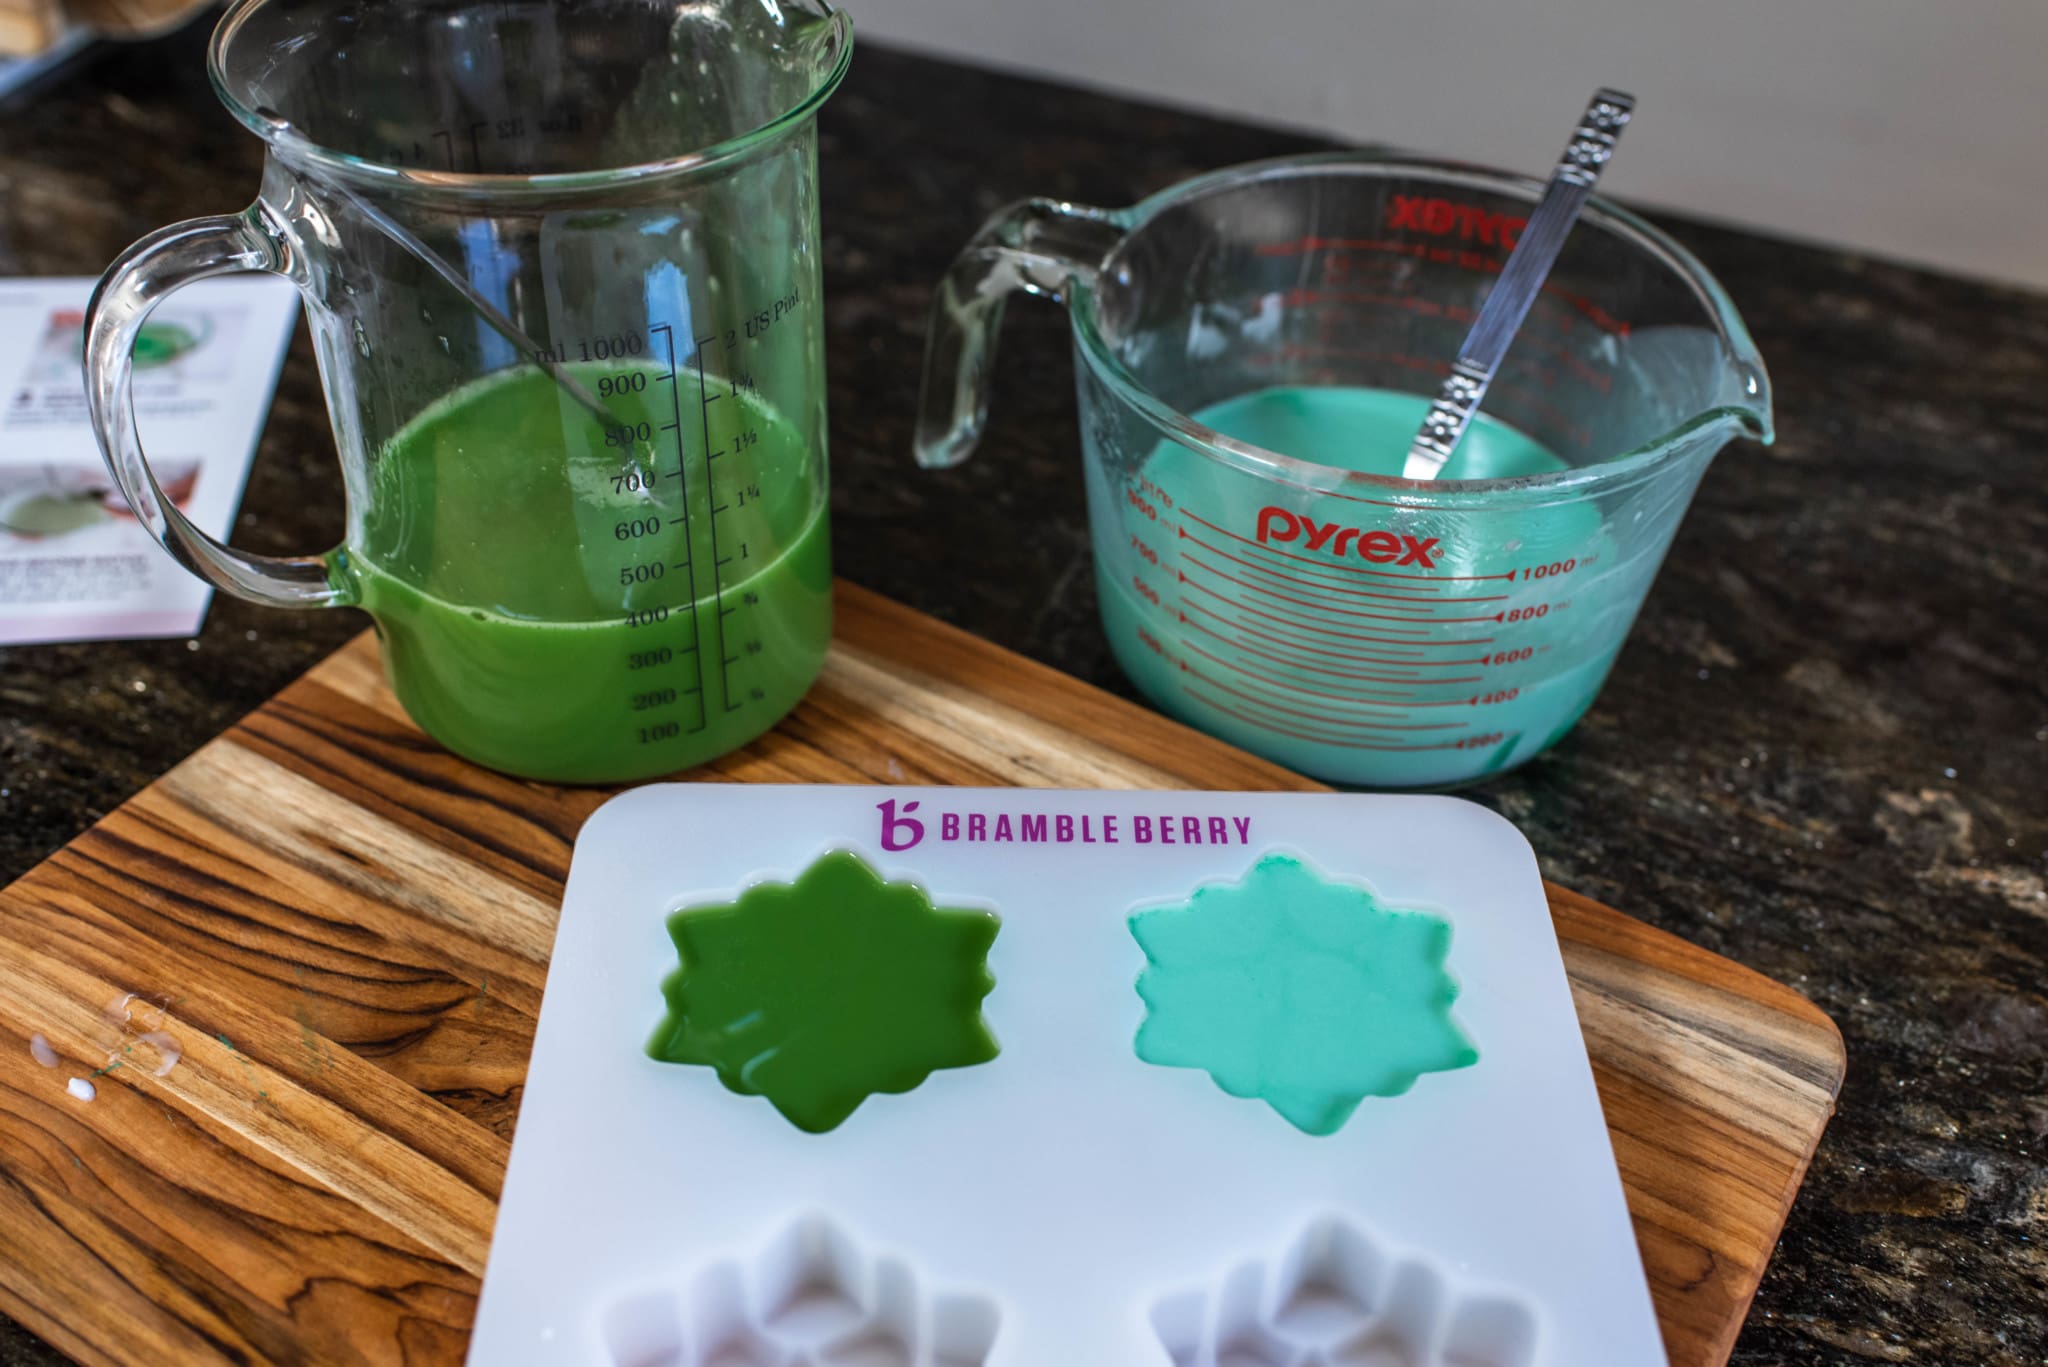
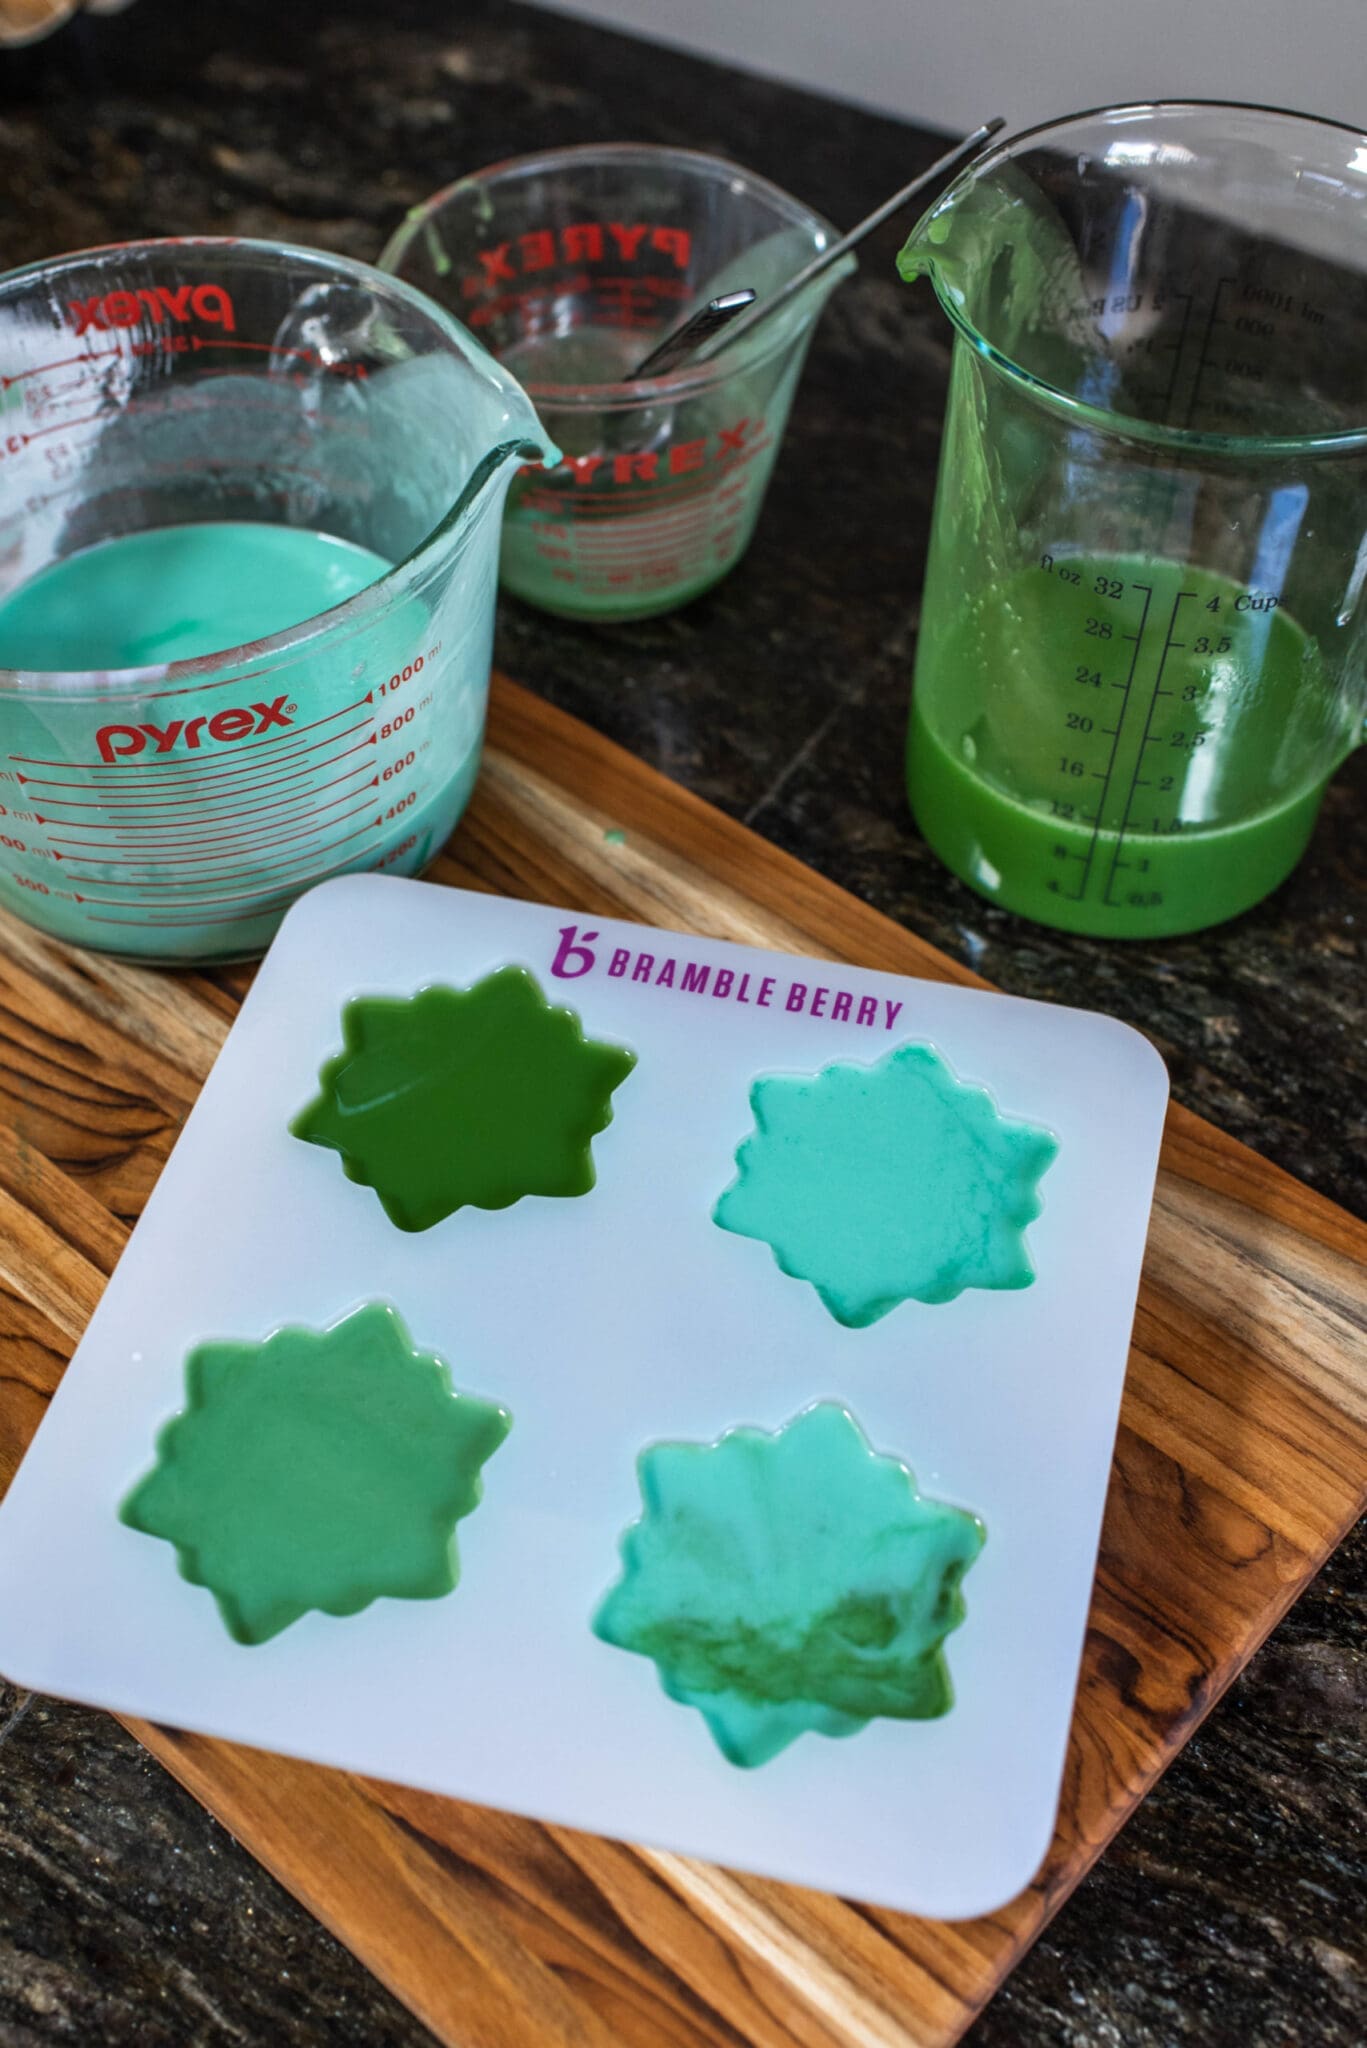
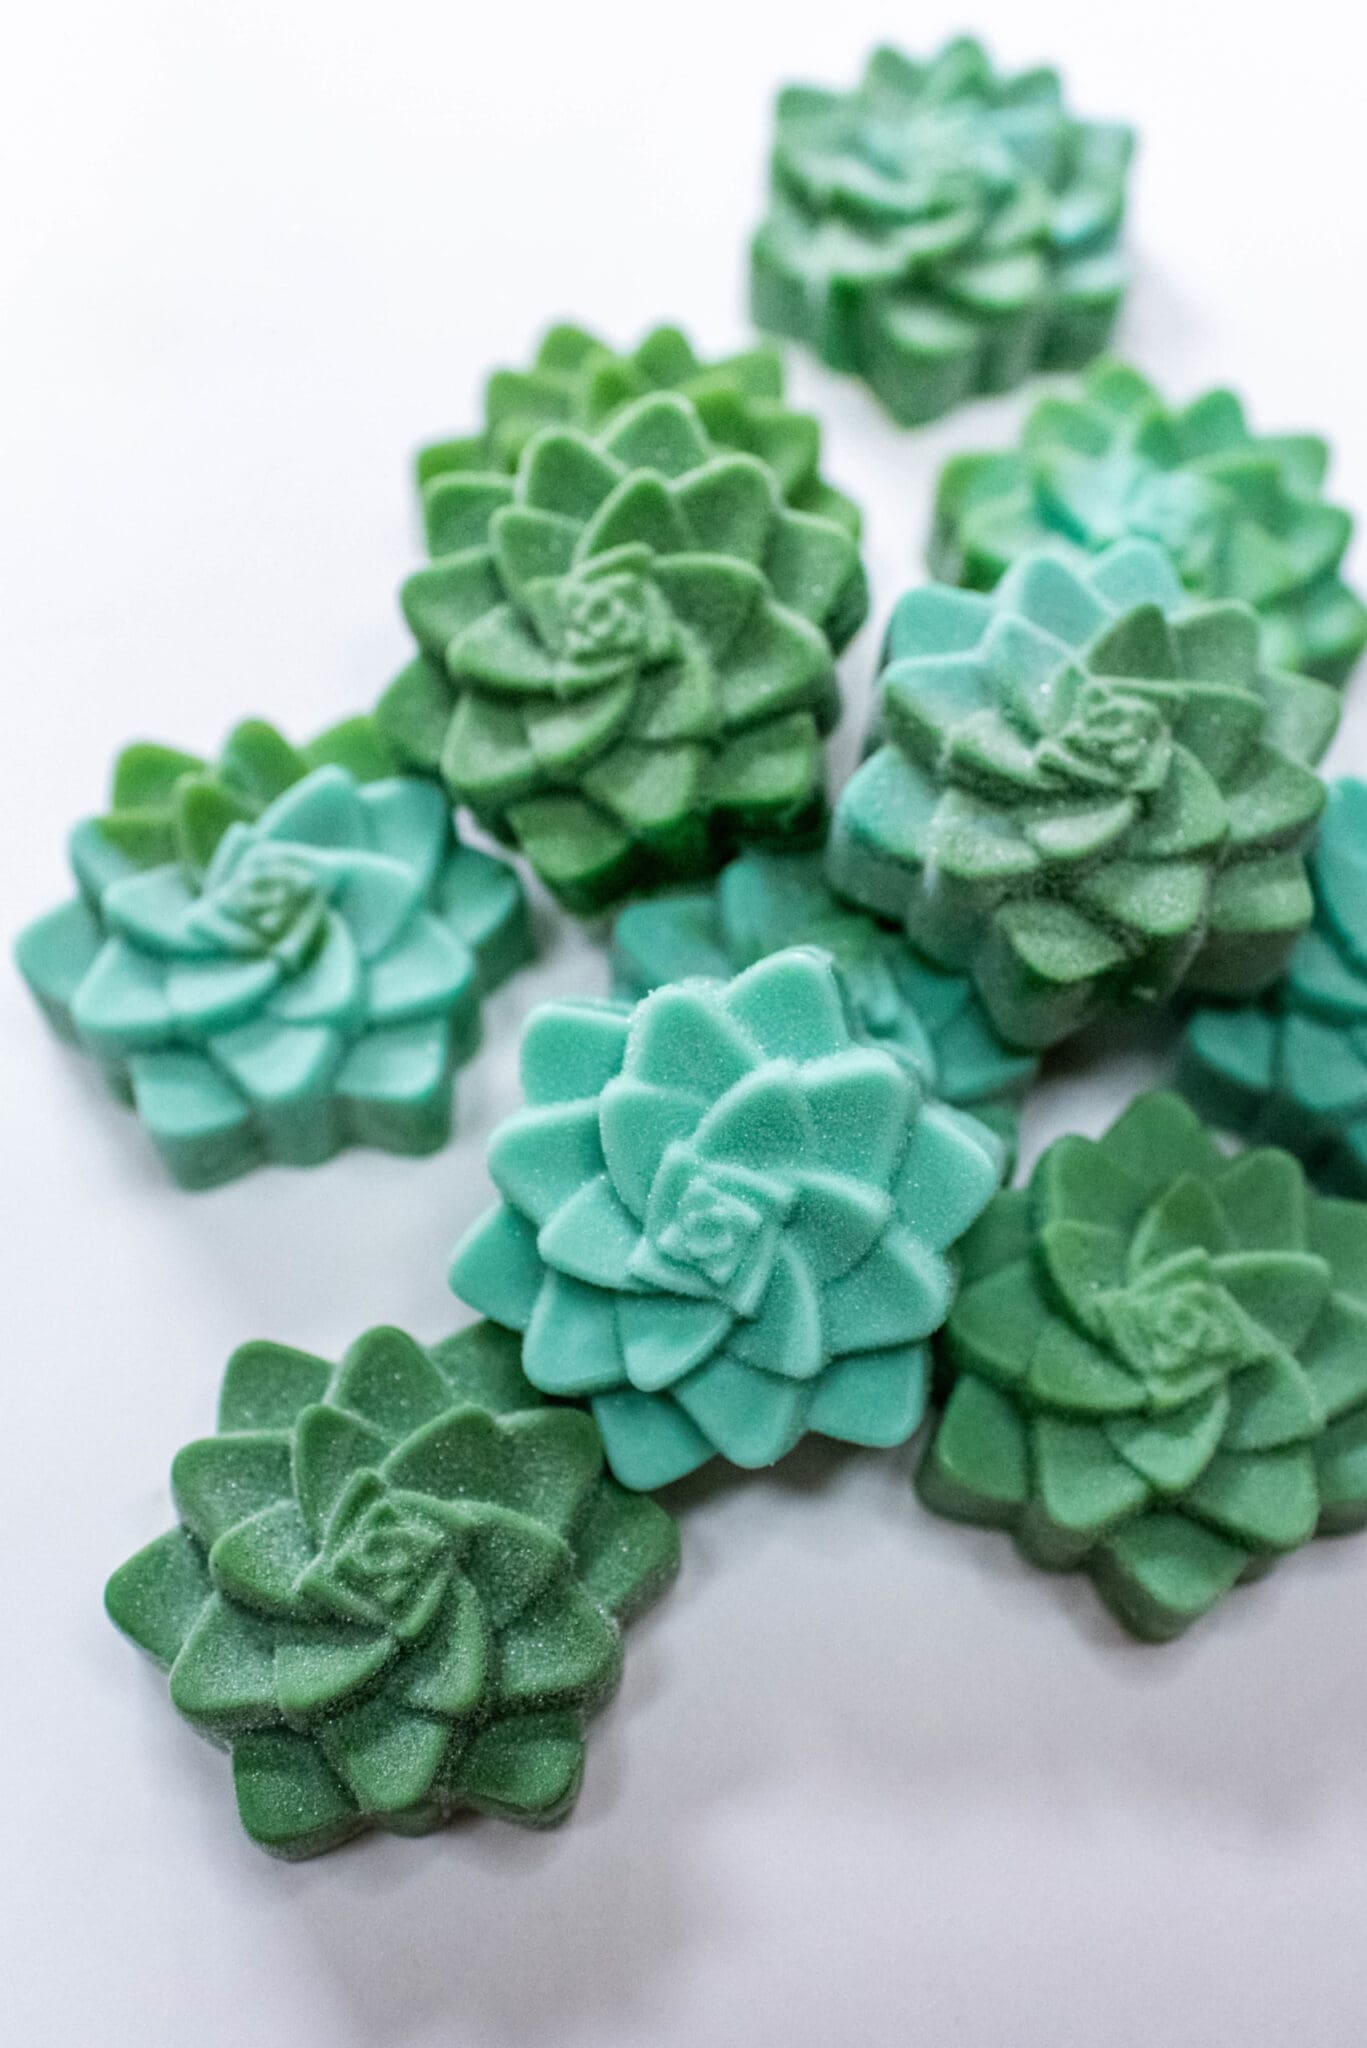
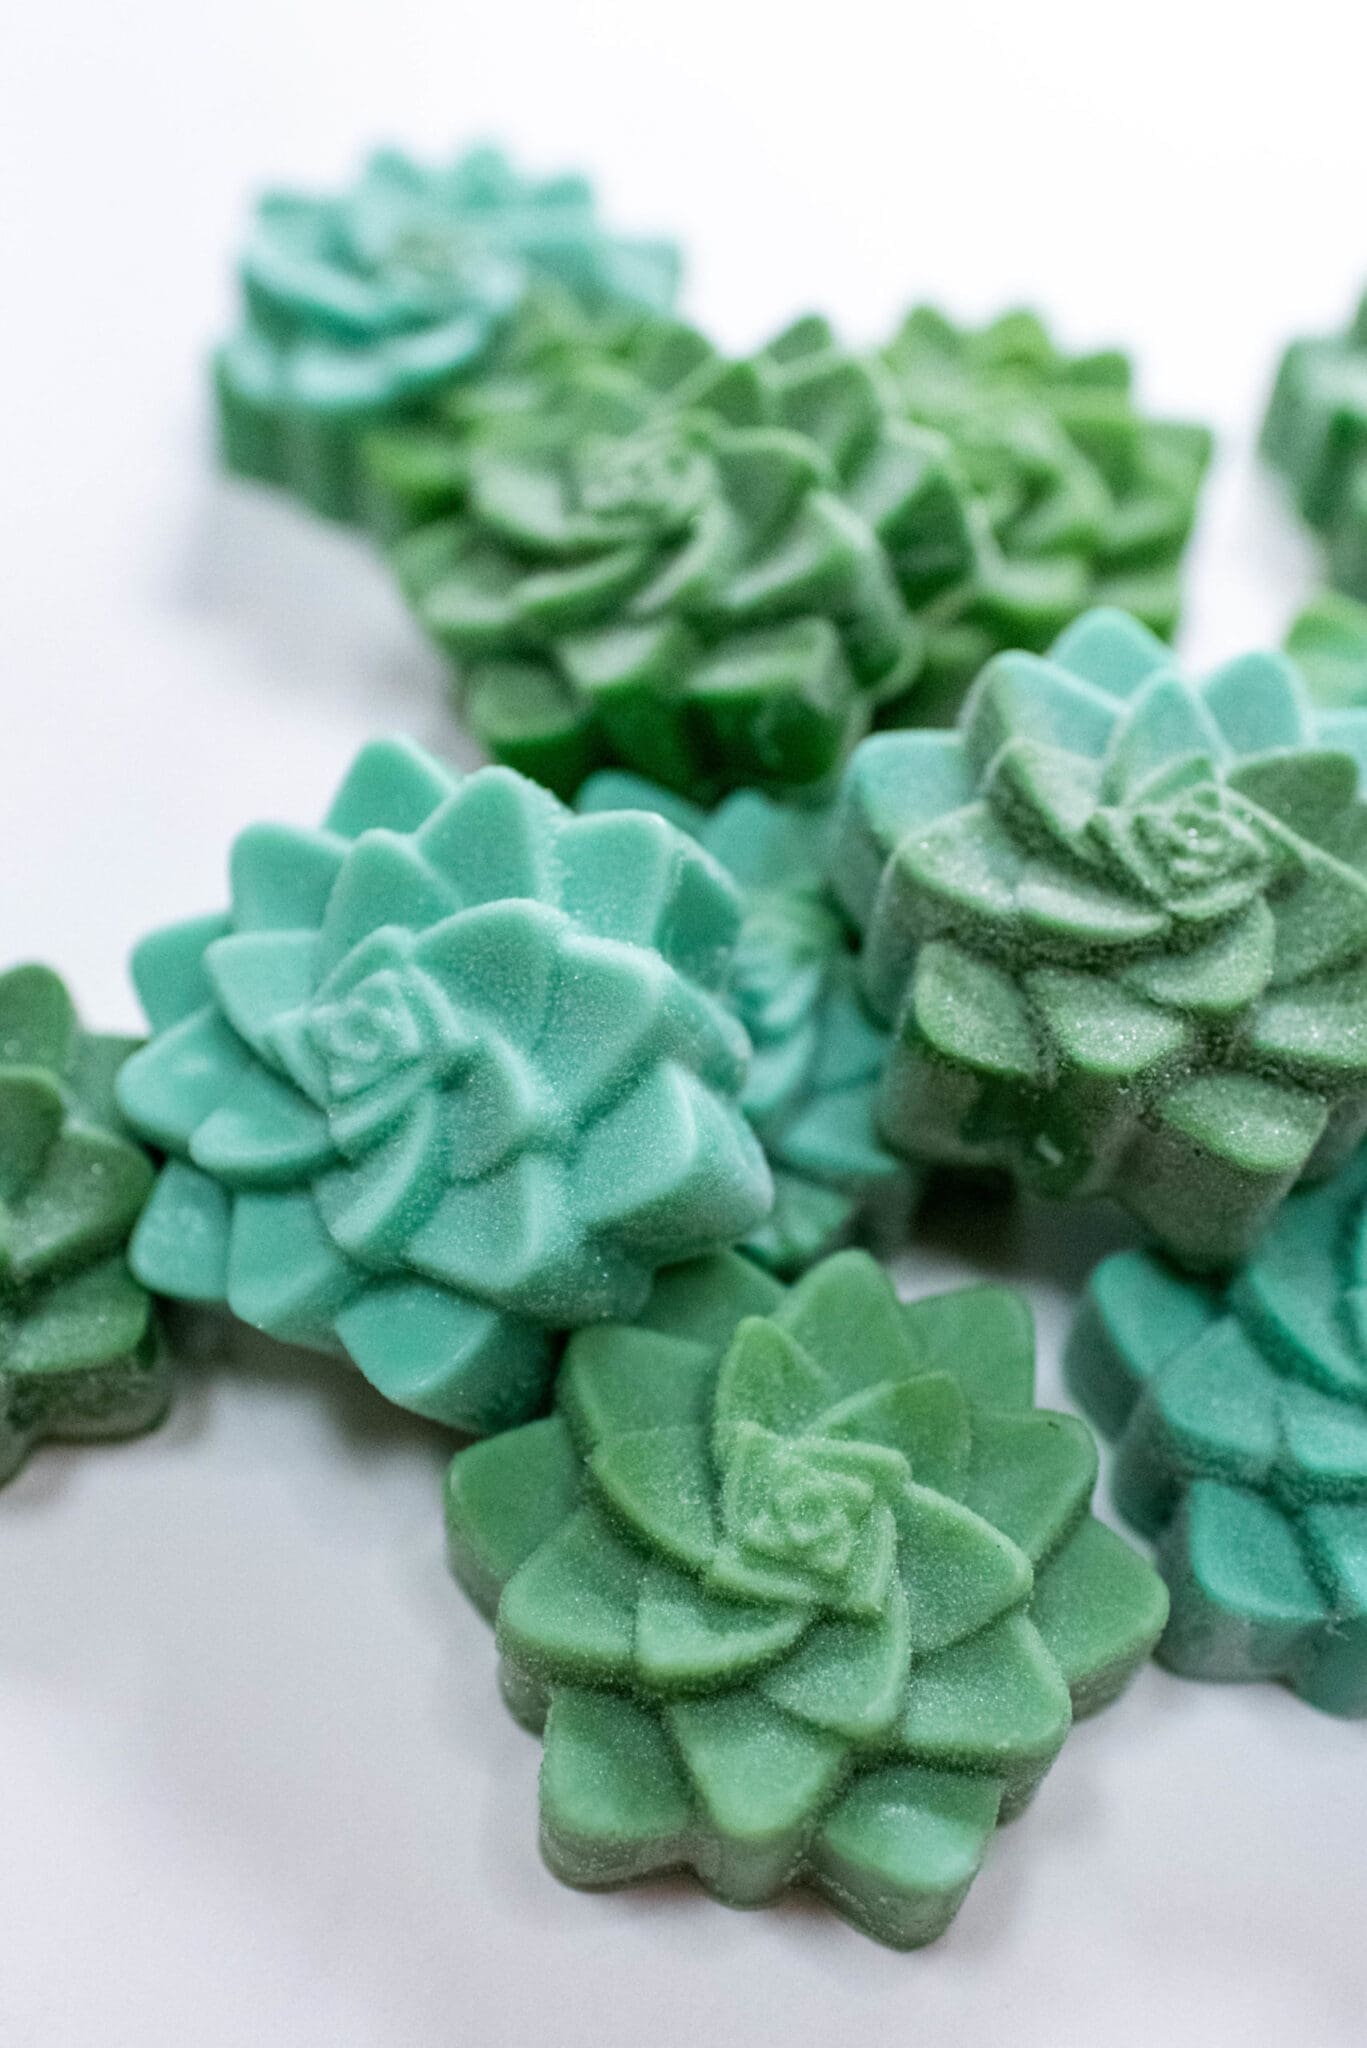
Do you ever feel like you want to do something creative but you’re just not sure where to begin? As someone who is basically creative for a living, I still have these struggles from time to time! When this happens, I have found the best way to scratch that creative itch is by trying out a new creative kit! These are especially perfect for a craft that you want to just dip your toes into & don’t want to have to go out and spend so much money on a ton of supplies only to learn that craft may not be right for you, or it’s just not something you’d like to pursue. That’s where these kits fit in perfectly. One of my recent favorites has been from Bramble Berry. At Craftcation this past April, Bramble Berry taught some workshops based around their Natural Salt Scrub Kit & everyone who took the class absolutely loved it!
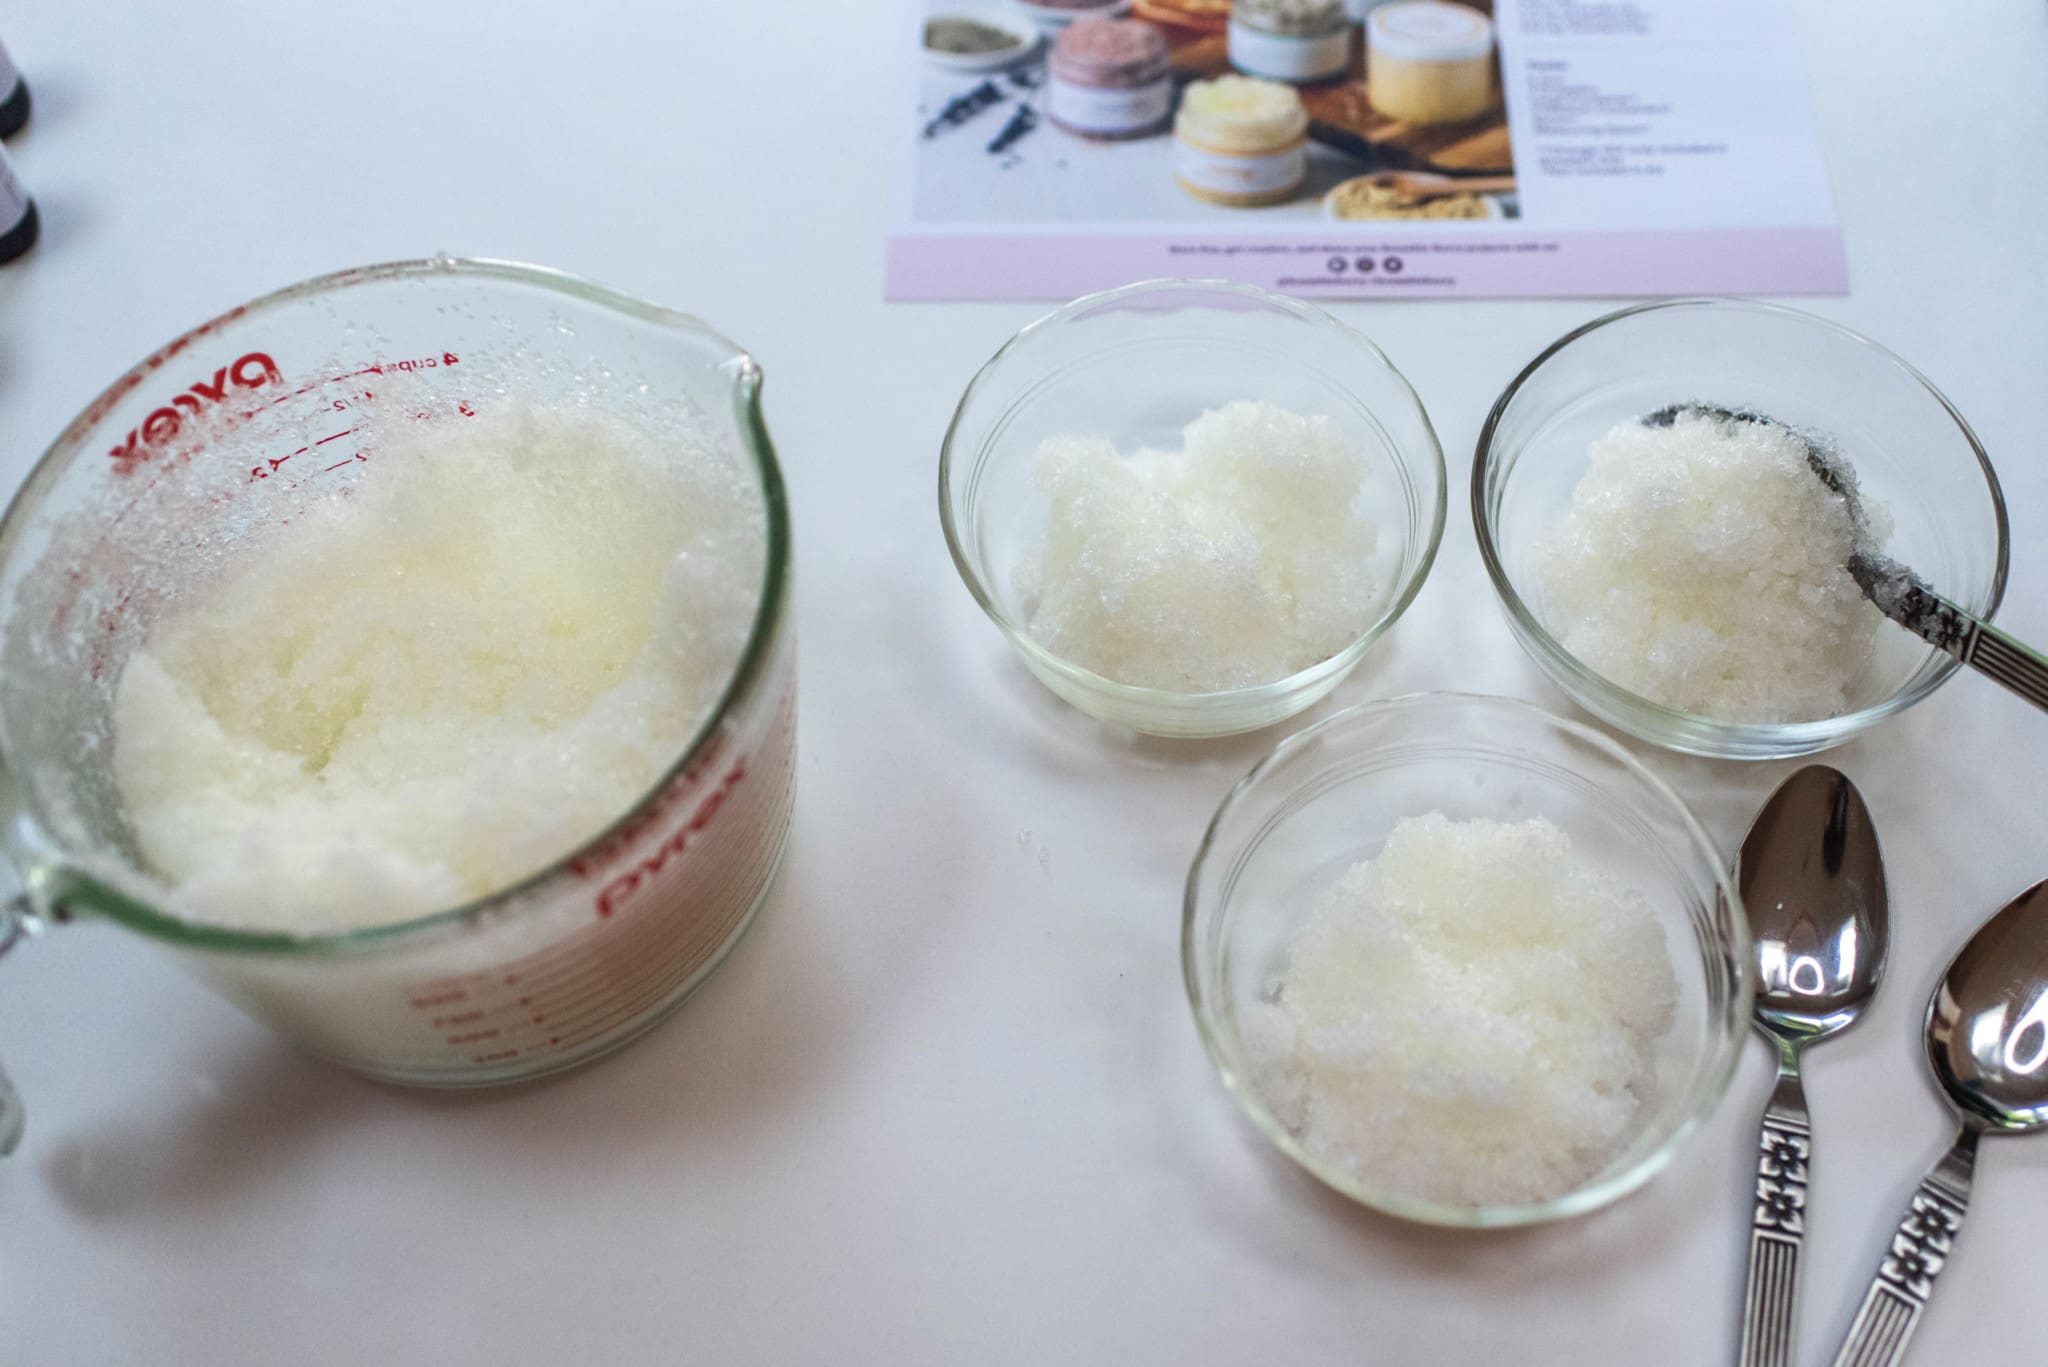
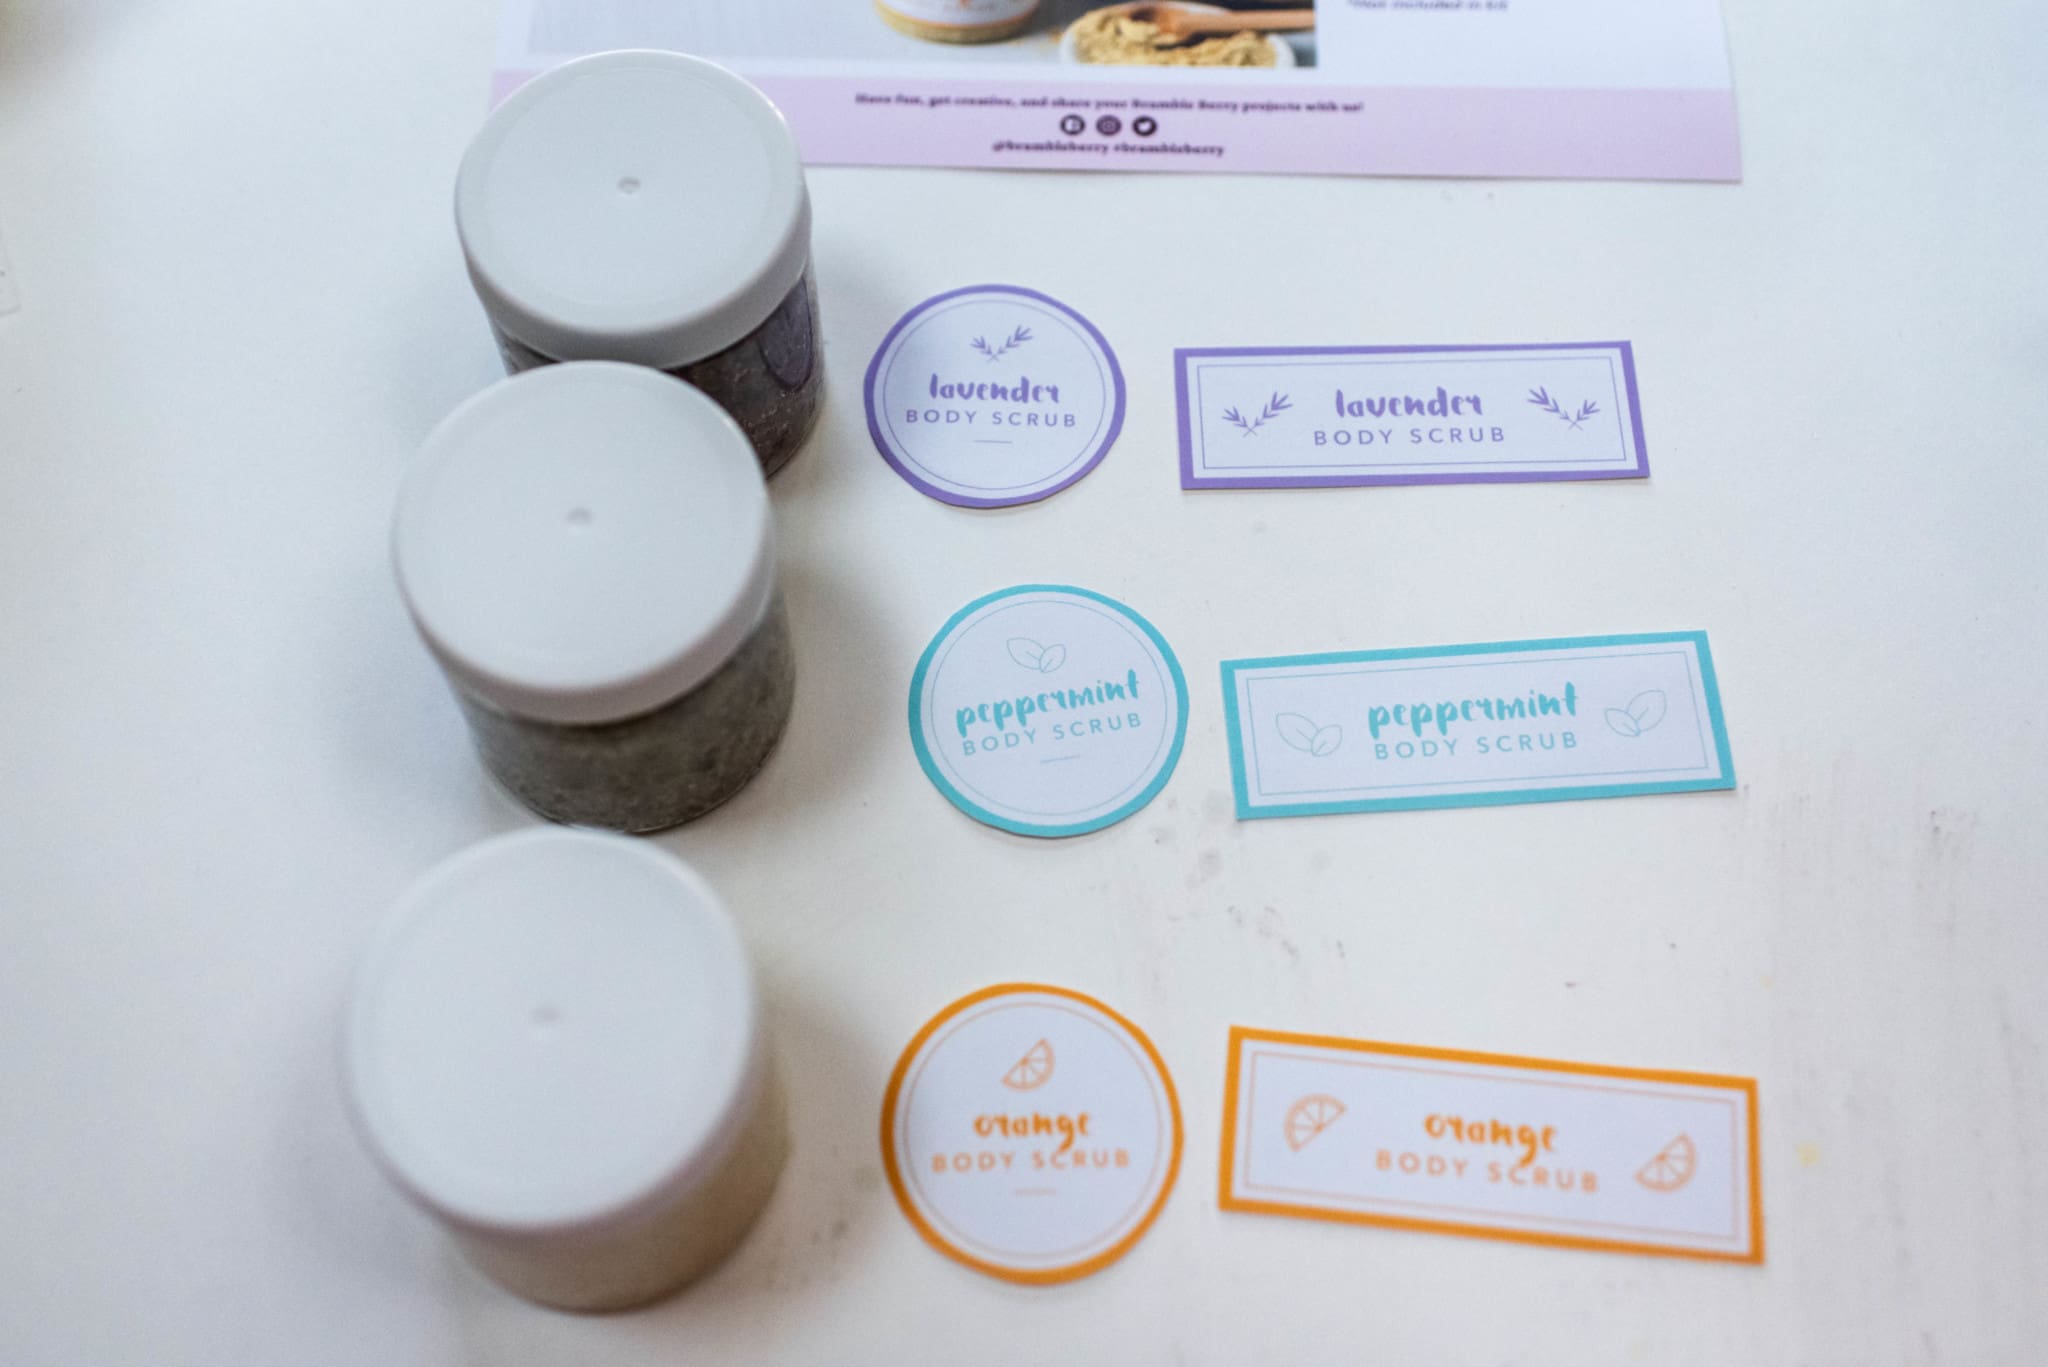
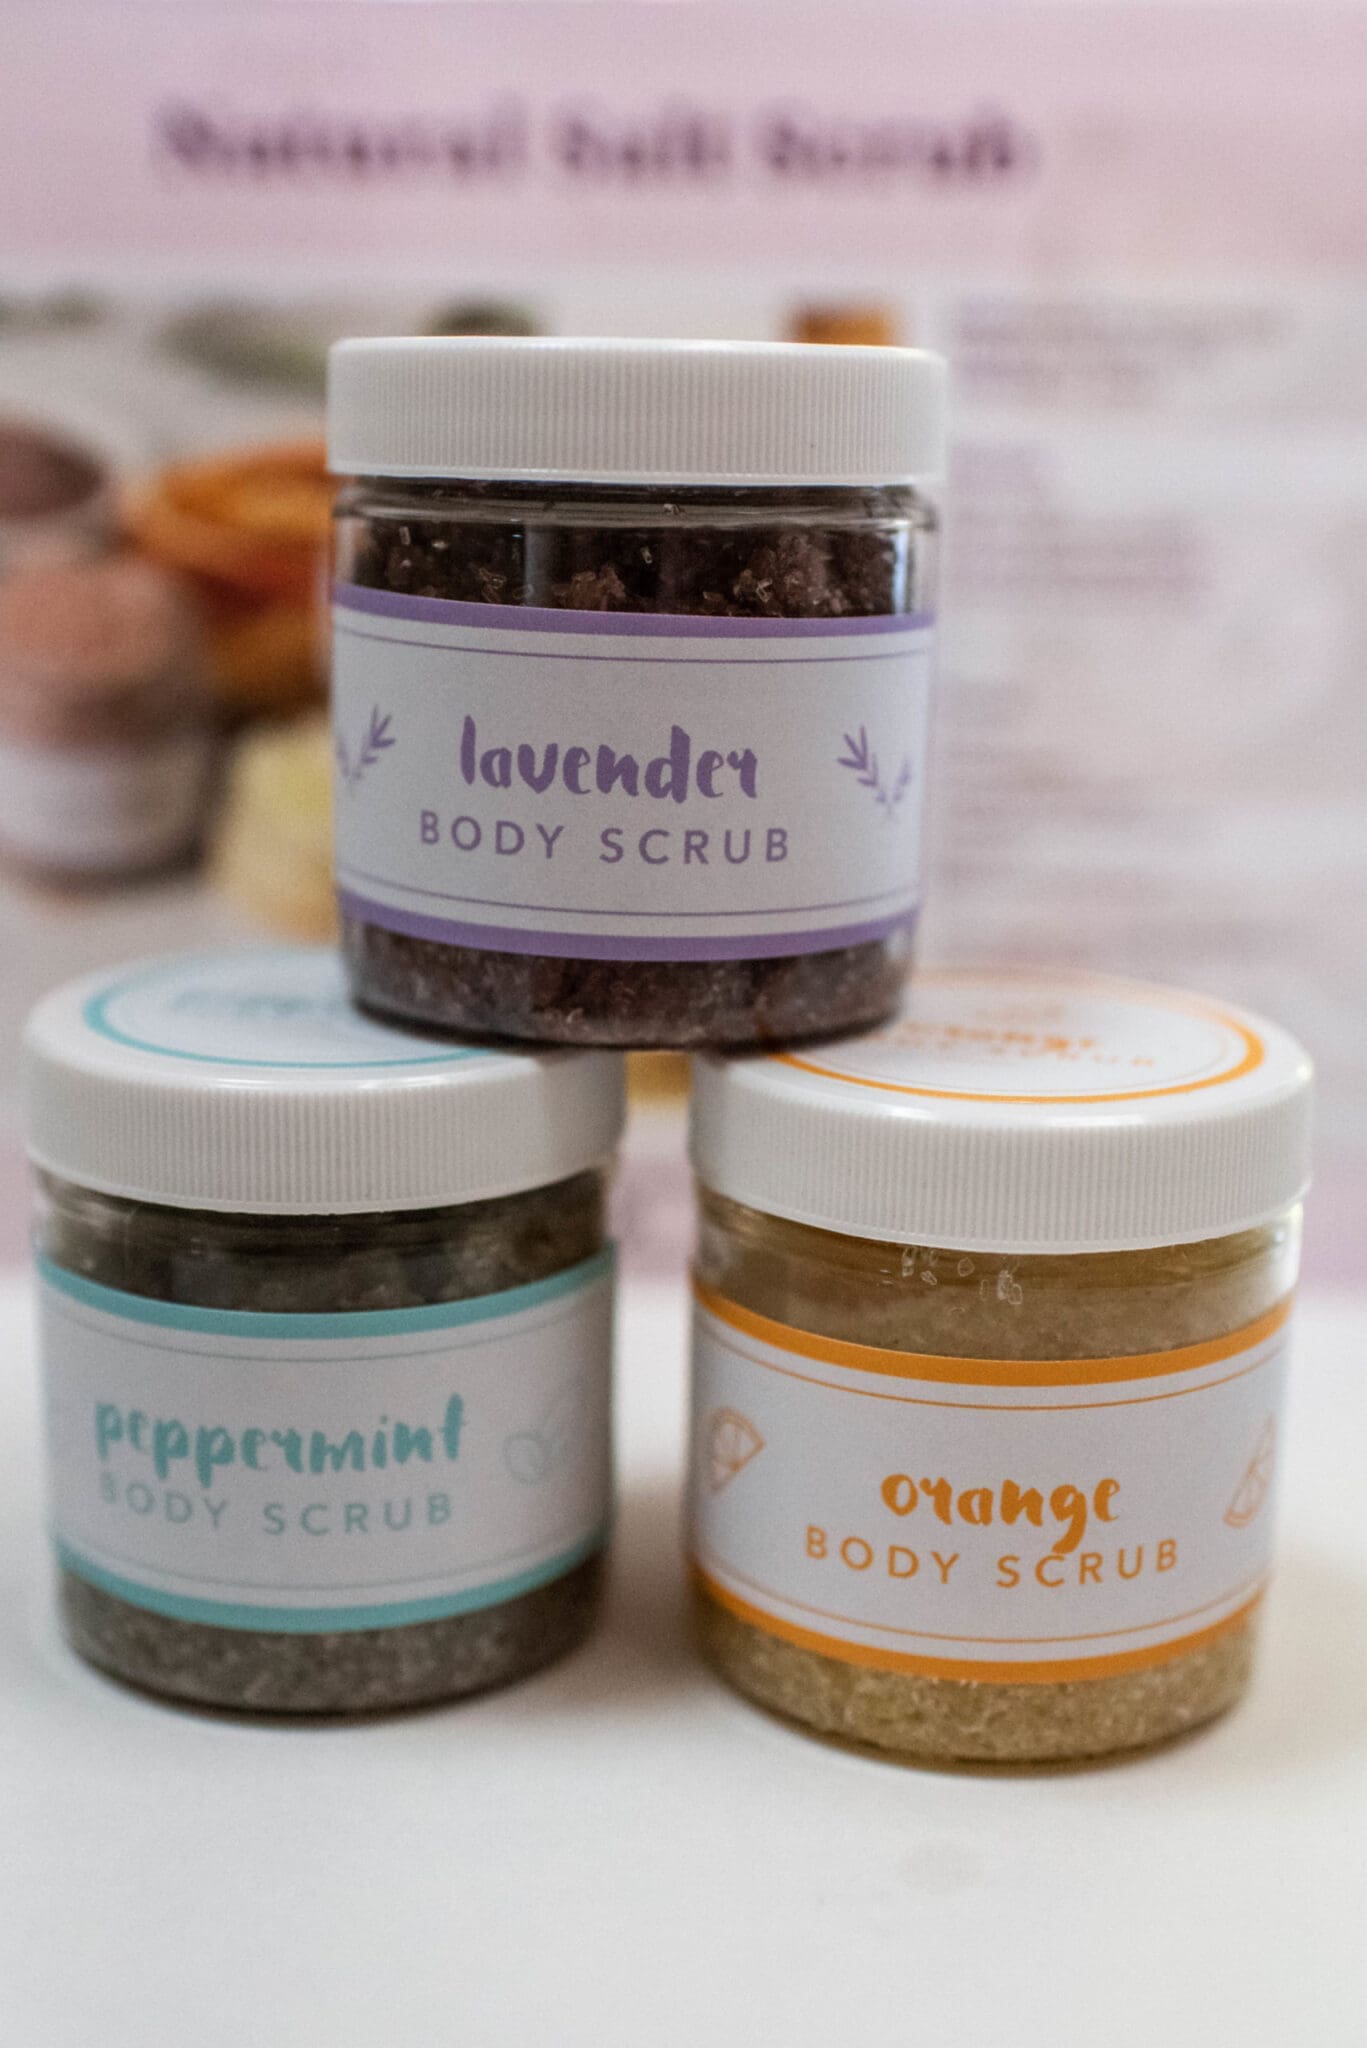
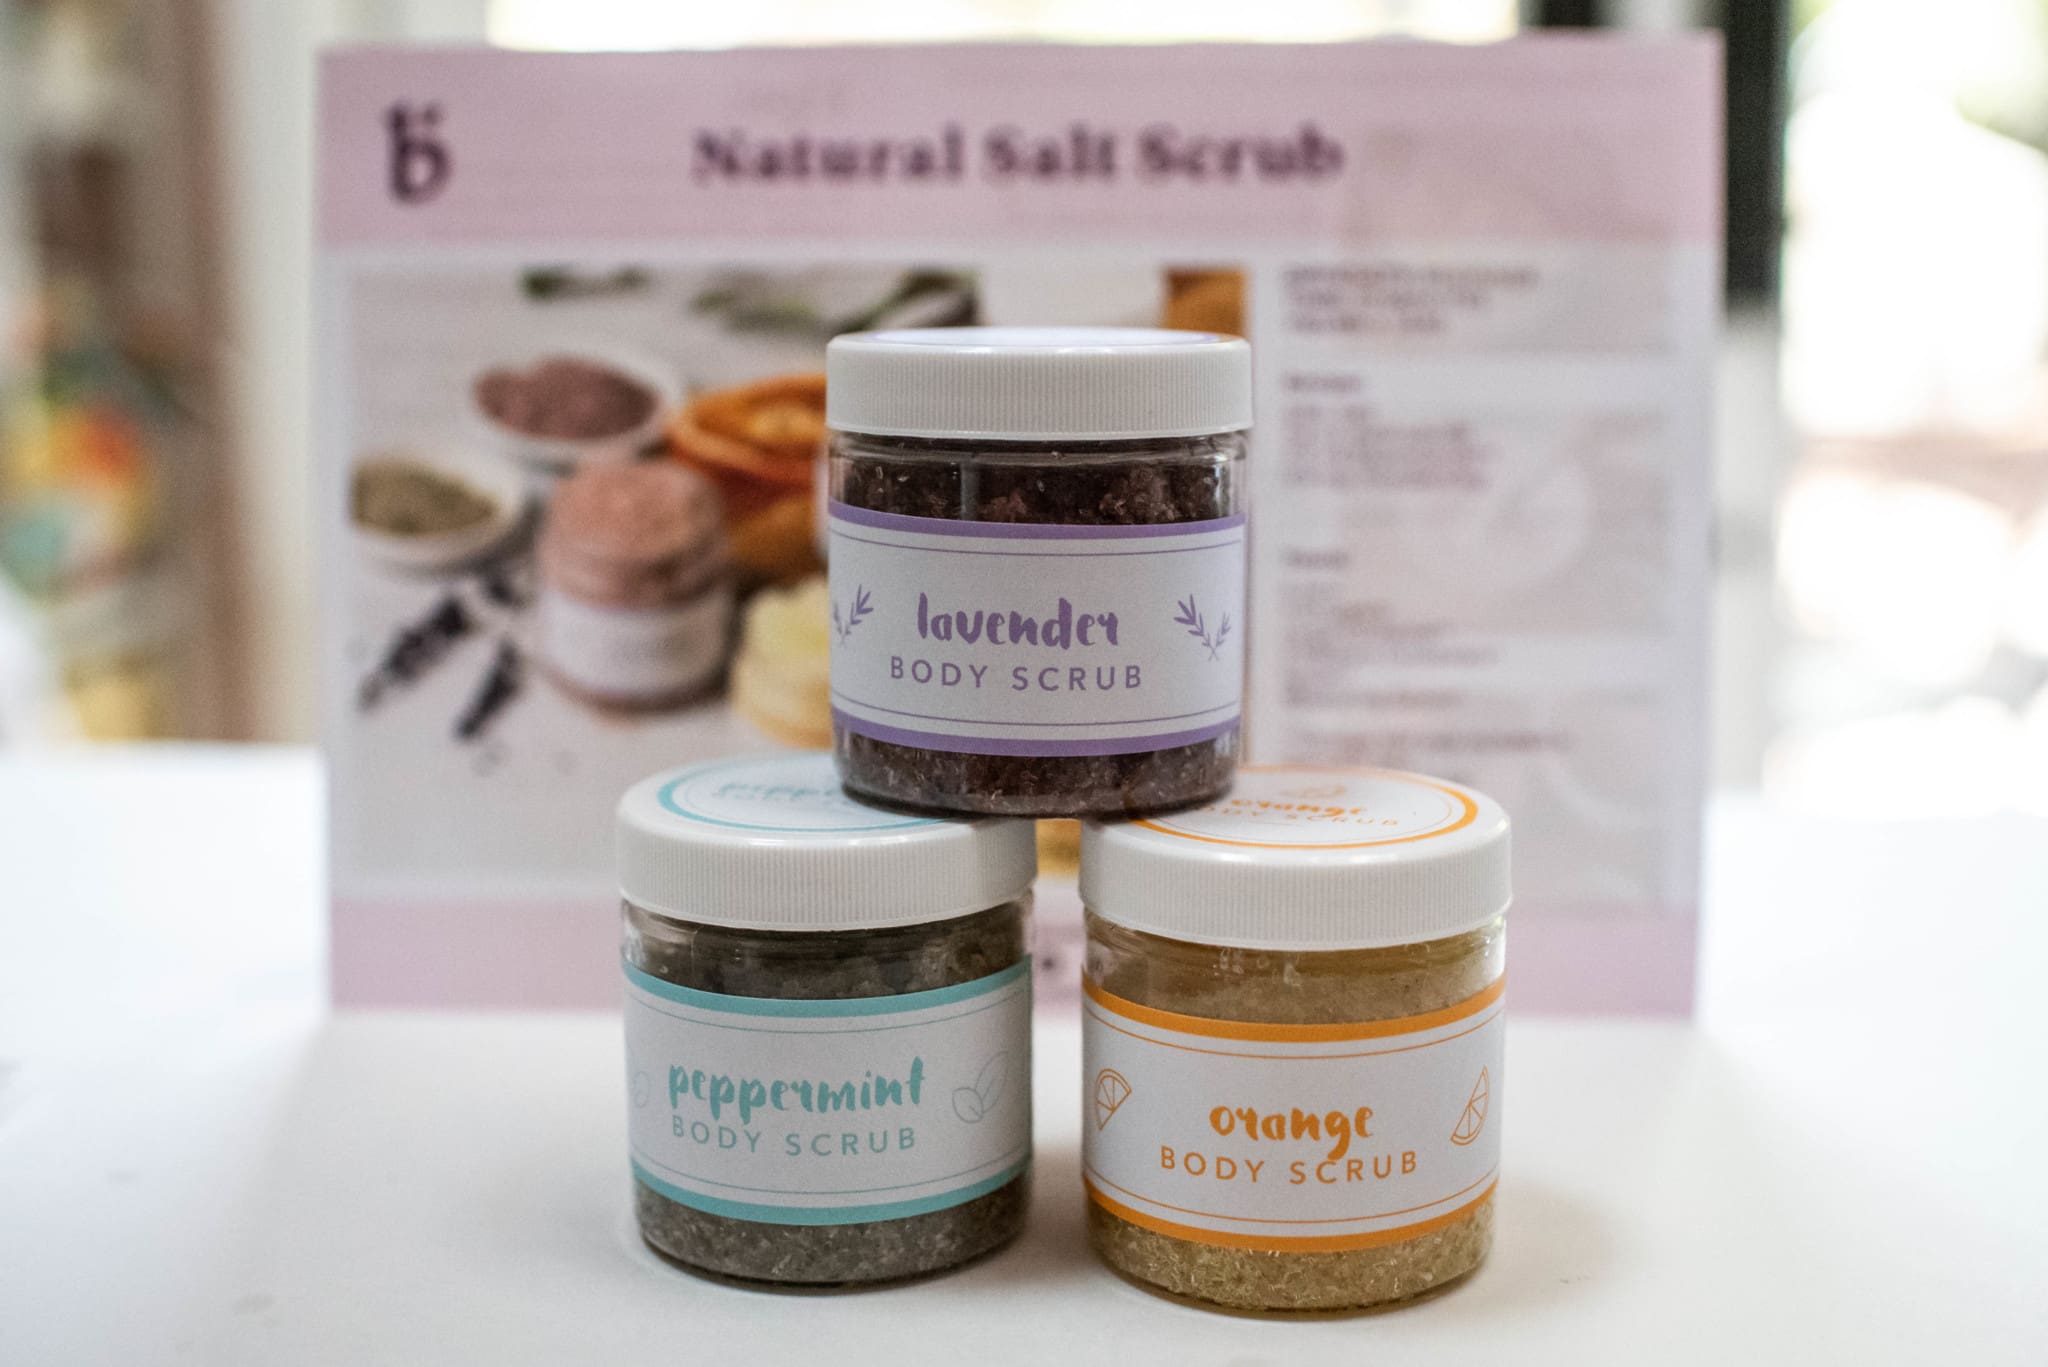
I wanted to share with you how fun and easy these kits are, these are both beginner projects and each can be completed in under an hour. I love how both of these projects turned out. There’s plenty enough in the kits that I was able to keep some for myself and give some away as gifts too!
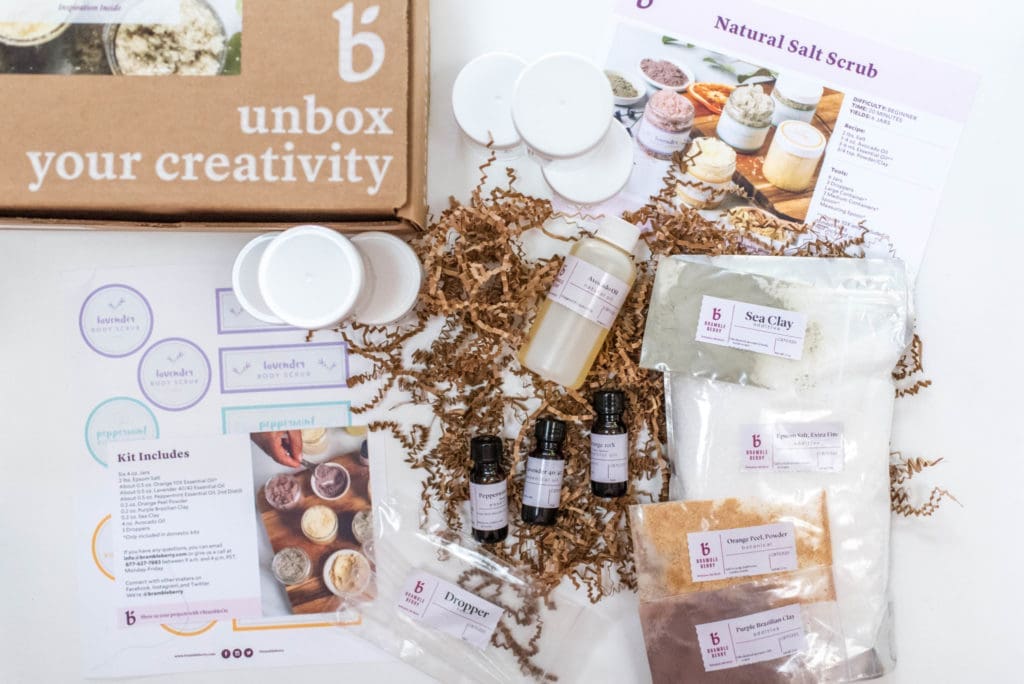
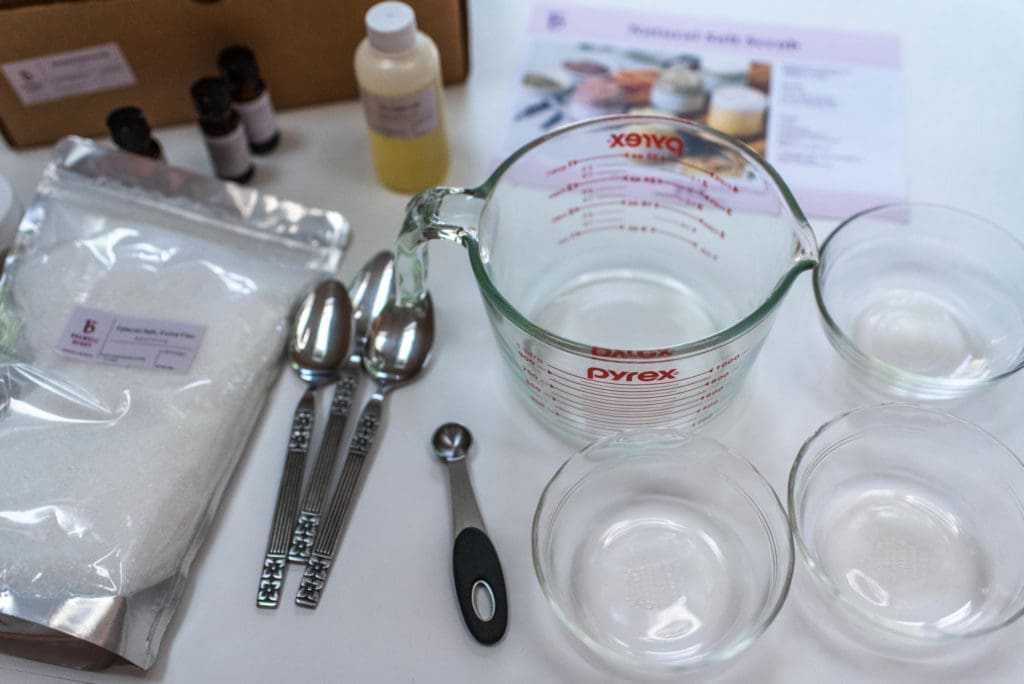
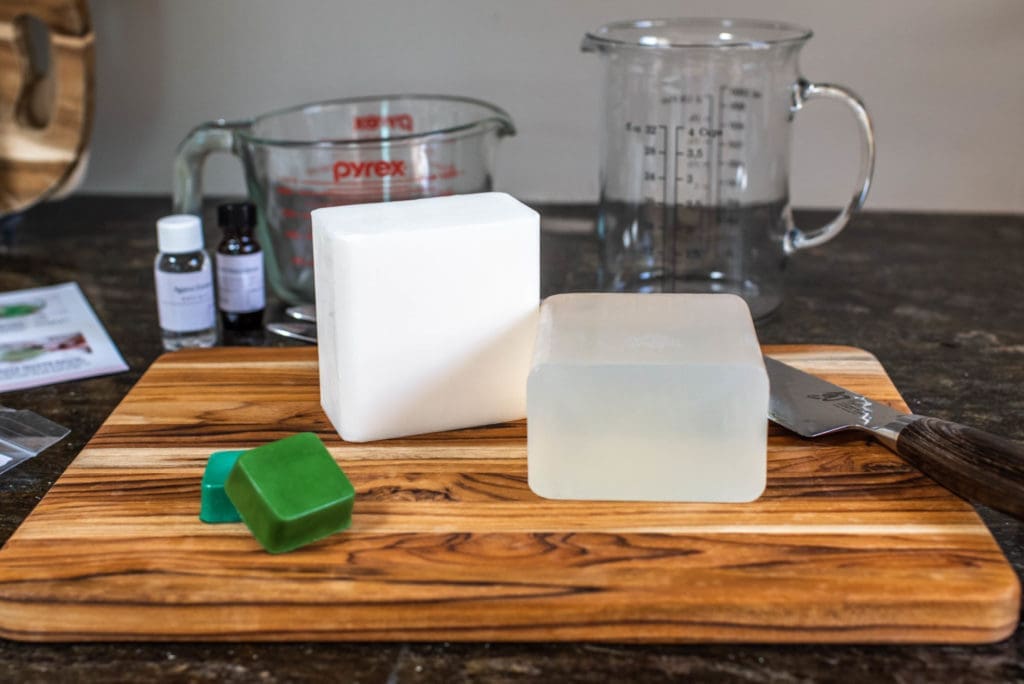
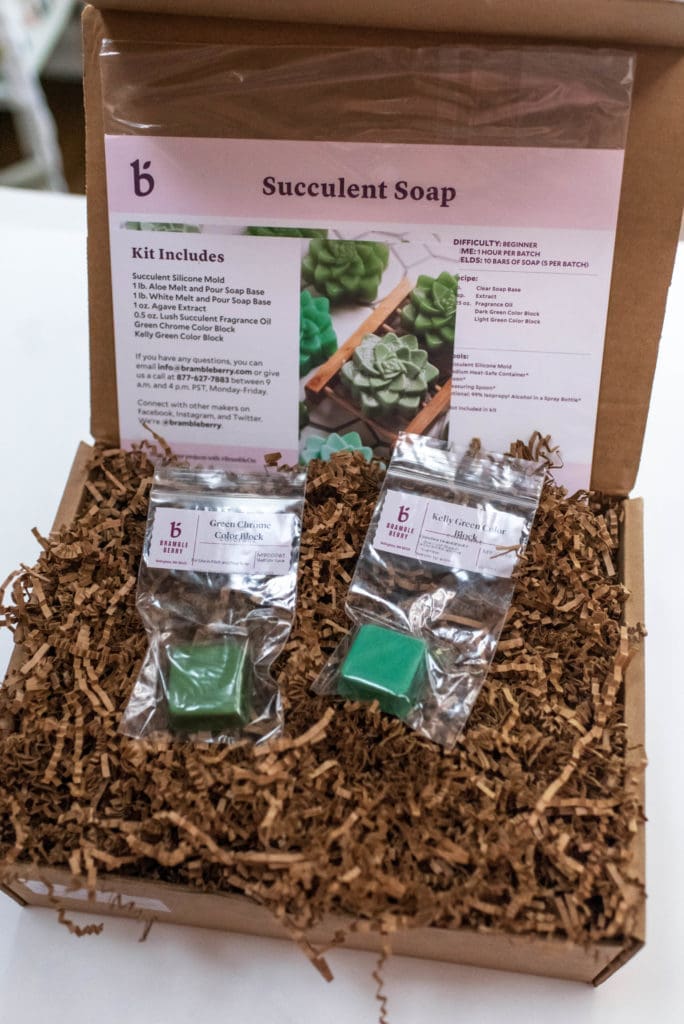
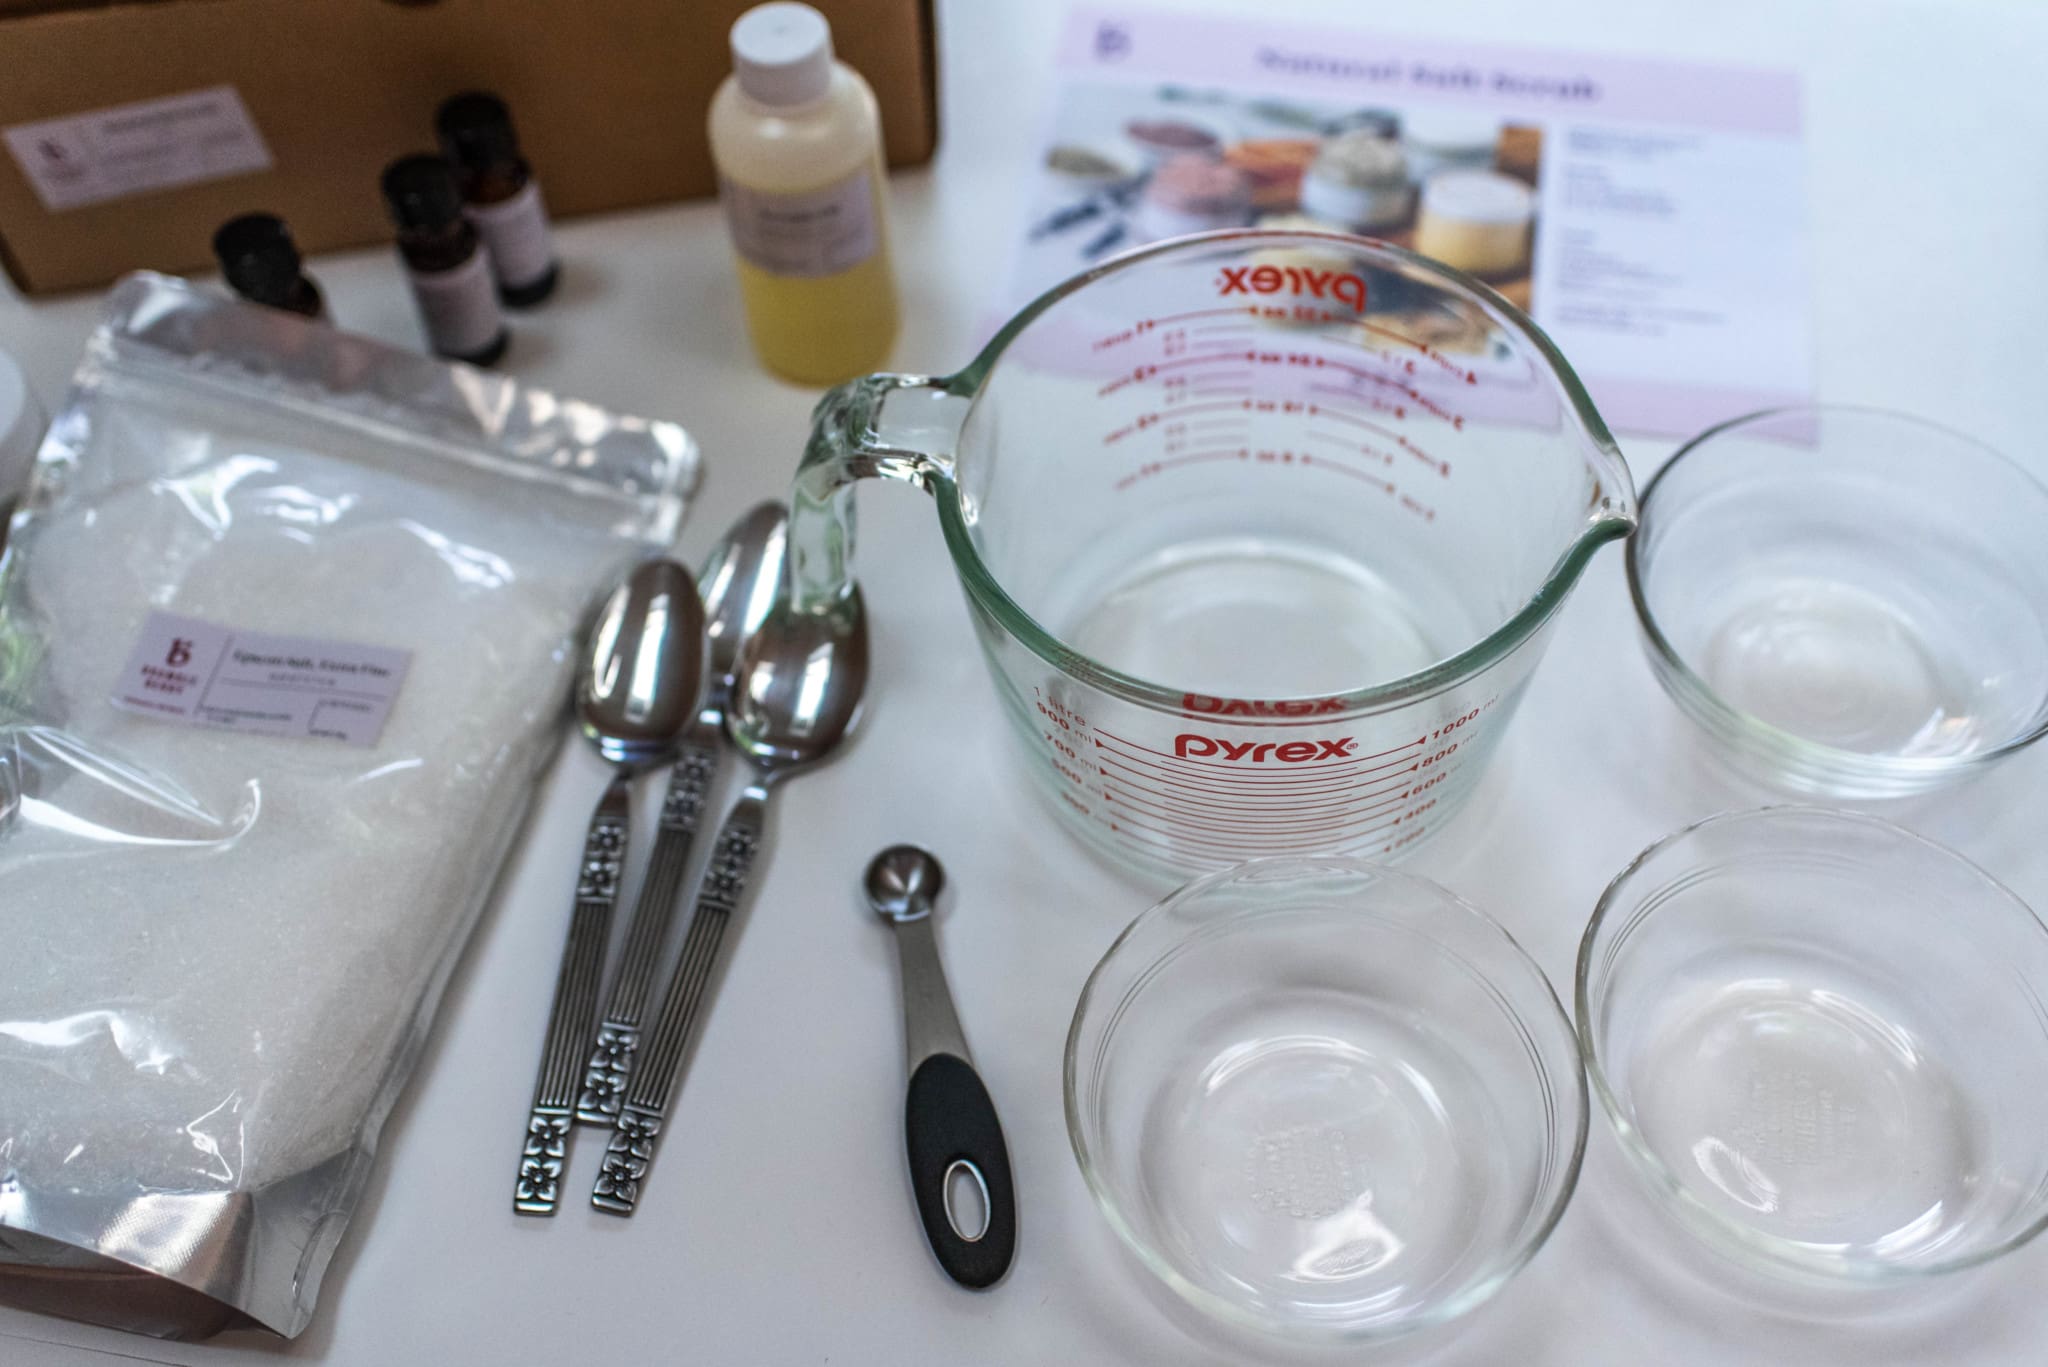
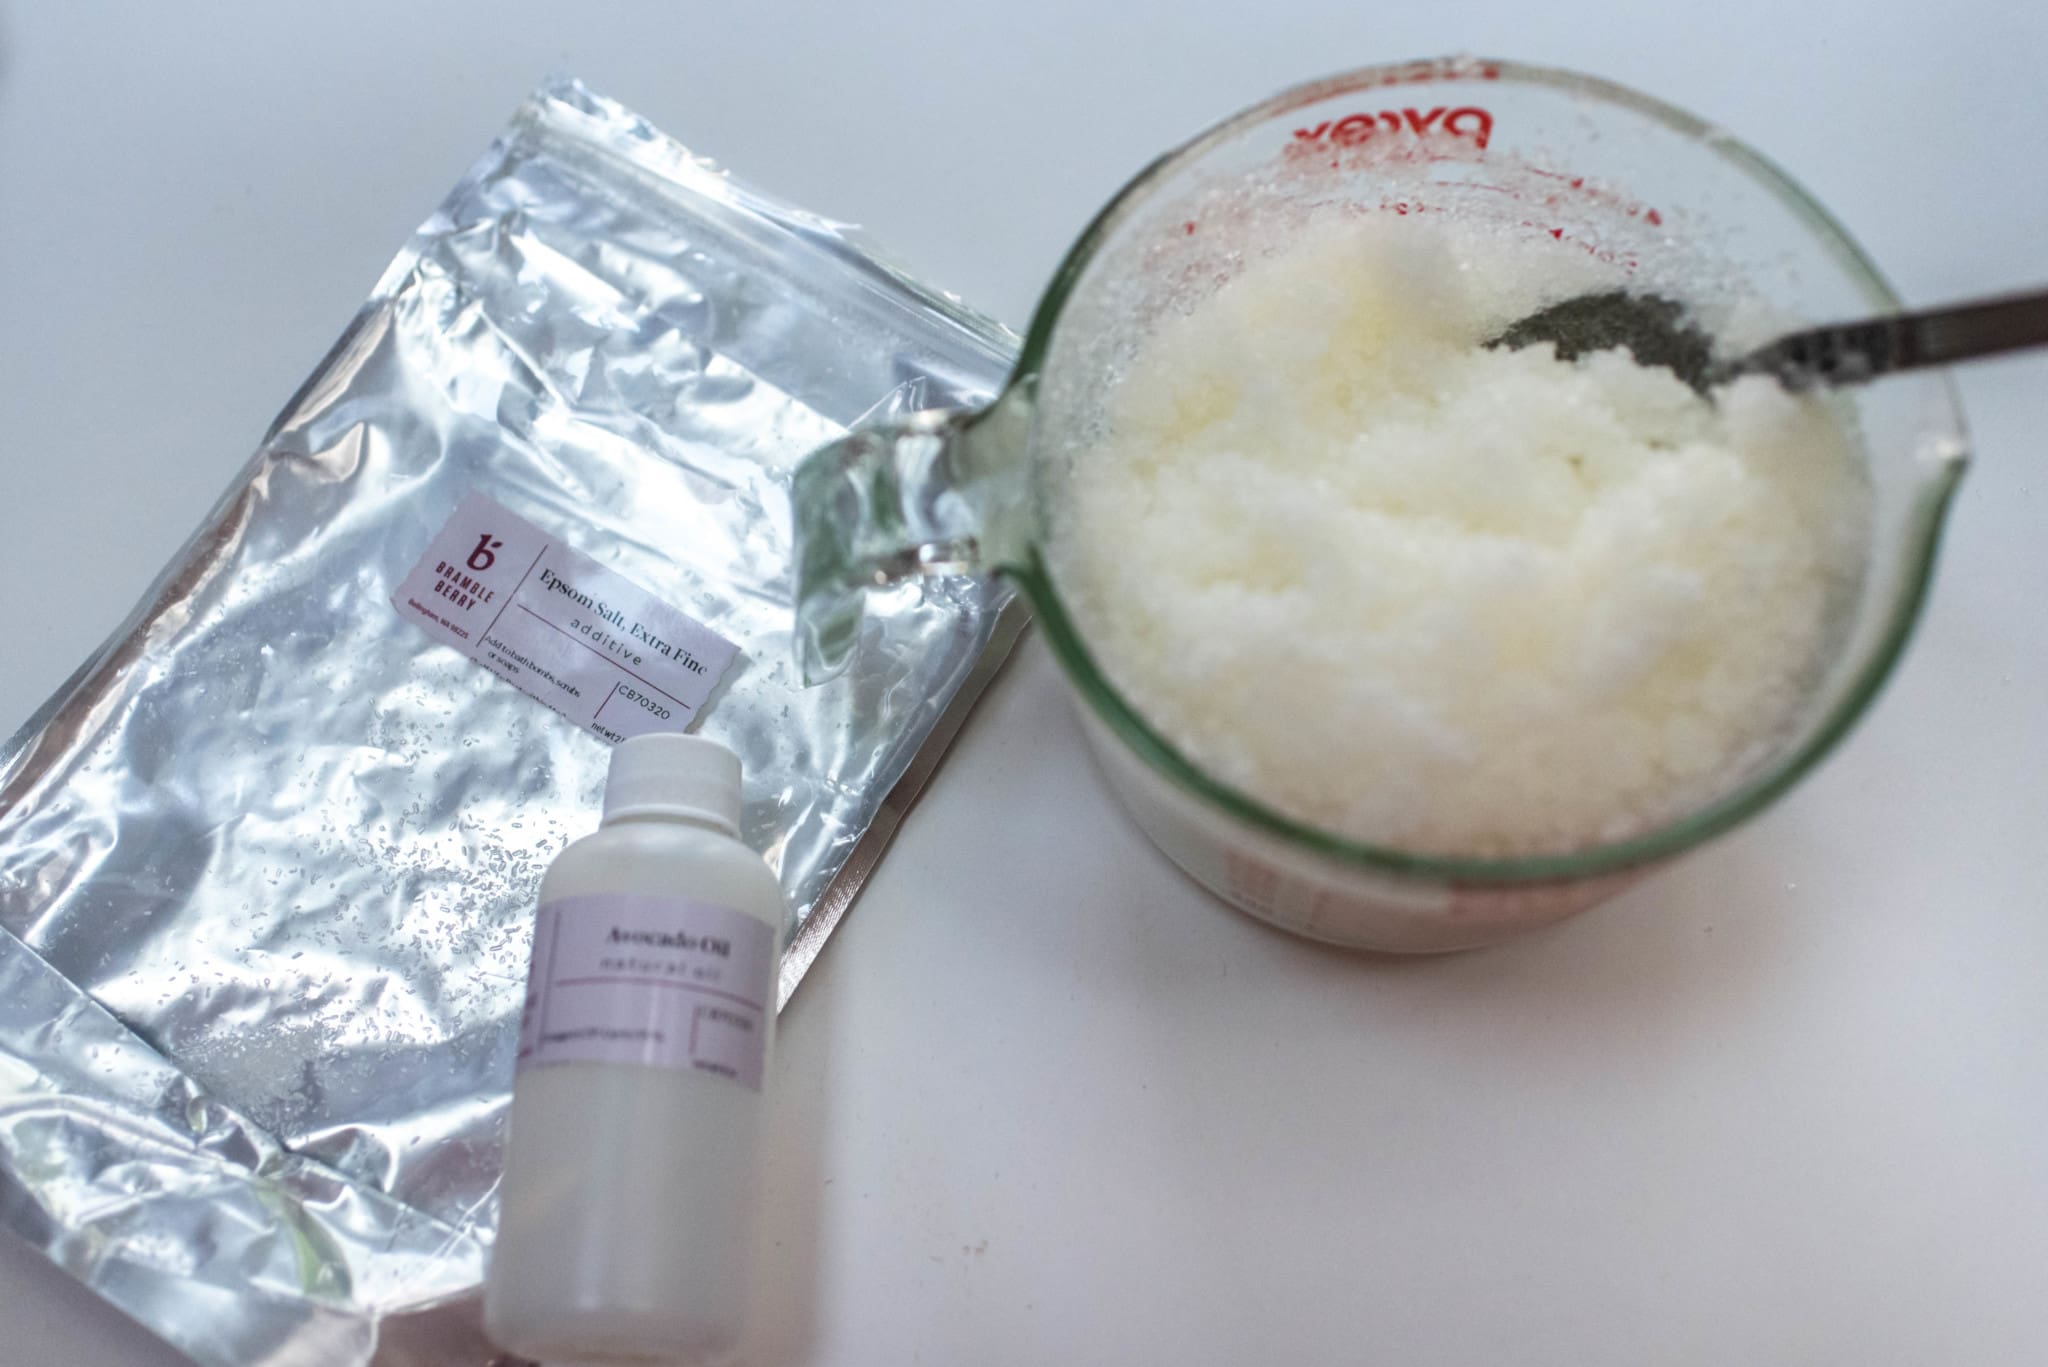
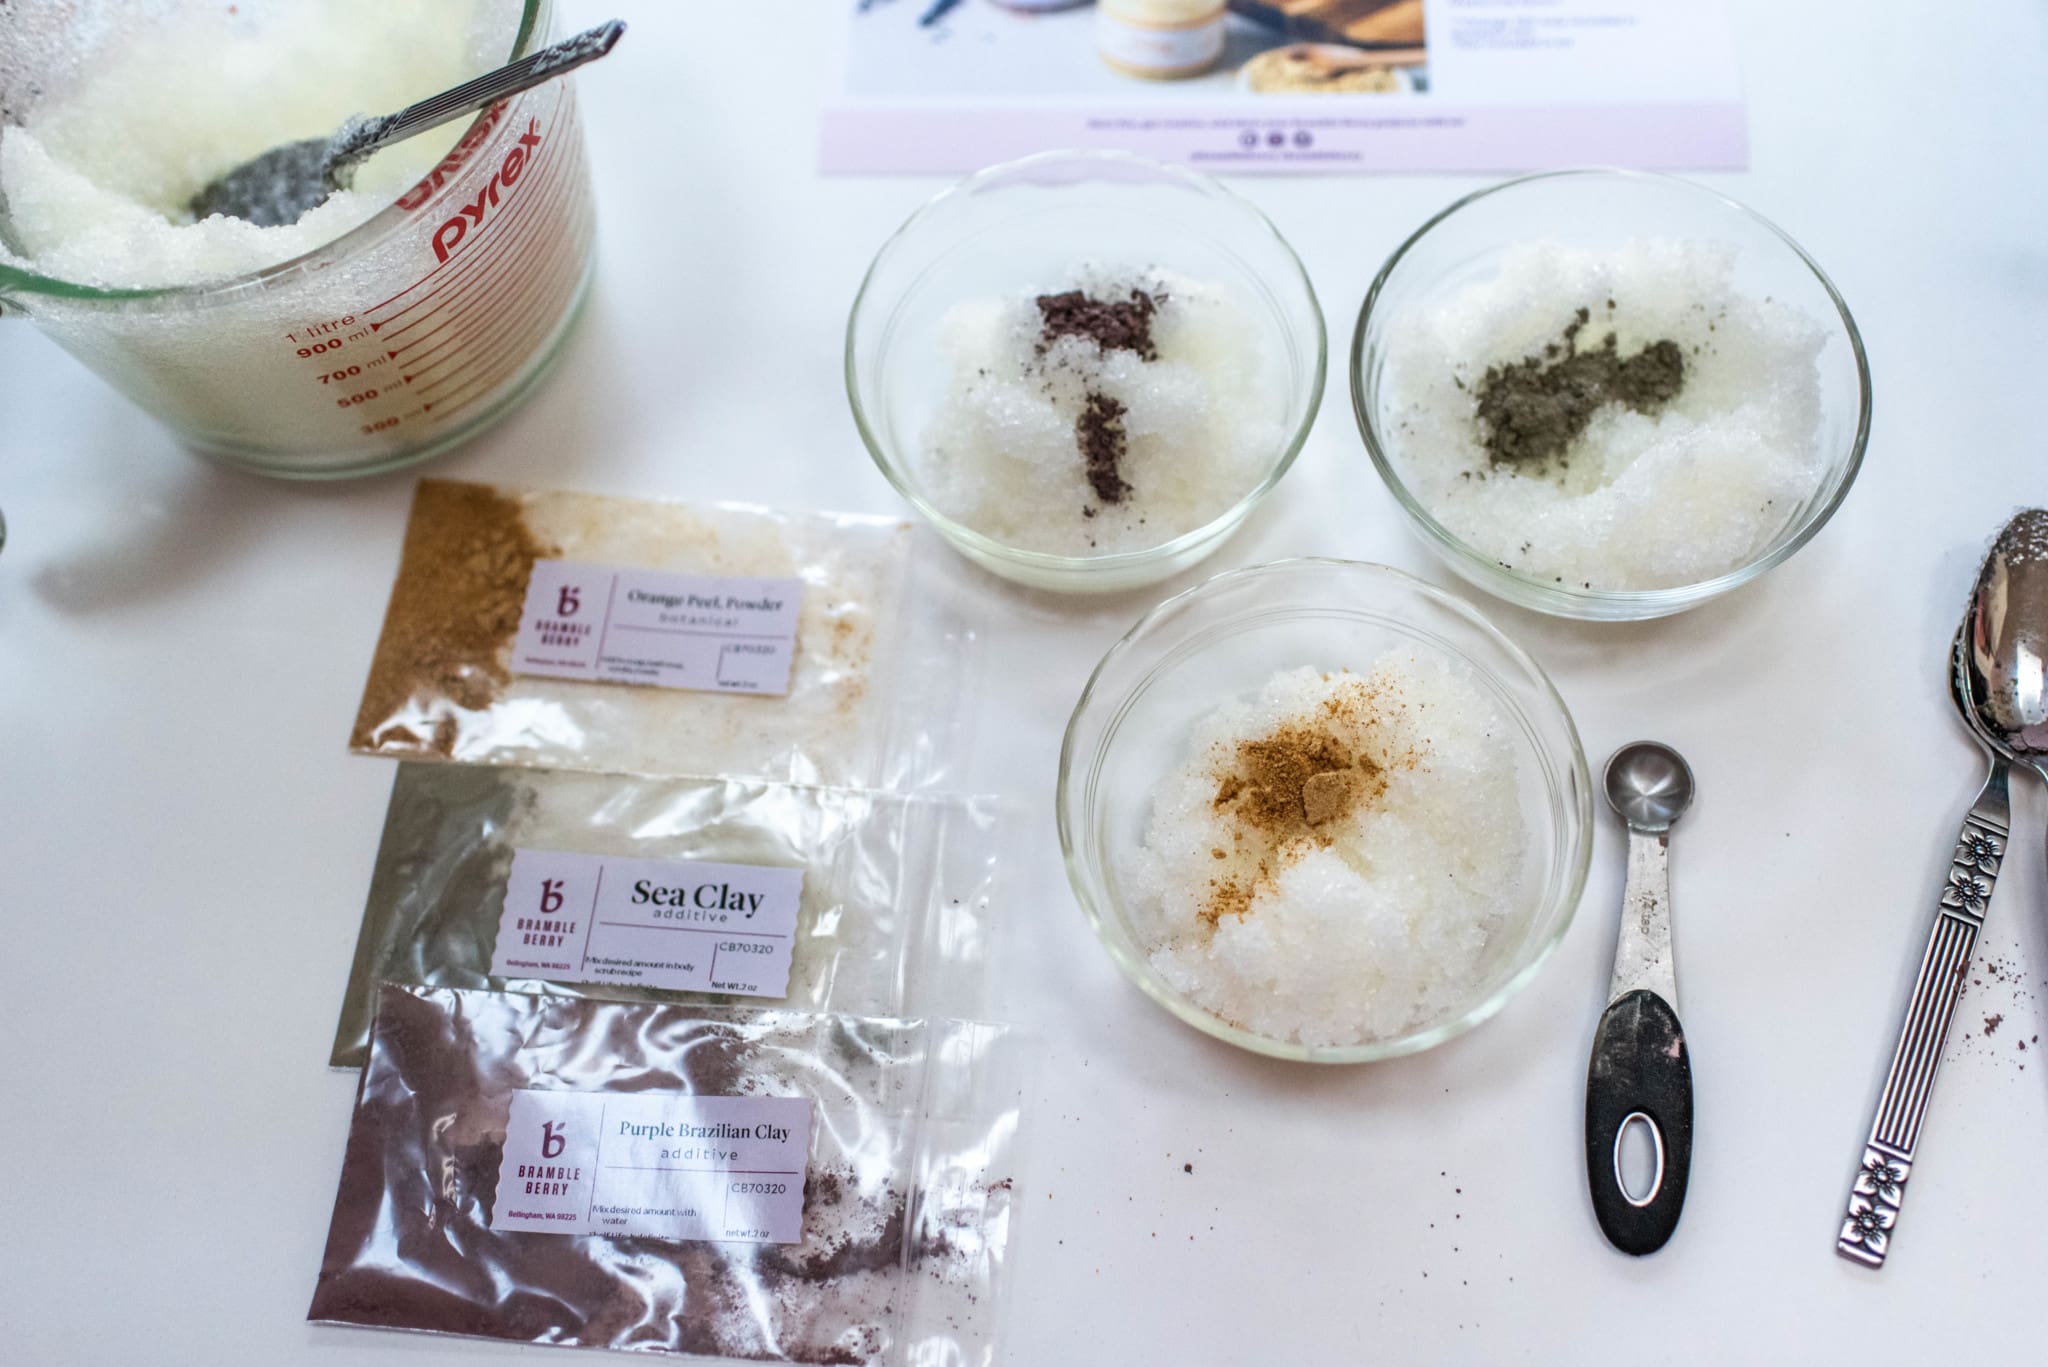
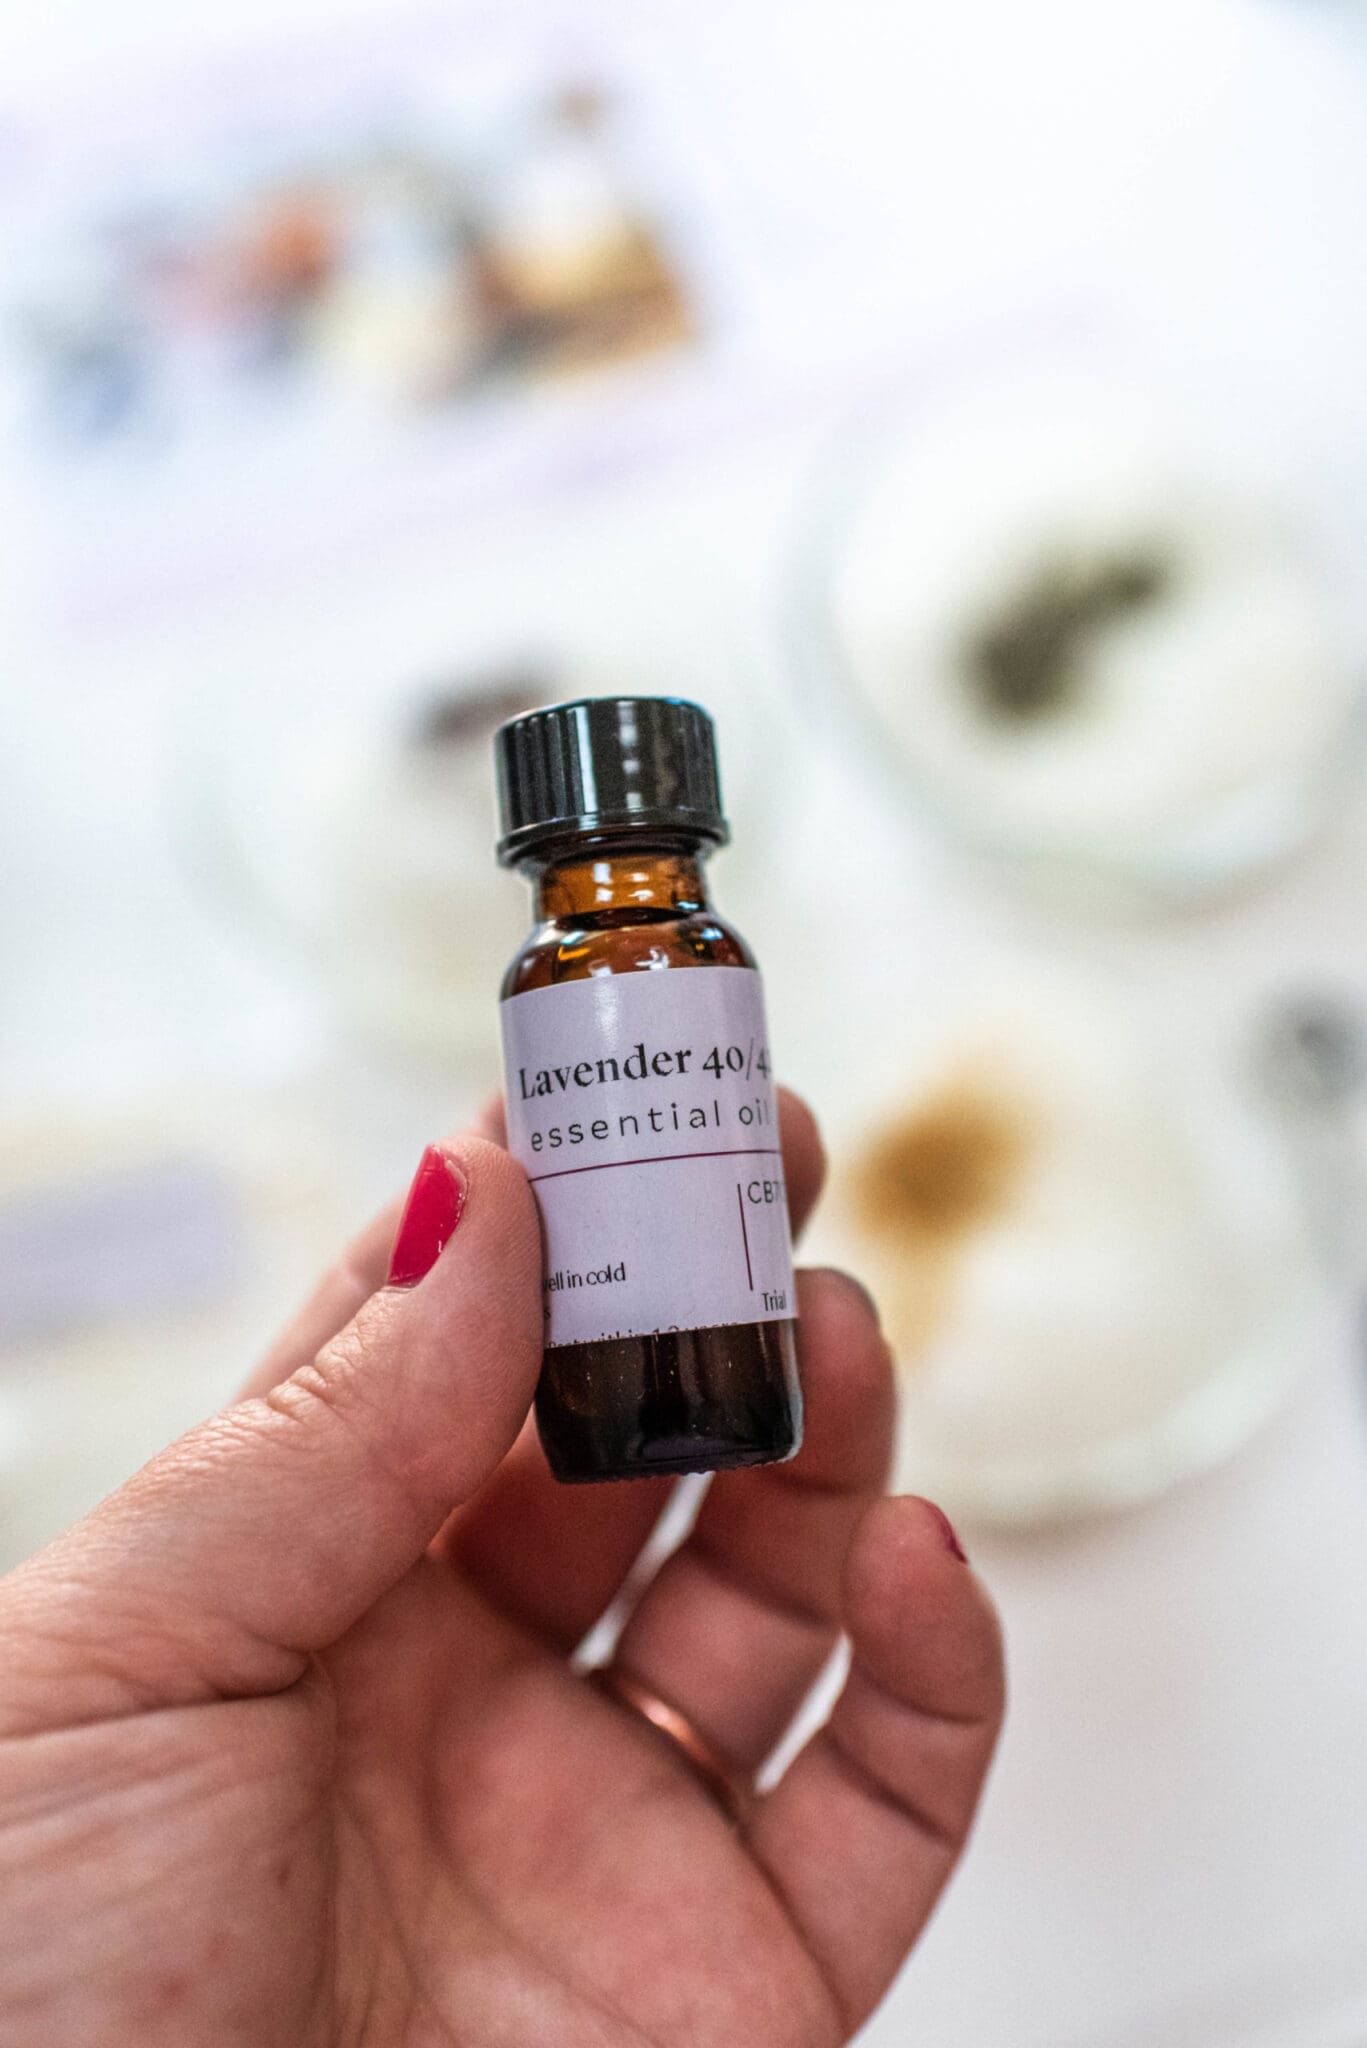
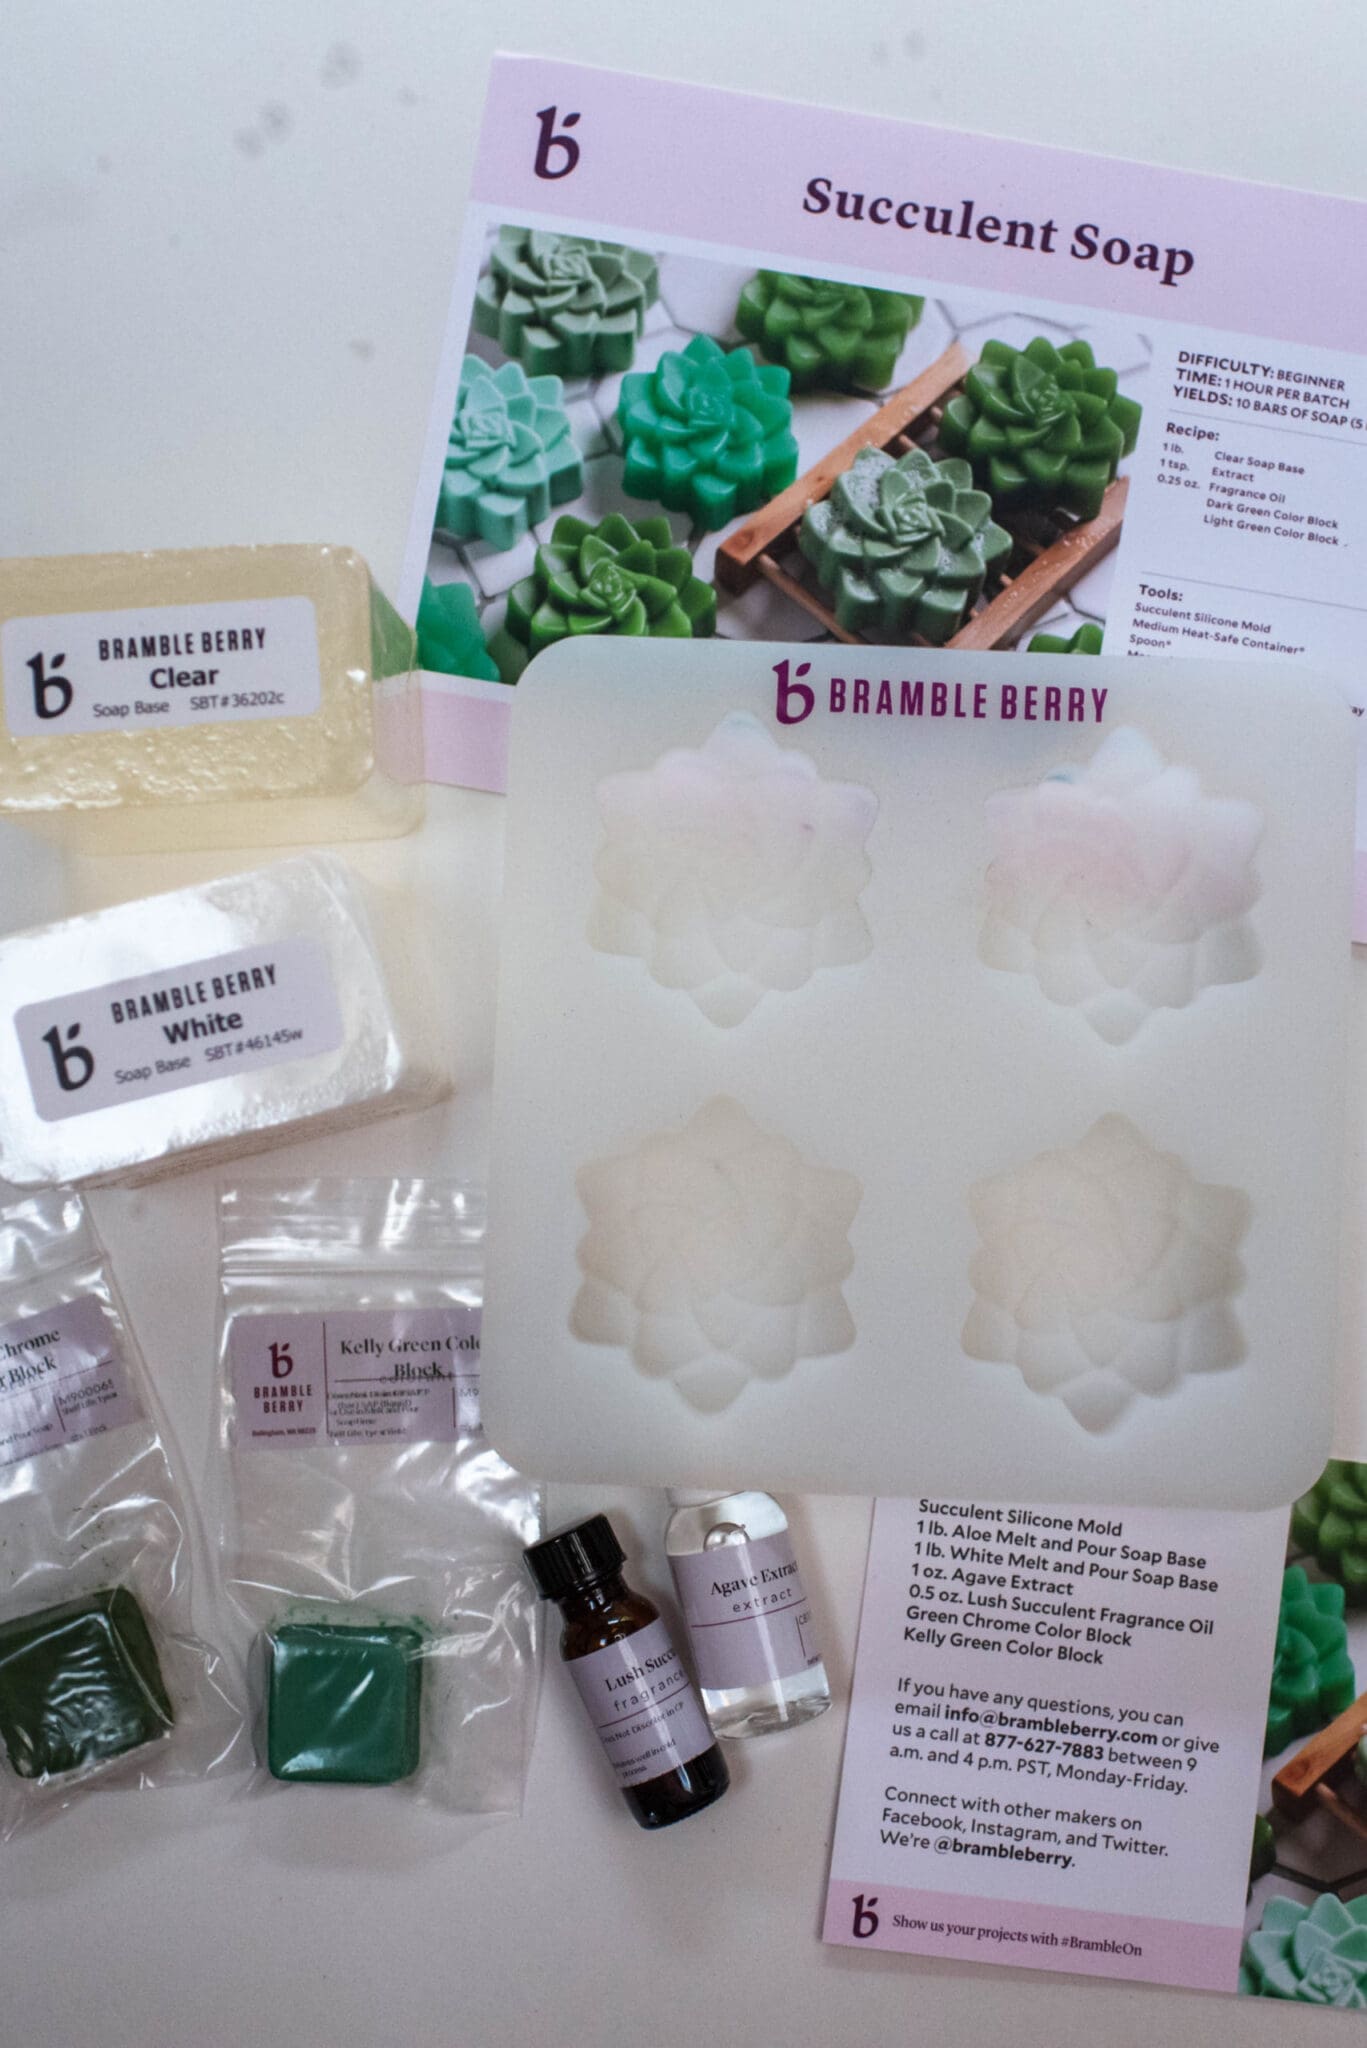
These kits come with the ingredients you need to complete the projects. I’ve included what you will need from home under each kit.
Be sure to check out the KITS category on the Bramble Berry website to see how many awesome projects they have available, from bath bombs, to skin care, candles and more!

Nik is a maker, day dreamer & potty mouth who loves cats, coffee and craft beer. She is a self taught hand embroiderer and will DIY pretty much anything she can get her hands on. You can see her work on Instagram @wastingthyme & @nikvphotography. She lives in Long Beach with her husband and her three awesome cats (that she can’t shut up about).
© DEAR HANDMADE LIFE 2020. ALL RIGHTS RESERVED. THIS SITE USES AFFILIATE LINKS. WE DISCLOSE ALL SPONSORED POSTS BY NAMING THE SPONSOR IN THE POST.
Get our mostly monthly emails featuring event updates, secret deals, pep talks and inspiration to make every day awesome.


