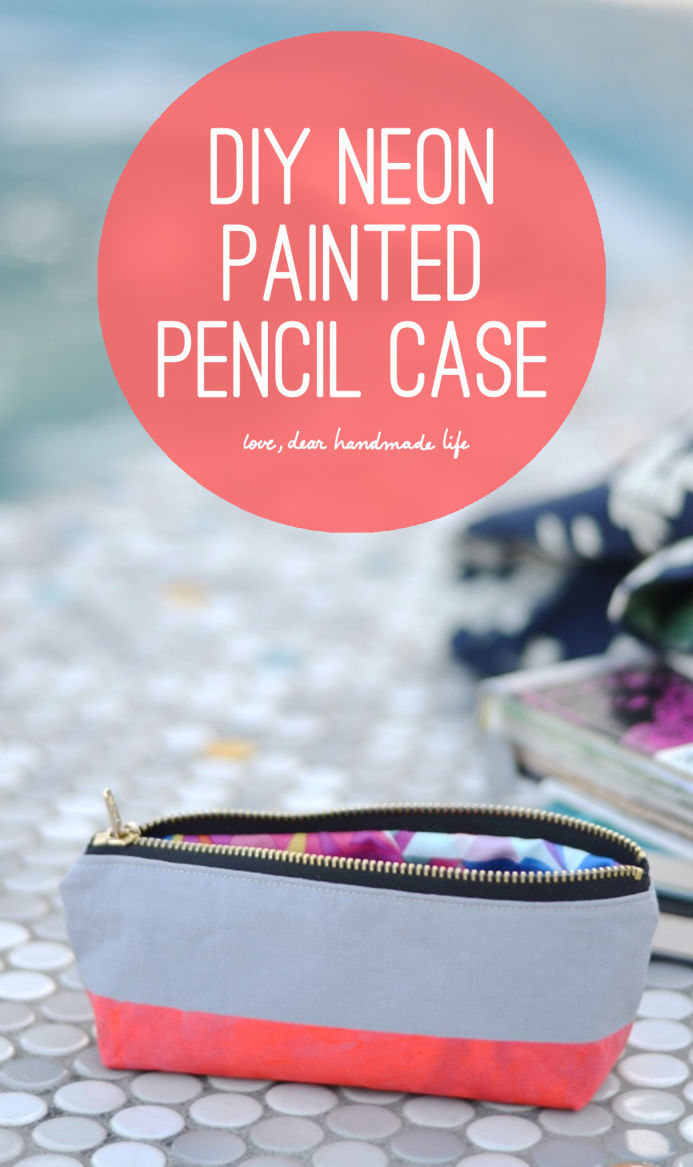
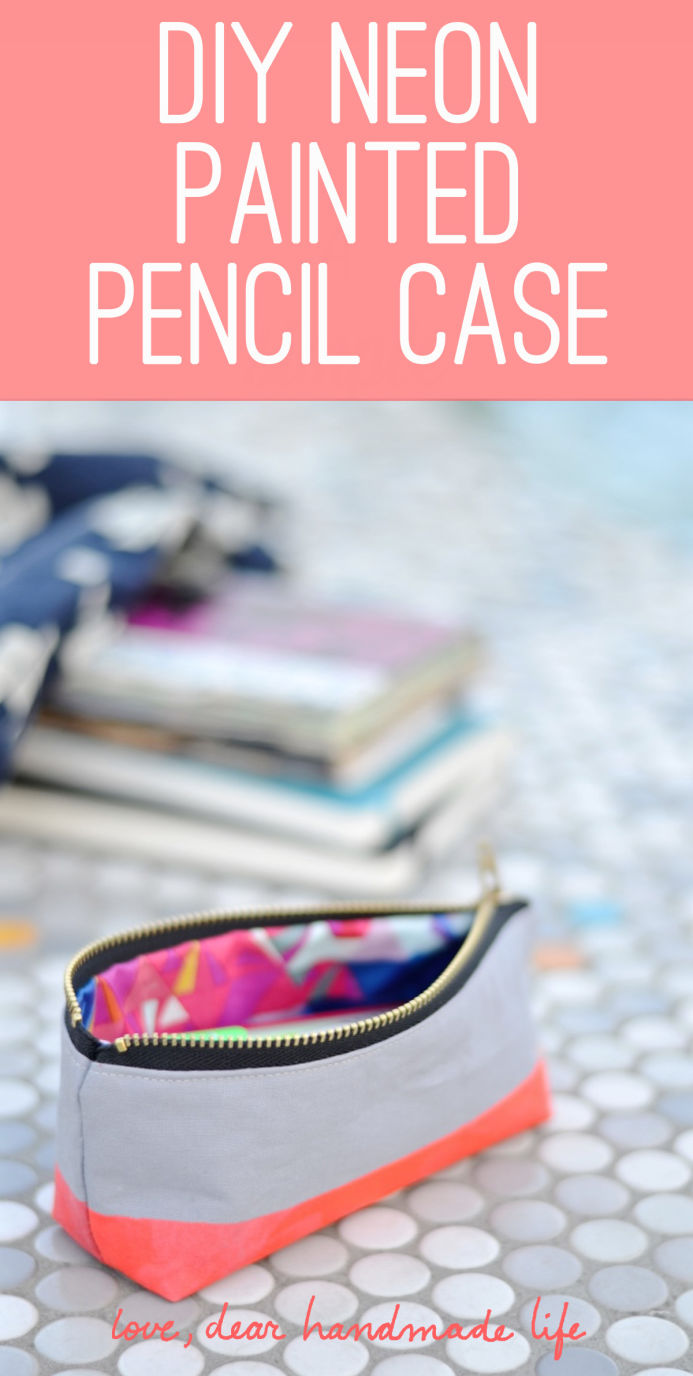
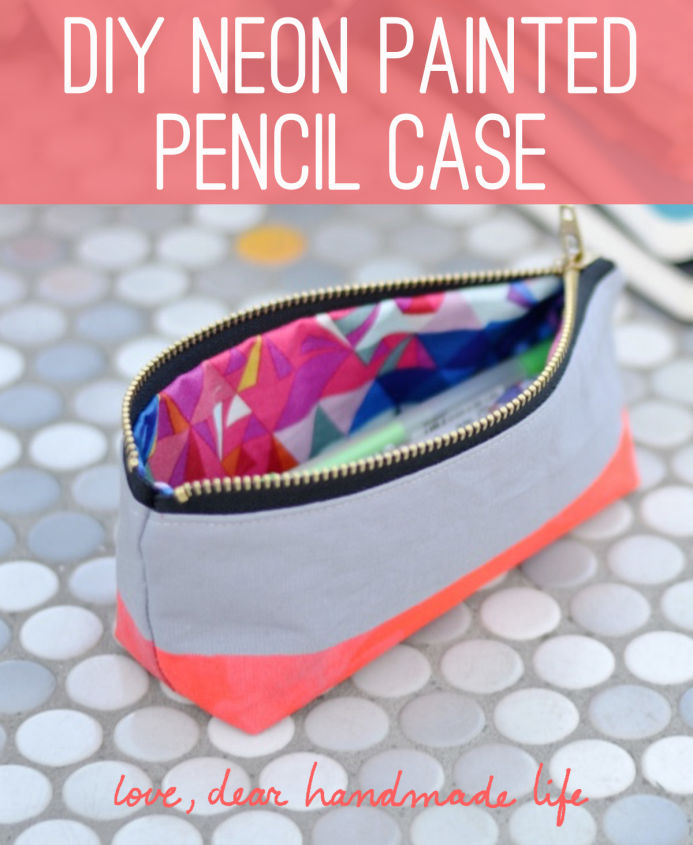
DIY Neon Painted Pencil Case
I’m not going to exaggerate. I love pencil cases.
When I hear someone say they don’t need a pencil case, I can’t help but ask that person– in my own head, of course– “Are you a human? Do you have emotions and a working brain? Do you function in society?” And then I have to remind myself that not everyone is quite as office-supply-obsessed as me.
A question I used to ask myself around this issue was, “Did I become a teacher so I could be around office supplies obsessively? Or, do I want to be around office supplies obsessively because I’m a teacher?”
I never did figure it out.
Years ago, when I moved to San Francisco and started teaching at a school in the Mission, I quickly noticed that city kids not only dressed way trendier than me– hot pink leggings!– but they were also setting the bar for stylish lunch bags, how to asymmetrically cut your hair, and of course, how to carry your pencils. I had a 6th grade student one year who carried hers in a case made from– gasp– CAPRI SUN packages! What?! Who was this kid? I freaked out, not only asking myself why I was coveting something belonging to an 11-year-old, but also needing to know where I could get my hands on that pencil case! When I asked where she got it, she just ever-so-nonchalantly answered,“Oh, I got it on Etsy.”
Oh, no big deal Ashley, just doing some online shopping for unique handmade items after Math homework.
If coolness grows exponentially, I can only imagine this girl today– an adult– and what she must be carrying her pencils in now.
So, big surprise, I am also a huge fan of making pencil cases. And you know what? I bet you will be too. This one is super easy, and it is also a fabulous first zipper project. And the neon fabric paint? Well, that’s just the pièce de résistance.
Here’s to unique handmade items that evoke emotional reactions in adults:)
Love,
Ashley
What to Get:
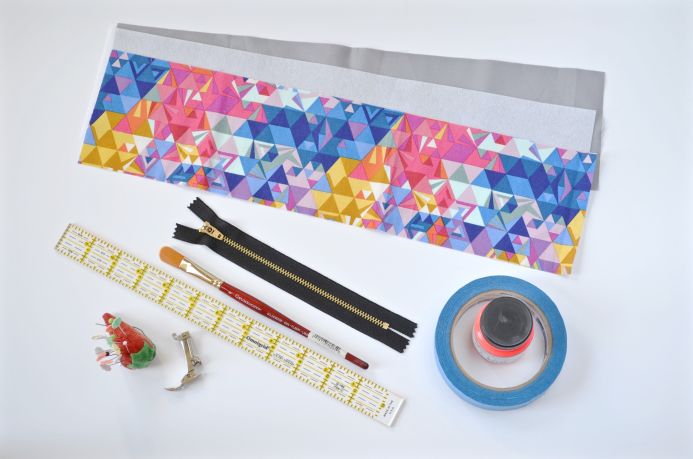
-Three 17 x 4 ¼ rectangles: one exterior light color solid, one interior bright geometric and one fusible interfacing
-Painter’s tape
-Textile paint- I used Jacquard Textile Color 154 Fluorescent Red
-Paintbrush
-7-inch zipper
-Zipper foot
-Iron
-Pins
-Ruler
-Scissors
-Pencil
Instructions:
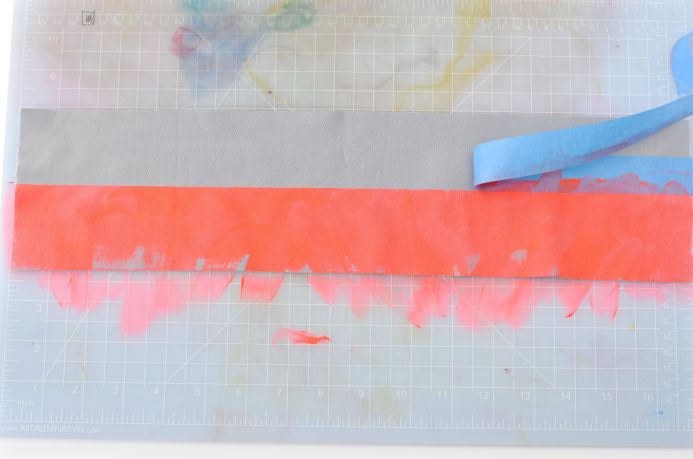
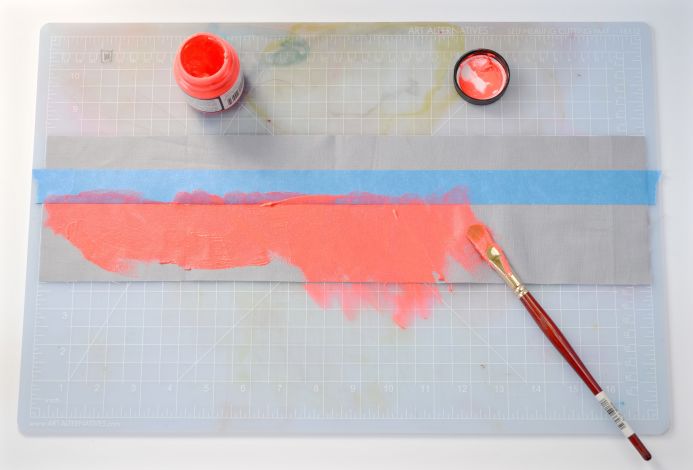
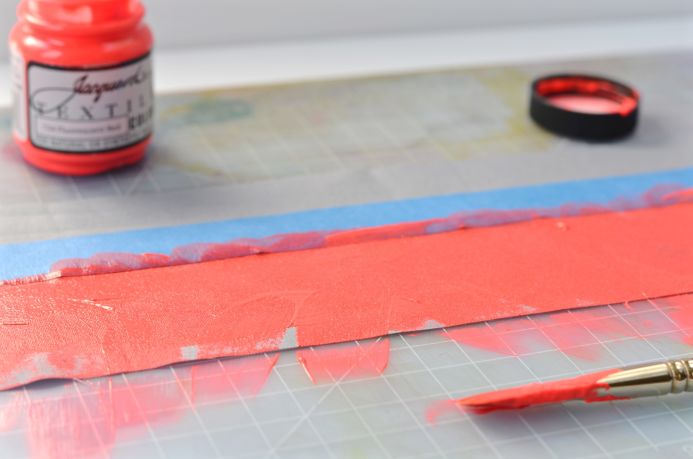
1. Paint fabric: Carefully place the painter’s tape first. I used the lines of my mat board surface to mark exactly two inches from the top of my grey rectangle. Apply paint generously! Get sloppy! Use a lot!
2. Let the paint dry. This is important! You can use a hair dryer to speed it up. Remove tape carefully.
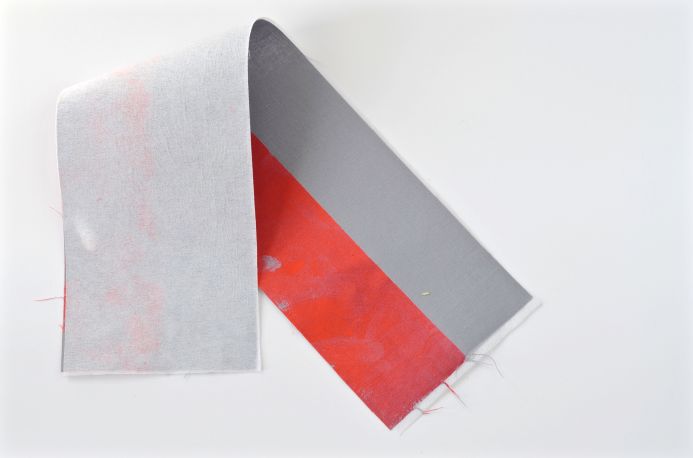
3. Iron on interfacing. This is actually a two-in-one step, because you should iron the paint to seal it, as per the instructions on the bottle.
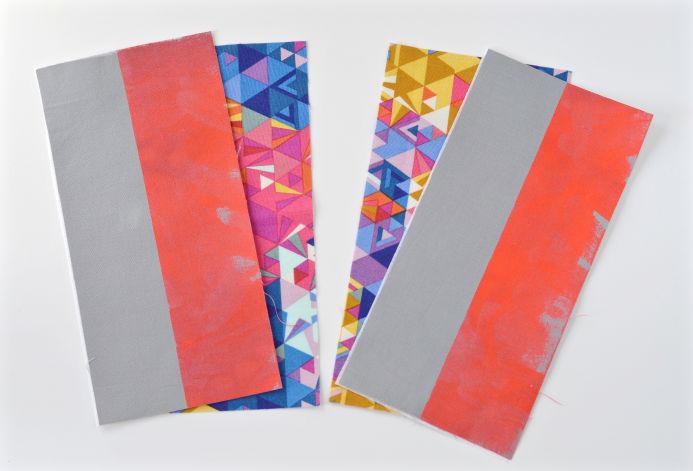
4. Cut both interior and exterior into 8 ½ inch x 4 ¼ inch rectangles.
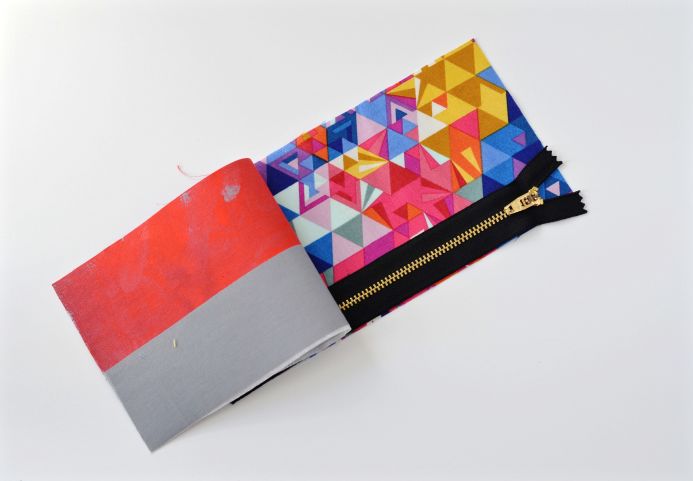
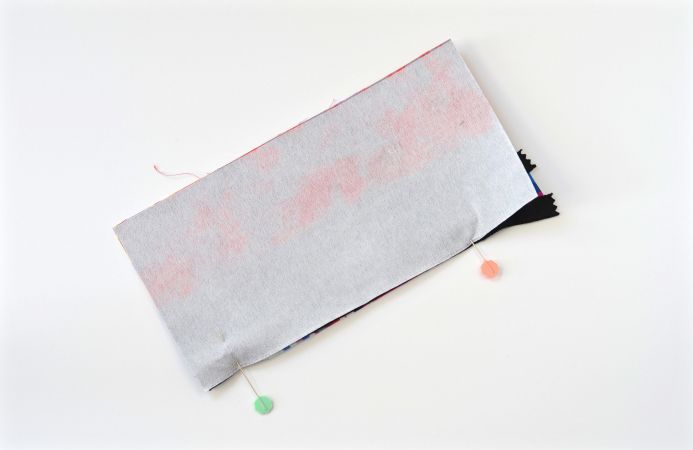
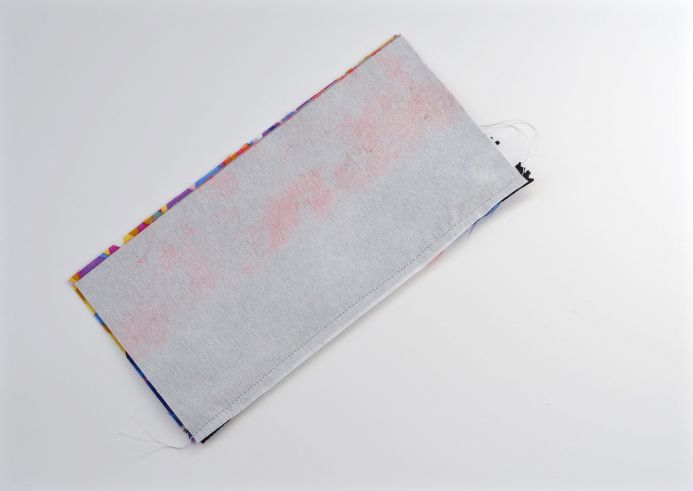
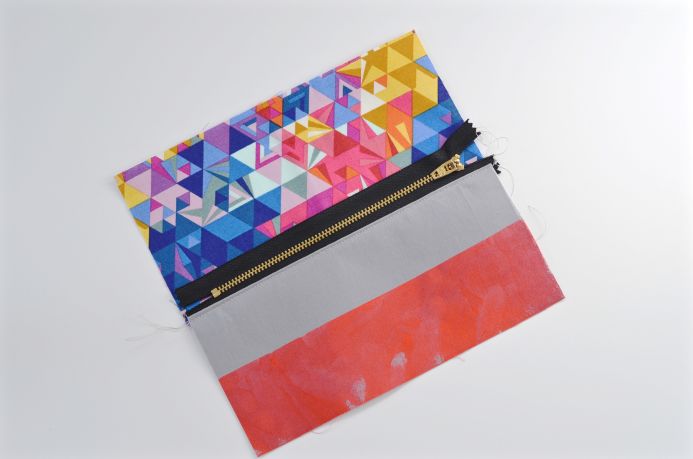
5. Sew on zipper: Make a sandwich with right sides together. Stick your zipper in there as the “meat” of the sandwich, making sure the tab side of zipper is facing the grey exterior fabric. Pin. Using your zipper foot attachment, sew along the edge. Fold the grey fabric over and top stitch, making sure the interior fabric stays out of the way.
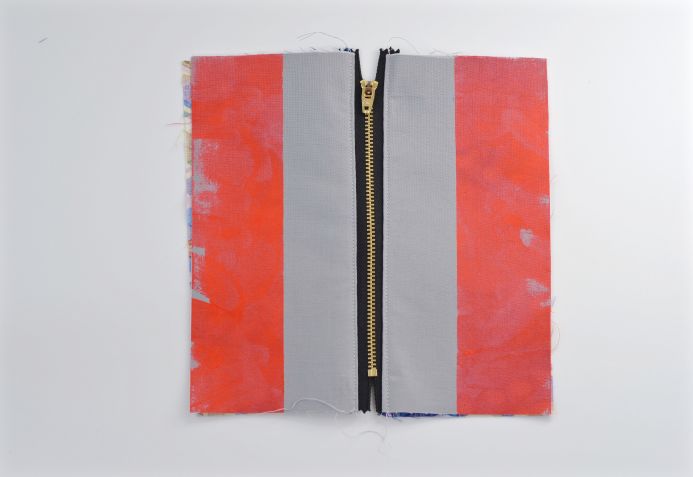
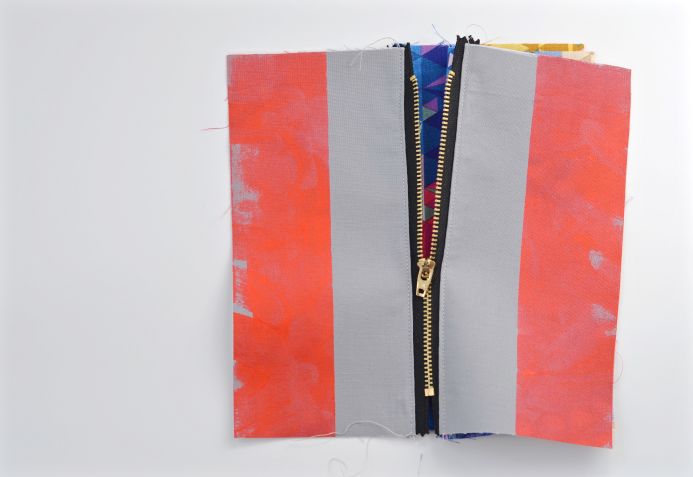
6. Repeat on the other side. Unzip zipper about ¾ of the way down (Don’t skip this step!)
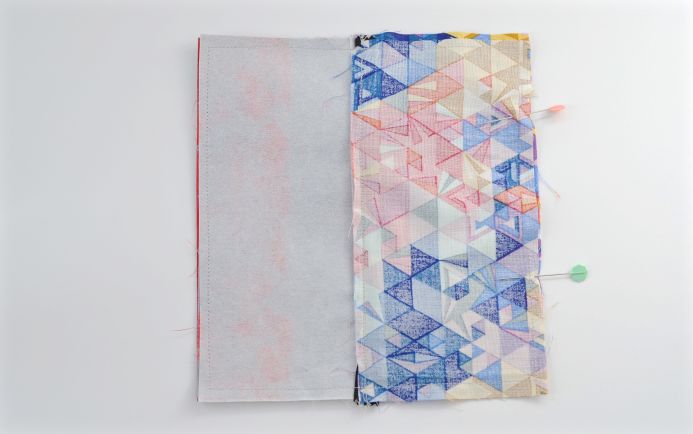
7. Place right sides together (grey-to-grey and geometric-to-geometric) and pin. Sew along the periphery, leaving a 3 inch gap at the bottom edge of the interior fabric, as shown in the photo with pins.
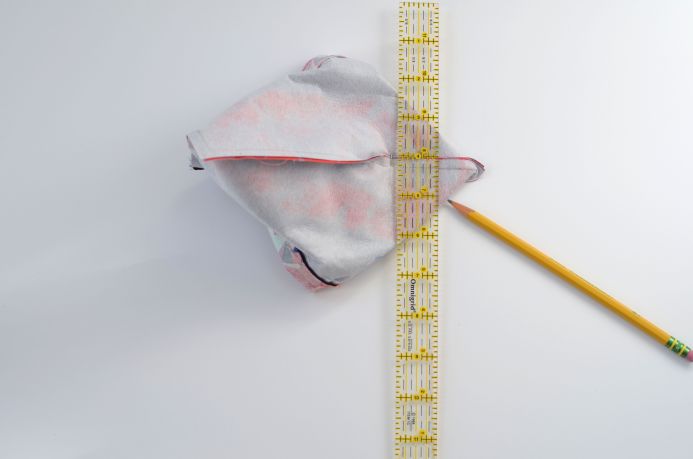
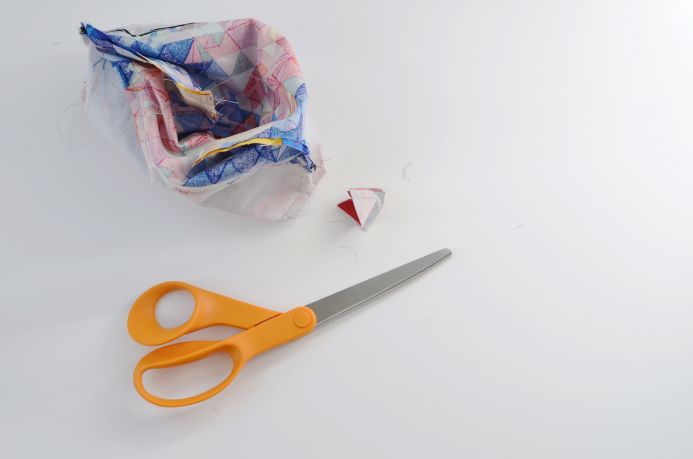
8. Gusset the corners (I used a 2 inch gusset) on all corners, including the interiors, so four total.
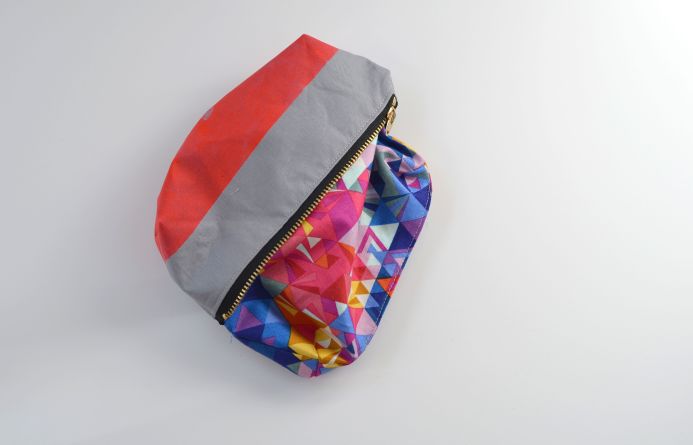
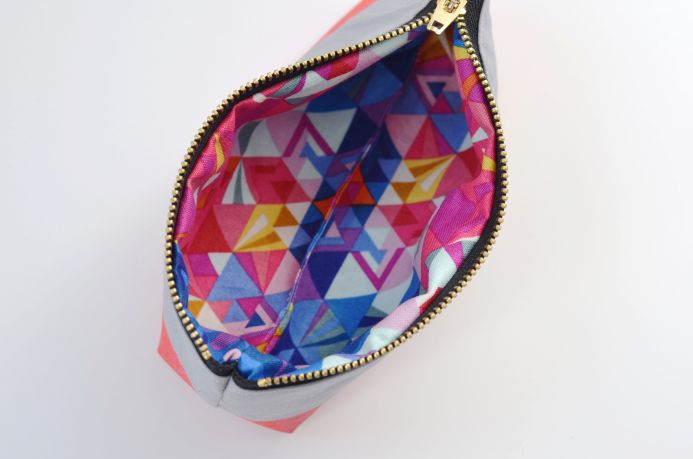
9. Finish bag. Pull through the 3 inch gap and close the gap with a top stitch, hiding the raw edges. Voilà!



2 Comments
Comments are closed.