
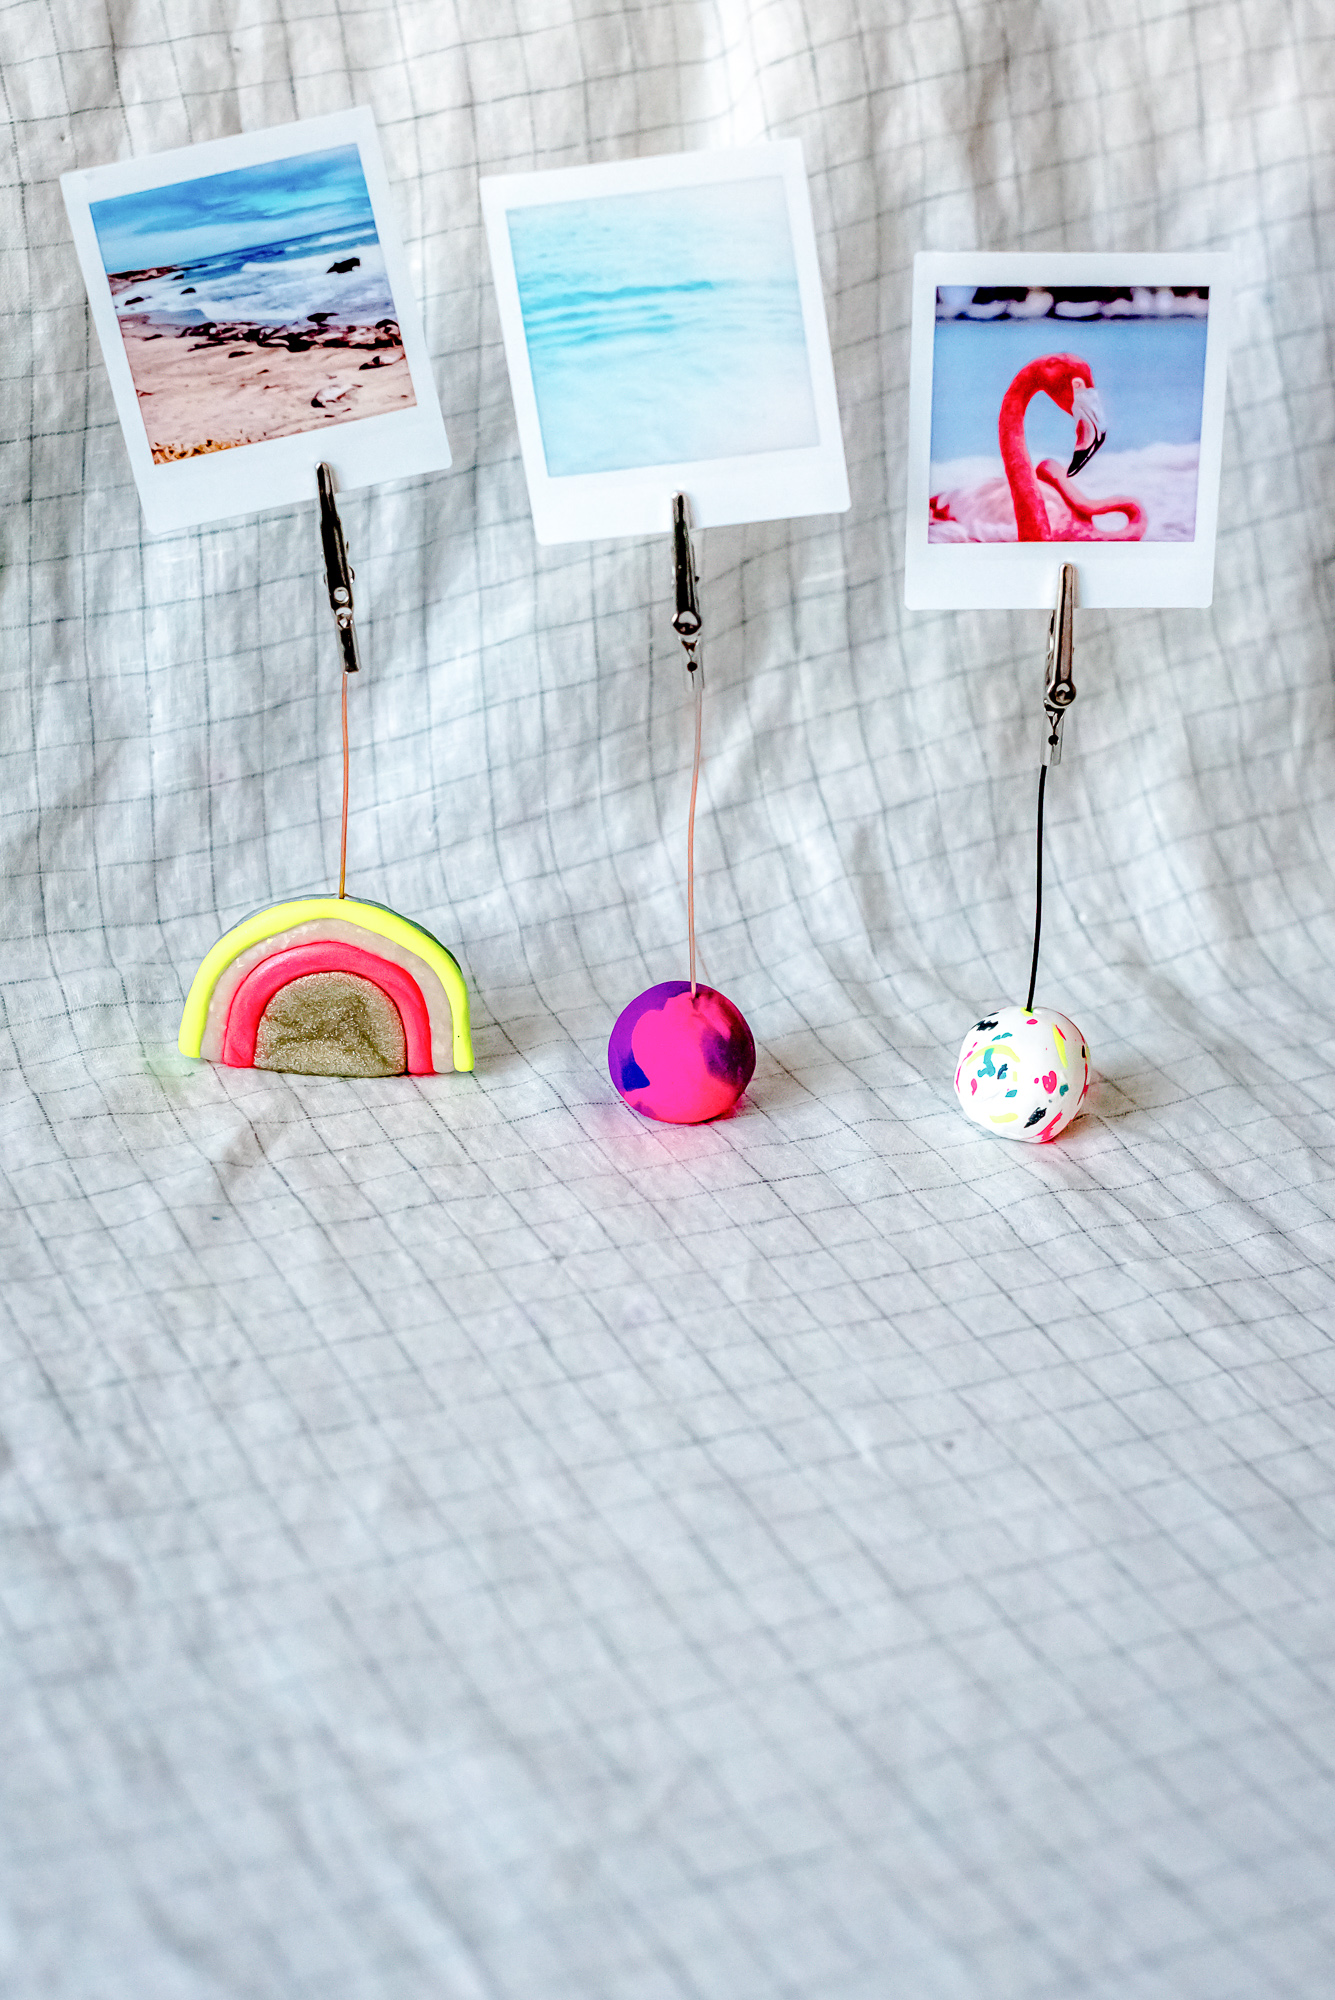
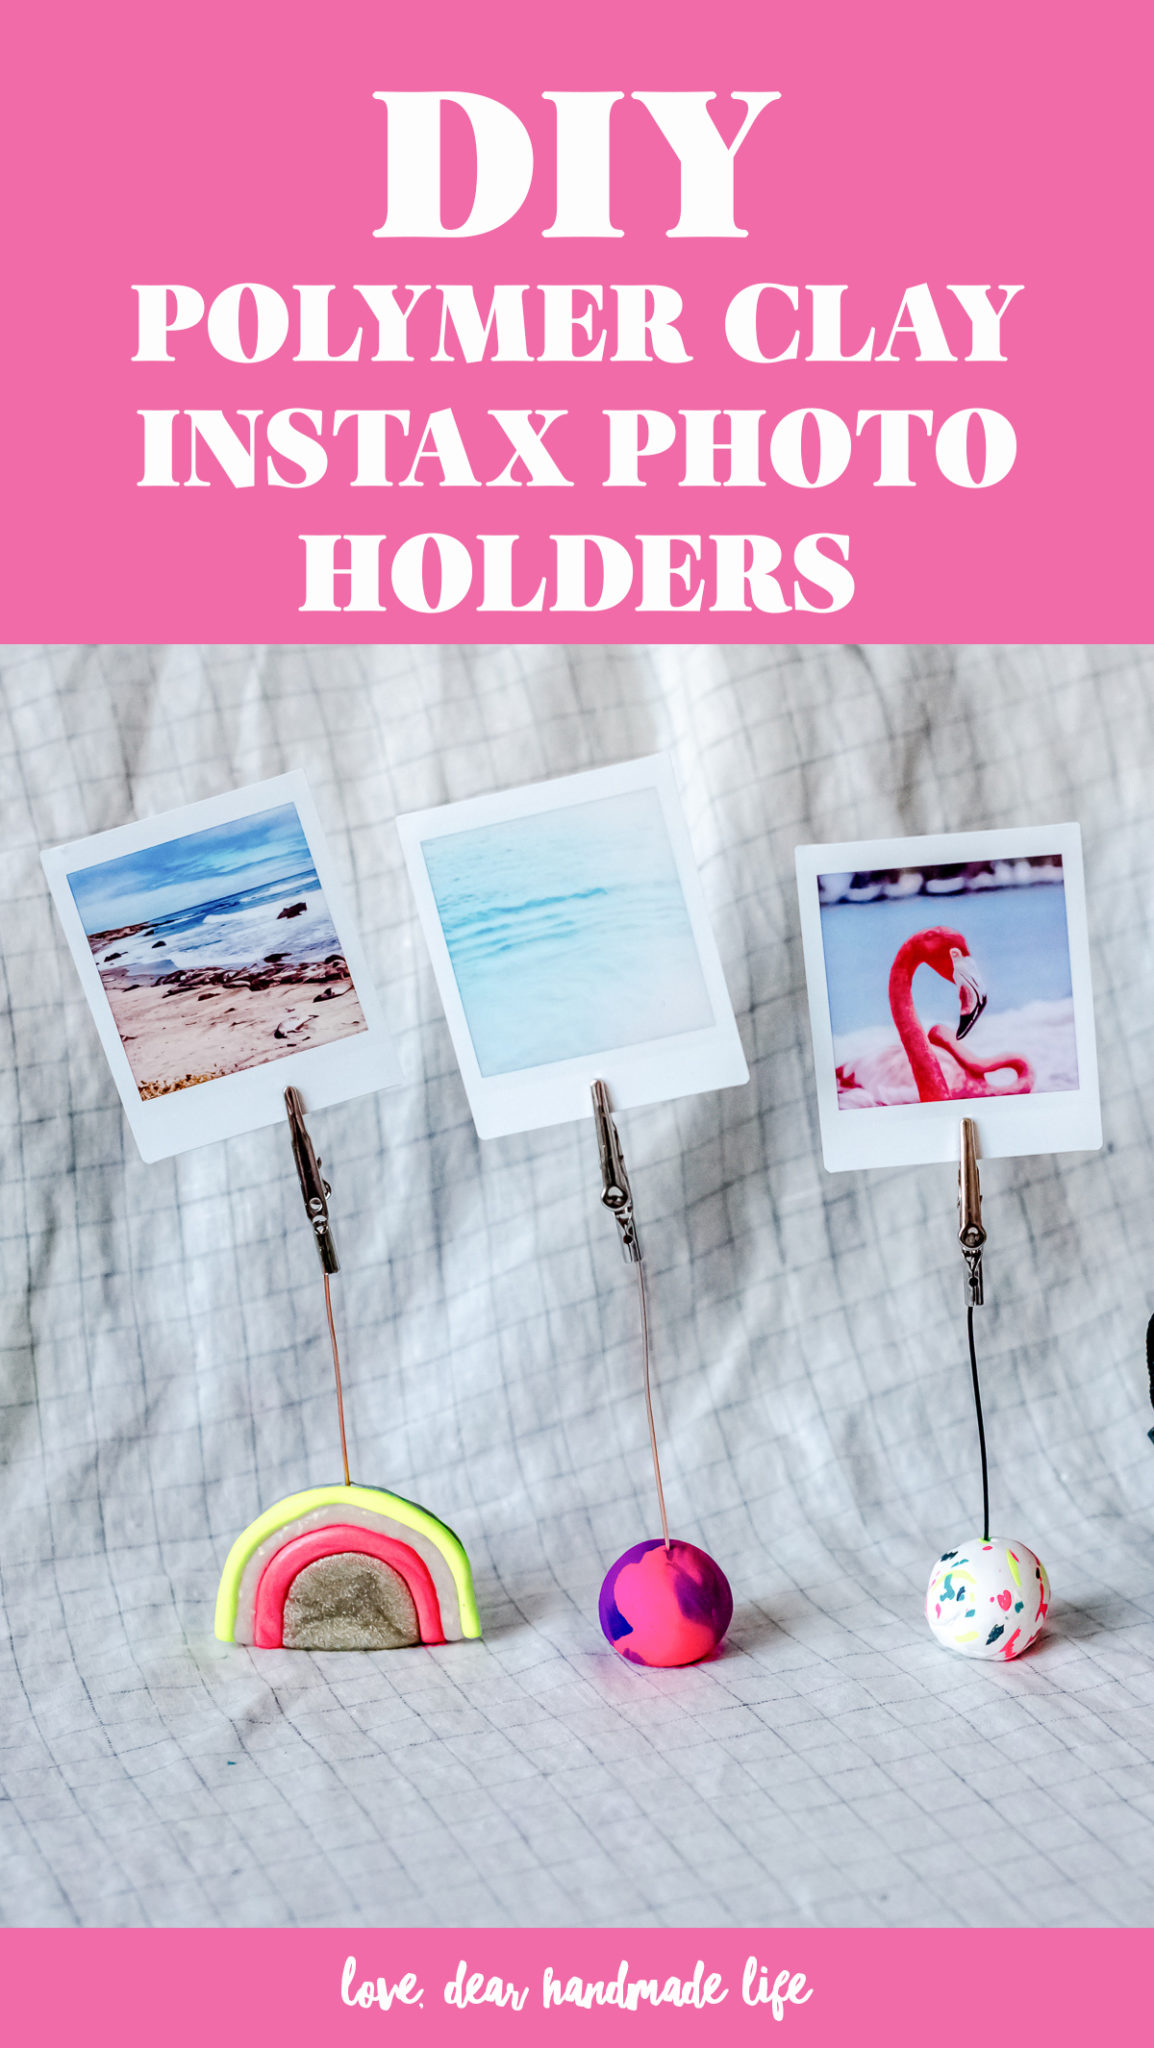
DIY Polymer Clay INSTAX Photo Holders
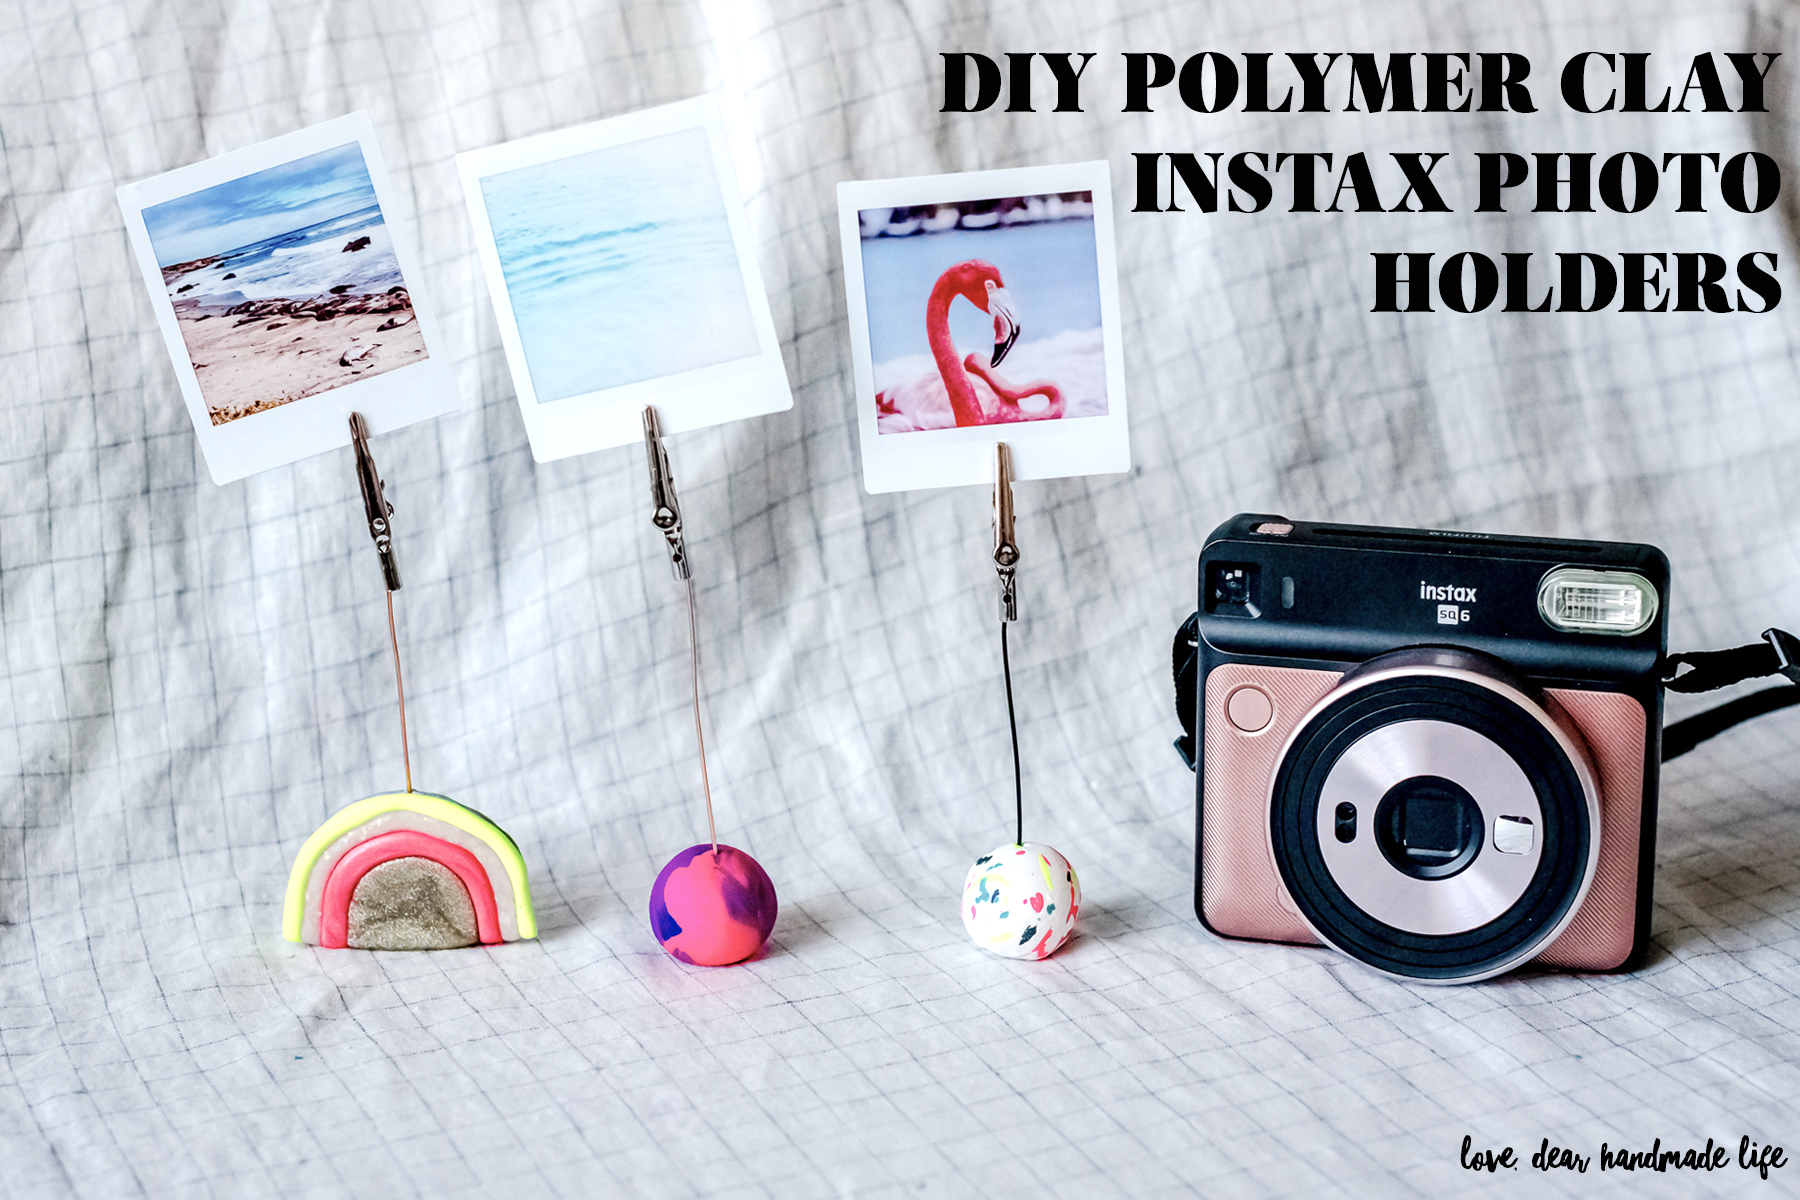
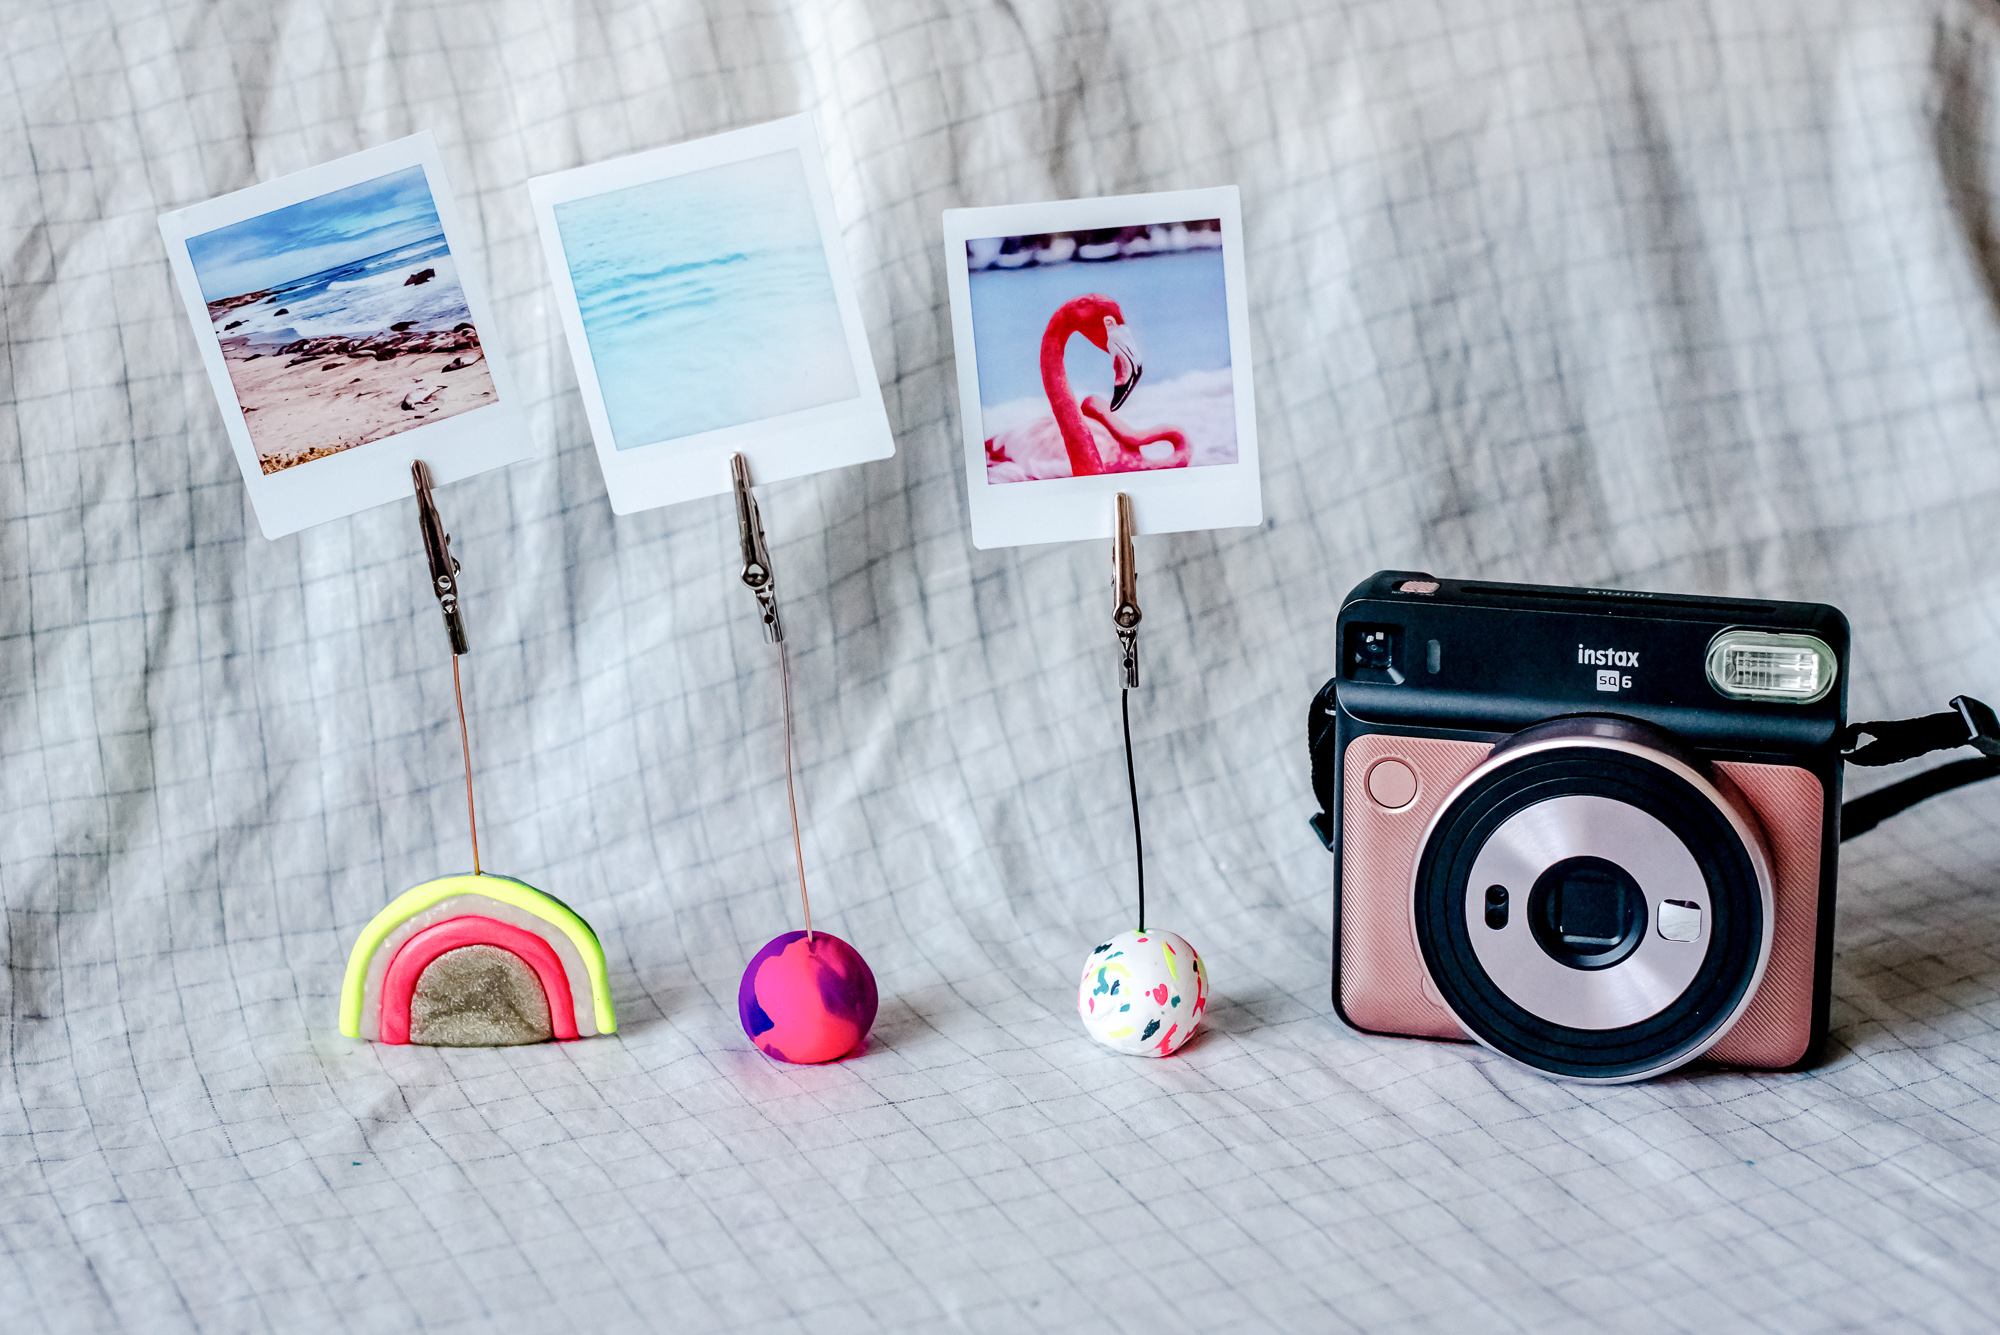
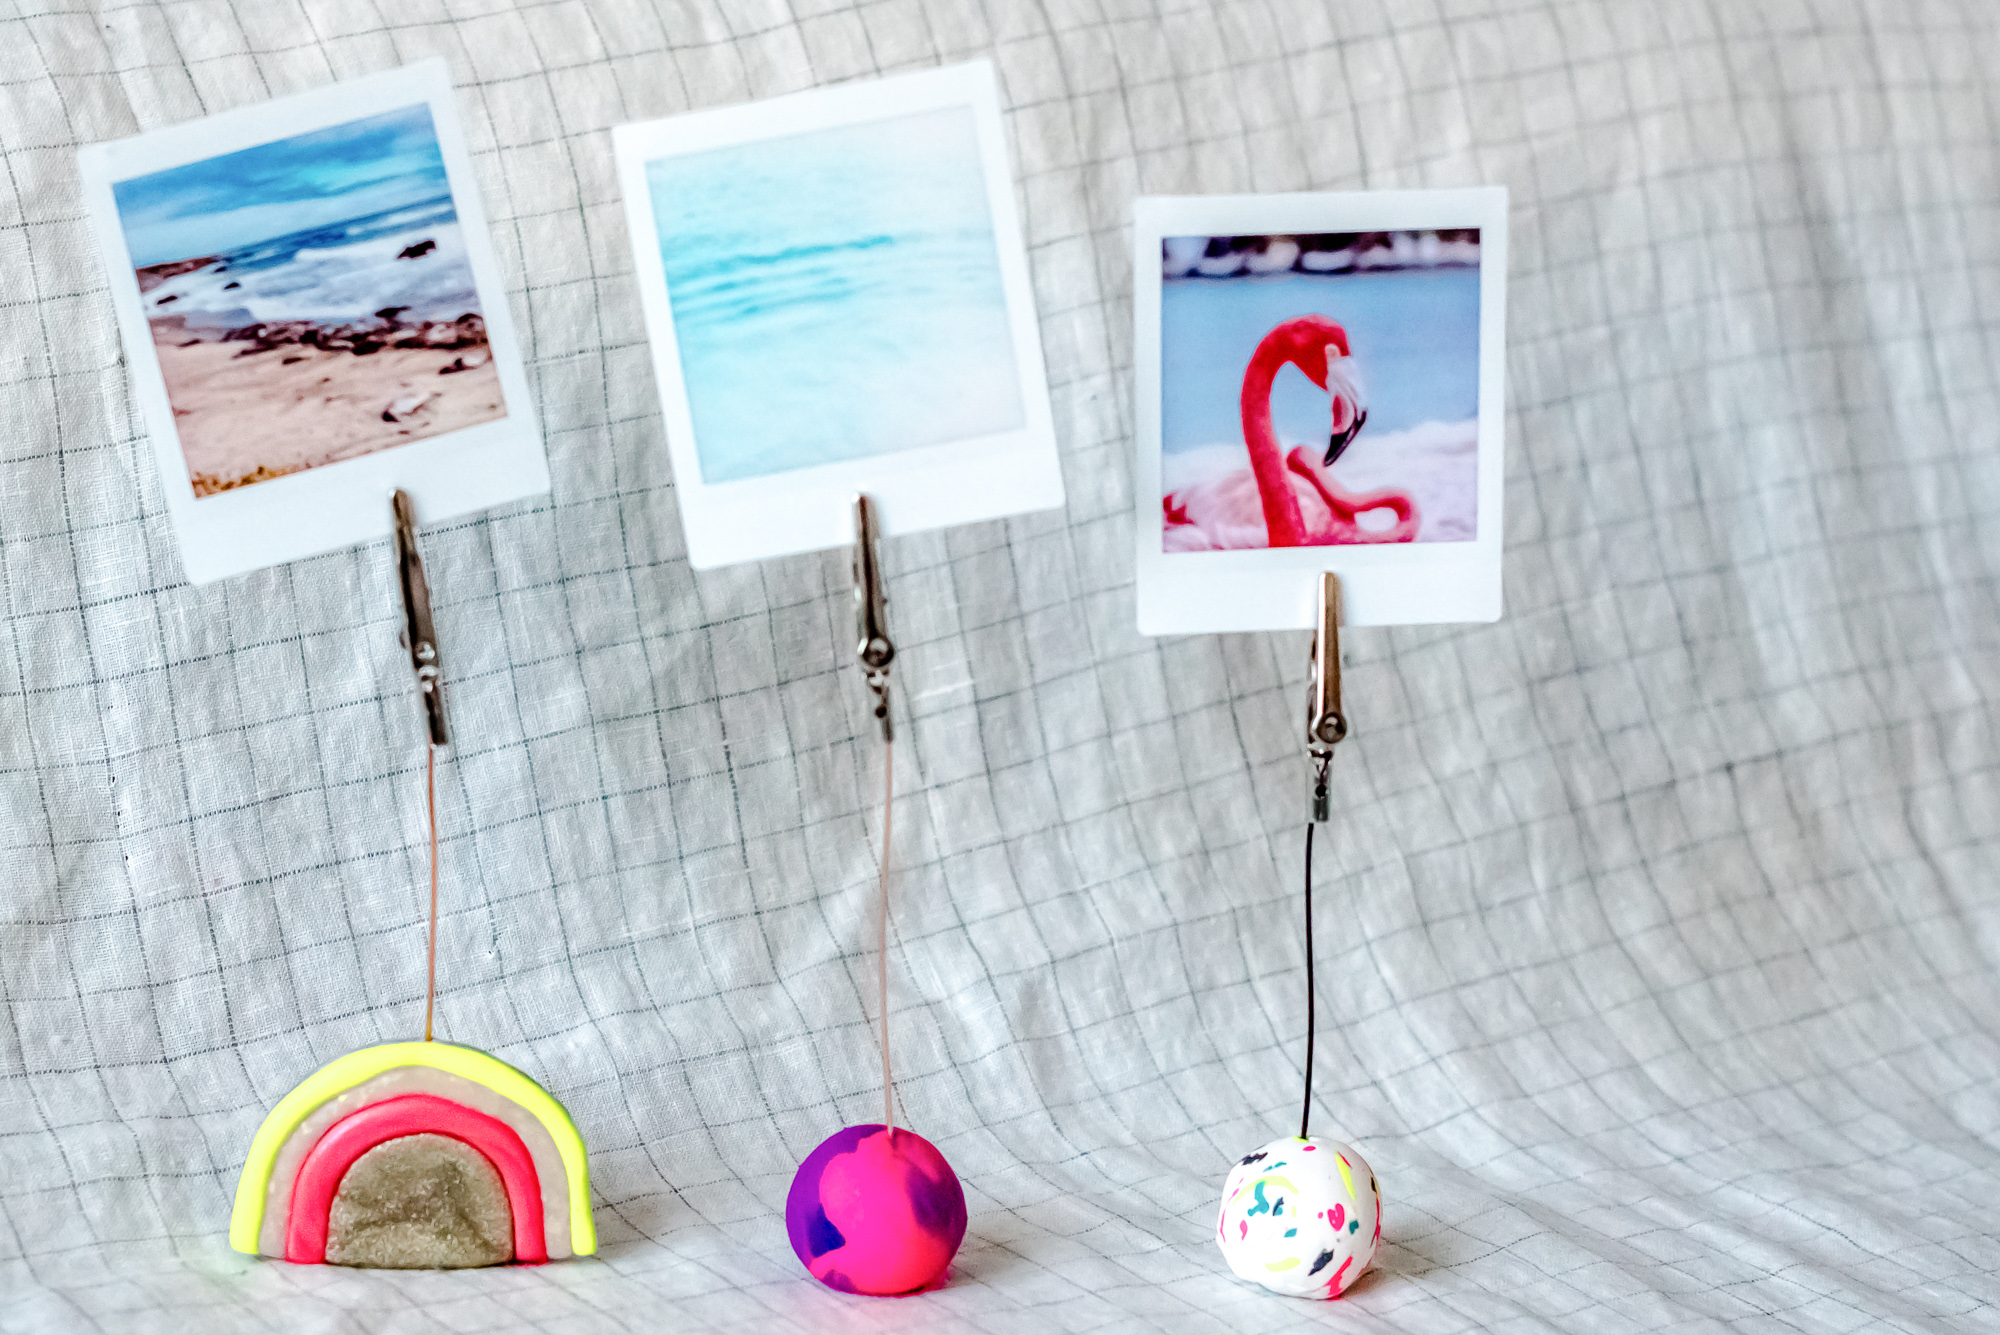
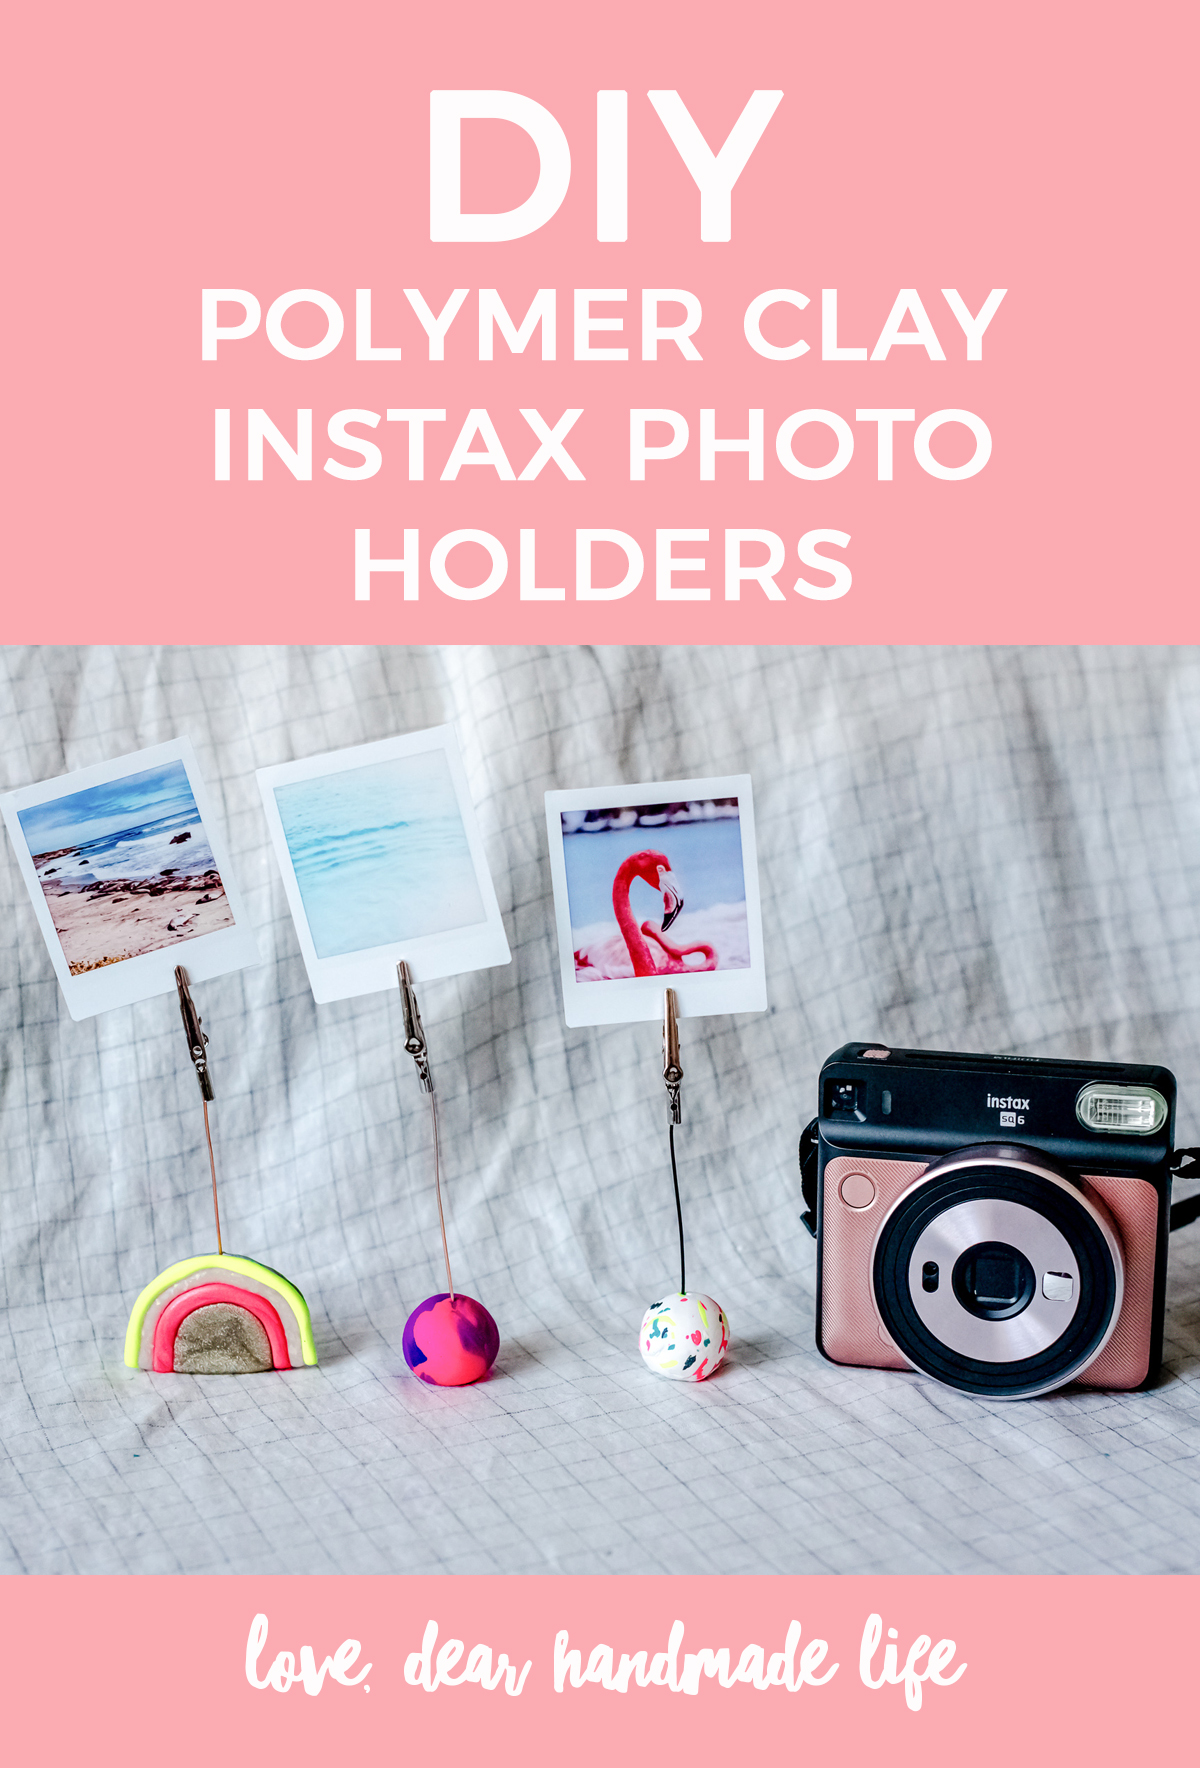
I love taking photos with my FUJIFILM instax SQUARE® SQ-6 instant camera but most of the time they just end up in little piles around my house instead of displayed proudly. So I decided to make these cute polymer clay photo holders so that I’ll have a fun and unique way to display my instax photos, and the best part is I can swap them out or rotate them whenever I want!
WHAT TO GET:
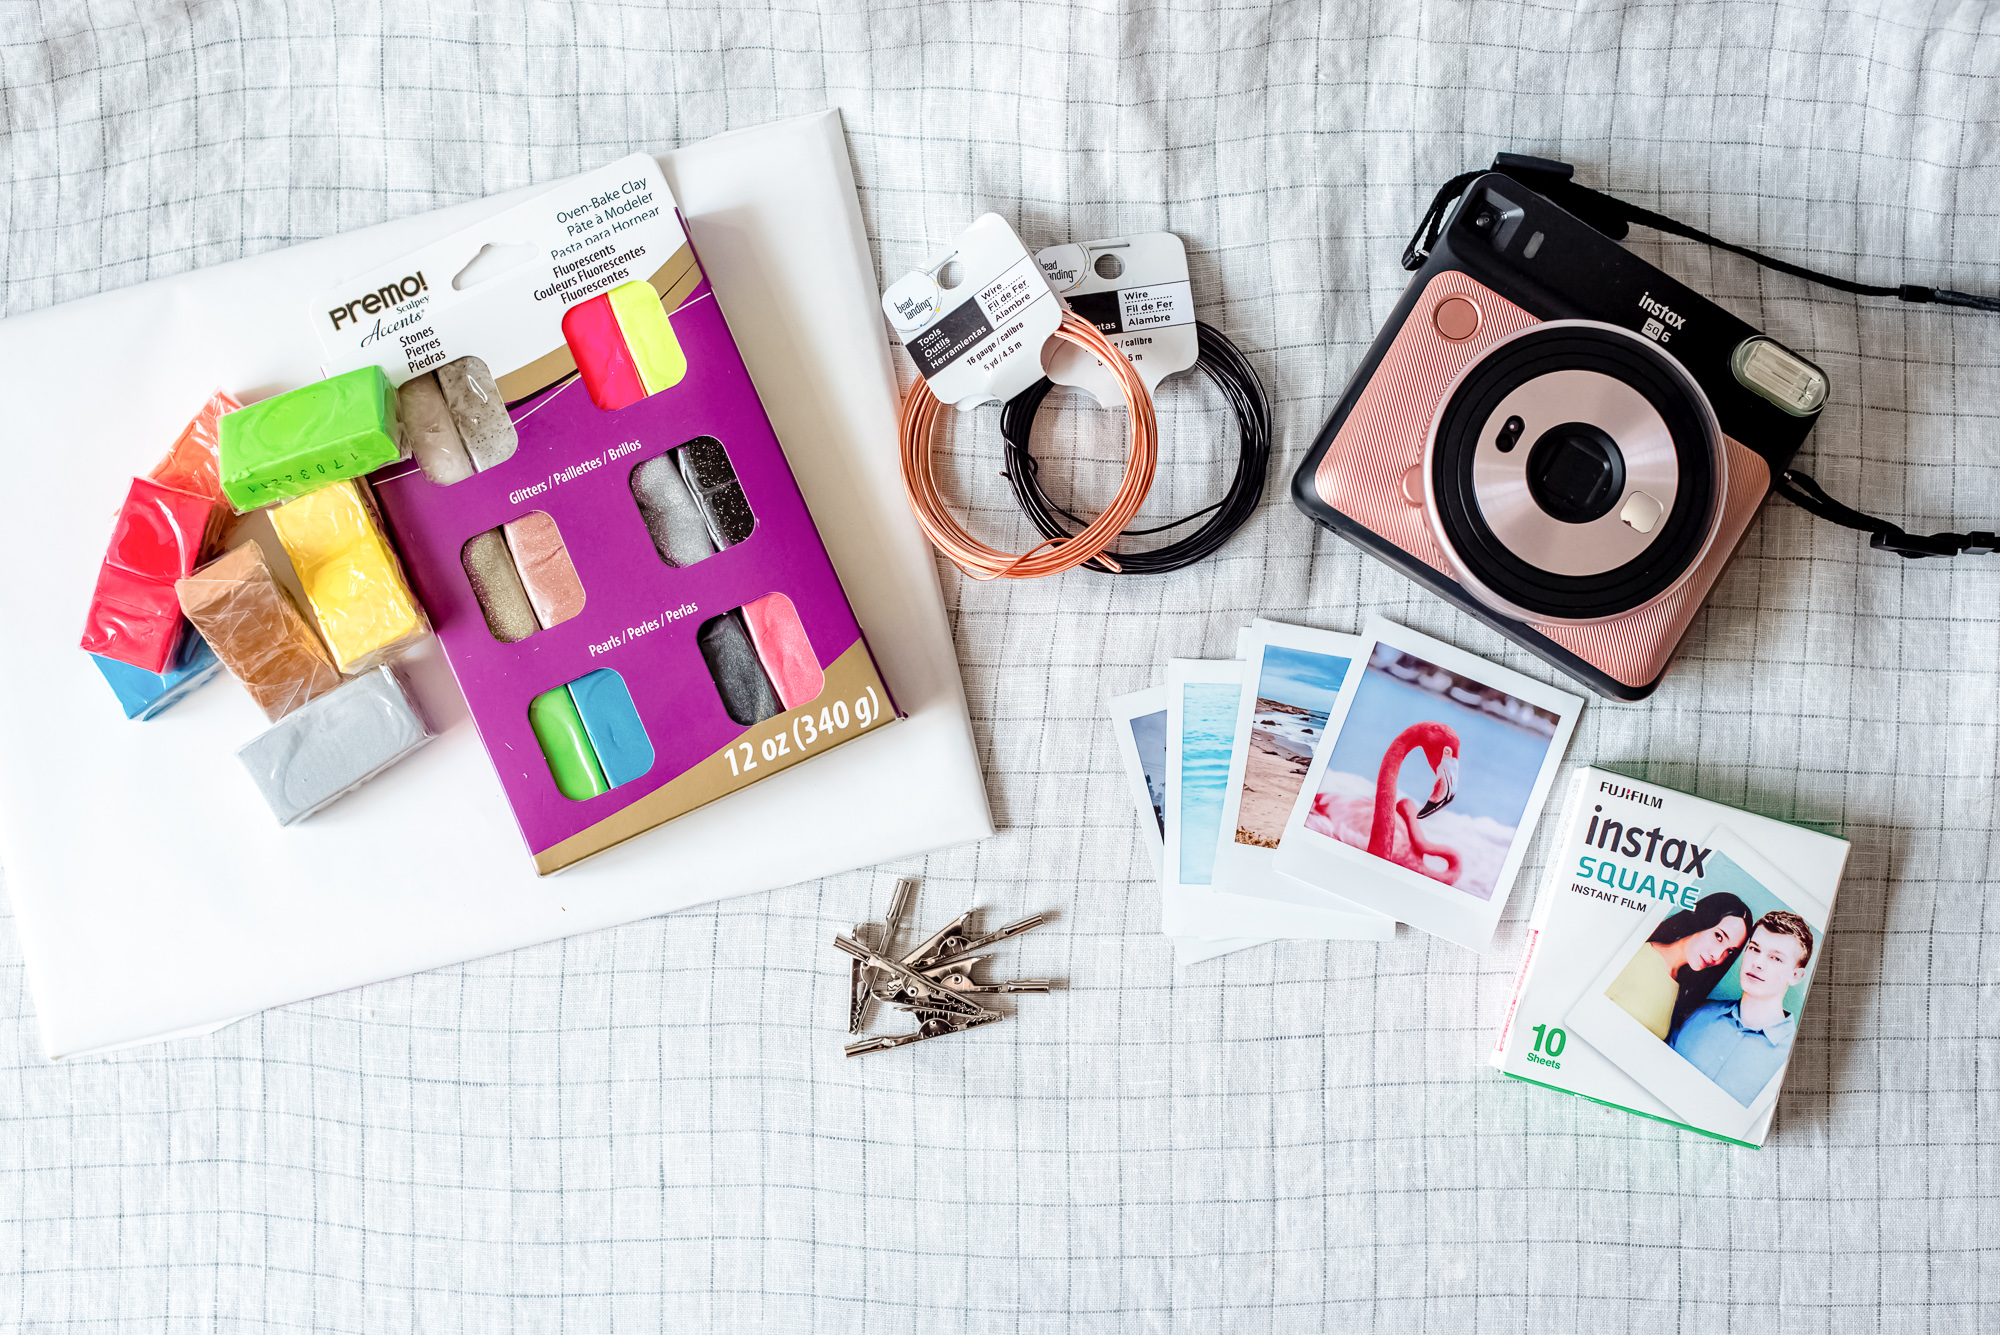
–FUJIFILM instax SQUARE® SQ-6 instant camera
-Polymer Clay, I used Sculpy Preemo The ‘accents’ pack & Bright Colors
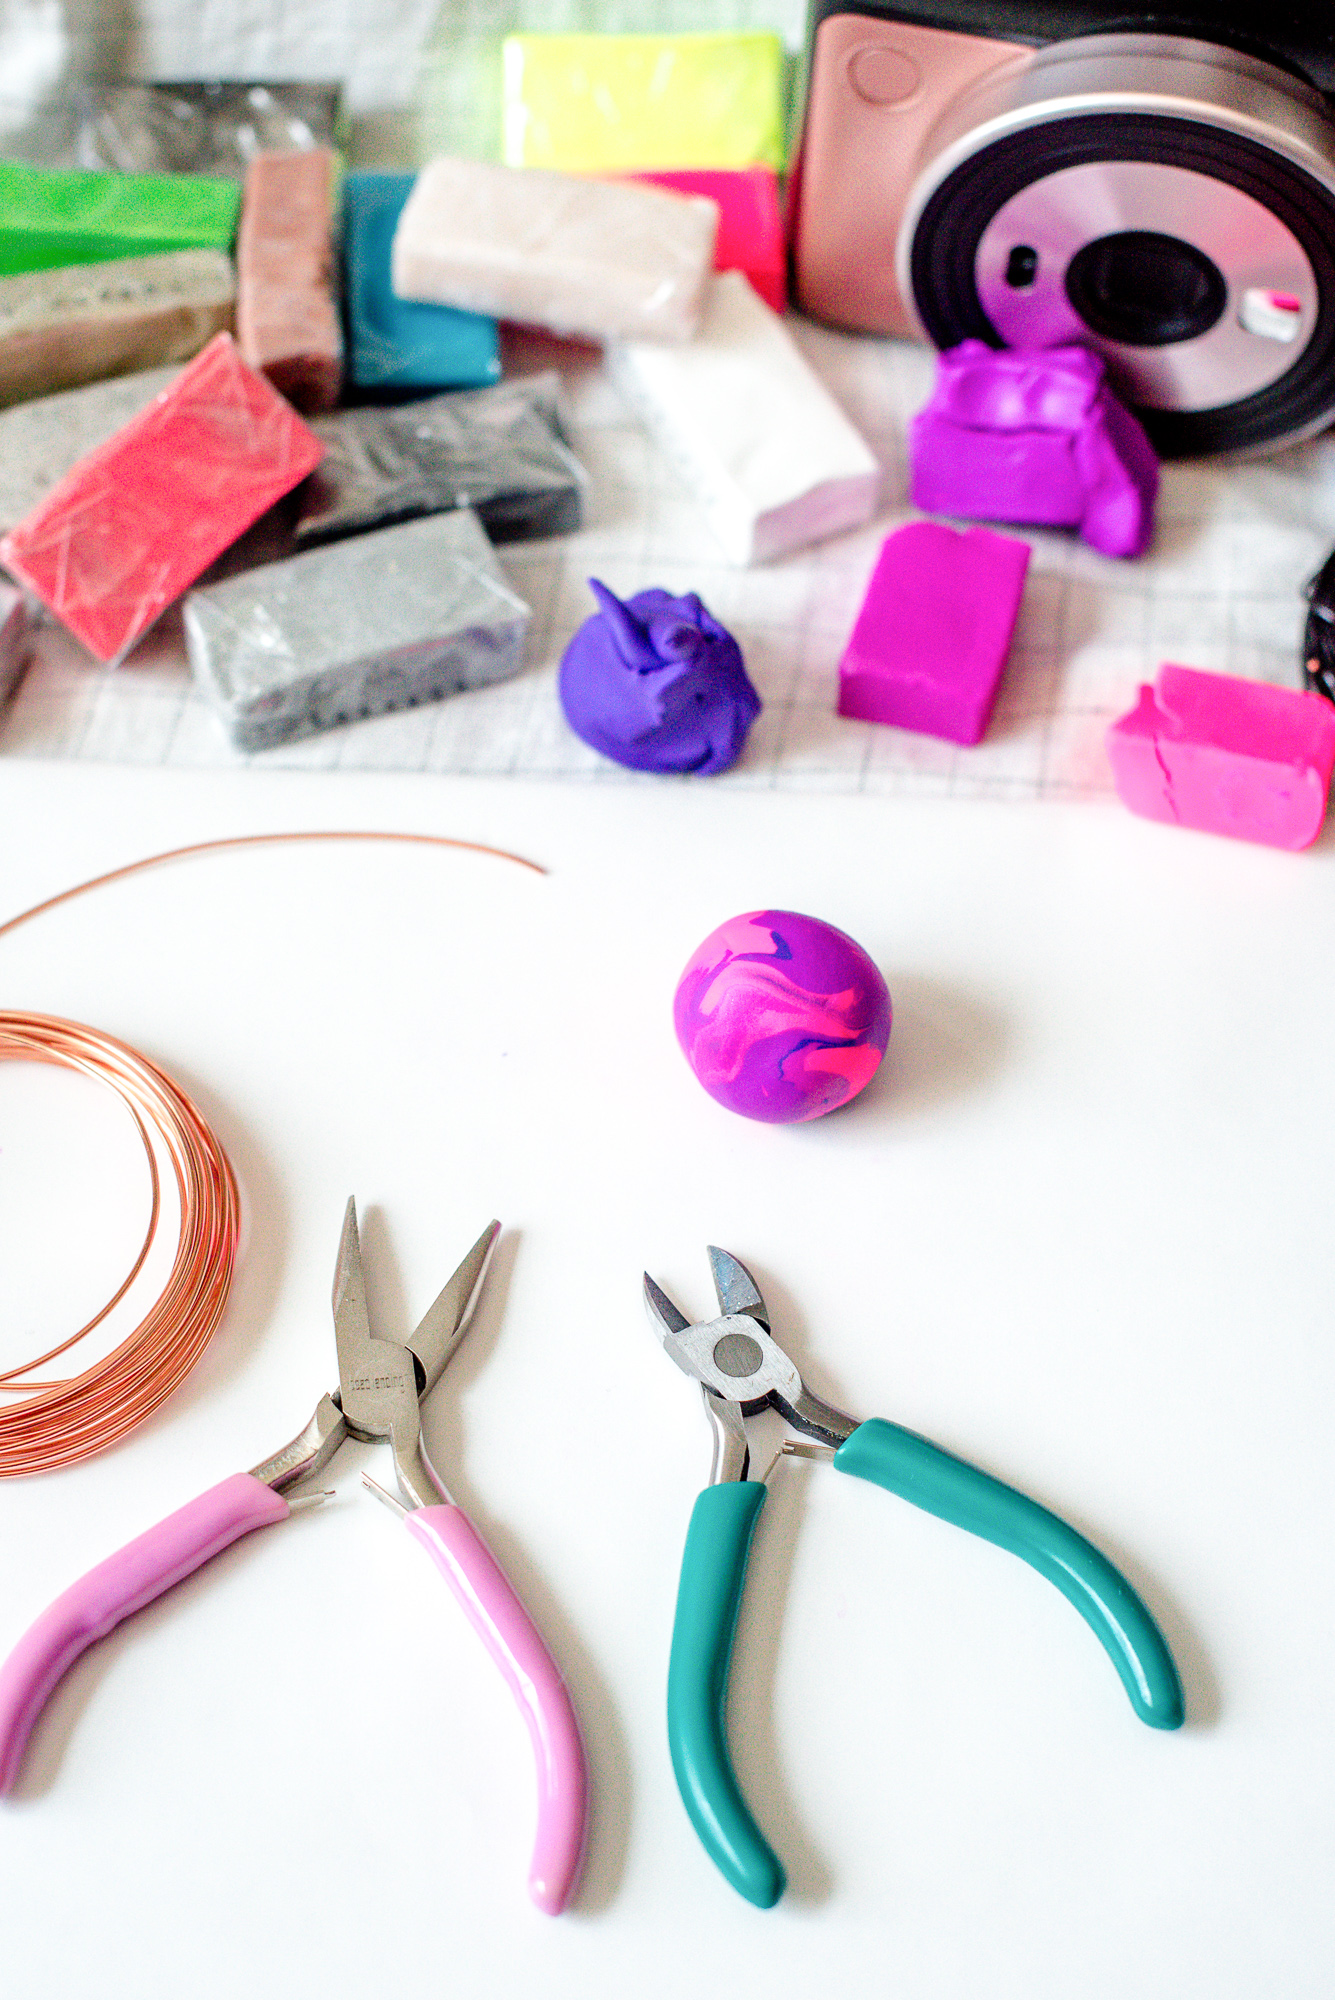
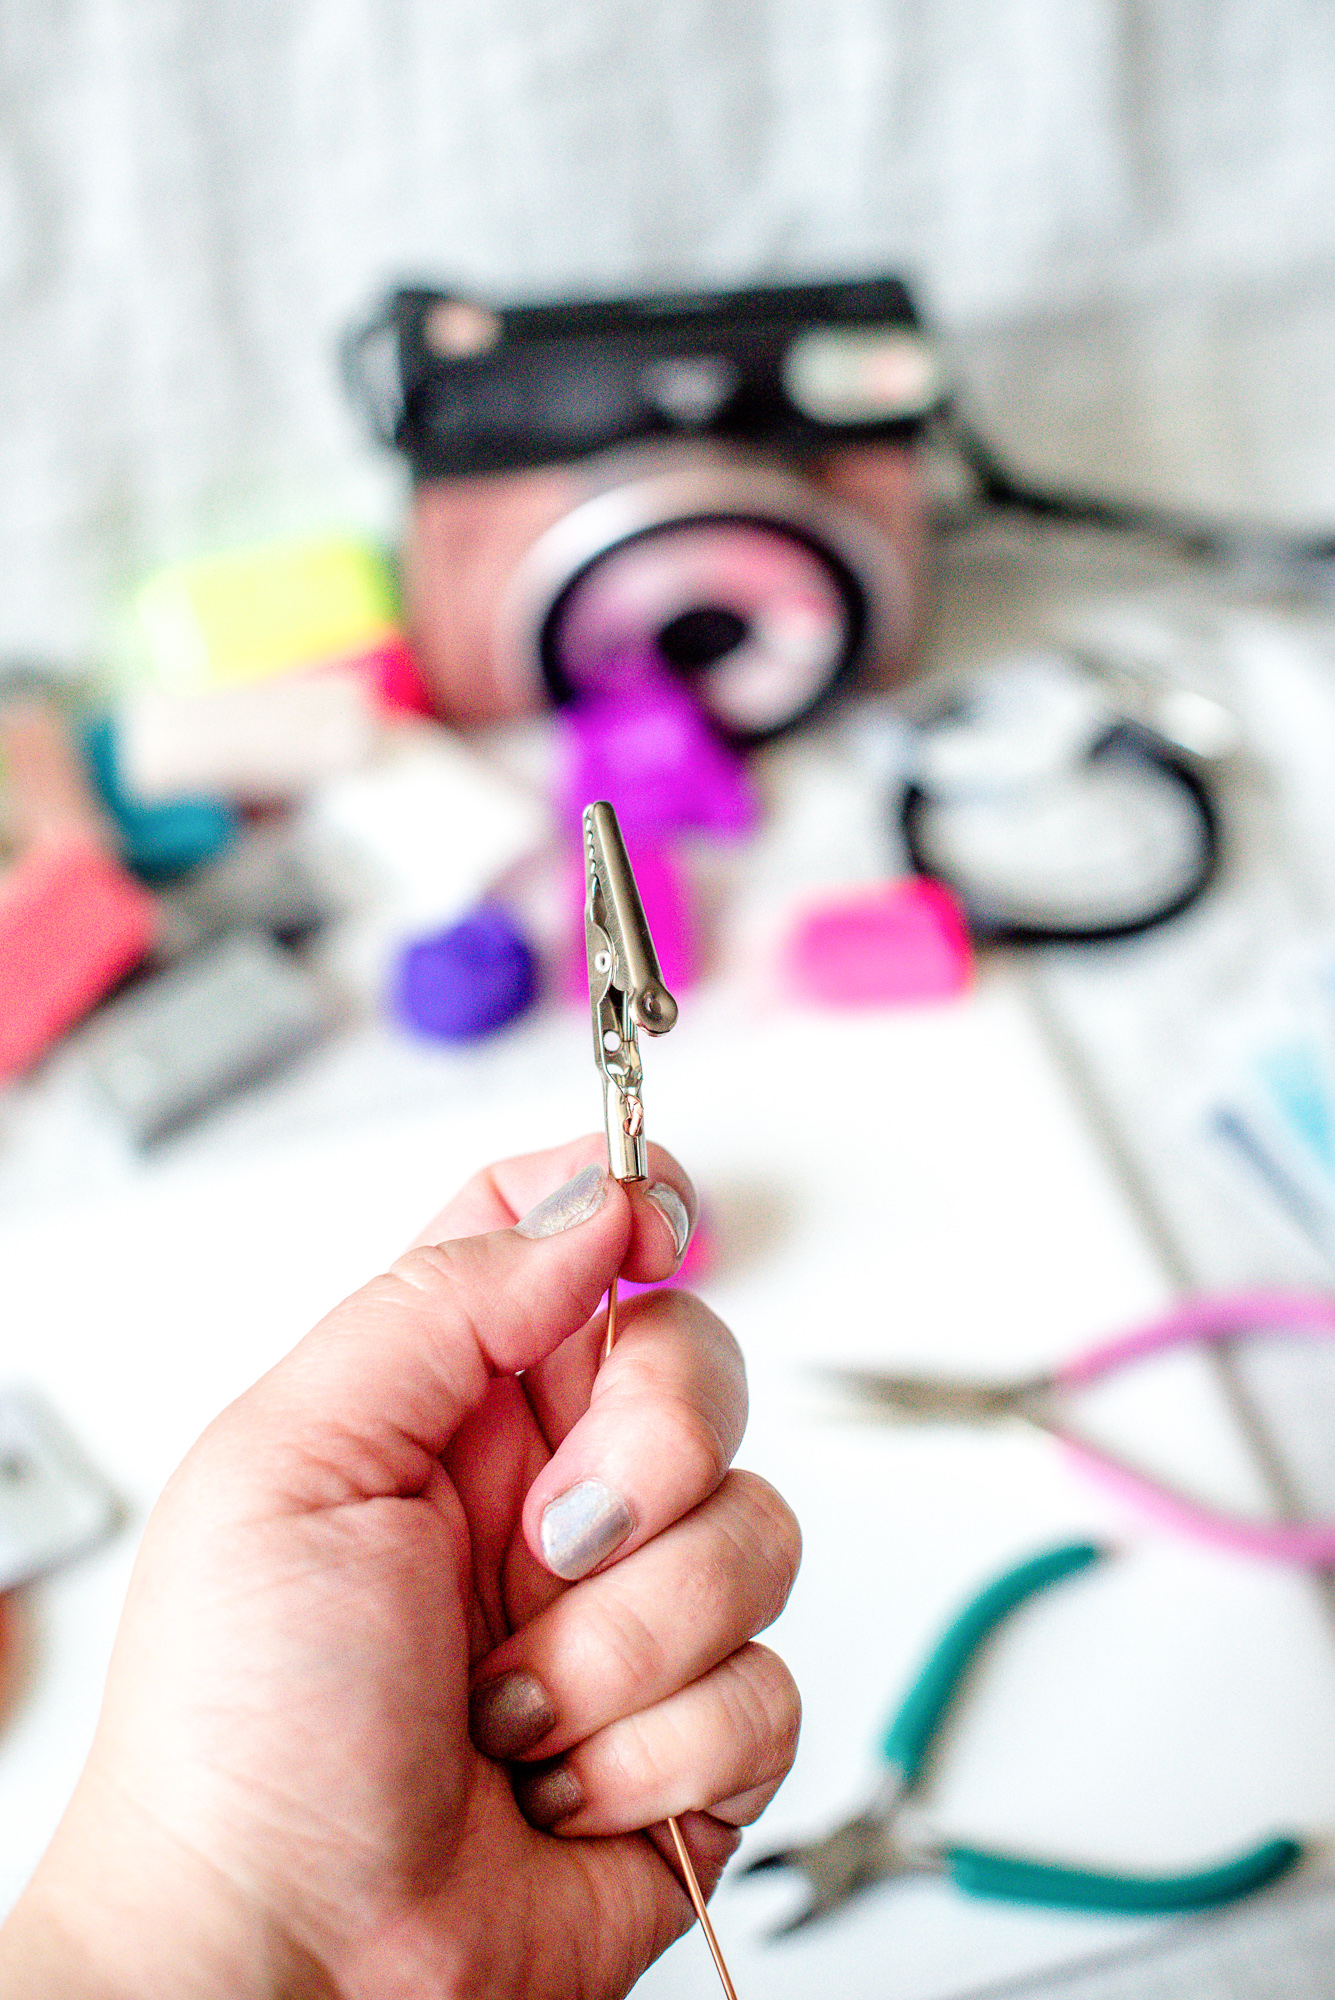
–Bendable Copper Wire (I used a 16 gauge in copper & black)
-A clean workspace for clay like plastic placemat or cutting board. I made my own by taping wax paper over a square piece of cardboard.
Not Pictured:
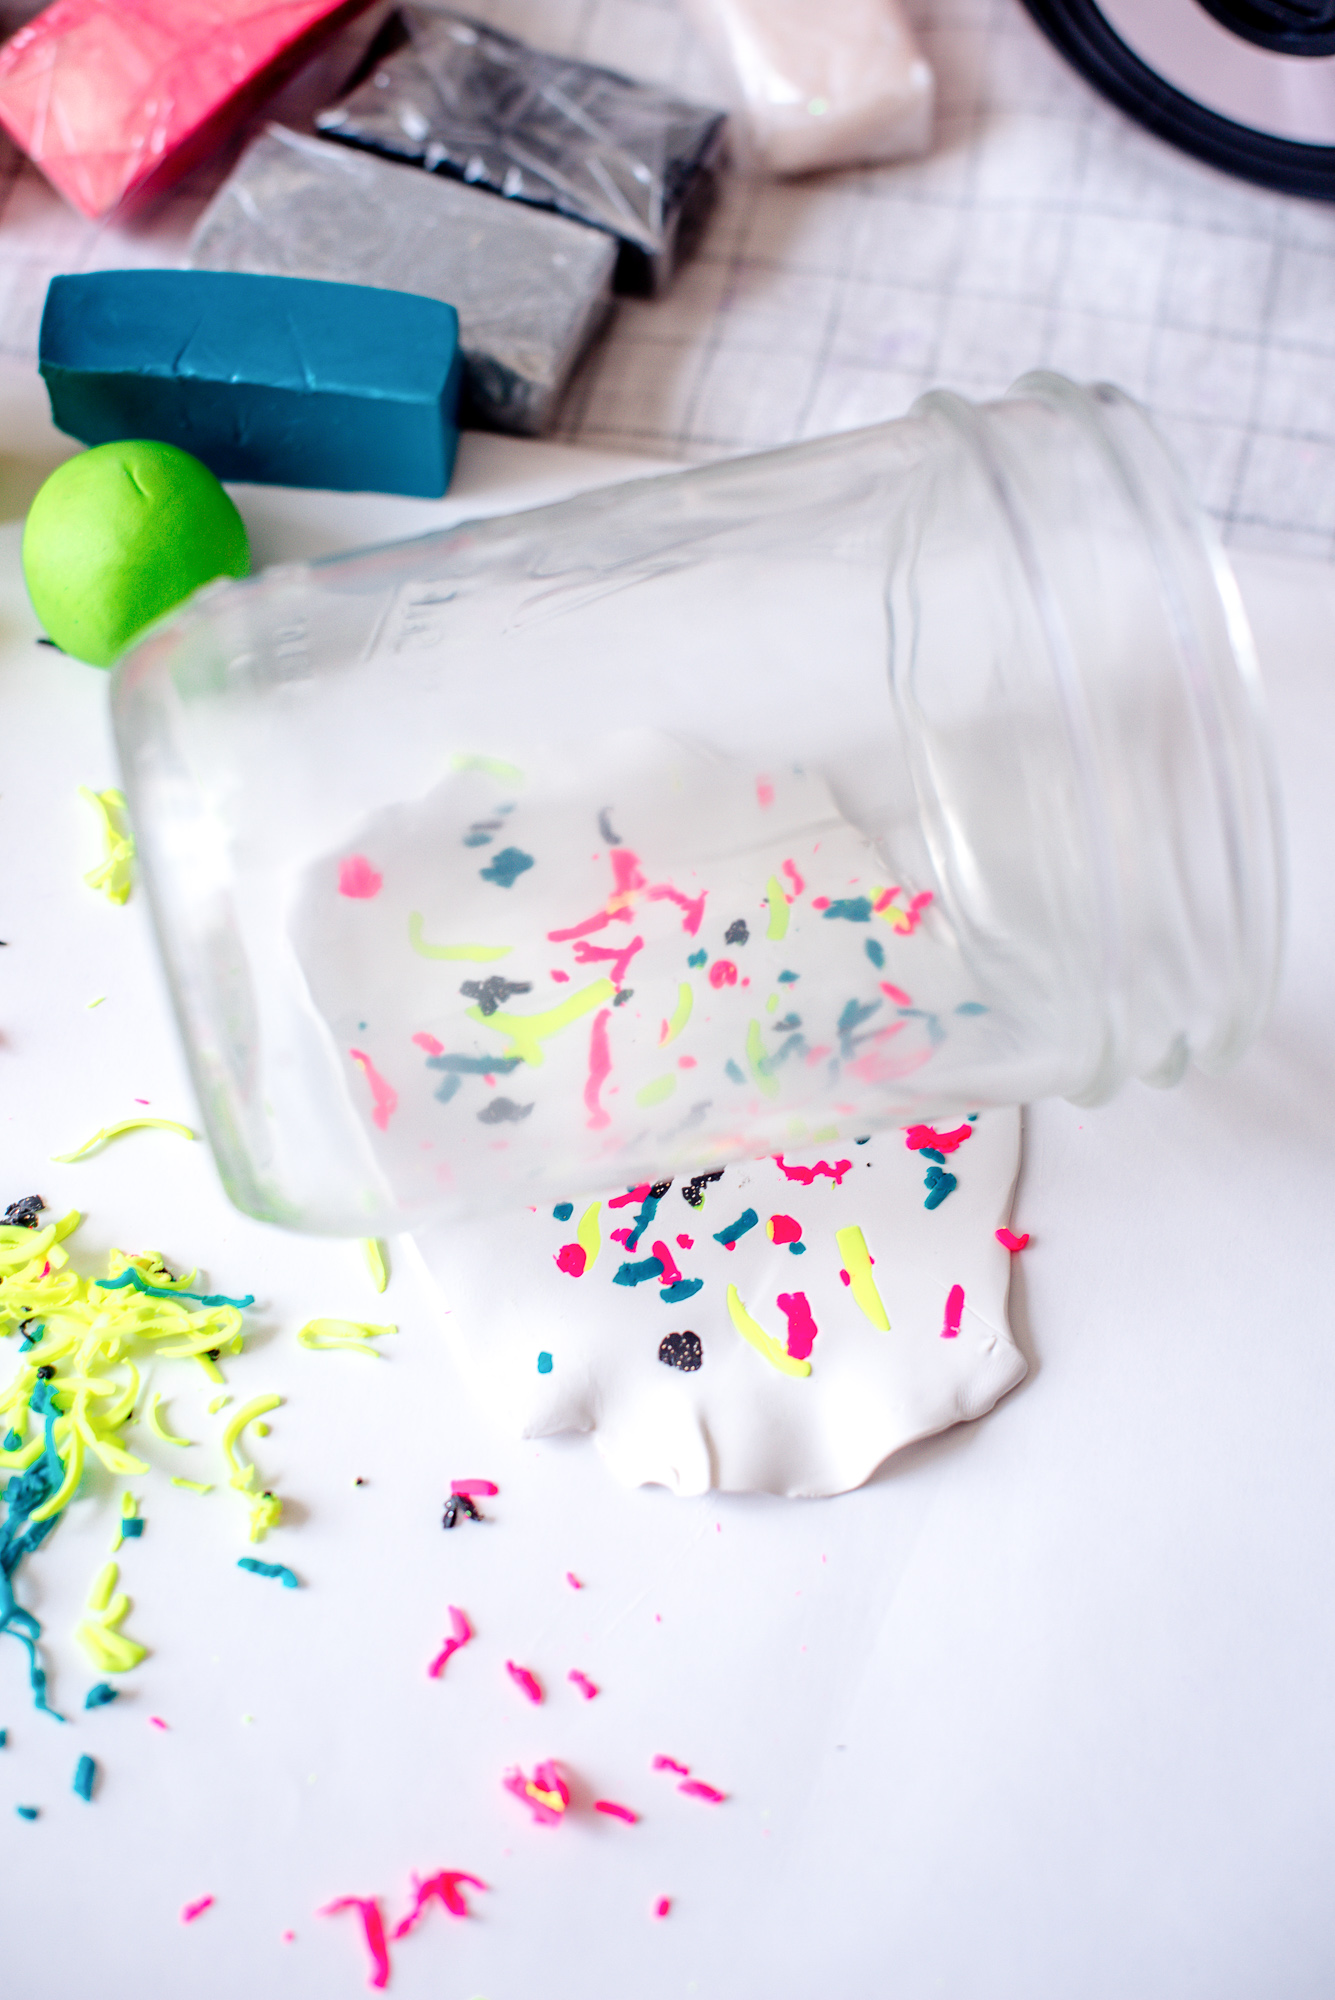
-Rolling pin or Glass Jar
-Wire Cutters
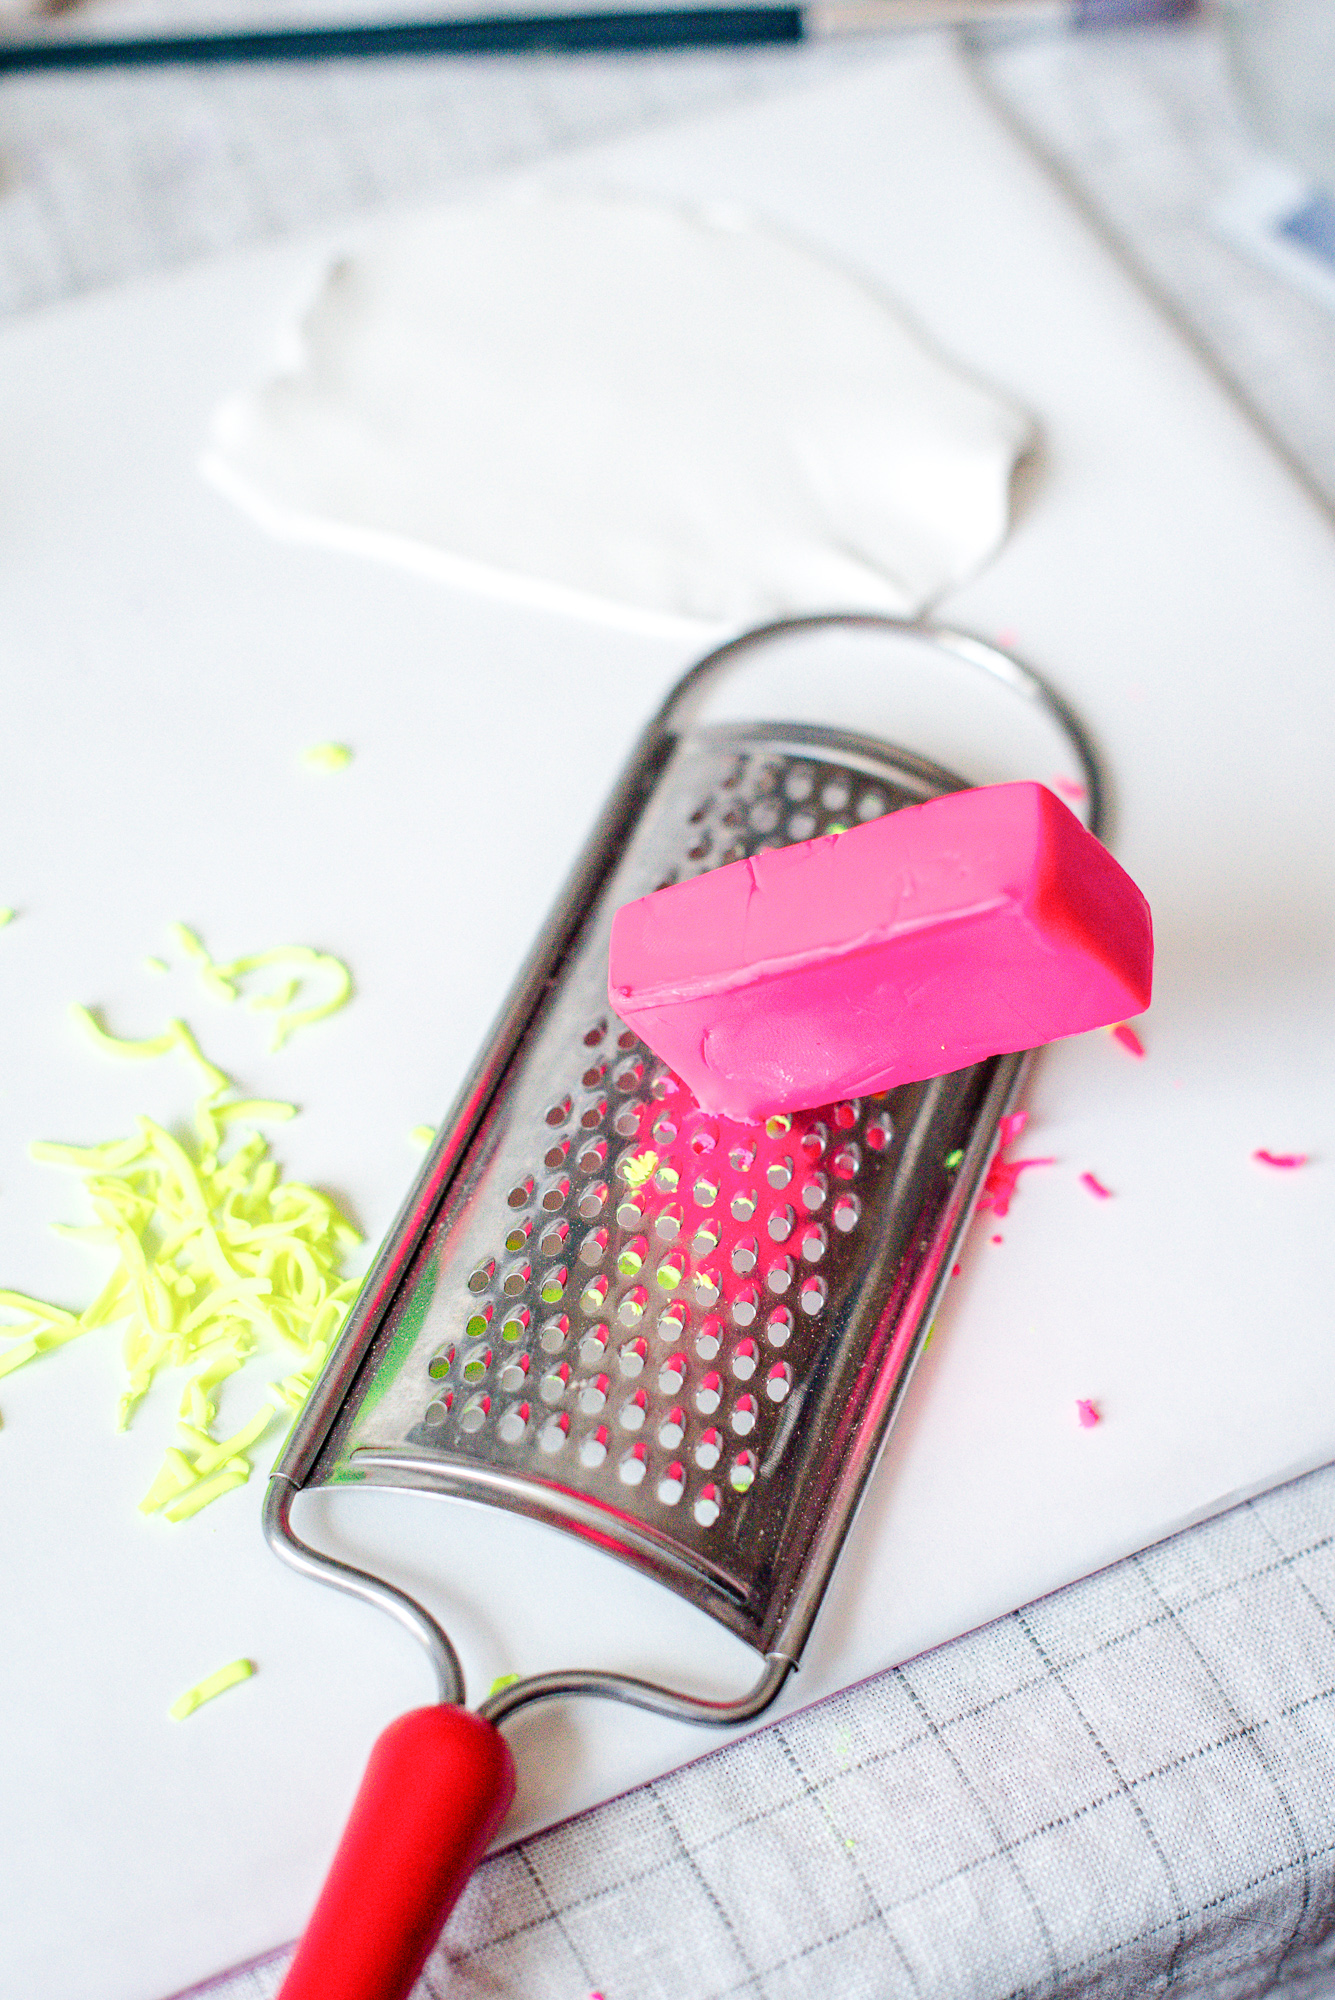
-Thin cheese grater
WHAT TO DO:
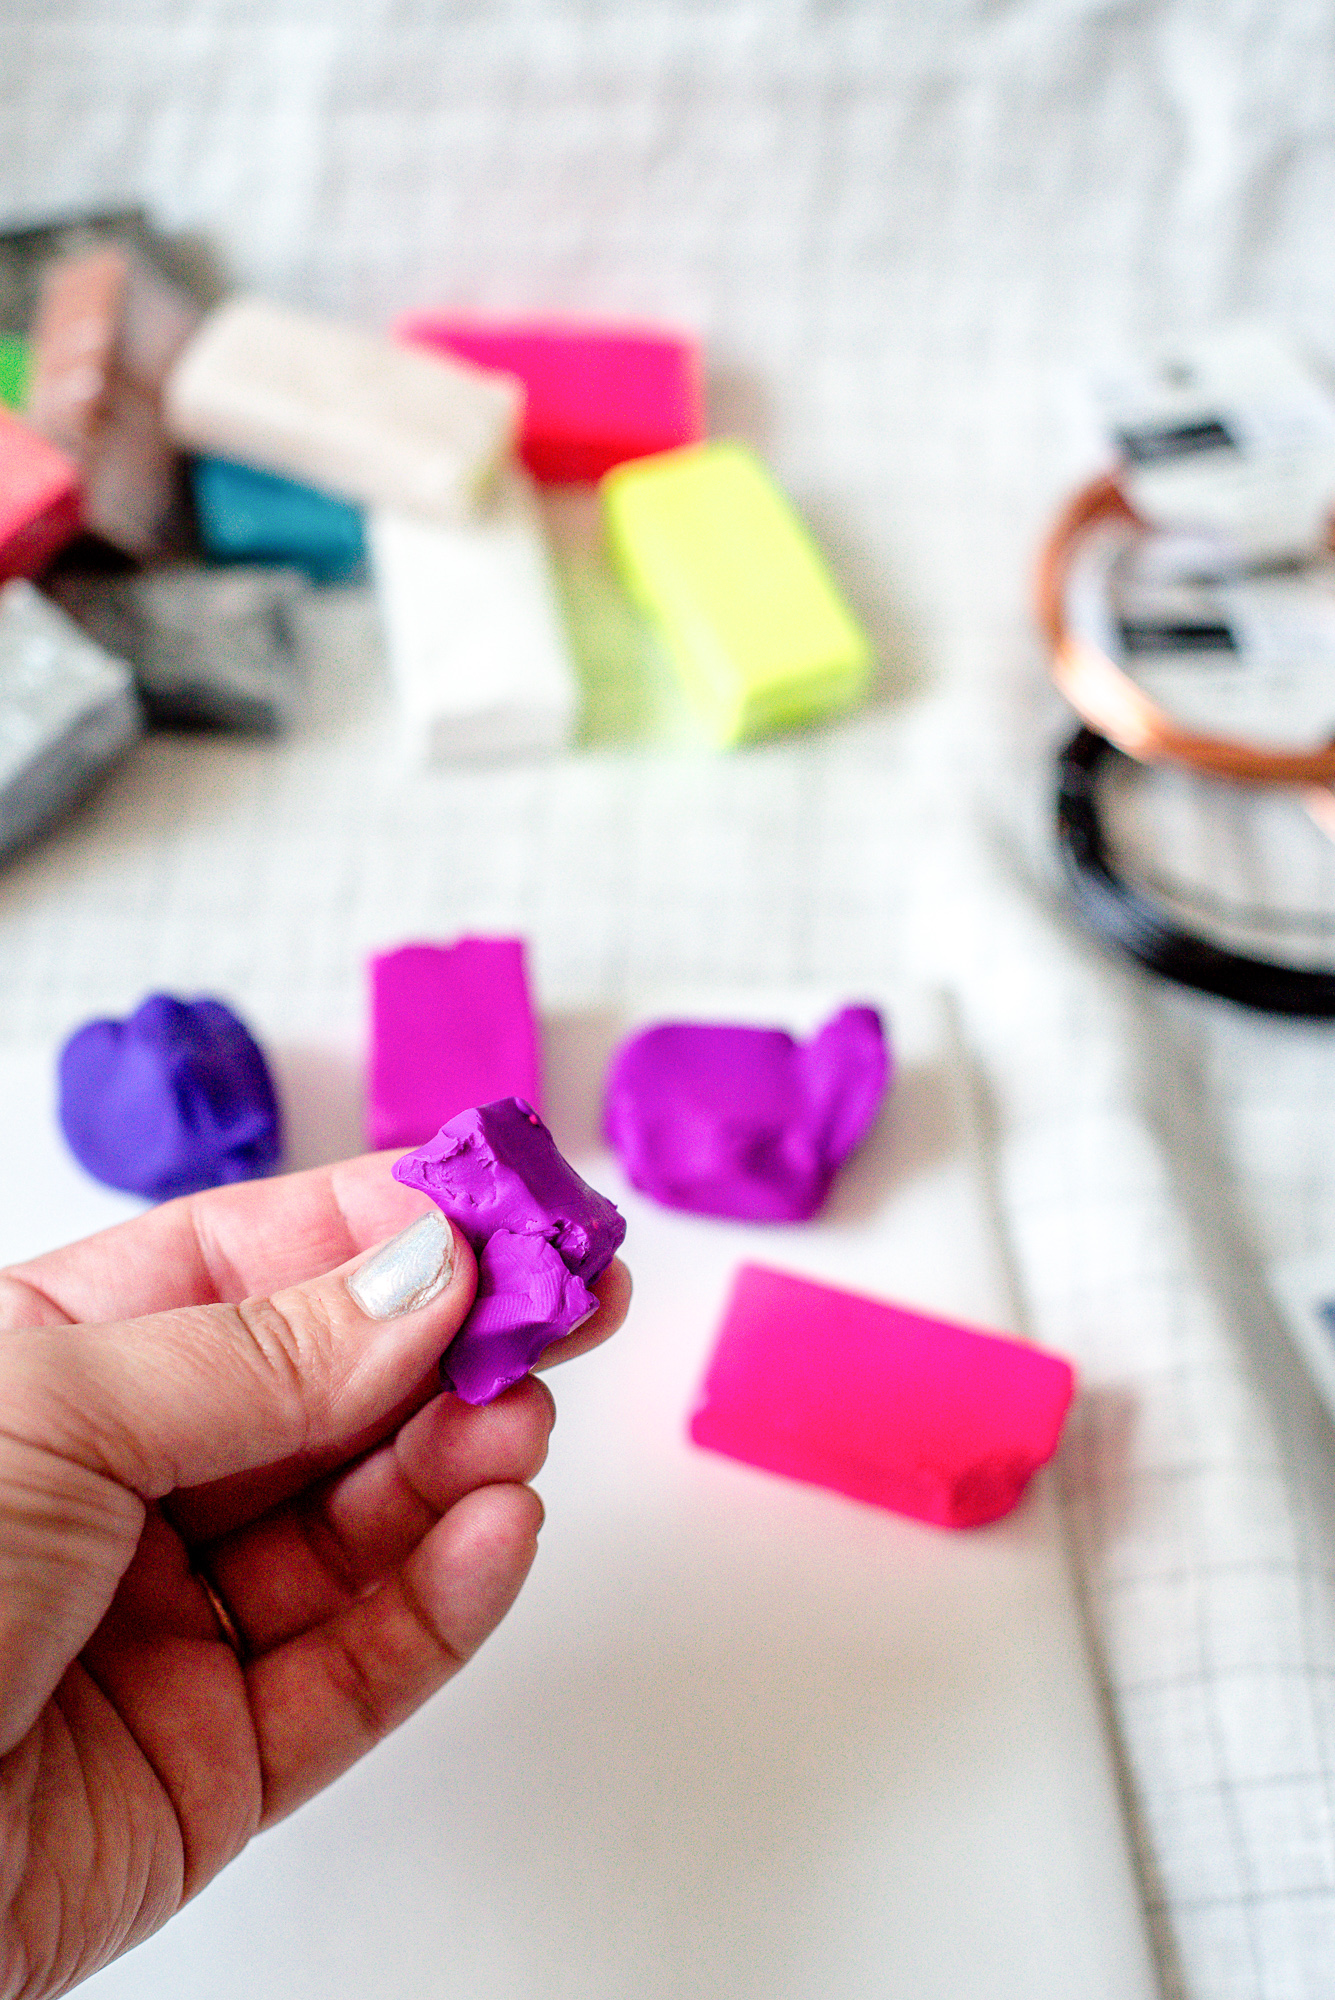
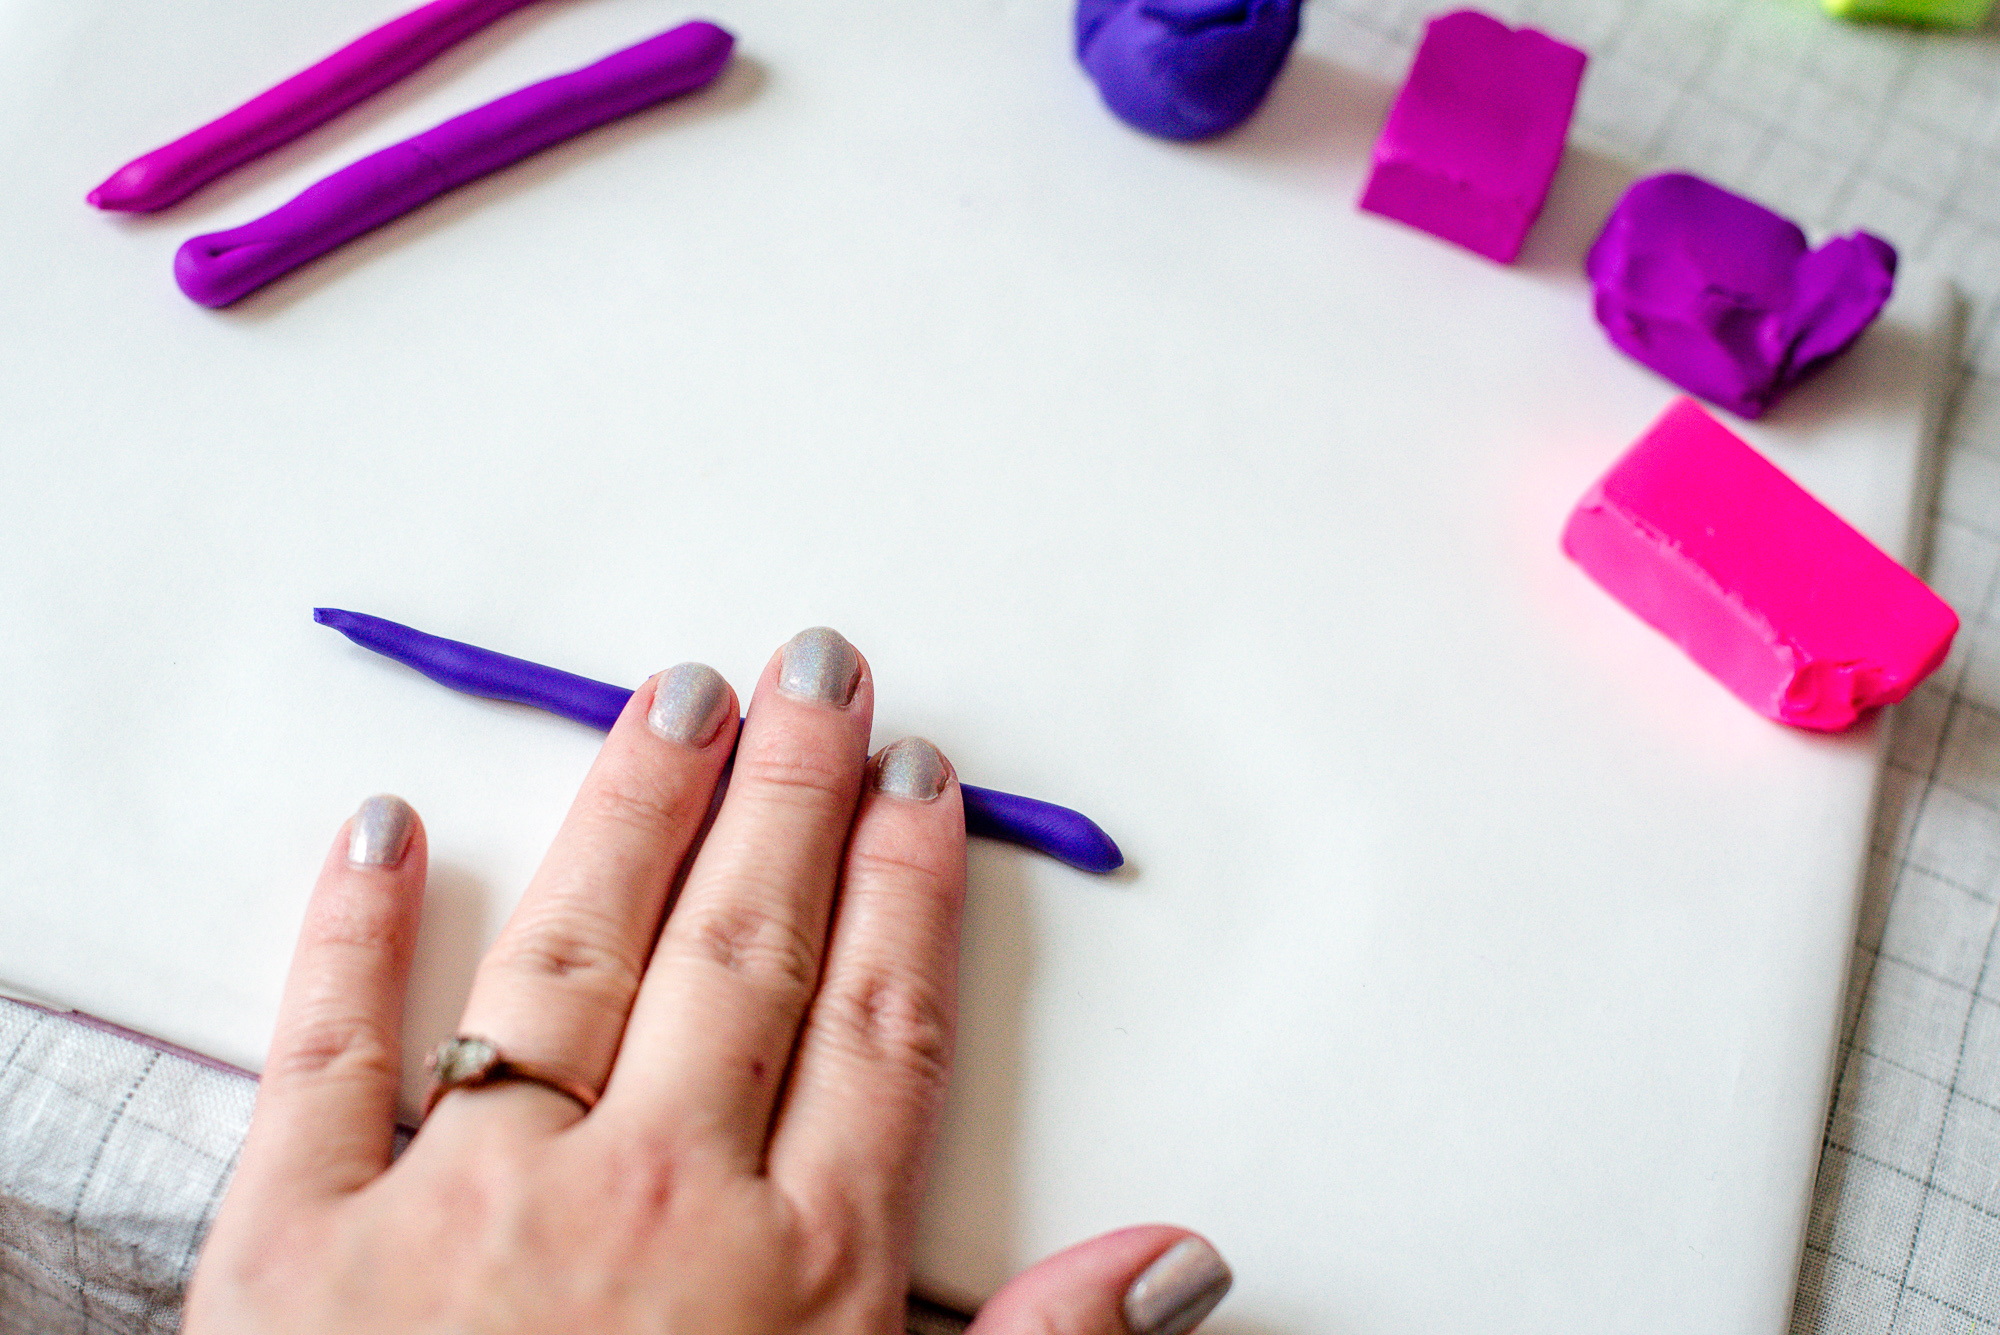
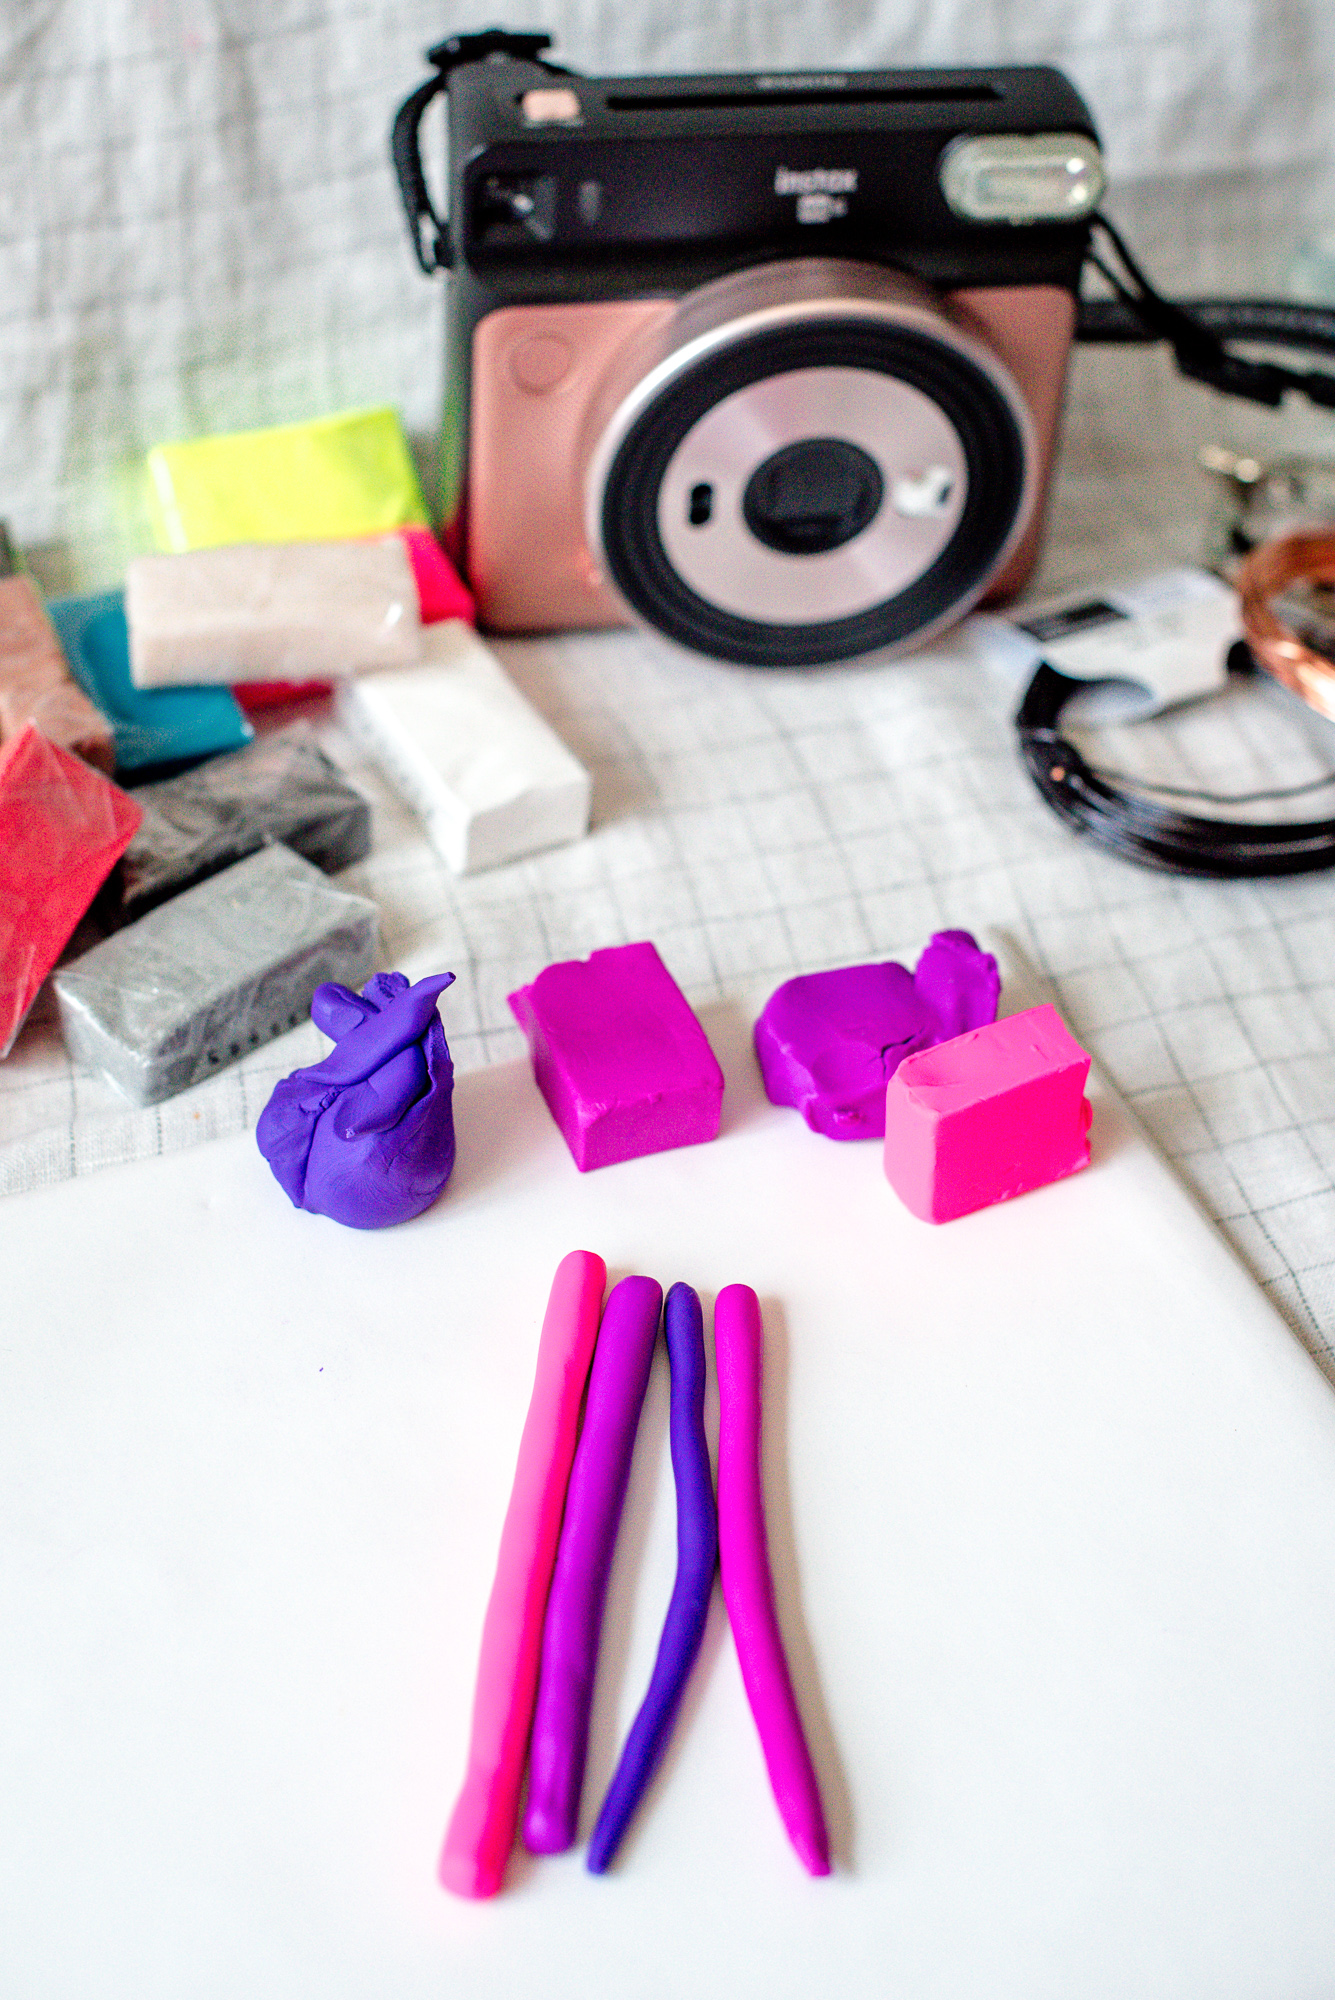
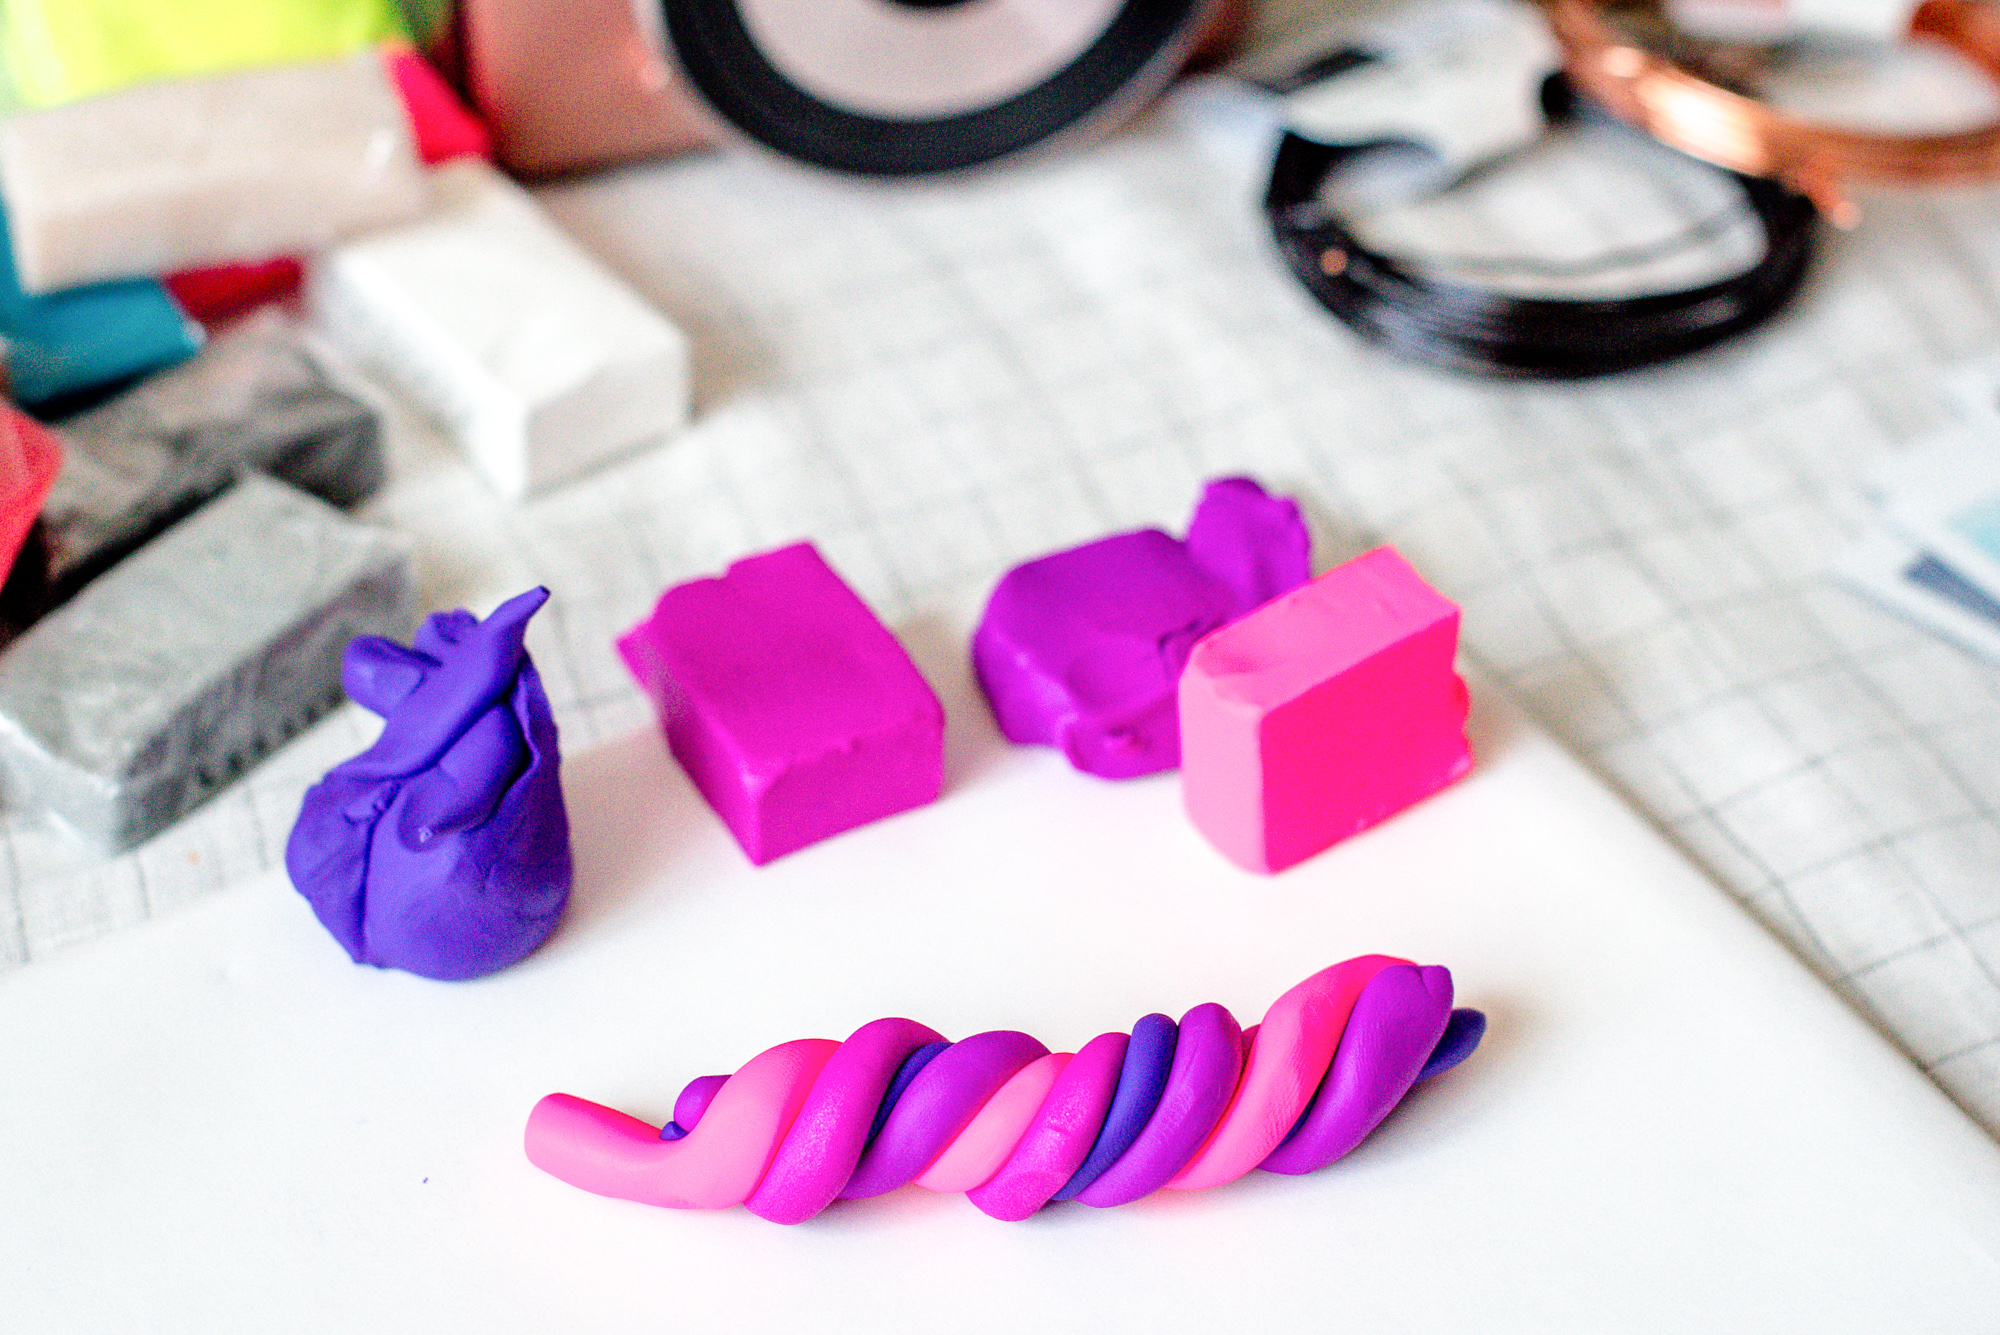
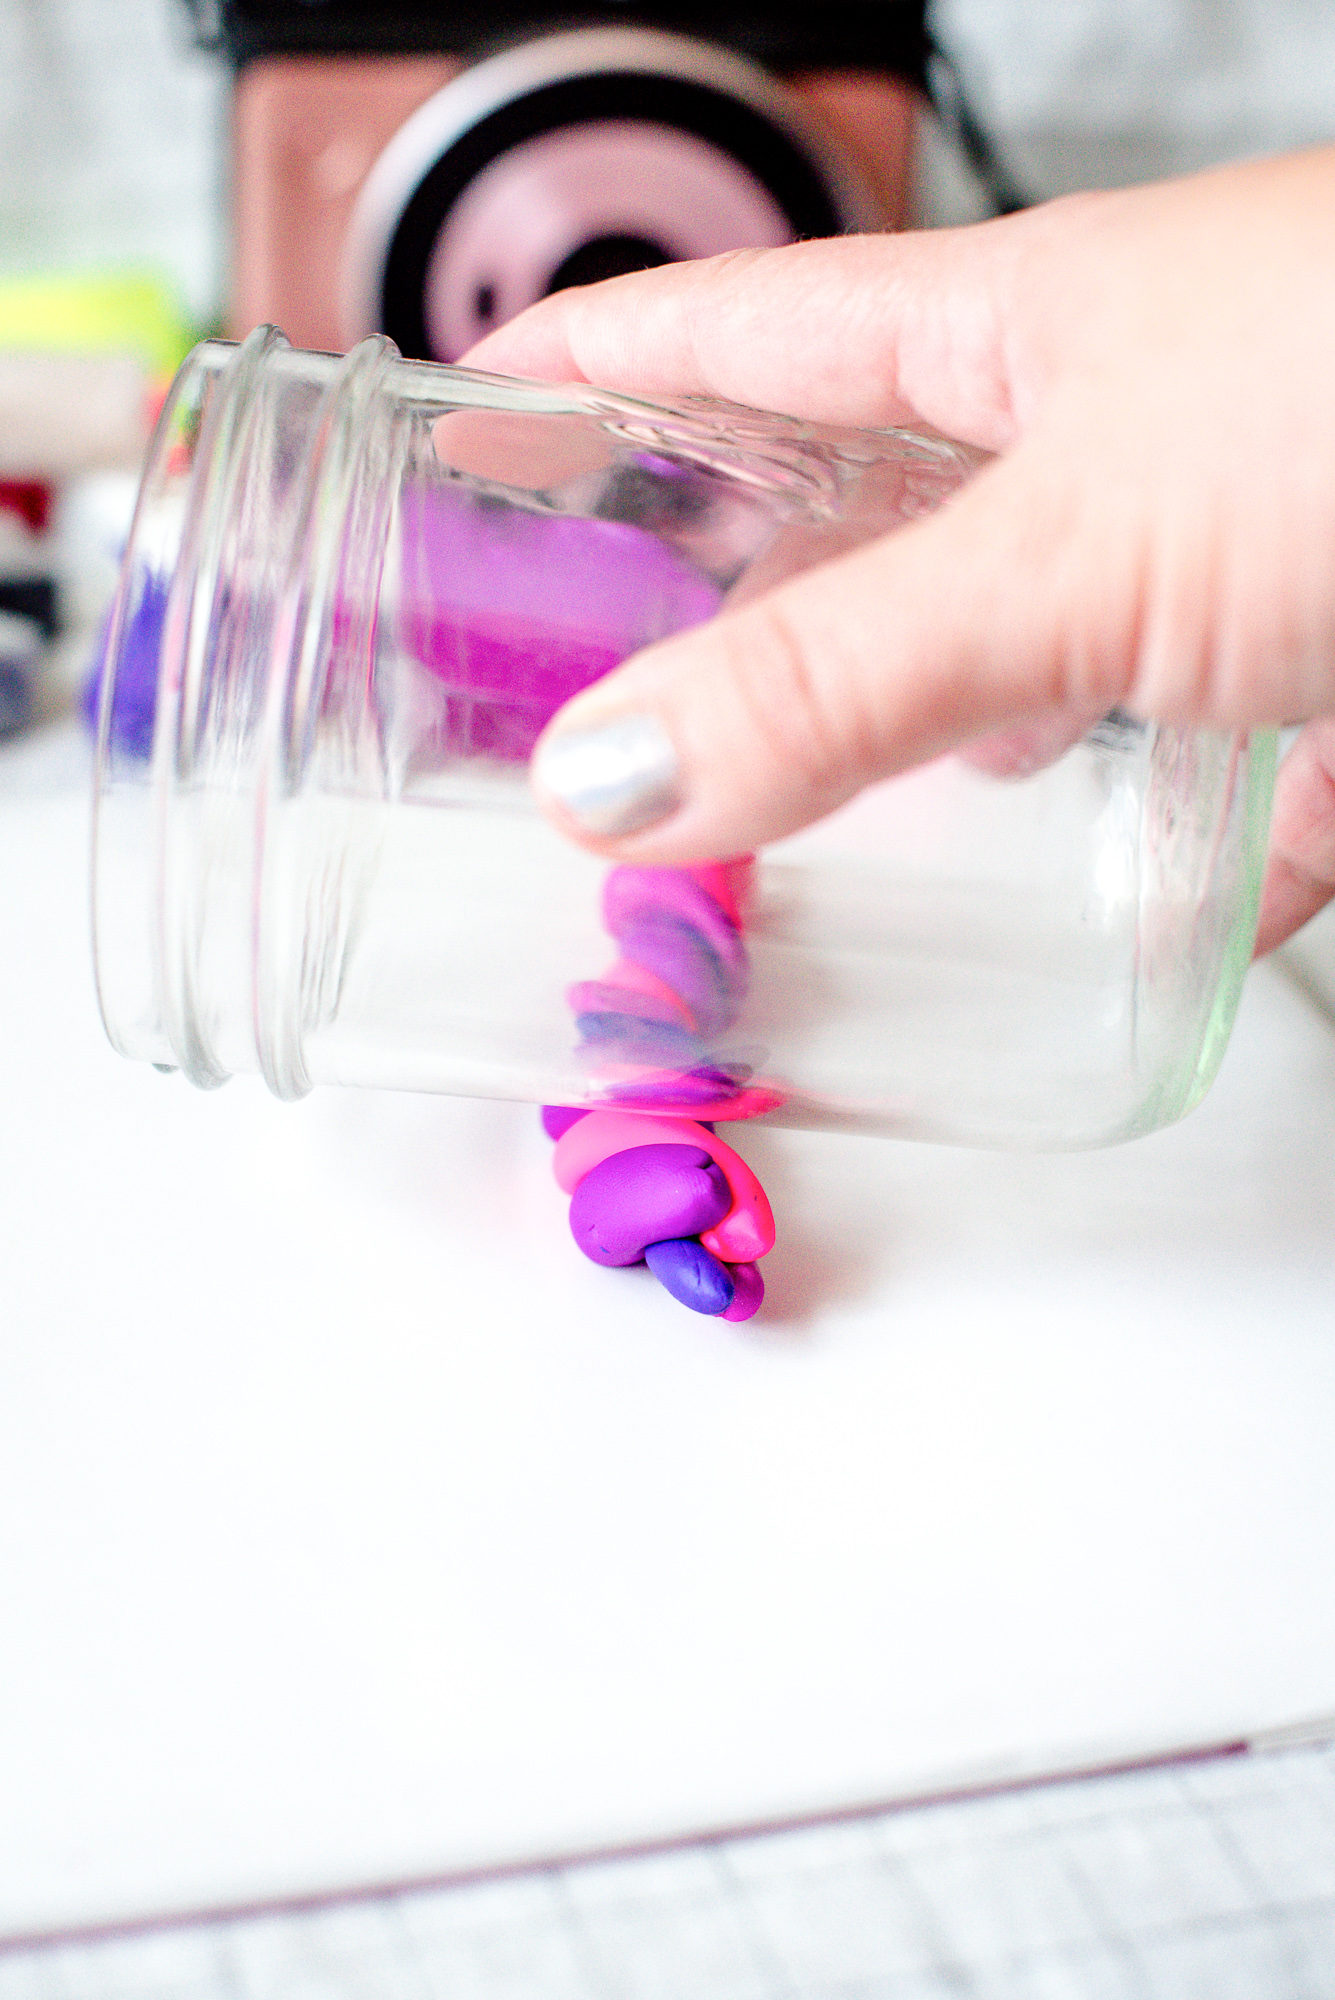
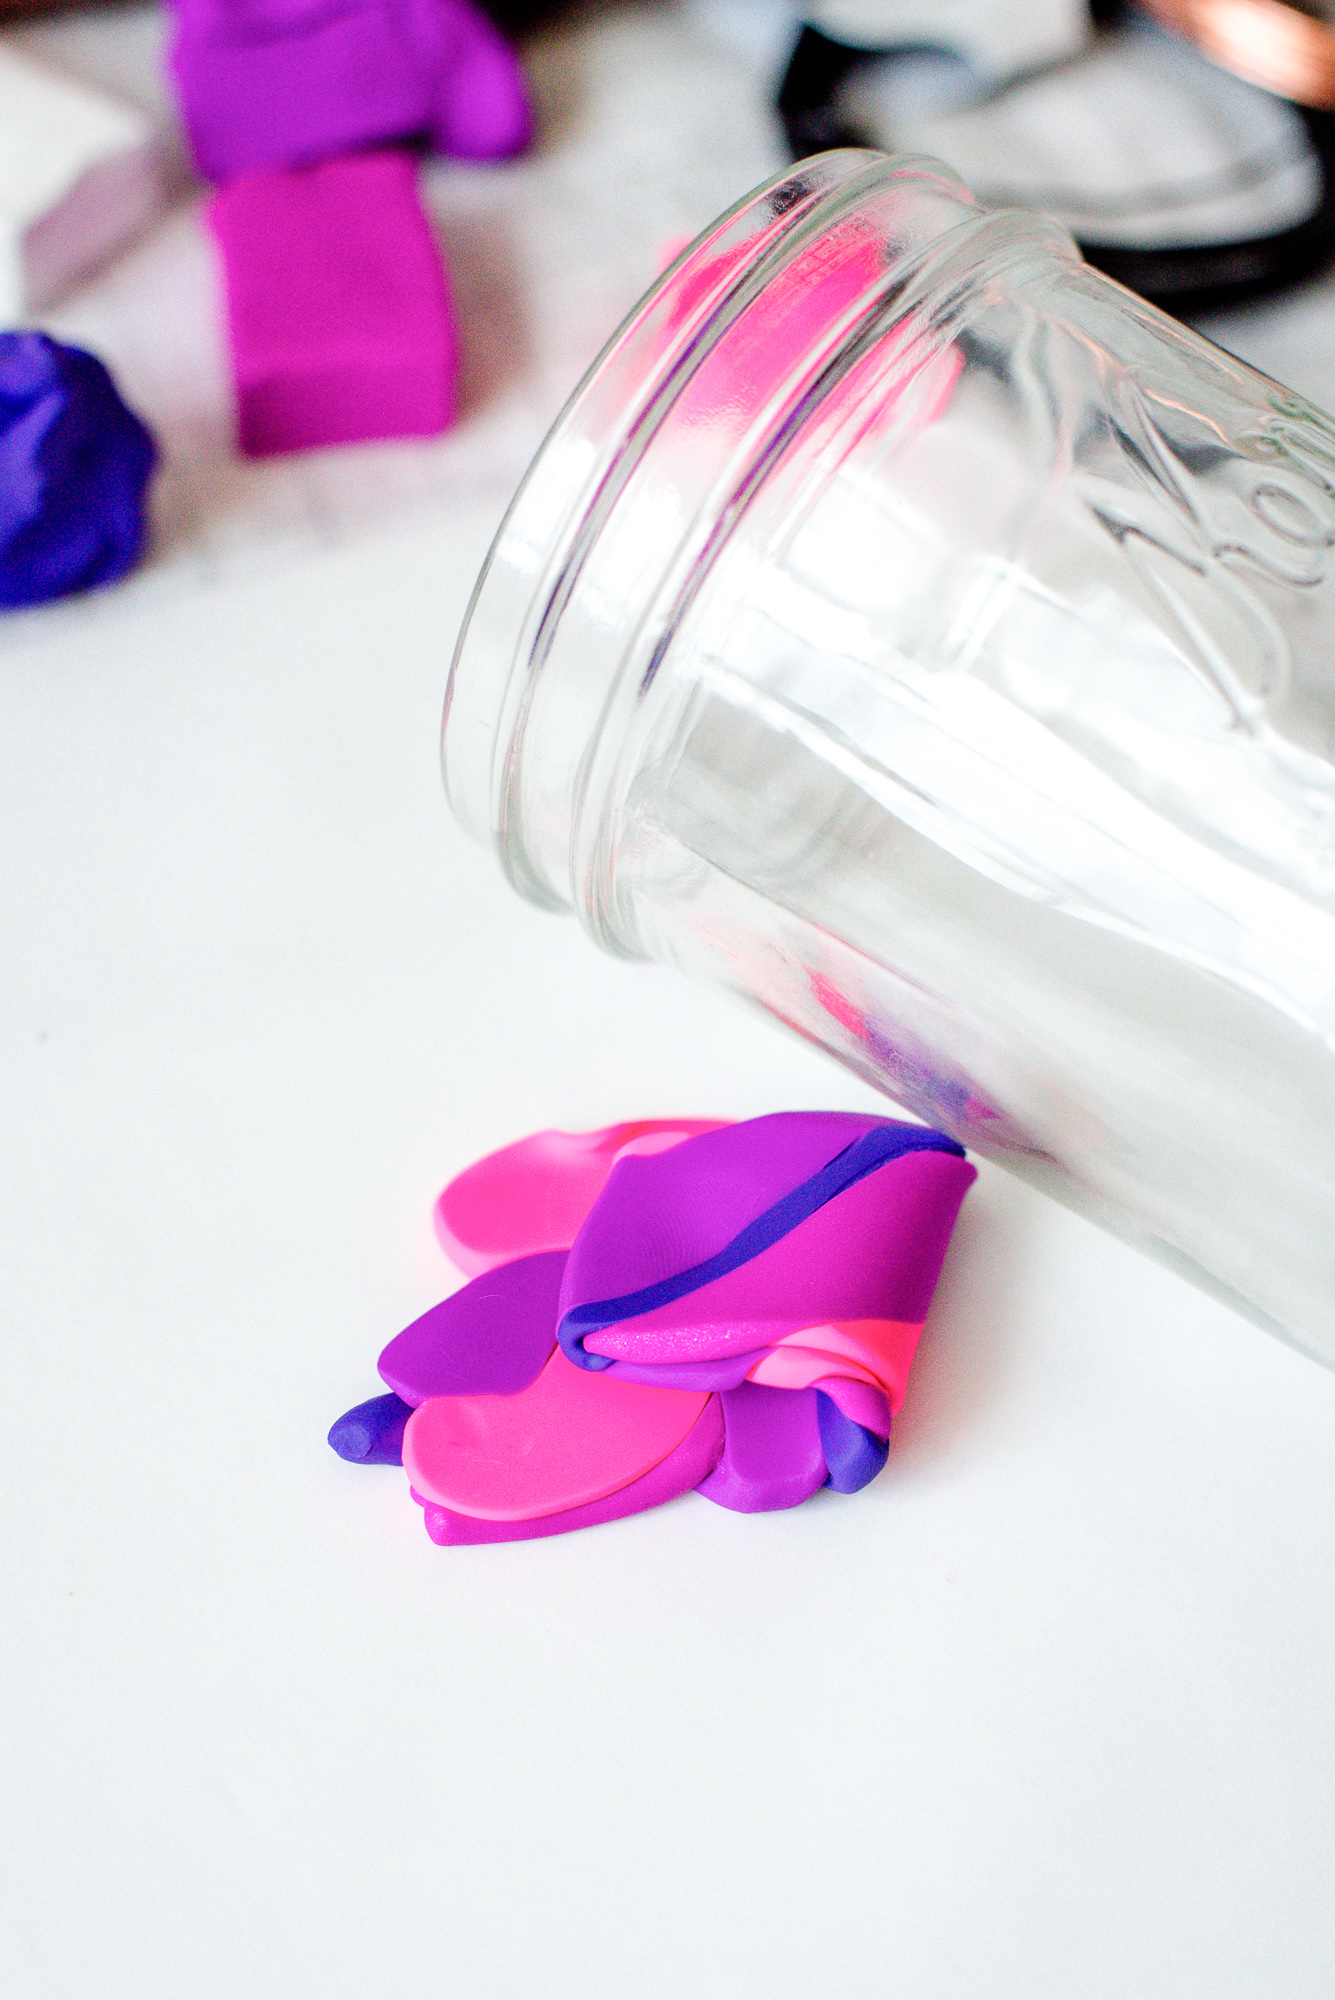
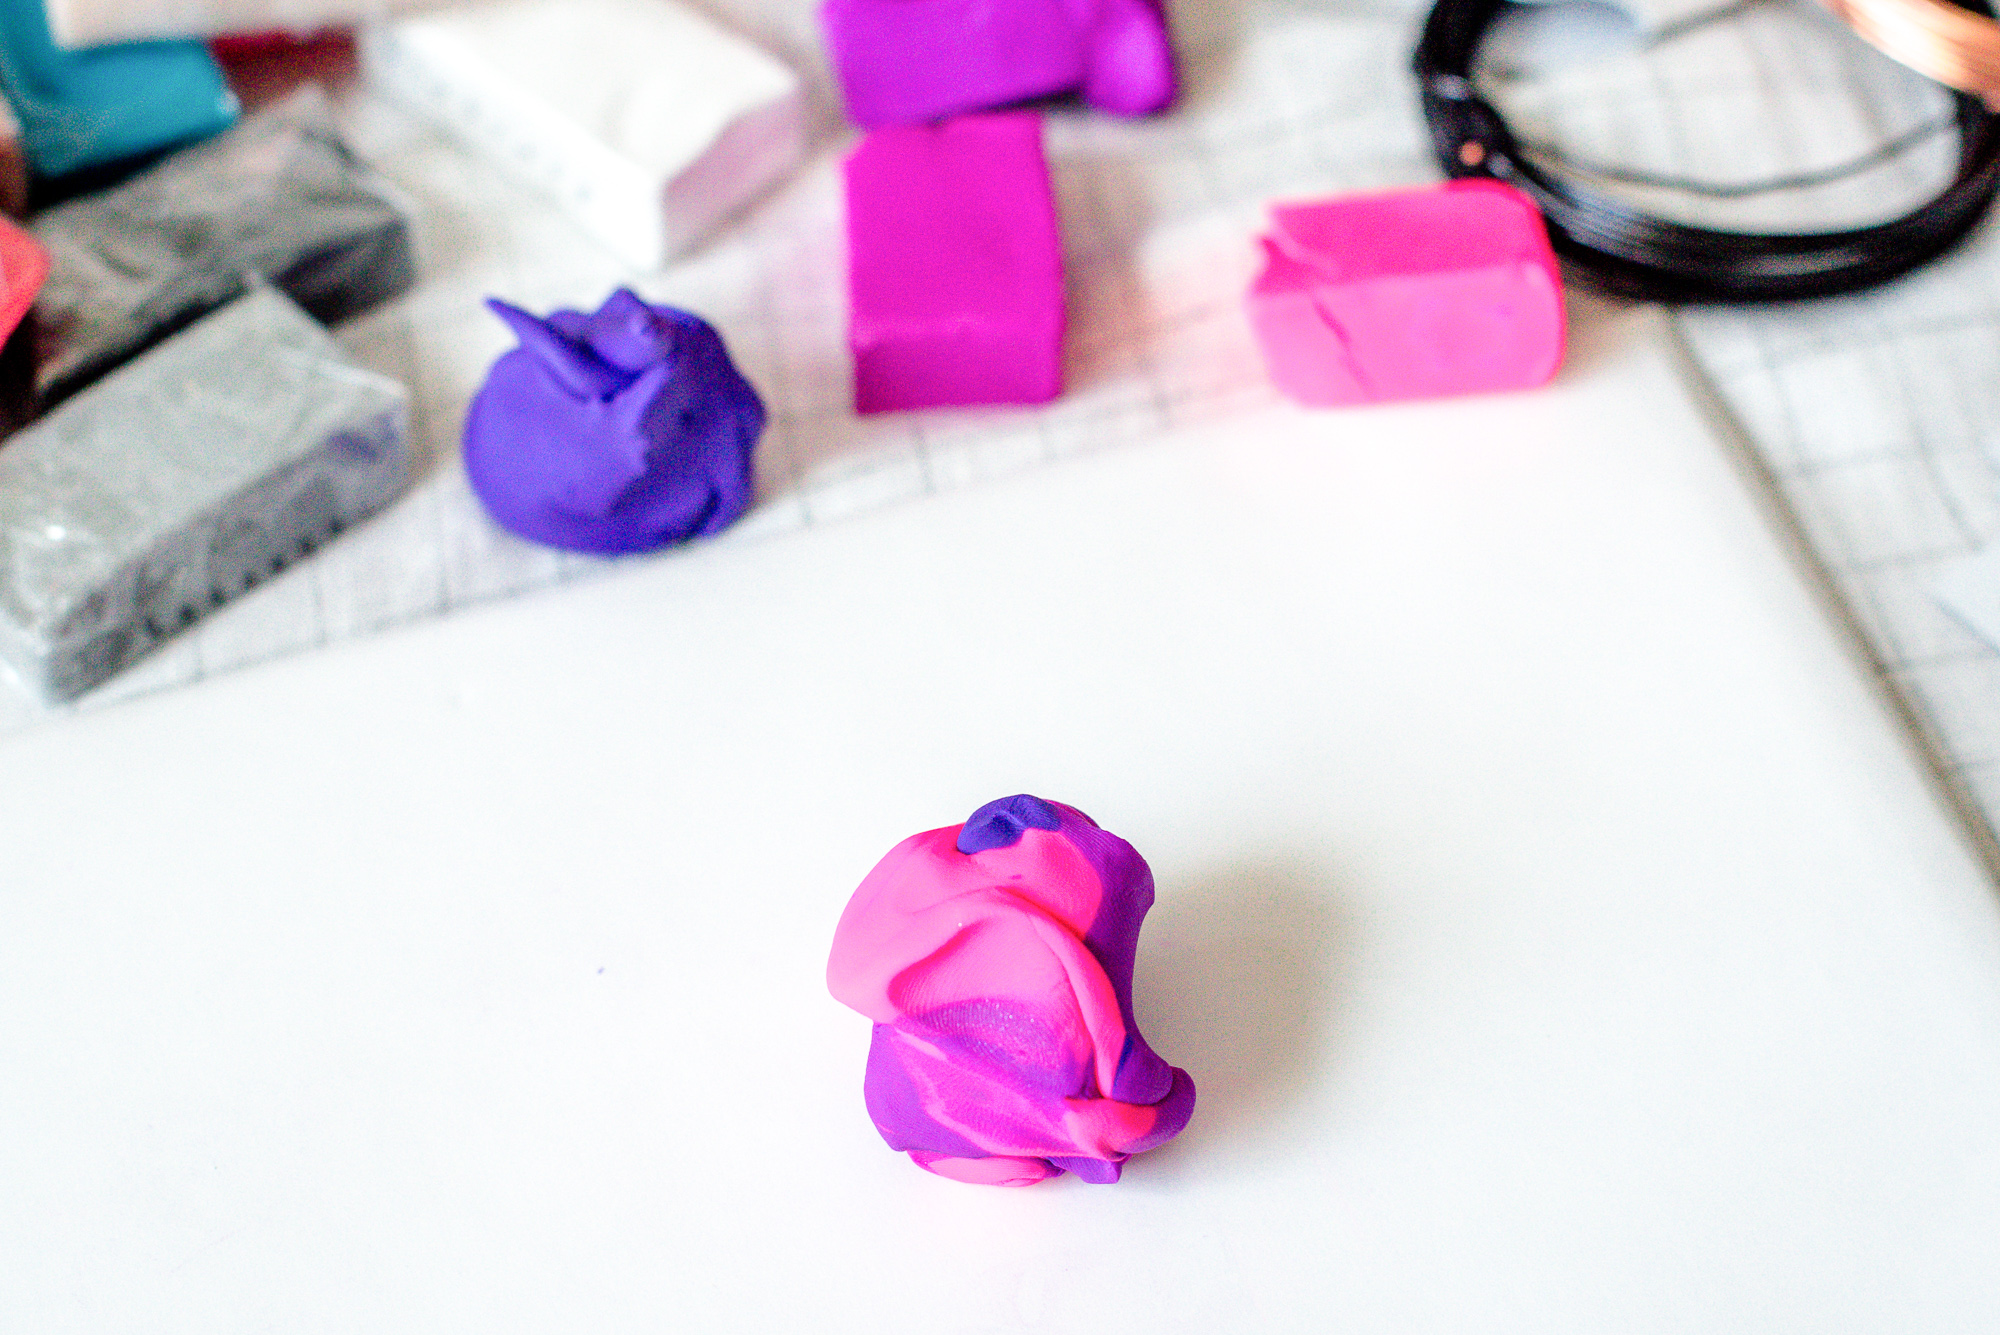
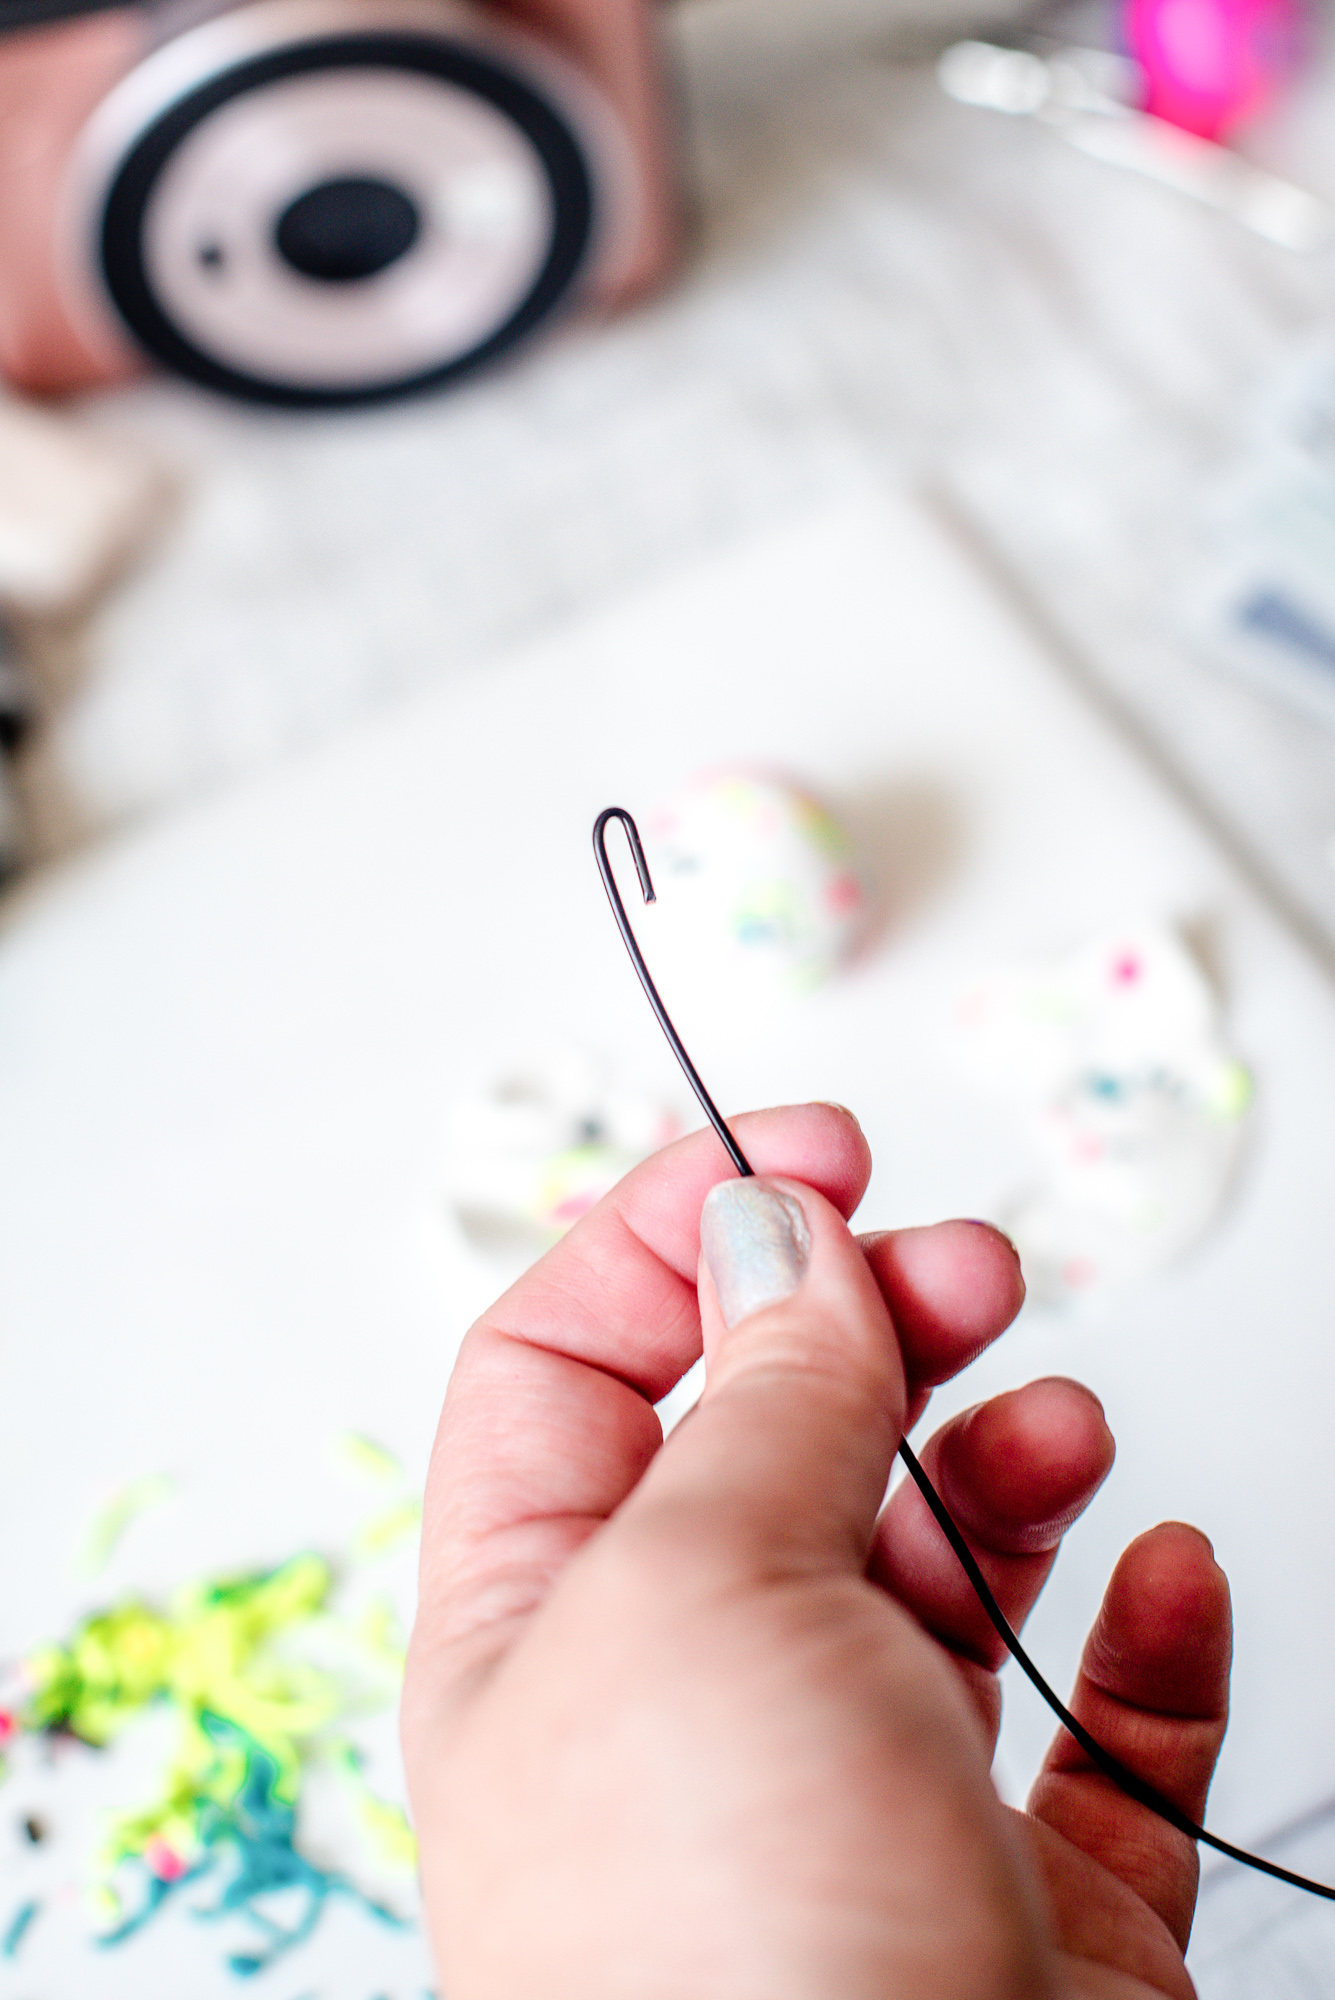
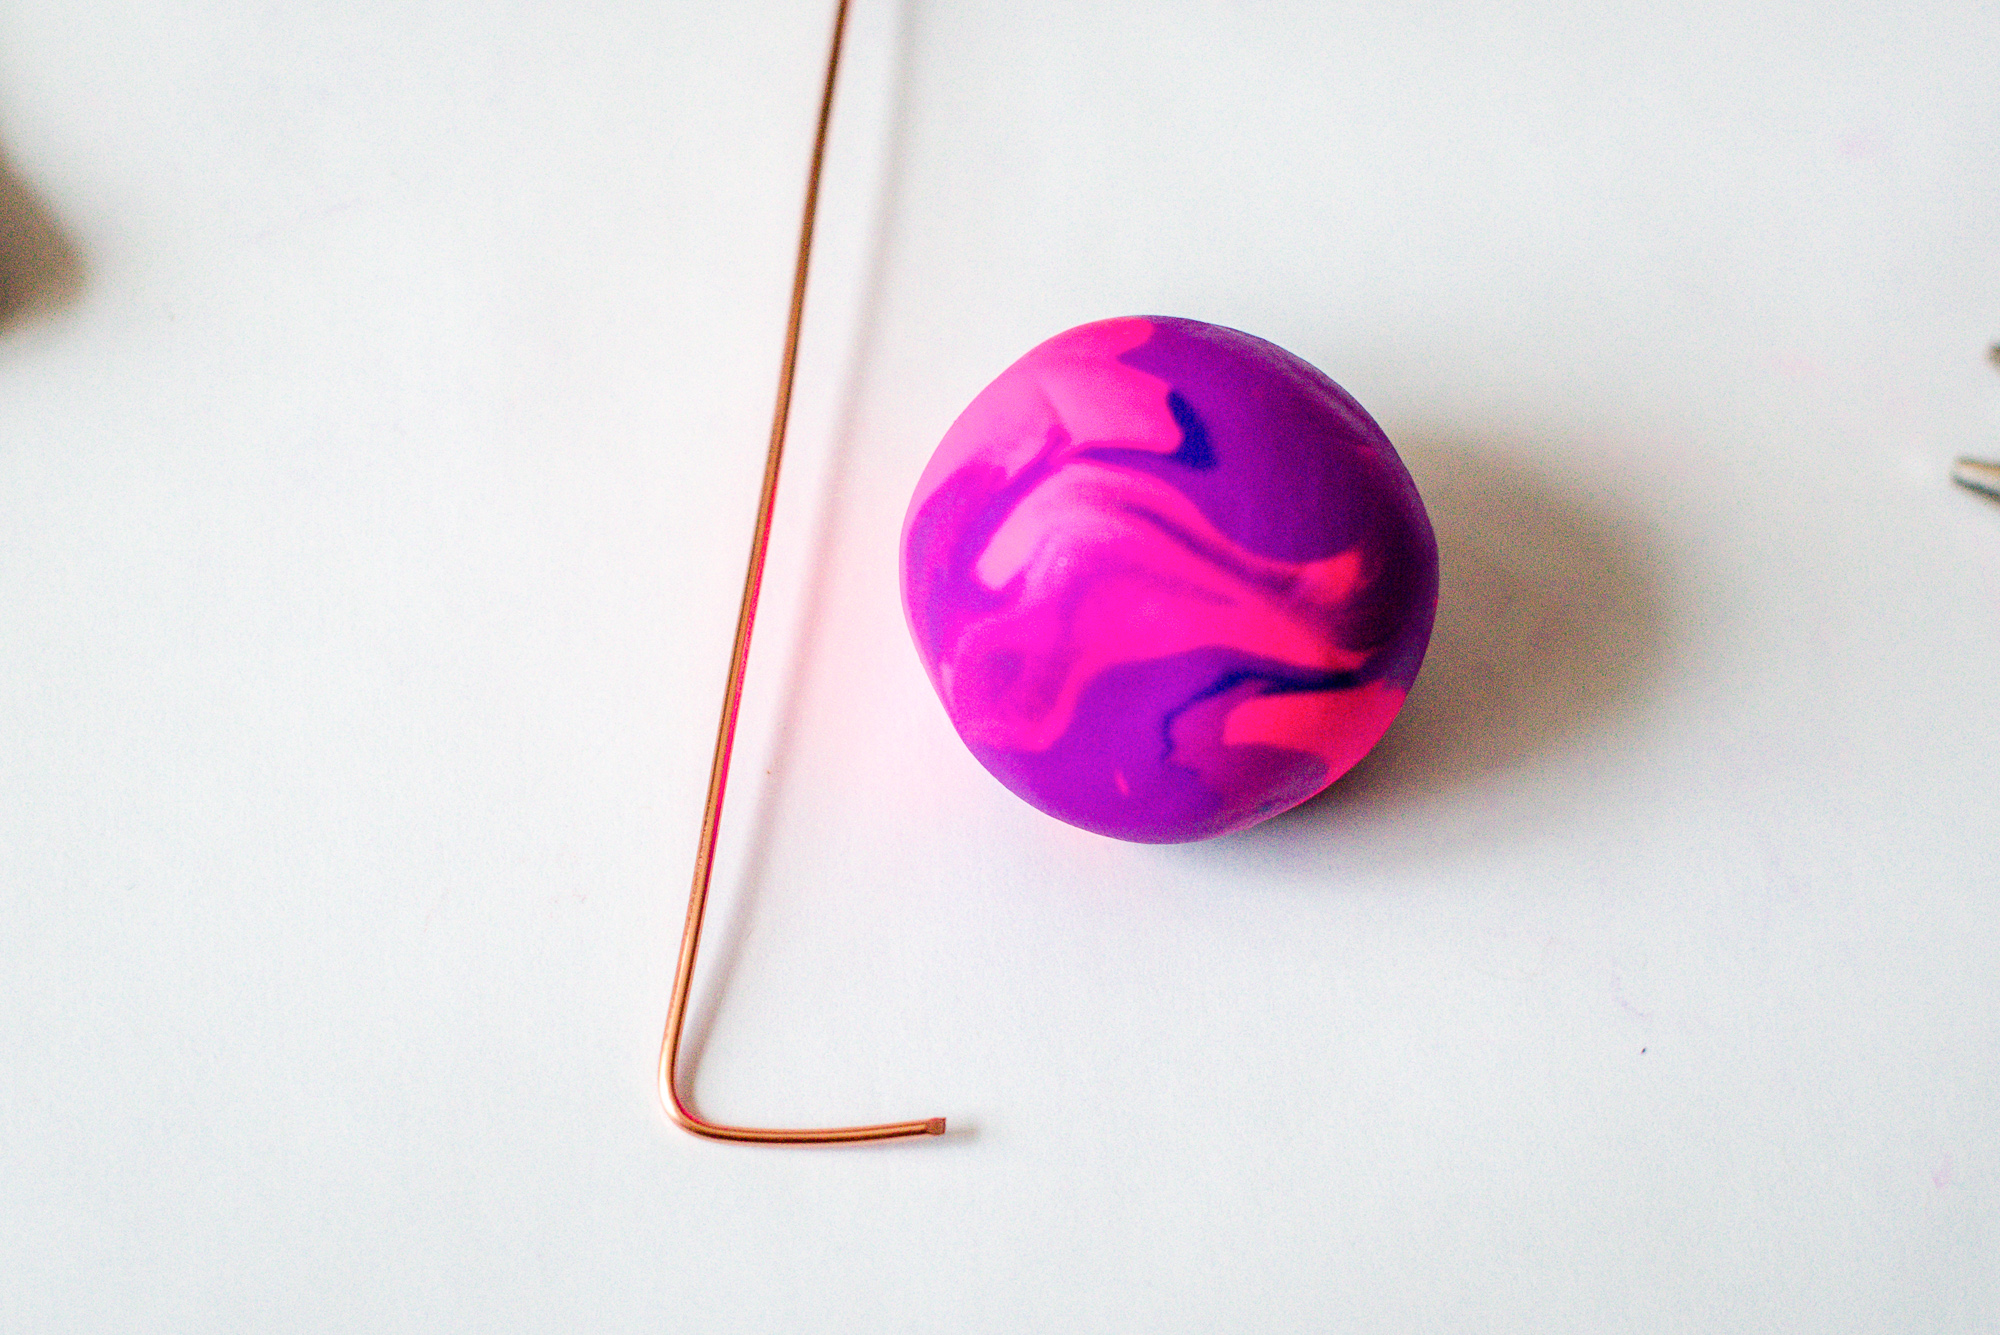
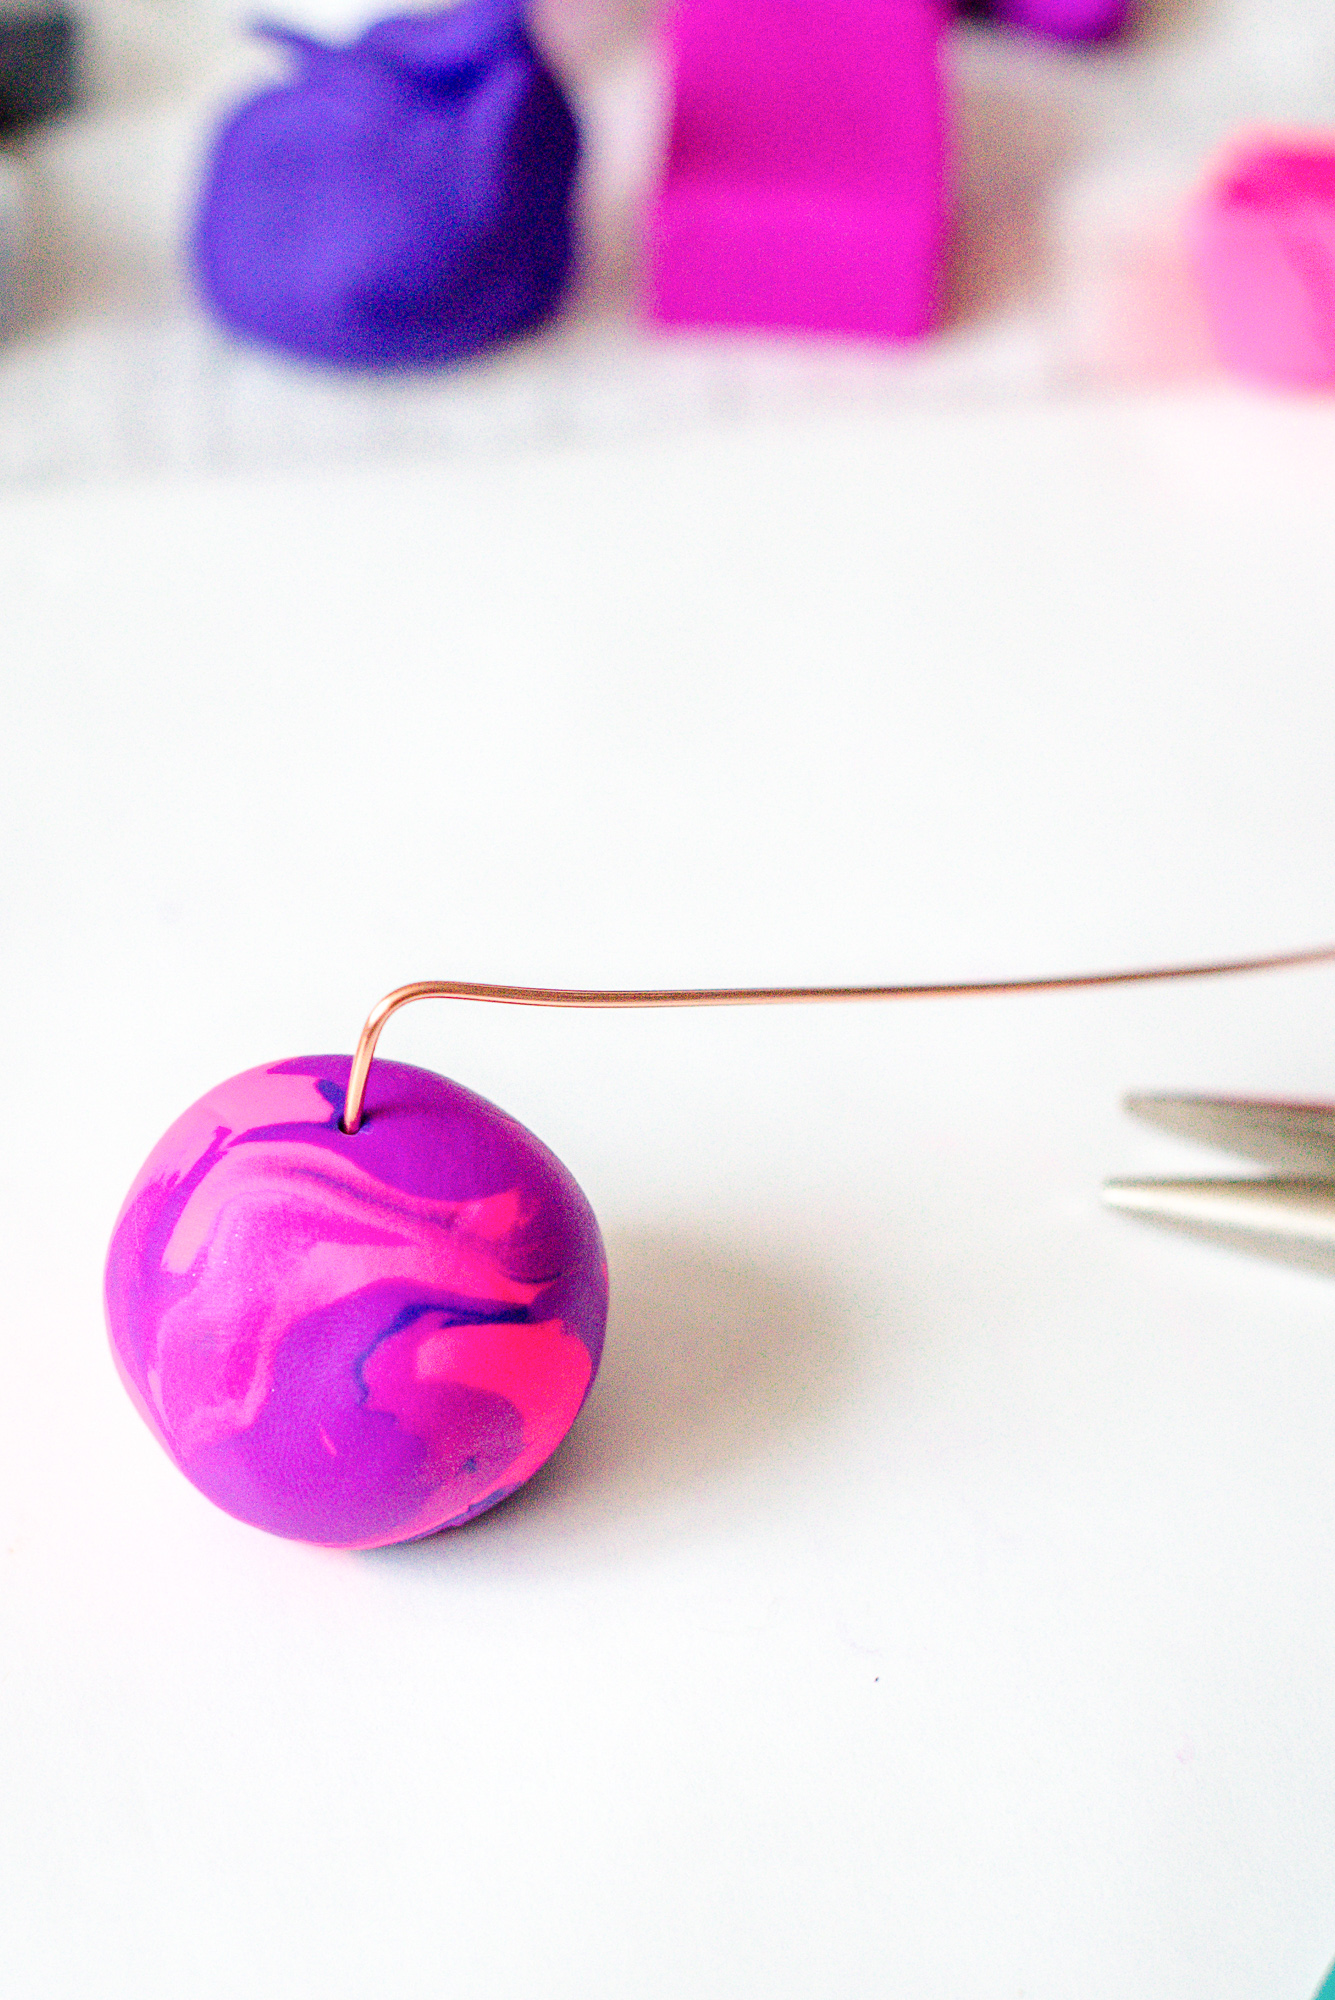
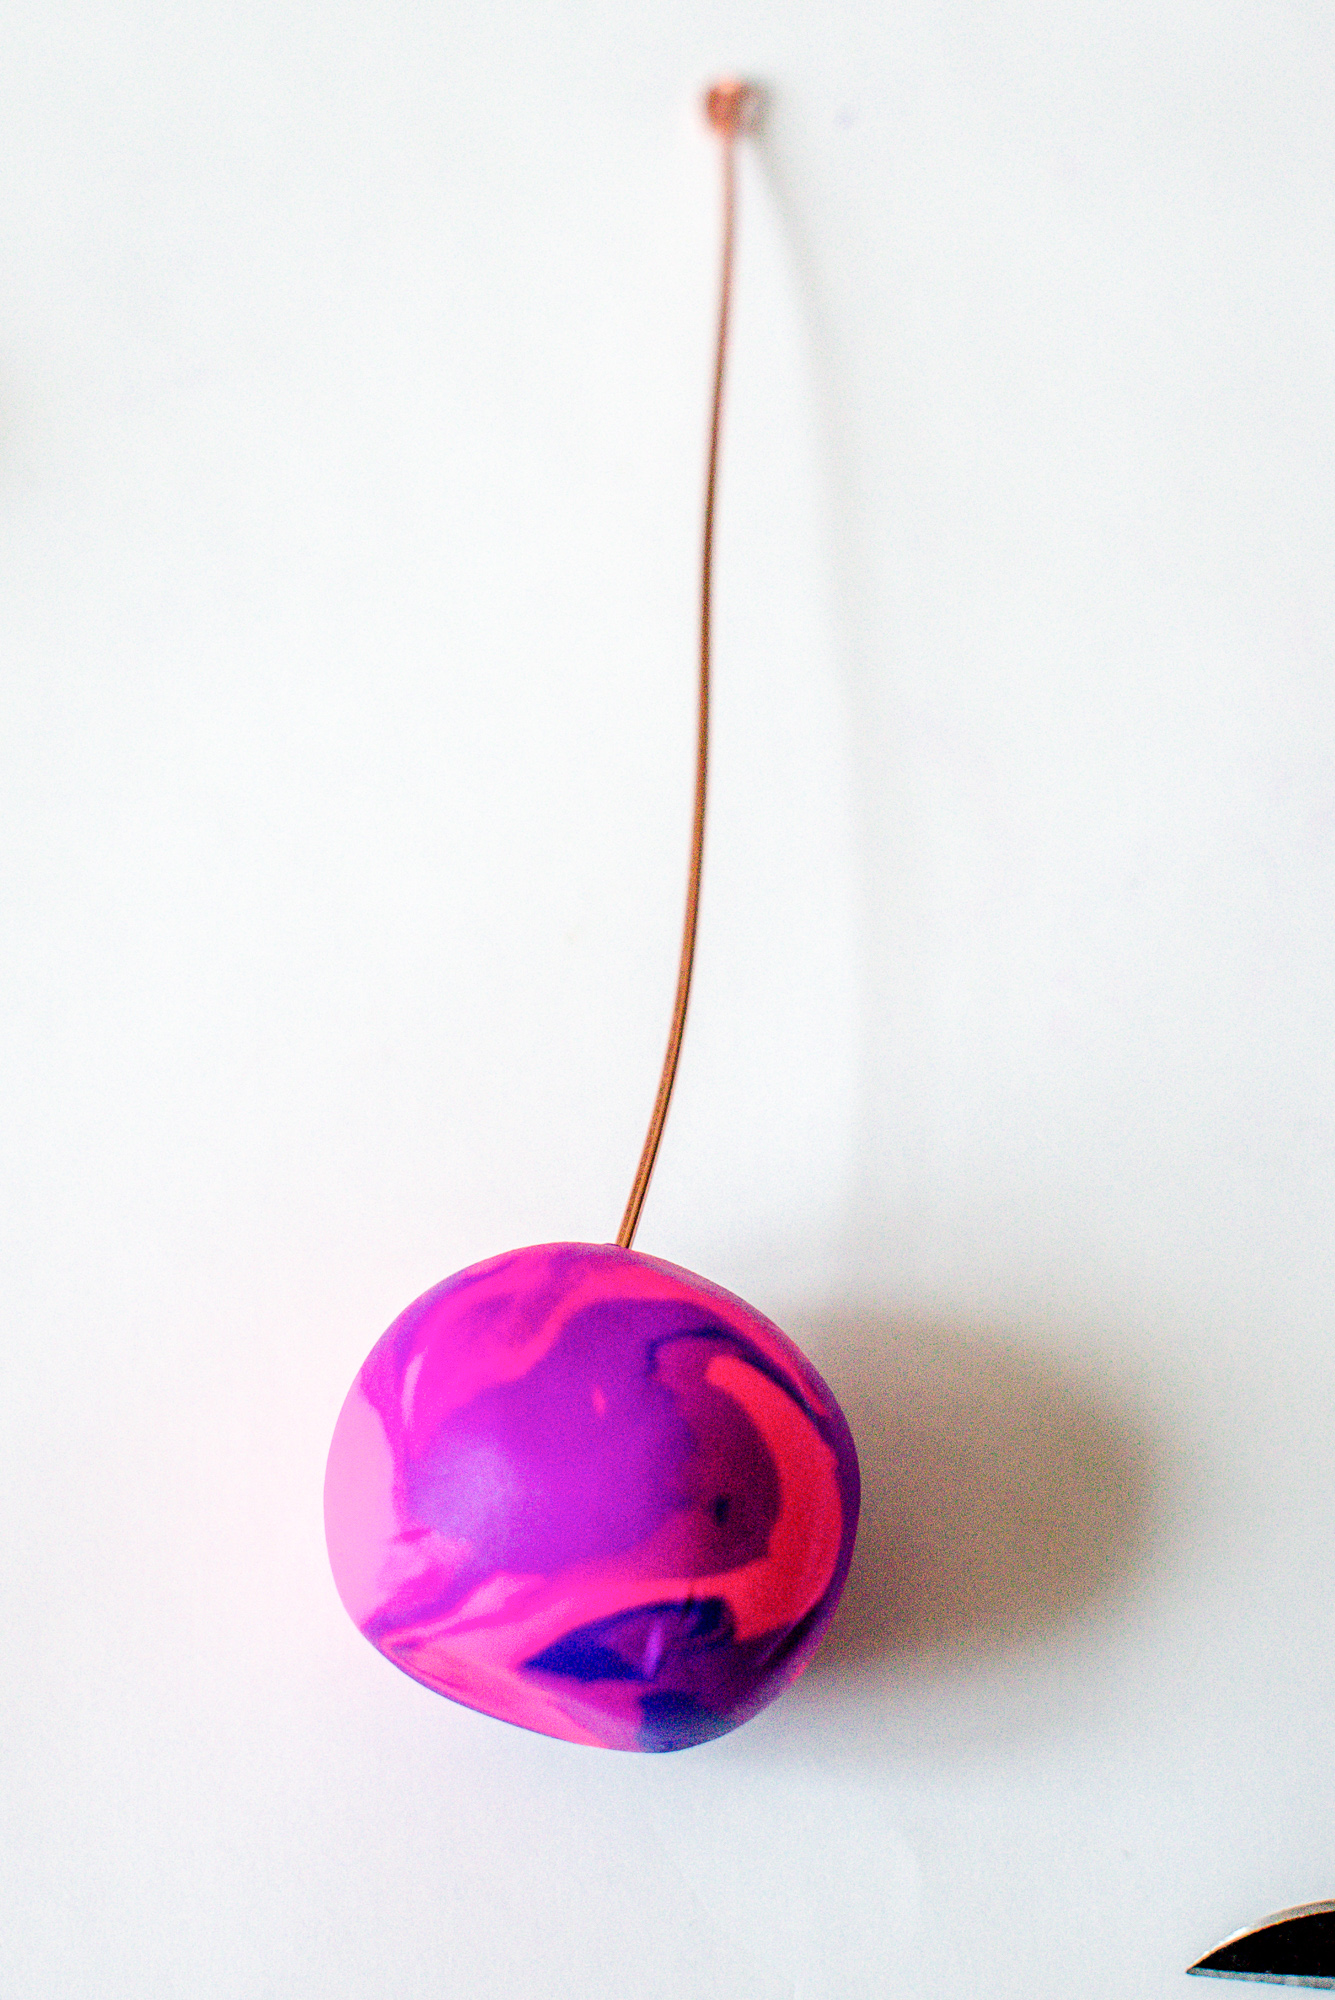
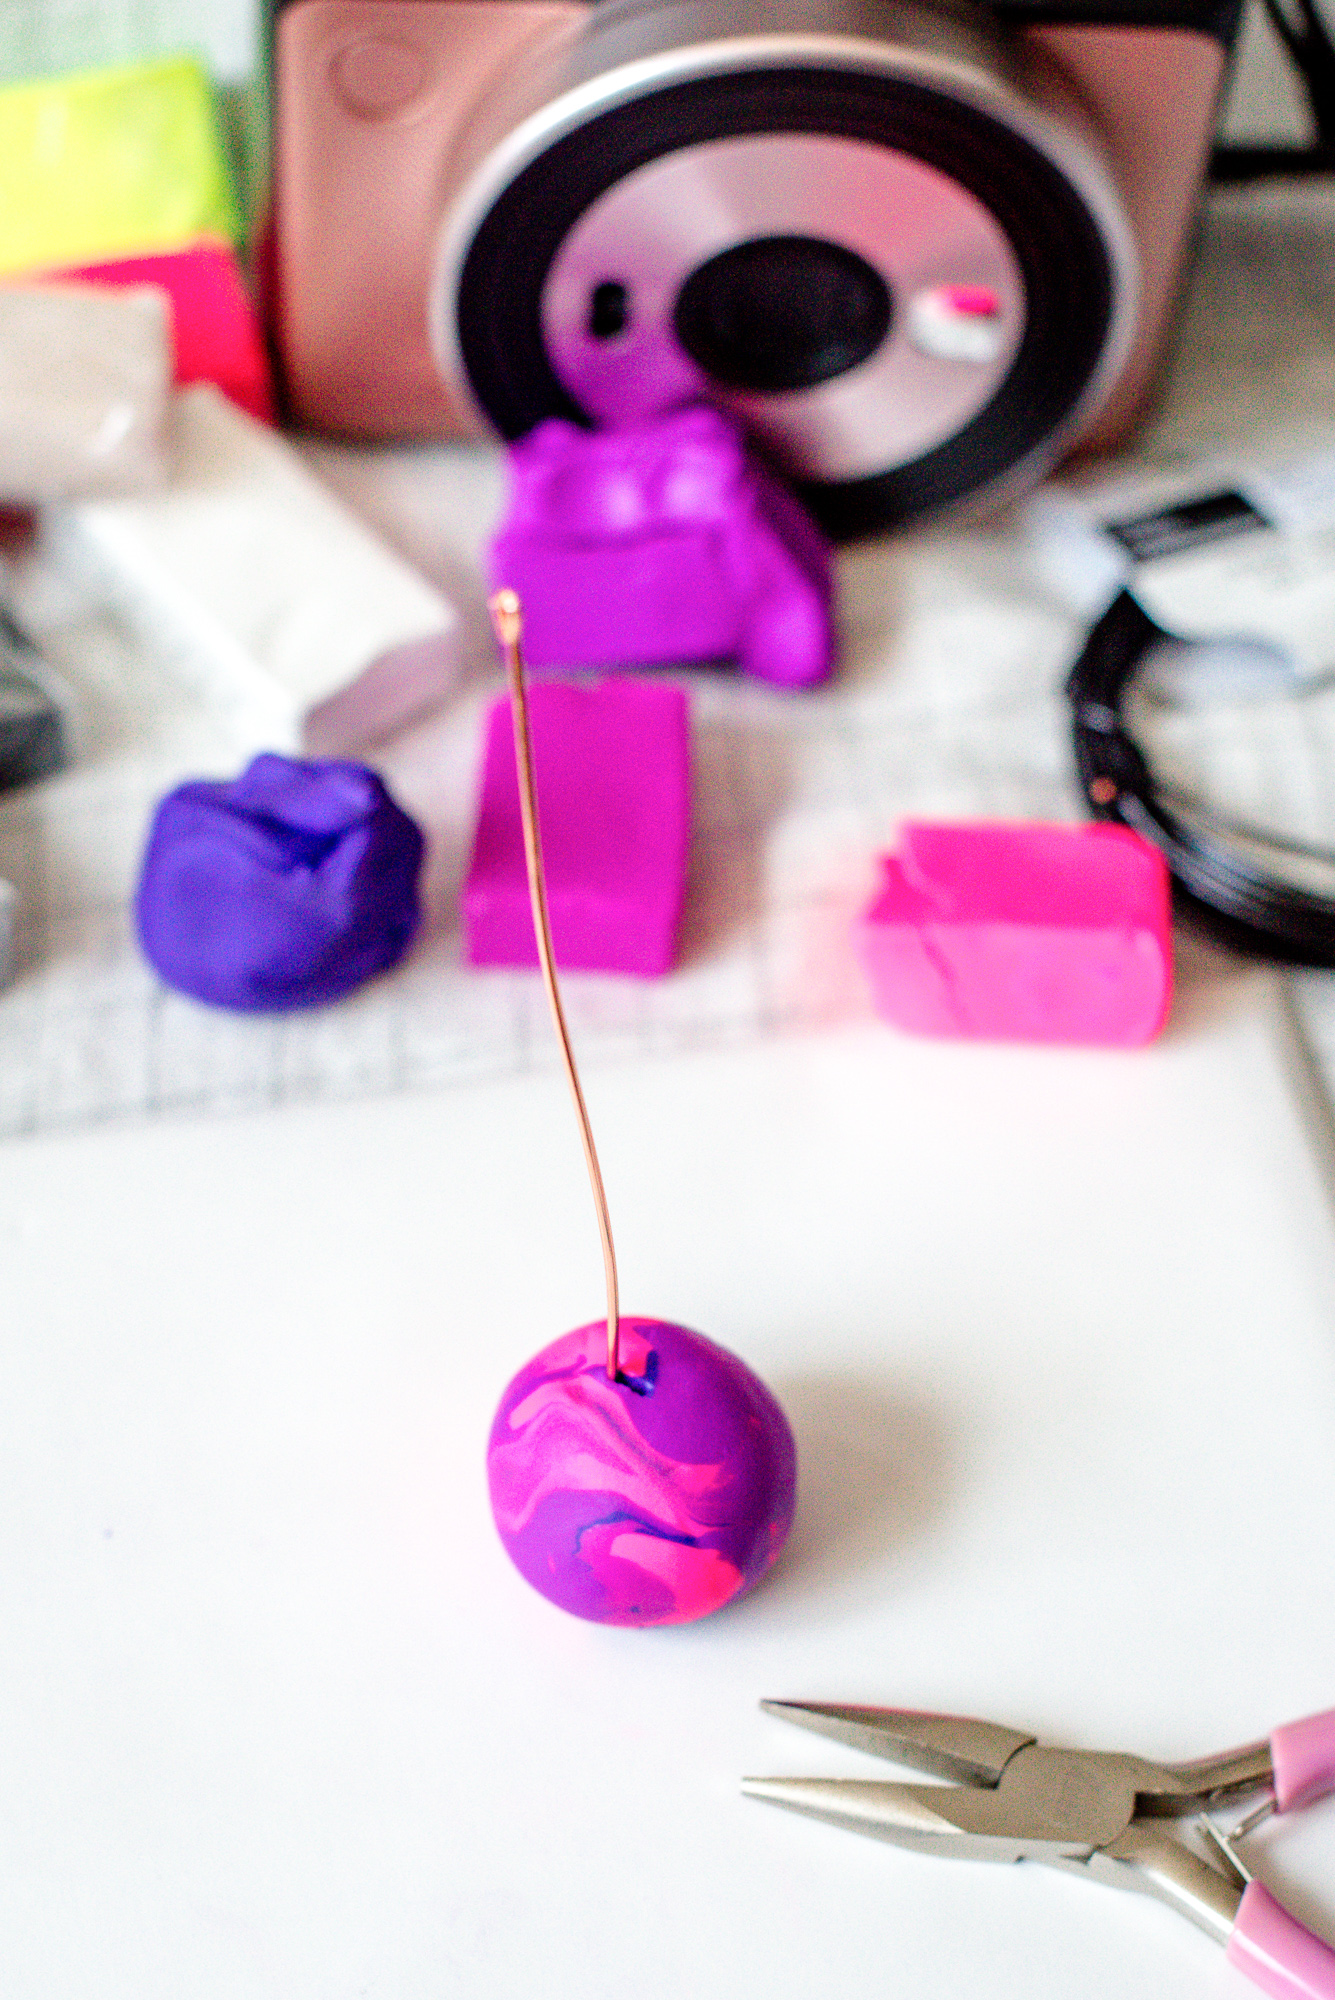
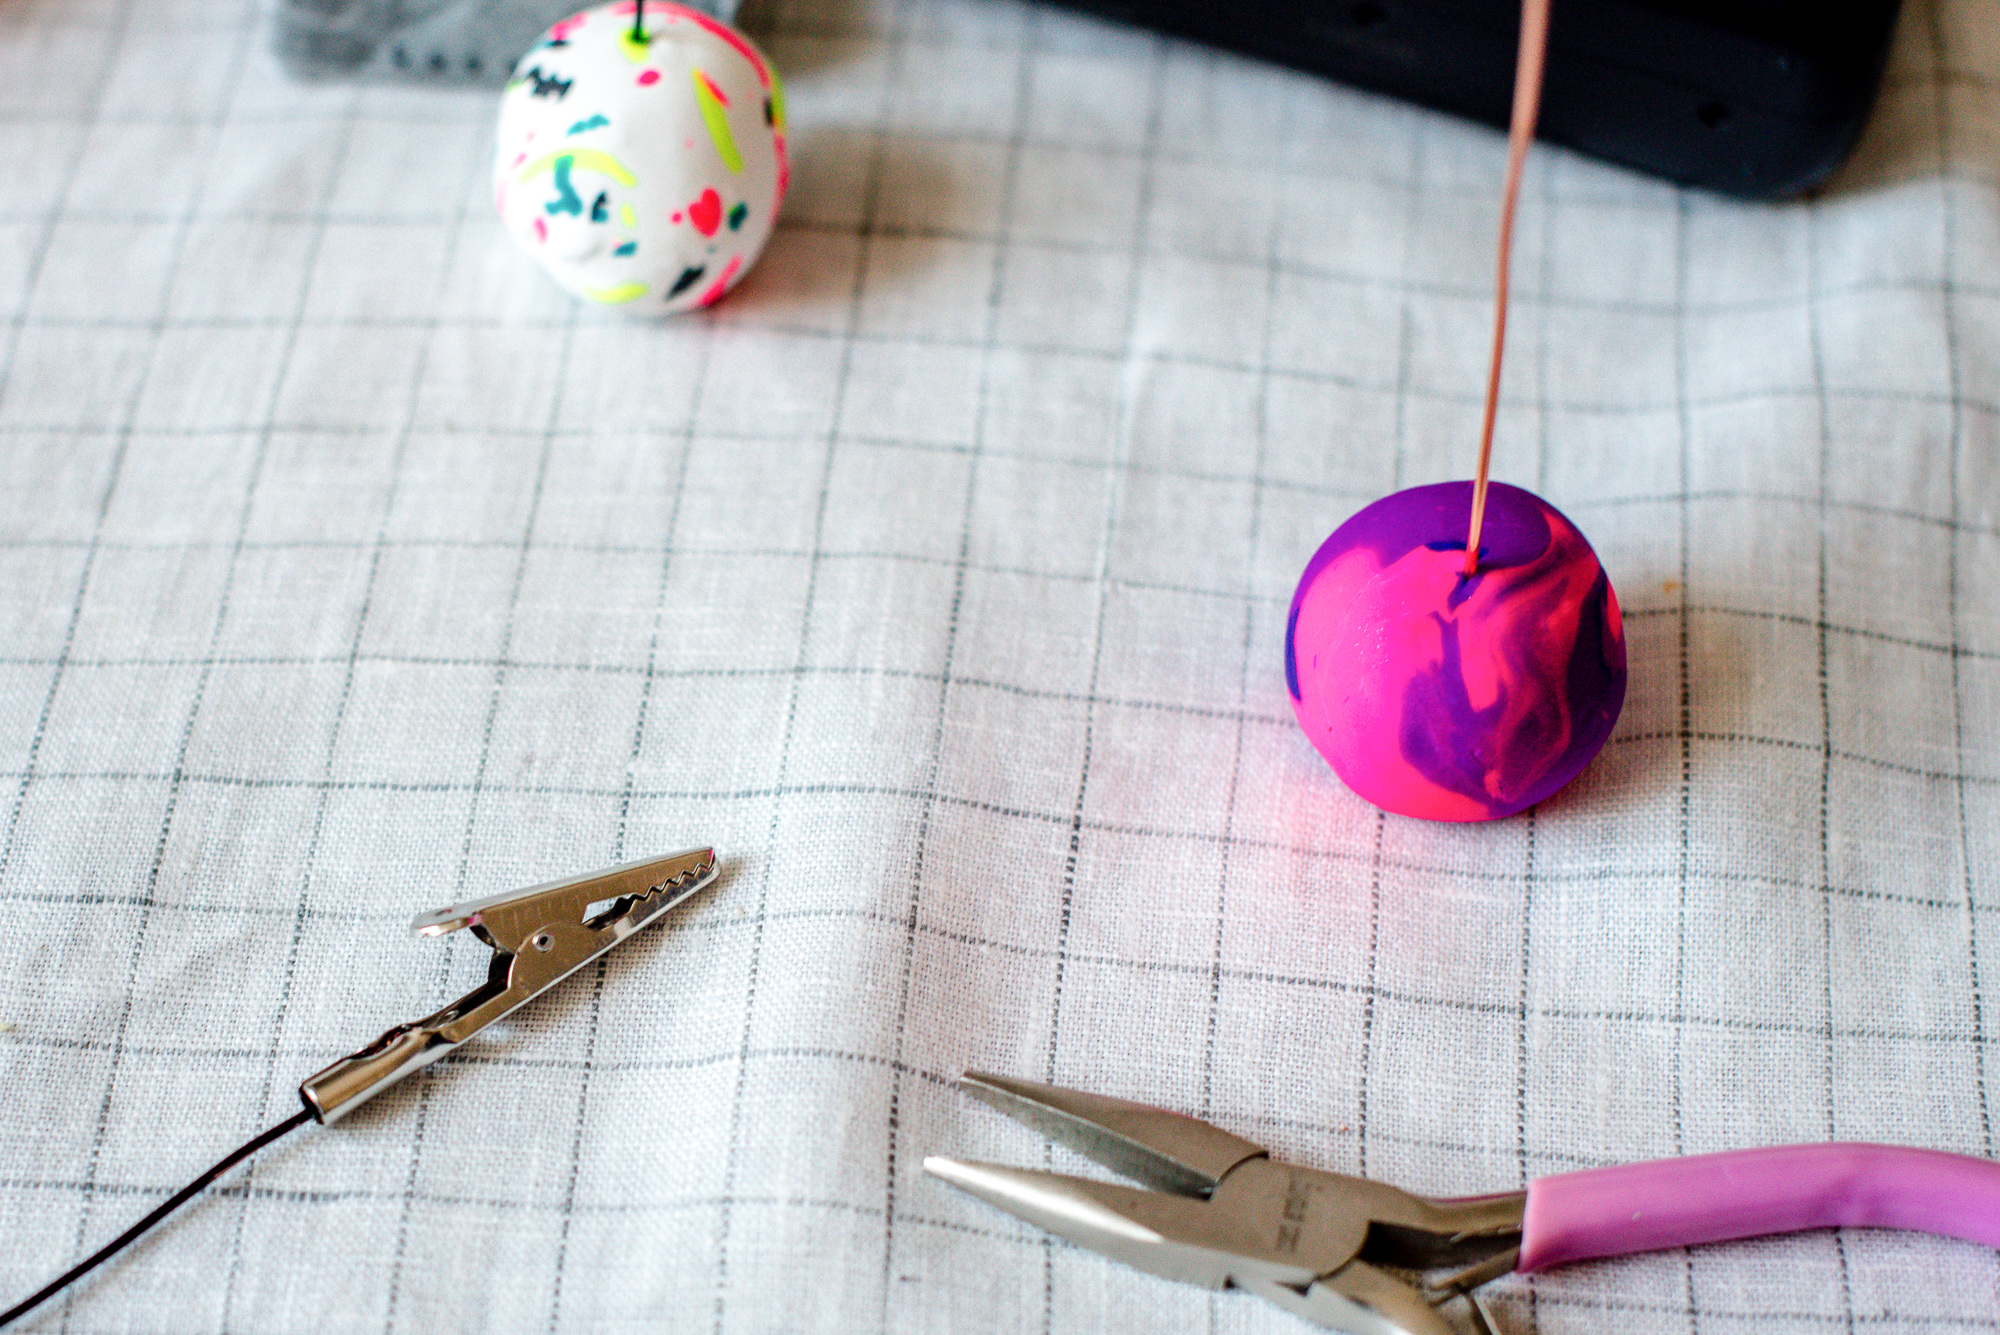
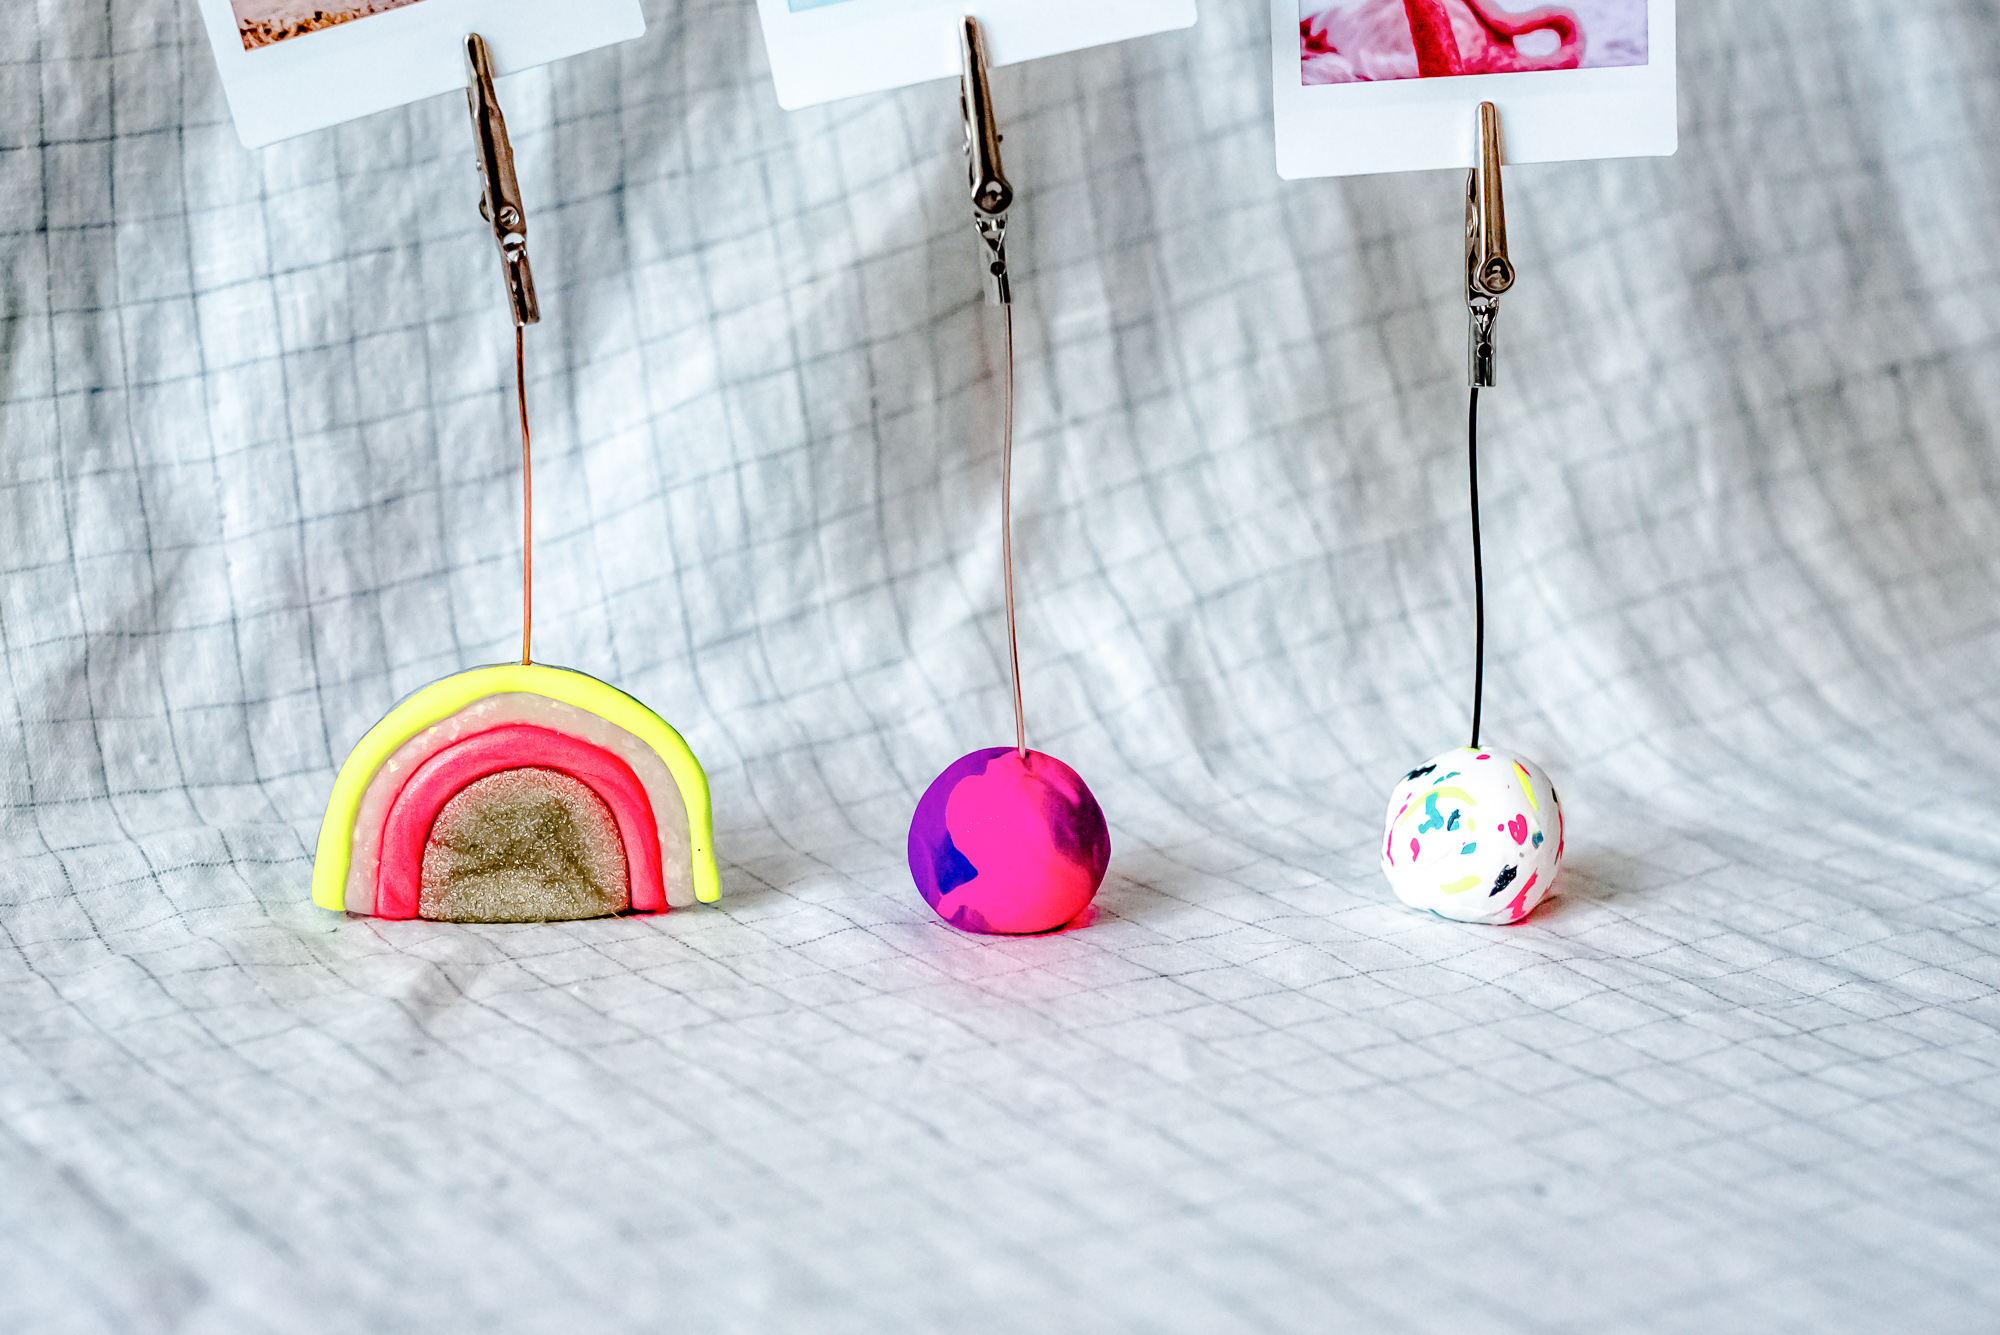
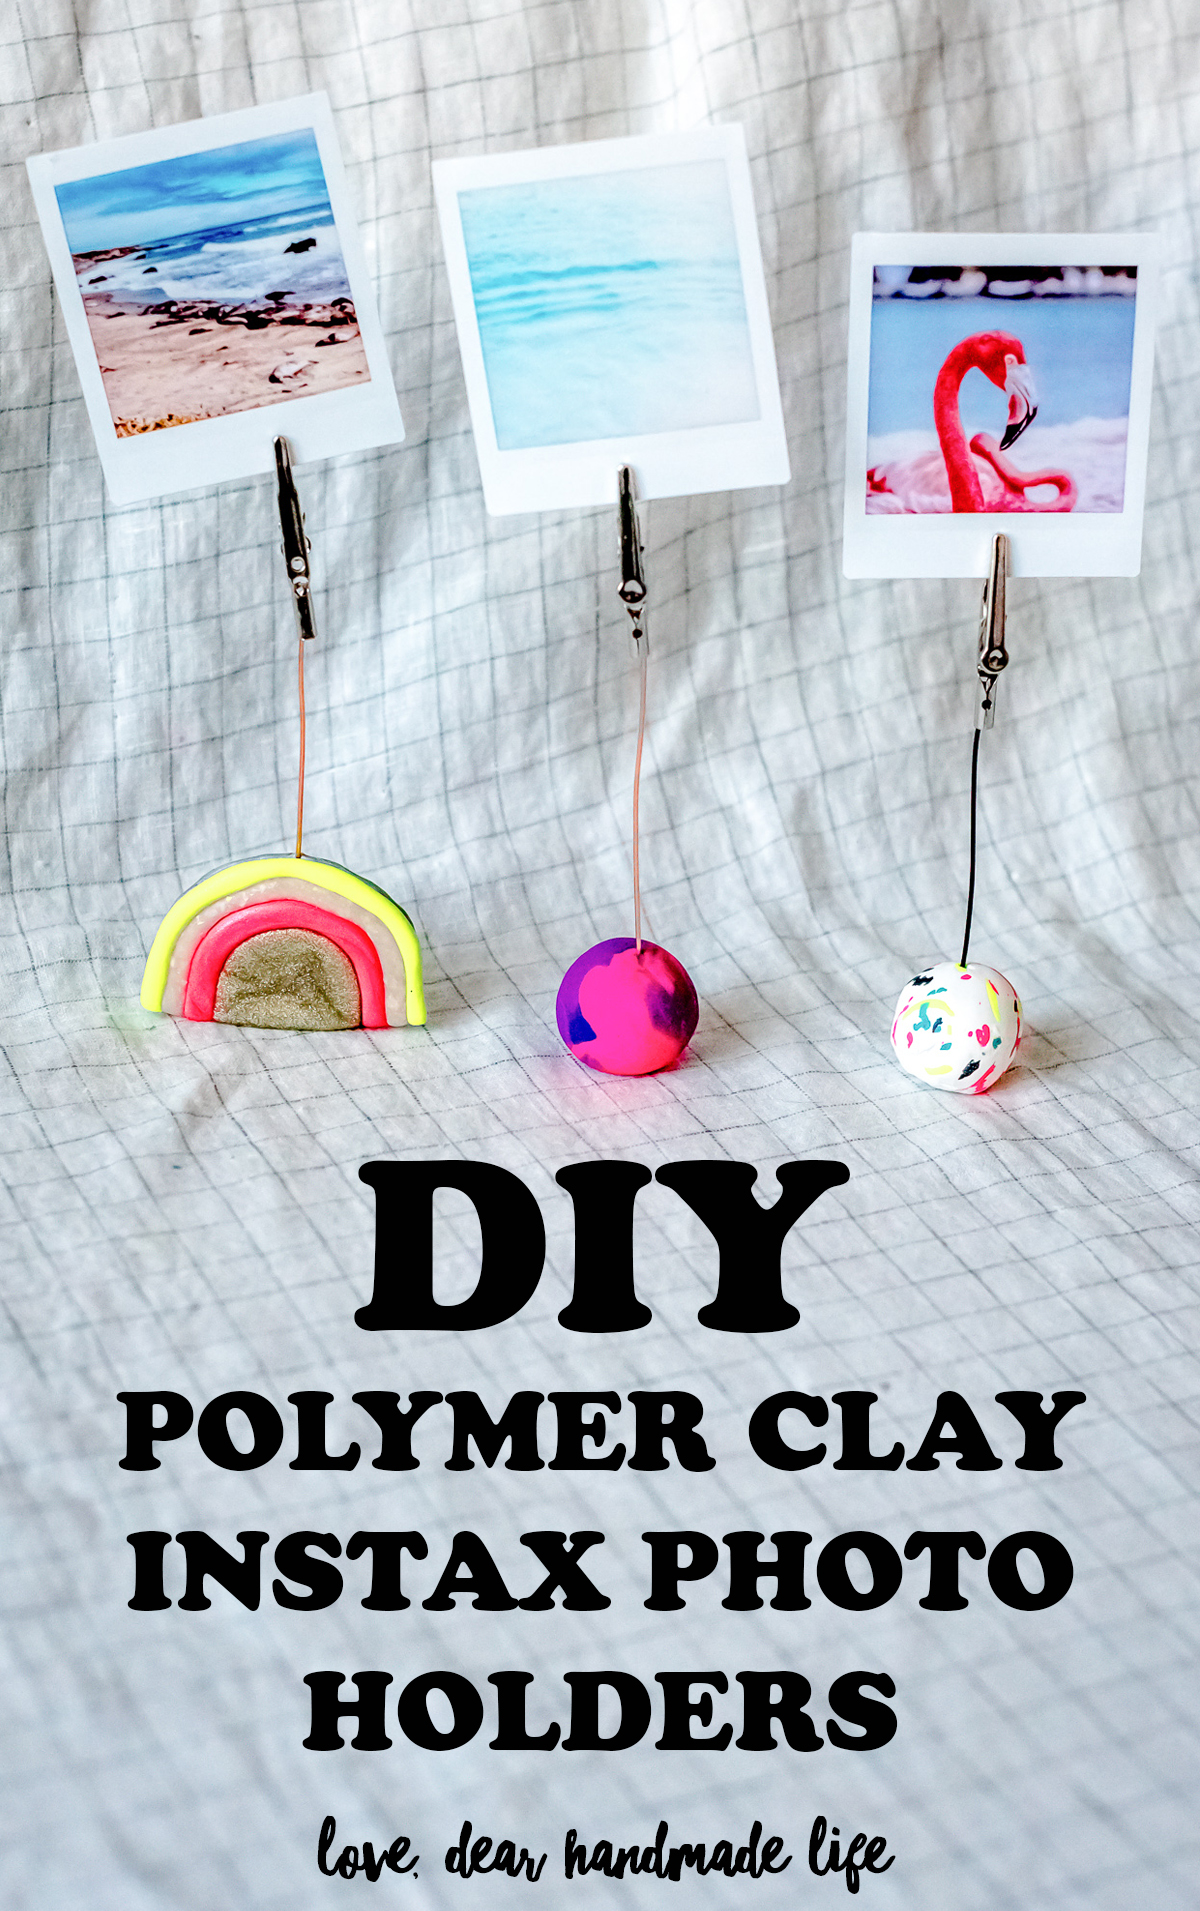
1. For the first design I decided to go with a simple marbling technique. There really is no limit to how many colors you can use but to make sure it doesn’t get too ‘muddy’ looking it’s best to stick with just a few. I chose four shades in the purple/pink family. Start with a small chunk, if the clay is too hard you can just keep rolling it in your hand or on your workspace to soften it up a bit. Roll each color into thinner long pieces, then bring all of them together and twist them a few times. Fold it on itself a few times and use your rolling pin/jar to flatten it out until you get a marbled look you desire. Roll it in your palms until it’s a nicely round ball (about two inches in diameter). Flatten the bottom so that it will sit straight on a table. Cut a piece of copper wire about 2.5-3 inches long and bend one end with your pliers so that it fits snugly into the open part of your alligator clip, then bend the other end into an L shape. Insert the L shape end into the middle of the top of your marbled ball, push it down and then turn the wire so it sits upright (this ensures your wire will stay intact and is safe to put it in the oven later).
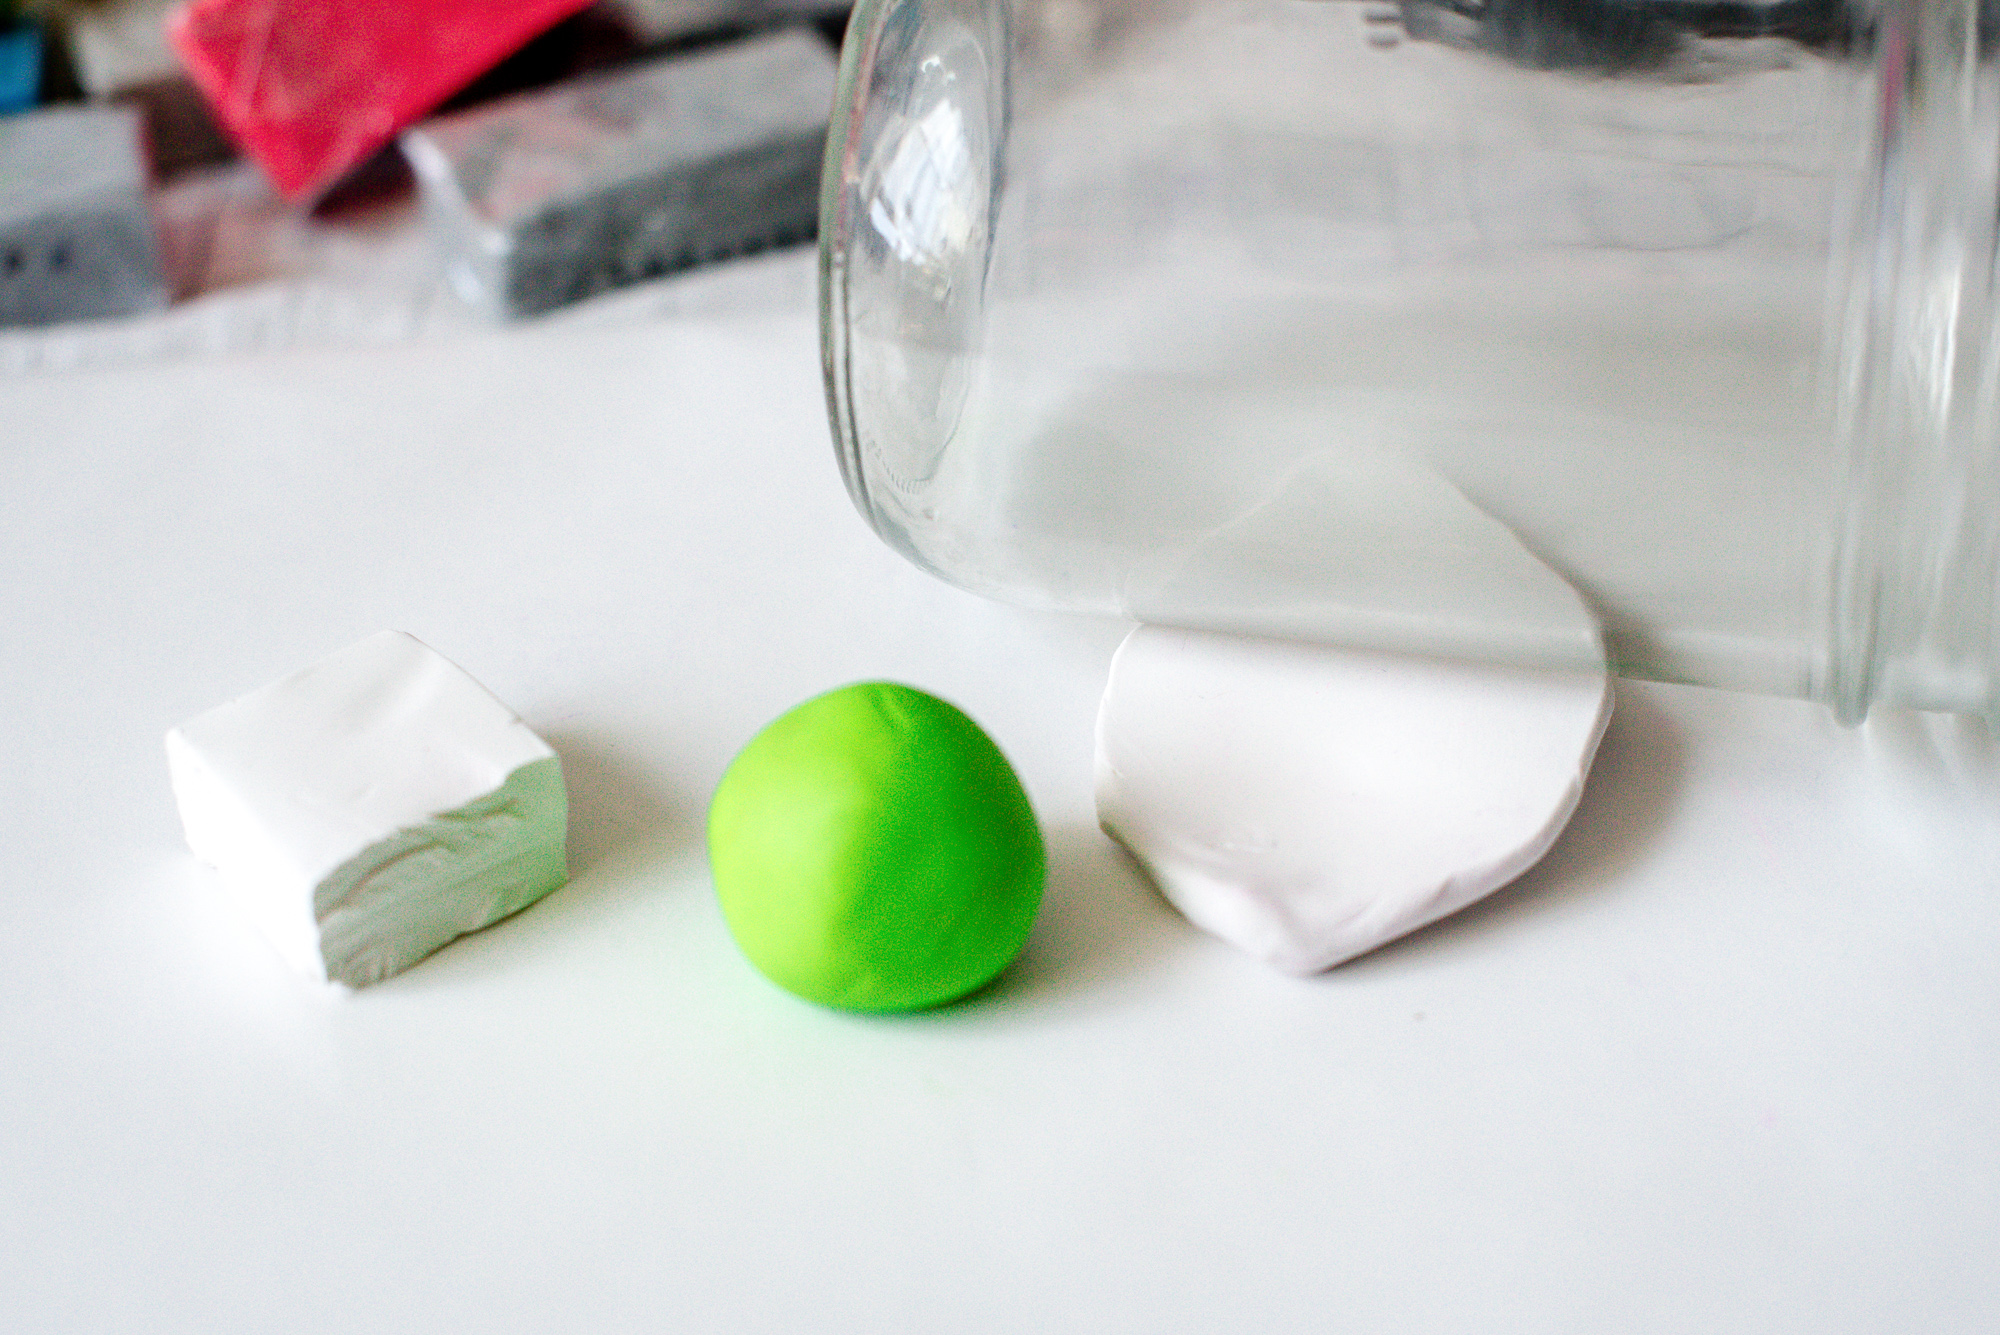
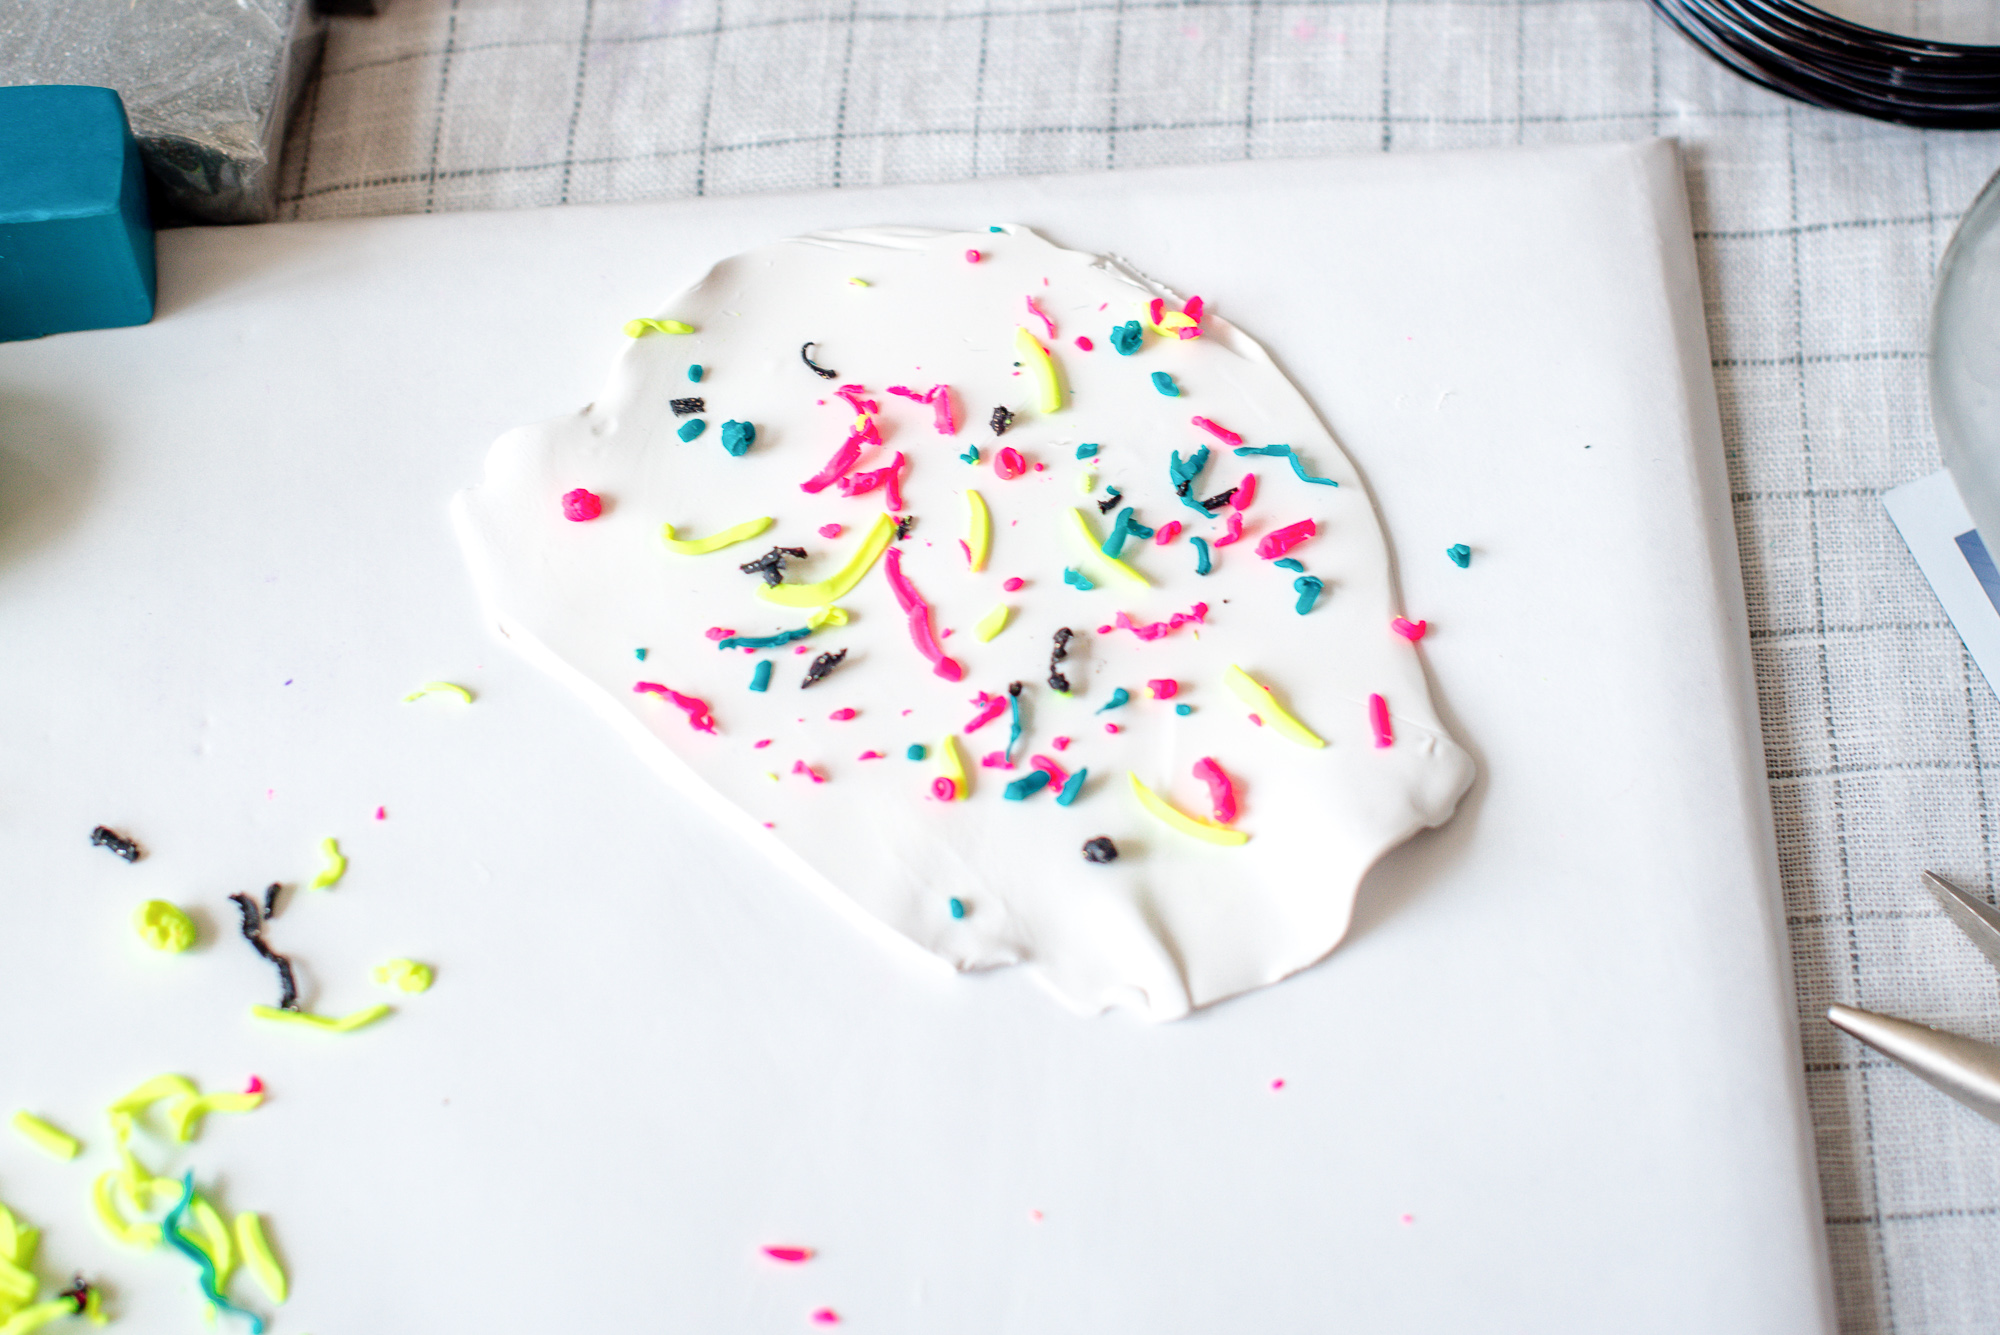
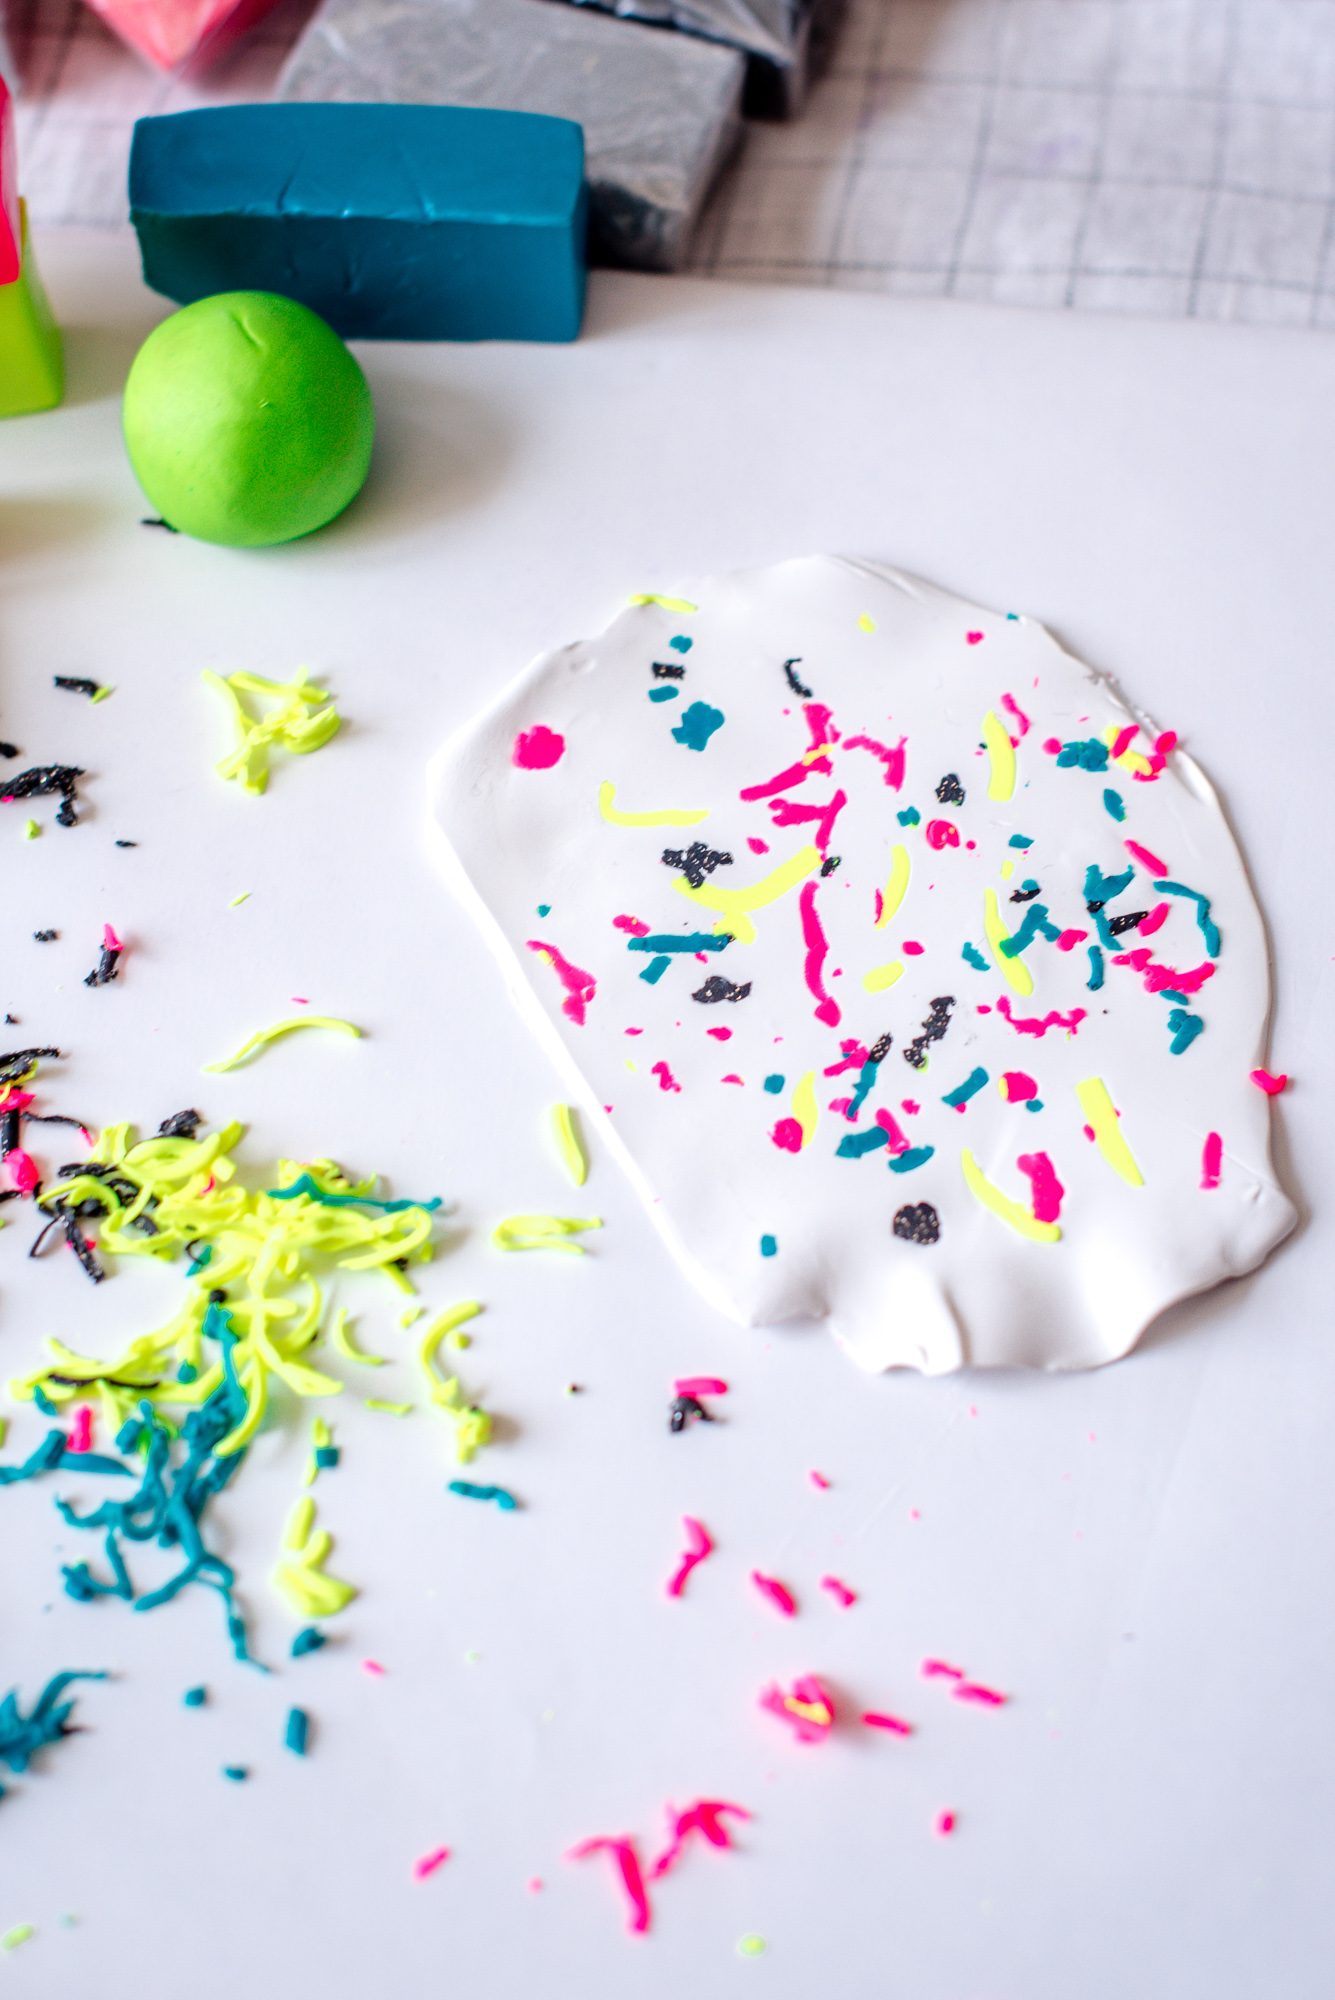
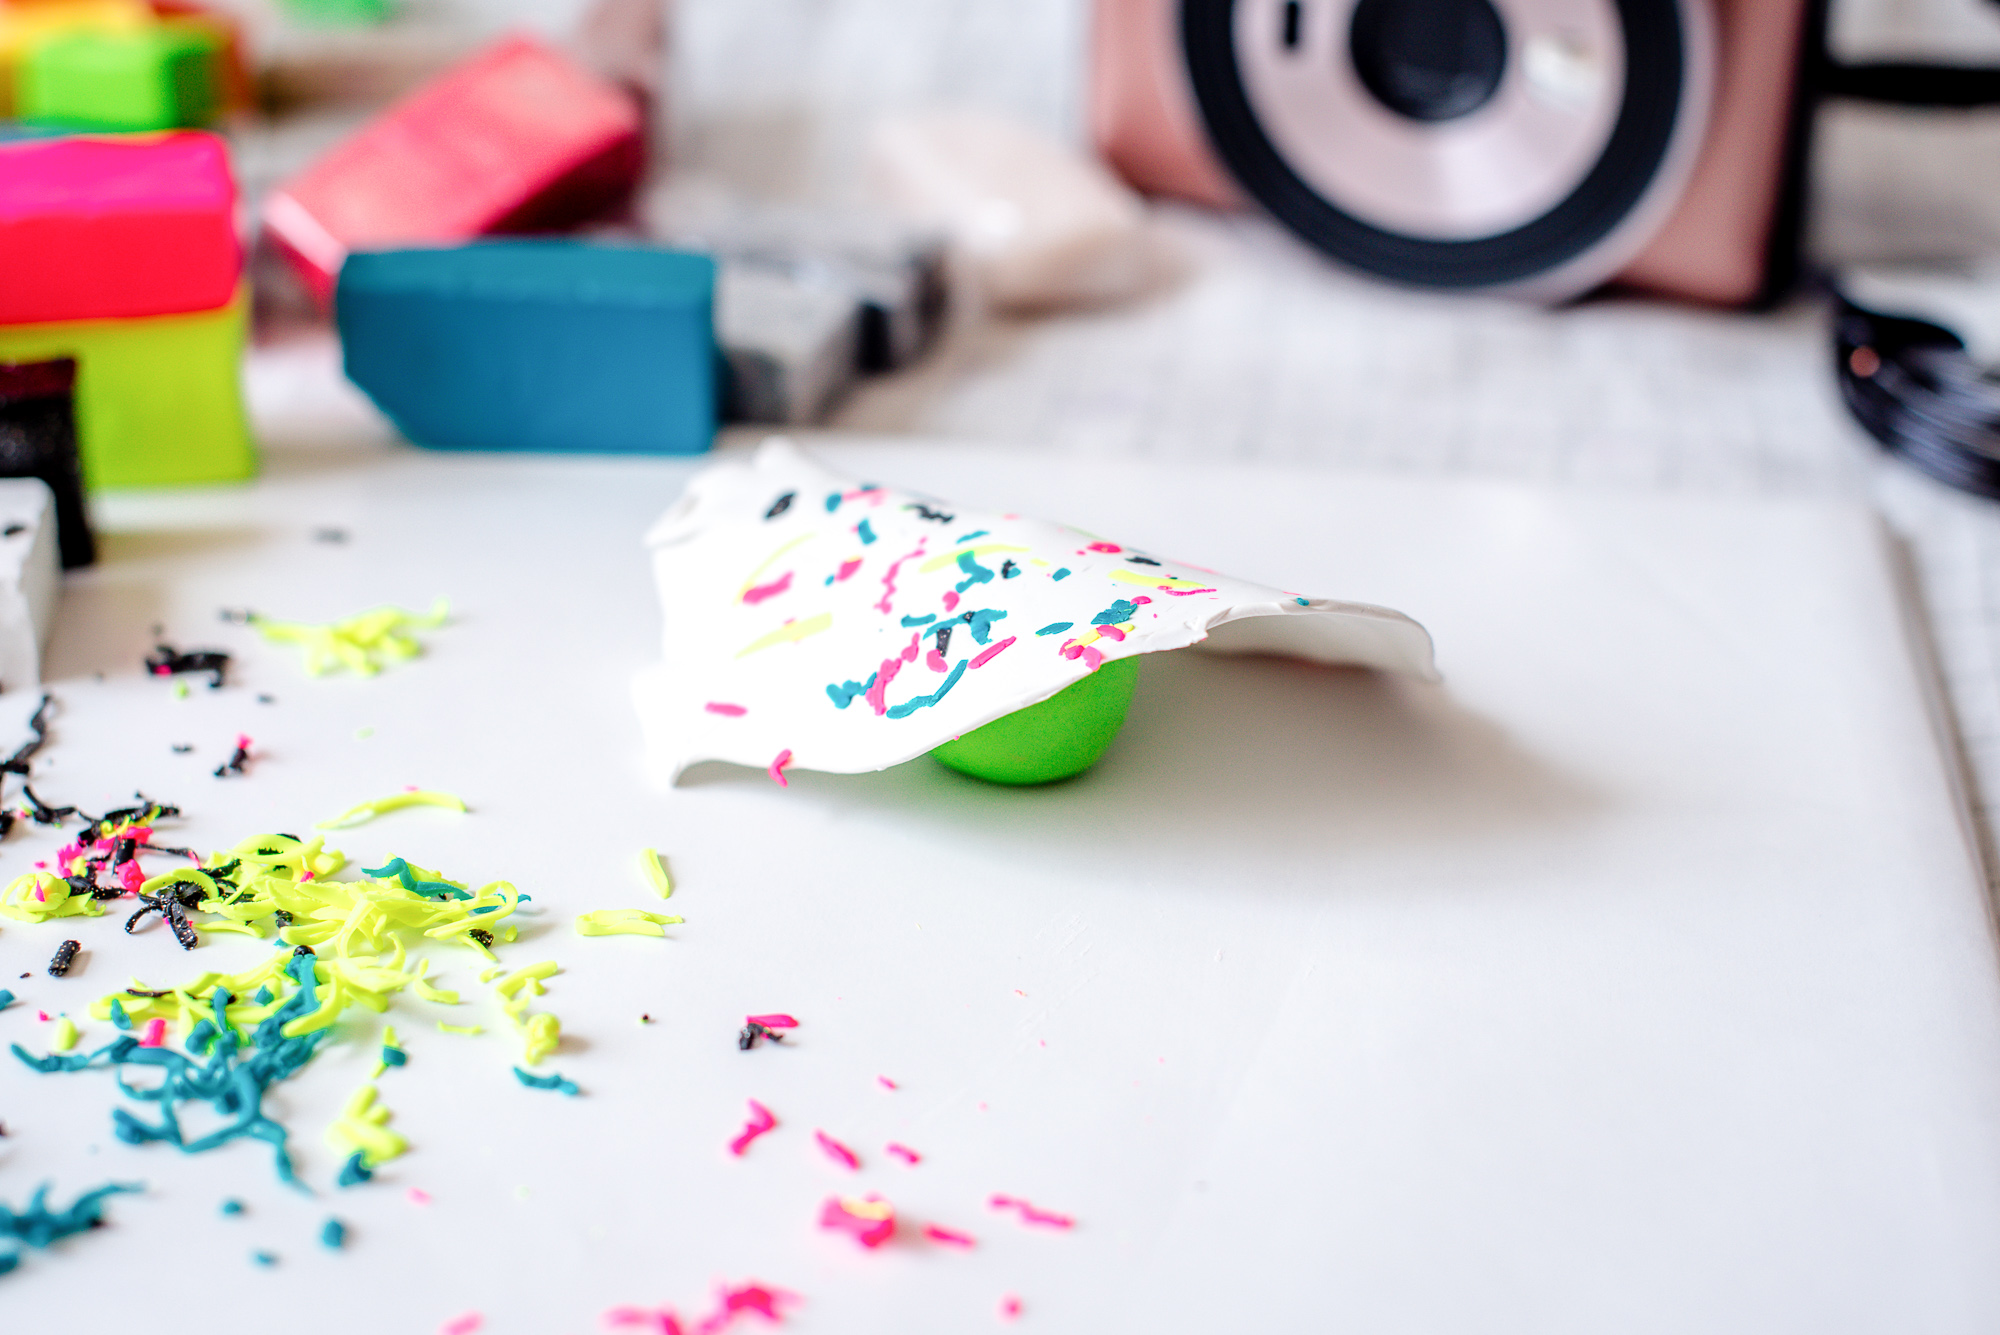
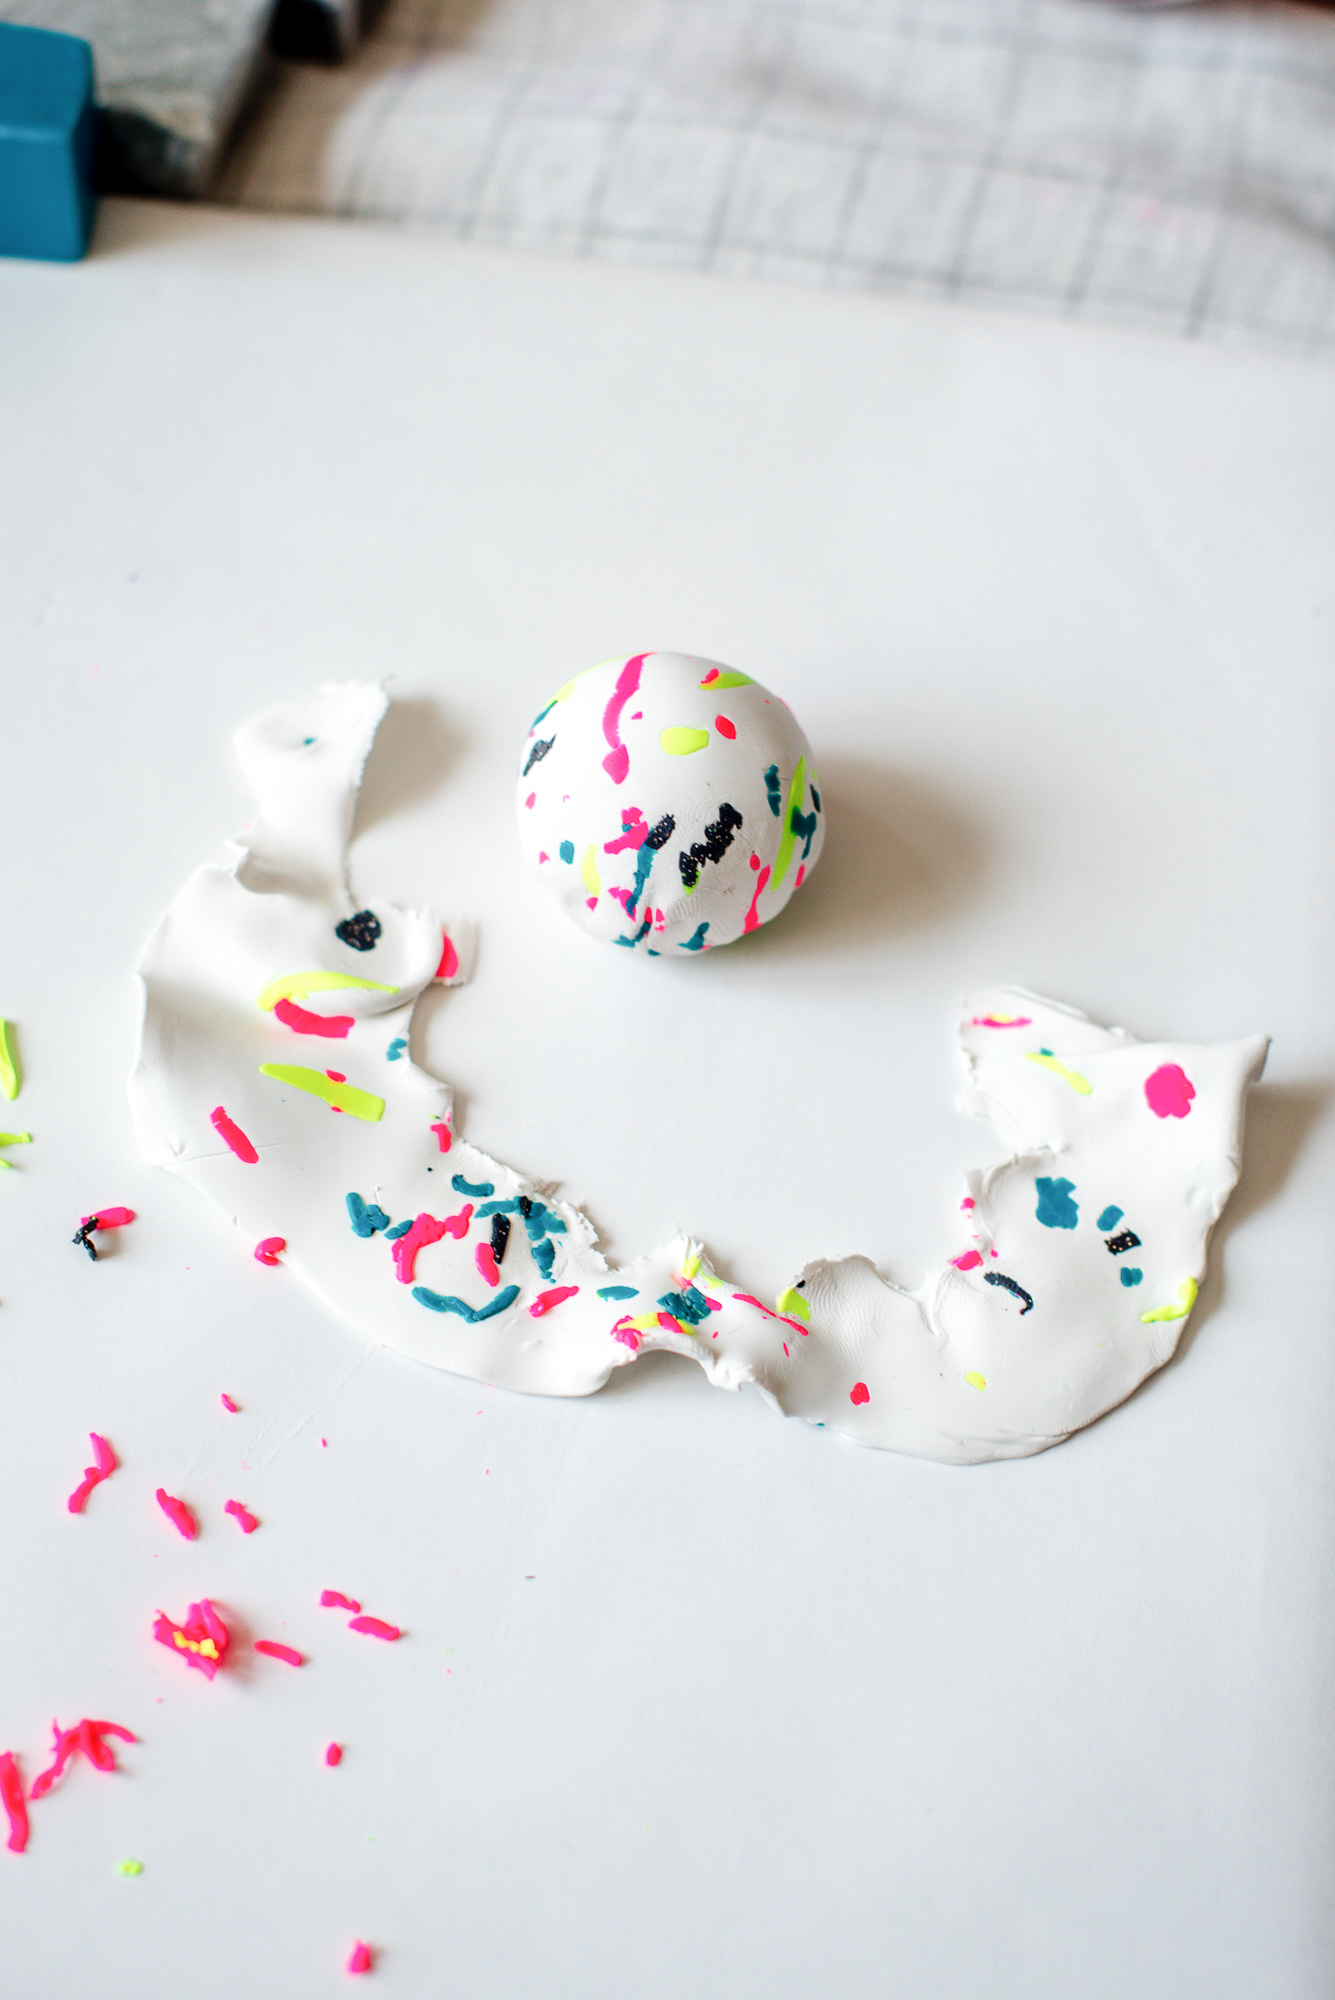
2. For this design, I went with a cute confetti look. To start, I rolled a small ball about two inches from a solid color. Take some white clay and flatten it out with your rolling pin/jar until it will cover your solid ball. Pick a few colors for the accent flakes and grate a little bit of each color using a thin cheese grater. Place the colored flakes onto your rolled out white sheet in a way that you prefer and use the rolling pin/glass jar to smooth down the flakes into the white clay. Cover the solid ball, cut off the excess and smooth the bottom together and flatten it out on one side like we did previously. Repeat the same technique with the copper wire.
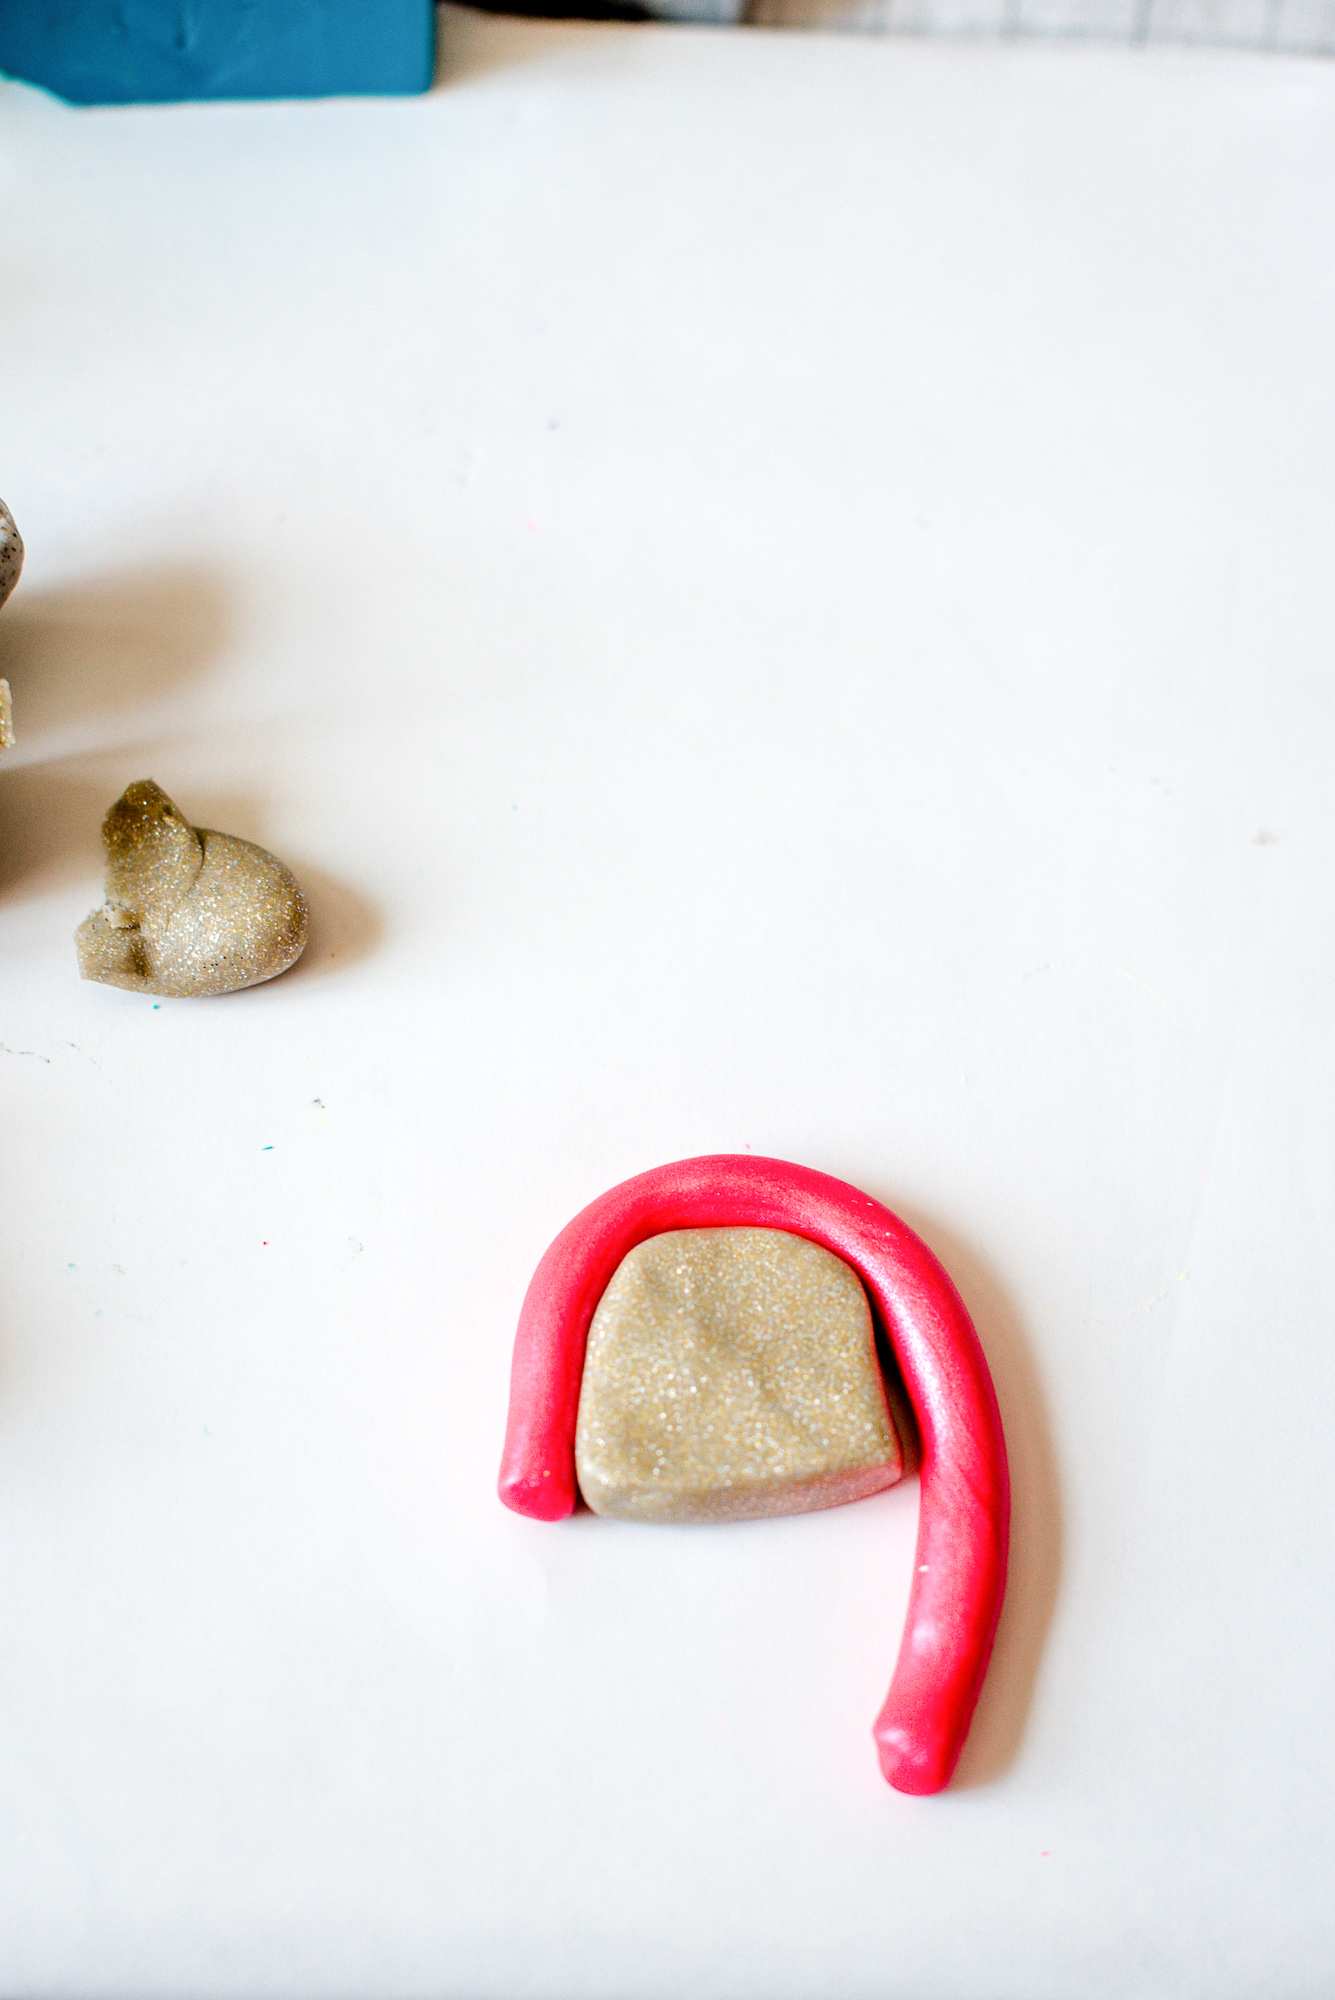
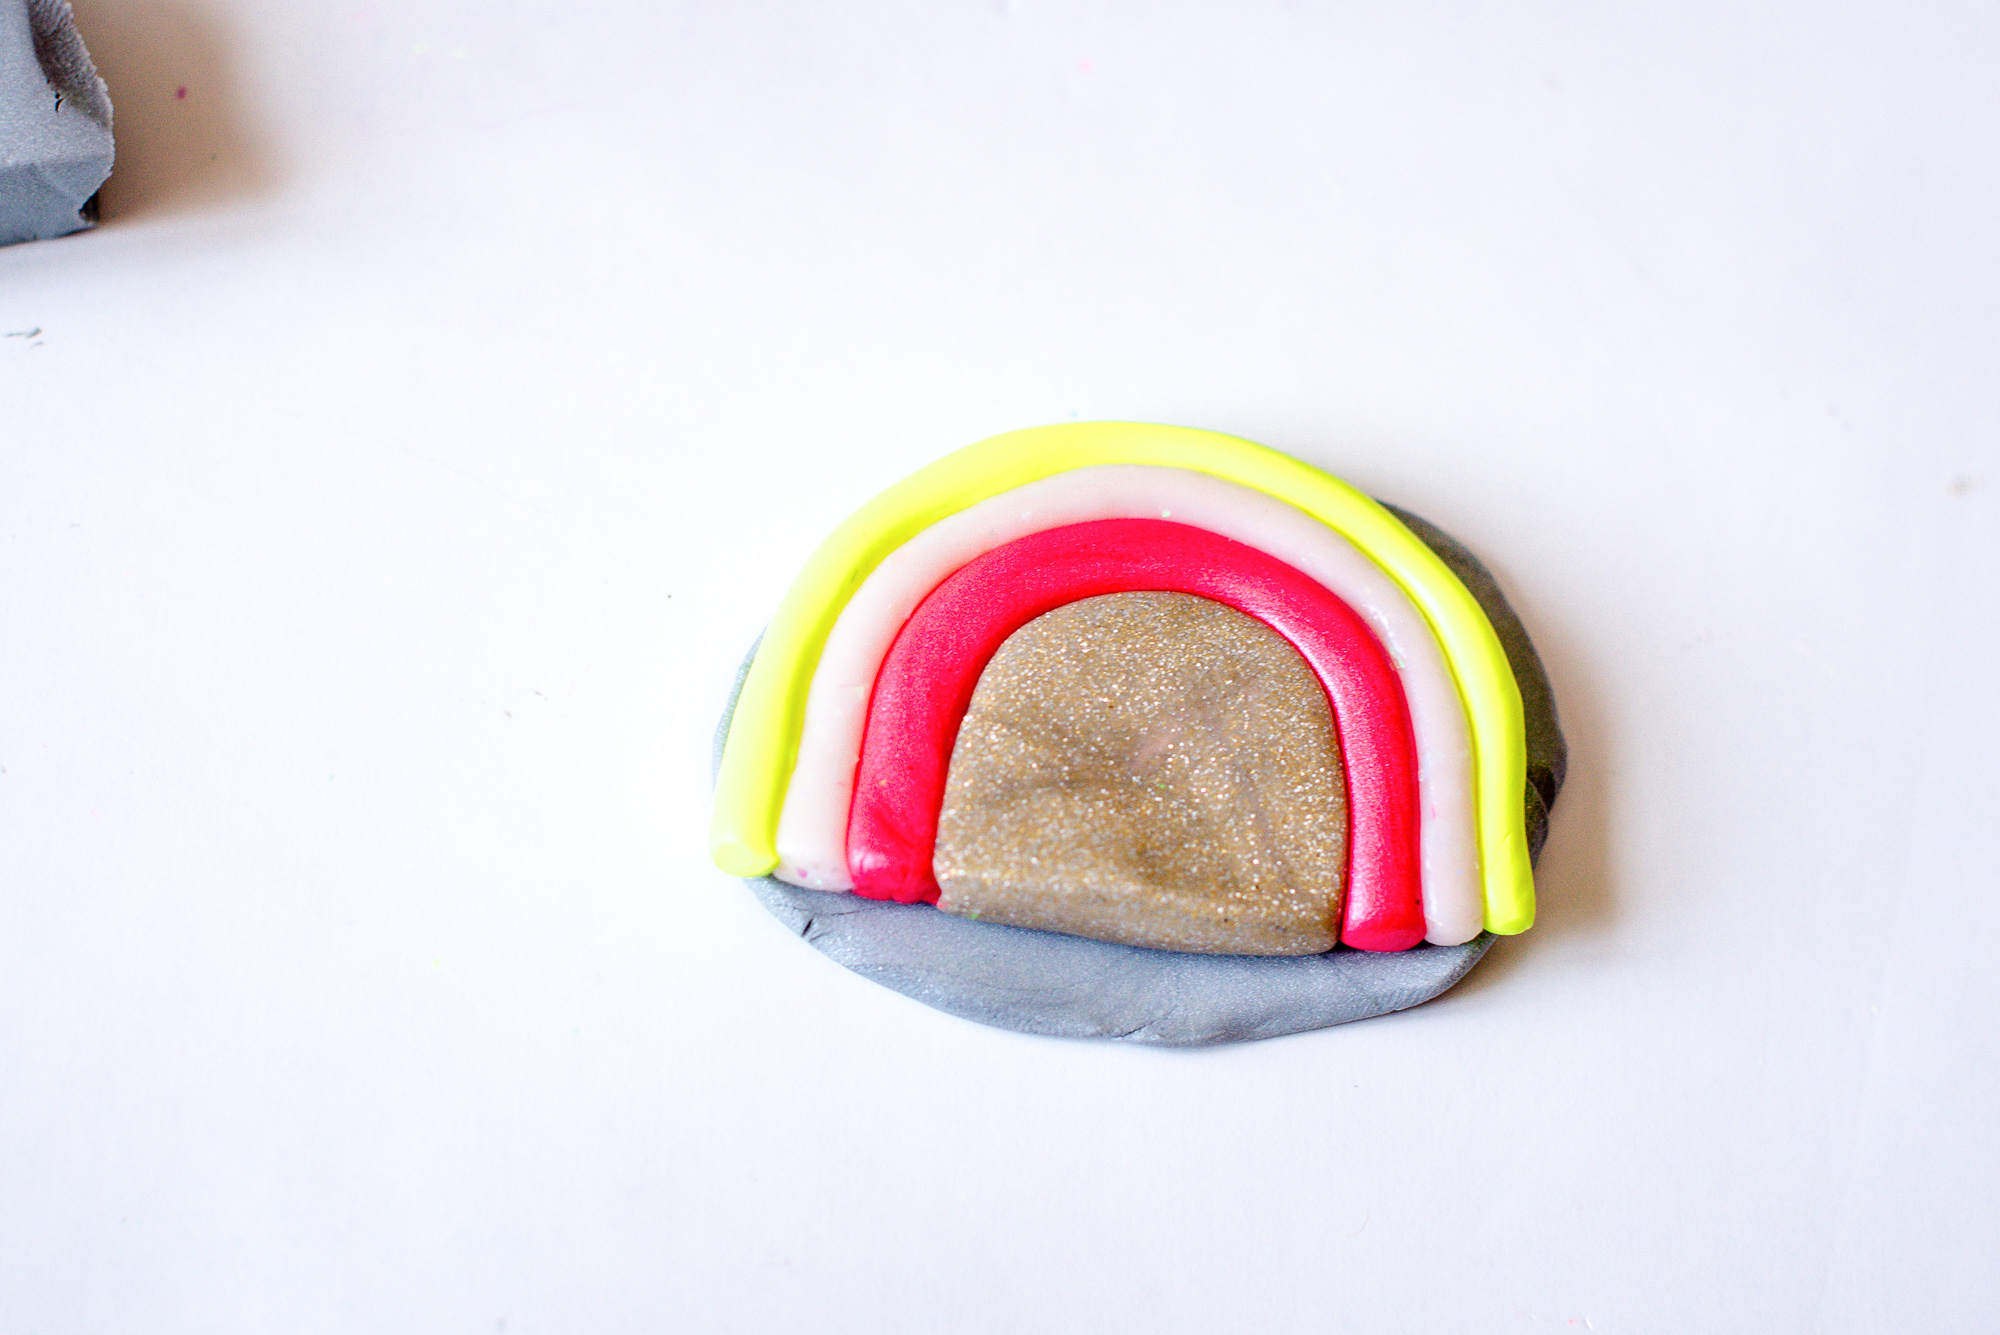
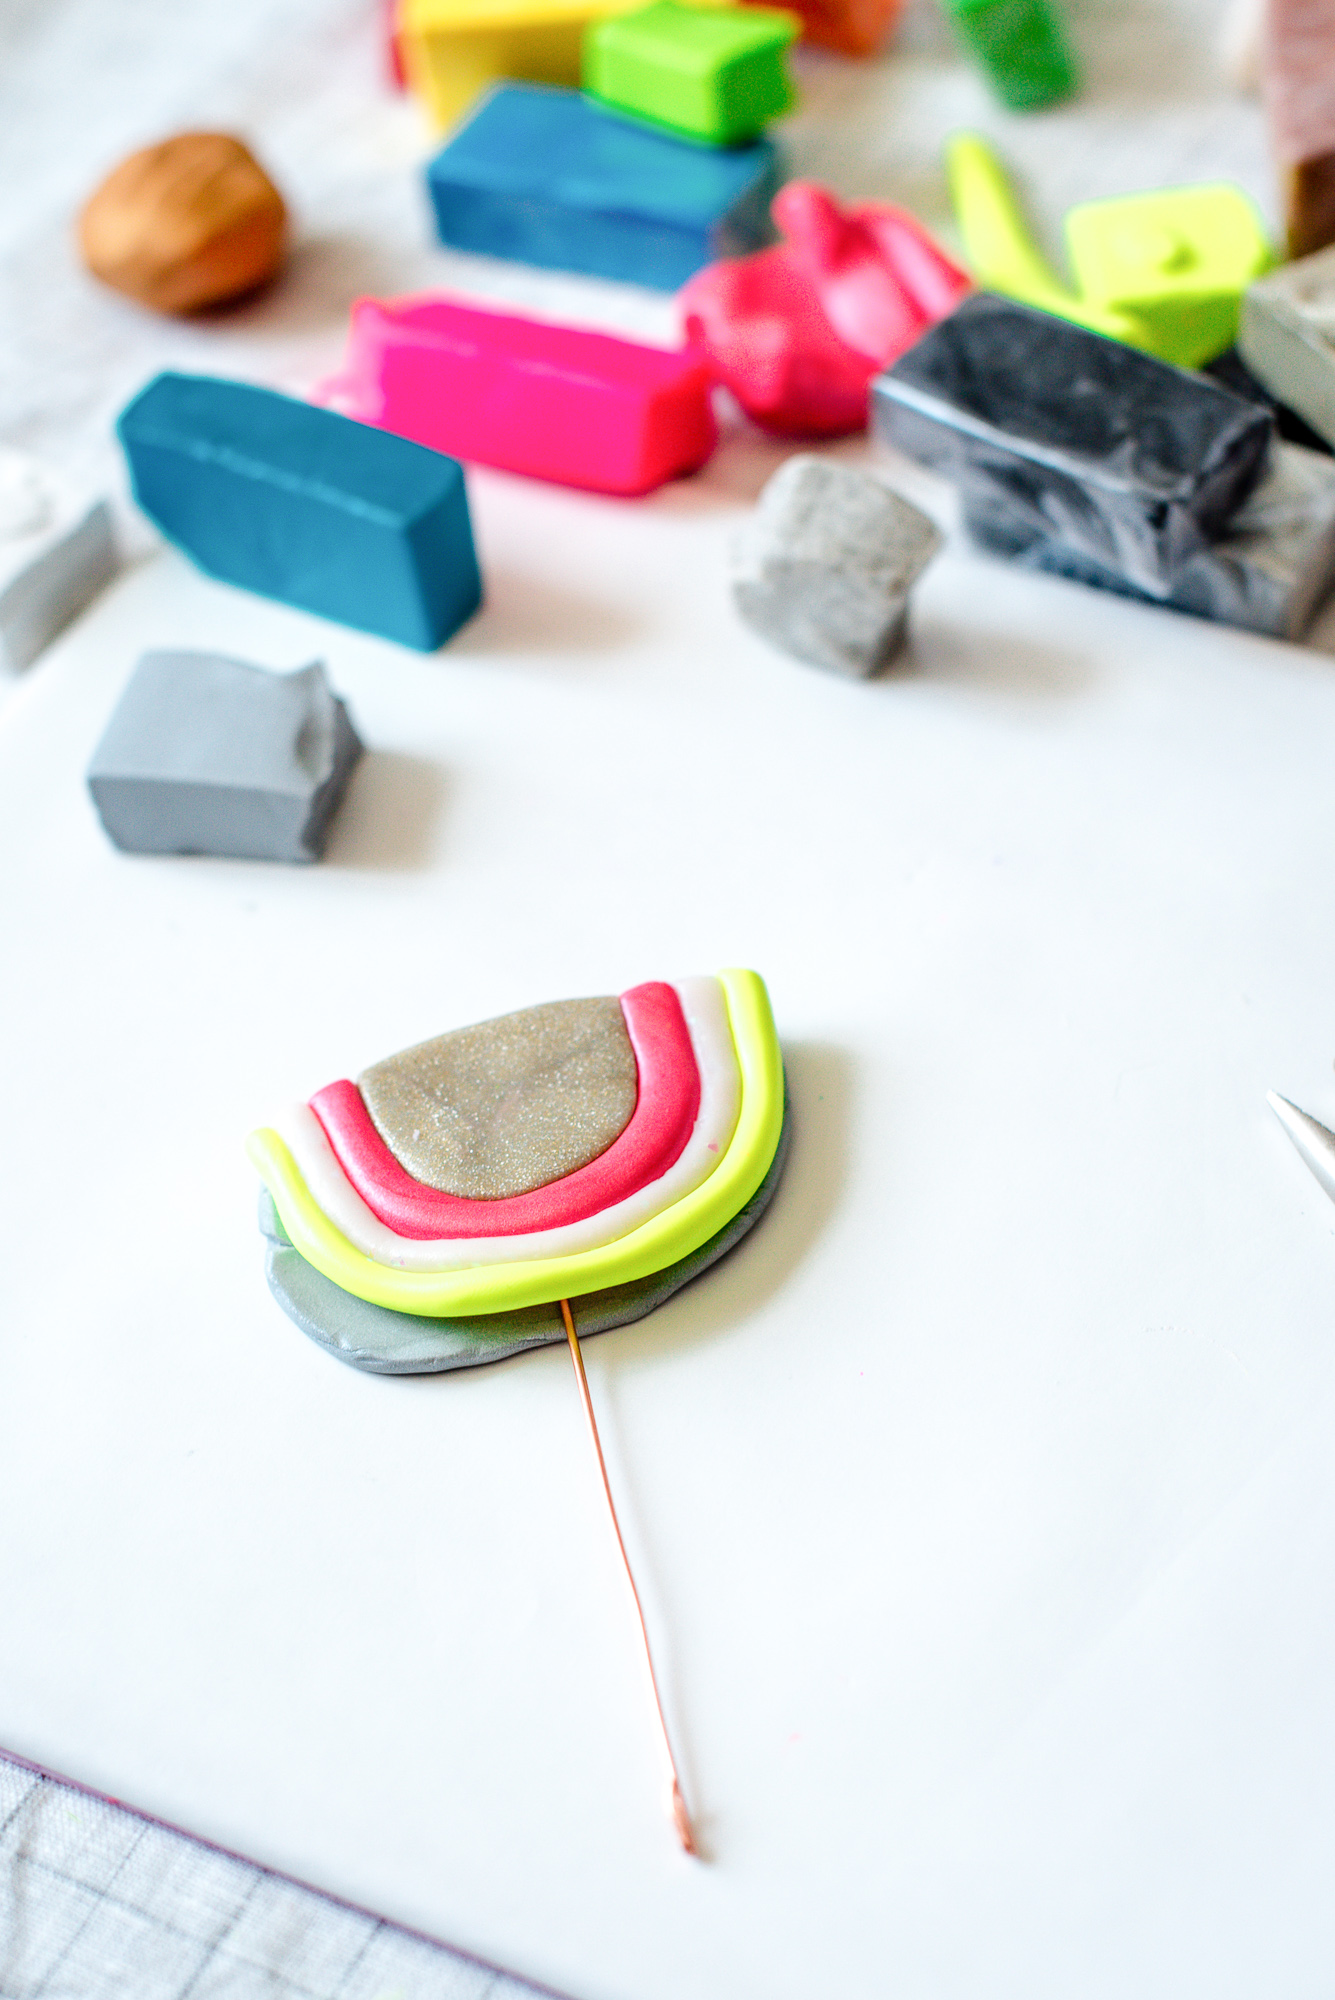
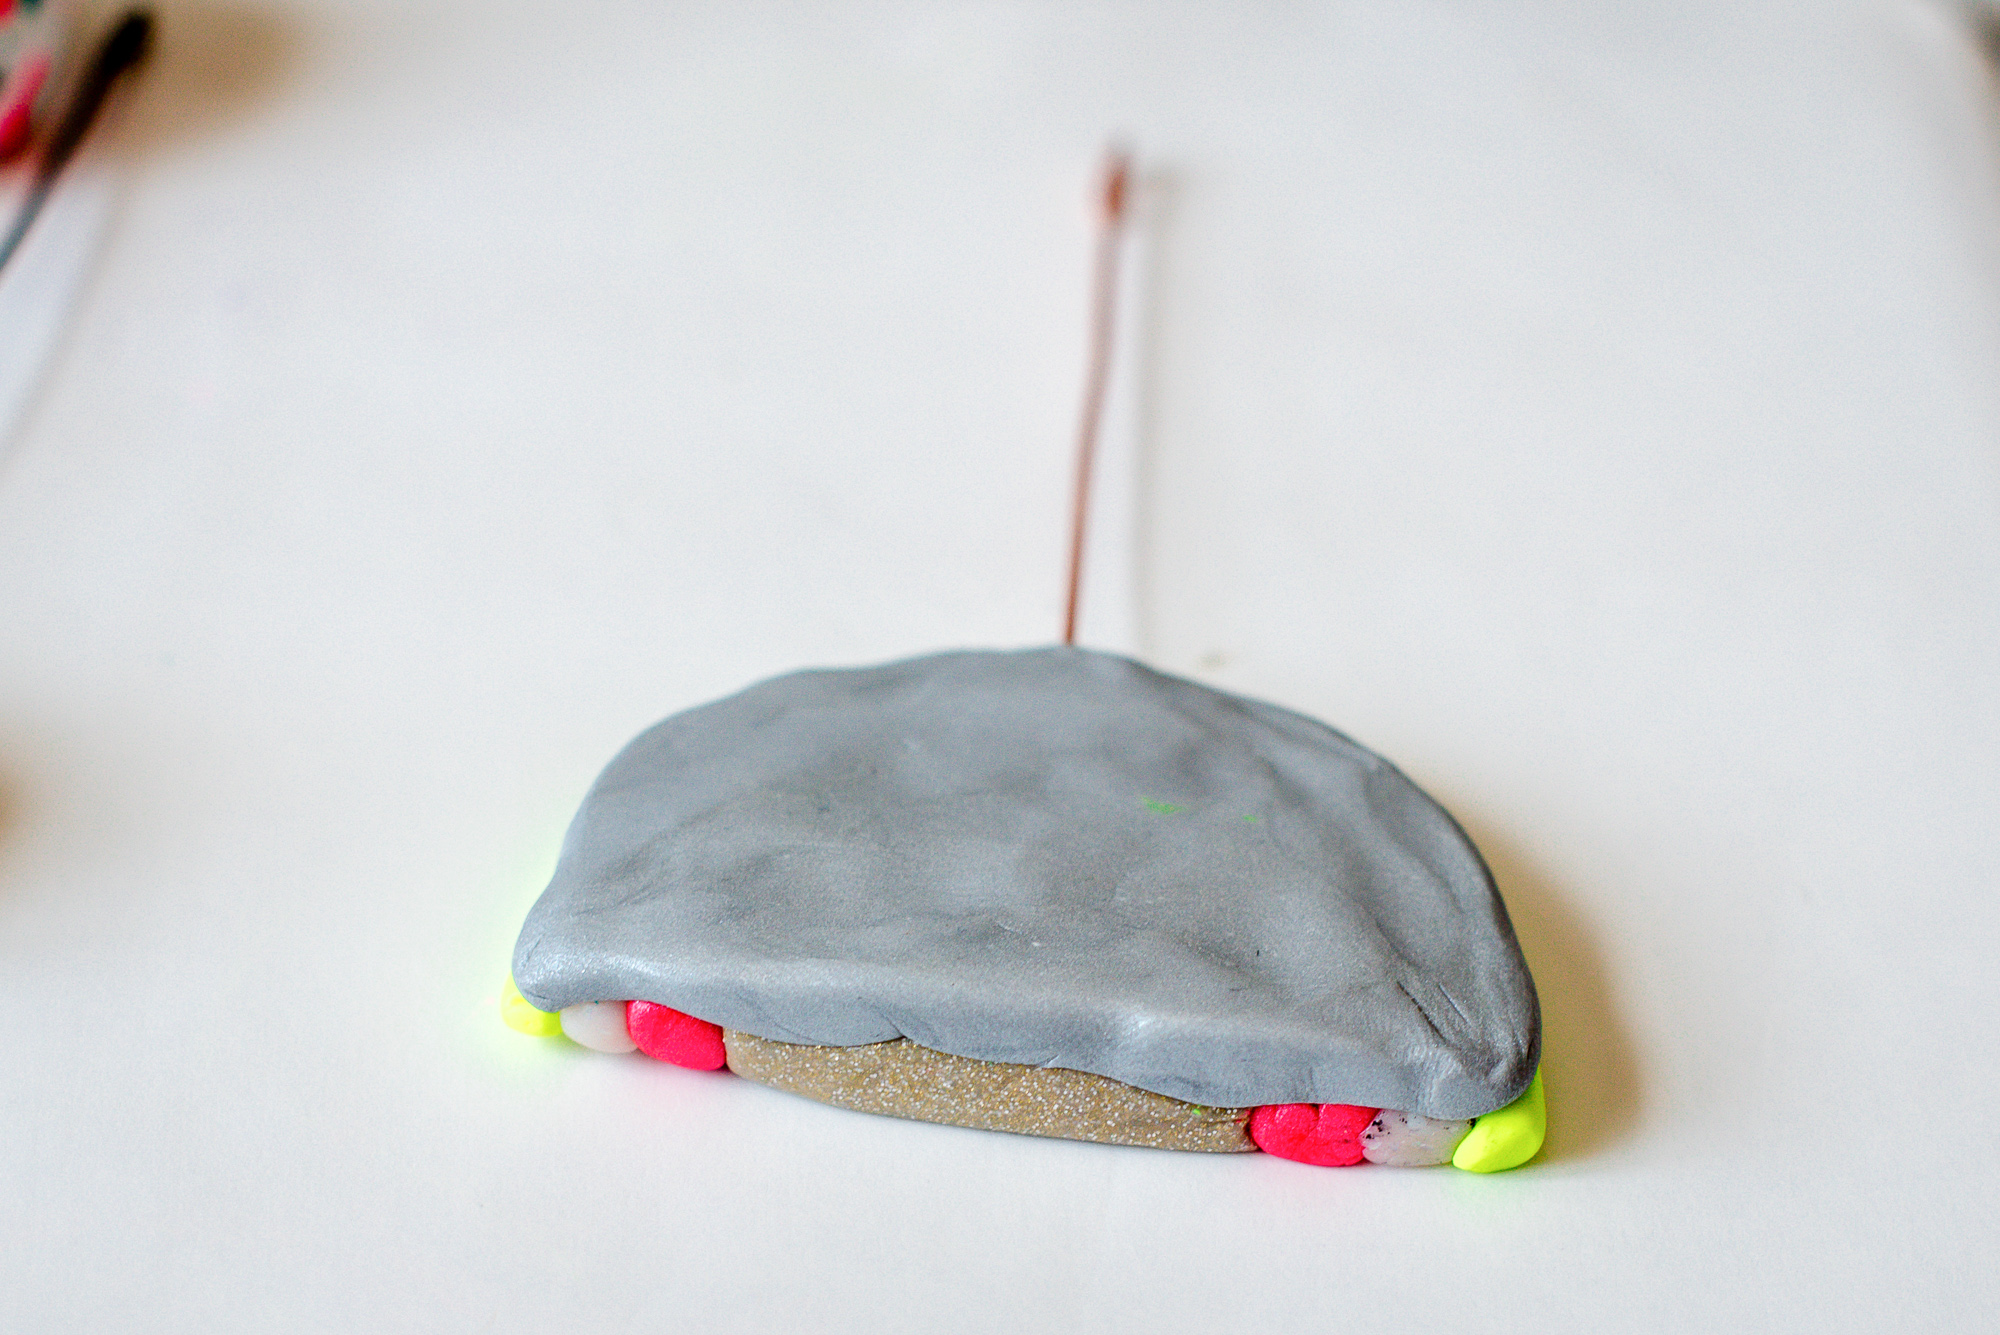
3. For the last design, I made this adorably fun rainbow. I started out with a chunk of the gold glitter clay that I formed into a thick and flat half circle. I then chose the other colors I wanted and used the same technique as the first one and rolled them into thin, long cylinders and wrapped them around the half circle, cut off the excess at each bottom and smoothed it out. To make sure it would stay together and stand upright, I used another color as my ‘back’. Form the backing clay piece into the general shape of your rainbow and sandwich a piece of copper wire in between the pieces, then work your ‘back’ color into the shape, cut off any excess if needed.

4. Follow the baking directions for your clay, mine took about 30 minutes in my oven at 275 degrees. Once they are done and cool you can add your alligator clips at the top and then your photos!
ABOUT NIK:
Nik is a maker, day dreamer & potty mouth who loves cats, coffee and craft beer. She is a self taught hand embroiderer and will DIY pretty much anything she can get her hands on. You can see her work on IG @wastingthyme & @nikvphotography. She lives in Long Beach with her husband and her three awesome cats (that she can’t shut up about).

