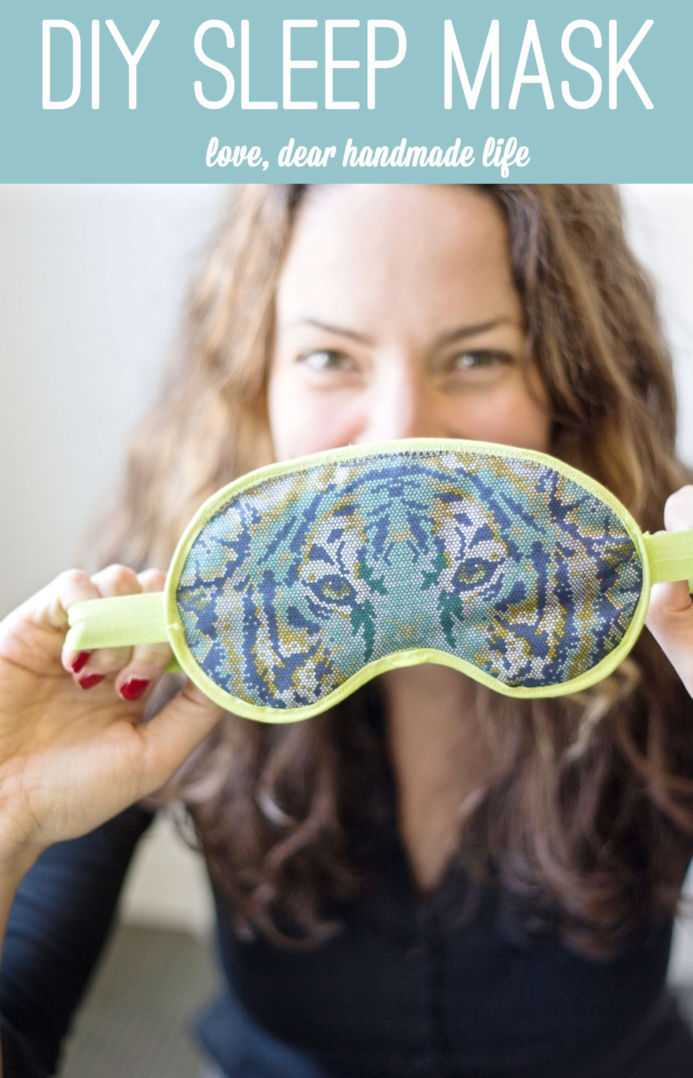
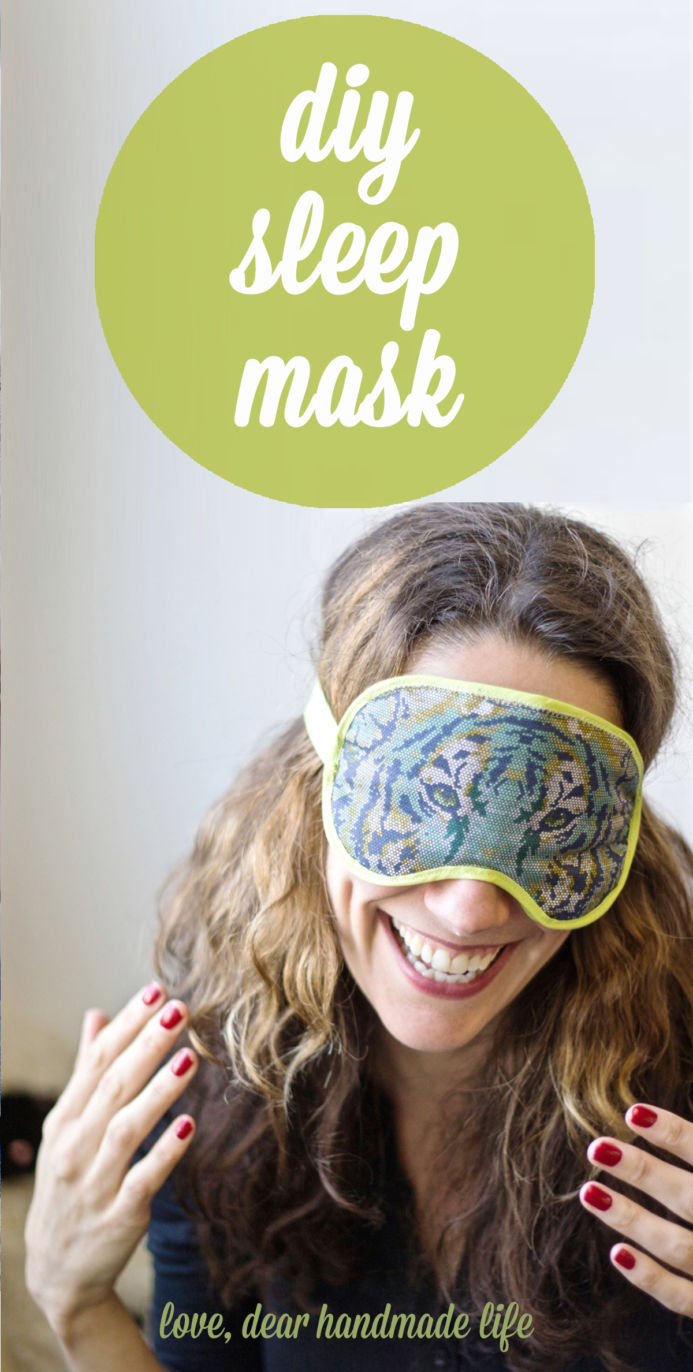
DIY Sleep Mask
“Ugh! Sleep is SO overrated!”
Said no one, ever.
The problem is that sleep is hard to find! We so often prioritize work and other projects and are scurrying to meet deadlines. Often the transition from awake to asleep is tricky, or if we’re lucky, our lives are just really full, leaving little time to rest. Ask yourself this question: When was the last time you enjoyed an afternoon siesta? Maybe, like me, you are incredibly under-napped? Or maybe you’ve mastered the art of the power nap and consider yourself a nap ninja? Or perhaps you’re a napaholic and can’t go a day without one? It’s okay, I’m not judging you. In any case, you know what I think we all need? A nap.
And a sleep mask.
Here’s why.
Call me old-fashioned, but I really appreciate darkness when I sleep. I believe that our bodies are happier if we can naturally follow the cycles of the sun. Which is why I generally like getting up early, when the sun has recently risen. There’s something so calming and regenerative about the early morning hours, but that’s another poem for another time. Despite my love of dawn, though, there are many instances when the sun is up and I simply want to be or need to be asleep. Which is why, for many years, I’ve used a sleep mask– or pillow, or stuffed animal– to cover my face when I need to block out the sun to get some z’s. I highly recommend it.
And speaking of bonkers sleep schedules, you know one place where I didn’t need a sleep mask? Spain. Little known fact about Spain: it is also known as the land of the blackout window shades. It’s common practice to be able to have a total and utter blackout in your apartment, in all windows if you wanted. This seems only natural for a country that stays up until 4am and generally practices the afternoon siesta ritual. I have many-a-memory of waking up, groggy, after either a full morning of work, or a night out– it was hard to distinguish between the two sometimes– and having absolutely no idea what time of day it was, the pin-sized holes in the blinds my only clue that it was somewhere in the daylight hours. God bless those curtains.
But I now live in San Francisco, and while our bay windows are adorable, they are pretty terrible at providing darkness.
So let’s all make these sleep masks and siesta until our cells have regenerated and we are over-hydrated with slumber.
It’s so easy! Take a look…
Love,
Ashley
What to get:
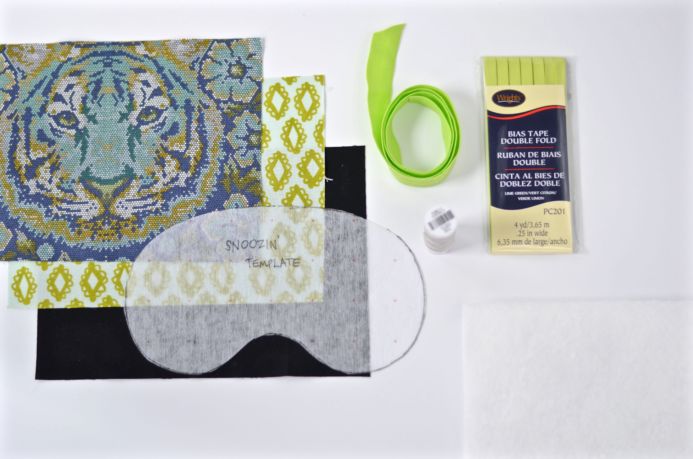
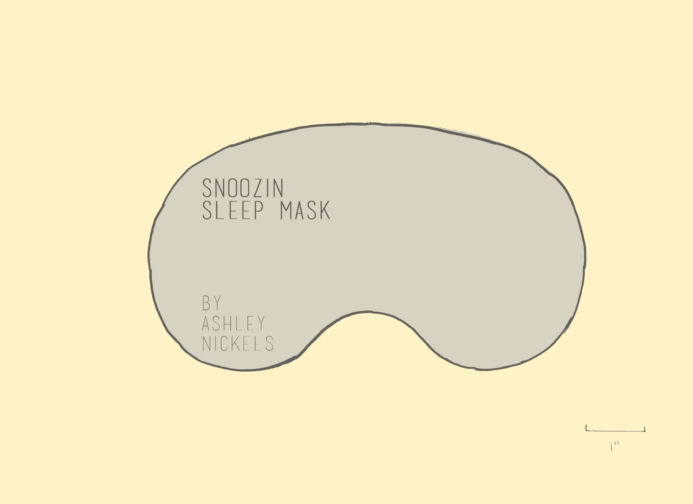
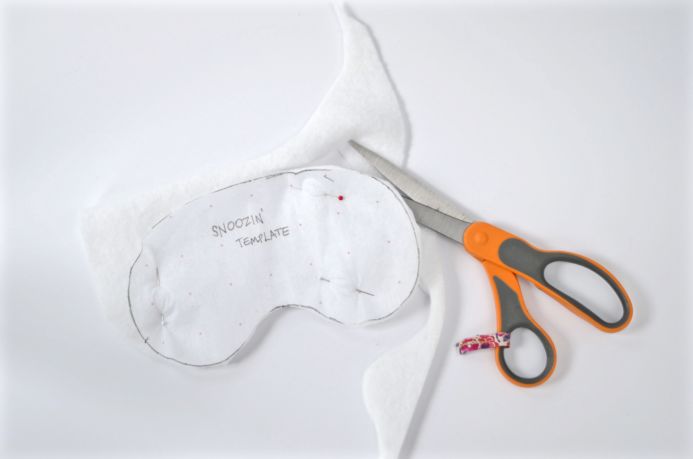
-Template of sleep mask (I traced mine from PDF onto pattern drafting interfacing!)
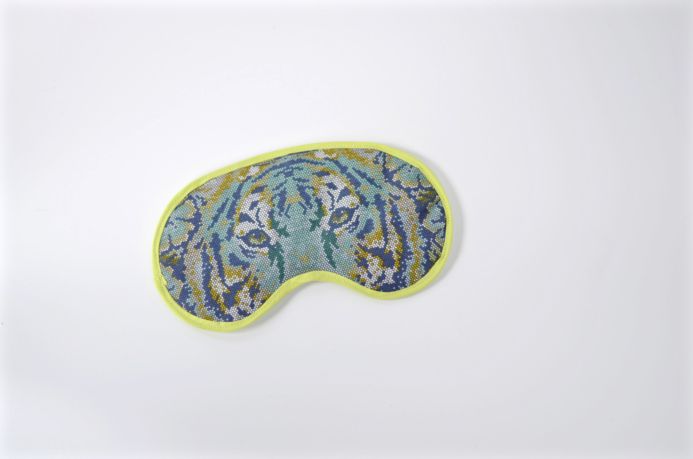
-Two fabric scraps, about 10” x 7” each, for front and back of mask. (We LOVE these Echino fabrics)
-One scrap of black or dark solid fabric, about 10” x 7”
-Two pieces of batting (like this), both about 10” x 7”
-24” of .25 inch bias tape (like this)
-15” of elastic (I used that thicker shiny hair band elastic because it’s so soft!) *It’s kind of hard to find but you can it here.
-Basic sewing supplies (pins, scissors, sewing machine, thread)
What to do:
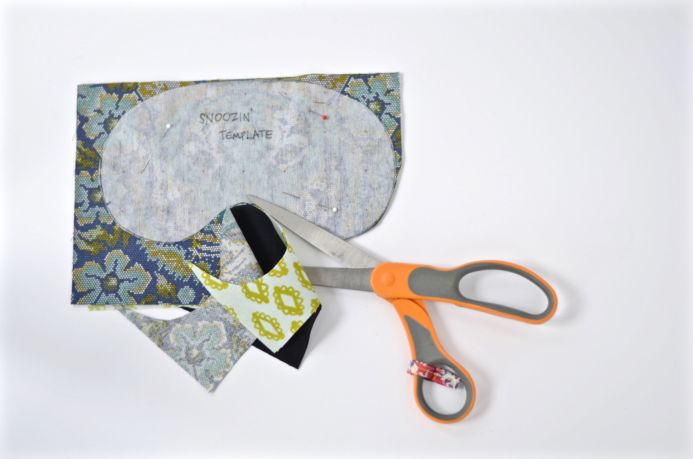
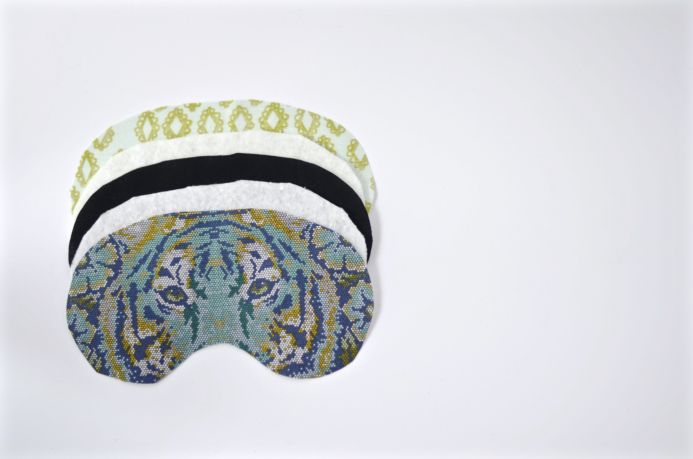
1. Cut out fabric and batting using the template: Three pieces of fabric and two pieces of batting in total. In case you were wondering, the black fabric gets hidden in the middle and is to help block out more light. Trim the batting and the black fabric slightly (less than ¼ inch) so it’s smaller than the two pieces of outside fabric.
2. Make your “mask sandwich” in this order: Fabric one + batting + black fabric + batting + fabric two.
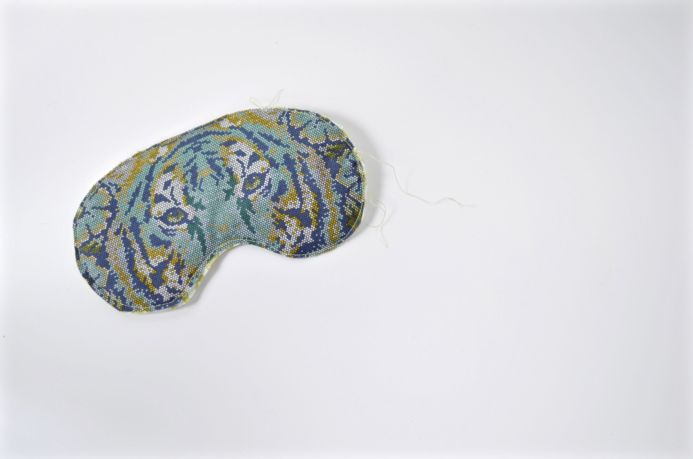
3. Stitch around the outside using less than a ¼ inch seam allowance, or use a zigzag stitch. This secures the layers. Trim to even out the edges.
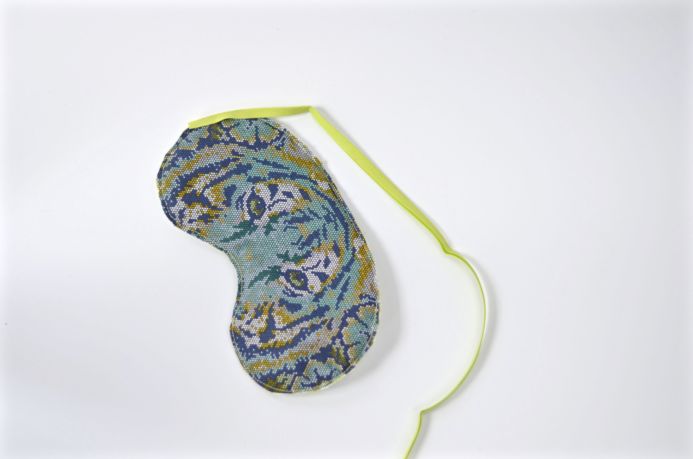
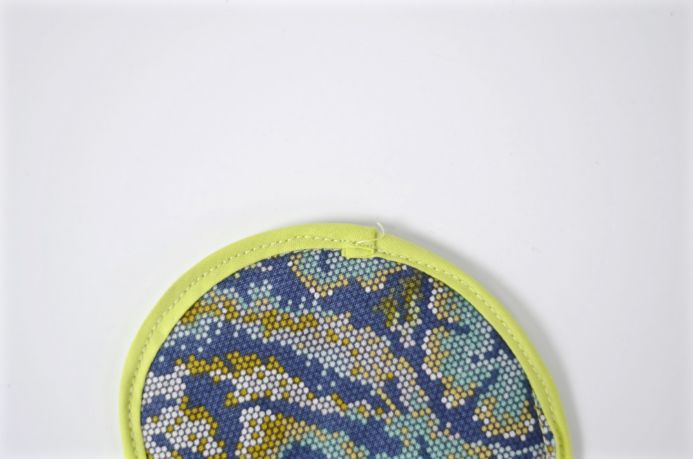
4. Attach the bias tape around the edge by using pins and a straight stitch, stopping frequently to make sure it’s secure. (Here’s a tip: If you finish sewing and there are are any gaps where the bias tape is not fully attached, just use a zigzag stitch to secure! No one will know, and it looks cute!)
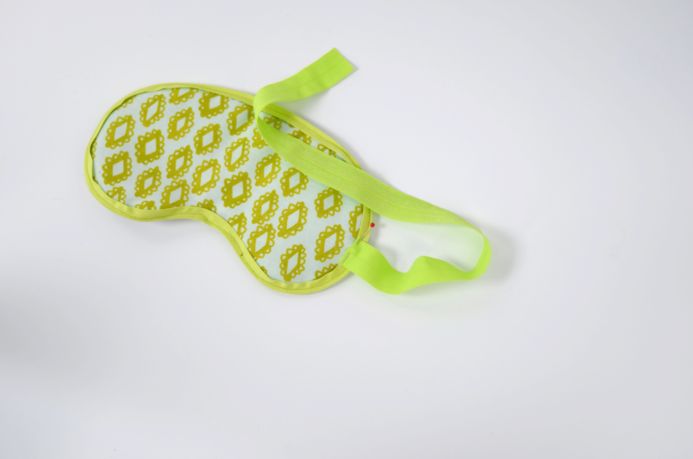
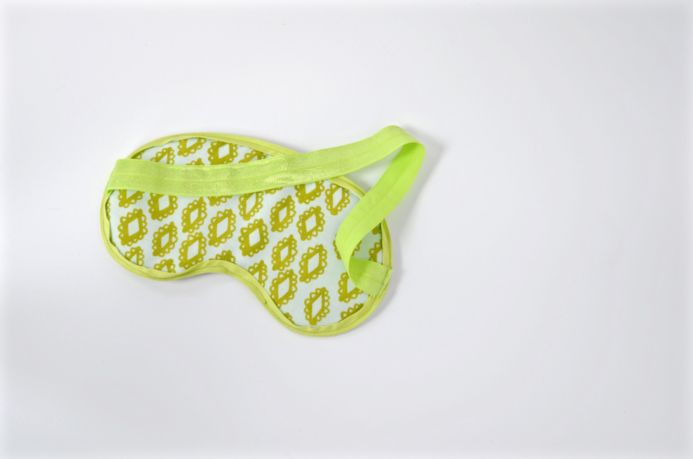
5. Measure your head to determine how long/tight you want the elastic band. Pin. Attach the elastic using a pin and a few straight stitches and backstitches. Voilà! Time for a nap!
About Ashley:
Ashley Nickels is a quilter, crafter, and teacher in the San Francisco Bay Area. She grew up surrounded by quilters—making her first nine-patch at age eight—and was designing handbags by high school. Ashley spent the first ten years of her career as a classroom teacher in Spain and San Francisco, all the while making quilts and bags and ripping out countless seams. If she could choose a superpower, it would be the ability to rip out a seam with the swipe of a finger! Ashley now works full time in the creative community, teaching in-person and online sewing and quilting classes, running her small handmade business, Alphabet Summer, and constantly looking to connect with other creatives. Ashley’s classes can be found on Creativebug.com, CreativeLive.com, and discover more on her website, www.alphabetsummer.com.



Does this do a good job of keeping out all light? I really depend on a sleeping mask for a full night’s sleep, and my current one is on it’s last leg.
It will as long as the fabric you use is dark. Maybe consider doing a black backing fabric. 🙂
Yes! I use it camping ALL the time, and it really blocks it out. Make sure you put a black or dark fabric in the MIDDLE layer, you should be all set. :):):)
Great directions. I got the idea to look this up because I have a migraine and I need total darkness. This will work perfectly. I’m going to make one. Thank you so much.
Black batting will also help block the light
Where is the template pattern?
One of these sleep masks really helps when having an MRI.
cannot find the pattern for the mask to print. How do I get this?
Has anybody tried a jersey or t-shirt material to make the back side more comfortable for over the eyes? Just curious.