DIY Yarn Statement necklace
Editor’s Note: We welcomed new sponsors Fair Isle Yarn and Love + Lemon Craft Co. to our Craftcation Conference last year where we got to know their products and fell in love! We’re excited to share this tutorial highlighting a modern color palette from Fair Isle Yarn and fun yet classic jewelry findings from Love + Lemon Craft Co. as well as plastic canvas from our go-to website for craft supplies Darice. P.S. – We’re excited to welcome Darice back to Craftcation Conference as our official craft supply sponsor! We’re just about sold out, so if you’re thinking about joining us at Craftcation Conference for four unforgettable days of making, meeting and learning, now is the time! -Nicole S.
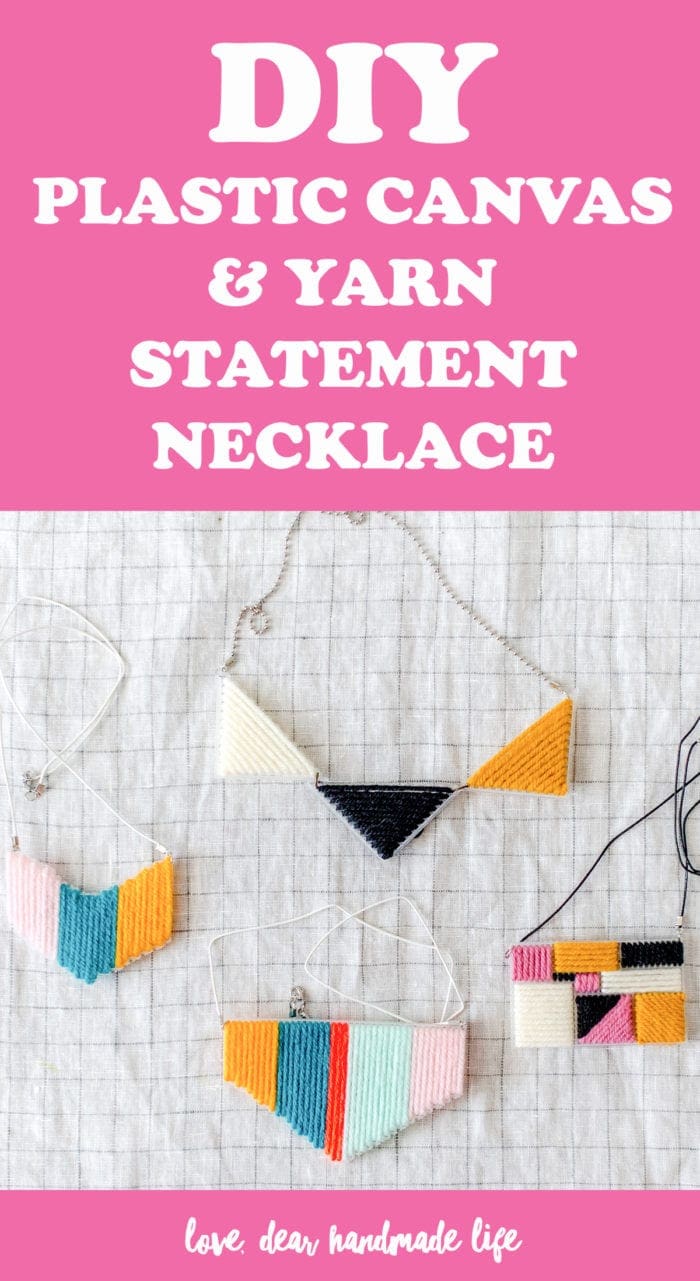
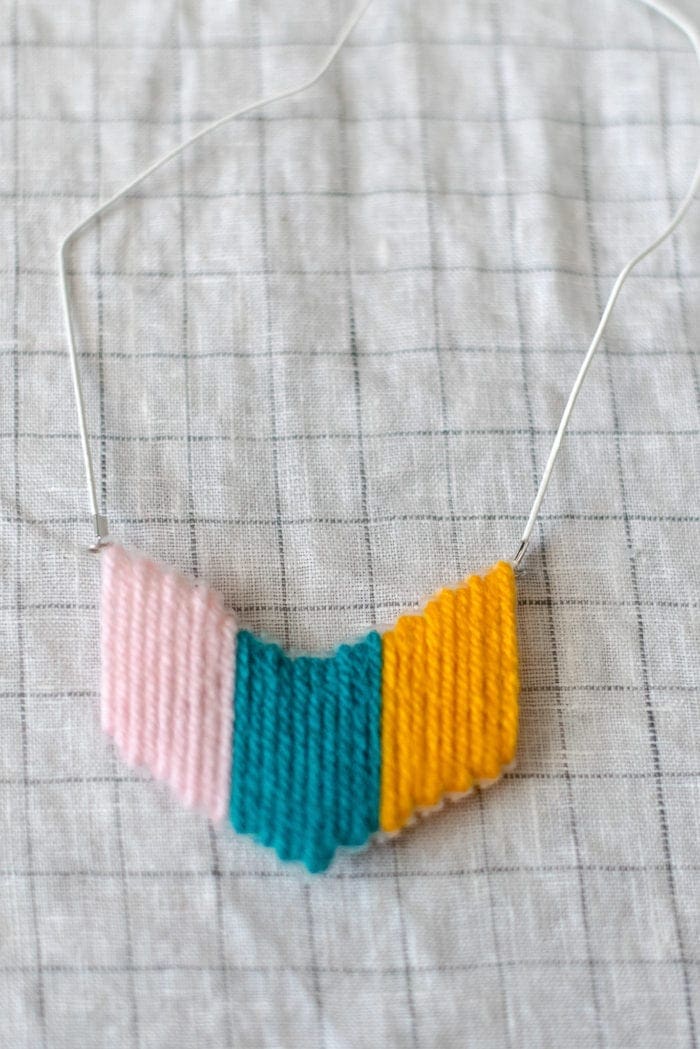
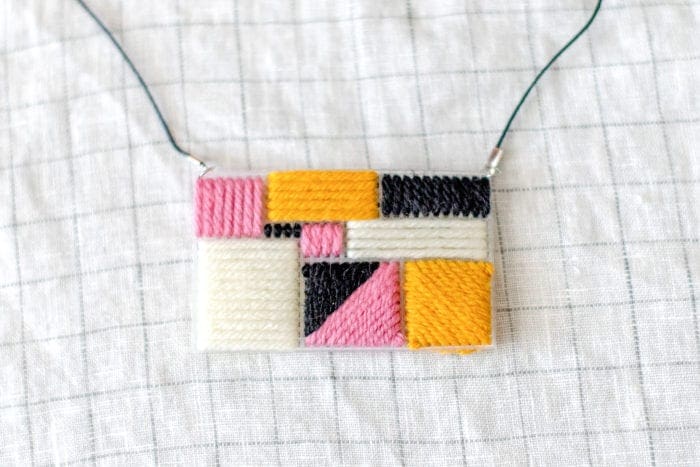
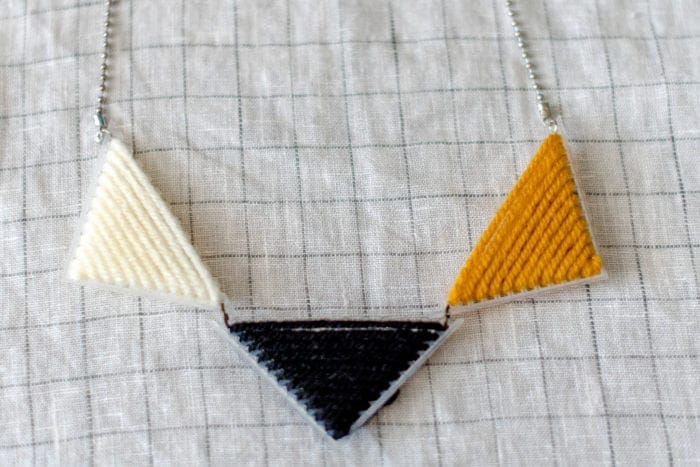
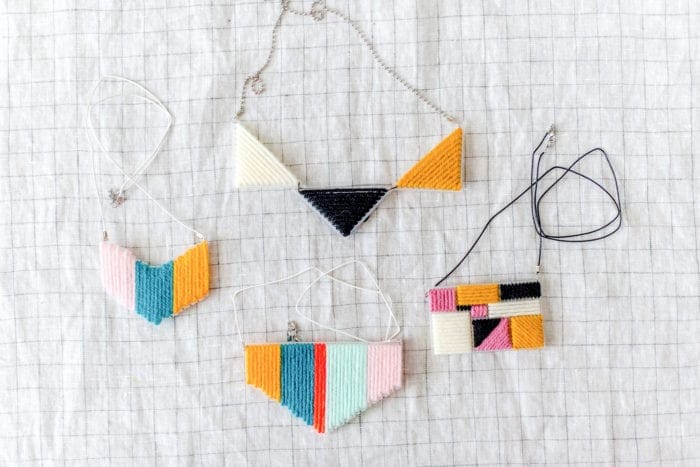
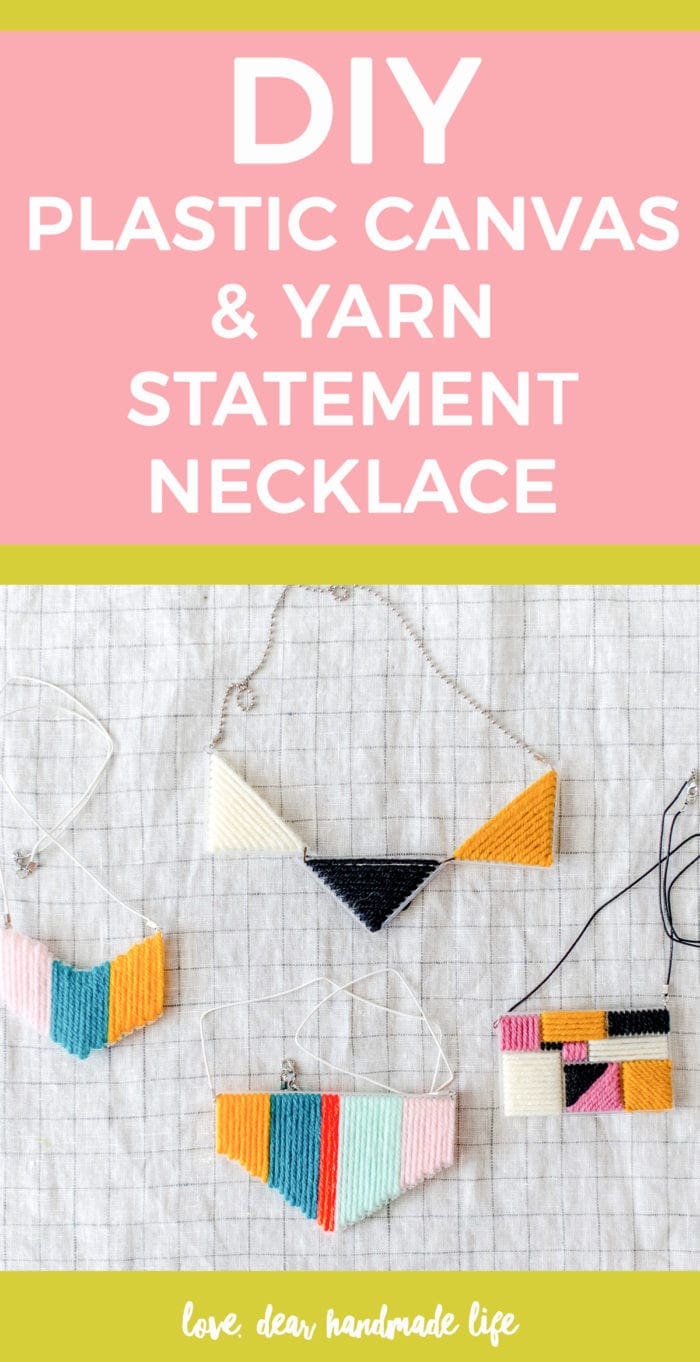
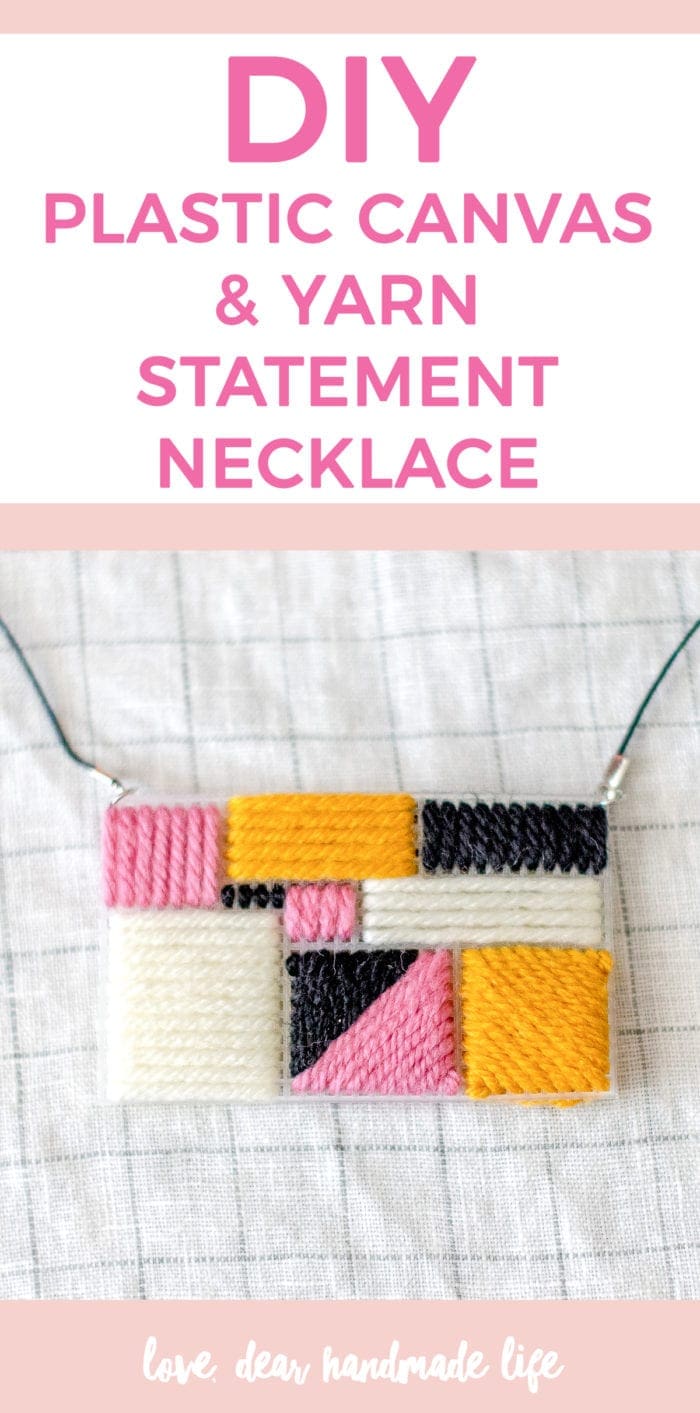
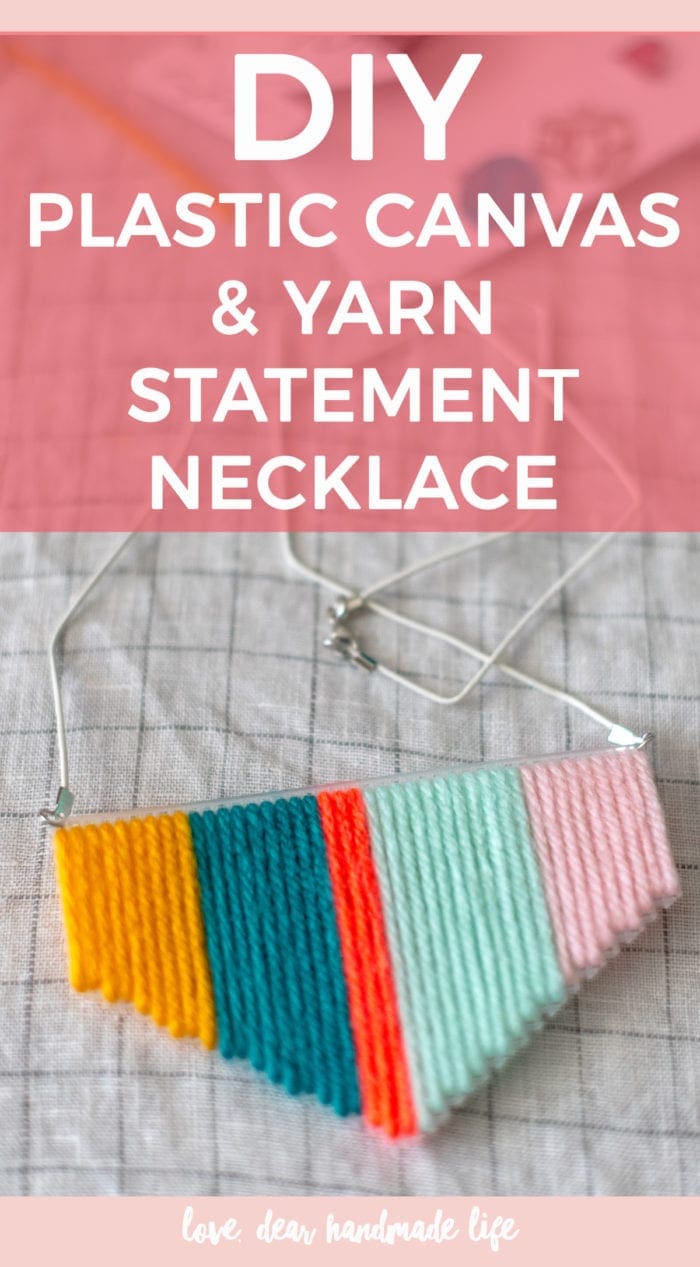
I’m a big fan of statement jewelry, especially when it’s handmade! Some of you might remember plastic canvas from your childhood, maybe you had a bookmark or your parents had coasters or your grandmother had a tissue box cover made out if it, just me? haha Well I wanted to bring a fresh idea to this older craft and decided to try it in the form of a super cute and fun statement necklace! Let me show you what I did:
WHAT TO GET:
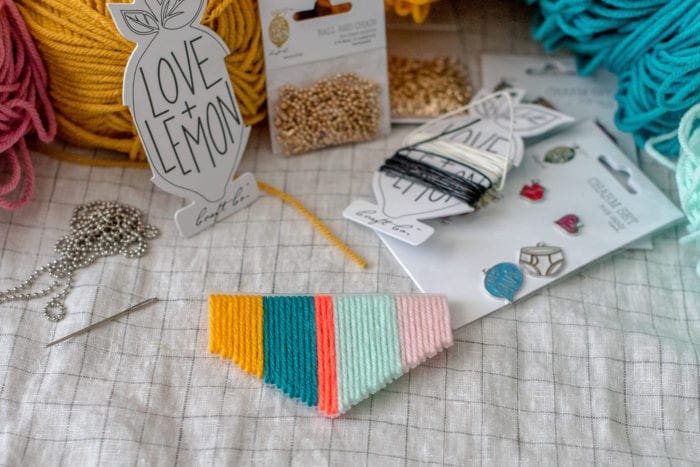
-Yarn in various colors. I used this acrylic yarn from Fair Isle’s Liberty collection.
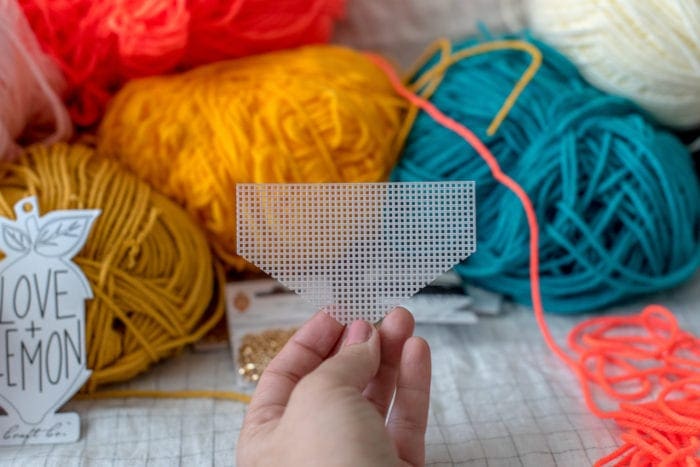
-Plastic Canvas like this from Darice. I found size 7 and 10 were easiest to stitch onto.
-Jewelry findings: I used these products from Love + Lemon Craft Co. – Jump rings, ball chain, cording, lobster claw clasps.
-Jewelry making tools: these round nose pliers and these chain nose pliers
-Scissors to cut yarn and canvas (we love these vintage-inspired ones)
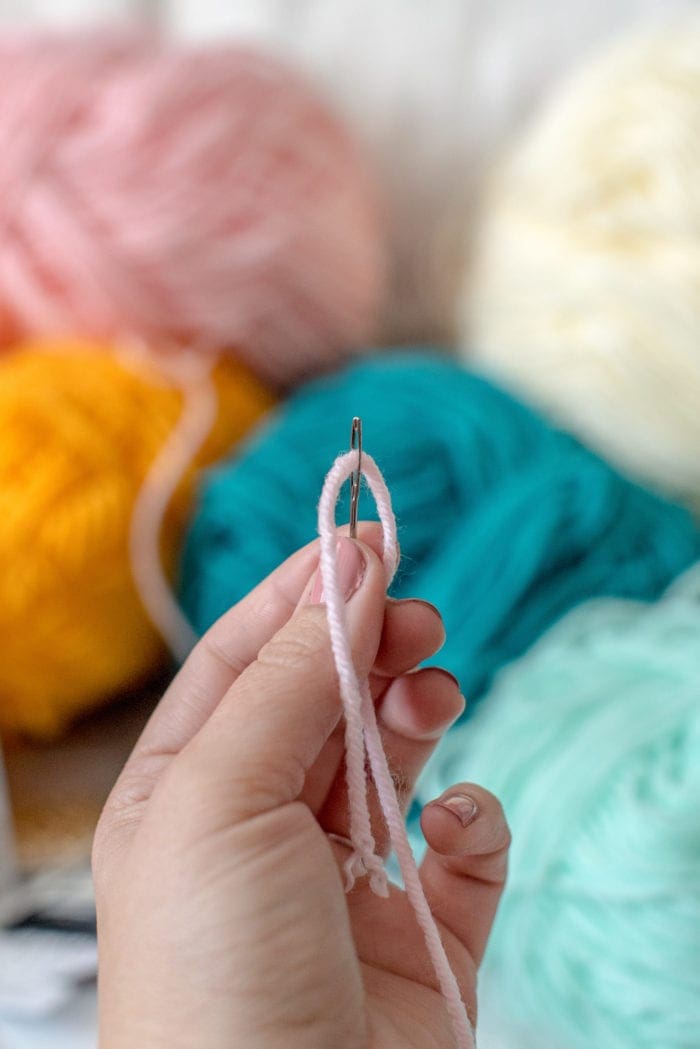
-Tapestry needle with the widest eye you can find like this
WHAT TO DO:
1. Cut the plastic canvas to whatever size/shape you would like to use. I played around with a few different techniques/shapes/sizes, but started with a simple geometric design.
*Tip: it’s easiest to keep your stitching consistent if you count the same amount of boxes on each side and cut from there. Load your tapestry needle with about an arms length of yarn, don’t knot it.
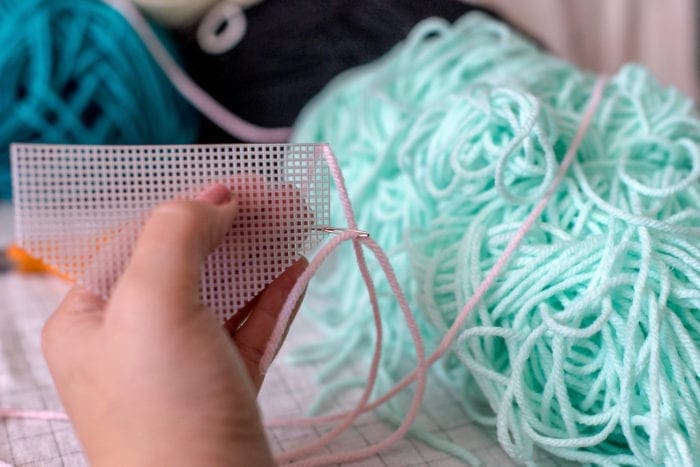
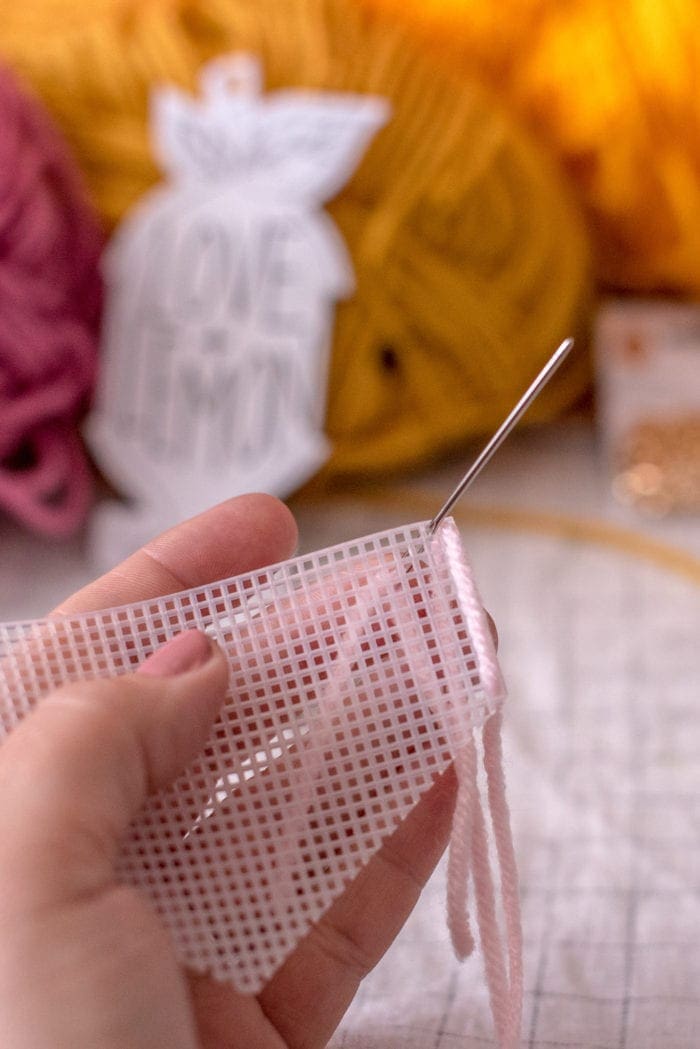
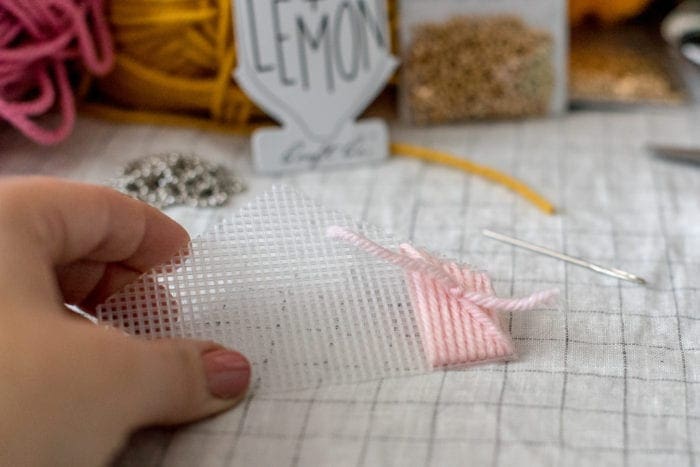
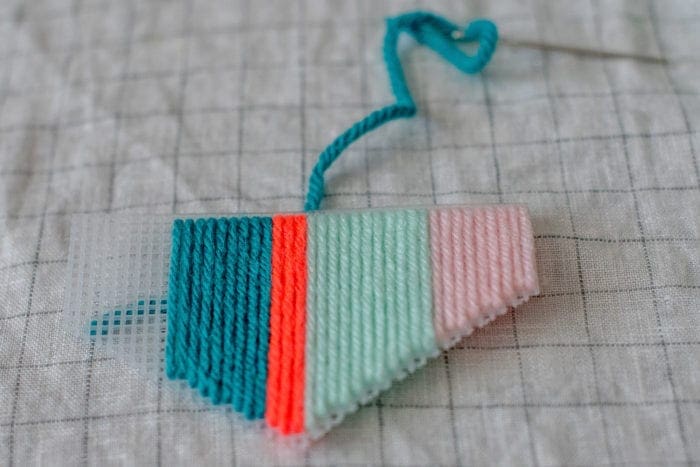
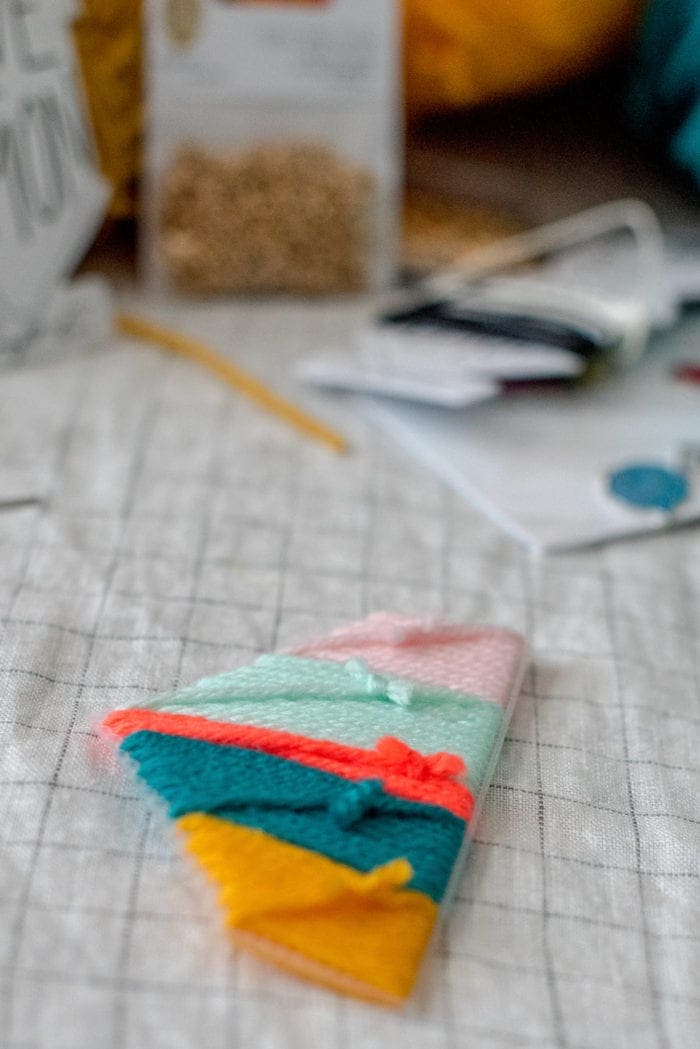
2. Start at one end from the back of your canvas shape and pull the needle through leaving a little tail hanging on the back side (you will use this to tie at the end). Choose how big you want your stitches to be and push the needle down through that hole. For my first one I kept it simple using a long stitch length to cover more ground quicker. For the next stitch go back in the hole next to the first stitch you made and continue on. Once you are done or want to change colors, tie off your stitches in the back using the tail from your first stitch. You can also hide the tails behind the other stitches by weaving them on the backside but I don’t mind the knots and it was the easier method for me. 🙂
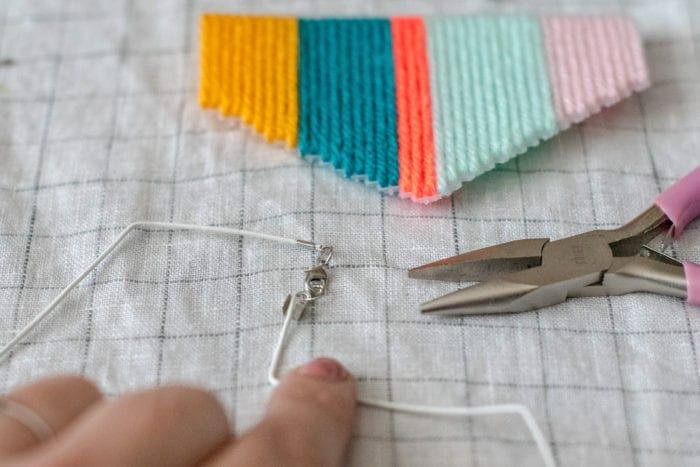
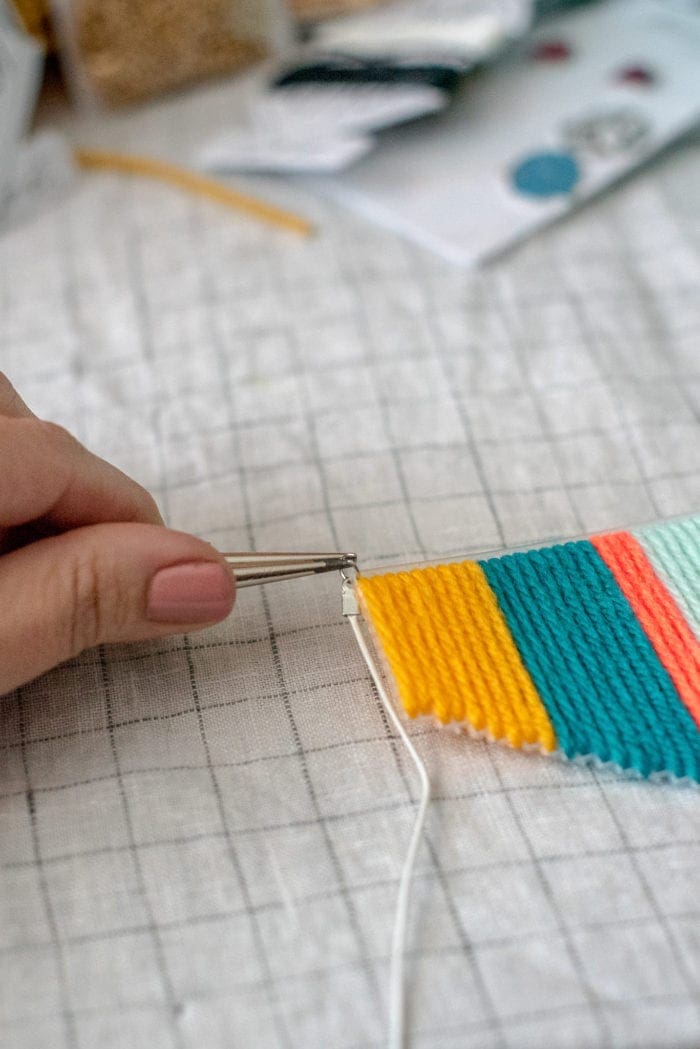
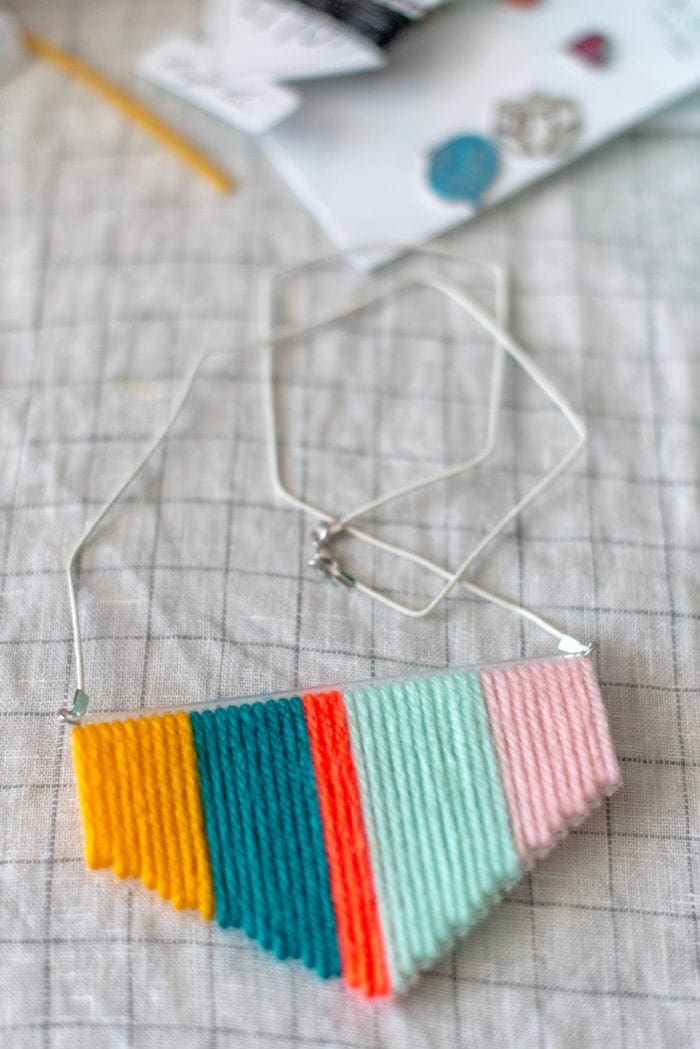
3. Once you’ve finished stitching up your piece, attach it to your cording or chain to make it into a necklace. To do this I used the lobster clasps to hold the cording by crimping the beads at each end of the cording. I just put it around my neck to measure the length of where I wanted it to hang. Then I attached it to each corner at the top of the canvas using the jump rings and you’re done!
Once you have the basics down you can experiment & have fun with different shapes, textures, stitches and techniques. These are fairly easy & lots of fun to make and would be perfect gifts for the upcoming holidays!
ABOUT NIK VANDEVENTER:
Nik is a maker, day dreamer & potty mouth who loves cats, coffee and craft beer. She is a self taught hand embroider and will DIY pretty much anything she can get her hands on. She is head Boss Bitch behind Wasting Thyme creating & selling naughty hand embroidery and sassy greeting cards. You can find her products at justwastingthyme.etsy.com. She lives in Long Beach with her husband and her three awesome cats (that she can’t shut up about).



It’s been what seems like eons since I last worked with plastic canvas. You’ve totally got me re-thinking its possibilities! Such inspiration! Thanks for that! 😀