
DYI Mini Fabric Banners
Editor’s Note: If you’ve been to our Craftcation: Business & Makers Conference, then you probably already know (and love) our friends at Darice who have been our official craft supply sponsor for the conference for the past four years! If you don’t know about Darice yet and you’re a craft blogger or handmade business owner, you REALLY need to be buying your supplies wholesale and should consider setting up a wholesale account with a company like Darice. Darice caters to small business owners and makers with low minimums and a freight-included program. Plus they just started carrying fabric which is what inspired this blog post! Your profit margin will never be high enough if you’re paying retail for supplies. If you’re not ready to start buying wholesale, at least make sure you’re getting the best retail price possible. Darice has a sister business Consumer Crafts that has excellent prices. For more on how to price your products, check out this post. -Nicole S.

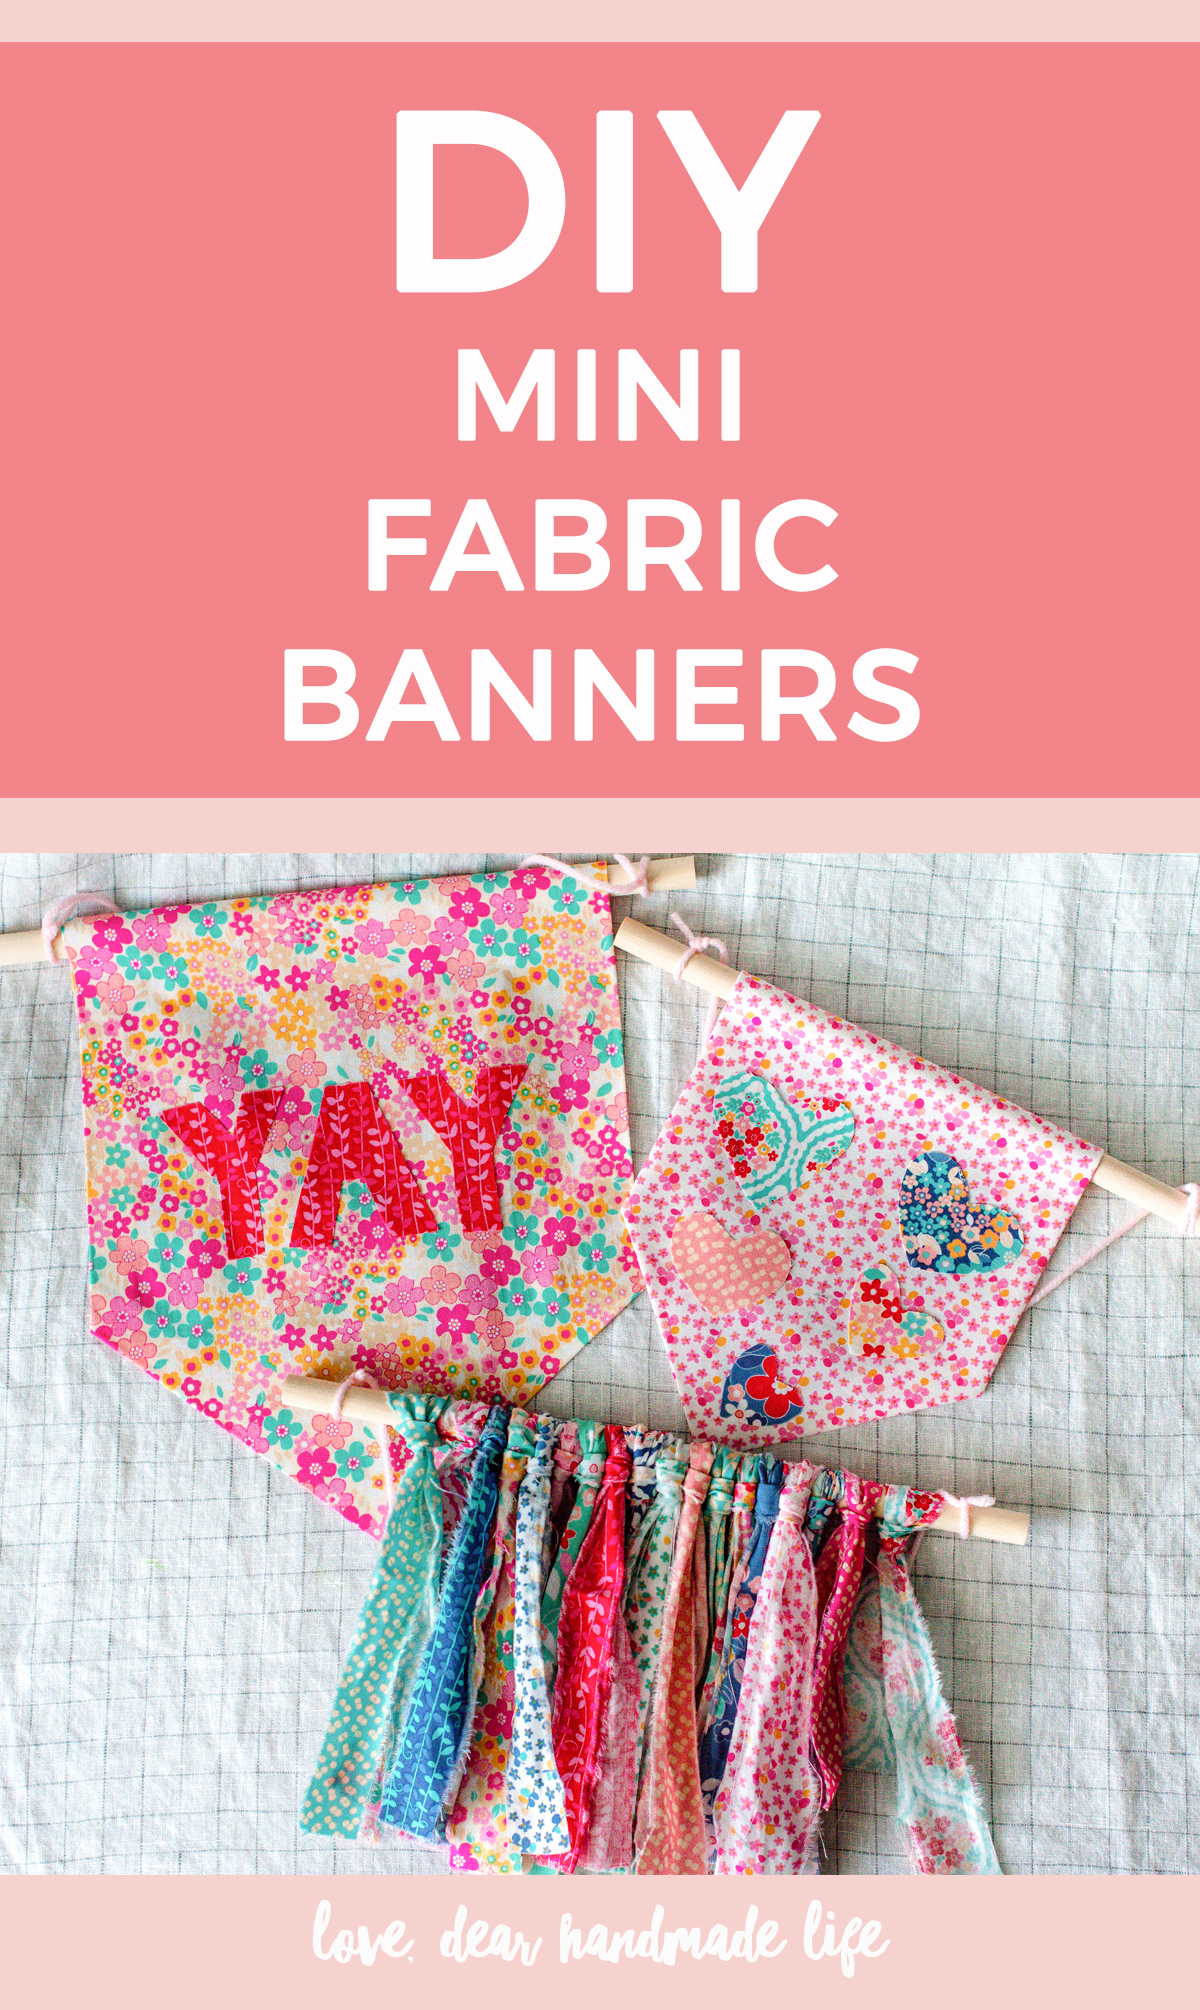
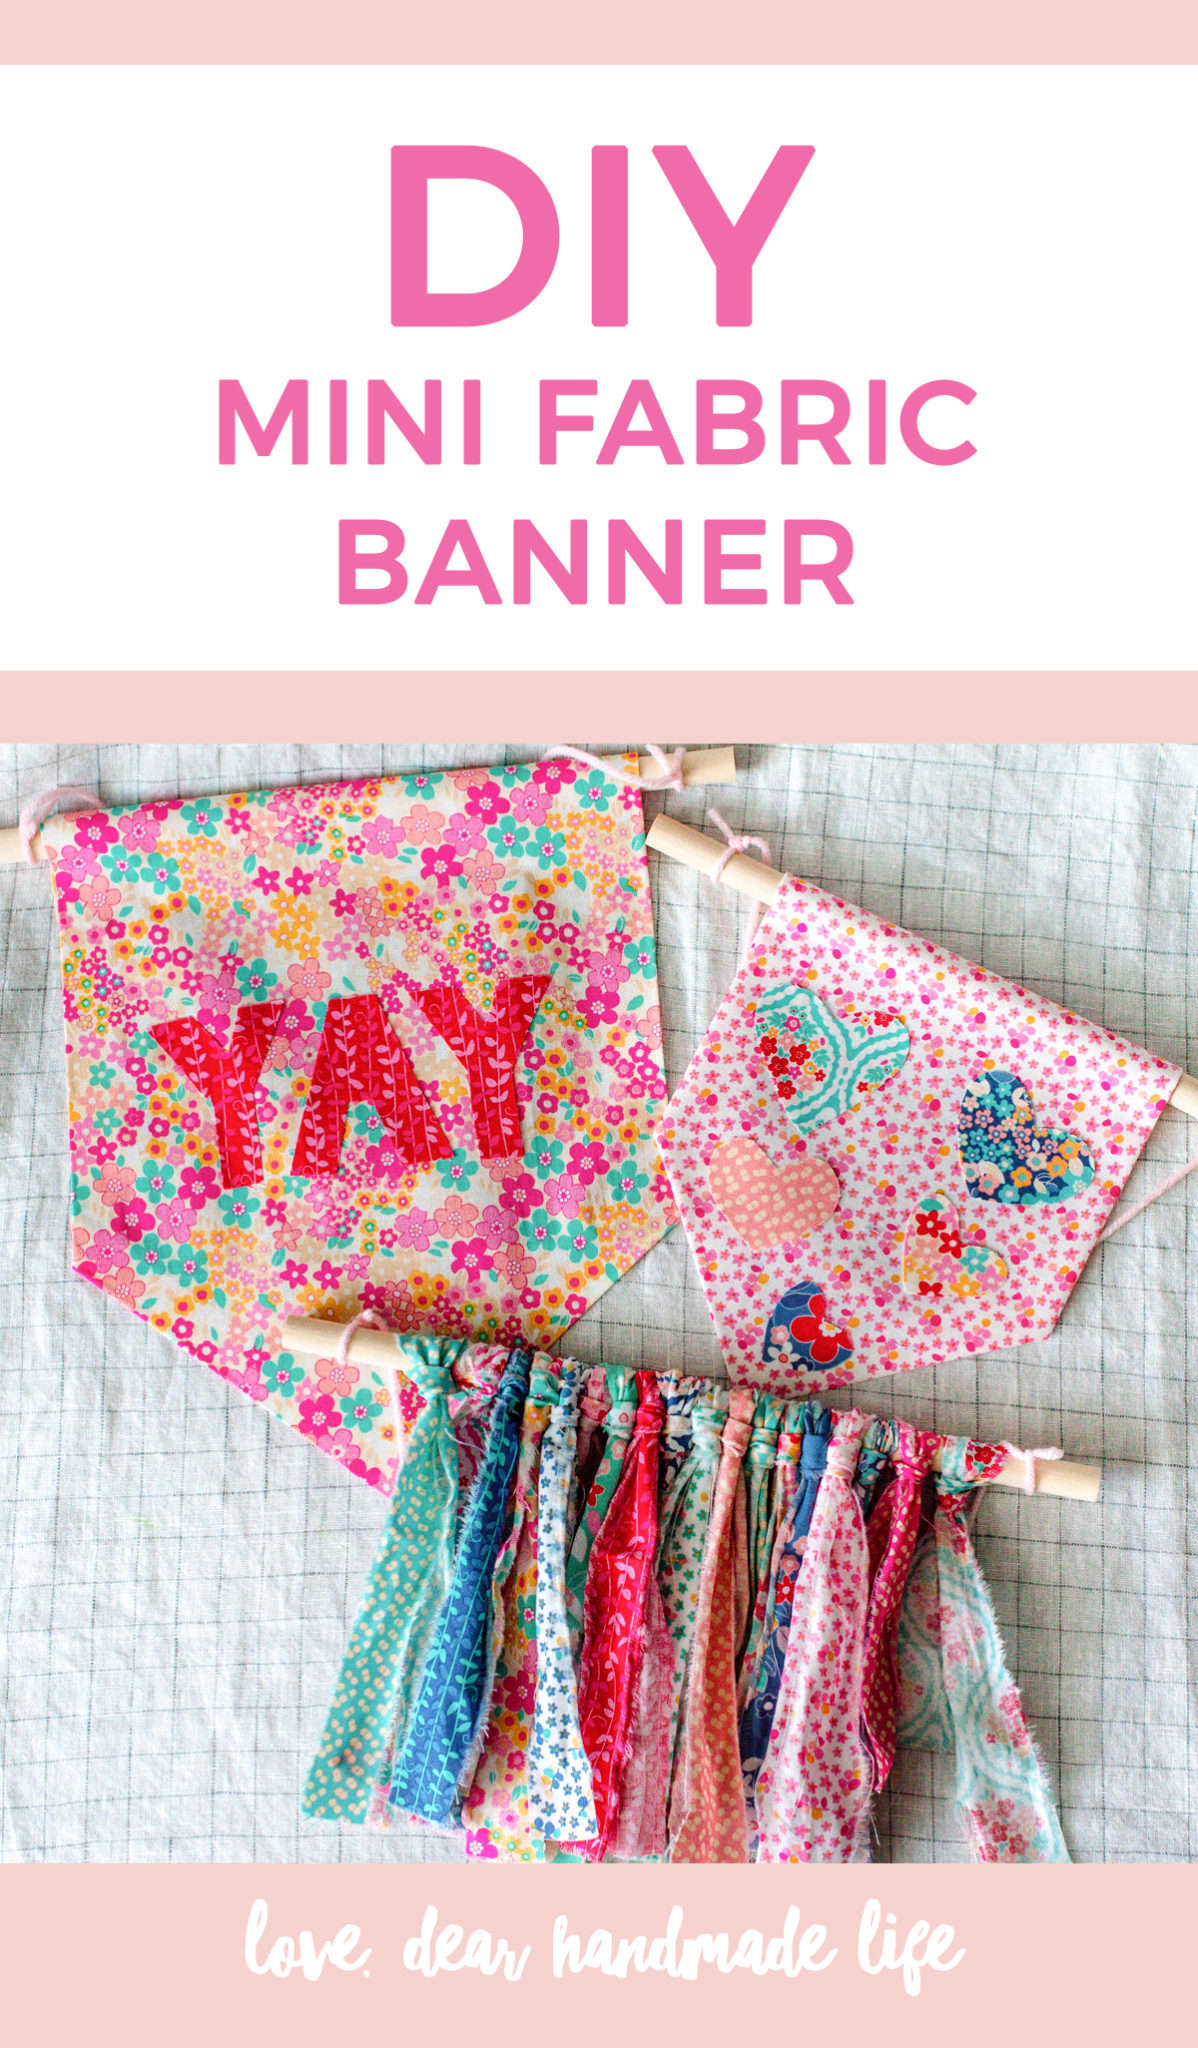
As it starts to get a bit gloomier around here I tend to feel the need to brighten up things. Since I work from home I need to have a cheery and inspiring place to help keep me on task, especially since I’m surrounded by distractions ie: my three kitties ;). To help bring some fun pops of color into my space, I came up with these super cute little fabric banners! Now every time I look at them they just make me smile, and I hope they’ll do the same for you! Let me show you how I did it.
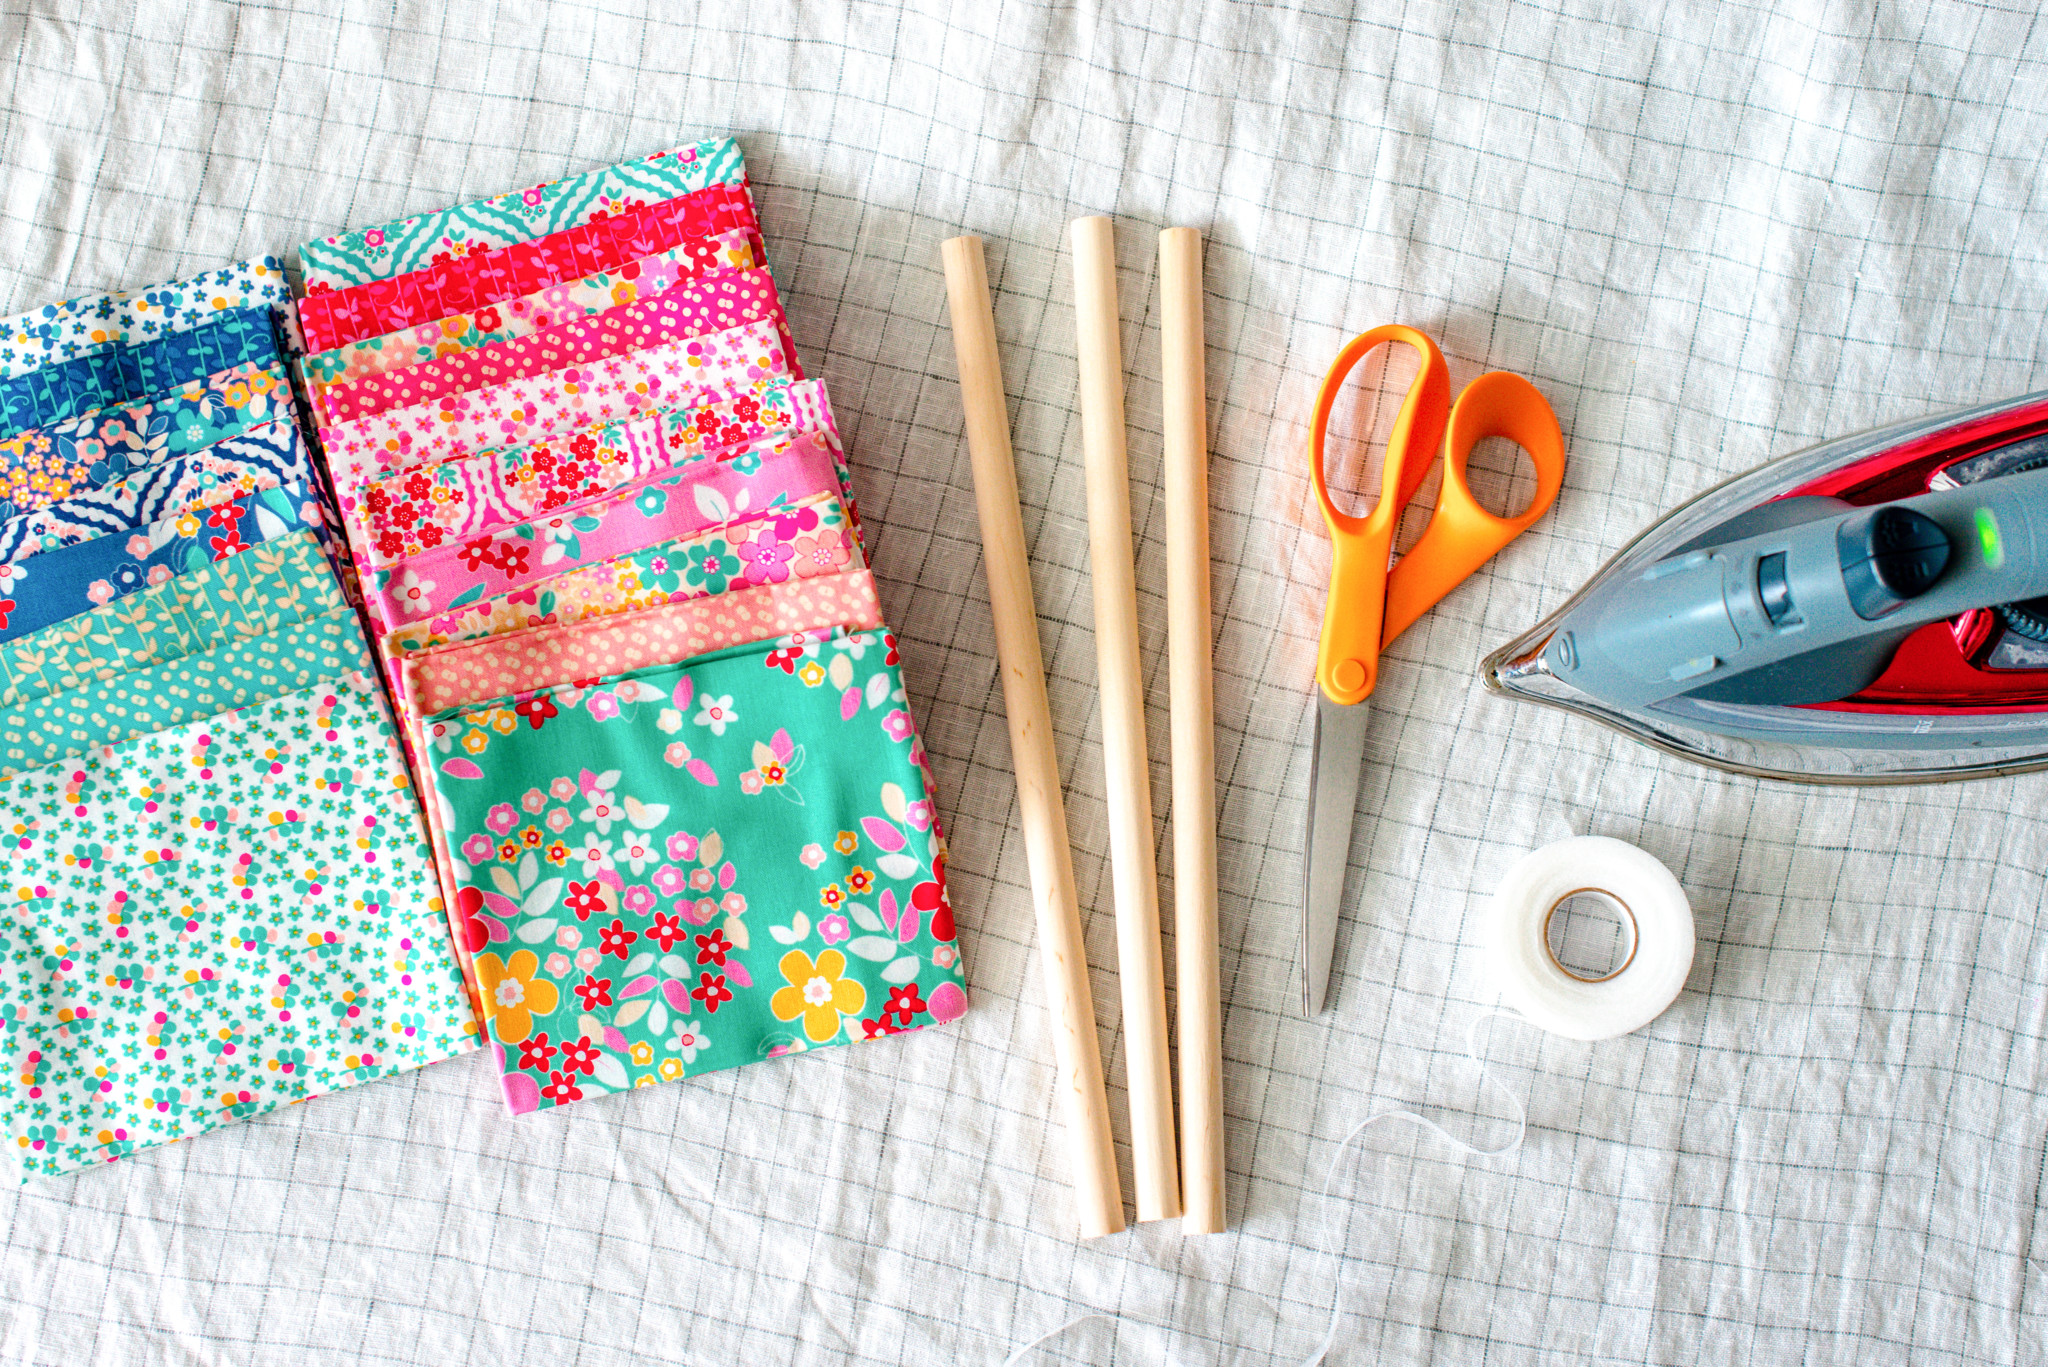
WHAT TO GET:
-Cotton fabric is different colors/patterns I used this beautiful set from Darice.
–Stitch Witchery
-Wooden dowels (I used these)
-Yarn or string to hang banners I used this yarn from Fair Isle
-Scissors
-Iron
WHAT TO DO:
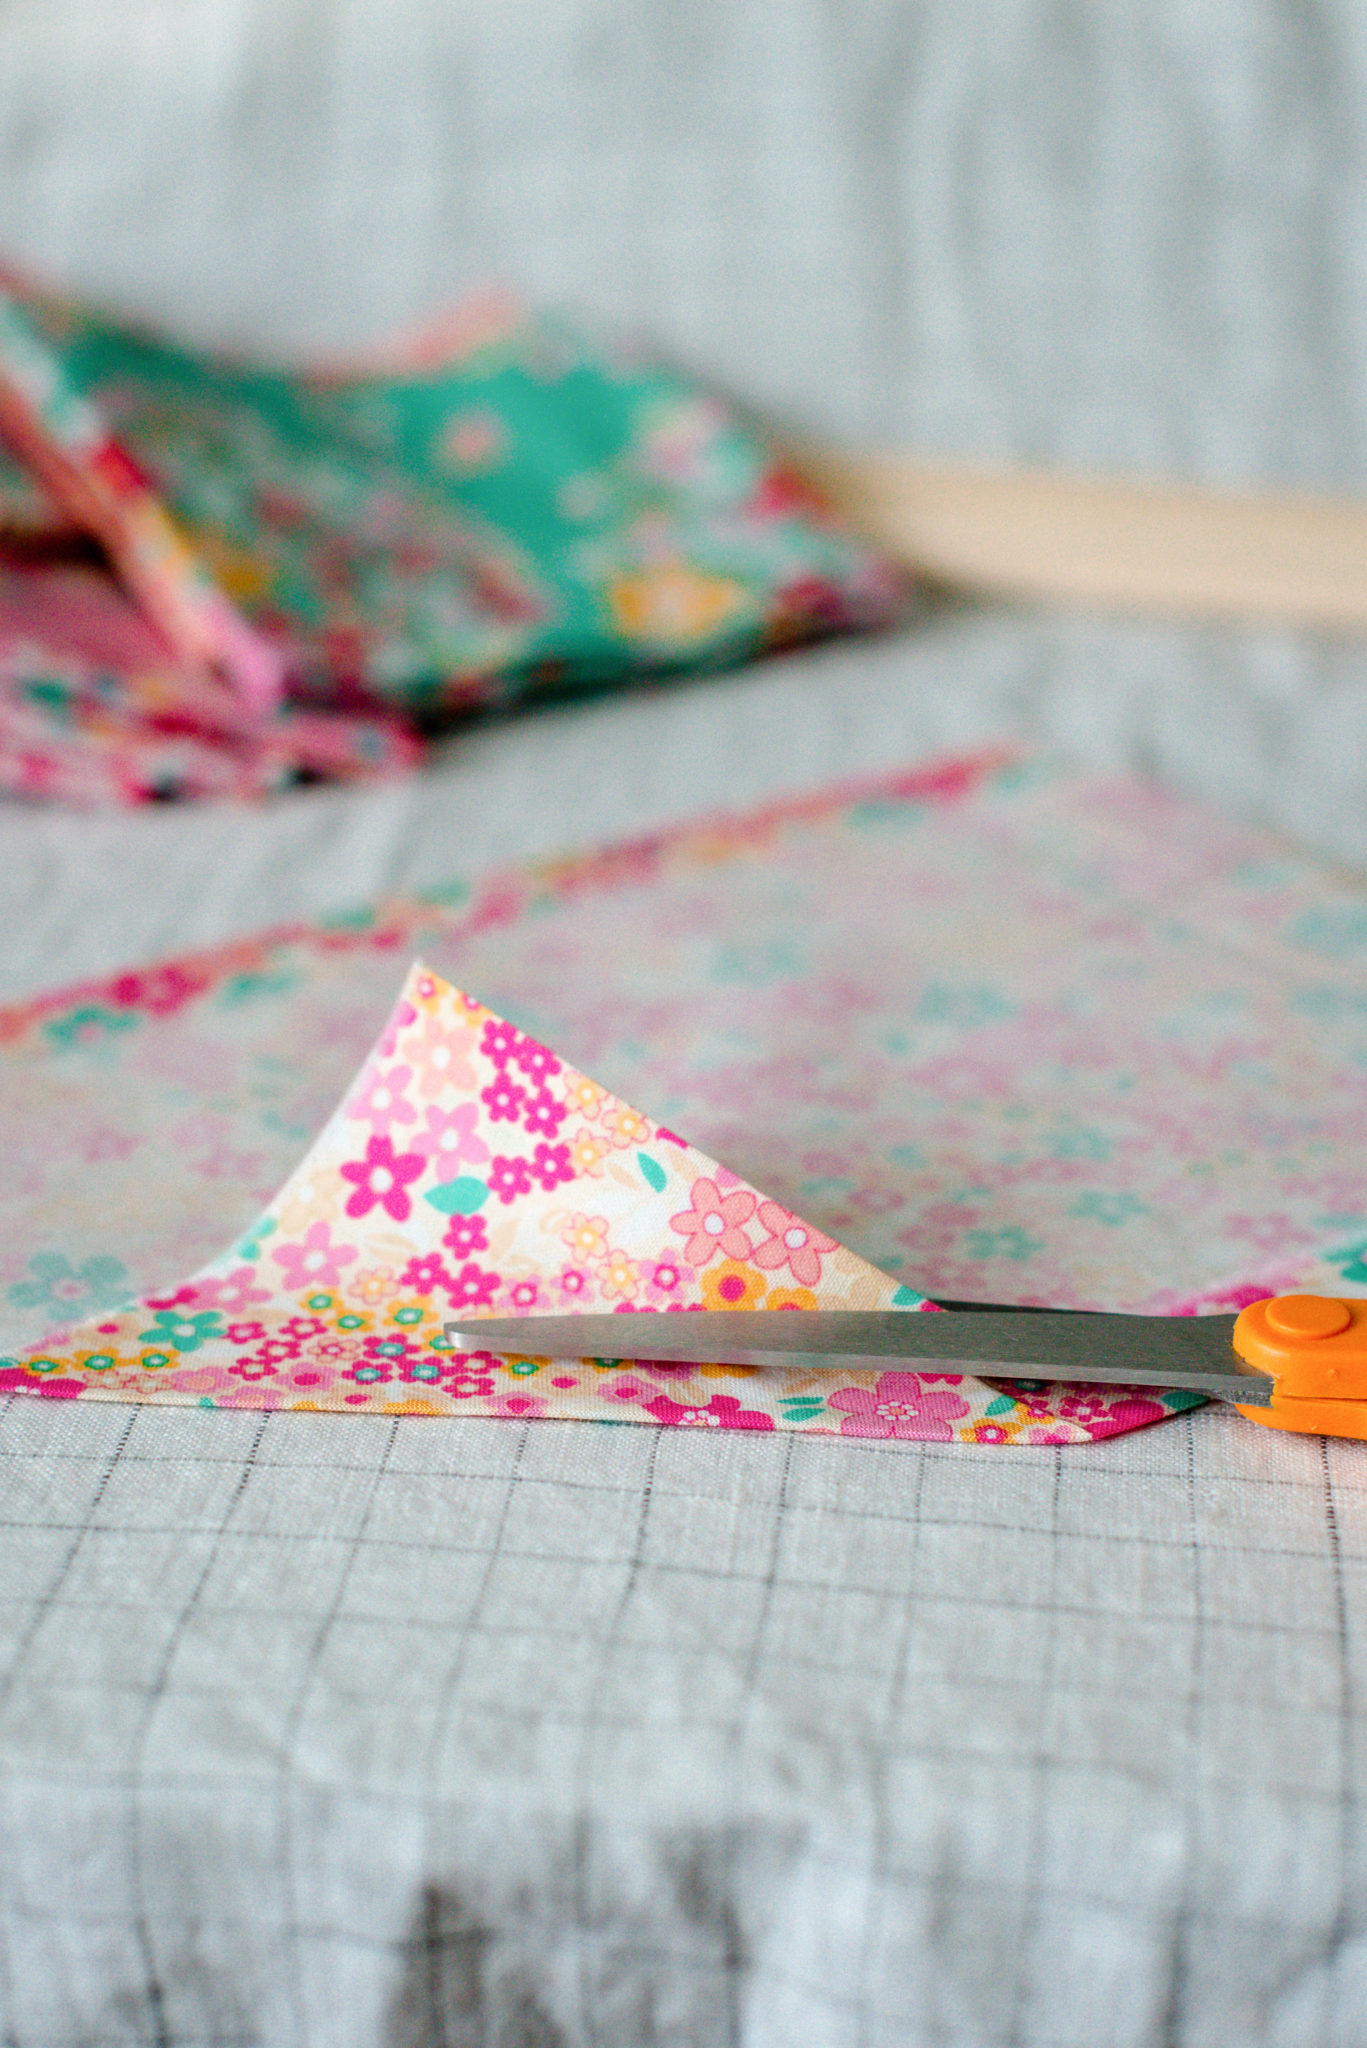
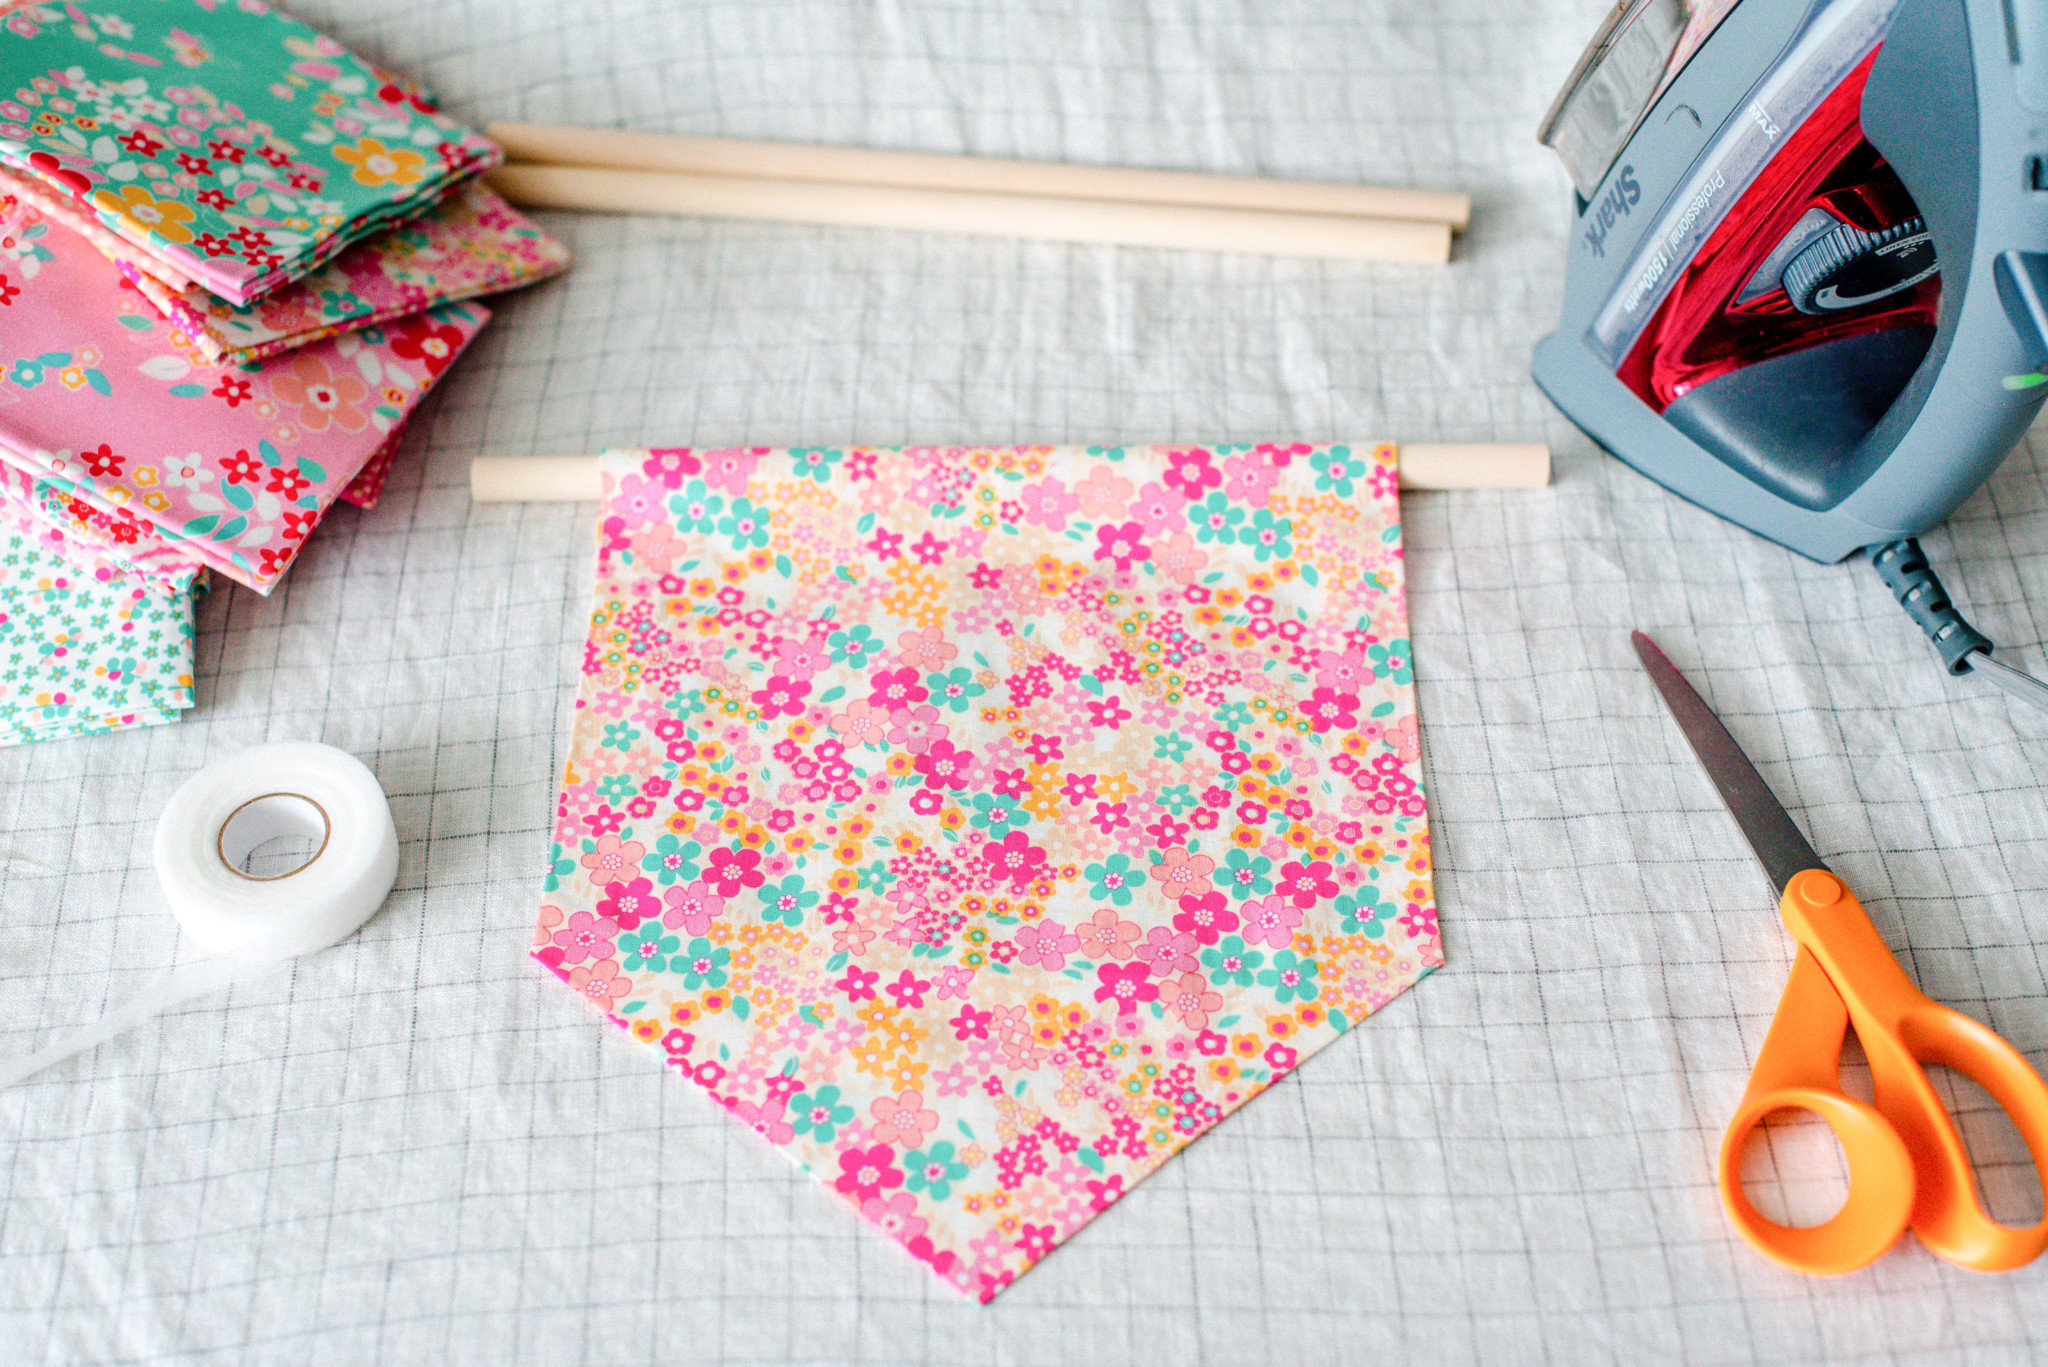
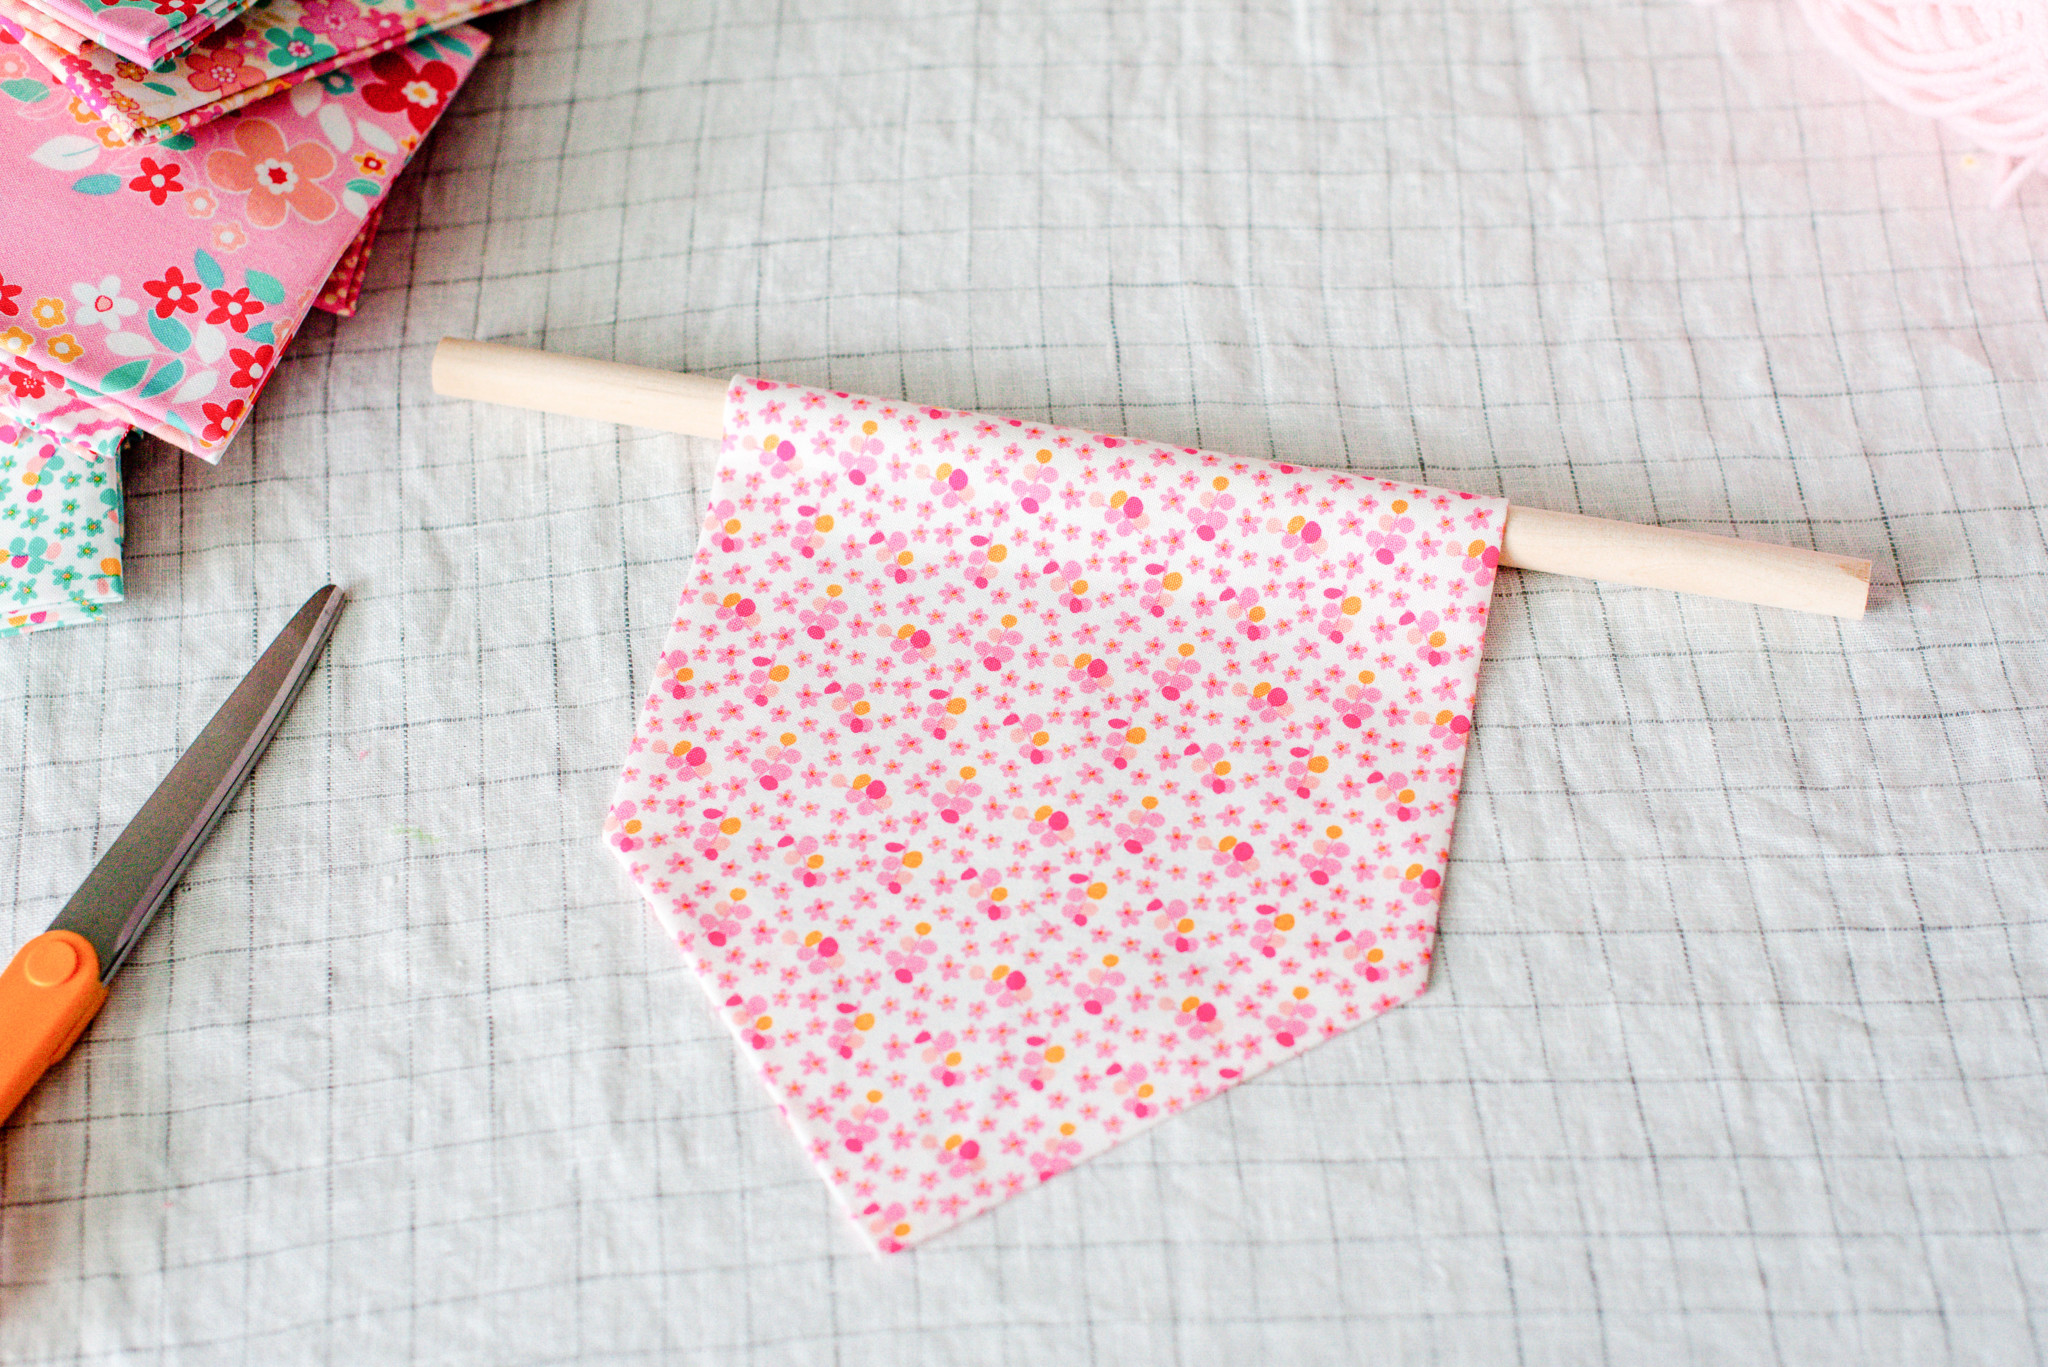
1. Cut your fabric, or tear really 😉 You don’t need to be exact here because we will be pretty-ing up the edges with the stitch witchery and it’s really good at keeping a straight line.
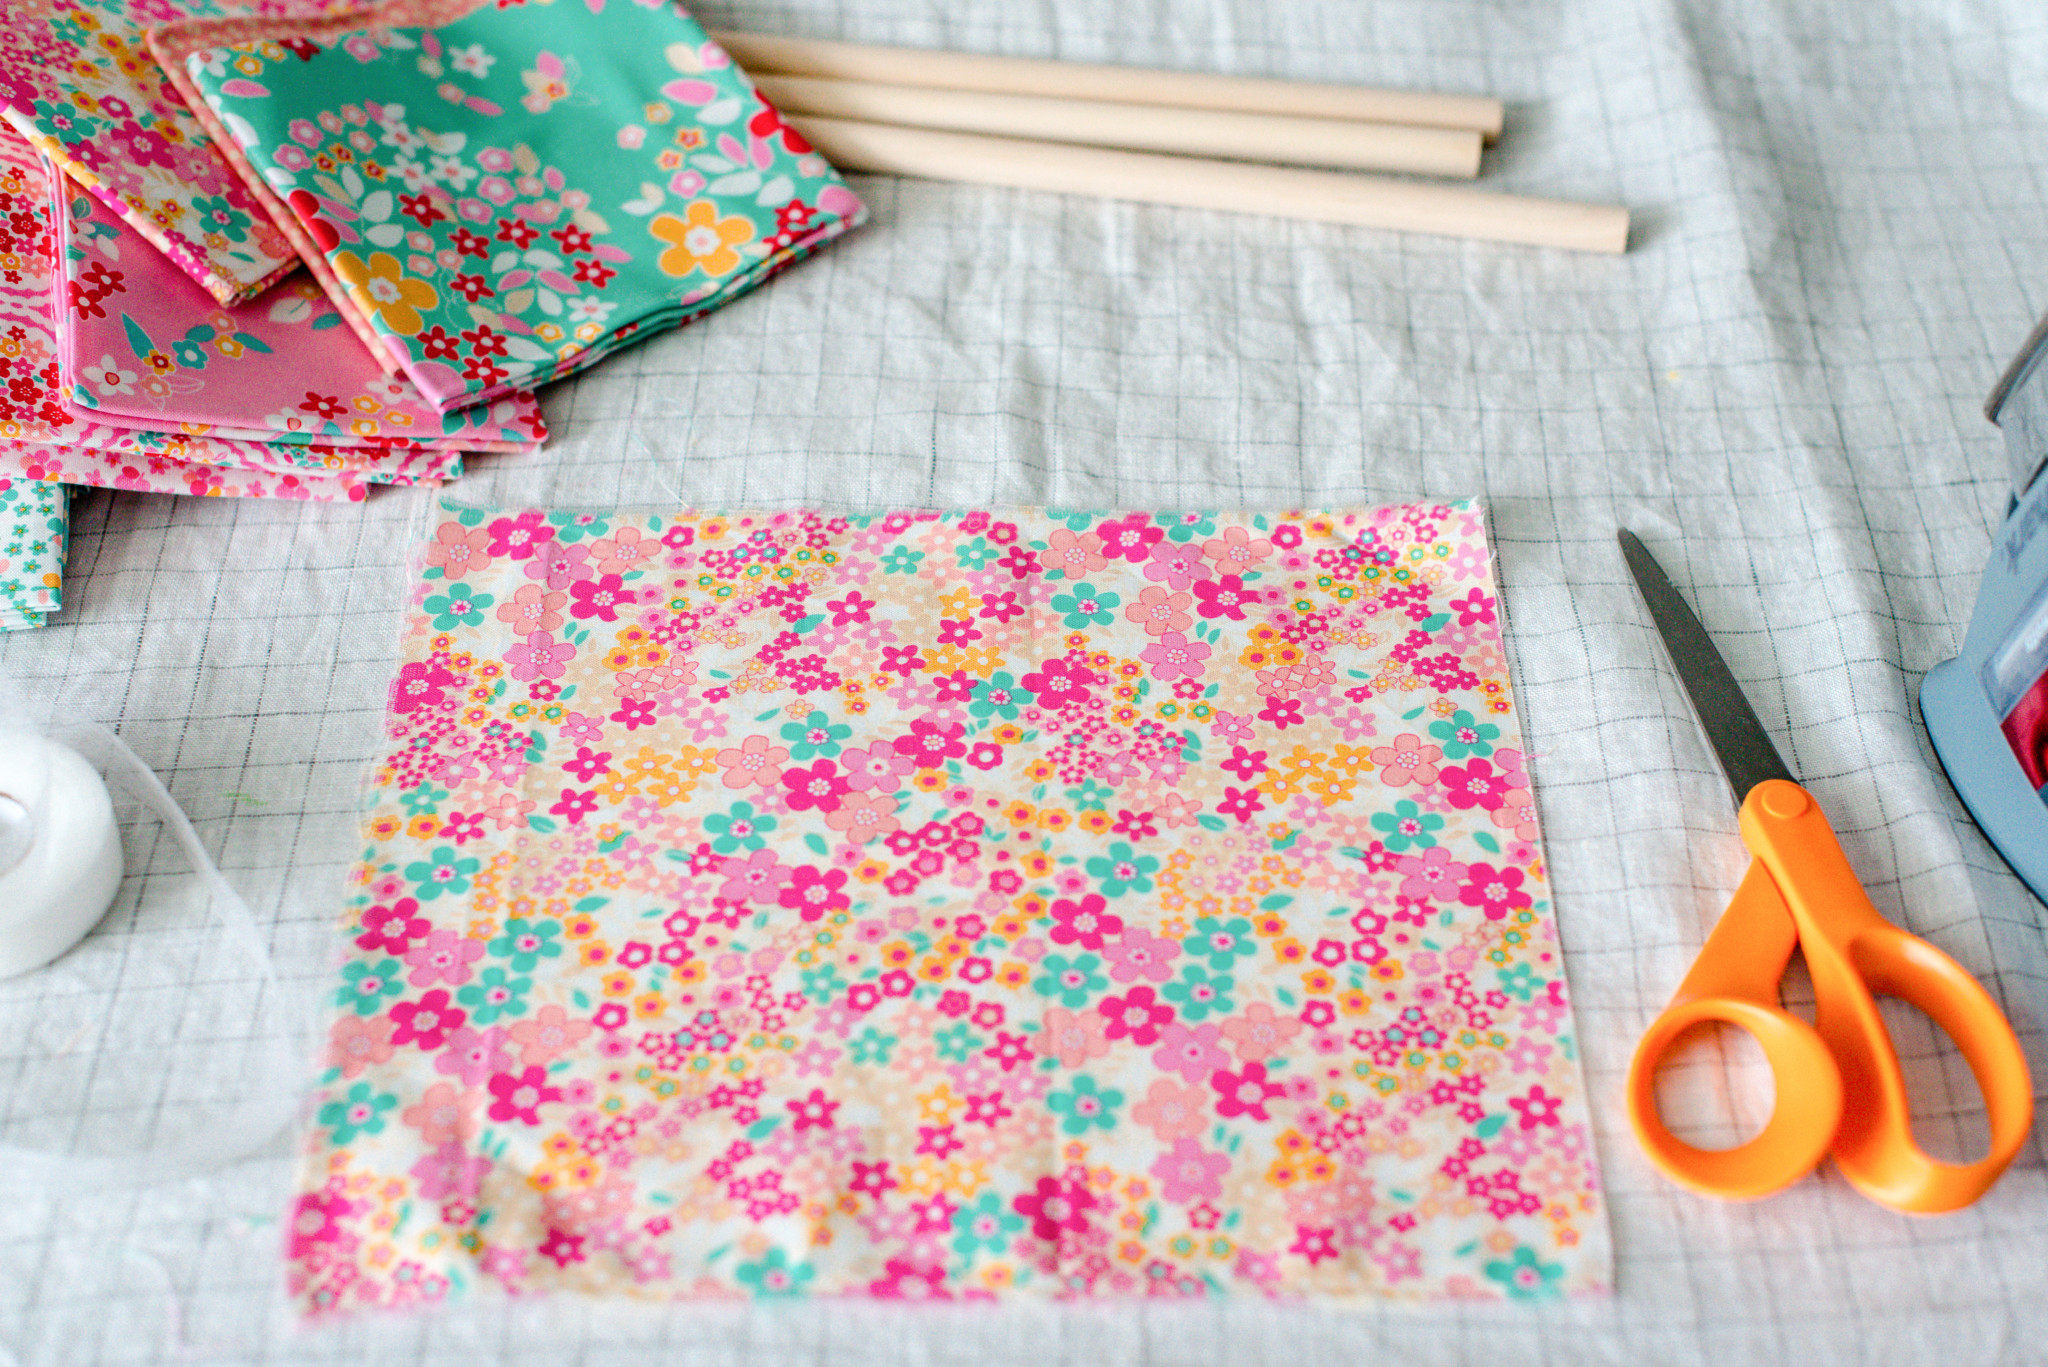
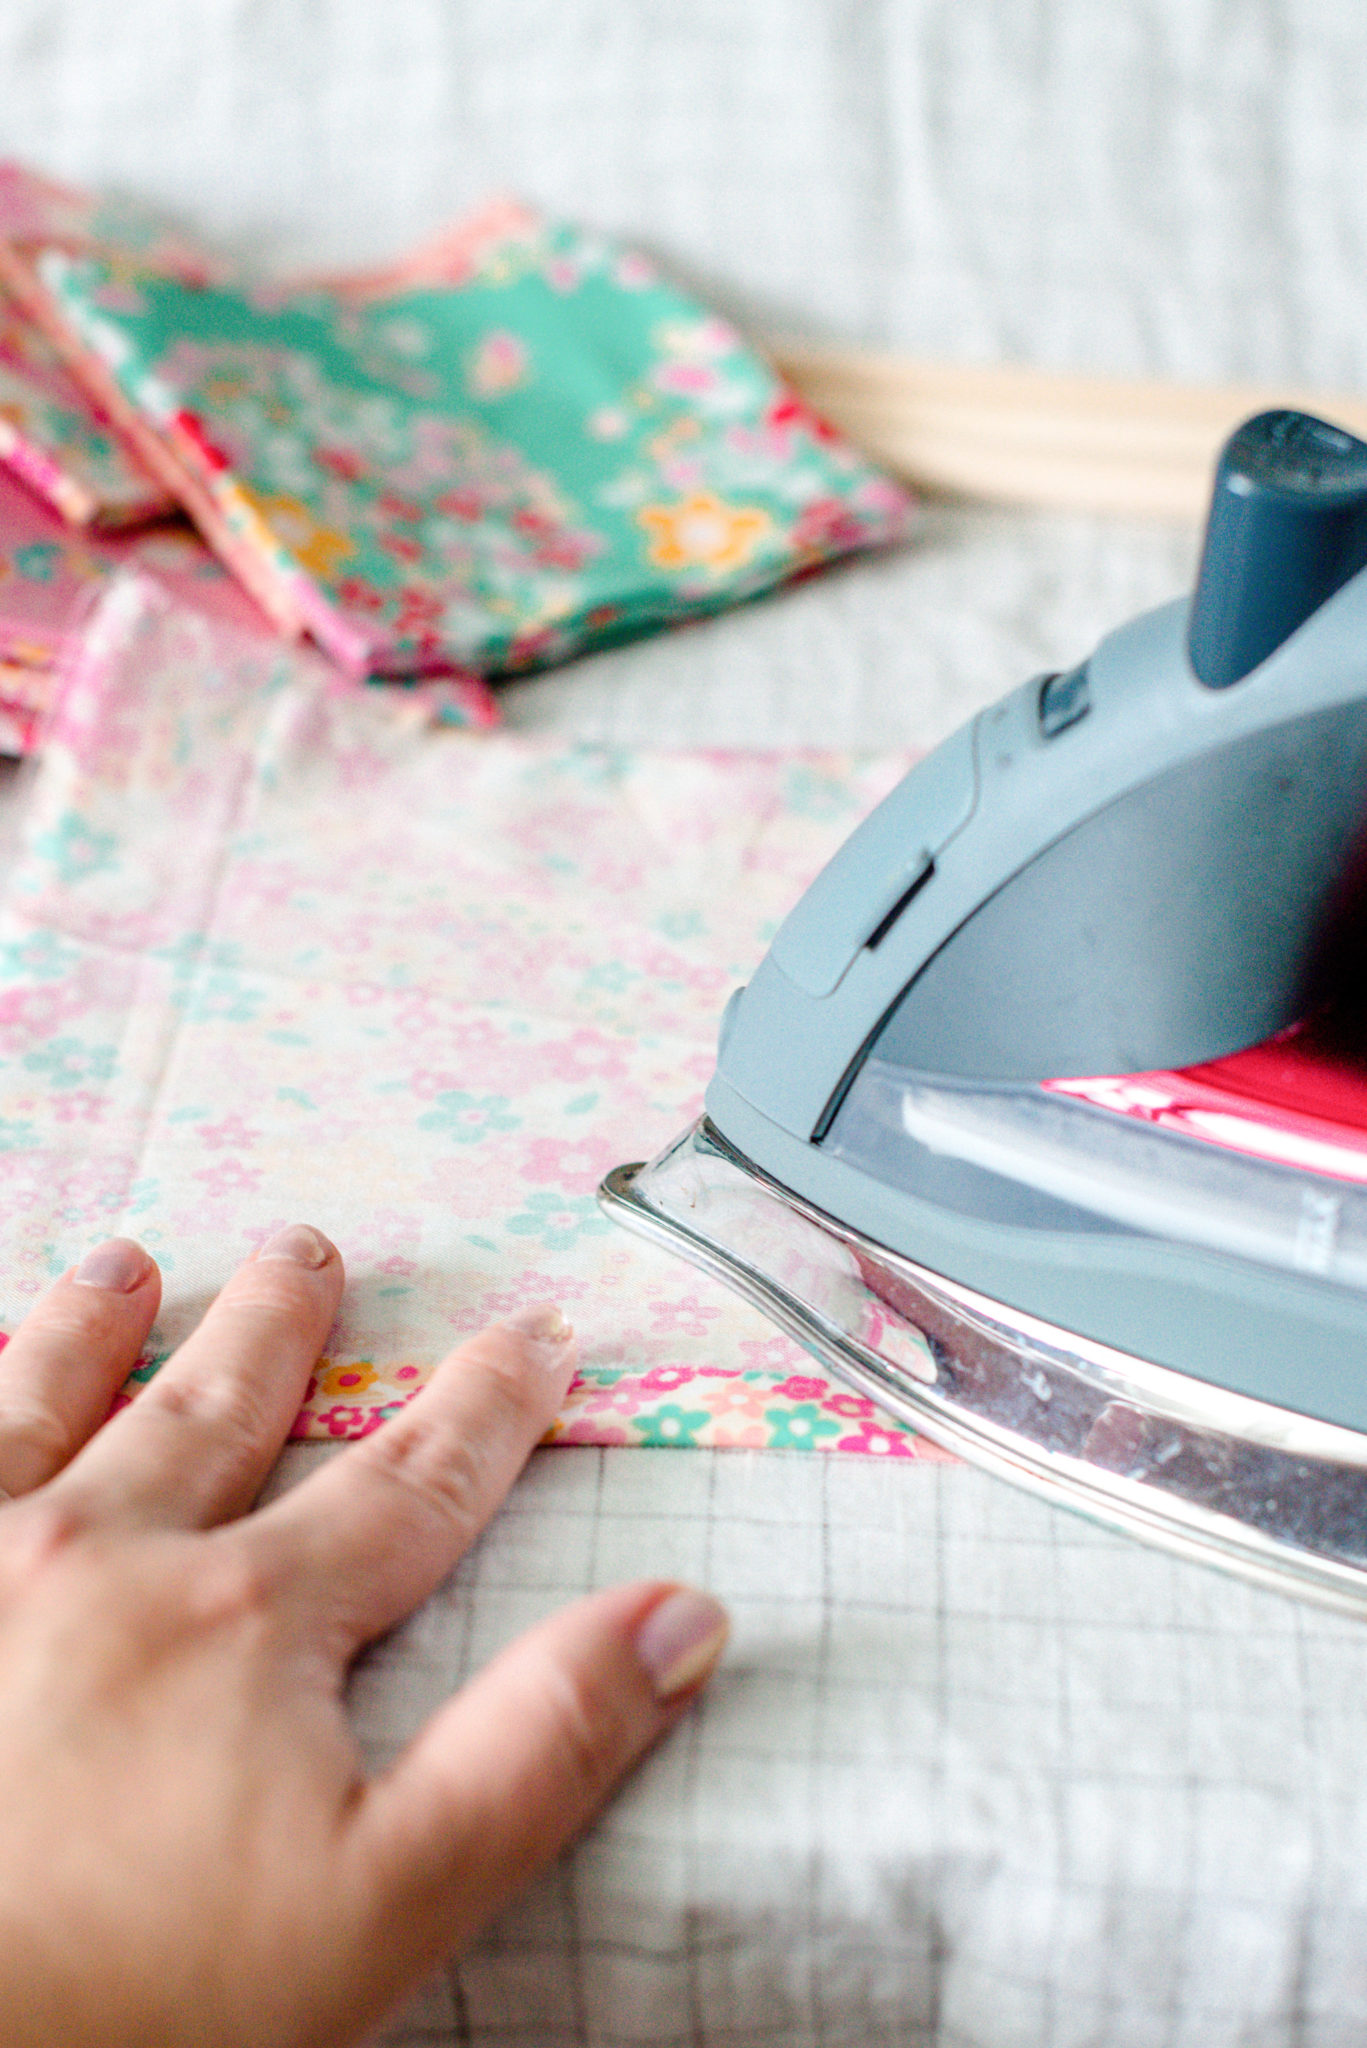
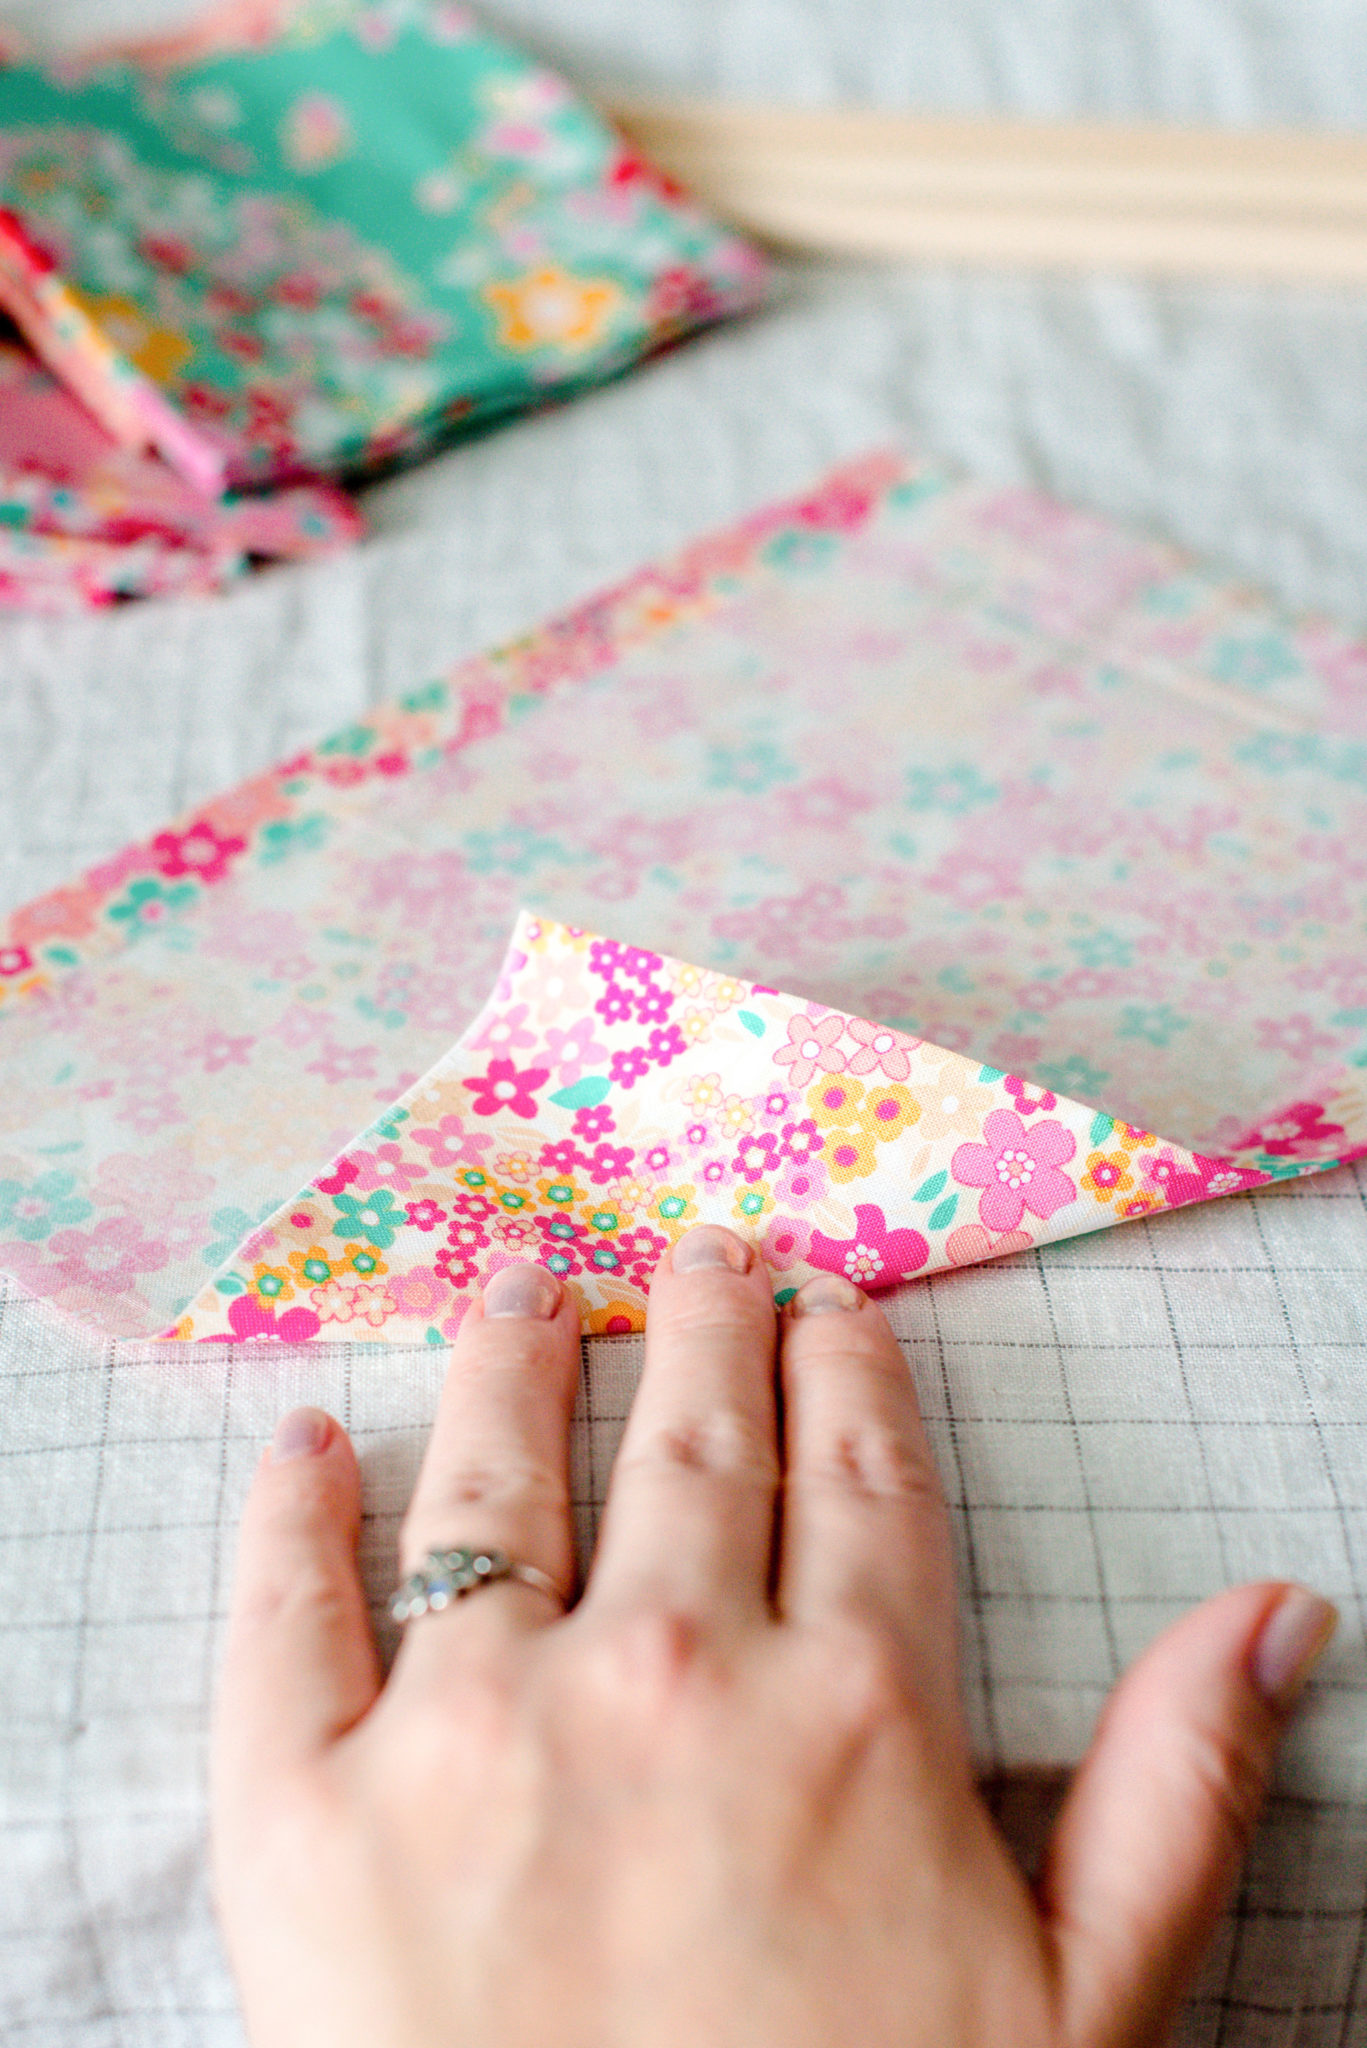
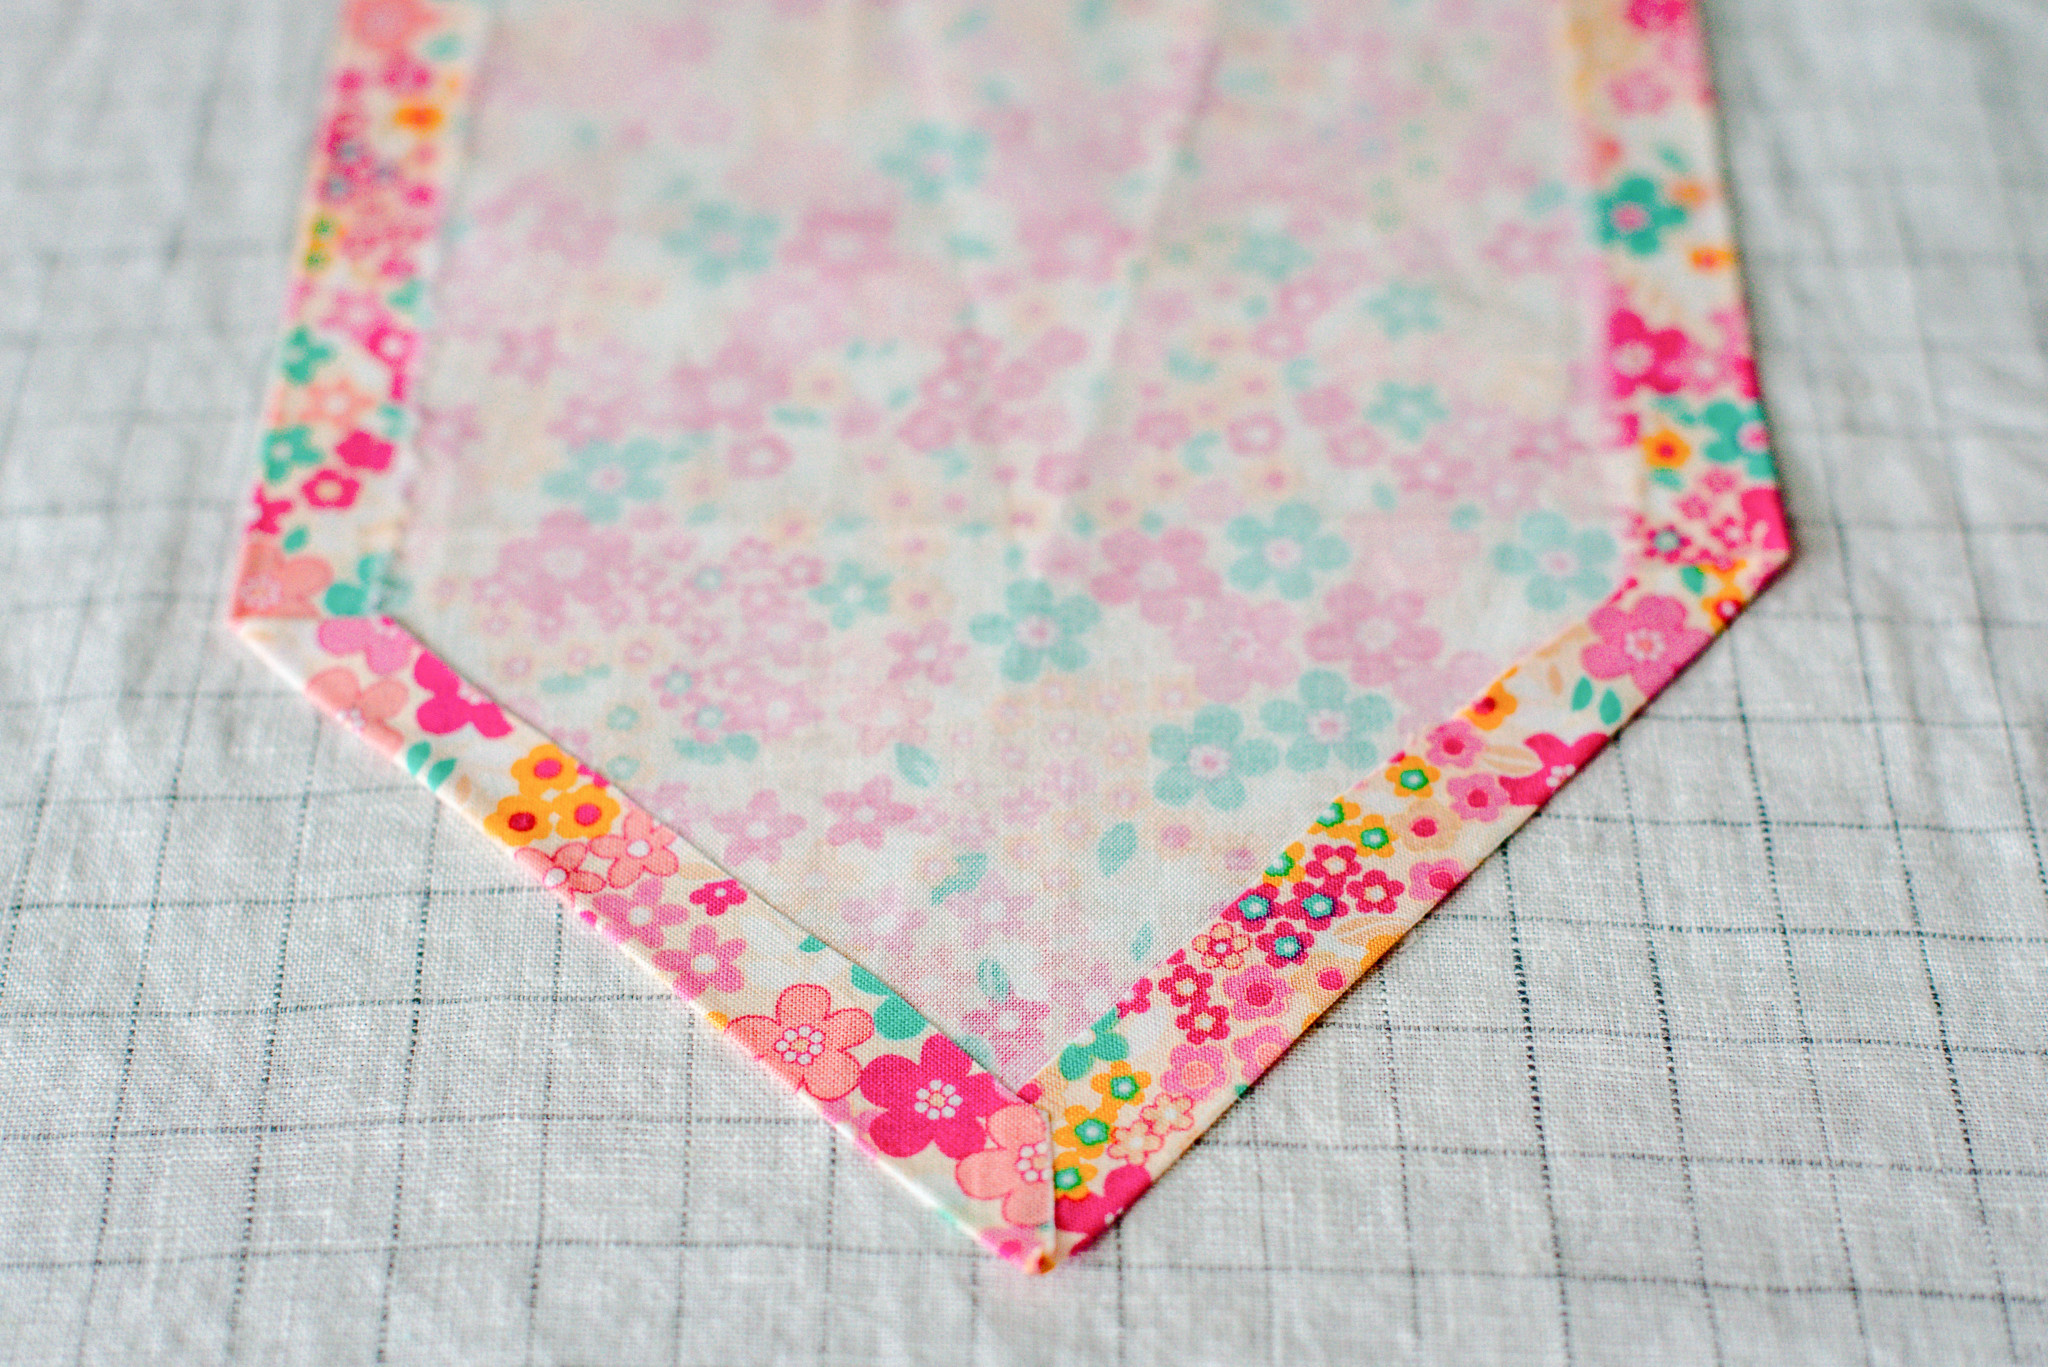
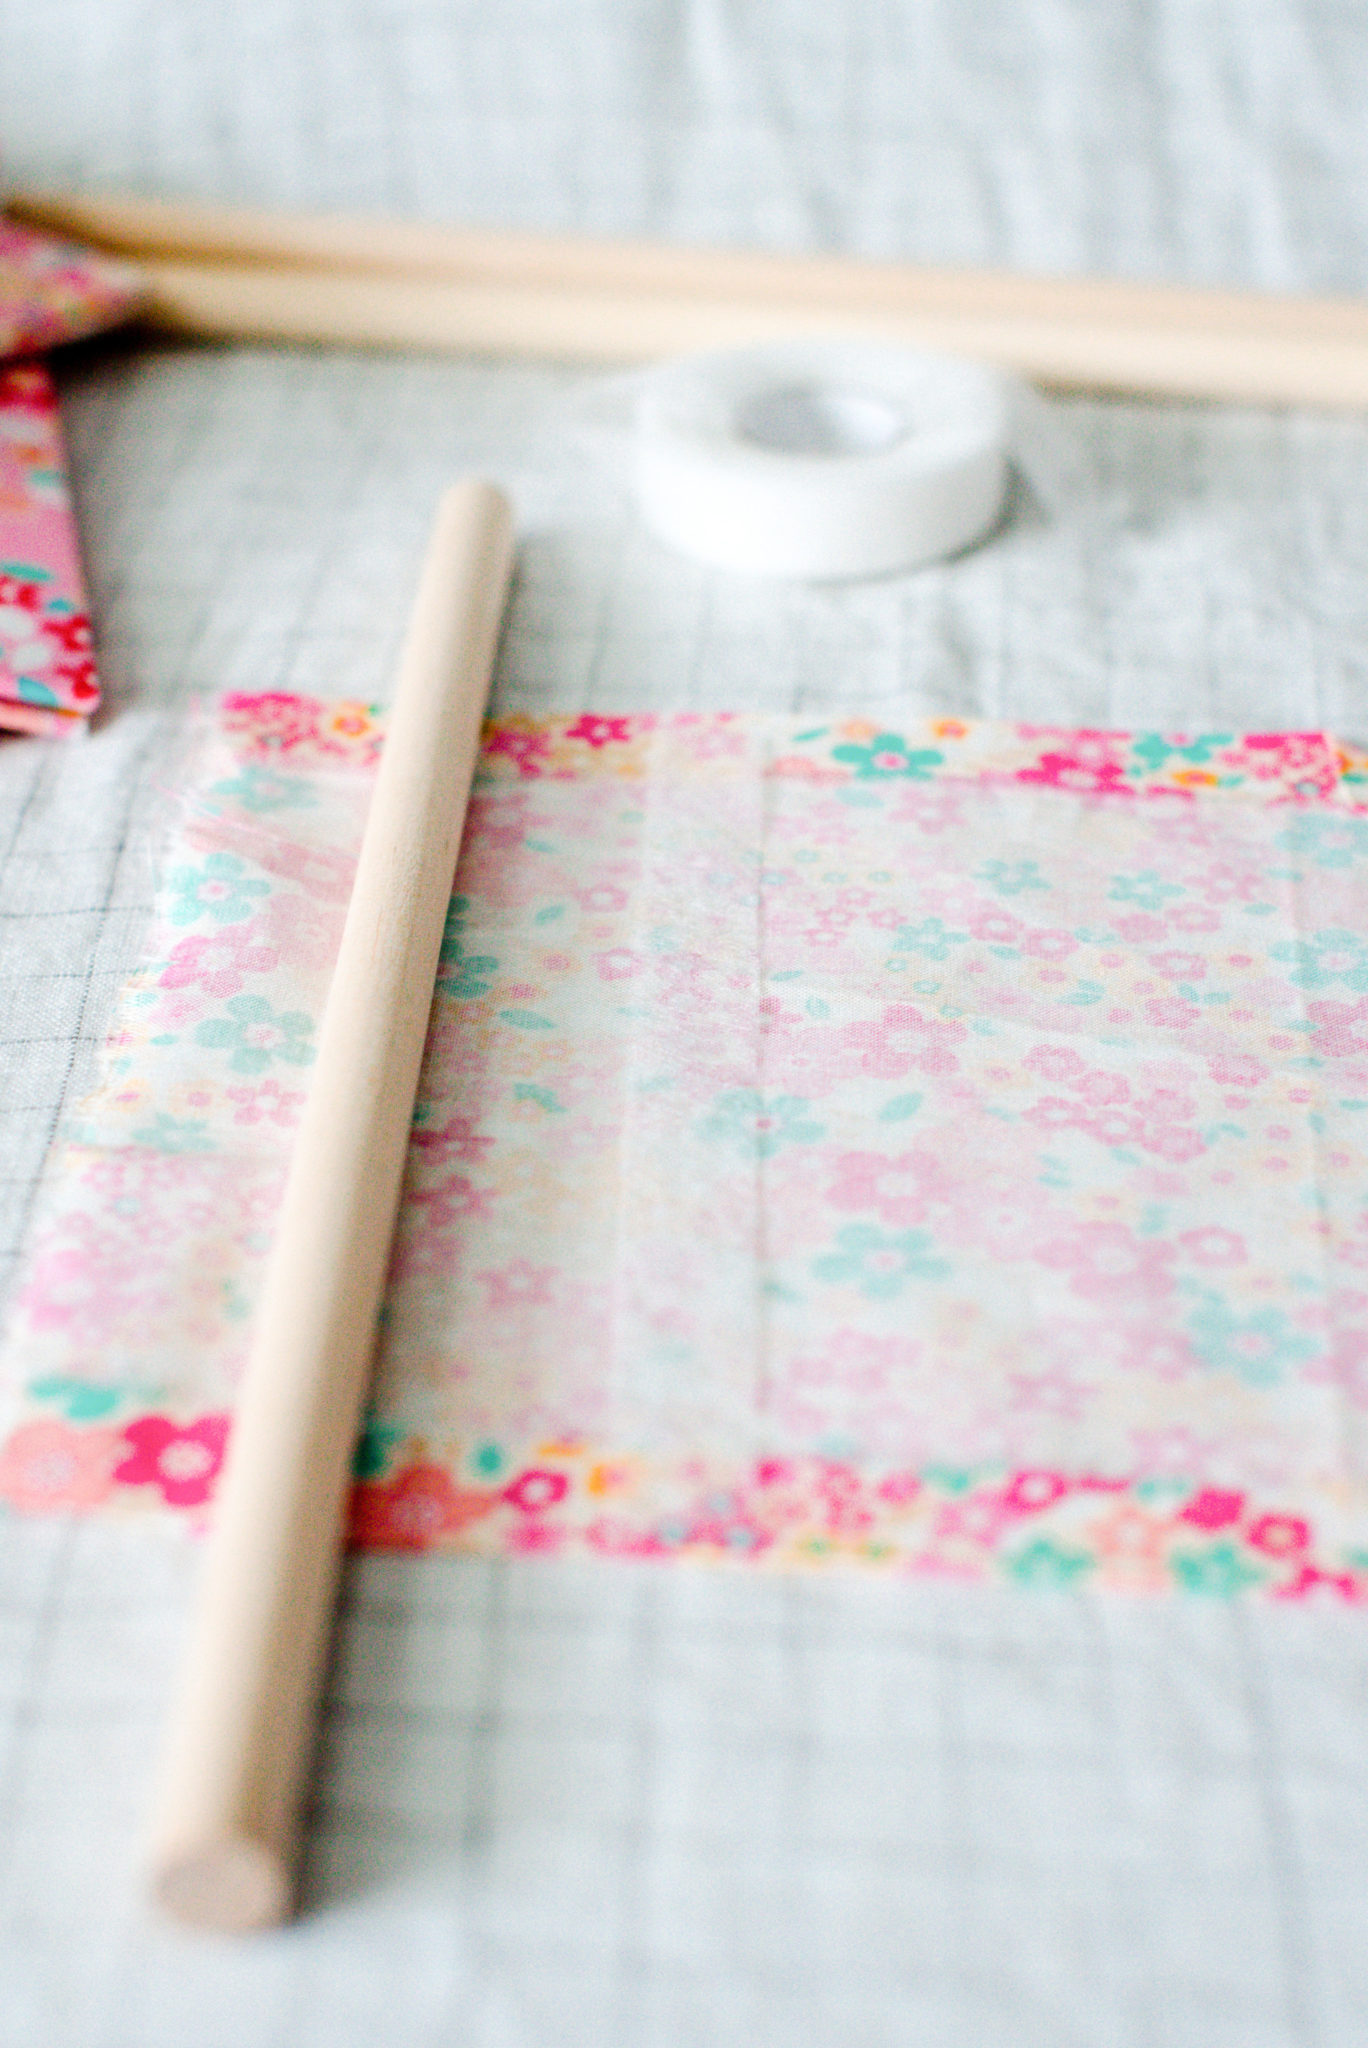
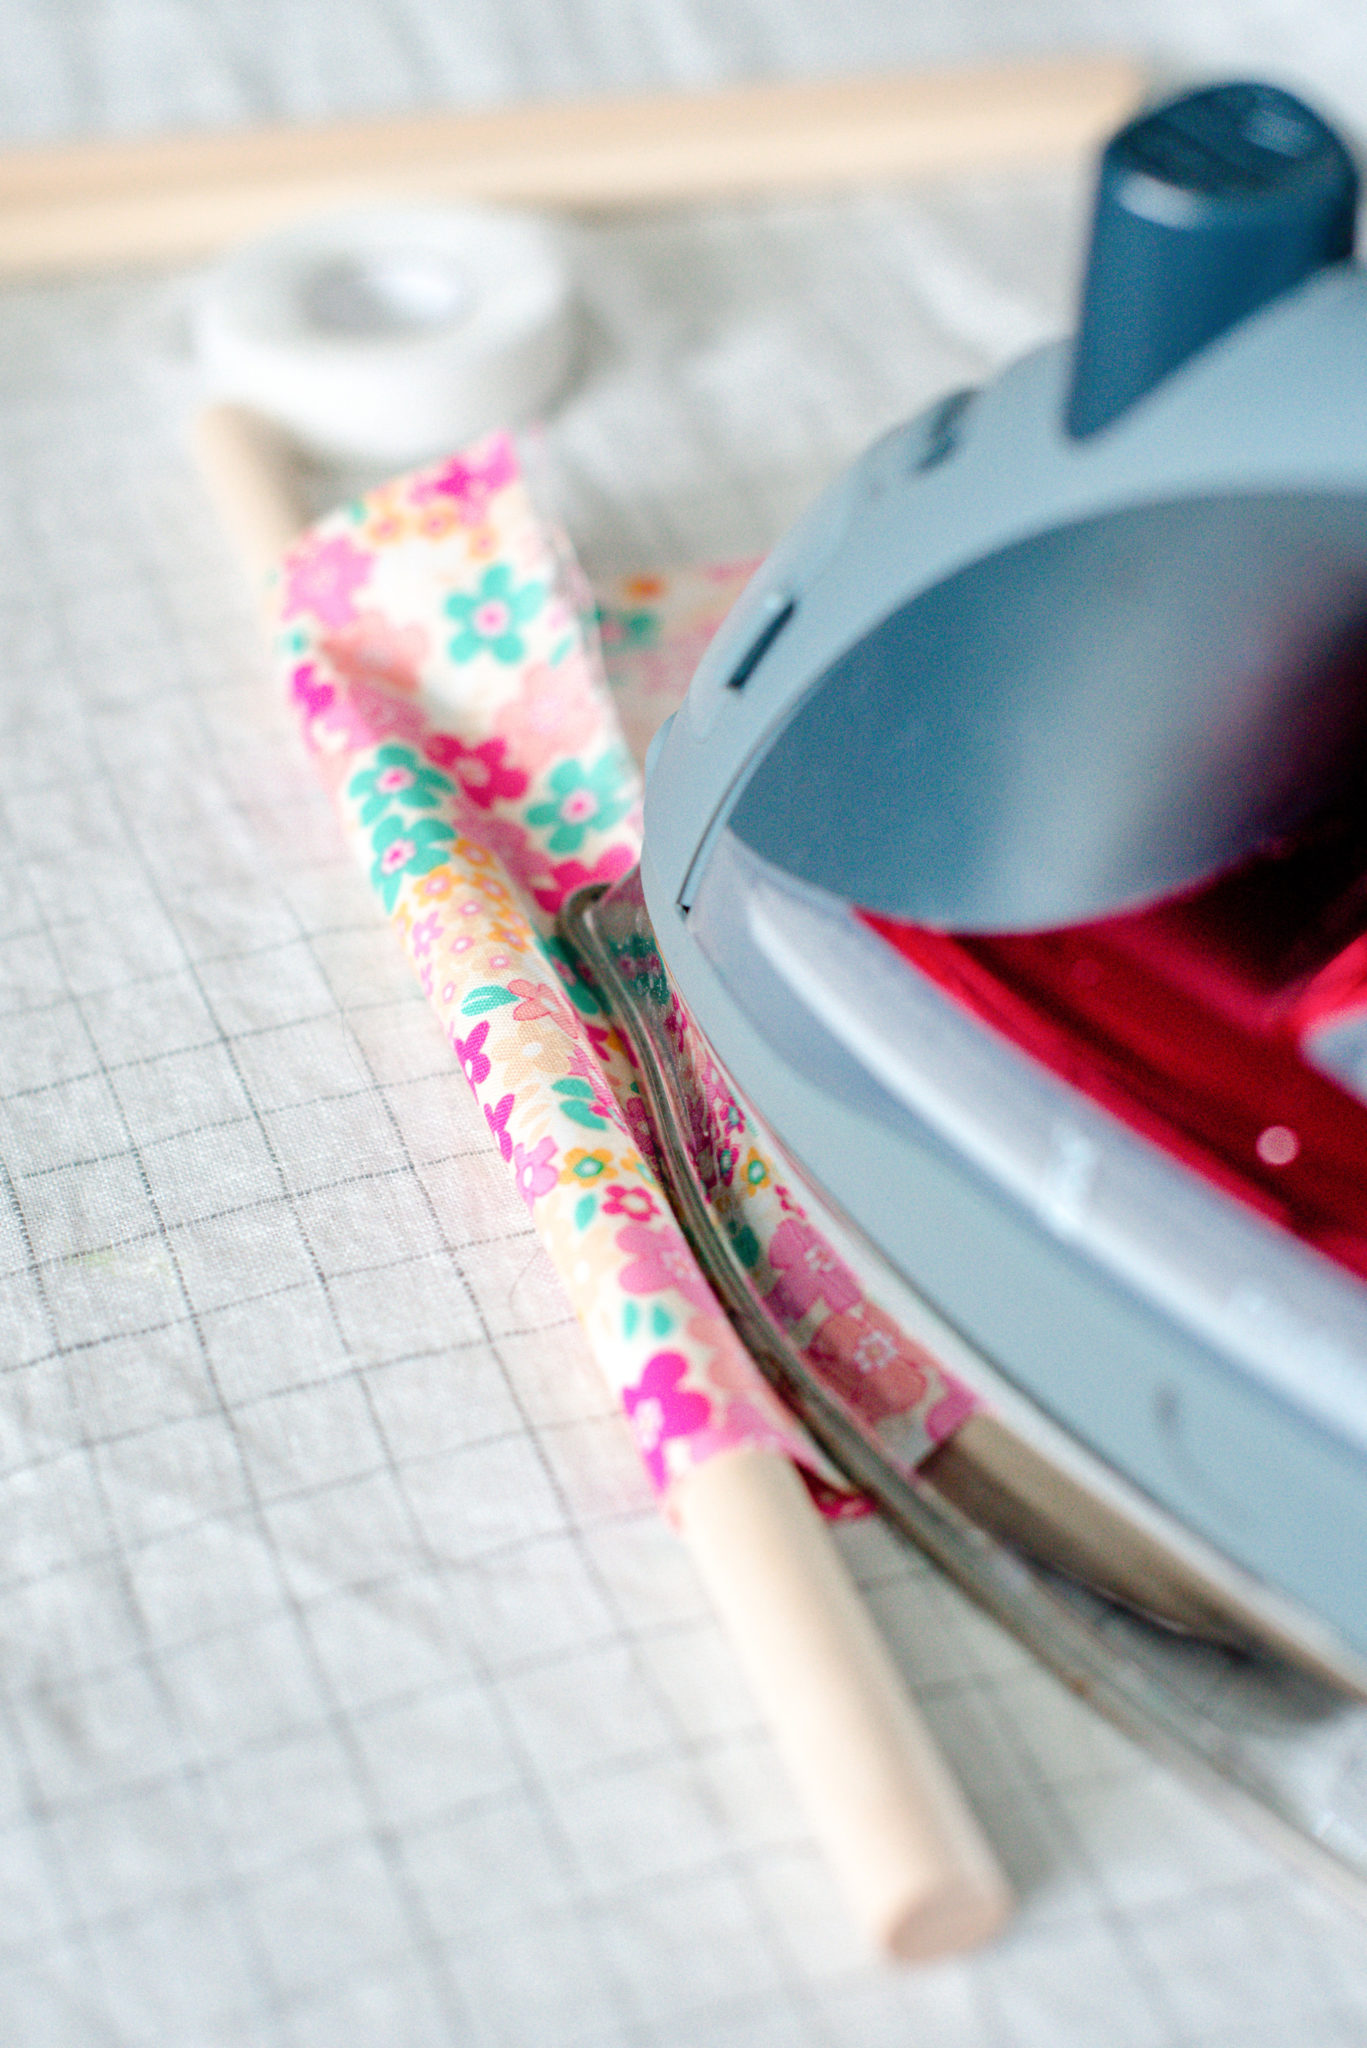
I didn’t measure anything here and just tore a rectangle. To clean up the edges, I started by cutting the stitch witchery to the length of the longest side of my rectangle. I laid it down on the back (or wrong side) of my fabric and folded the fabric over just enough to cover the stitch witchery completely and ironed it down. Follow the instructions on the stitch witchery package- it only takes a few seconds for it to fuse together! I did the same thing on the other long side of the rectangle and then formed the triangle at the bottom, eyeballing it and trimming off the excess fabric at the bottom. To attach the top of the fabric to the dowel, I laid it down and cut the stitch witchery to size again, placed the stitch witchery on the backside in front of (or behind depending on how you look at it I guess Ha Ha!) the dowel and ironed it to fuse it. You’ll still be able to slide the fabric on/off the dowel, this is just the easiest way to make sure the opening is large enough for the dowel.

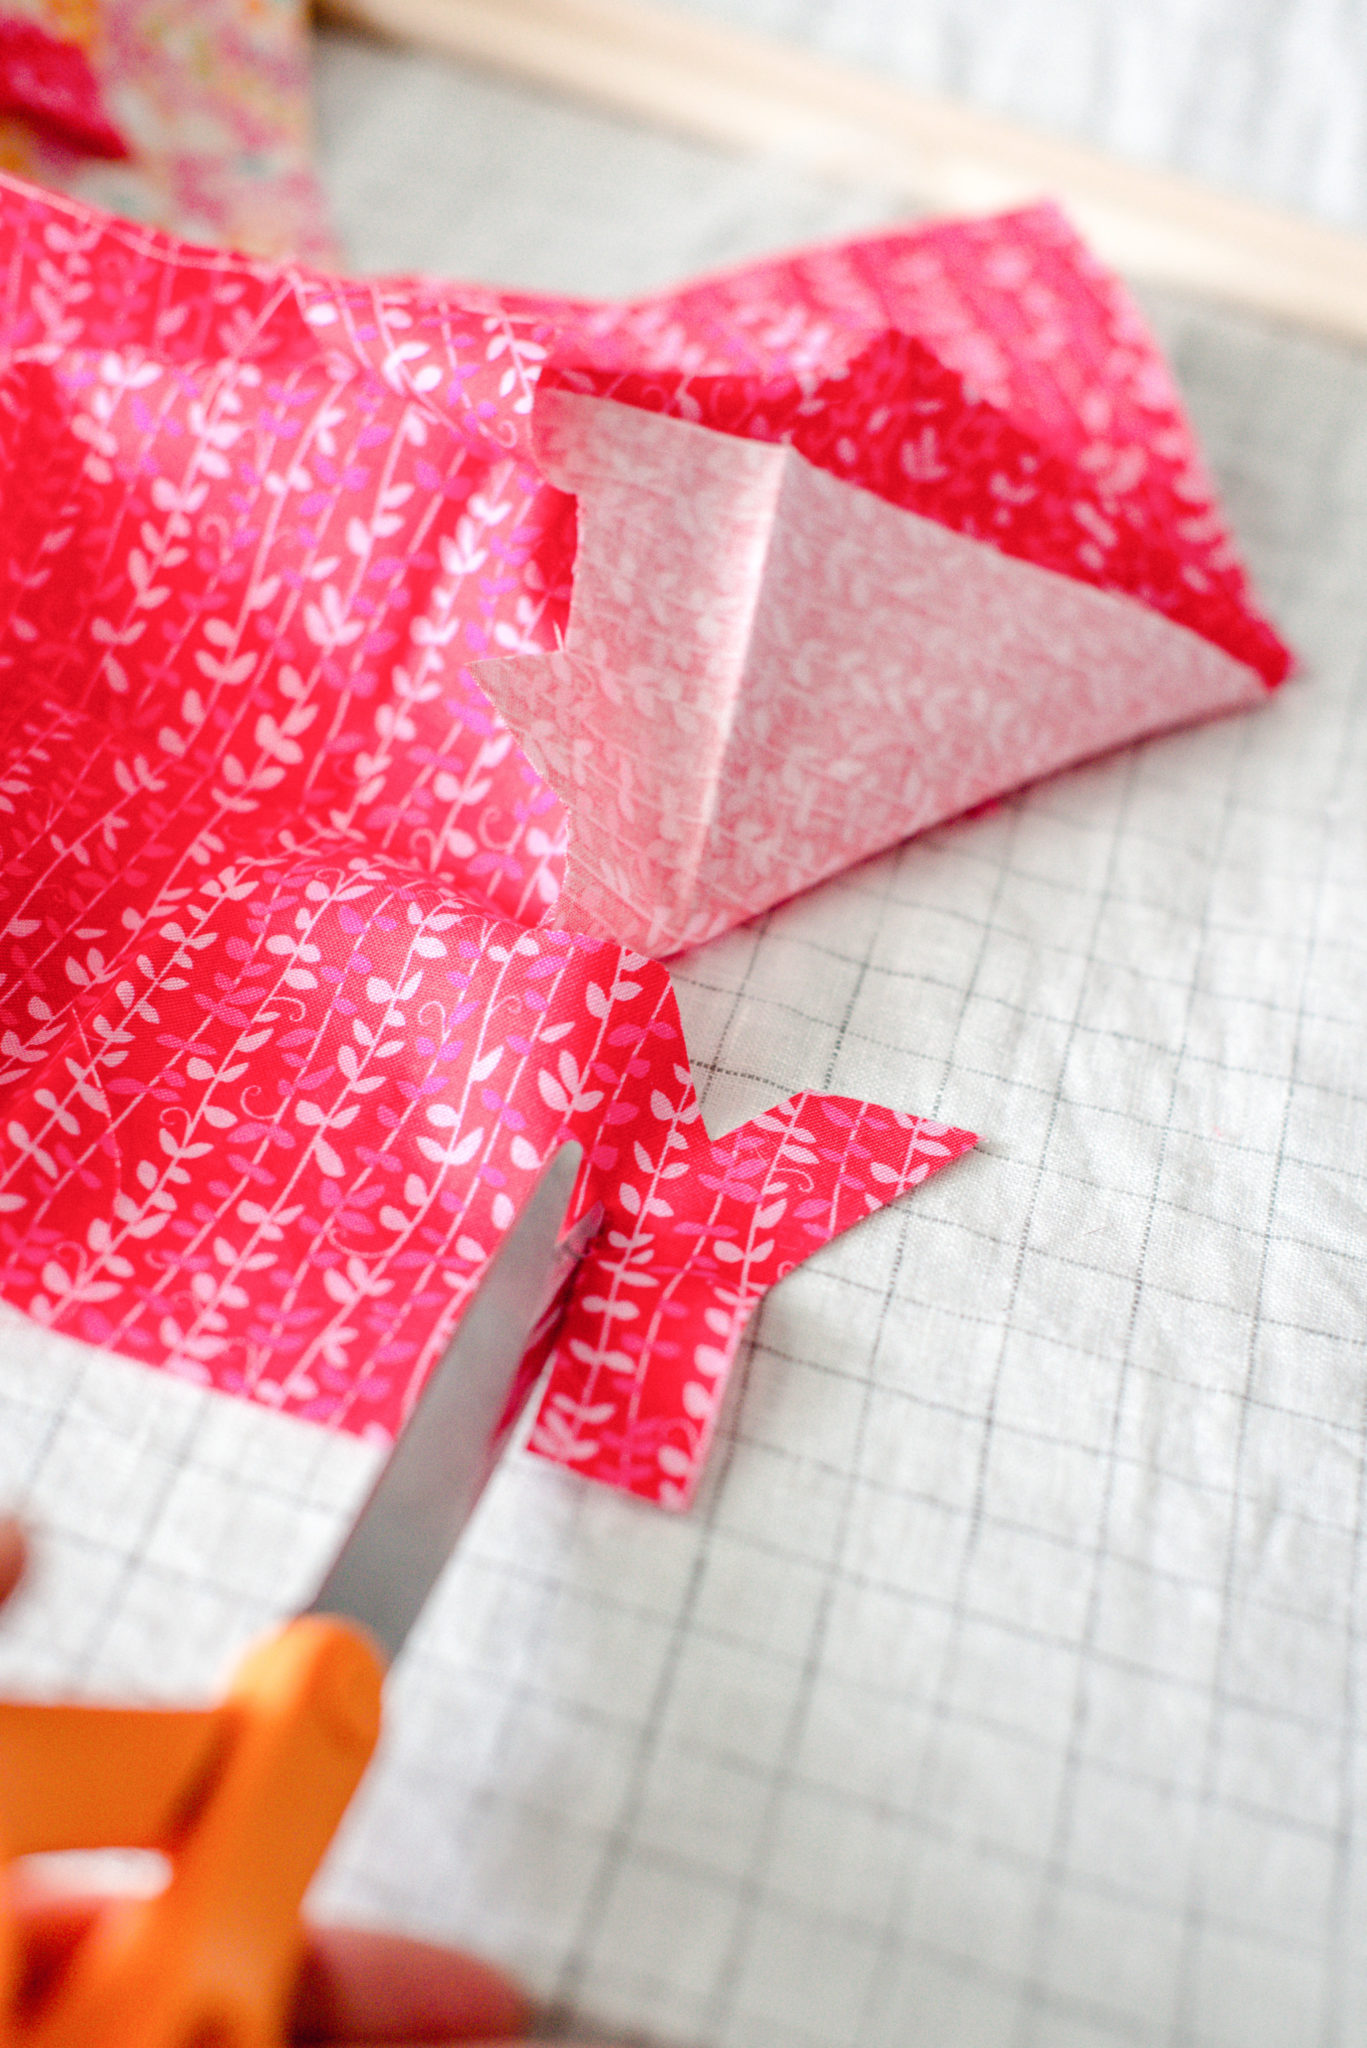
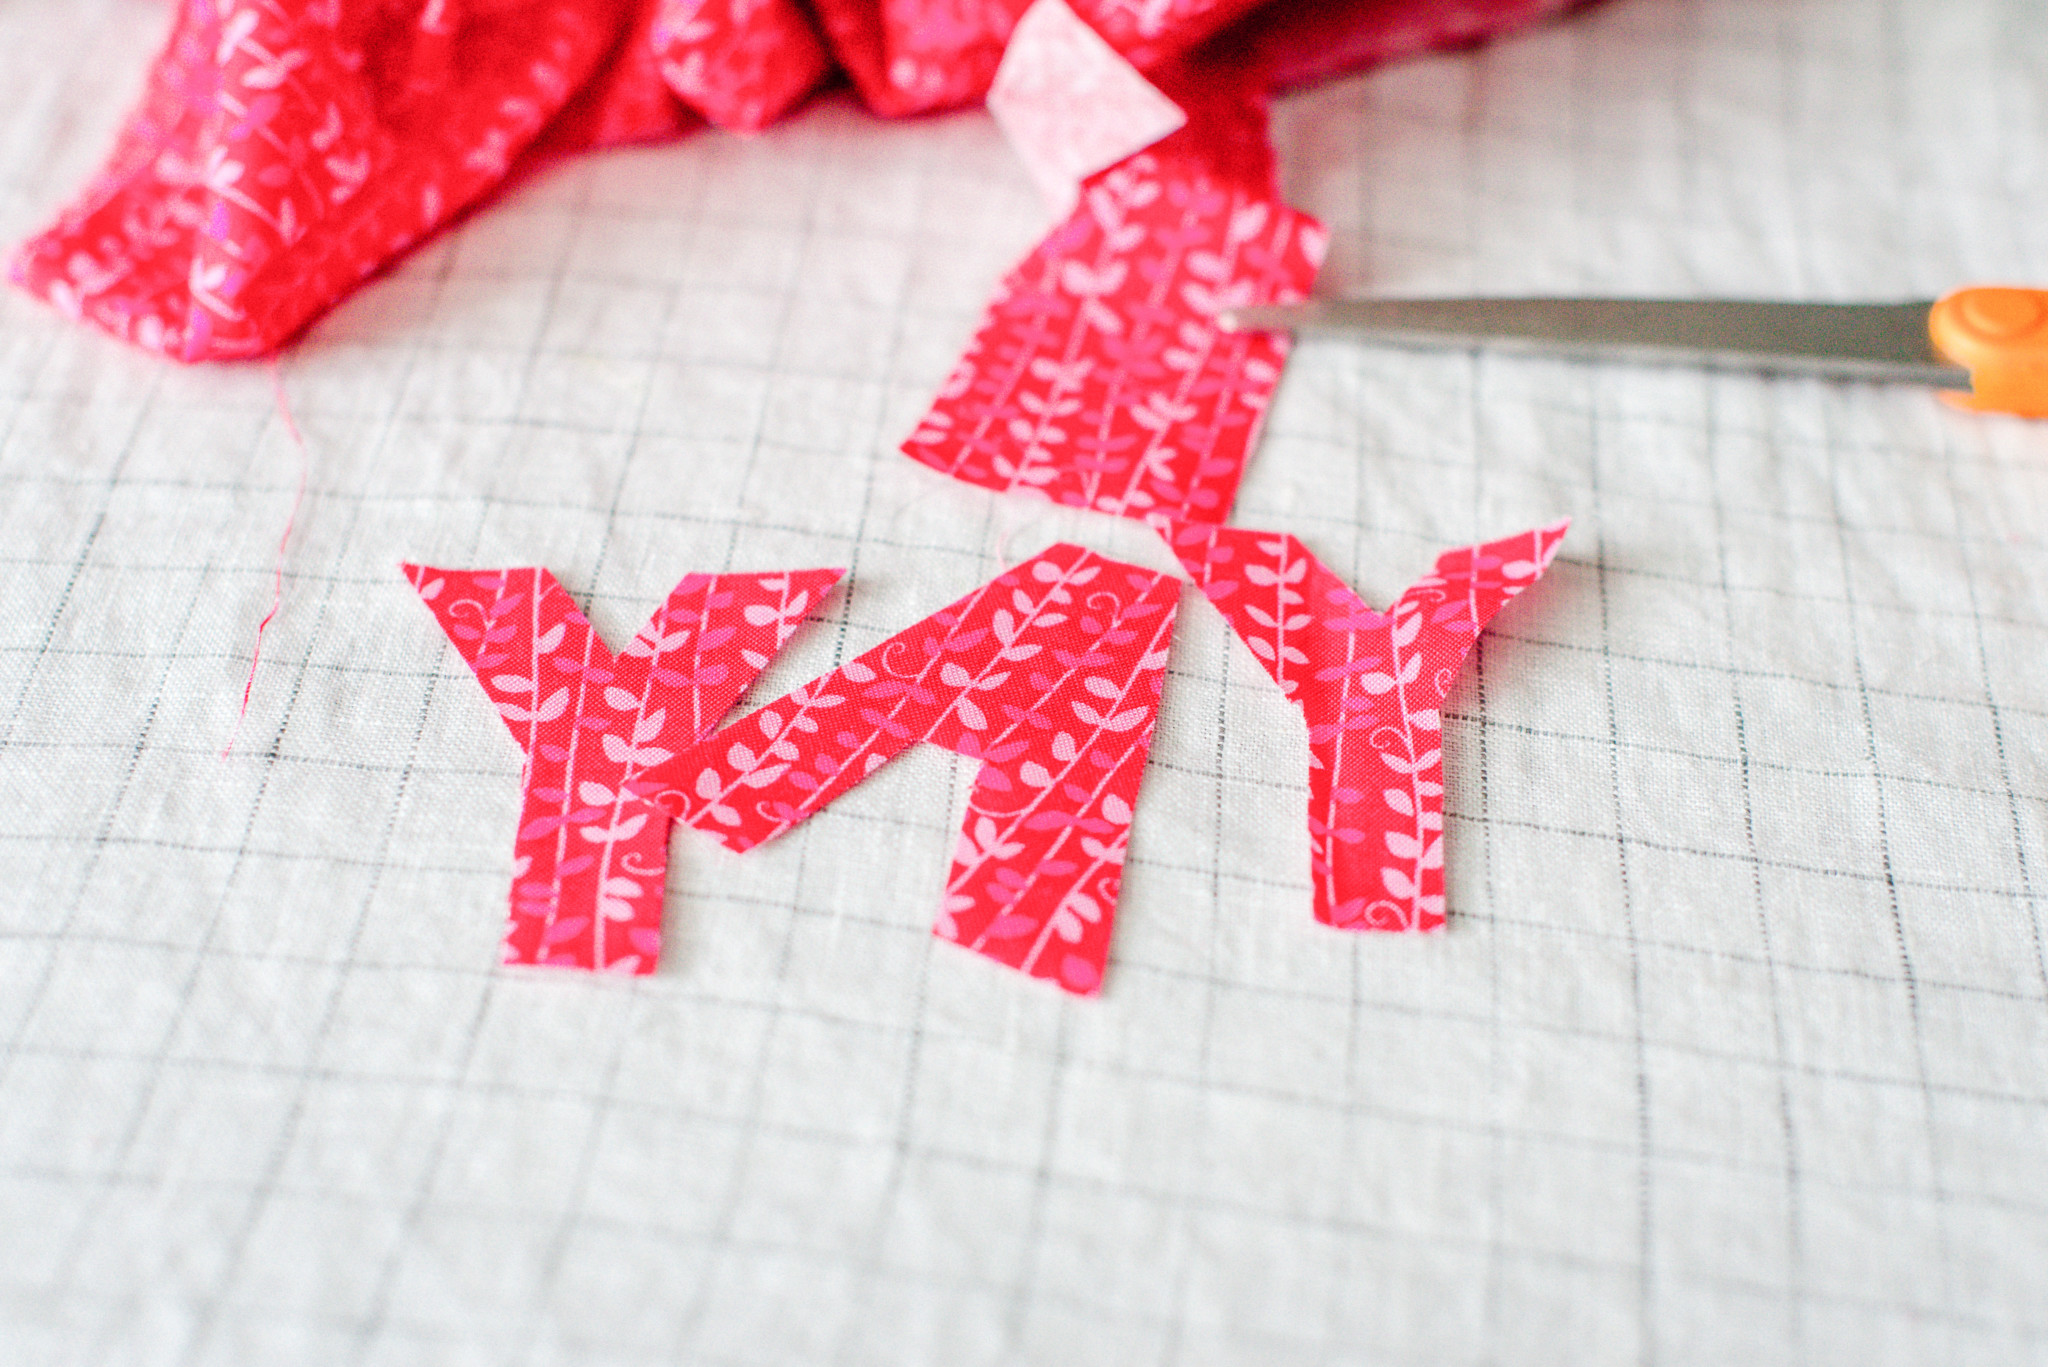
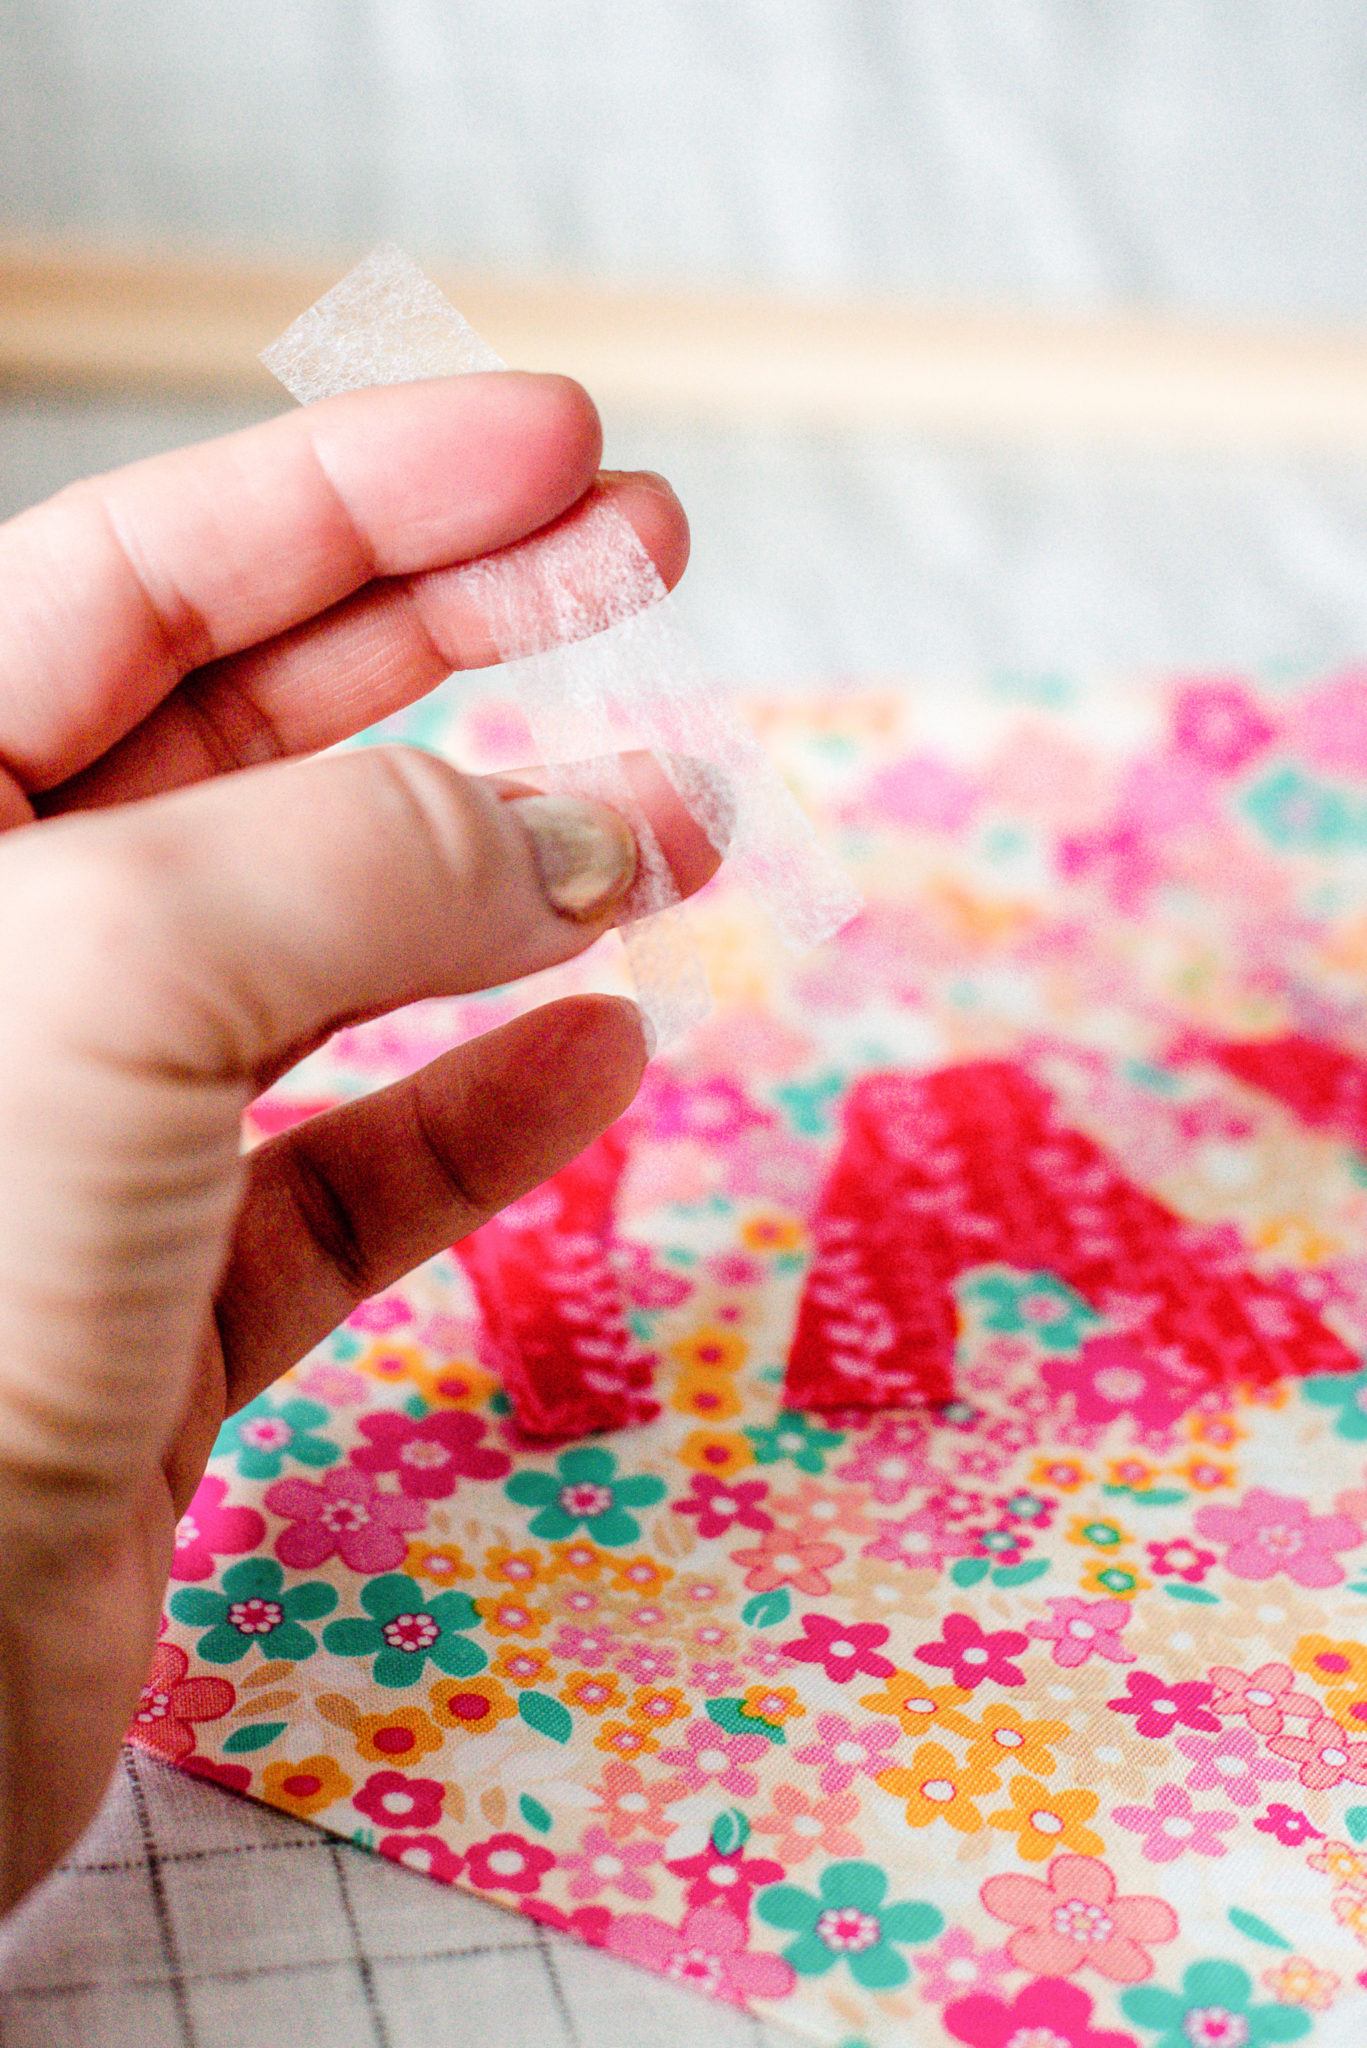
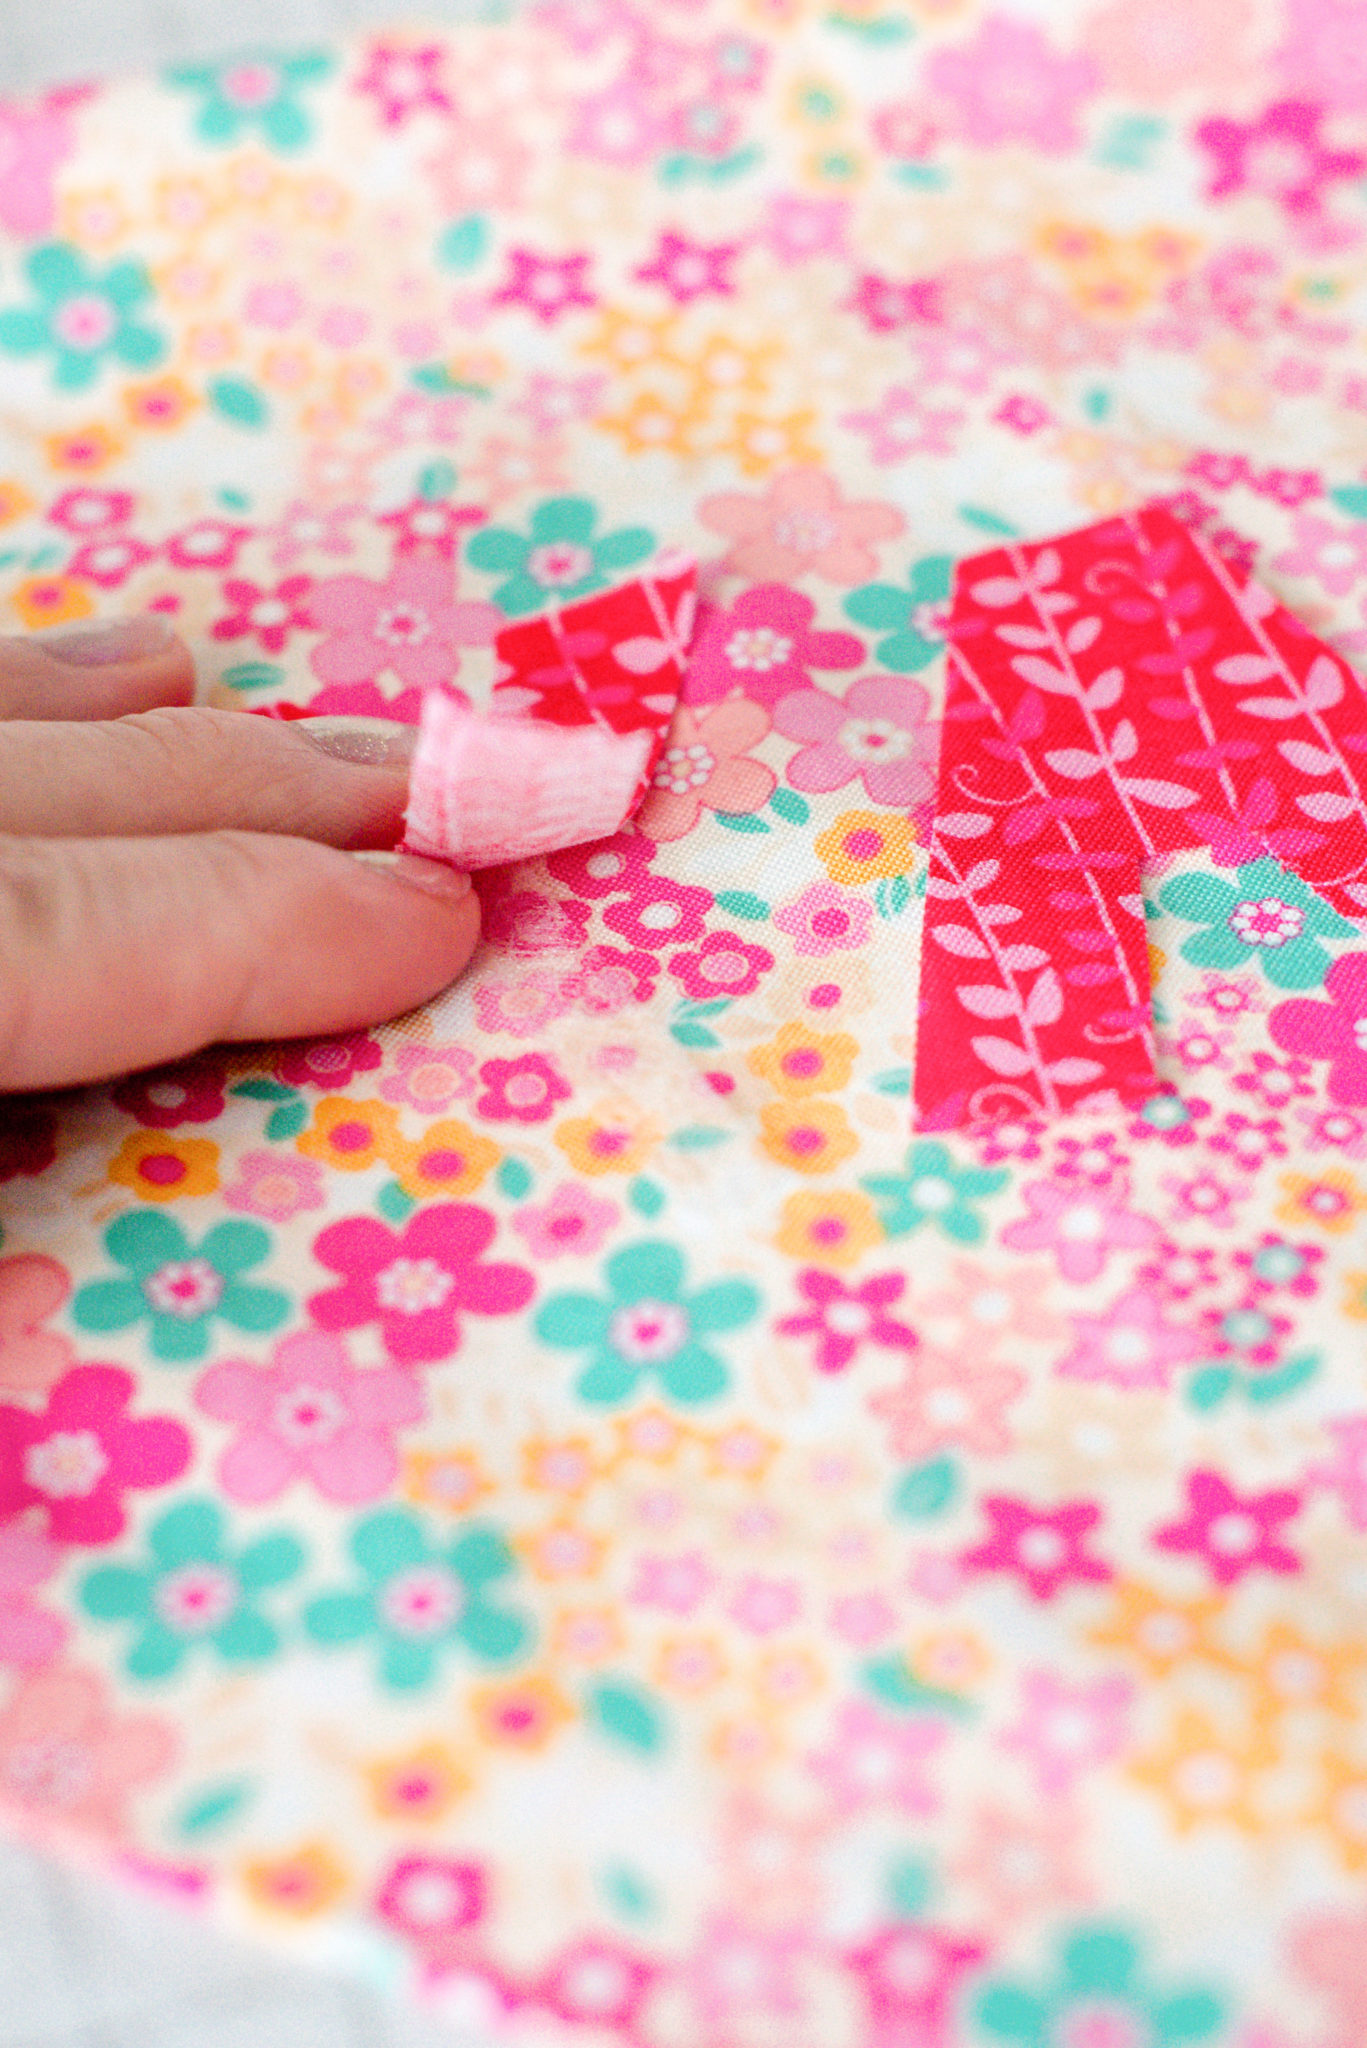
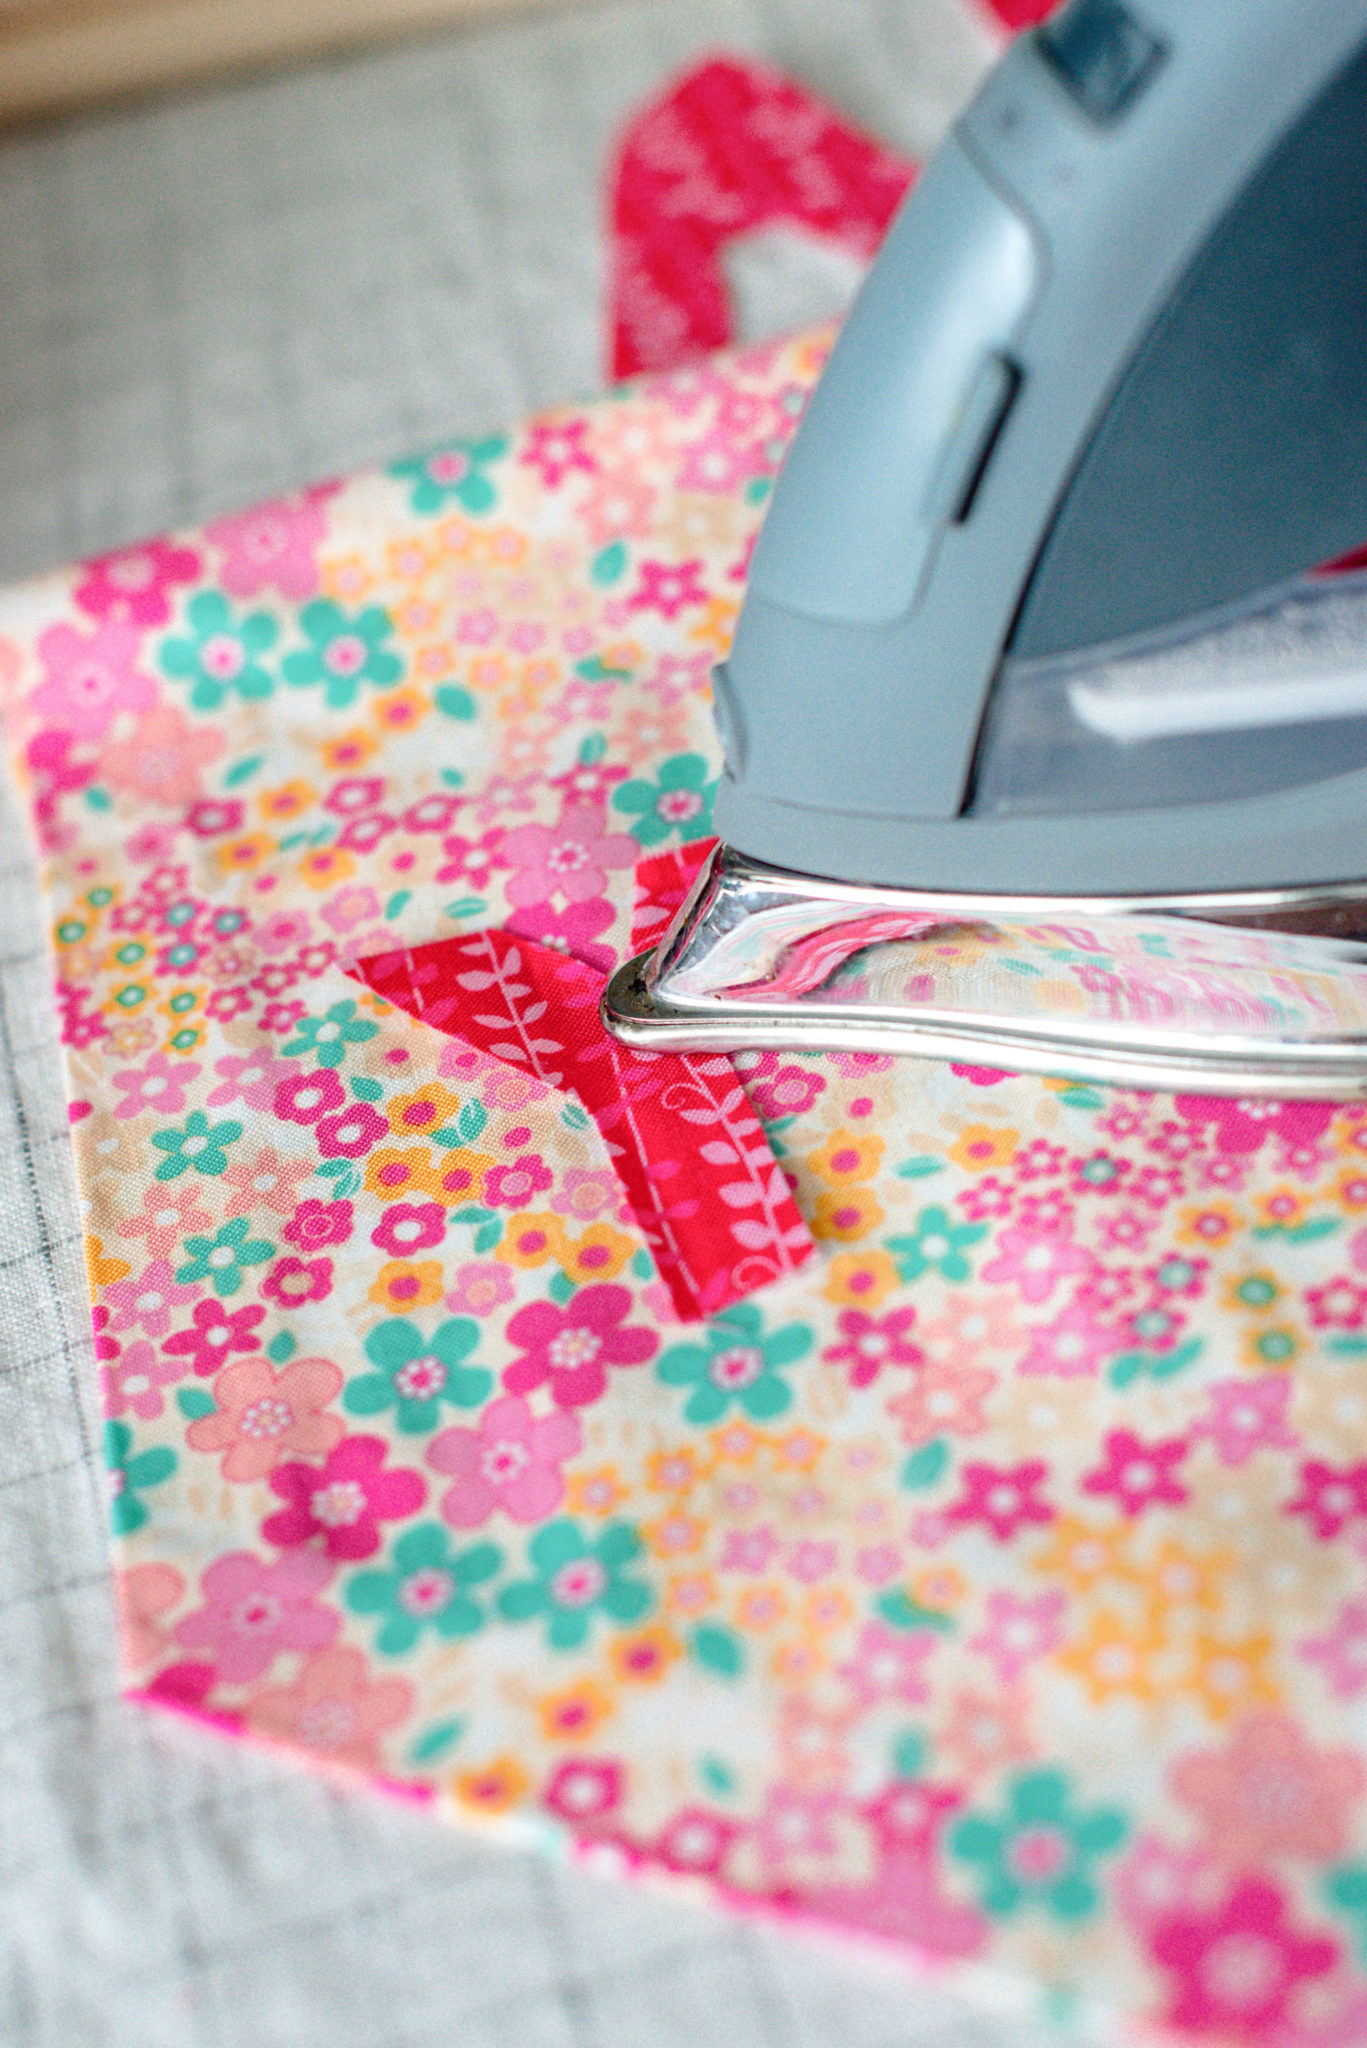
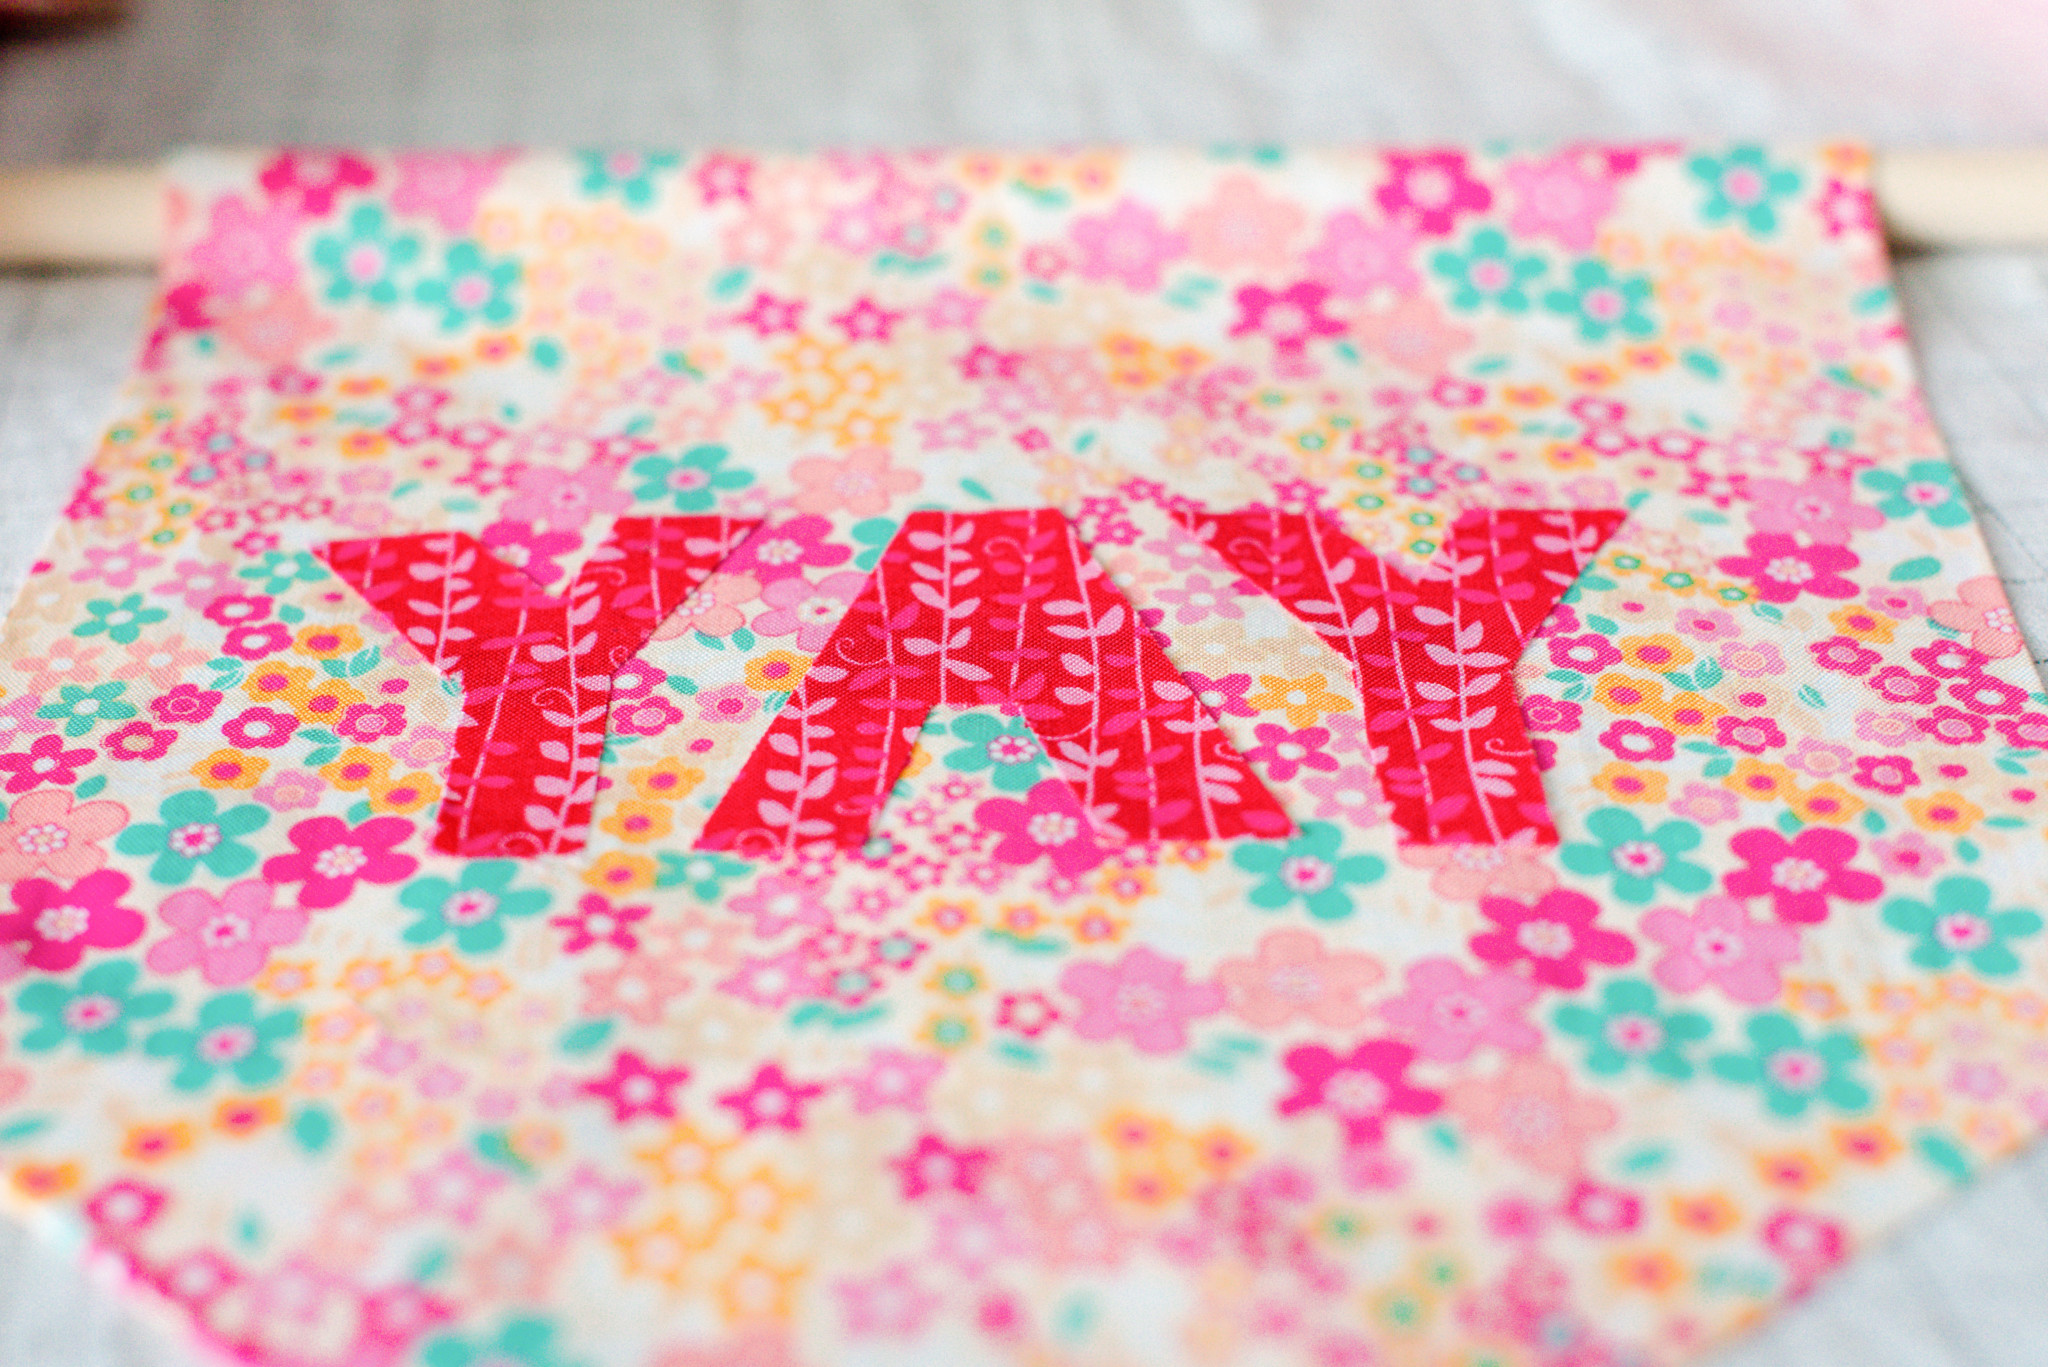
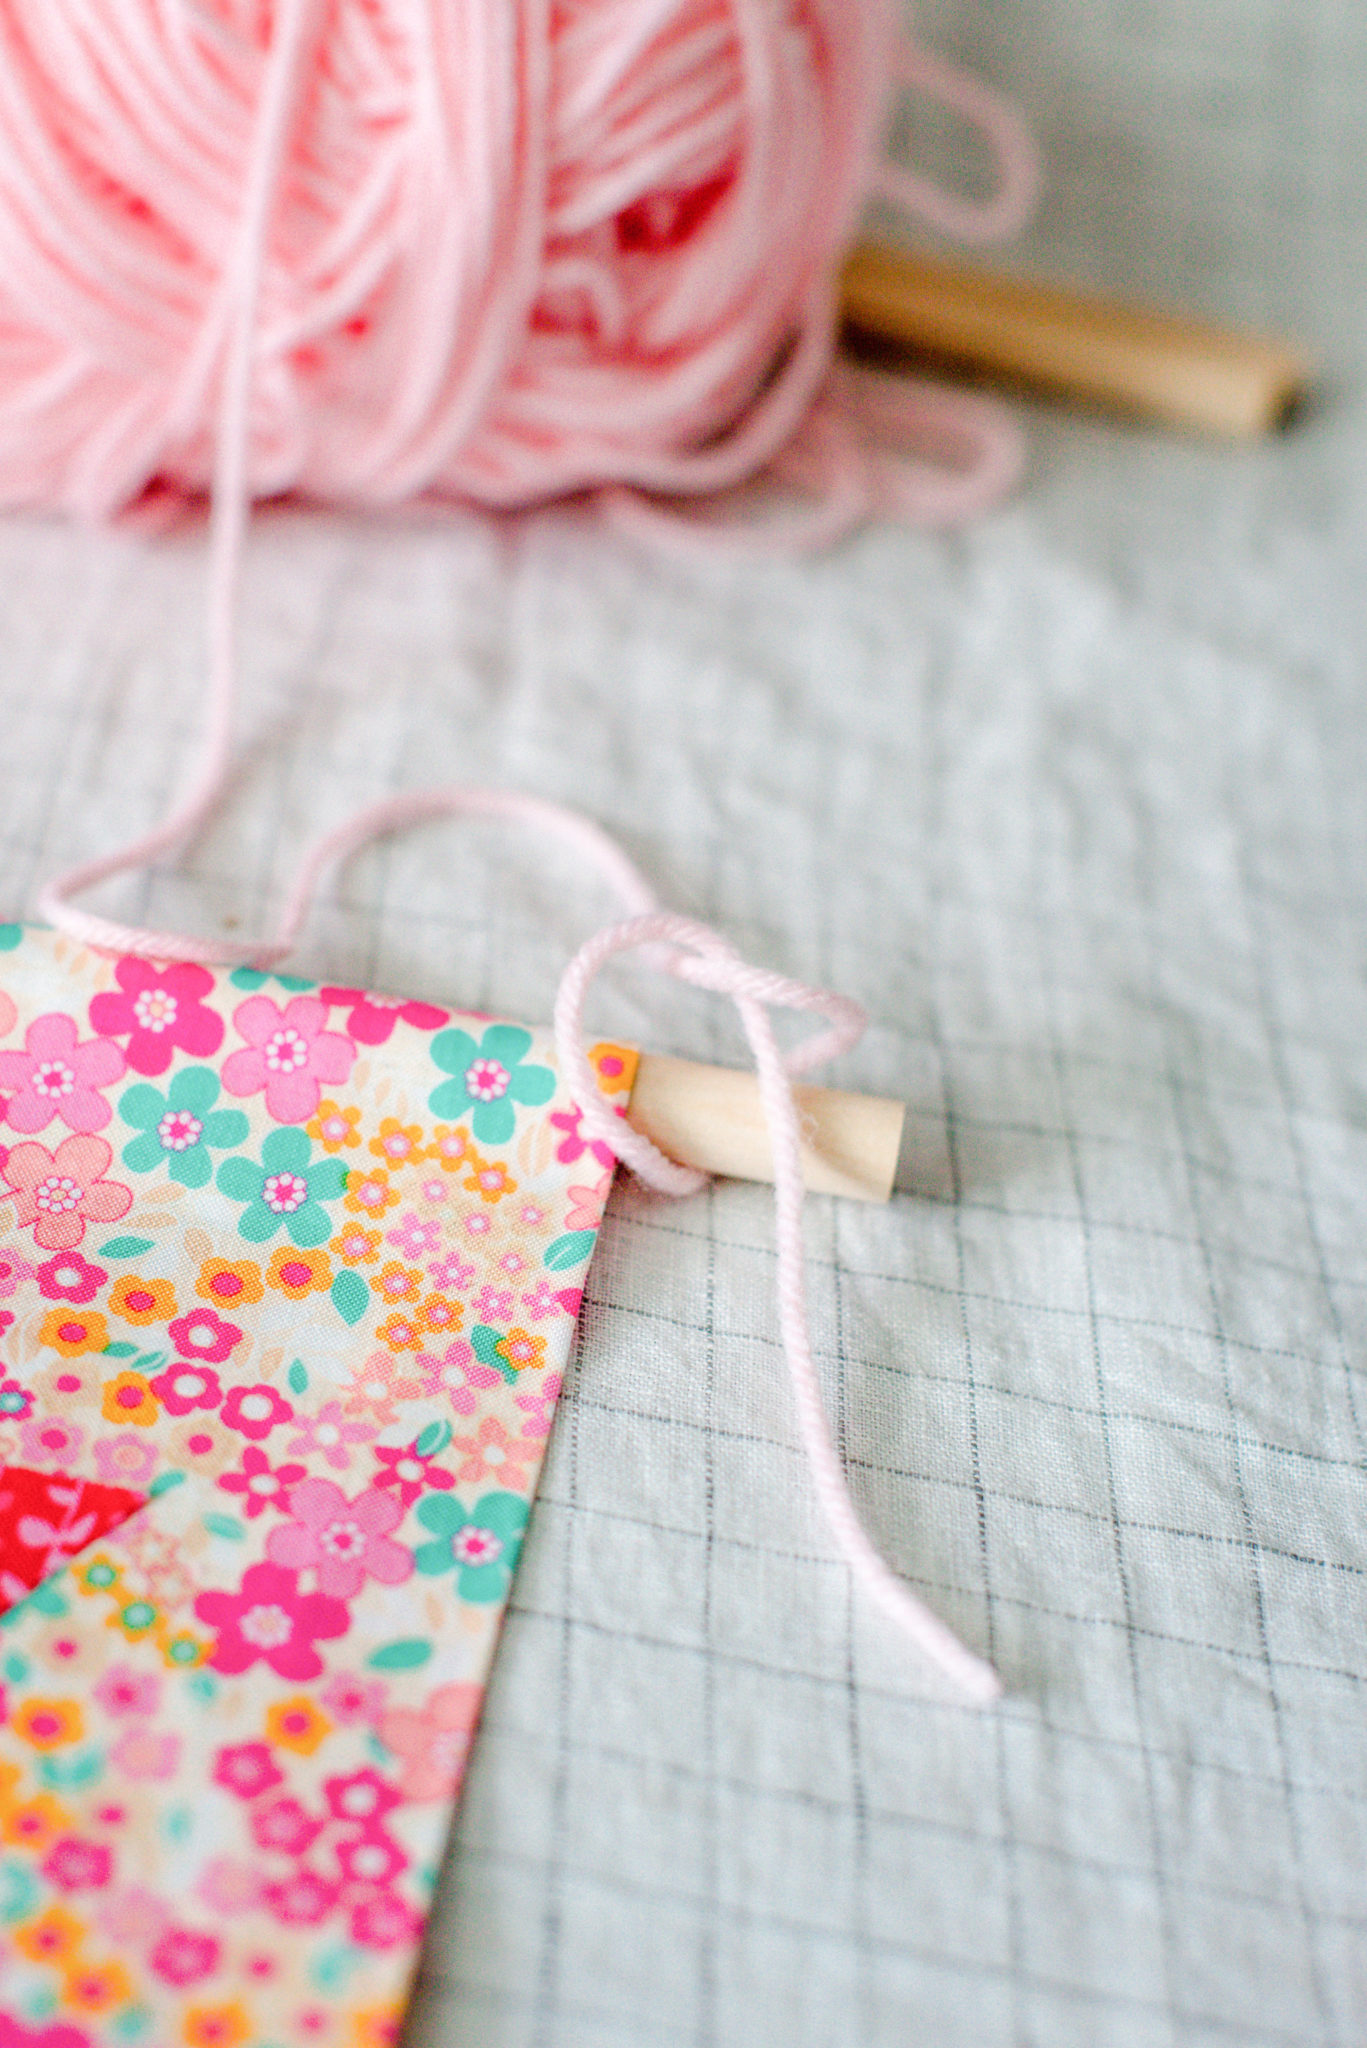
2. Cut your letters out. You can use paper or even freezer paper as a stencil if you want. I just freehanded it since I was only doing three letters. Since my letters were smaller than the size of the stitch witchery, I cut the stitch witchery in half and in small enough pieces to fit the letter. I laid out where I wanted the letters to be placed and went one at a time, fusing them just like we did with the banner edges. Once you’re finished, attach your yarn or string to hang the banner just by tying a few knots on each side to secure it, you can either trim the tails or leave them depending on how you want it to look, I trimmed mine.
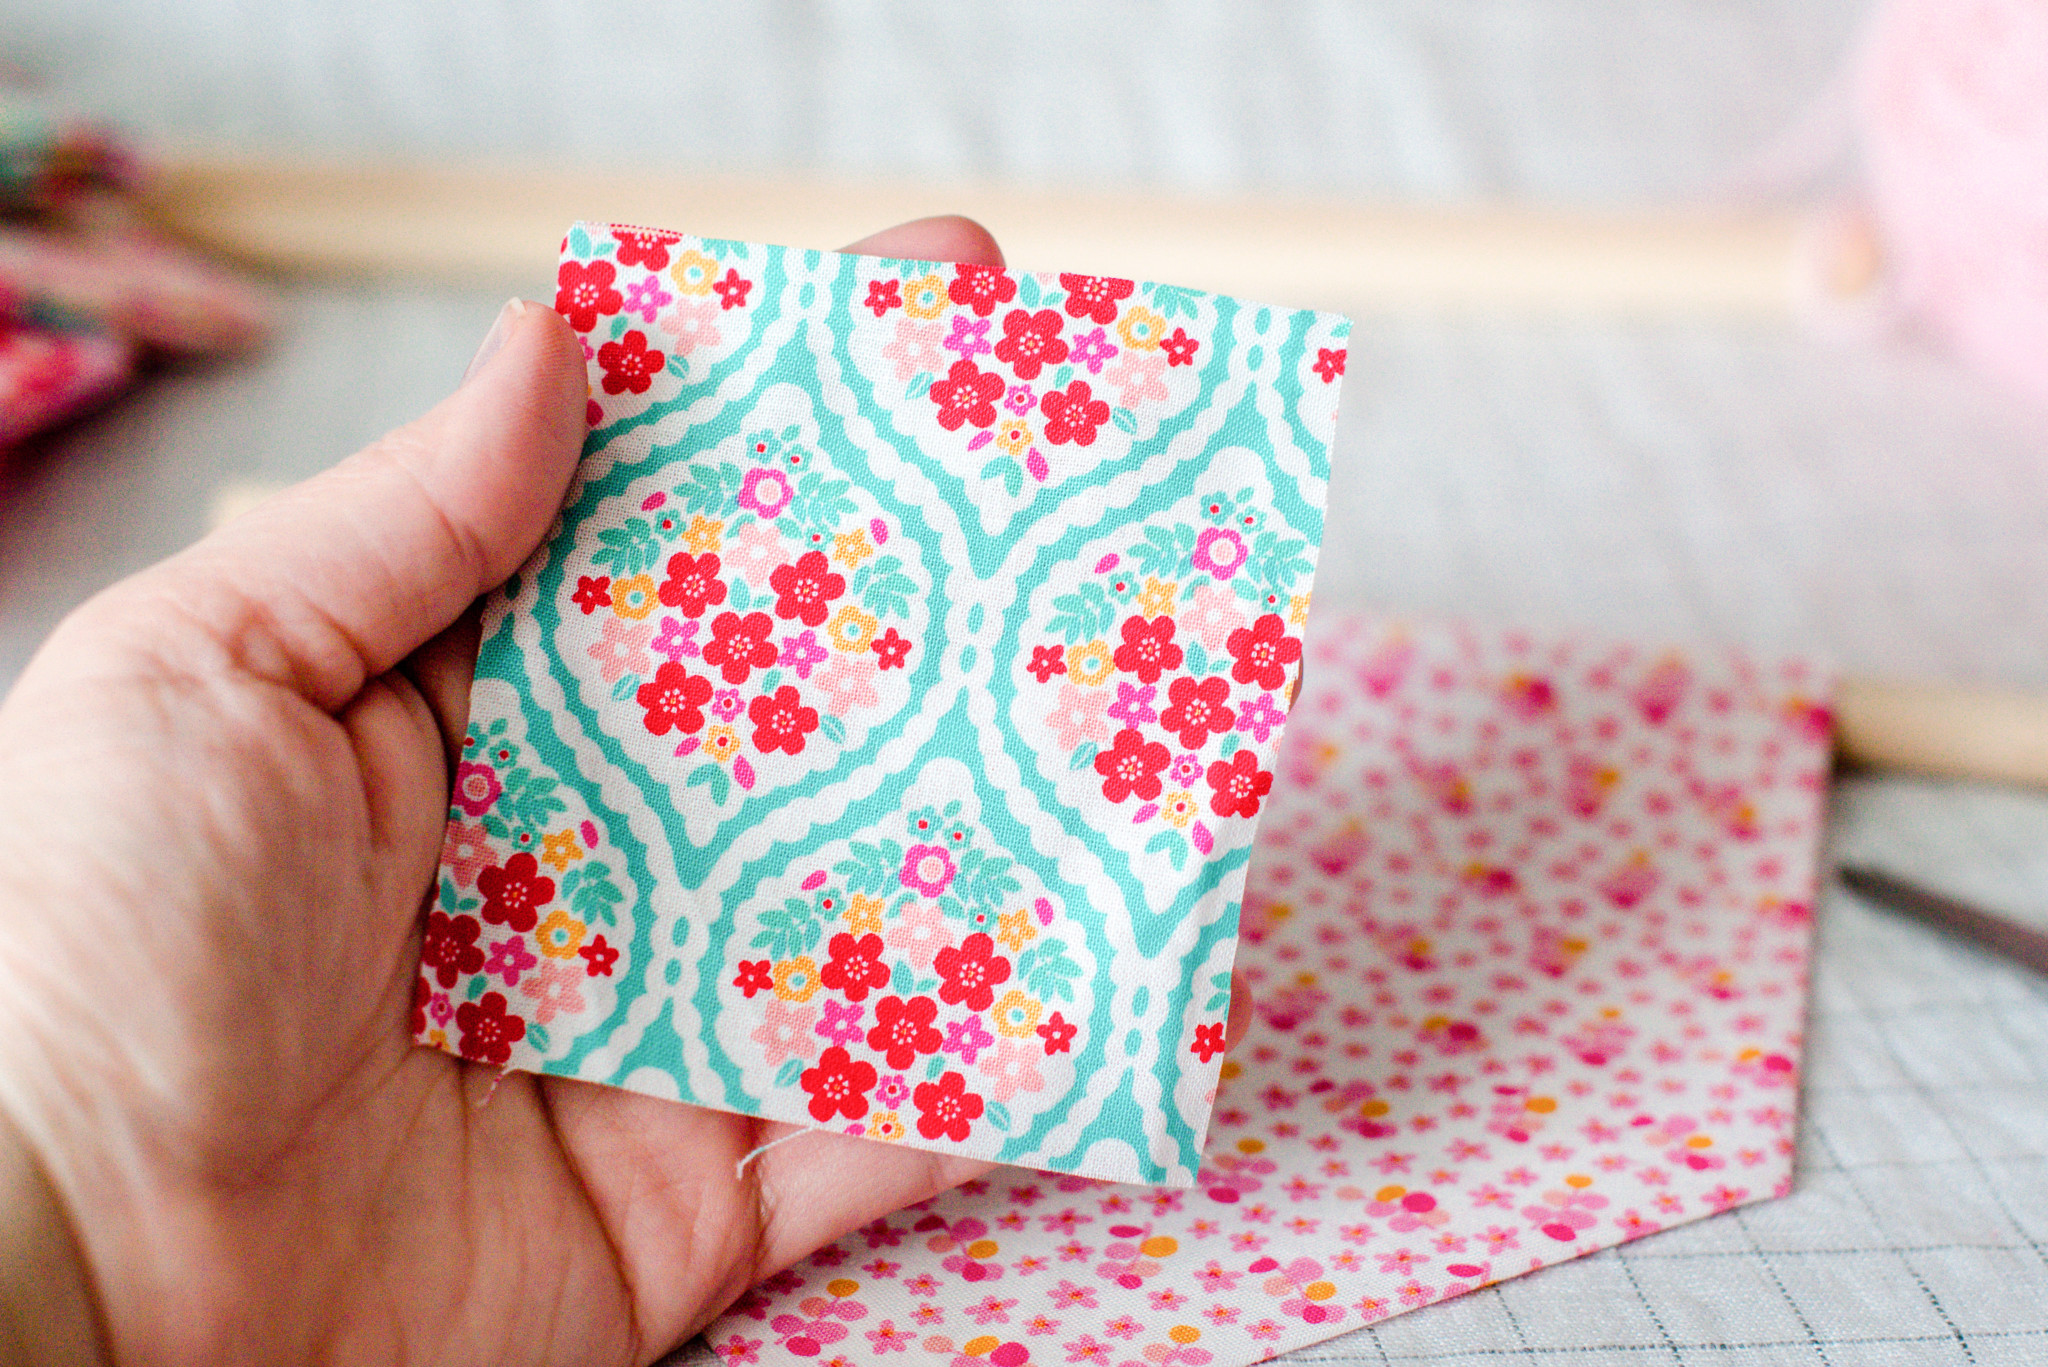
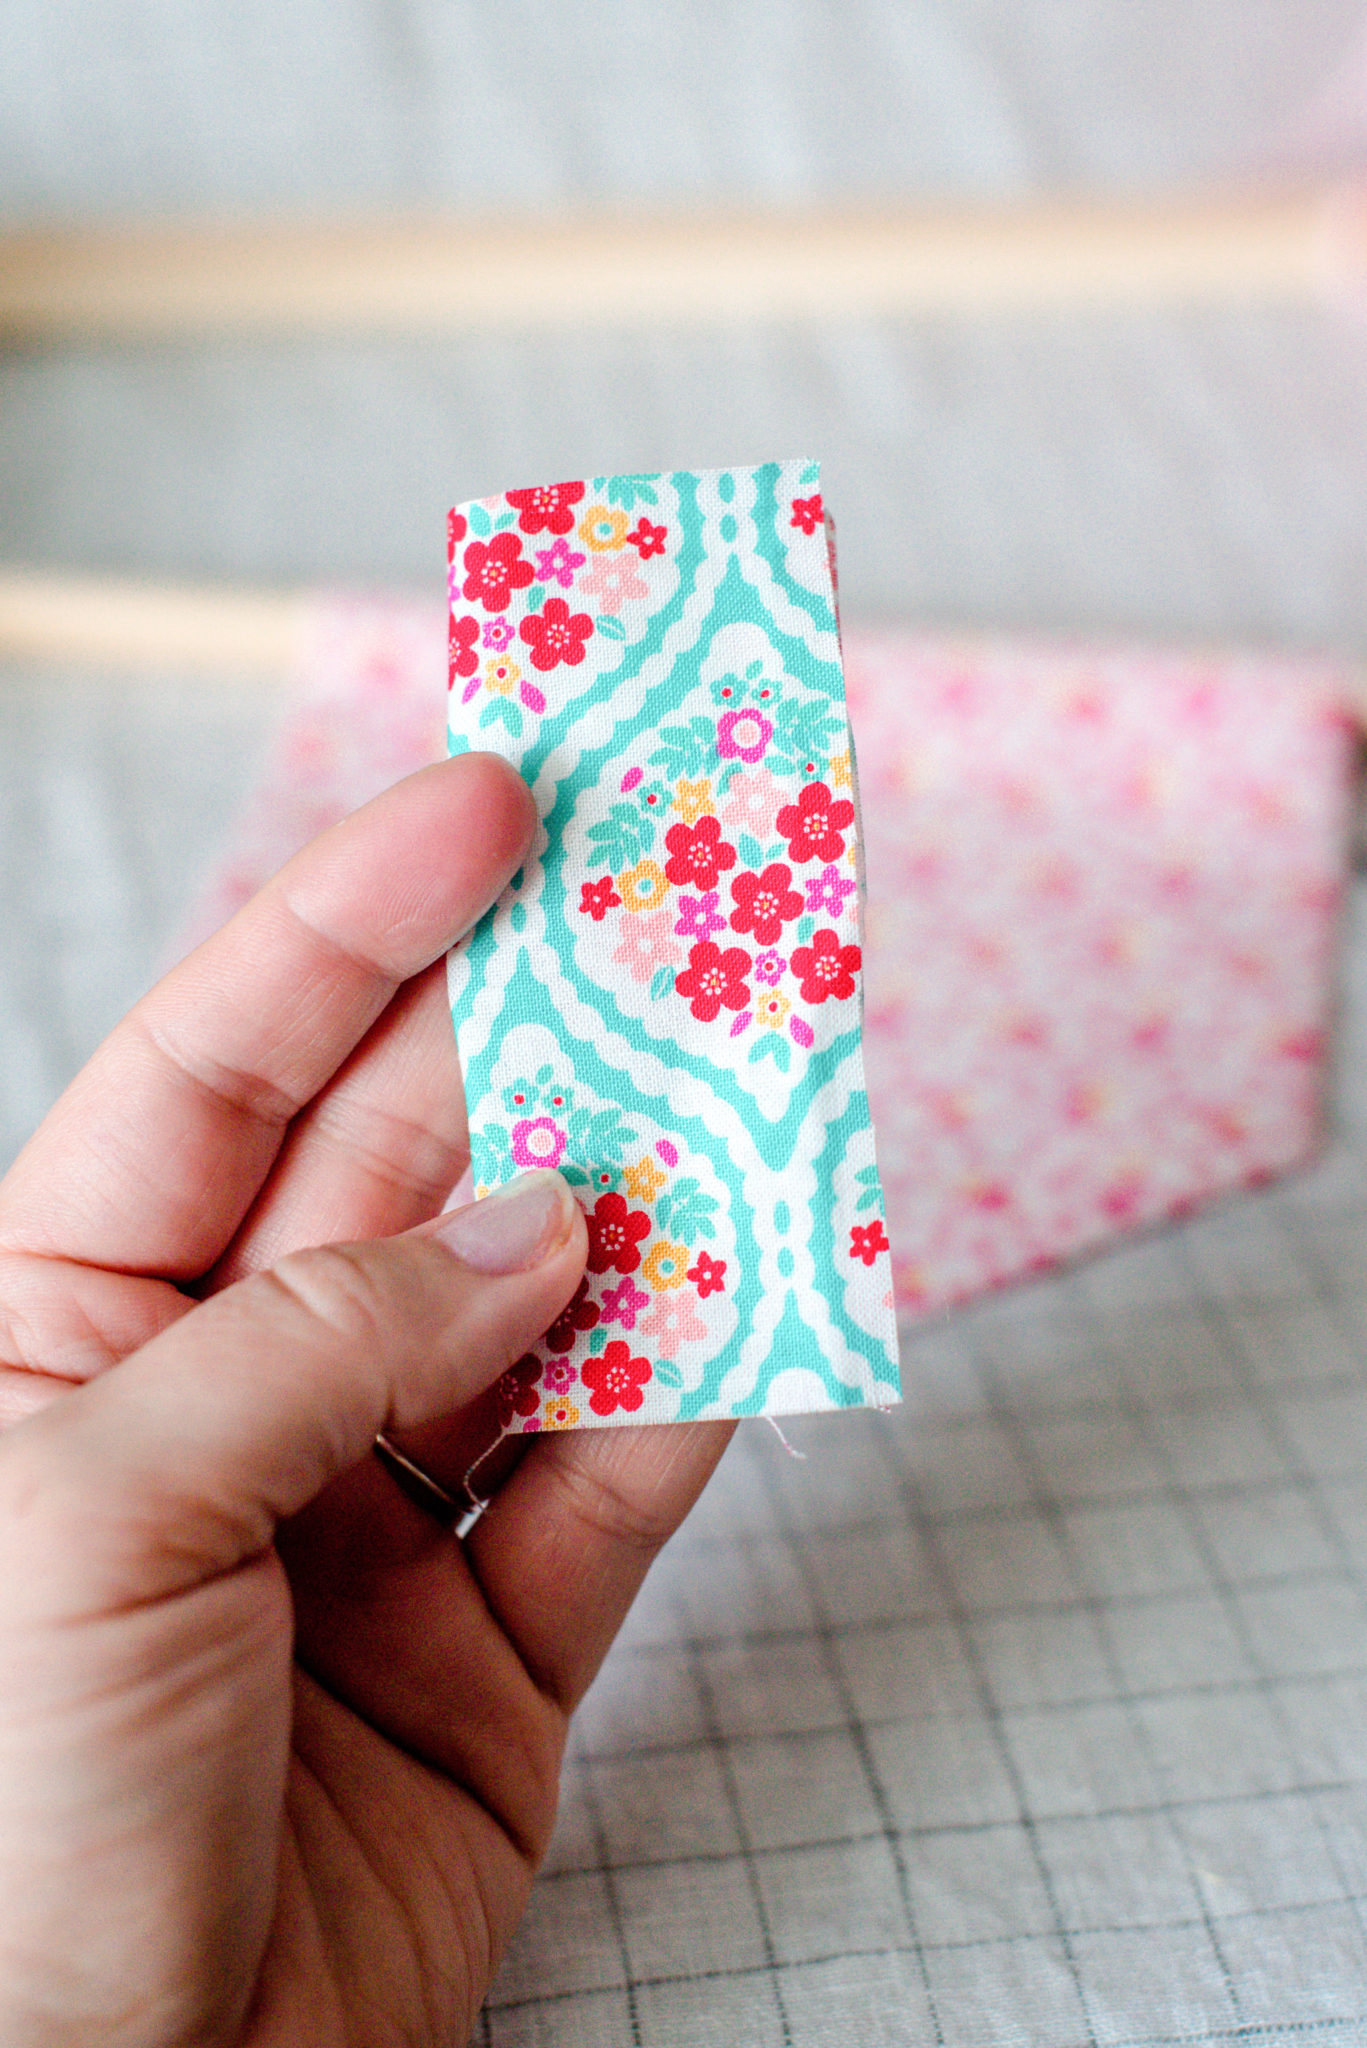
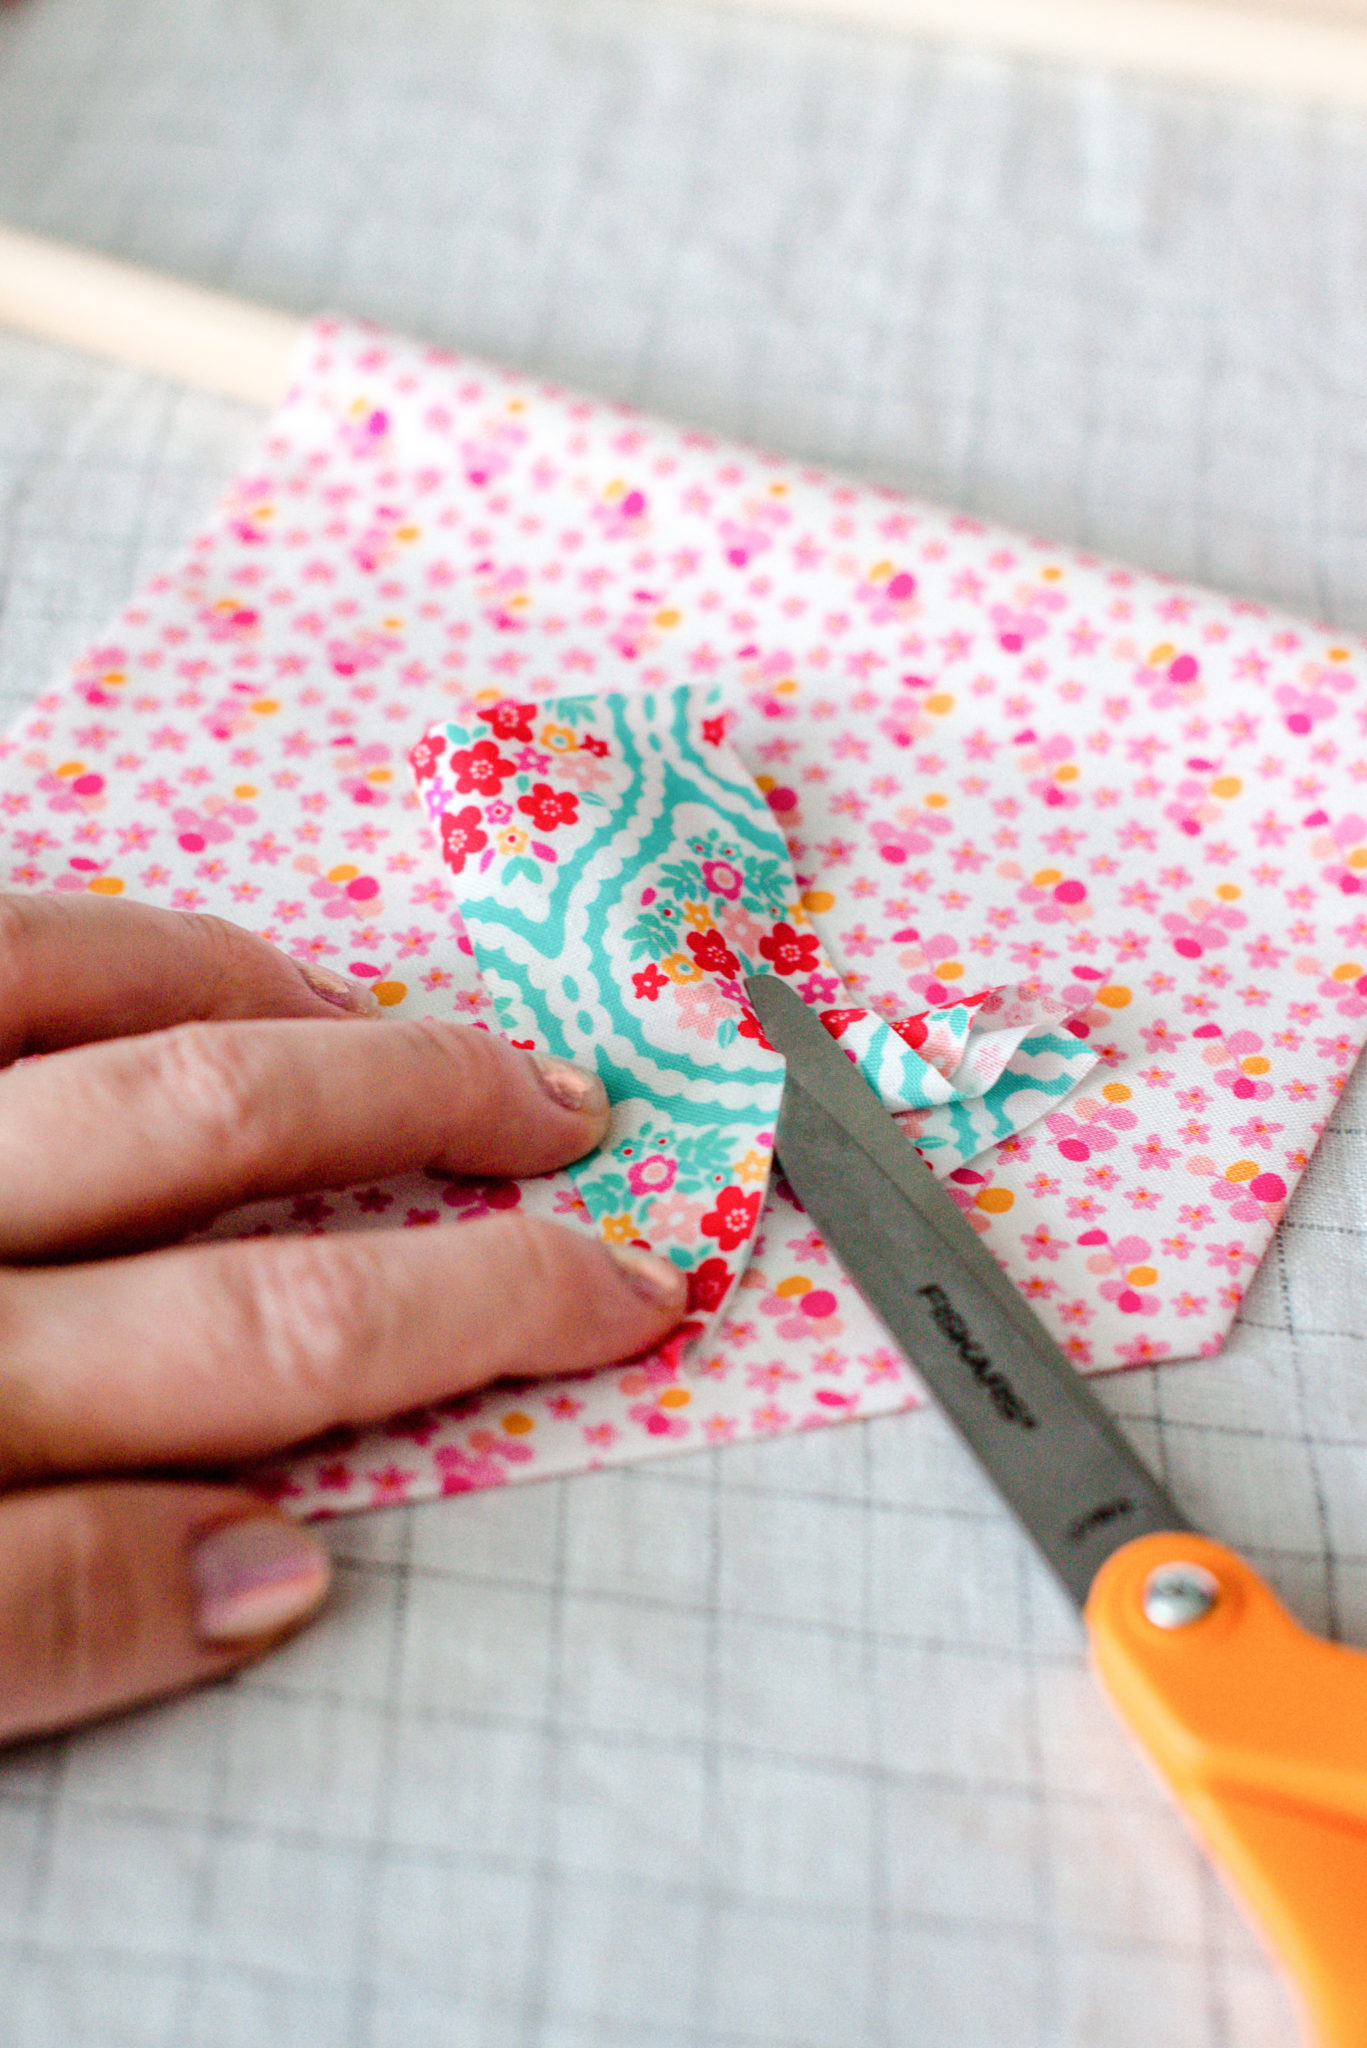
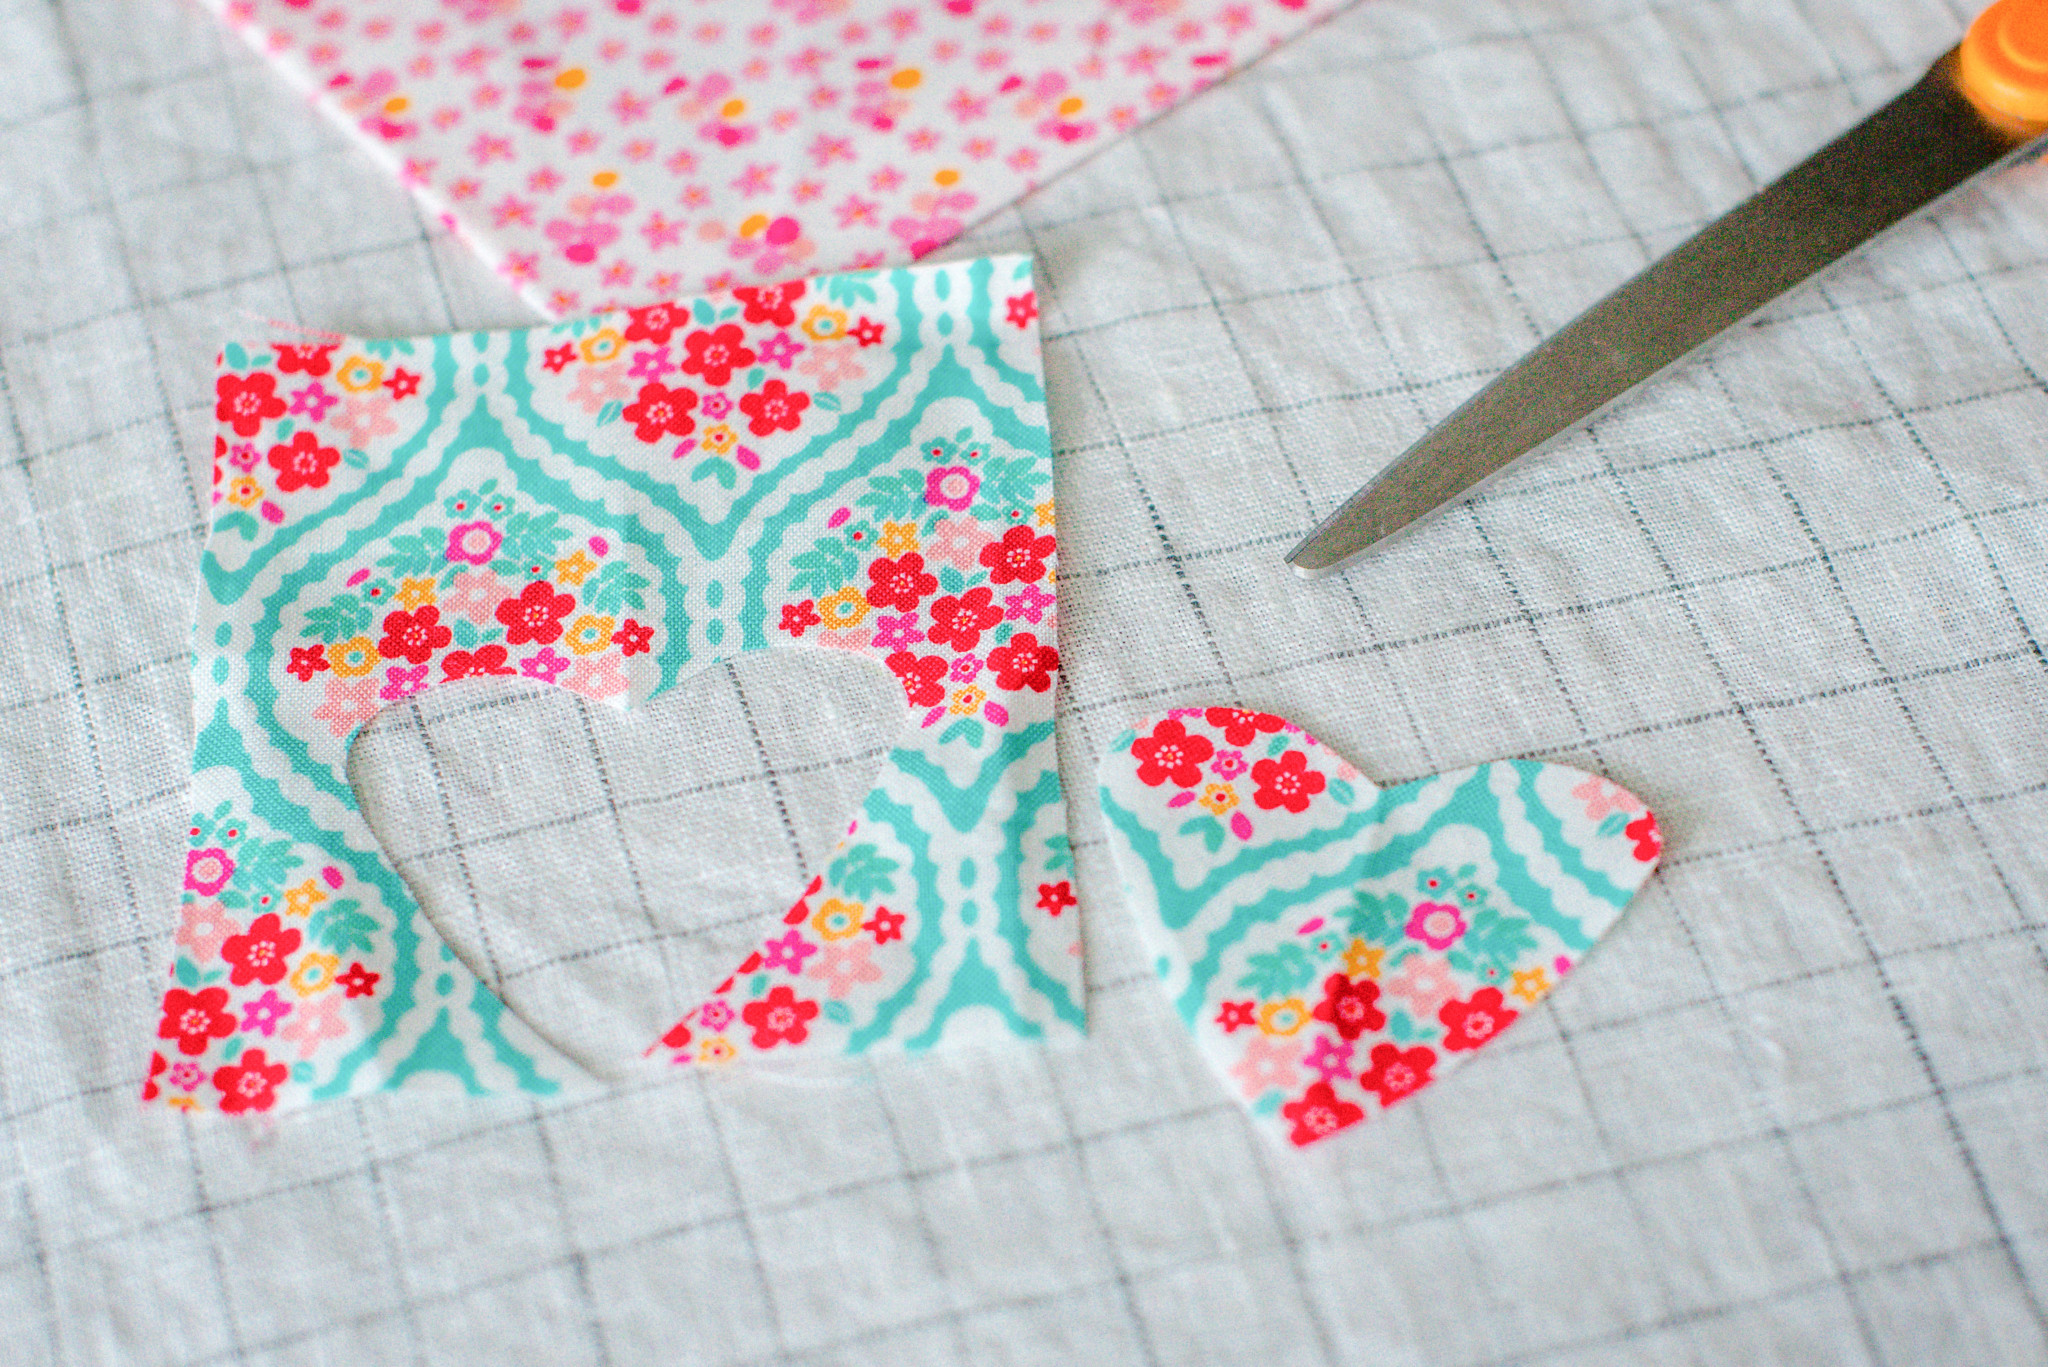
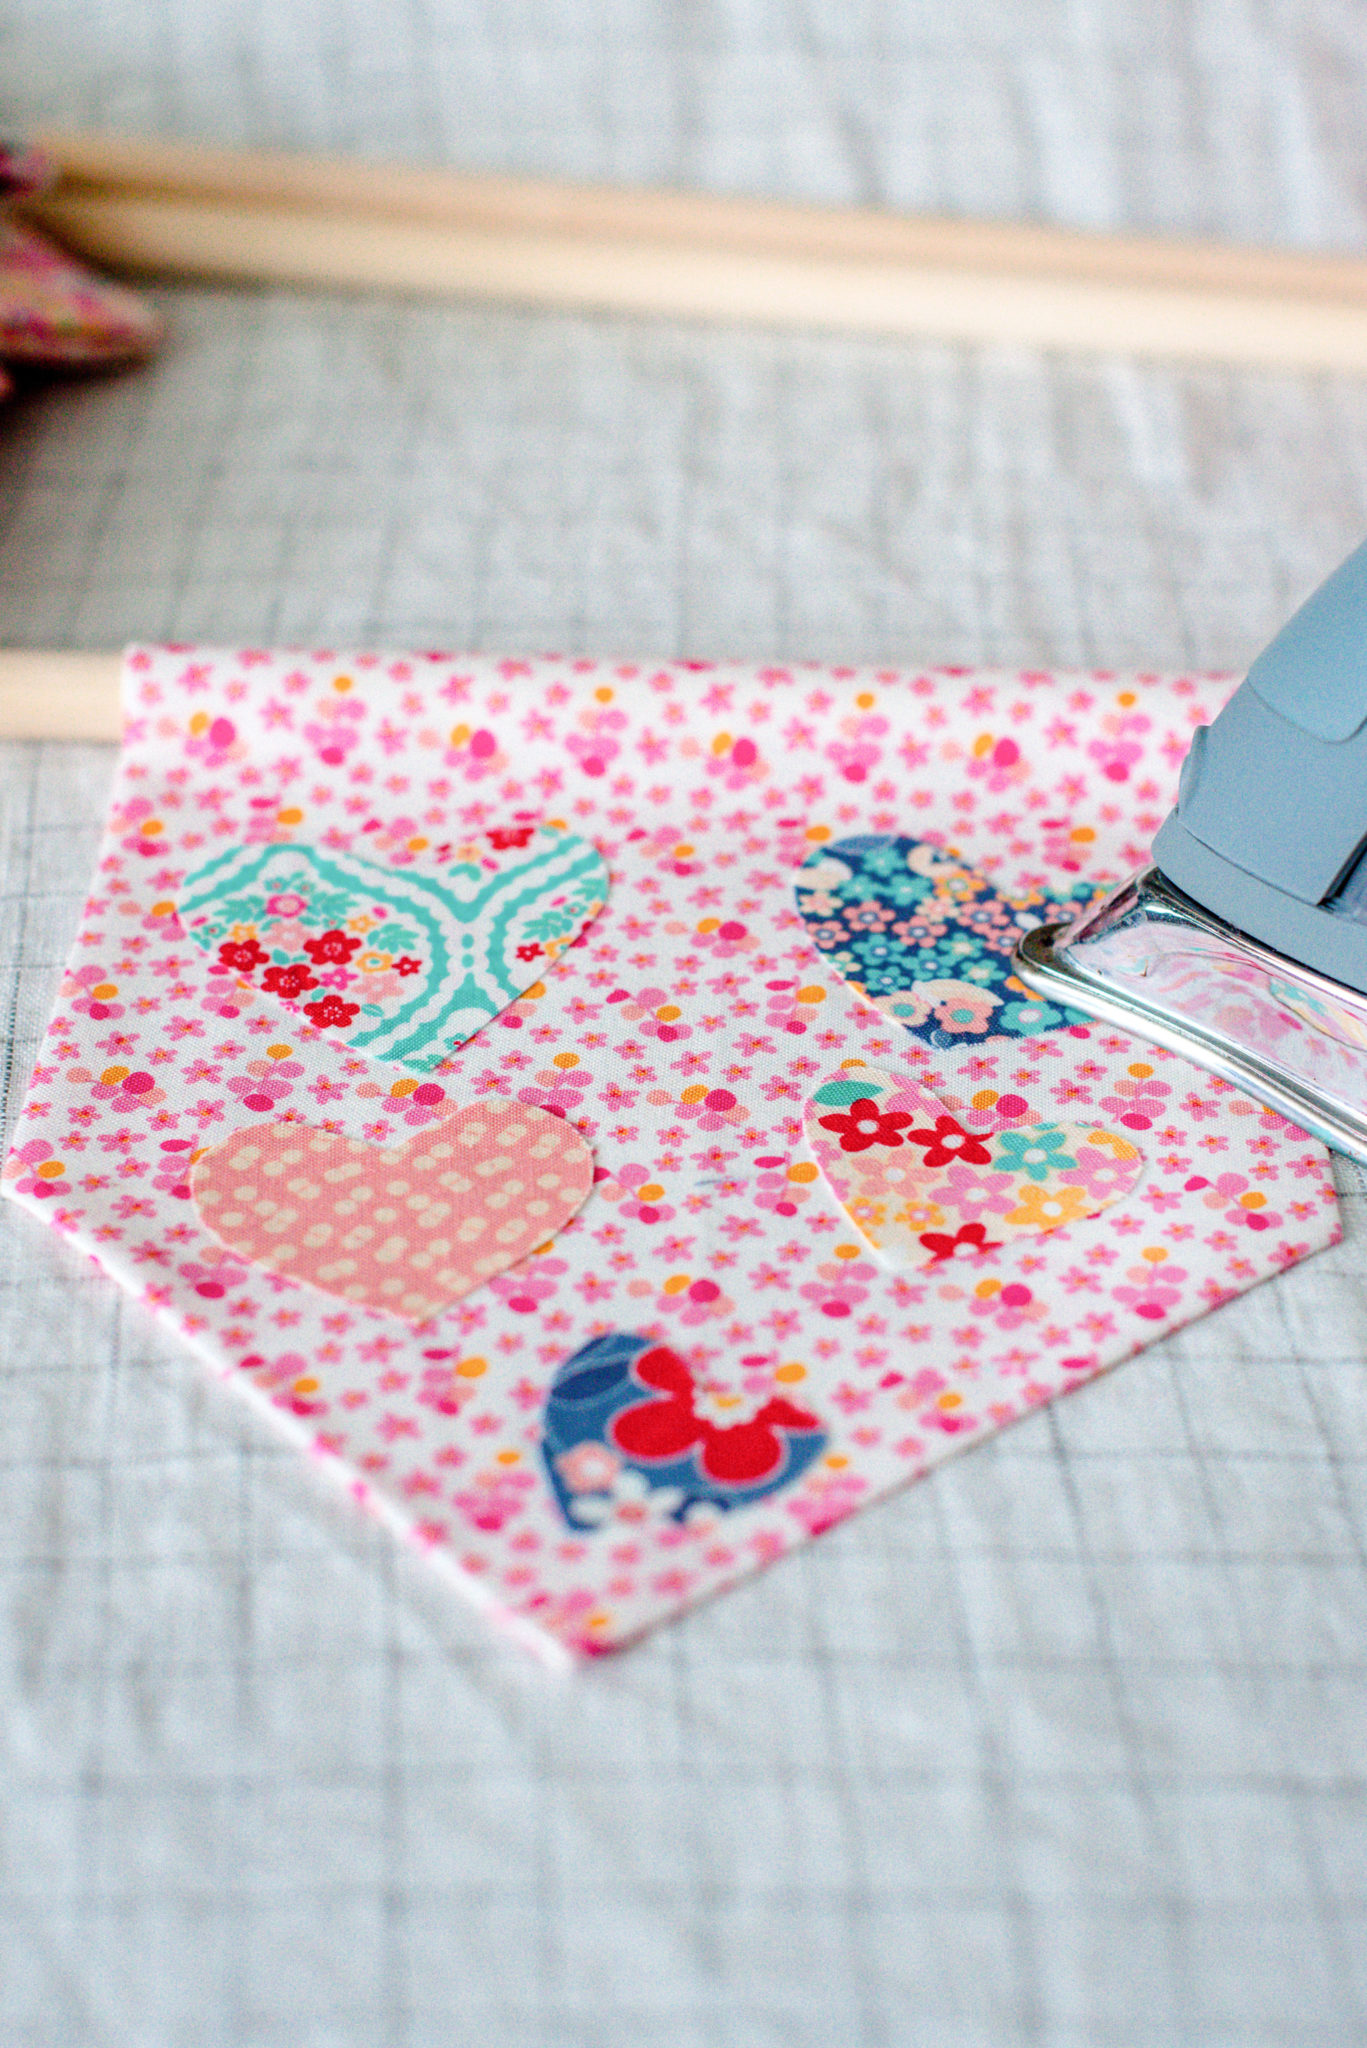
3. To make the second banner, I just repeated Step 1 except I made it smaller intentionally. To make the hearts I just tore/cut a little square of my fabric of choice, folded it in half and free-hand cut the shape of a heart (like we learned in grade school He He). This was the easiest and quickest way I found to get the most consistent shape, feel free to use a stencil if you’d like! Then you attach them same way as you did everything else, cut the stitch witchery to size and iron into place. Then tie your yarn/string to the dowel to hang it.


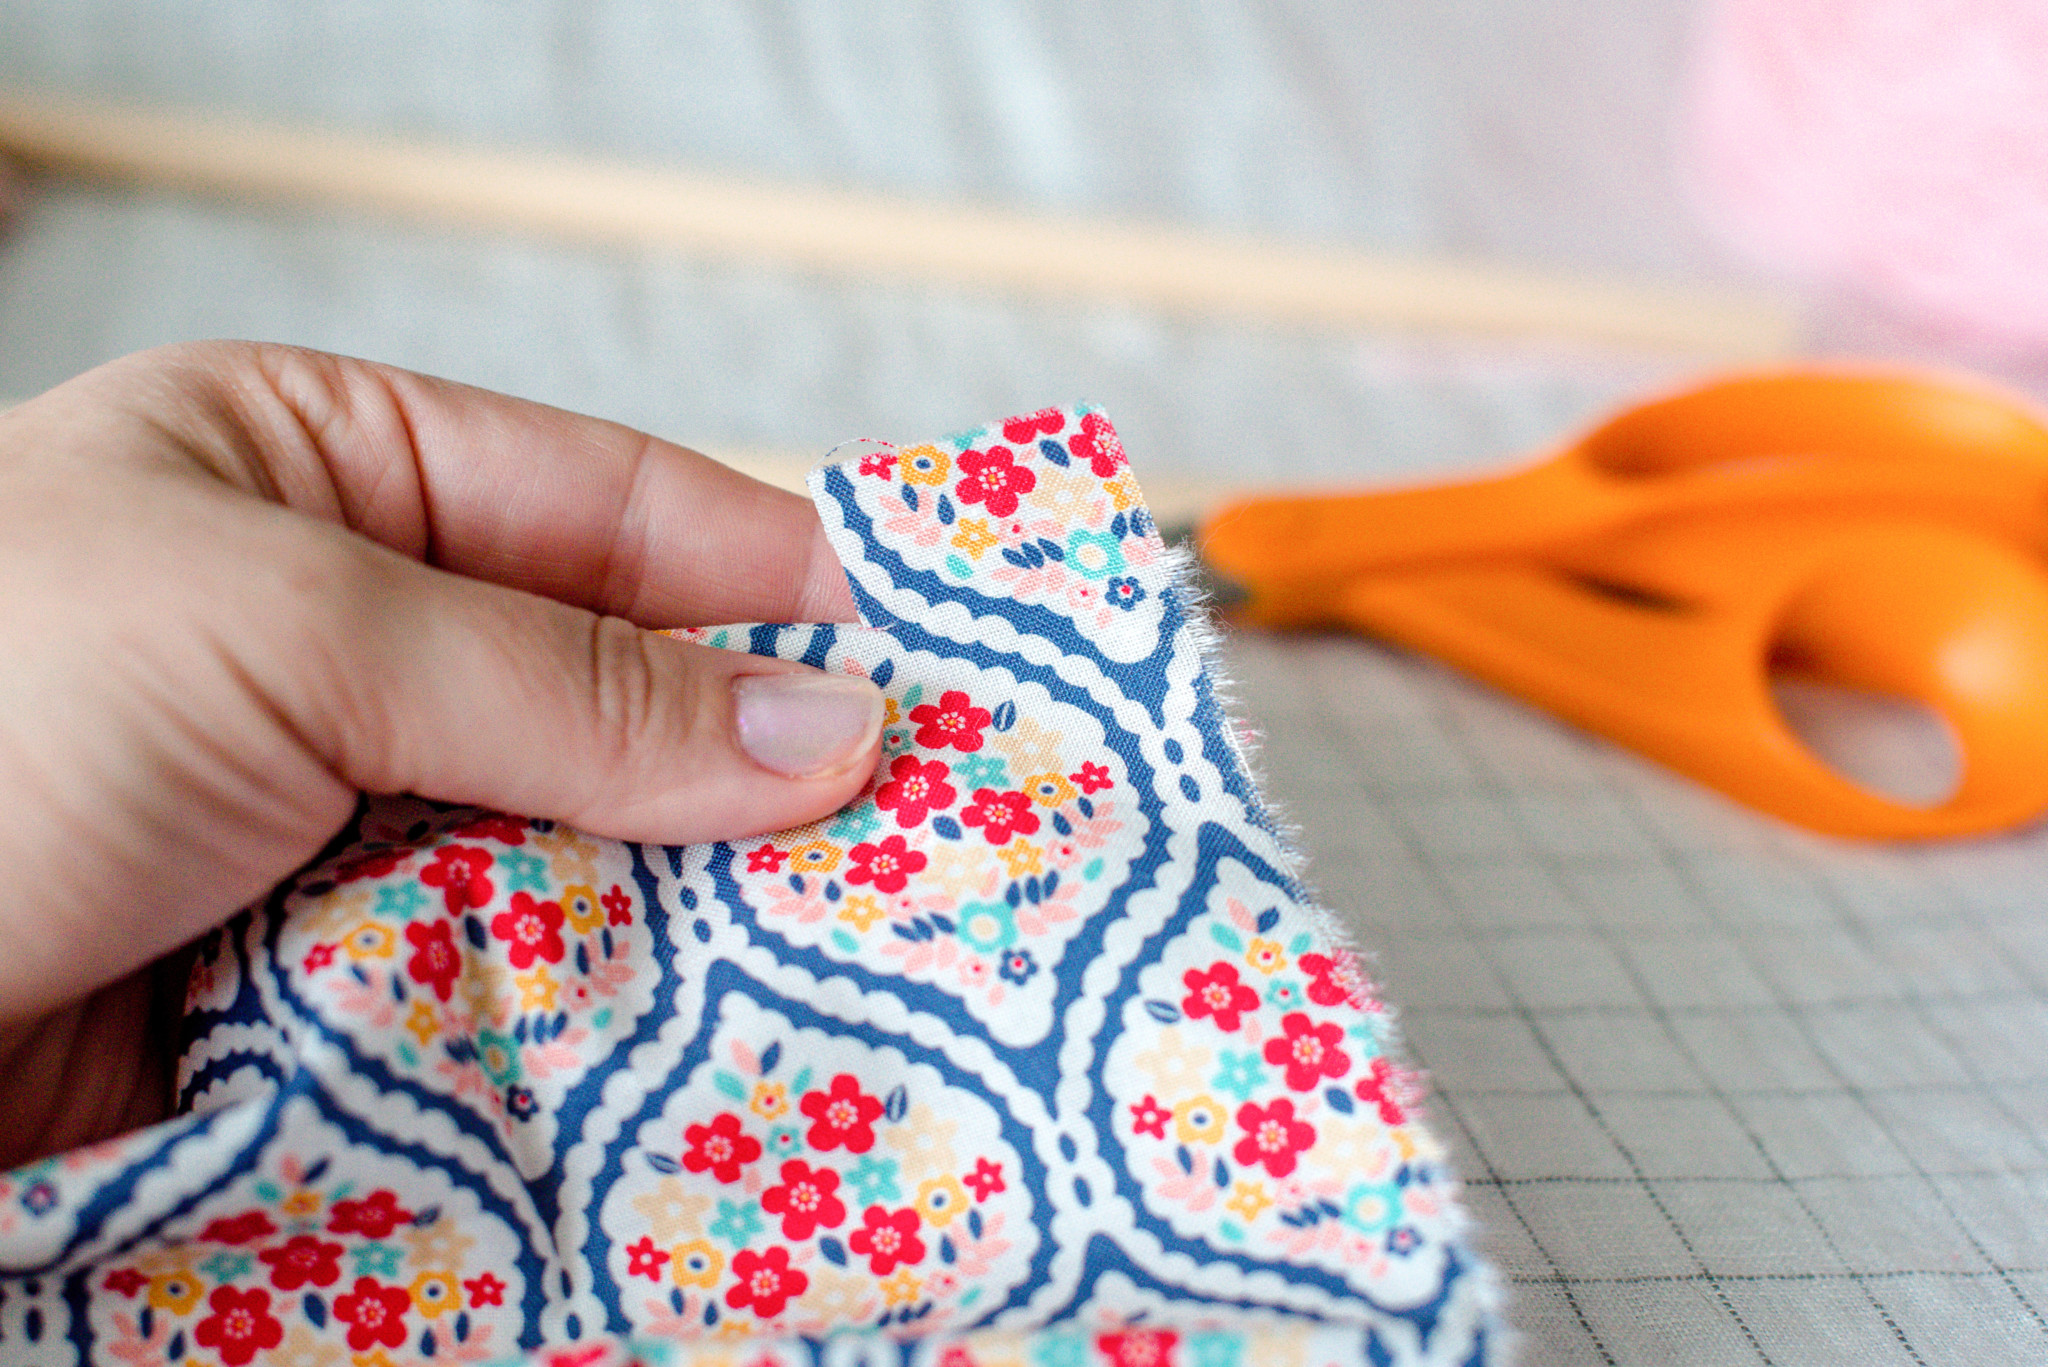
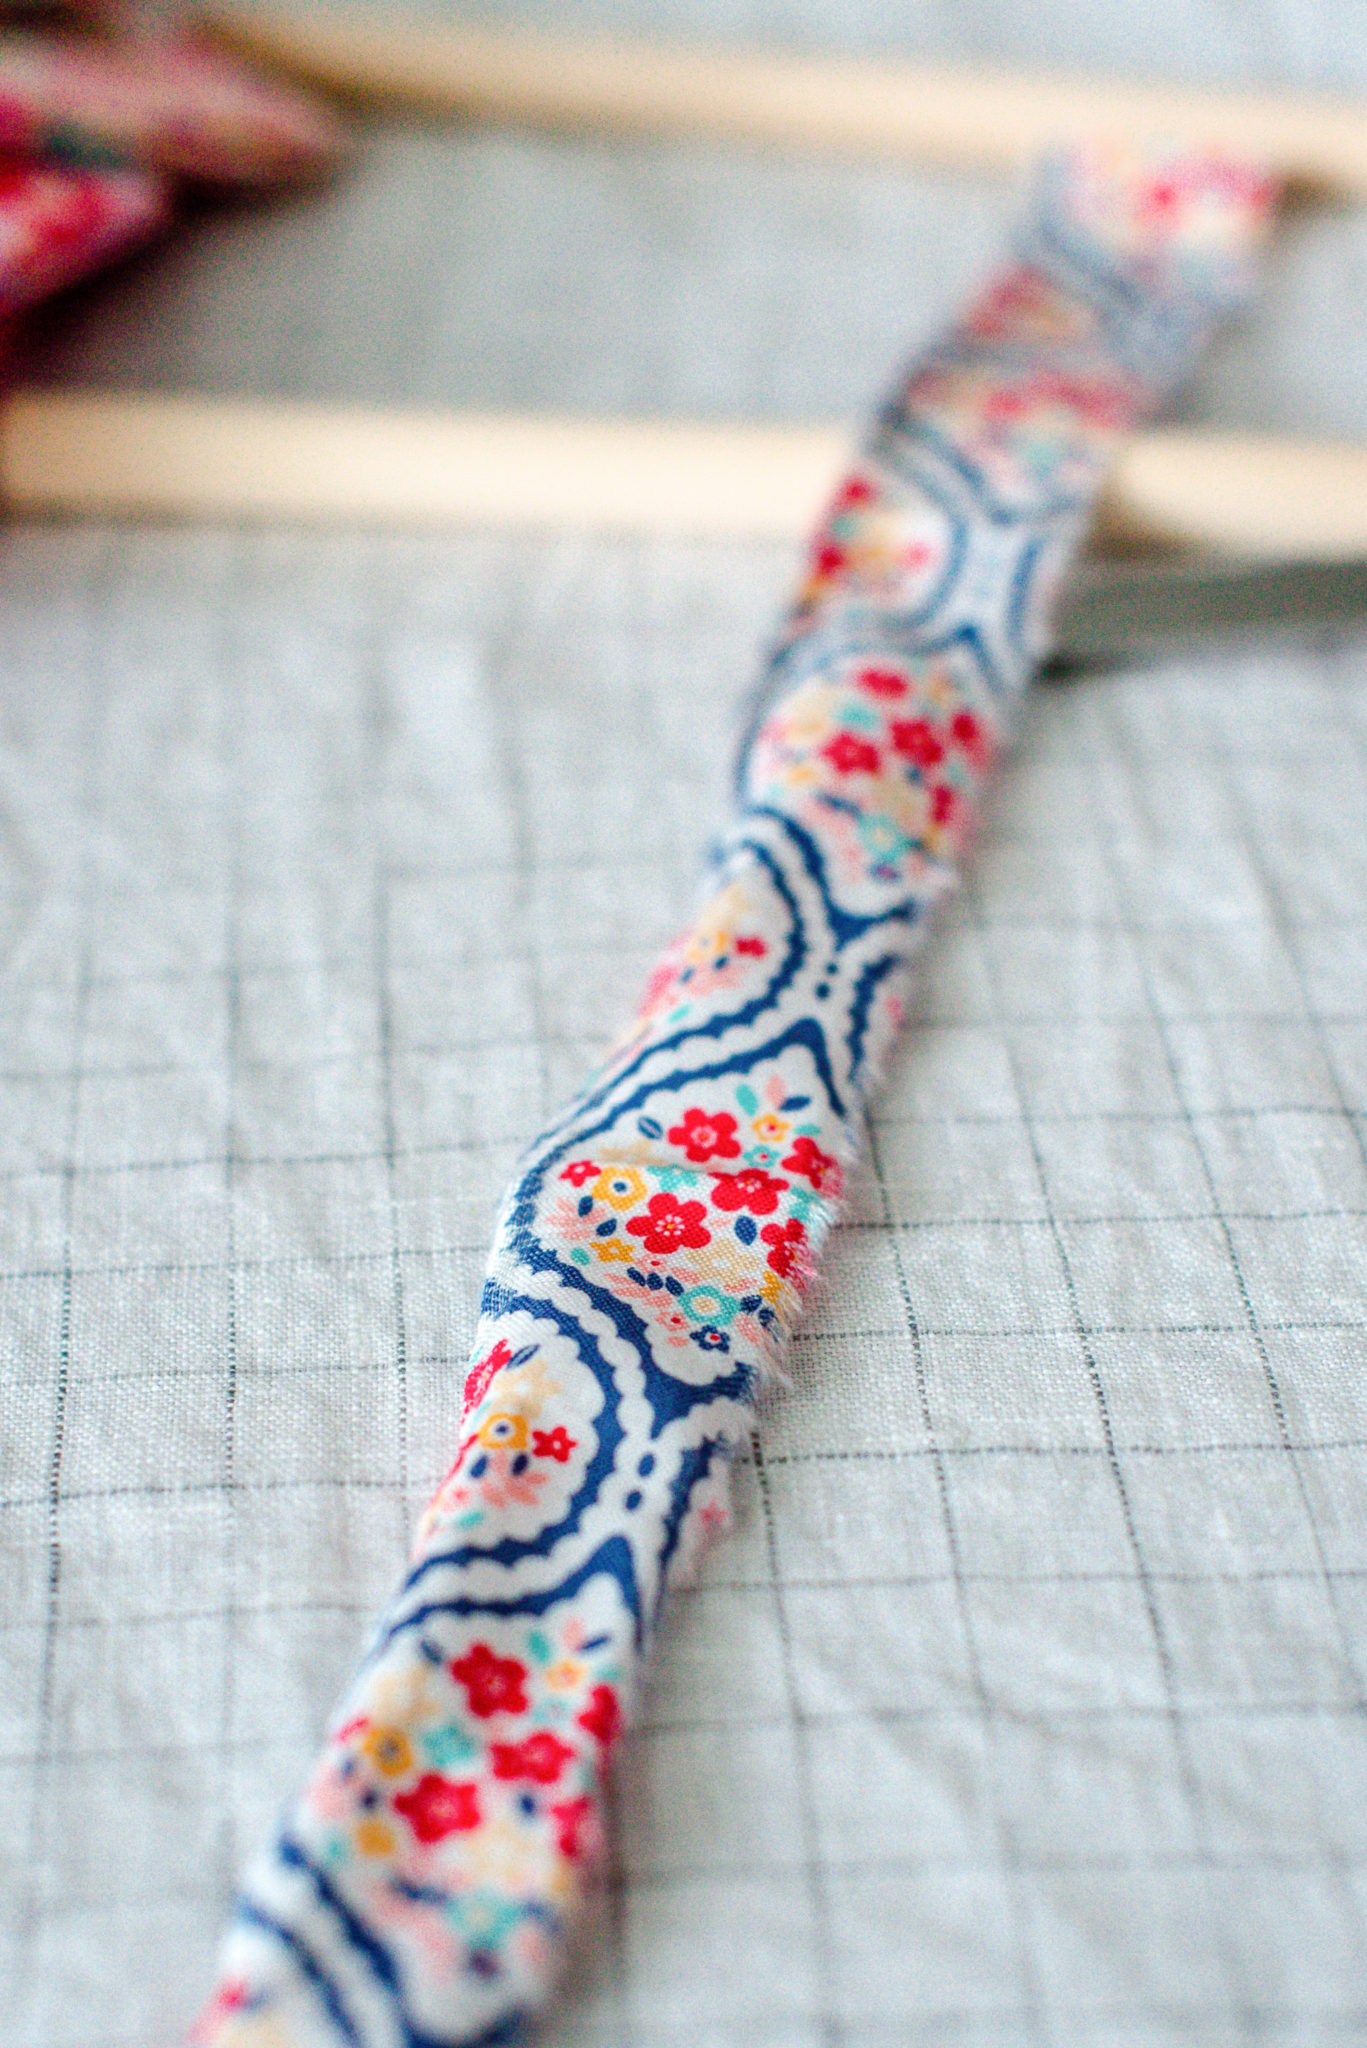
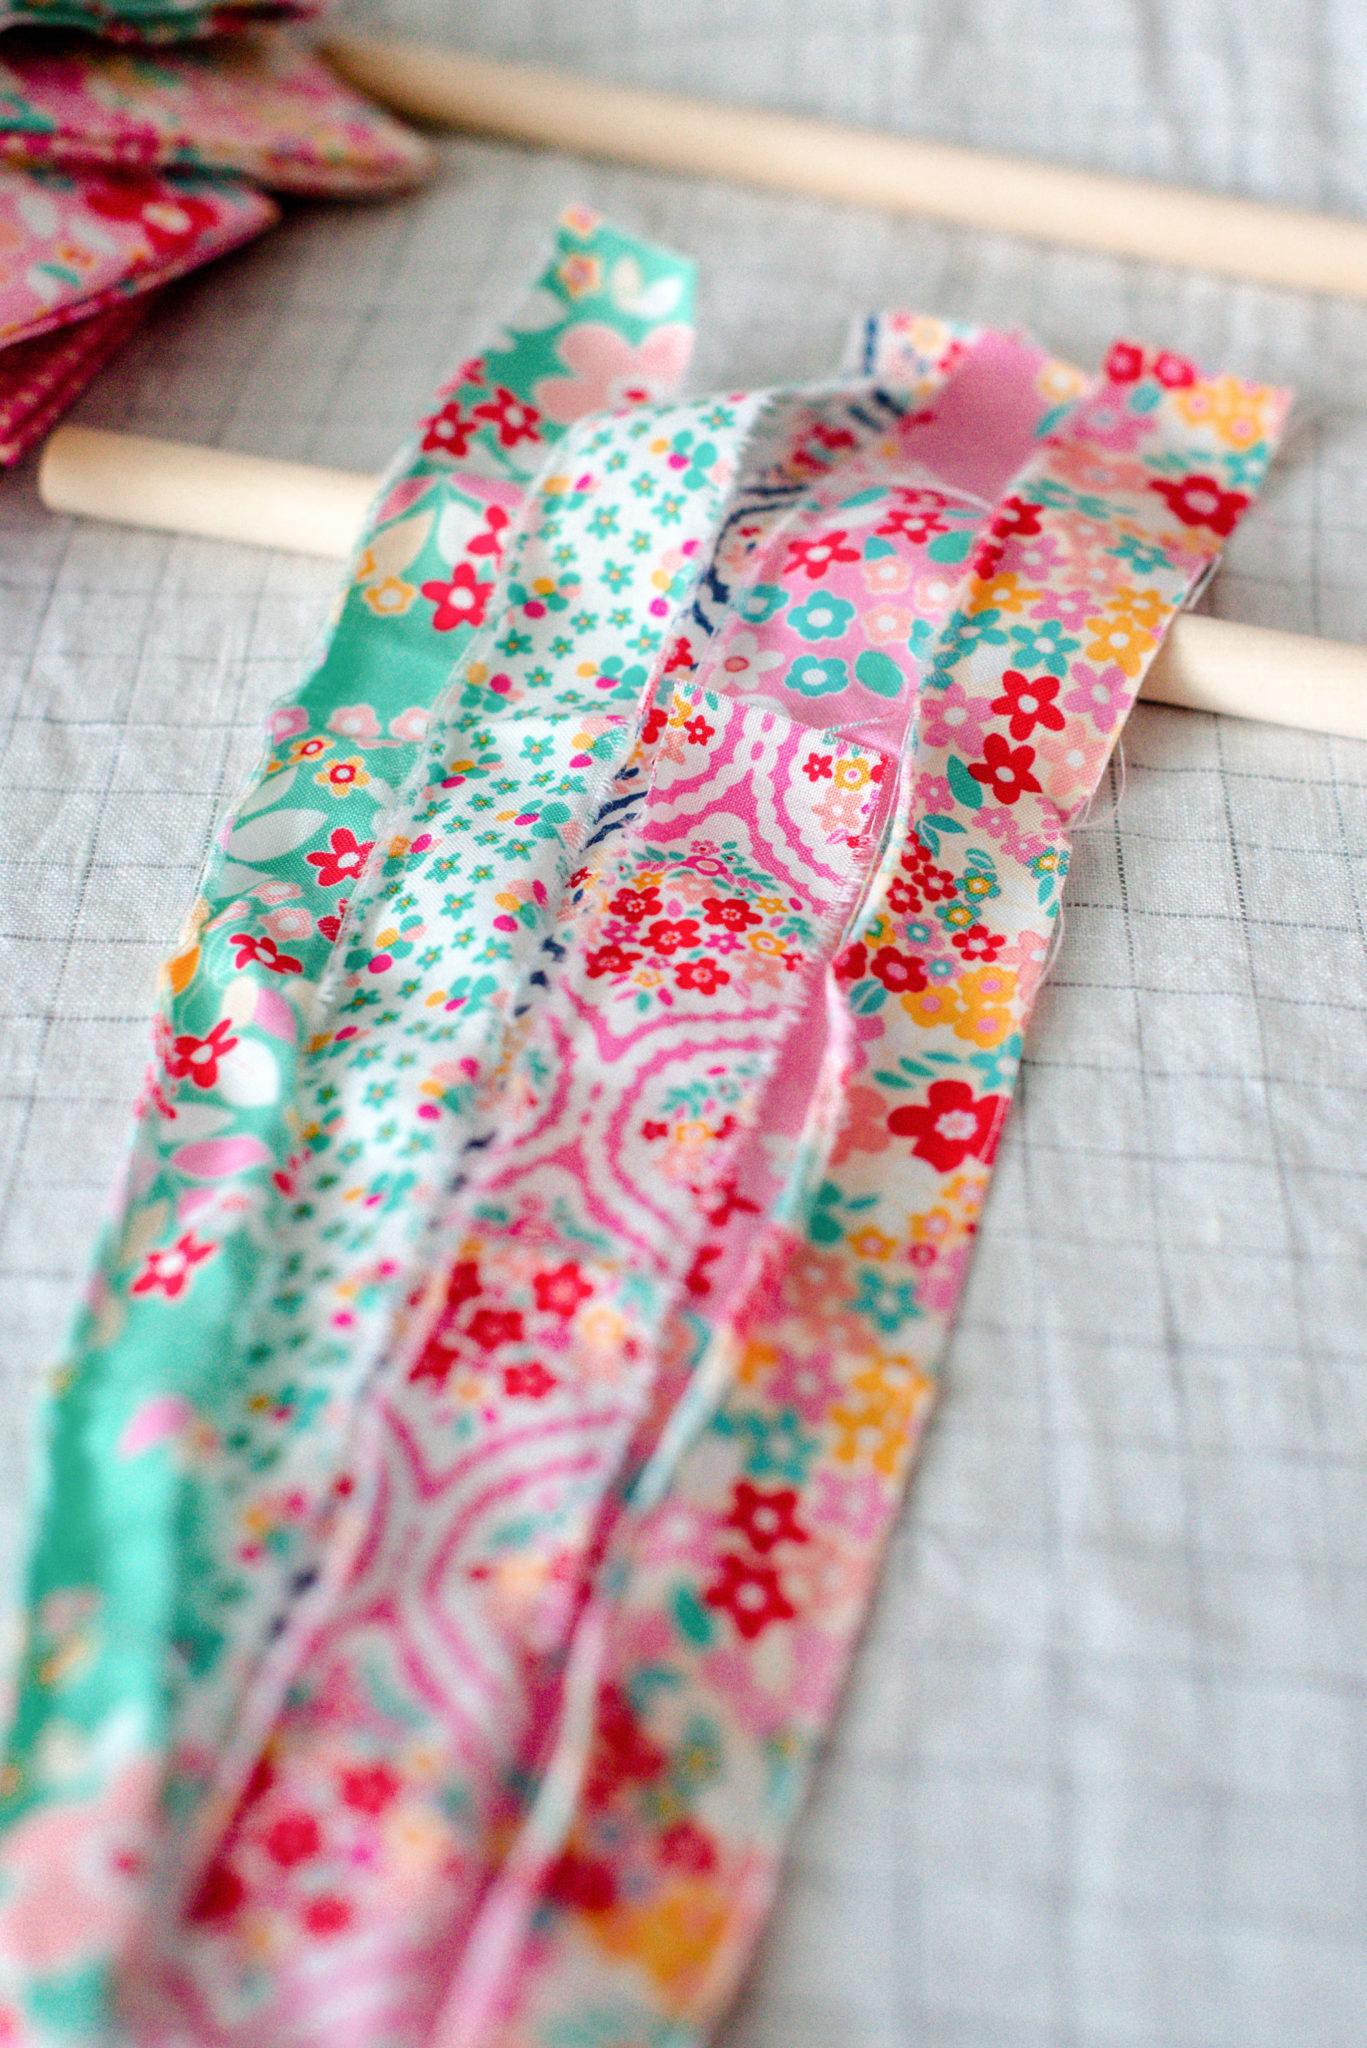
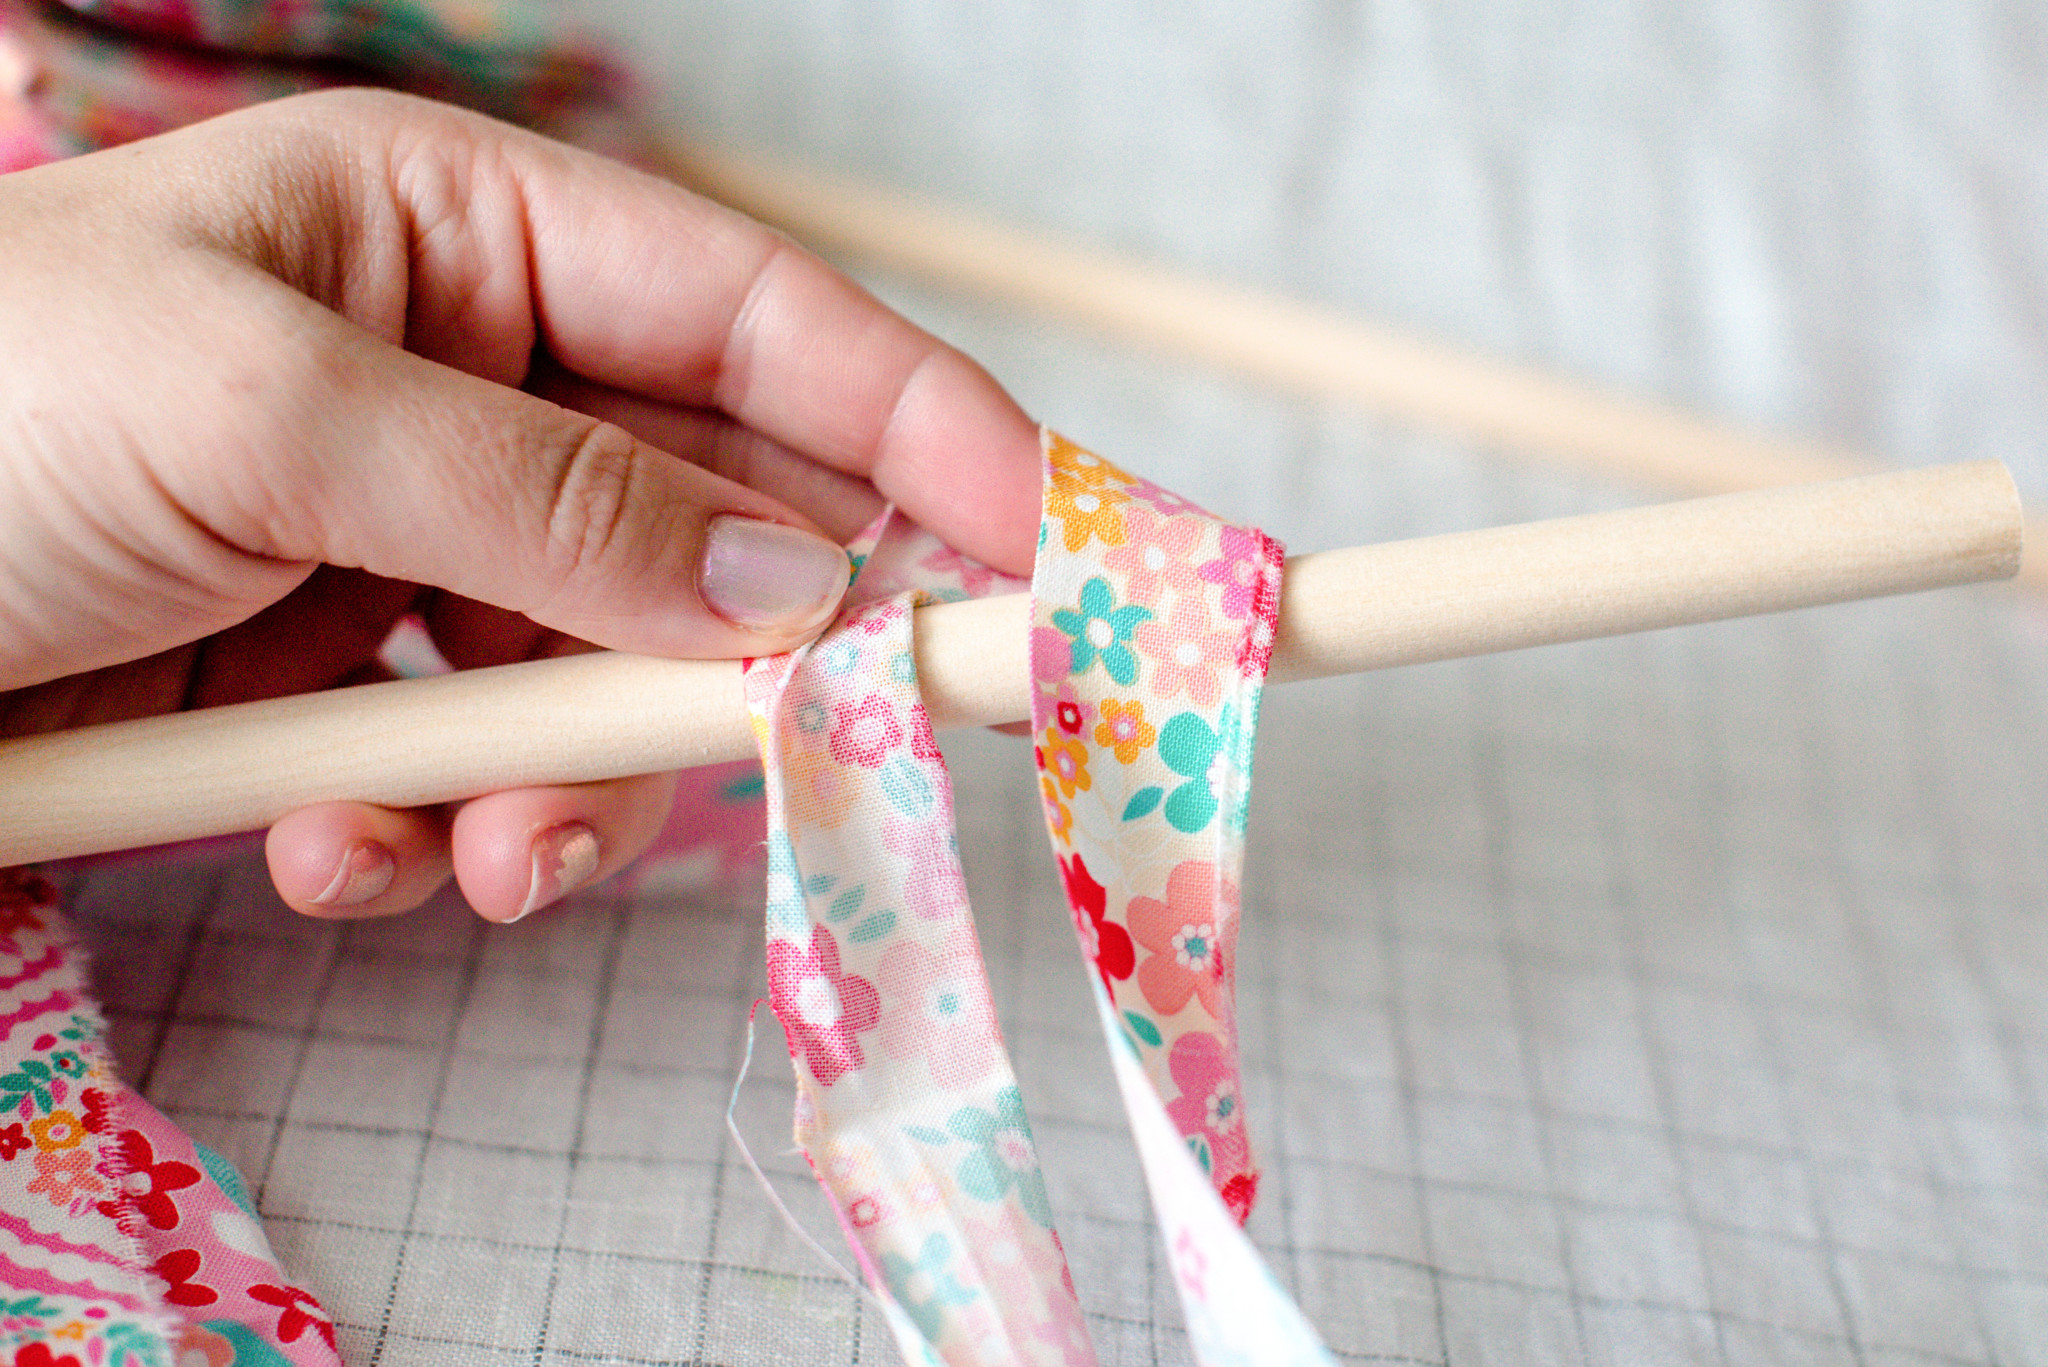
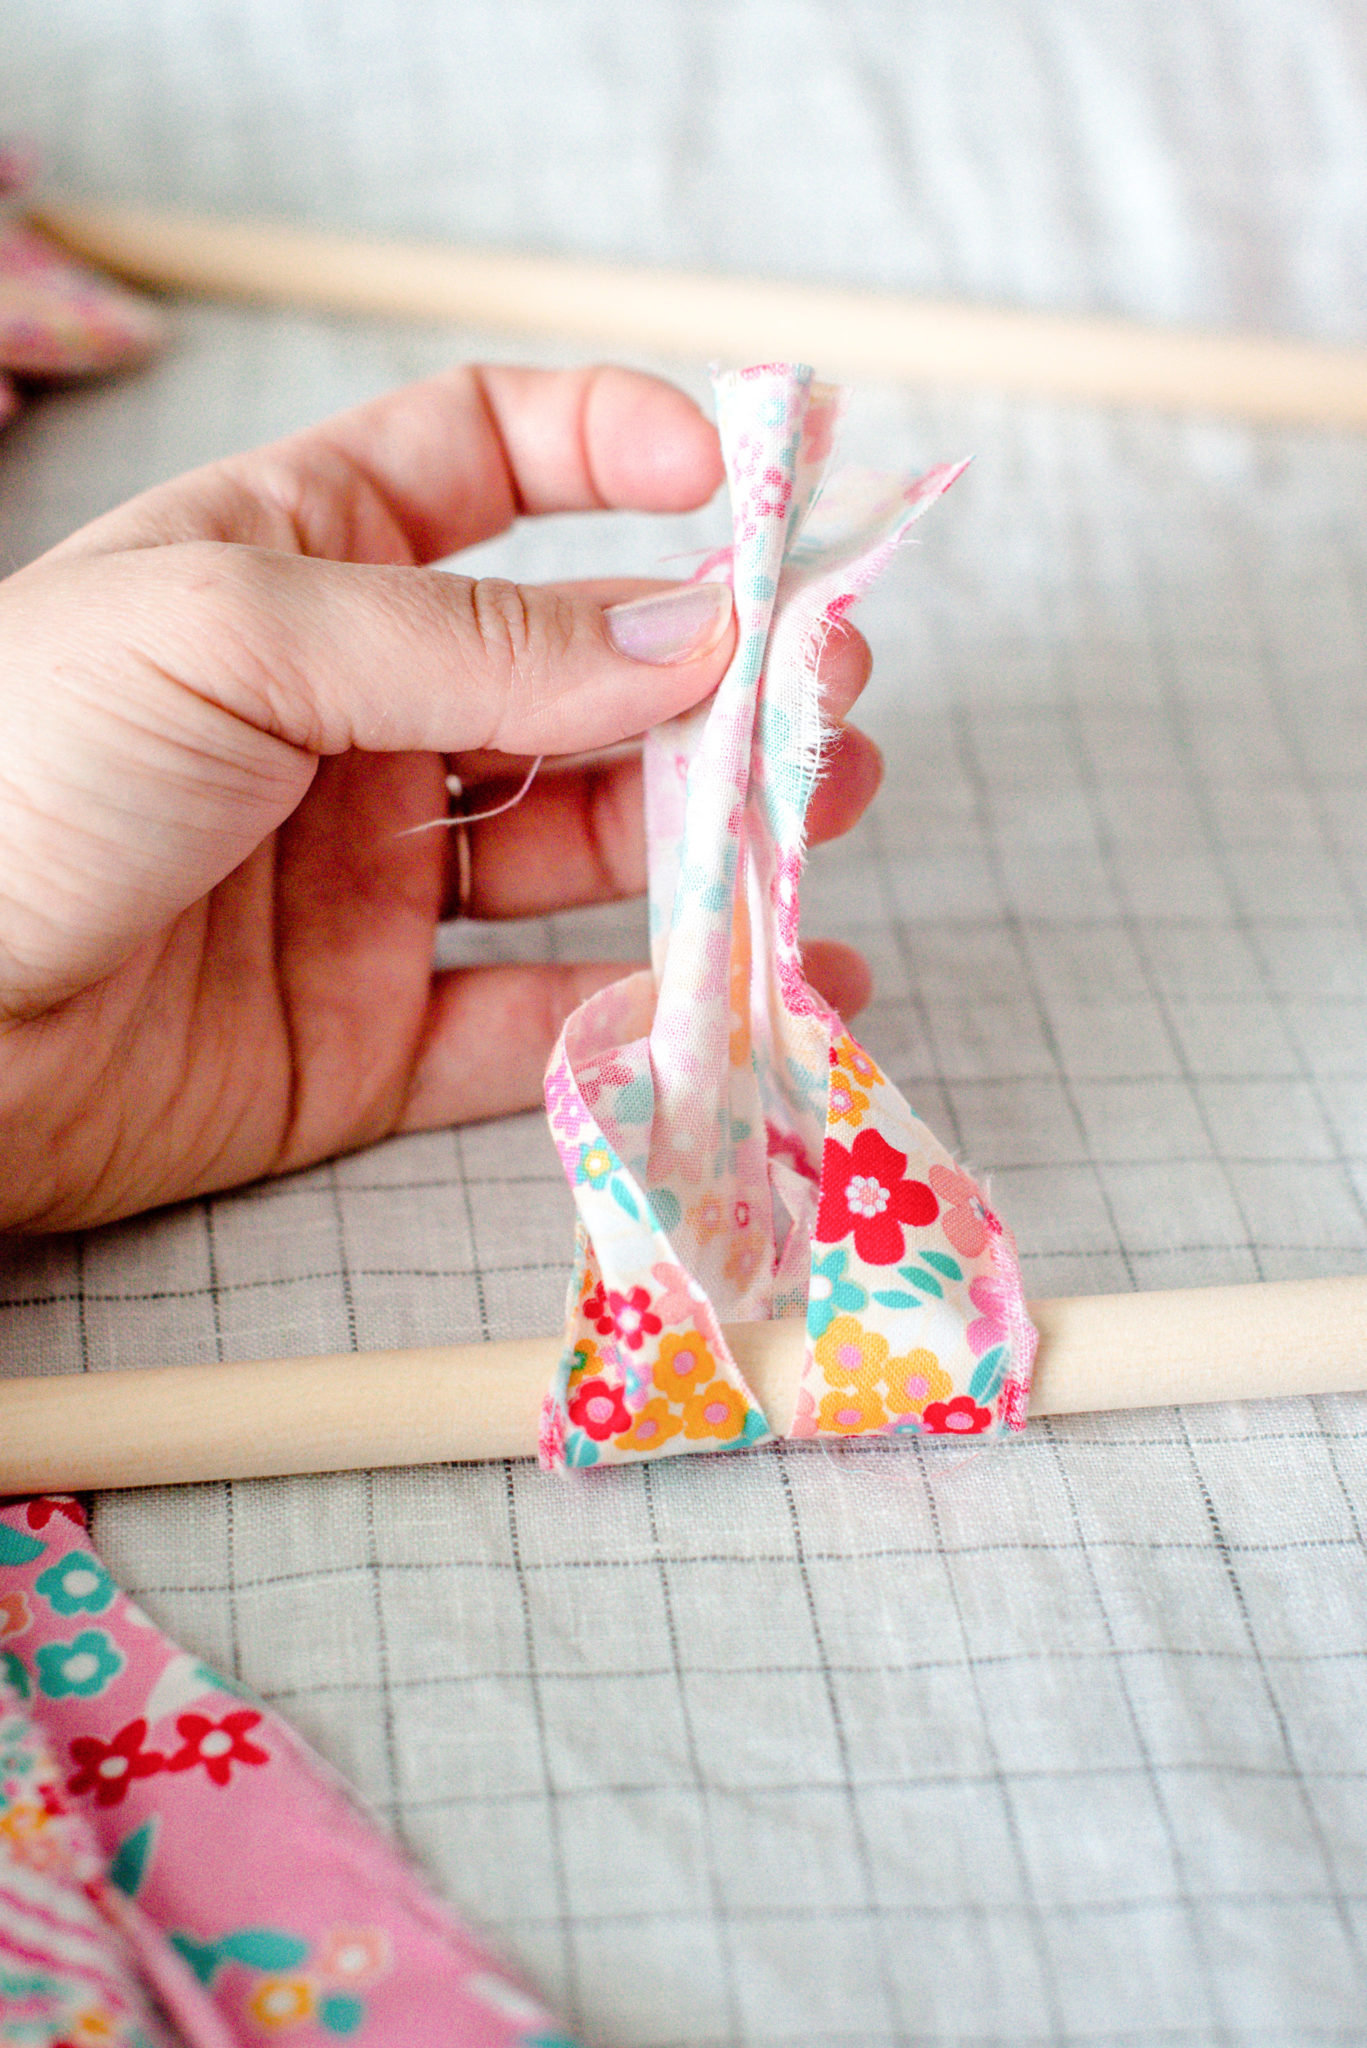
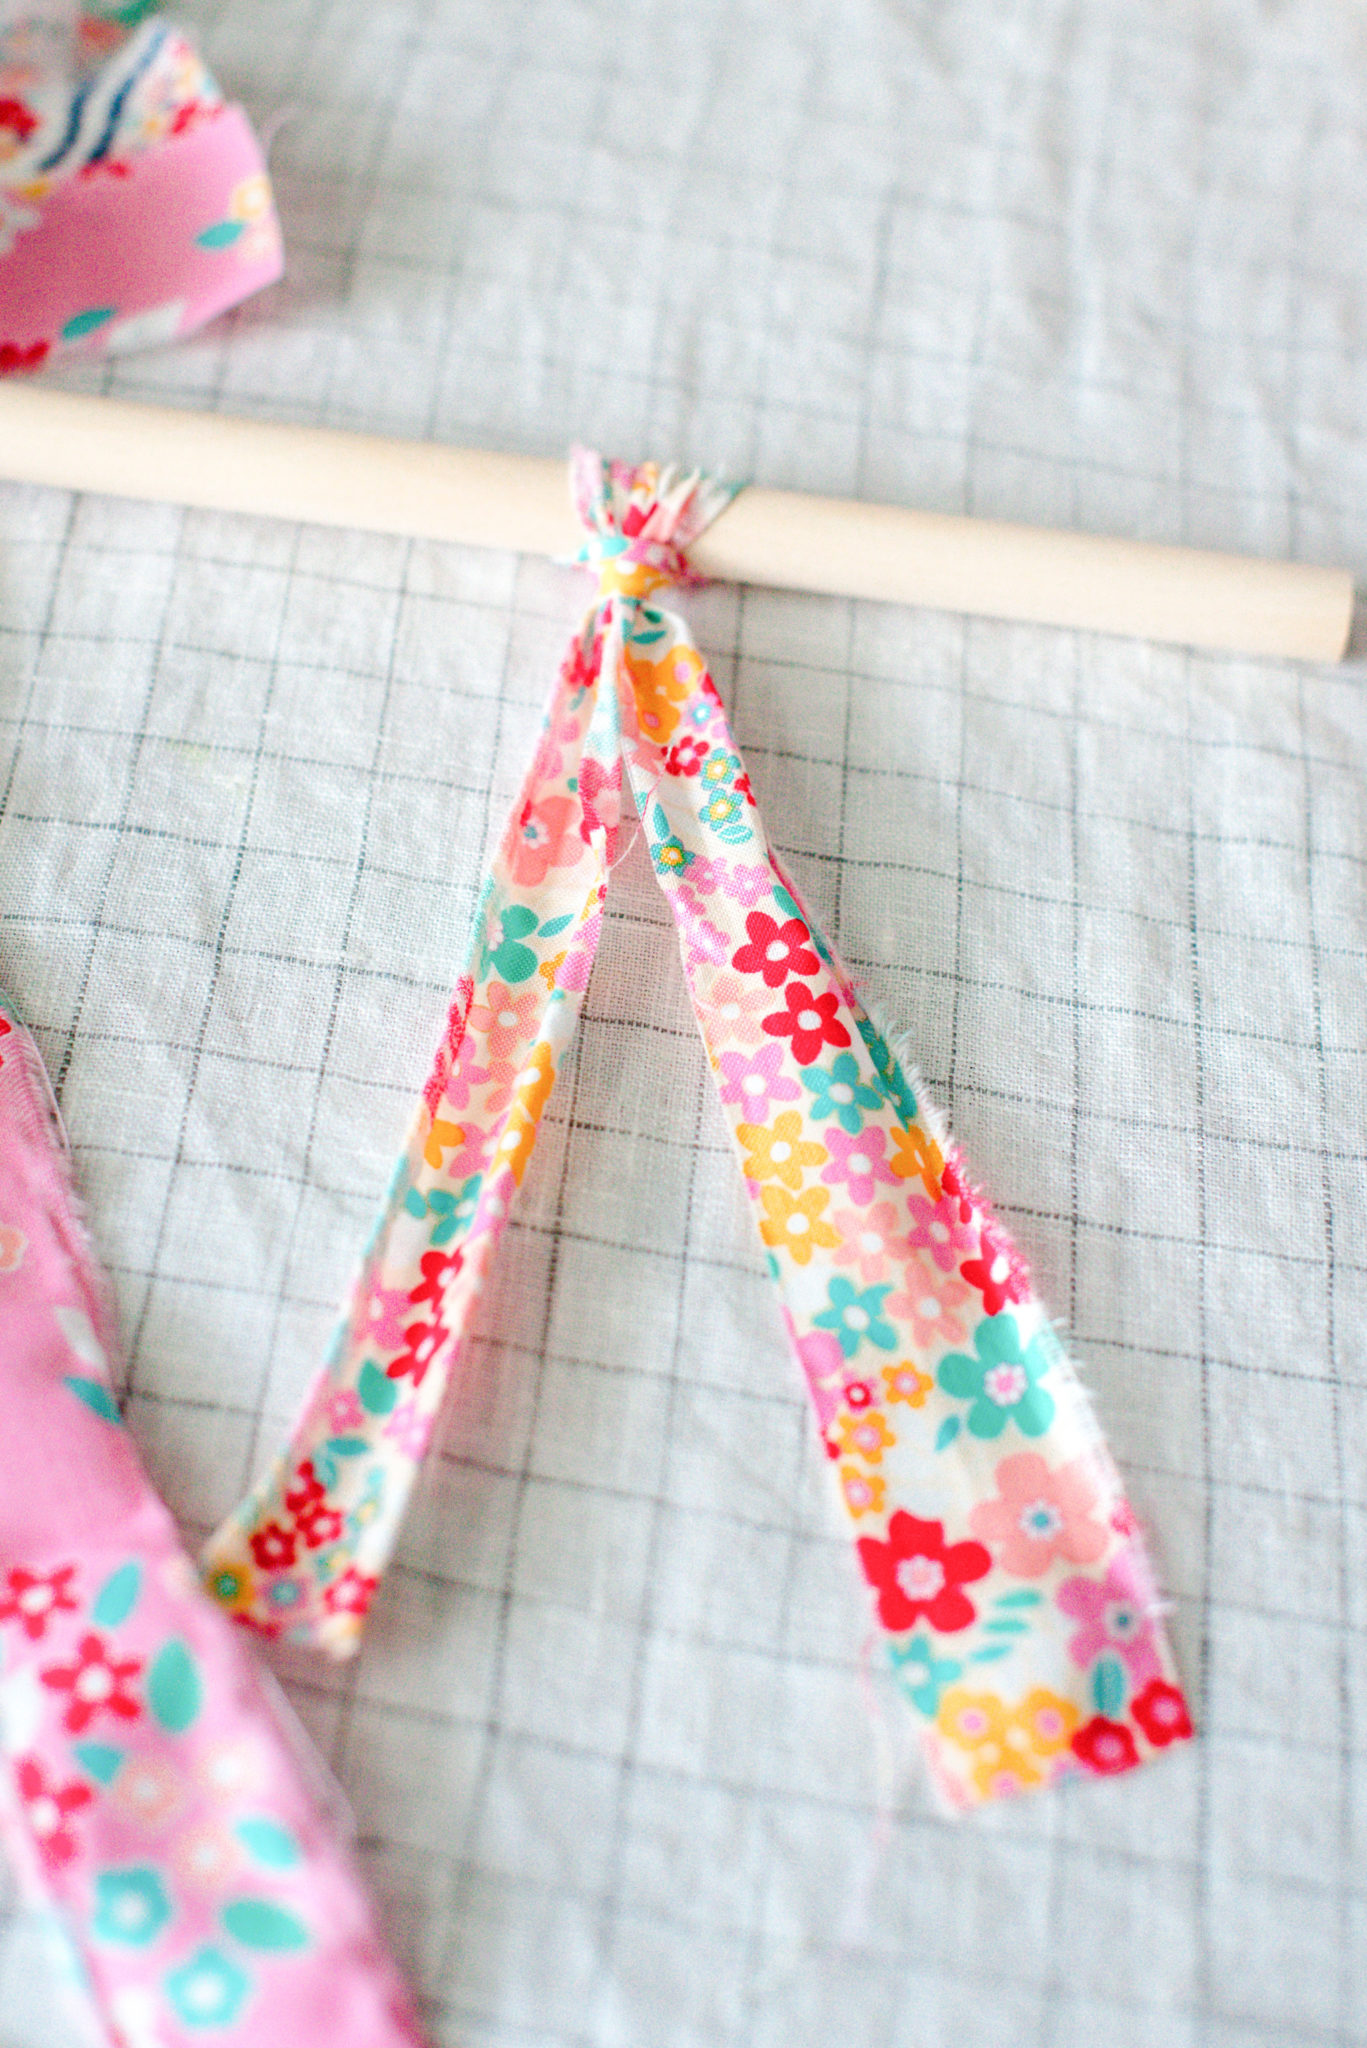
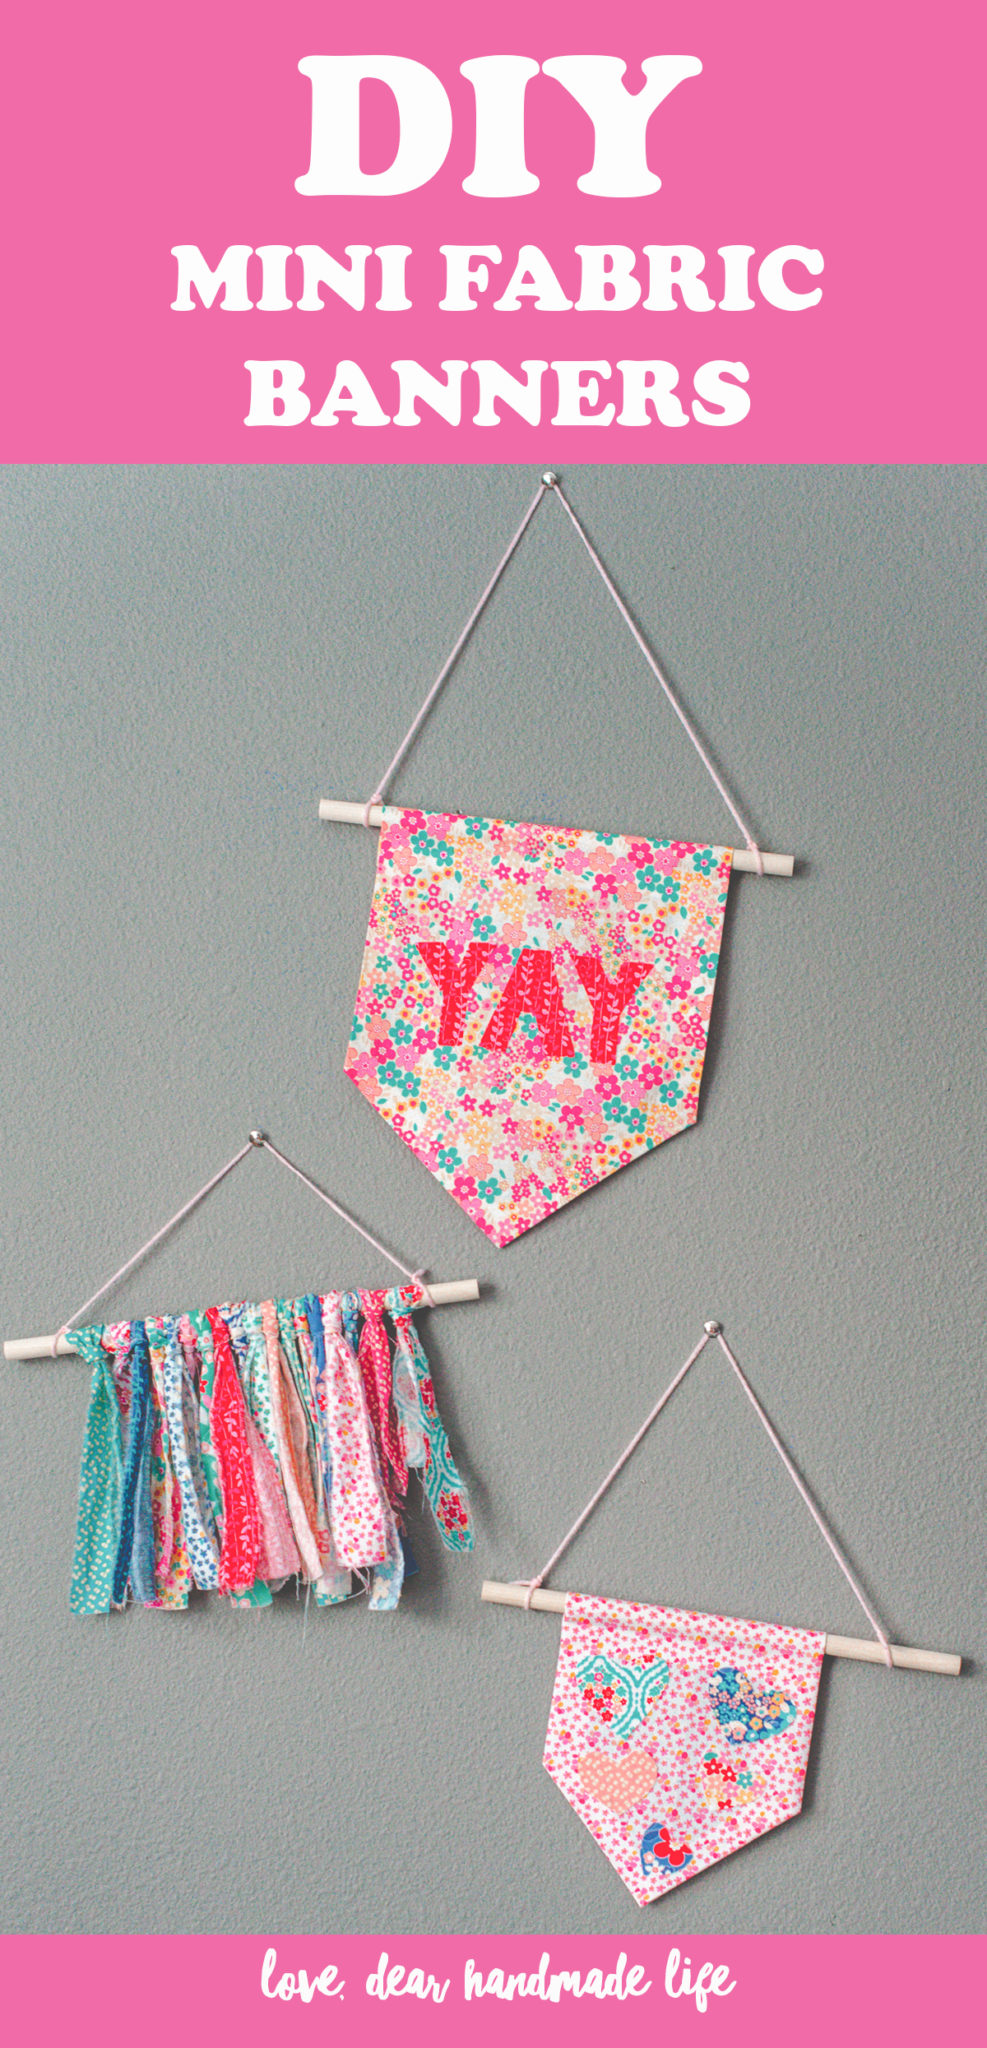
4. For this banner we are just going to tear off long strips of fabric & attach them to the dowel, I love this look! I used the longest length of the precut fabric I had and just cut about and inch or so (no measuring again) strip and then you tear the rest of the length to give it that shabby chic look. Since this set of fabrics had so many beautiful colors/patterns in it, I just tore a strip from each design to use on my banner, you can use all one color/pattern or mix it up however you please! To attach it to the dowel you fold it to the center and lay it on the front of the dowel. Then you bring the bottom pieces up around the back of the dowel and through the loop (the center of the strip at the top) and just pull it through, easy peasy! Continue until you are happy with the amount of strips. You can choose to trim them into a certain shape or size, or leave them all about the same length as I did. Attach your yarn/string to the dowel like you did for the previous banners and you’re done.
Hang them wherever you’d like to add a little fun to your space!


-Nik Vandeventer
ABOUT NIK VANDEVENTER:
Nik is a maker, day dreamer & potty mouth who loves cats, coffee and craft beer. She is a self taught hand embroider and will DIY pretty much anything she can get her hands on. She is currently pursuing her passion for photography, you can see her work here www.nikvphotography.com . She lives in Long Beach with her husband and her three awesome cats (that she can’t shut up about).

