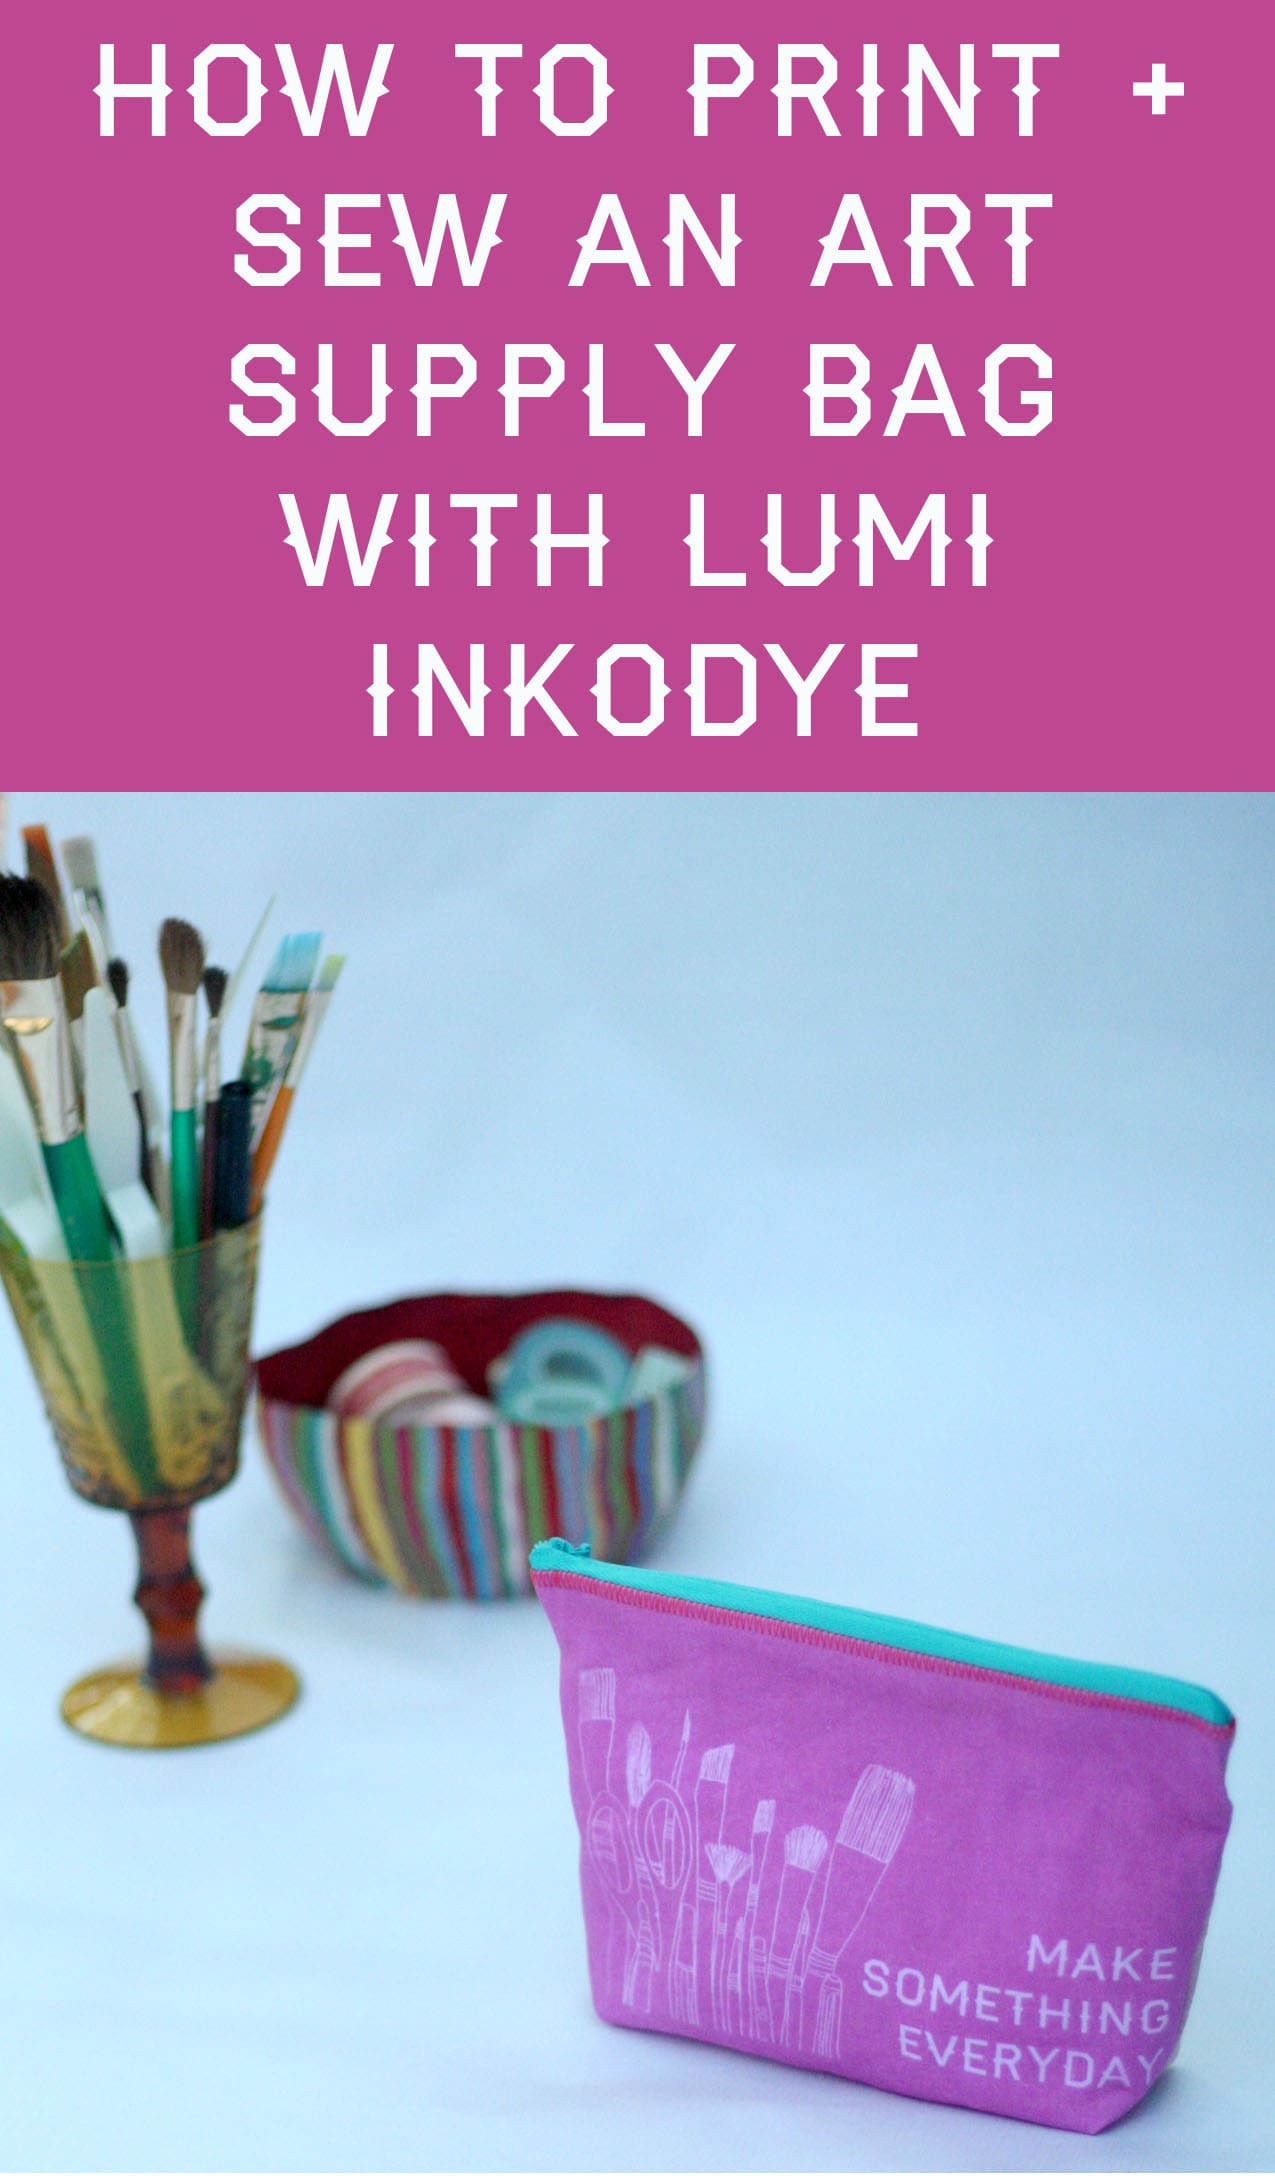
giveaway + how to print and sew an art supply bag with lumi
Just so you know: Dear Handmade Life received products from Lumi that we mentioned in this post. However, we only write about and recommend products that we use personally and believe are awesome!
I’m not a light traveler. Years ago, before laptops and wifi, I was known to travel a distance as short as a few hundred miles with my typewriter. That wouldn’t be so bad, except I was in a sedan with four other people. Plus, I also insisted on bringing my guitar as well as full size suitcase (the kind you’d take for a month long European vacation, not a weekend trip from San Francisco to Los Angeles). Now that traveling for work is a monthly occurrence I’ve had to severely par down my packing.
No more guitar. No more typewriter (laptops are way lighter!). No more bringing just about everything in my closet. AND no more grabbing a whole Tupperware container full of art supplies. I’ve simplified my art travel bag to only the essentials… A mini watercolor set, three paint brushes, a set of colored pencils, a thin Sharpie, a thick Sharpie, a few fancy art pens, one glue stick and a pair of mini scissors (small enough to get through TSA at the airport).
The zipper on the bag I’d been carrying my art supplies in broke last month. I was disappointed at first but actually it was perfect timing. Our friends at Lumi had just sent me some of their products to test. I’ve been screenprinting for over a decade. I love how screenprinting allows you to print a totally professional looking image on paper or fabric. The only drawback is having the screen burned. It’s pretty costly, especially for an image you only want to use once. Lumi’s Inkodyes and transparency papers allowed me to create an image on my computer, print it at home on their transparency paper and get that image onto my fabric for next to nothing. The whole process took less than an hour!
Now, I have a brand spanking new art supply bag to tote around on trips. I debuted it on a recent weekend girls trip to Palm Springs and it’ll make its’ next appearance at Craftcation! I love having a bag for my art supplies that reminds to ‘make something everyday.’
Want to make your own bag? It doesn’t have to be used for toting around art supplies. You can use the tutorial below to make a bag for your make-up, toiletries or even carry it as a clutch! Lumi even has an app for iPhones that lets you upload your photos, then they create and mail you a custom transparency featuring your photograph!
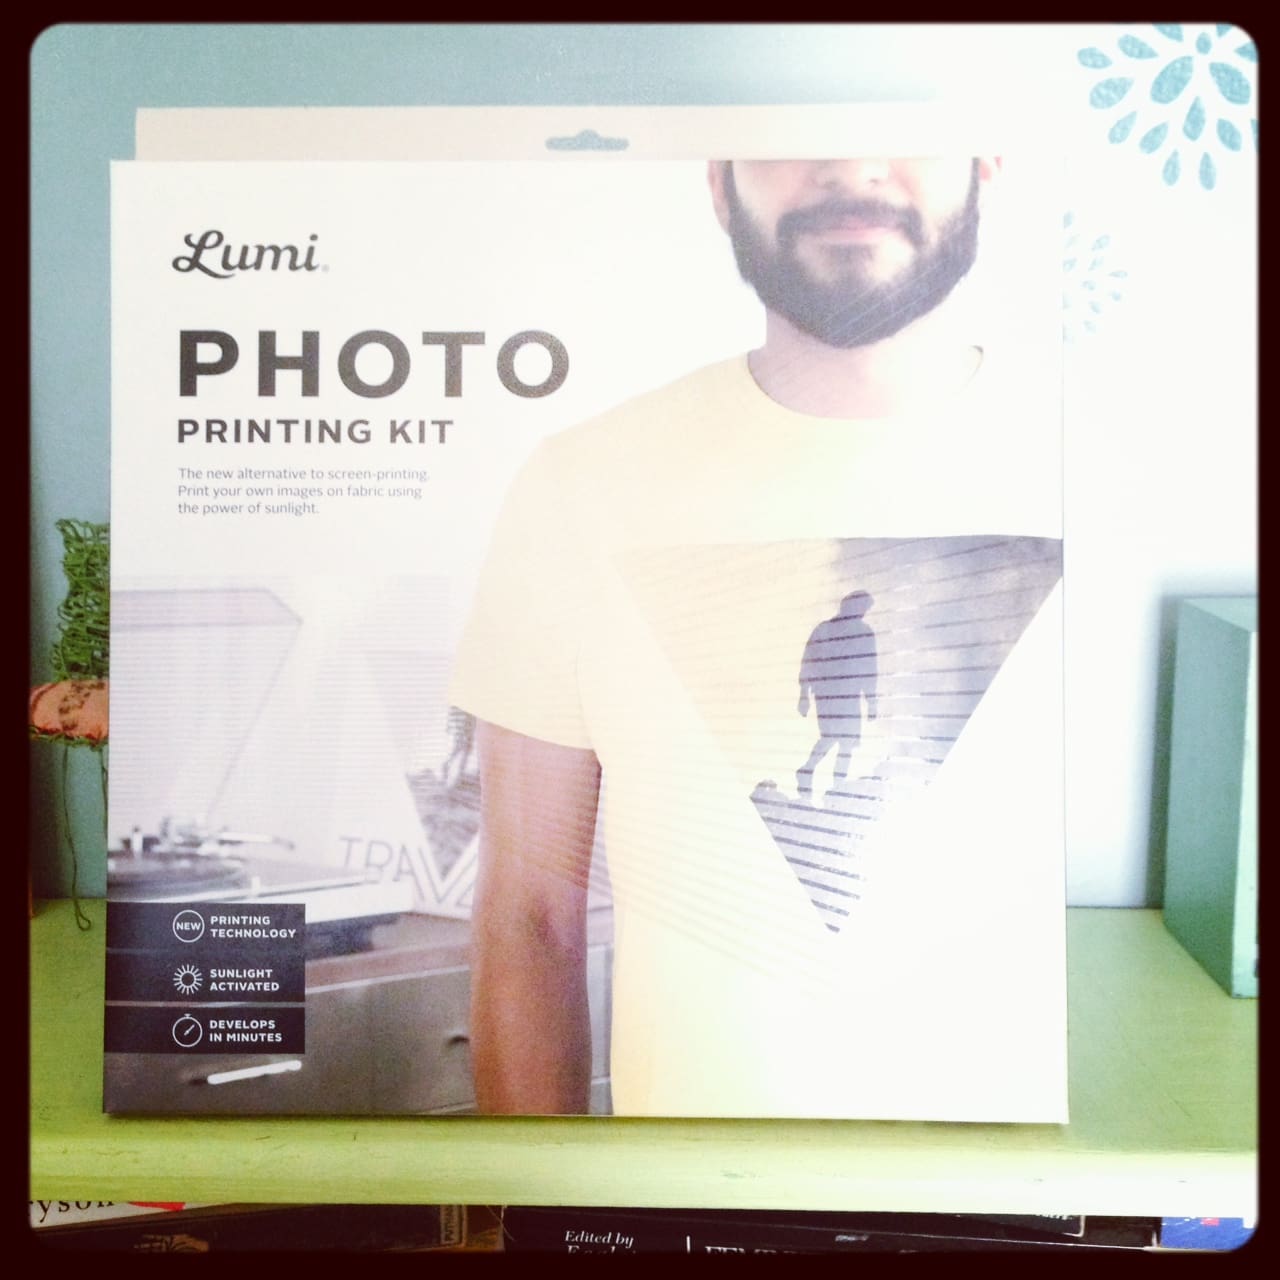
Ready to print your very own tote, tee or just about anything else? Lumi has been sweet enough to give us a photo print kit to give away to one lucky maker! The kit contains: 4 Inkodye snap packs, 2 Inkowash snap packs, a test negative, a project board, instructions and 4 Inkofilm transparencies – ie: everything you need to make 4 or more prints on tees or fabric!
to be entered to win the lumi photo printing kit:
1. Leave a comment on this post letting us know what you’d like to make with the kit by Monday March 24th.
We’ll pick a winner, announce it here on March 26th and send them the Lumi photo print kit. Be sure to leave your email address in your comment or add it to your profile when you comment to be entered to win and so we can send you an awesome Lumi photo print kit!
The contest is now closed. Congrats to Diana Laferry! Your kit is on its way!
-nicole s.
what you need:
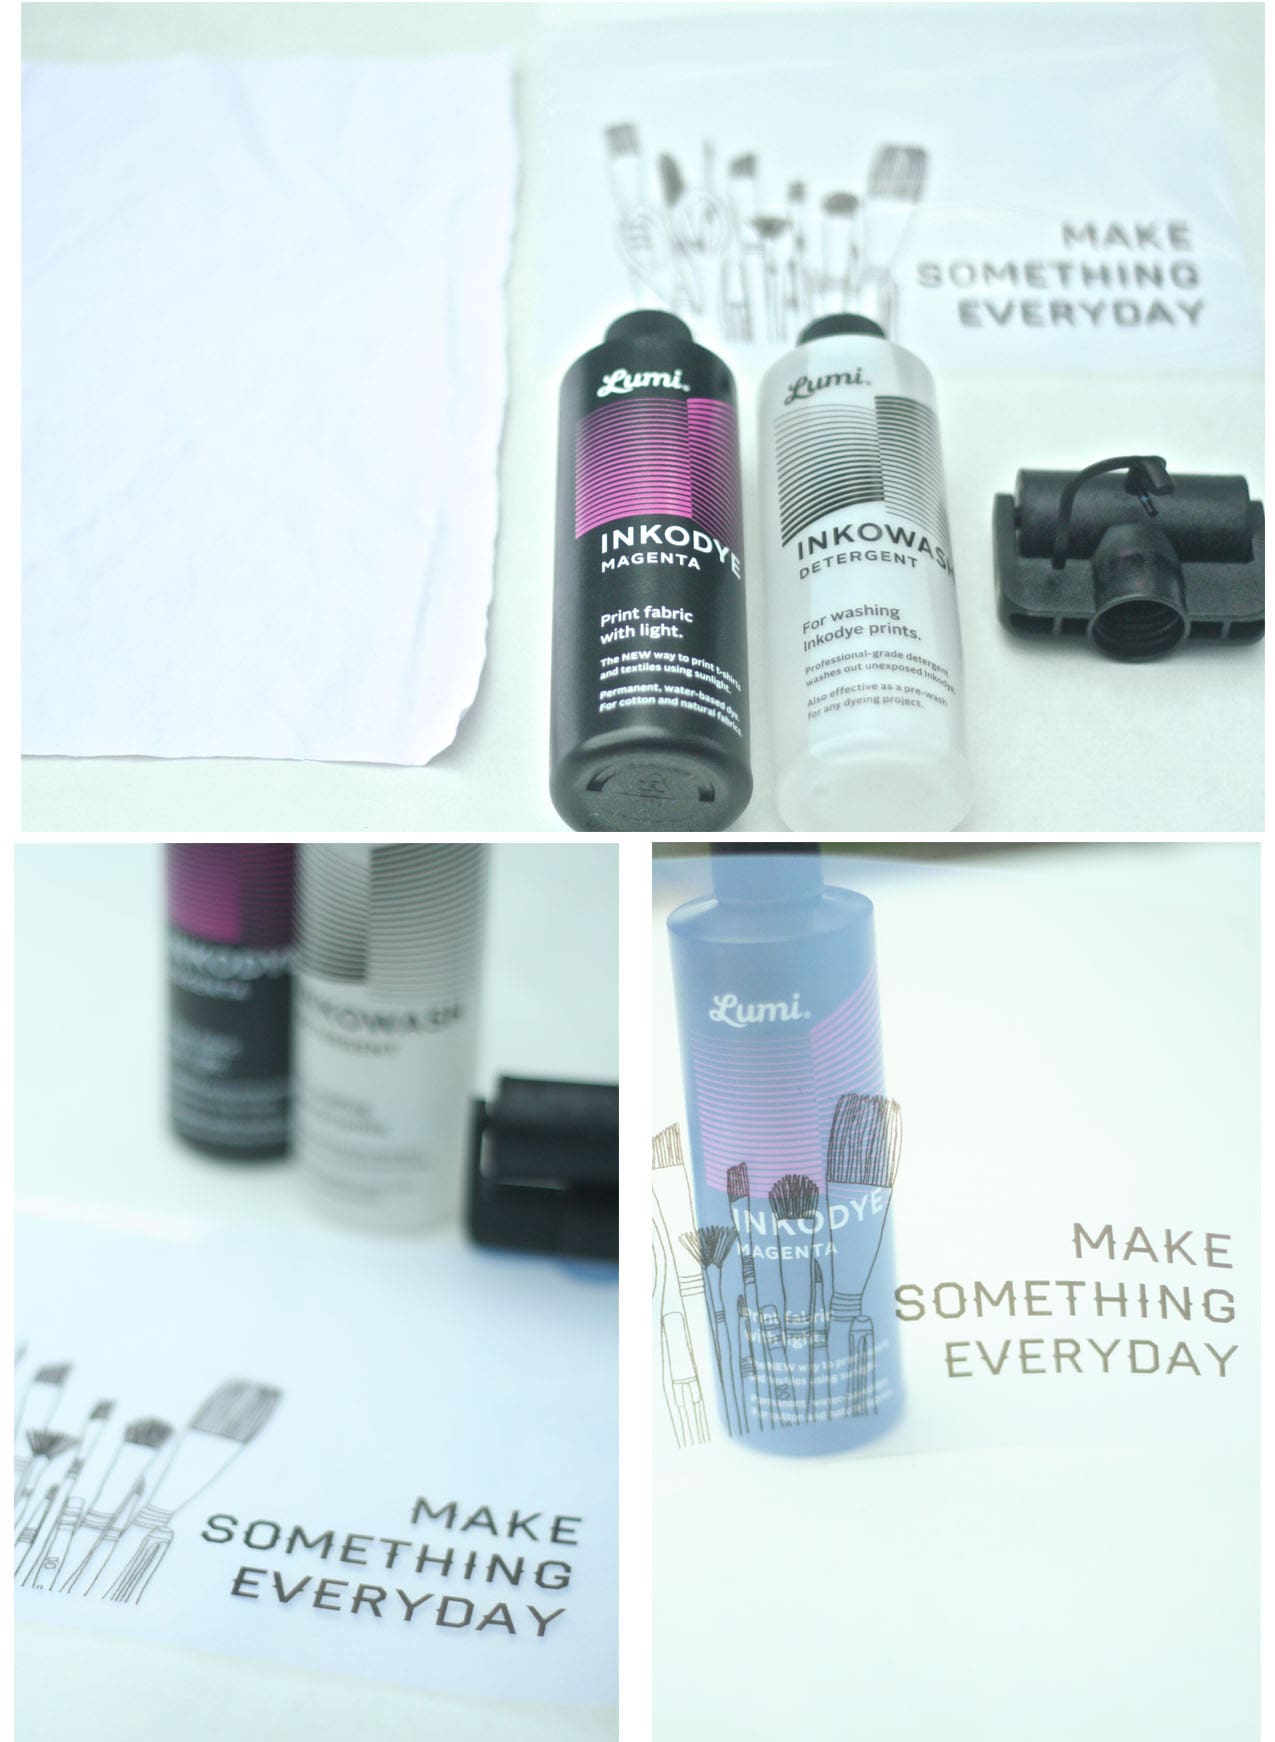
-Lumi Inkodye ink (i used pink)
-Lumi Inkowash
-Paint brush or you can use the roller (comes with Inkodye kit and cleverly attaches to the top of the Inkodye bottle)
-Lumi transparency (I printed my own image on mine but you can download the Lumi app and have one made from one of your own photos and delivered right to your doorstep)
-Masking tape
-Piece of glass
-A few inches larger than your fabric (you don’t need this but it was a bit windy when I was exposing my image and setting the glass on top ensured that my transparency wouldn’t move during the exposure process)
-Cardboard (a few inches larger than your fabric)
-Piece of white cotton fabric: 8.5 x 6.5 inches (for the front)
-Piece of printed fabric: 8.5 x 6.5 inches (for the back)
-9 inch zipper
-Scissors
-Rotary cutter + cutting mat + metal ruler (optional: I like using the rotary cutter because I can cut a perfectly straight line without much effort)
-Iron + ironing board
-Sewing machine (we used our awesome Bernina B380)
*Feel free to adjust the size of your fabric to make a smaller or larger bag.
what to do:
1. Prepare your transparency either by ordering one made from one of your own photos you upload to the Lumi app or by printing it with your digital printer at home. If you’re printing at home, make sure you print on the correct side.
 2. Tape your piece of white fabric to the cardboard.
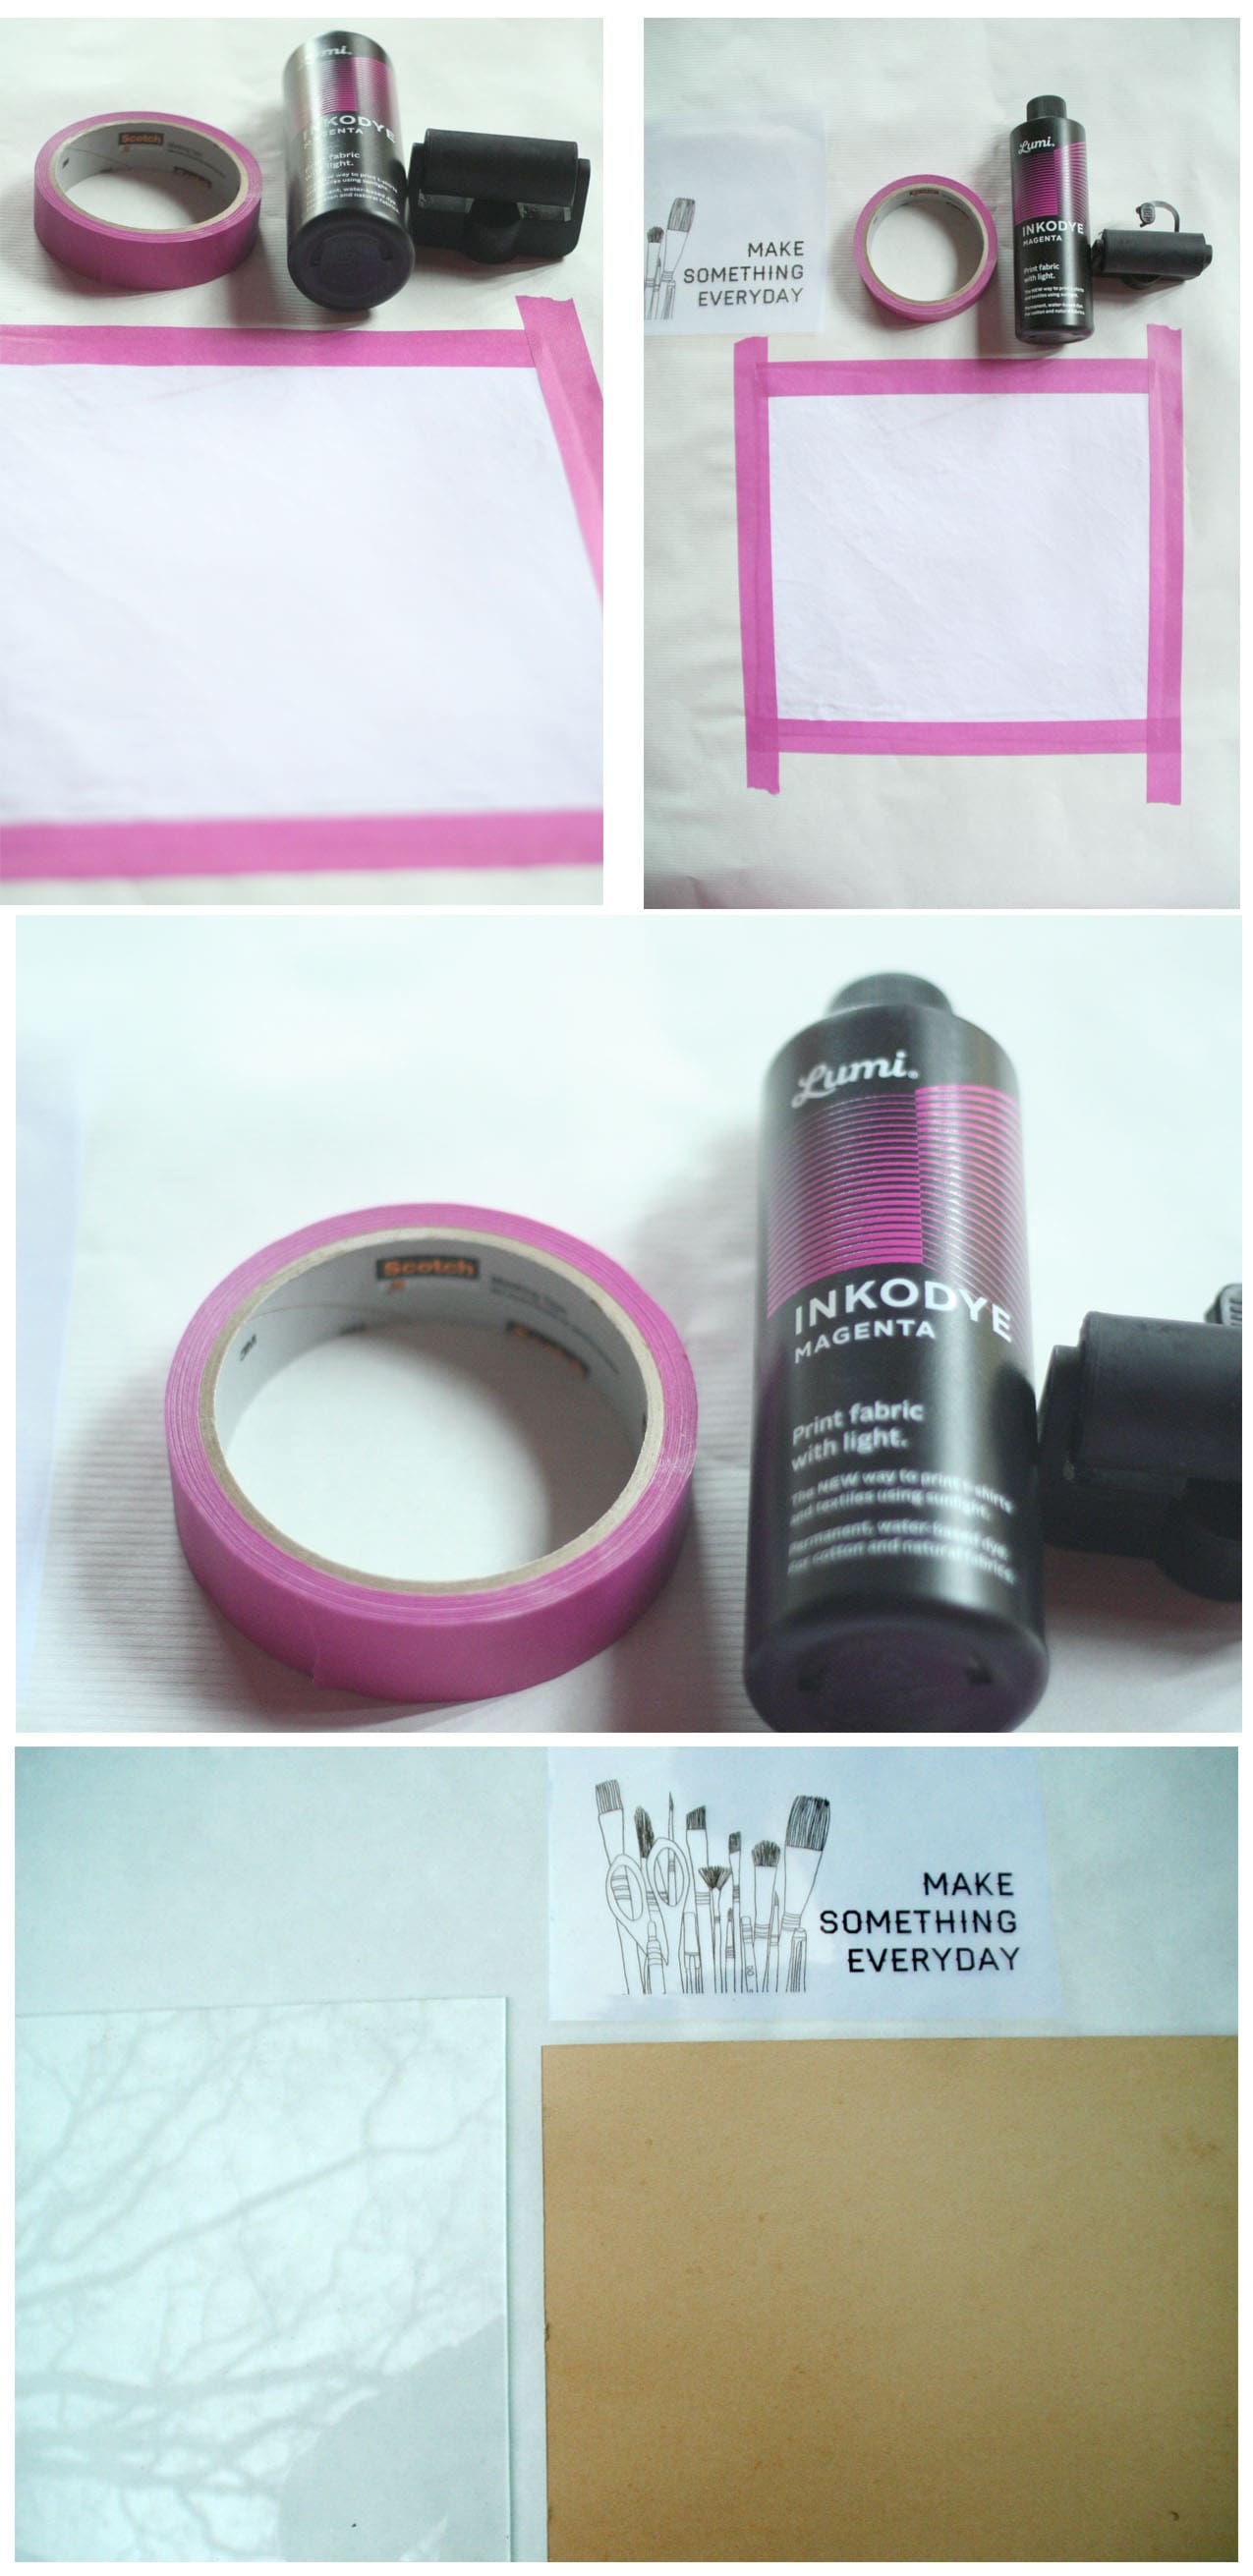 3. Figure out the placement of your image by setting the transparency on top and moving it around. Then remove the transparency.
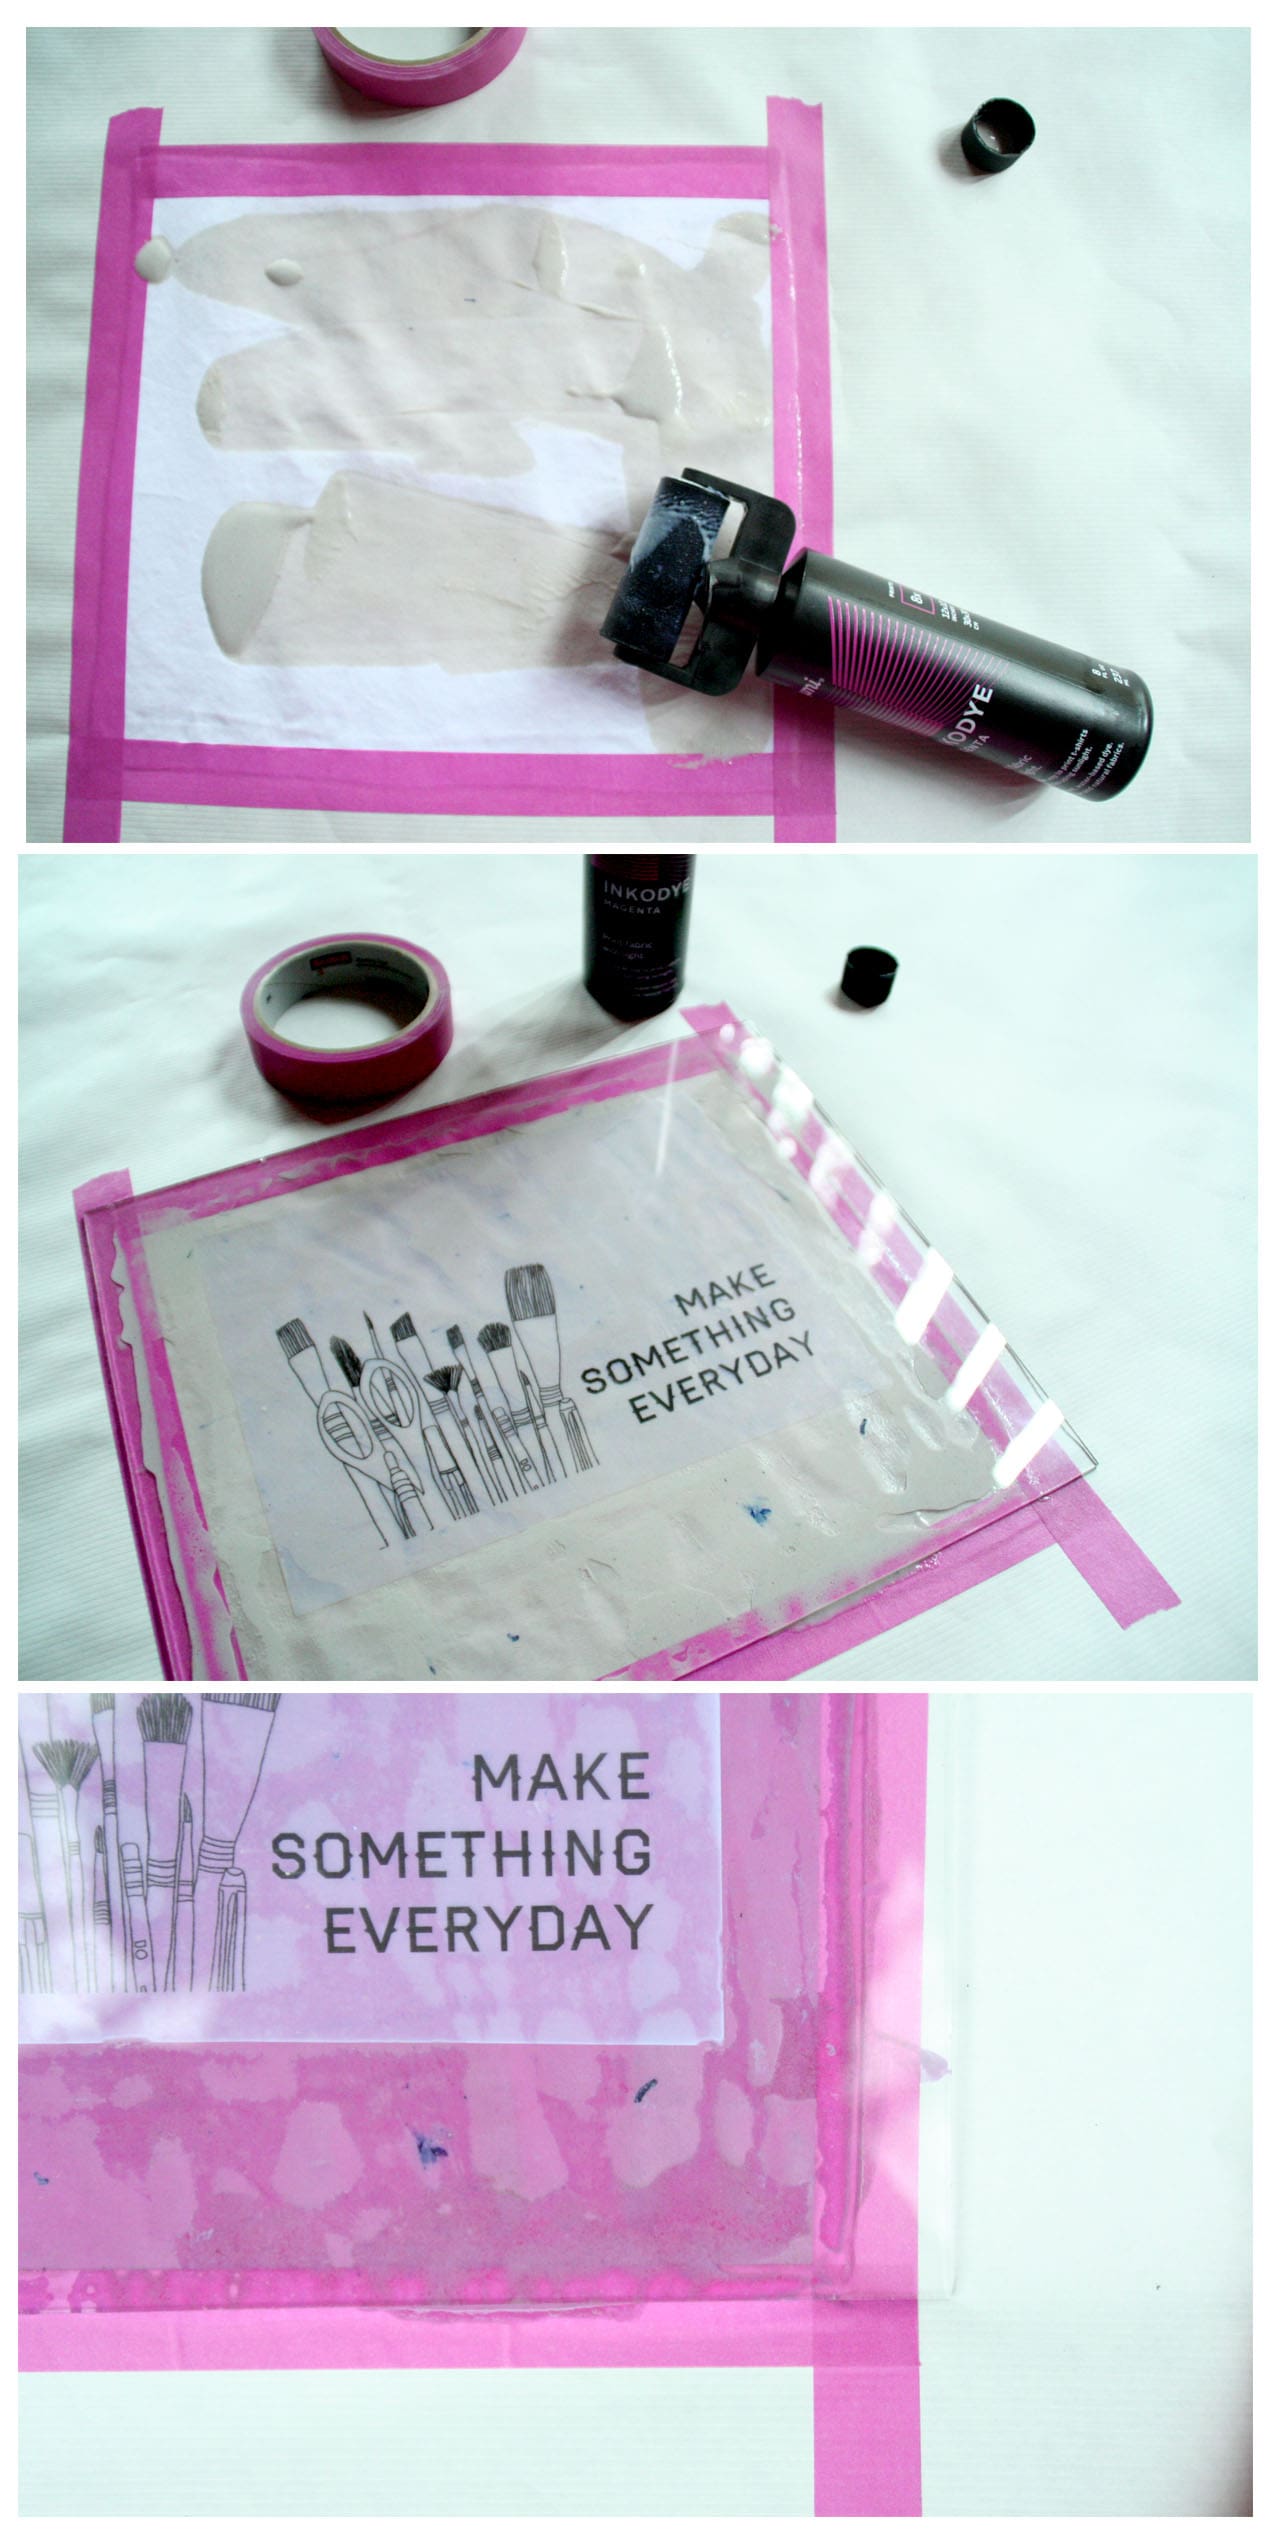
4. Apply the Inkodye to the white fabric. You can either screw on the roller that comes with the ink and use that to distribute the ink on the fabric or pour some Inkodye into a bowl and use a paintbrush to spread it on the fabric. It’s pretty important to do steps 4-7 in a room with subdued lighting since Inkodye reacts to light. (Don’t forget to shake the ink bottle before applying)
5. Make sure the fabric is thoroughly coating with the dye and then use a paper towel to blot off the excess. The first time I did this I forgot to blot off the excess and my print didn’t turn out very well.
6. Place the transparency on top of the Inkodye coated fabric and smooth it down. Make sure to place the waterproof side down on the fabric.
7. Pin your transparency to the fabric or set the piece of clear glass on top.
8. Move the whole get-up to a well-lit area. I did mine on a cloudy day so it took an hour to fully expose, but if you expose it in direct sun it will only take 10-15 minutes.
9. Be patient and wait for the color to fully develop. The color should be rich and dark and pretty similar to the color on the Inkodye bottle.
 10. If you want to reuse your transparency, clean it with some water and paper towel.
11. Wash your fabric piece with Inkowash or mild laundry soap. You can do this in a bucket of hot water or place it in the washer. I washed mine out in a bucket and then ran it through the washer twice.
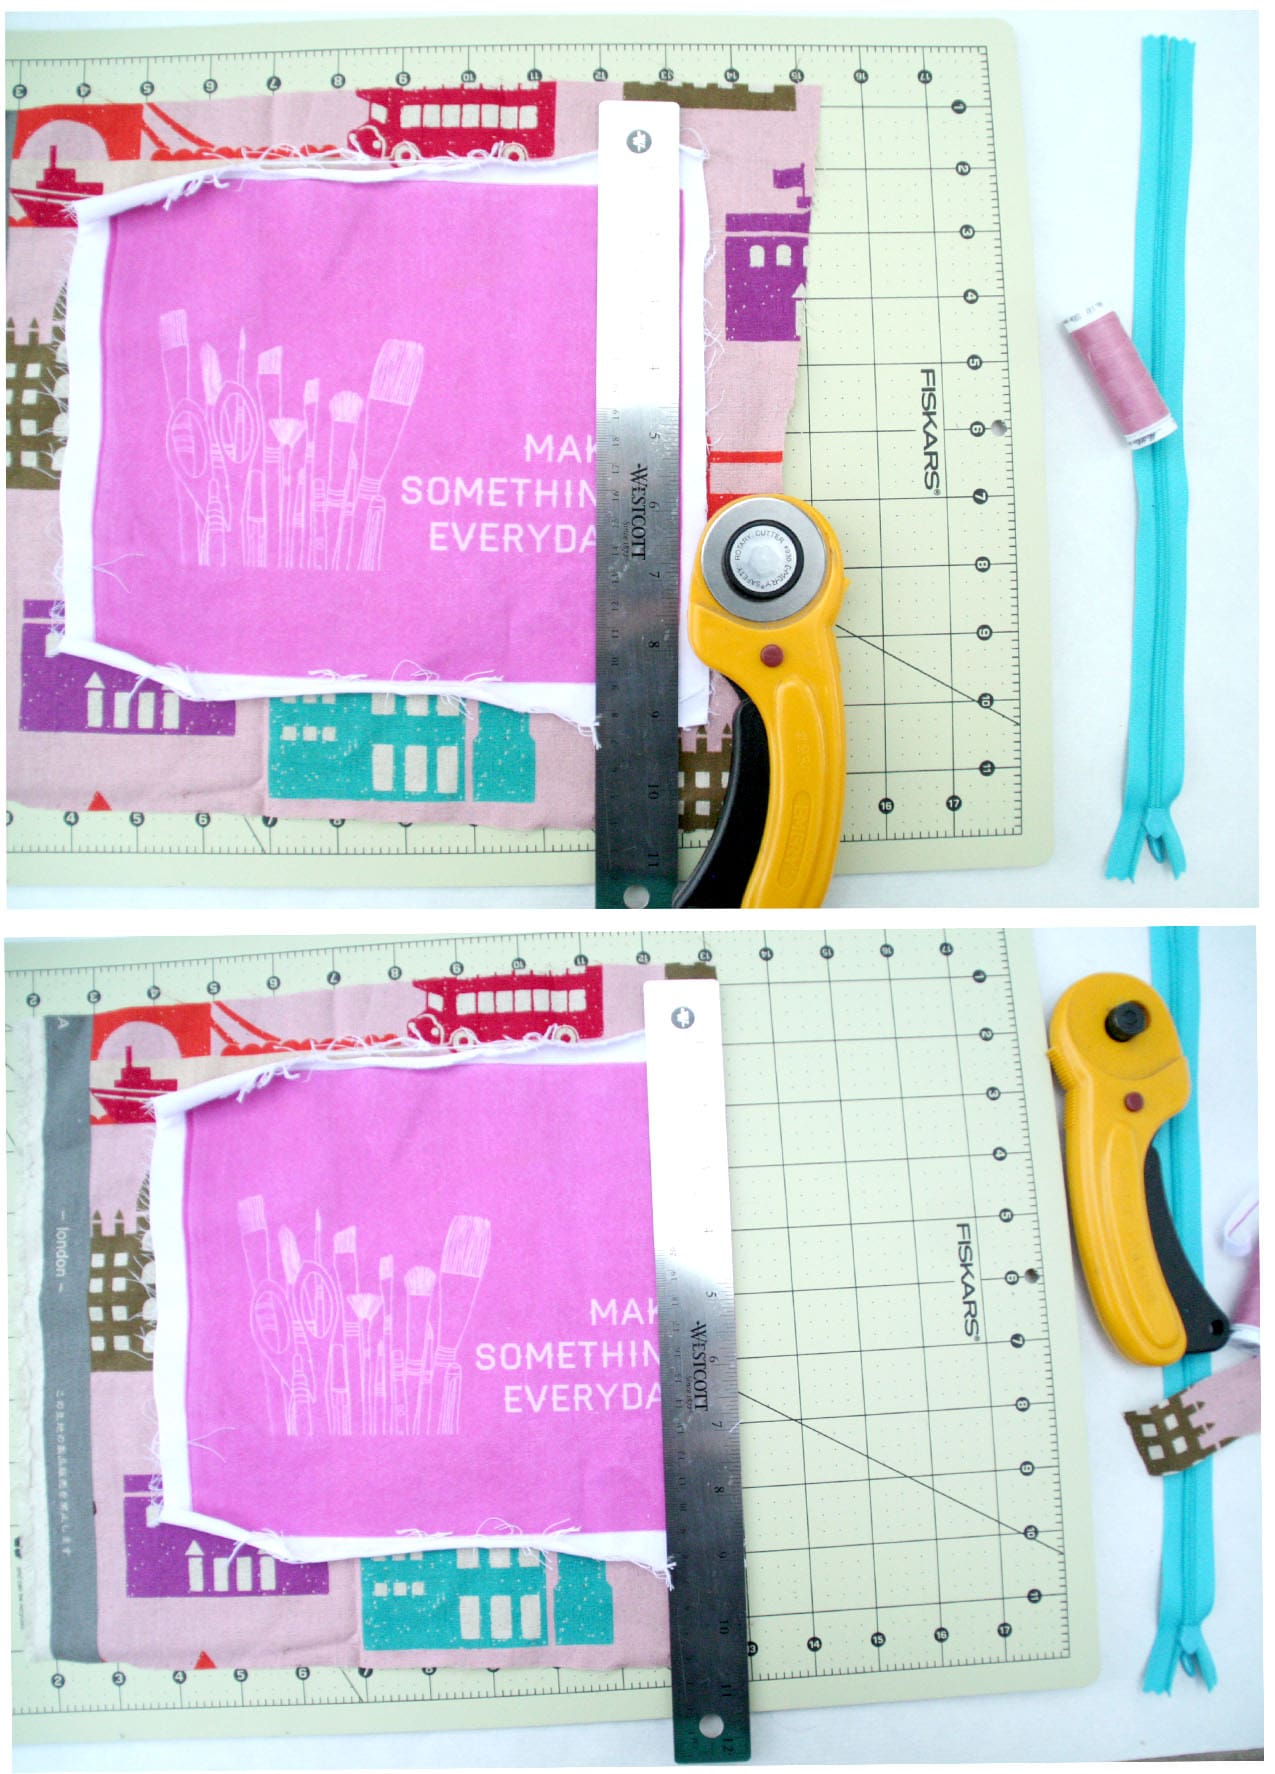
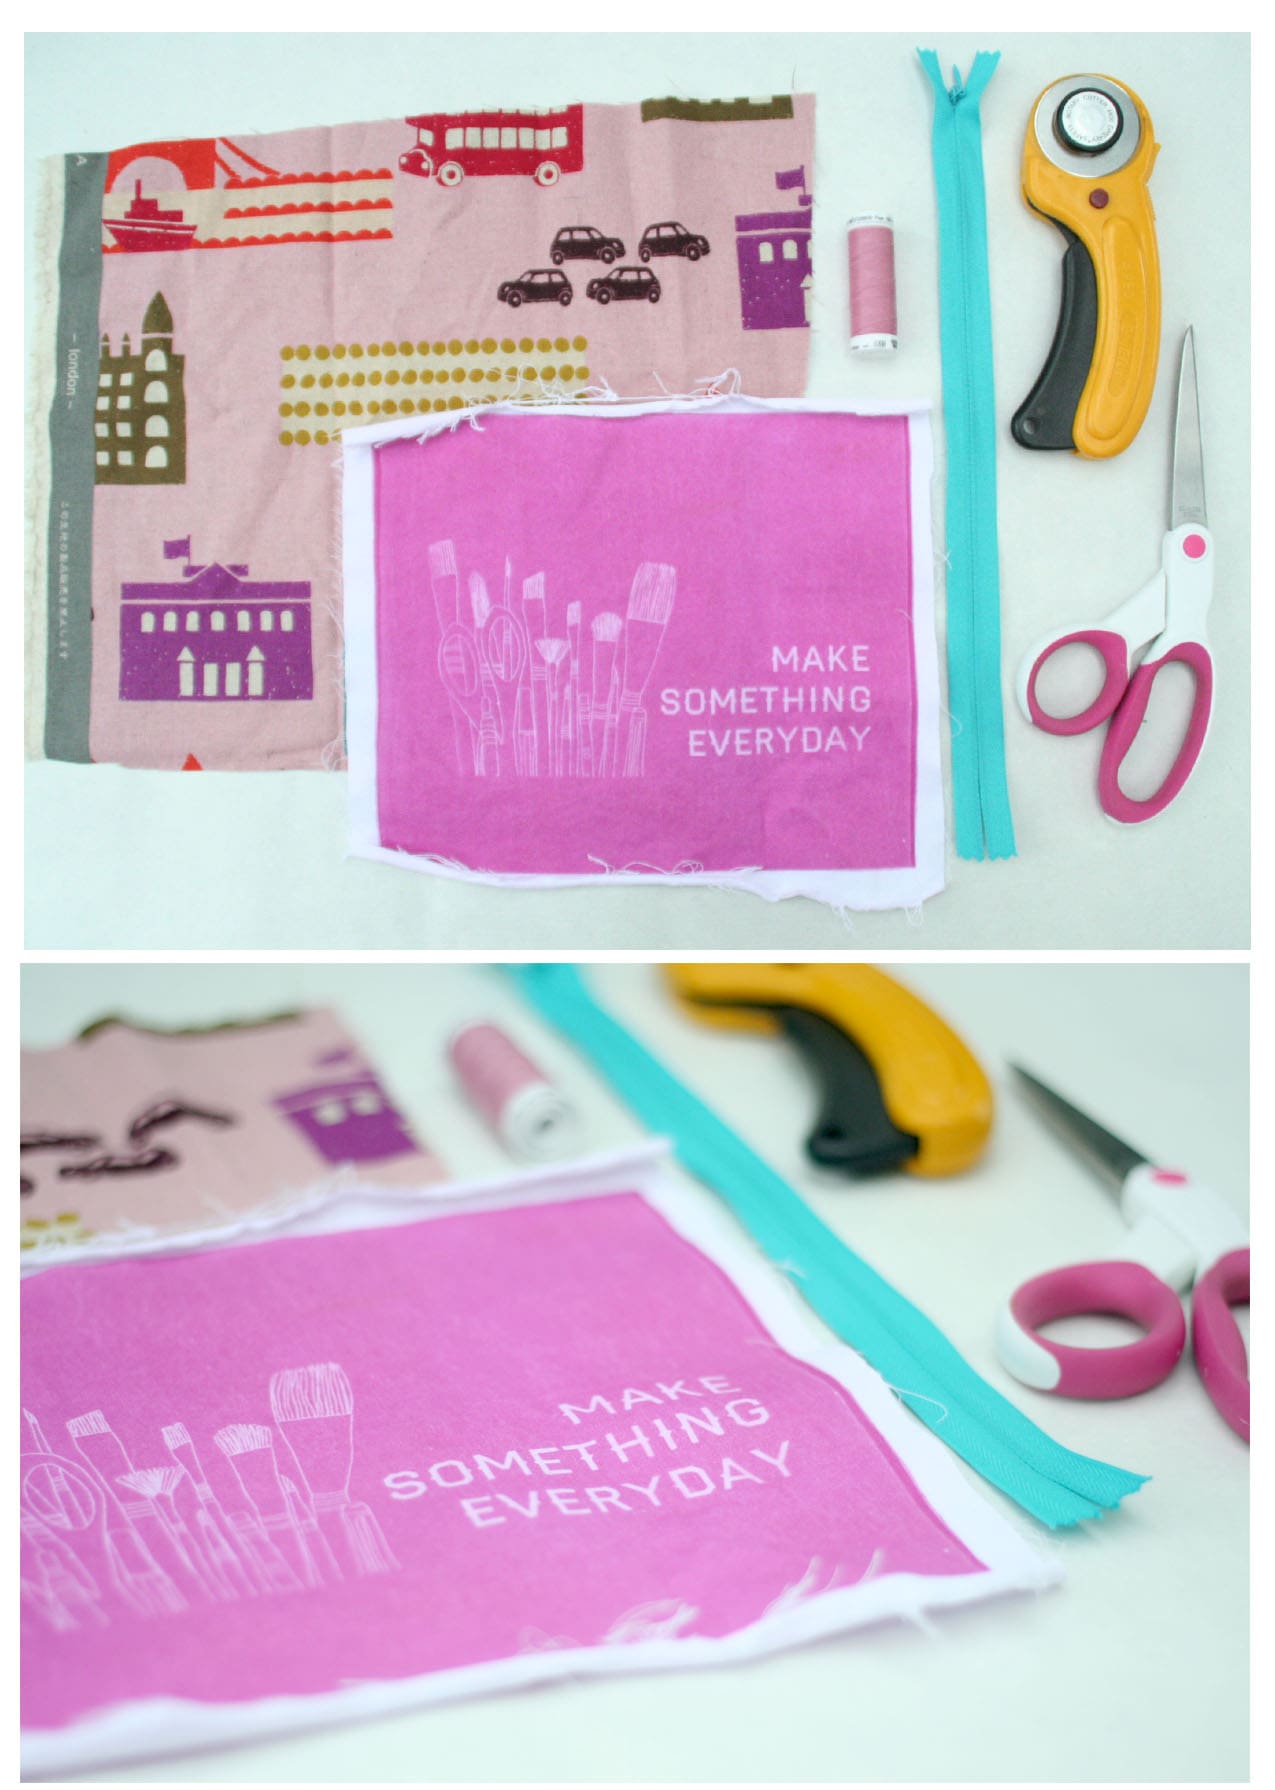 12. Trim the edges of the printed fabric and the piece with your image on it so that they’re the same size.
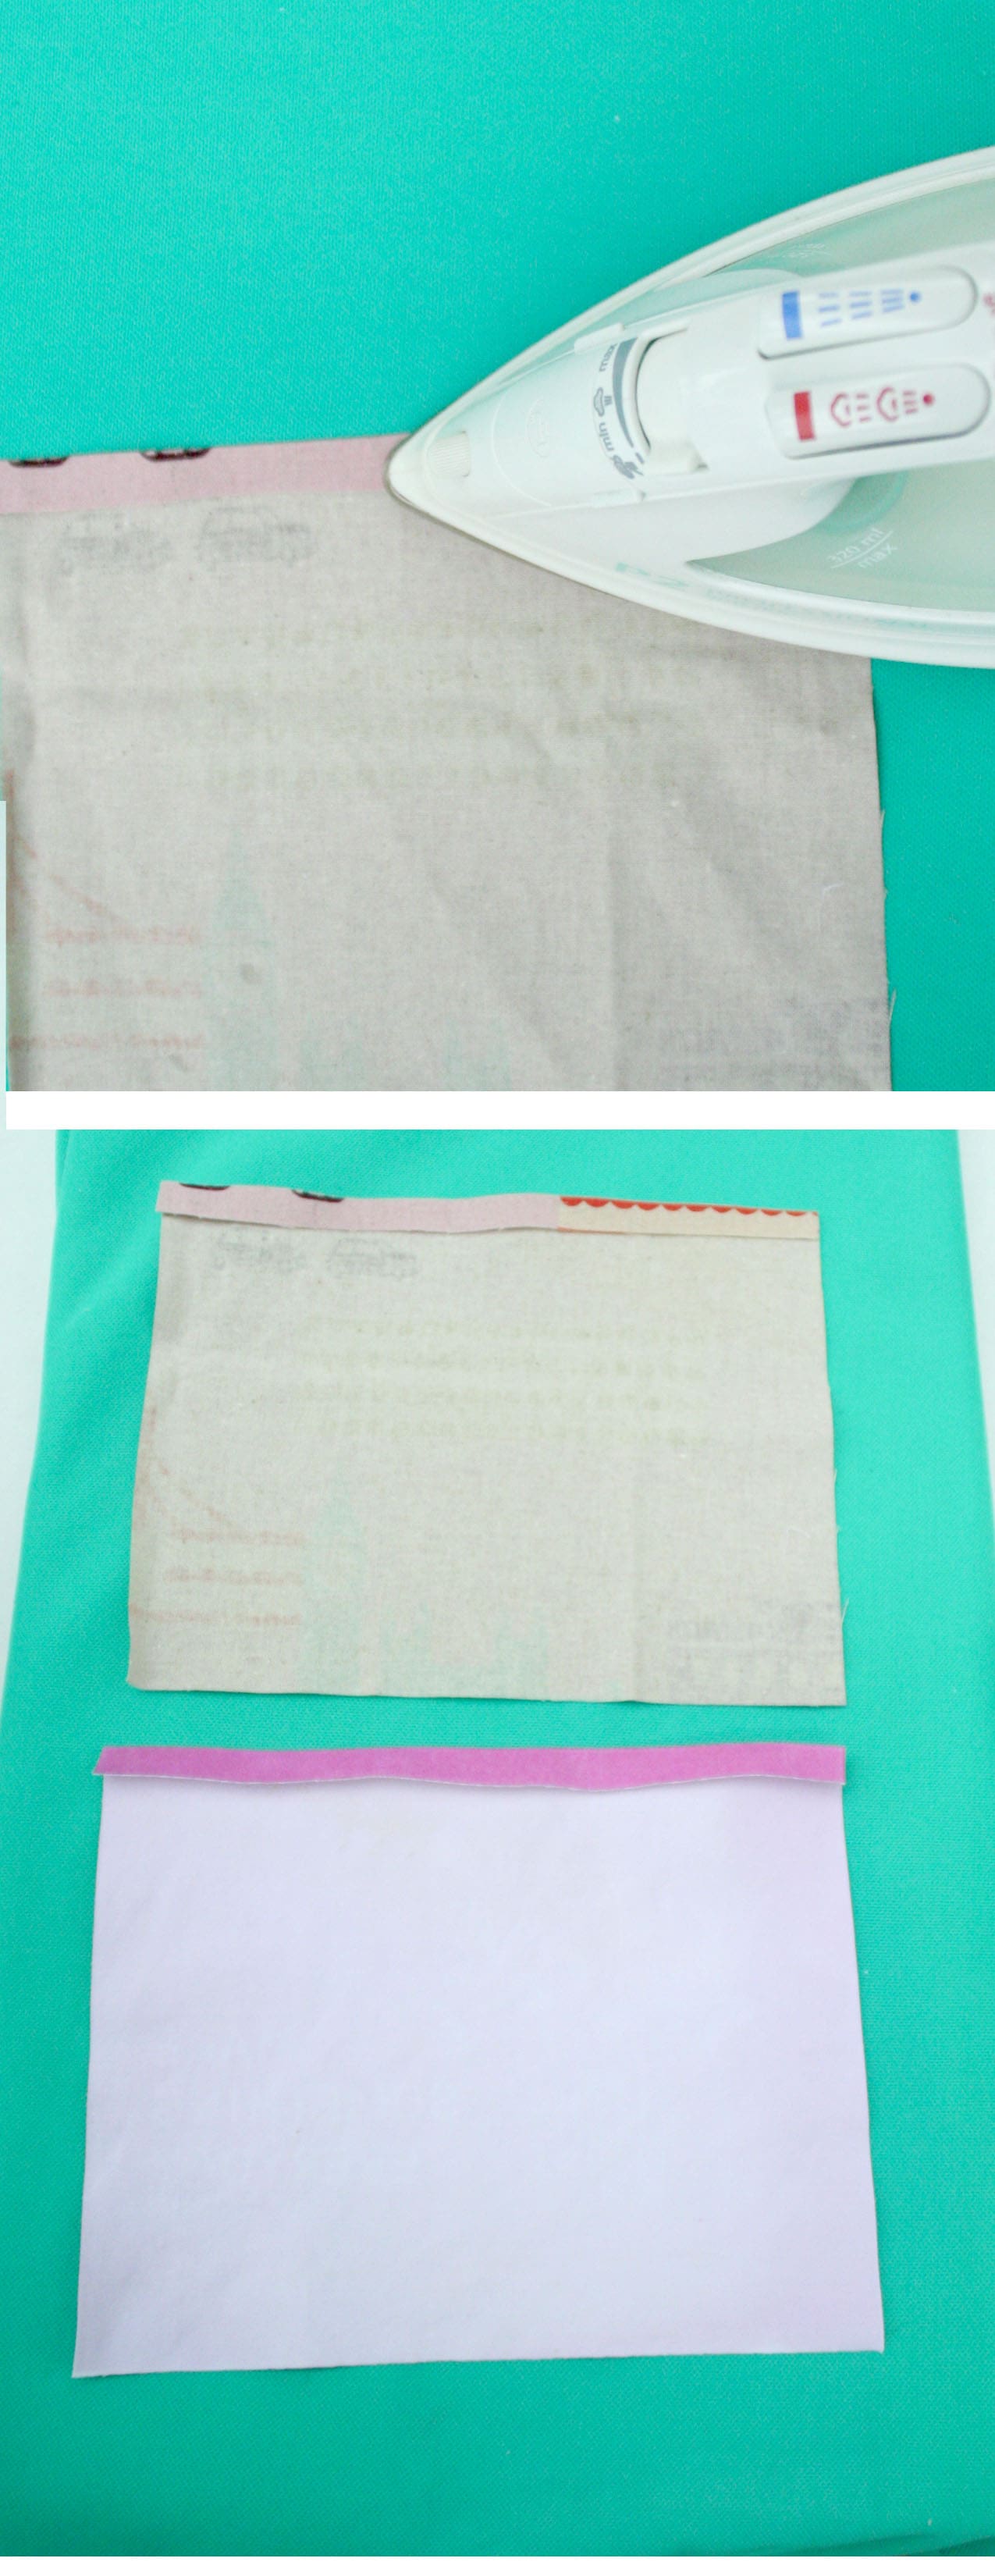
 13. Fold the top edges of both pieces of fabric over about a quarter of an inch, then fold them again. Use an iron to make sure the folds stay in place.
 14. Position your zipper on the top fold of the piece of fabric with your image on it and use a zig-zag stitch to sew the zipper to the fabric. Repeat for the printed piece of fabric. Make sure the zipper is open.
15. Close the zipper about an inch, then fold the fabric pieces so that the unprinted sides are facing out.
 16. Using a straight stitch sew the two sides and bottom closed.
 17. To make the gussets at the bottom, grab one corner of the bottom of the bag and flatten it out. Sew a straight stitch about an inch and half long across. Then clip the triangle of excess fabric. This is a bit hard to explain. It’s best to look at the photos for this step. Repeat for the other corner.
 18. Turn your bag right way out and fill it with awesome stuff!

Would love to let my triplets design there own Tshirts or bags for school. Thanks!
ohhh myra! that sounds awesome! triplets! wow 🙂
This kit sounds awesome, I’d be super psyched to play with it!
i forgot to say i’d make zipper bags with a picture of my cat 😉
jana!!! yes, everyone needs a bag with their cat on it! 🙂
-n
this would be fun to make pillows!!!
lesley!
i love making pillows! what kind of image would you put on them?
I transfer images to wood , so I’d love to learn the process of transfering to material! I have so many images in mind but I think my first one would be my company logo and Id use it as a cash bag for craft fairs 🙂 cant wait to try it! Thanks for the great post. Candice from Strauss Vintage Shoppe
candice!
love that idea of making a custom cash bag for craft fairs!
Would definitely make some custom items for my granchildren.
mary,
that’s super sweet 🙂
Your bag is fantastic — I LOVE it!! I would make a set of zippered bags (because I can’t resist an adorable bag!) with photos of my dog babies! Then, to “break them in”, I’d pack them in my suitcase and use them for my weekend at Craftcation!
thank shannon!
yeah! i hope you win! i’d love to see your dog bags at craftcation!
-n
I would love to use this to screen print my hedgehog characters on t-shirts and tanks for my small business!
christina!
hedgehog characters – sounds awesome!!!
Would love to make some new photo patches for quilts and a a few pillows.
oh leah – love the idea of using it for photo patches for quilts! i’ve never made a quilt but if i did – i would love to find a way to put photos in it 🙂
I’d love to use this to make a border print fabric for an apron, skirt, or baby dress! I could also imagine multiple uses for DIY all-over fabric designs! Yay, Lumi!
dianna – what a great idea! using it as a border fabric!
that is a super cool bag! i would use this to print all sorts of things! i’d definitely make some shirts with my sons of their designs. and, i’d probably print something onto a fun A-line skirt for spring. thanks! and cheers!
kelly…
what a great concept – using it to make images from your sons drawings and designs! love it!
I would live this to make things for my students and a few baby gifts
thanks also for the how to’s
ahhh… mary! so sweet to think of your students! baby gifts too! 🙂
The fact that they’re reusable is amazing–I have a thing for wombats, and I can see getting carried away and putting a wombat on a cosmetics bag, linen dish towels, pencil cases for my kids…the more wombats in our daily lives, the better.
annie…
wombats!!! how cool is that! maybe they’re the new birds/owls!
My girls are really into horses right now, so I am imagining printing horses on shirts or bags.
sarah!
love the idea of horses printed with lumi!
I would love to win this so I could use it to print some if my designs on fabric to make wall art hanging adding wood and fringes! Thank you 🙂 BTW just discovered your blog and I love it!
mirta!!!
printing with lumi for home decor! awesome!
Hi! I hope I get a chance to win, I’ve been wanting to buy this kit for a veery long time in order to make some of my ideas come true and maybe make some t-shirts and other stuff to sell and see how it goes.
I love how it paints in the fabric and isn’t just printed on it, like vinyl that wrinkles after a while.
Thanx
hi matina!
fingers crossed for you – especially since you’ve been wanting it for a long time!
I would love to use this kit to print my design on tote bag and clutch that I literately just learned to sew very recently!
avon!
how exciting! you just learned to sew 🙂 best of luck in the contest 🙂
-n
One of my favorite quotes are: give a man a fish and you feed him for a day; teach a man to fish and feed him for a lifetime. I would love to be able to share the Lumi kit and teach class my fellow crafters or my own school-age students! I would make and teach screen printed peace flags, similar to Tibeten Prayer flags sewn together but we would use or own words of positivity and inspiration.
hi sienne!
awesome idea 🙂 i totally agree about the joy of teaching others how to do things 🙂
I love this bag!
Whoa! Thanks, ladies! I can’t wait to get my kit. Looks like I’ll be working up sketches for my border print fabric design while I’m at Craftcation!