how to make a quotable applique tote
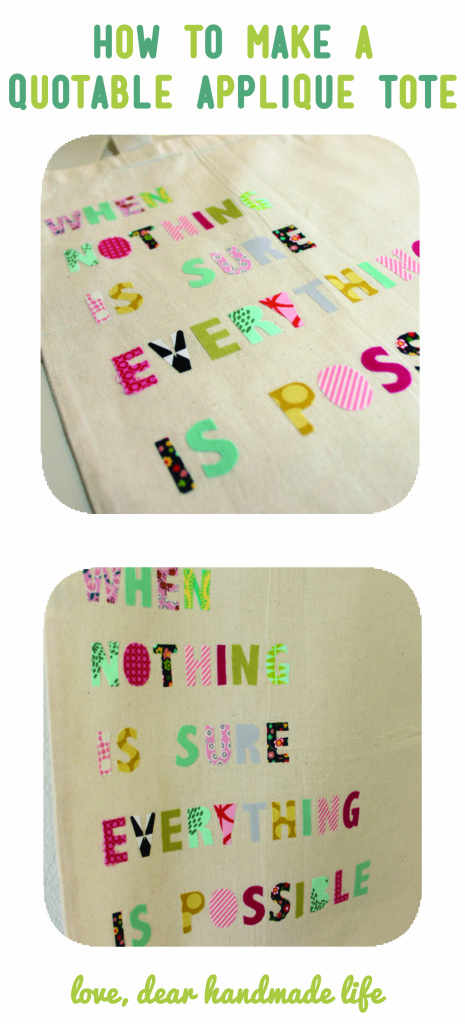
If your 2014 New Year’s resolution is to craft more and tote around a super cute tote bag, you’re in luck!
While I personally don’t make firm resolutions (I can never seem to keep them any longer than the time it takes for someone to offer me a slice of cake), I can totally get behind using a great quote to motivate and inspire. Not only is this project perfectly functional but it also serves to remind me to say yes more than I say no and to embrace change with open arms. Even when I’m at the market picking up a loaf of bread.
So grab some fabric scraps, your favorite quote and let’s make 2014 an awesome year.
What to get:
-Plain cotton or canvas tote bag
-Various fabric scraps
-1-2 sheets of double sided fusible web (I used Pellon Lite EZ-Steam II)
-Light weight card stock
-Glue stick
-Sharp detail scissors
-Iron + ironing board
-Computer + printer
-Ruler (optional)
what to do:
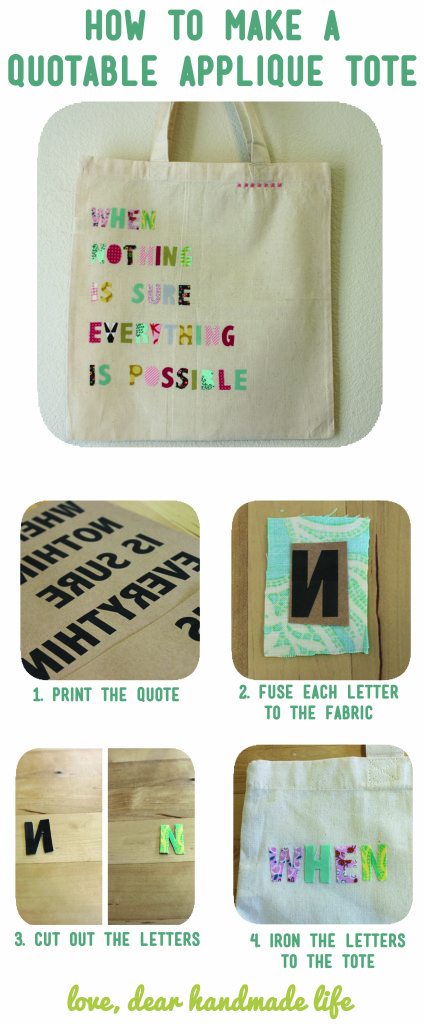
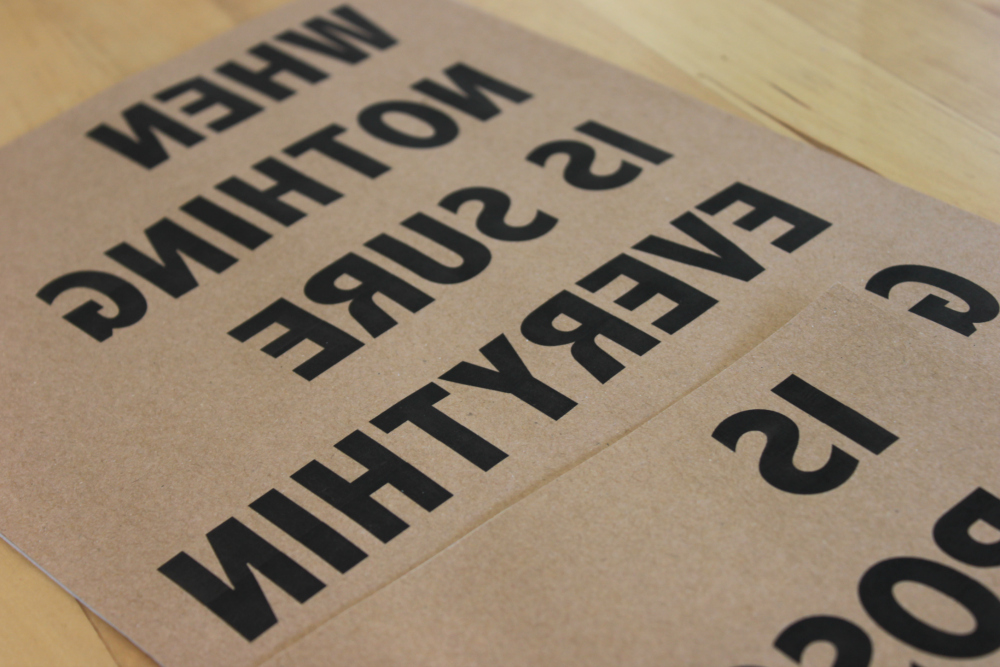
1. Open your word processor and type your word or phrase. You’ll want to choose a font appropriate for cutting out. I used Abadi MT Condensed Extra Bold sized at 120, but you can use a larger size. Adjust your print settings to print the letters backwards (flip horizontal), and print out on a light-weight card stock.
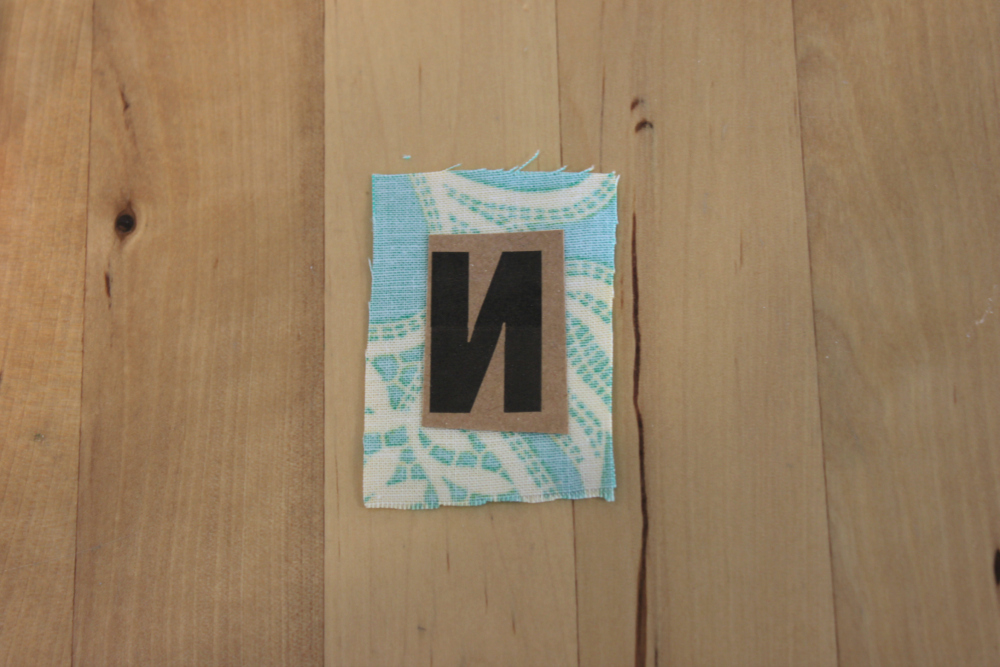
2. Use a glue stick to securely adhere the printed design to the matte side of a sheet of fusible web. Cut out the one letter and peel off the paper backing on the reverse side. Next, place your letter (right side face up) to the wrong side of your fabric scrap. Press down firmly.
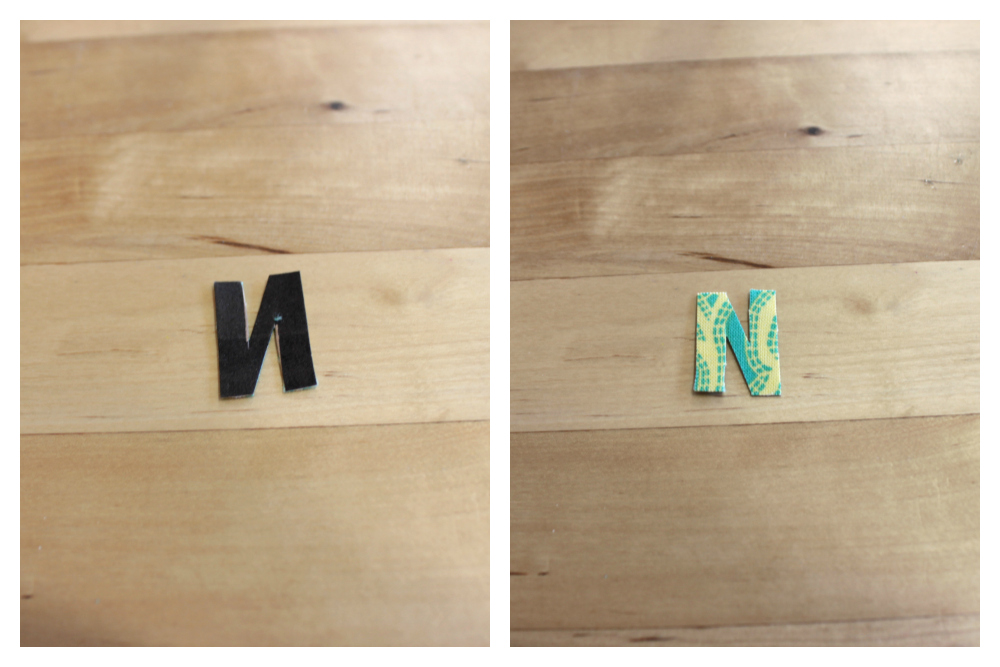
3. Cut through the fabric, fusible web and card stock to cut out each letter. Take your time with this step and use very sharp pair of small detail scissors for optimal results. Your finished letter should have the printed card stock on one side and the right side of the fabric facing up on the other side.
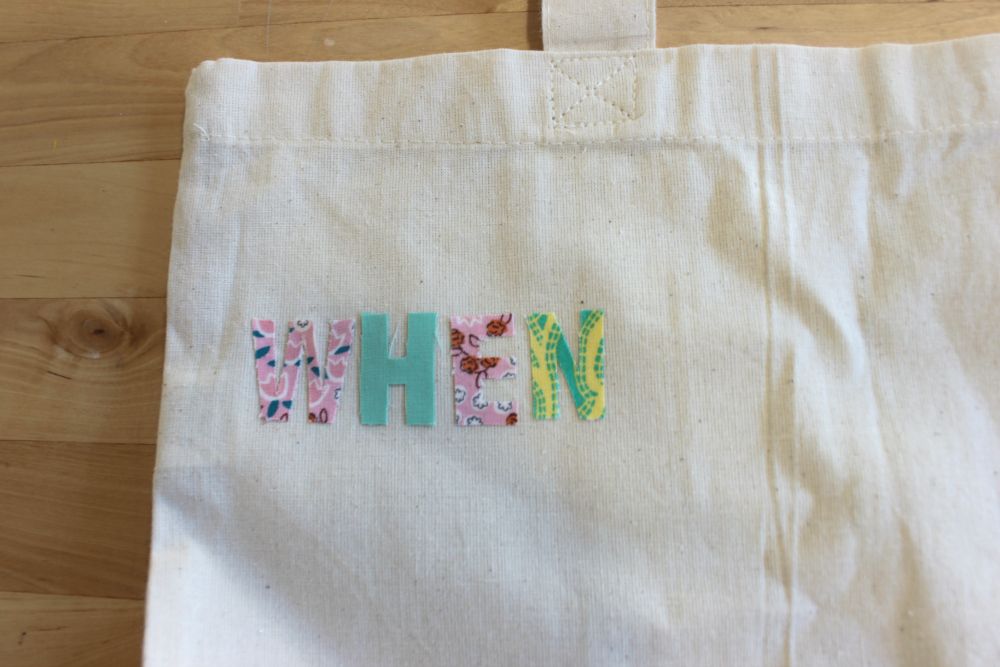
4. Remove the remaining paper backing from the fusible web (the side you glued down to the card stock) and gently place it down on your tote bag. You can choose to use a ruler with this step to help with placement, but I was able to complete my bag by eyeballing it.
5. Once you’re happy with the placement, firmly rub across the top of your letter with a finger to temporarily adhere the letter to the bag.
6. Once you’ve completed your word or phrase, iron over the top of the bag using the directions indicated on the package of your fusible web. Your letters are now permanently adhered to the bag!
Helpful hints:
+ keep your phrase short and sweet. The phrase I chose took me longer to complete than I had anticipated. I almost regret not using my husbands suggestion: #yolo. Almost.
+ keep your glue stick nearby during the cutting out process. You’ll need it to re-attach the card stock to the fusible web.
+ cut out and place the letters on the tote bag one at a time to help stay organized.
+ If you’re having a difficult time removing the paper backing after you’ve adhered the fusible web to the fabric scrap and cut out the letter, create a small “tear” in the back paper by “ripping” your fabric letter. It should create a seam that you can slip your finger nail underneath to pull up the paper backing.
+ feel free to add a bit of embroidery to enhance cuteness factor of this project.
-lisa rios
About Lisa:
“If you had asked my 12-year-old self what I wanted to be when I grow up, I probably would have had a perfectly sensible answer. Like a circus trapeze artist or an outer space explorer. Never in my wildest dreams could I have imagined that I would craft for a living. But fast-forward 20 years and I’m the owner of The Makery, a walk-in craft studio located in Anaheim. In addition to teaching and organizing local creative workshops, planning craft parties and designing handmade craft kits, I also design for Whimsy and Ink, the handmade biz I share with my rad hubby. My work has been featured in Real Simple, Brides Magazine, Bust, The Huffington Post, Orange Coast Magazine, Sunset Magazine, in Etsy’s Featured Sellers series, and in my mom’s emails to Grandma.”



 Want to win a FREE ticket to Cra


I love it, Lisa! You make everything beautiful.
Thank you Syna, darling!