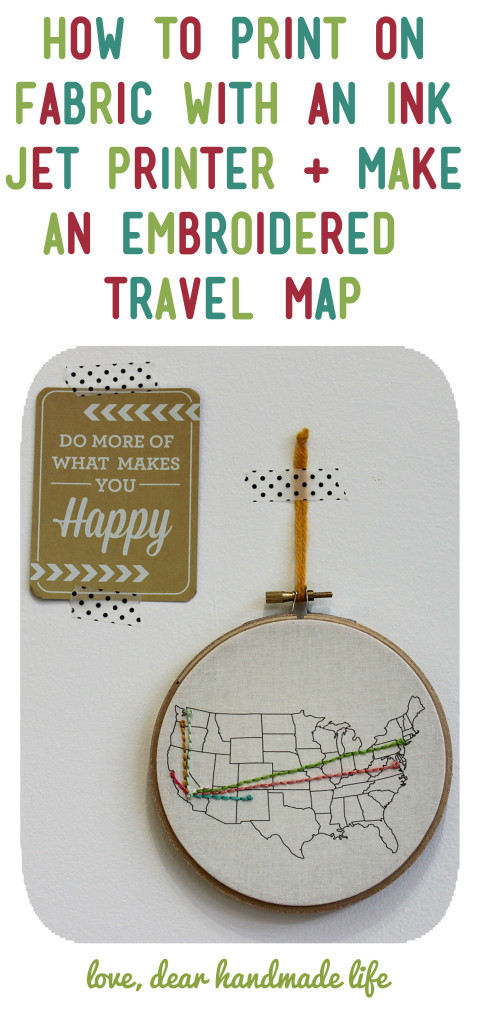
how to print on fabric with an inkjet printer and make embroidered map art
I’m going to let you in on a little secret, and it just might change your life forever: you can totally print directly on fabric with your inkjet printer. Yes, regular cotton fabric with your regular inkjet printer! This method of fabric printing works best on lightweight, solid colored fabric that won’t need to be washed. My love of printing custom fabric and my love of travel inspired this project, which makes it extra special to me.
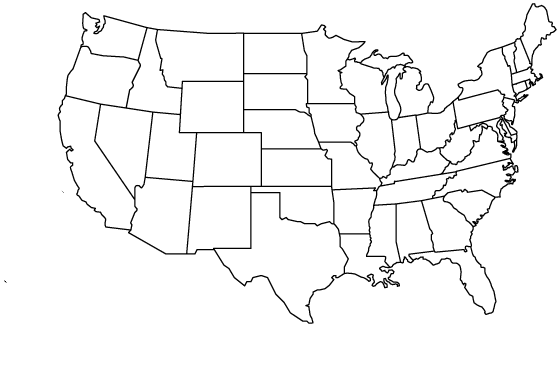
I used a simple map of the continental United States (sorry to my friends in Alaska and Hawaii), but you could easily do the same with a map of the world.
What to get:
Map image
5” embroidery hoop
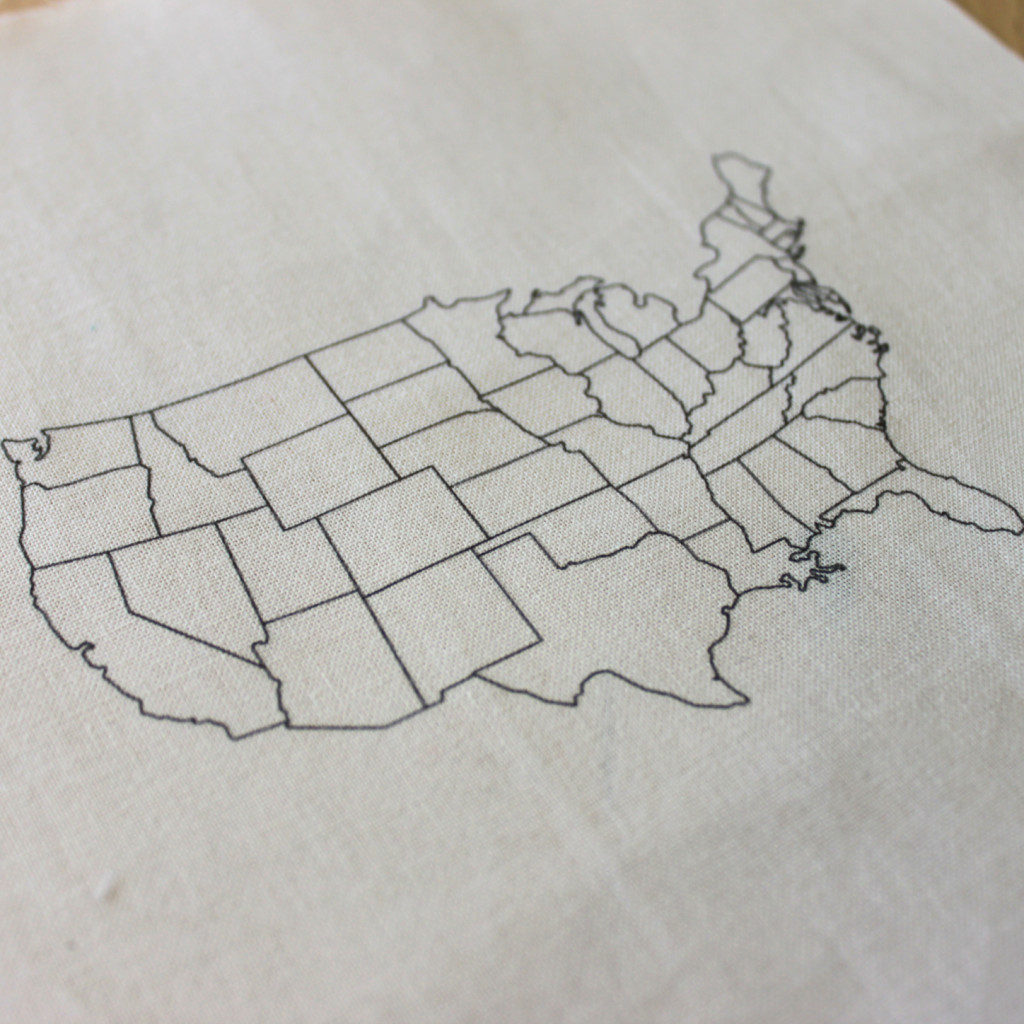
Embroidery needle
Embroidery floss
Glue stick
8.5” x 11” piece of cotton quilting fabric (light + solid colors work best)
8.5” x 11” piece of freezer paper
8.5” x 11” sheet of card stock
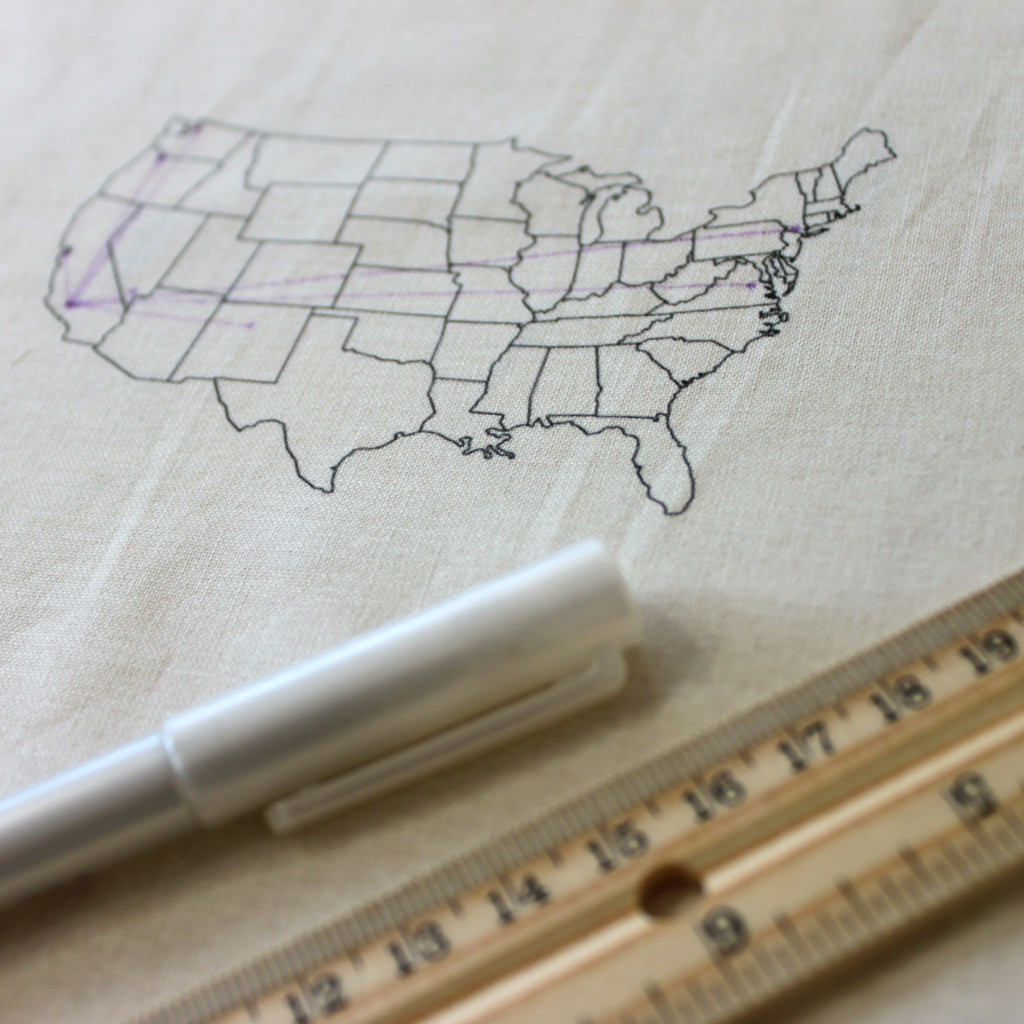
Disappearing ink pen
Ruler
Scissors
Iron + ironing board
what to do:
1. First things first, you’ll want to set up your image for print using your favorite software. It doesn’t have to be fancy, I happened to use MS Word. It’s important that you do this step first because you’ll need to move quickly through the next few steps for your image to print properly.
2. Cut your fabric, paper and card stock to size.
3. Iron your freezer paper to your fabric with shiny side of the paper facing your fabric. The shiny side contains the magic, fabric adhesion properties!
4. Quickly, glue down the matte side of the freezer paper to the card stock. Make sure that all four edges are completely glued.
5. Immediately insert into your inkjet printer via the manual feed tray and print away! If you wait too long after ironing, your fabric might start to ‘bubble’ away from the freezer paper and smudge during the printing process. If that happens, try again with a new piece of fabric, and move through the process a bit faster. Speed is key!
6. Peel your printed fabric away from the wax paper and heat set your image with a hot, dry iron.
7. Next, use your disappearing ink pen to mark your current location and every city or state you’ve visited with a dot. Use a ruler to create lines between your current location and each dot on your map.
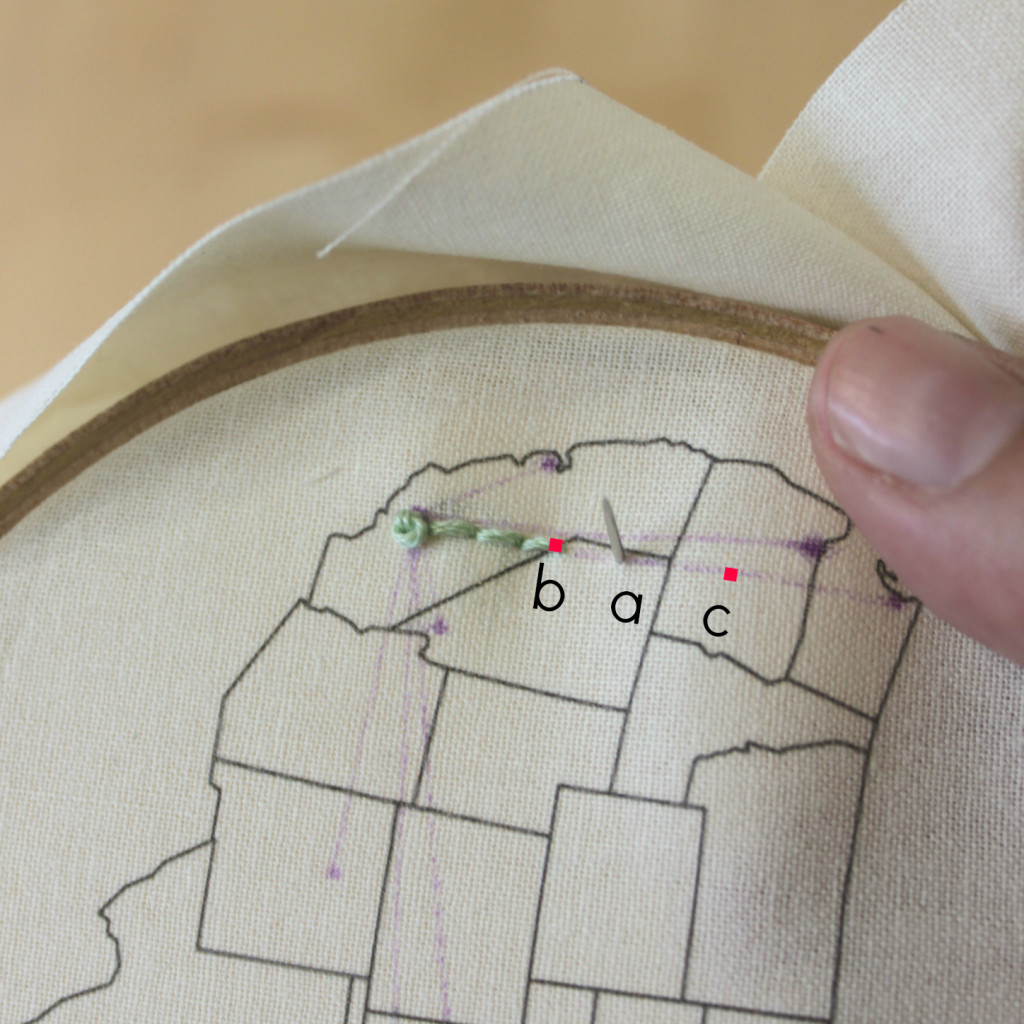
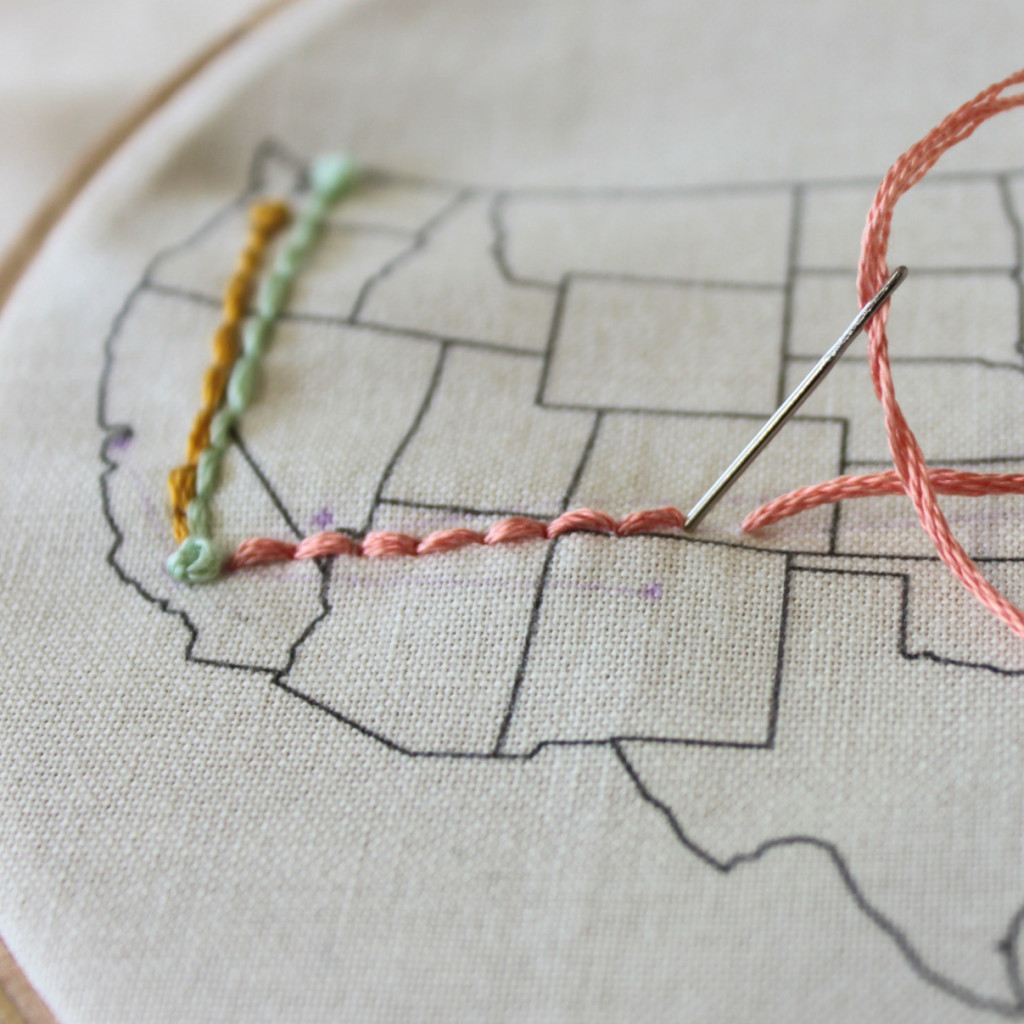
8. Stitch away! To do a simple back stitch back stitch, insert your needle up through point A, down through point B, and up again through point C. It really is that simple!
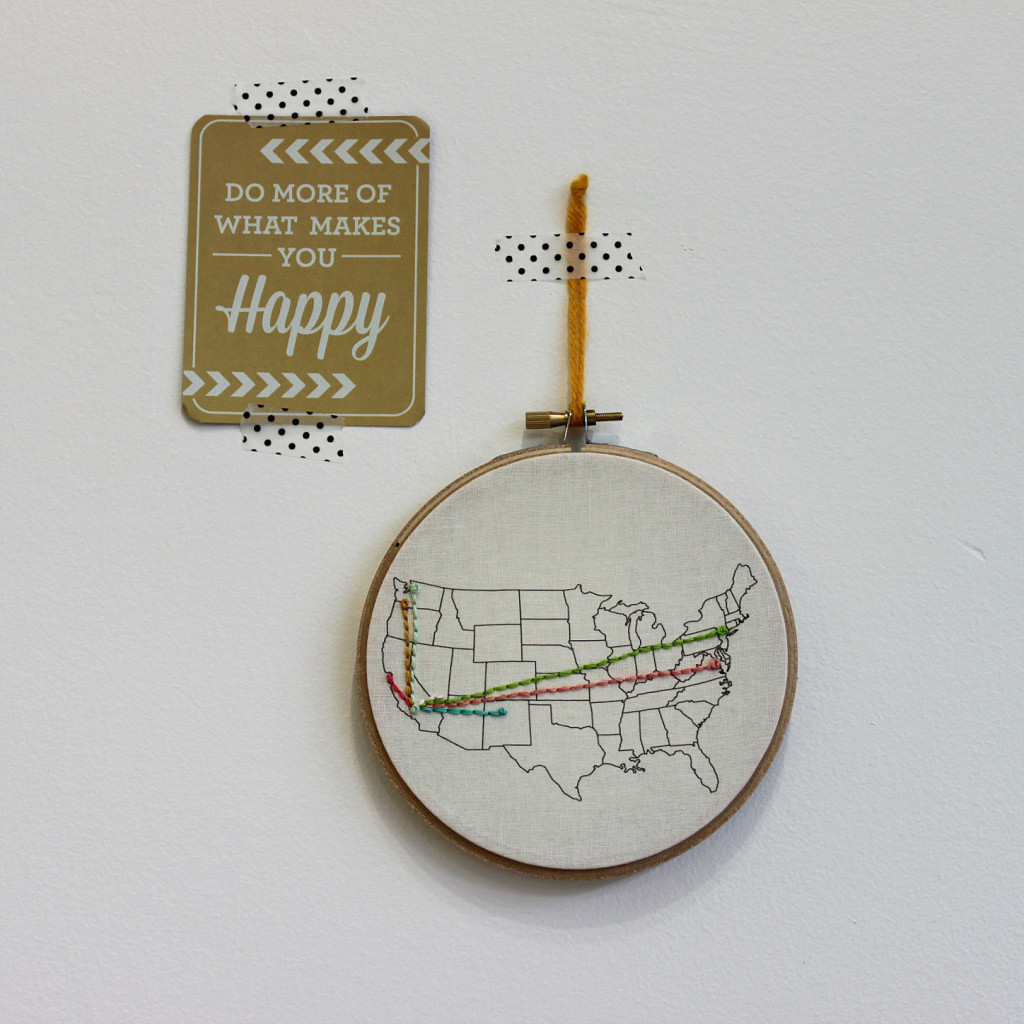
9. After you’ve completed your stitching, trim away excess fabric and hang your hoop on the wall! Mine is hanging up in my craft studio, where I sometimes daydream about adventures in new cities. I plan to update my embroidery hoop map as I continue to travel, and I hope you will, too!
-lisa rios
About Lisa:
“If you had asked my 12-year-old self what I wanted to be when I grow up, I probably would have had a perfectly sensible answer. Like a circus trapeze artist or an outer space explorer. Never in my wildest dreams could I have imagined that I would craft for a living. But fast-forward 20 years and I’m the owner of The Makery, a walk-in craft studio located in Anaheim. In addition to teaching and organizing local creative workshops, planning craft parties and designing handmade craft kits, I also design for Whimsy and Ink, the handmade biz I share with my rad hubby. My work has been featured in Real Simple, Brides Magazine, Bust, The Huffington Post, Orange Coast Magazine, Sunset Magazine, in Etsy’s Featured Sellers series, and in my mom’s emails to Grandma.”



I love this!!! I am definitely going to try this for some handmade gifts for the holidays!
mary,
glad you like it! one of the things i love about this project is that you can do it with an image! although lisa’s map idea is amazing 🙂
really great and very helpful blog.
What a helpful blog… love it…
Thanks for sharing the beautiful guide will really look forward to implementing it.
This is nice work
Nice fabric and great work for embroidery
Great tutorial!