Tassel Wall Hanging
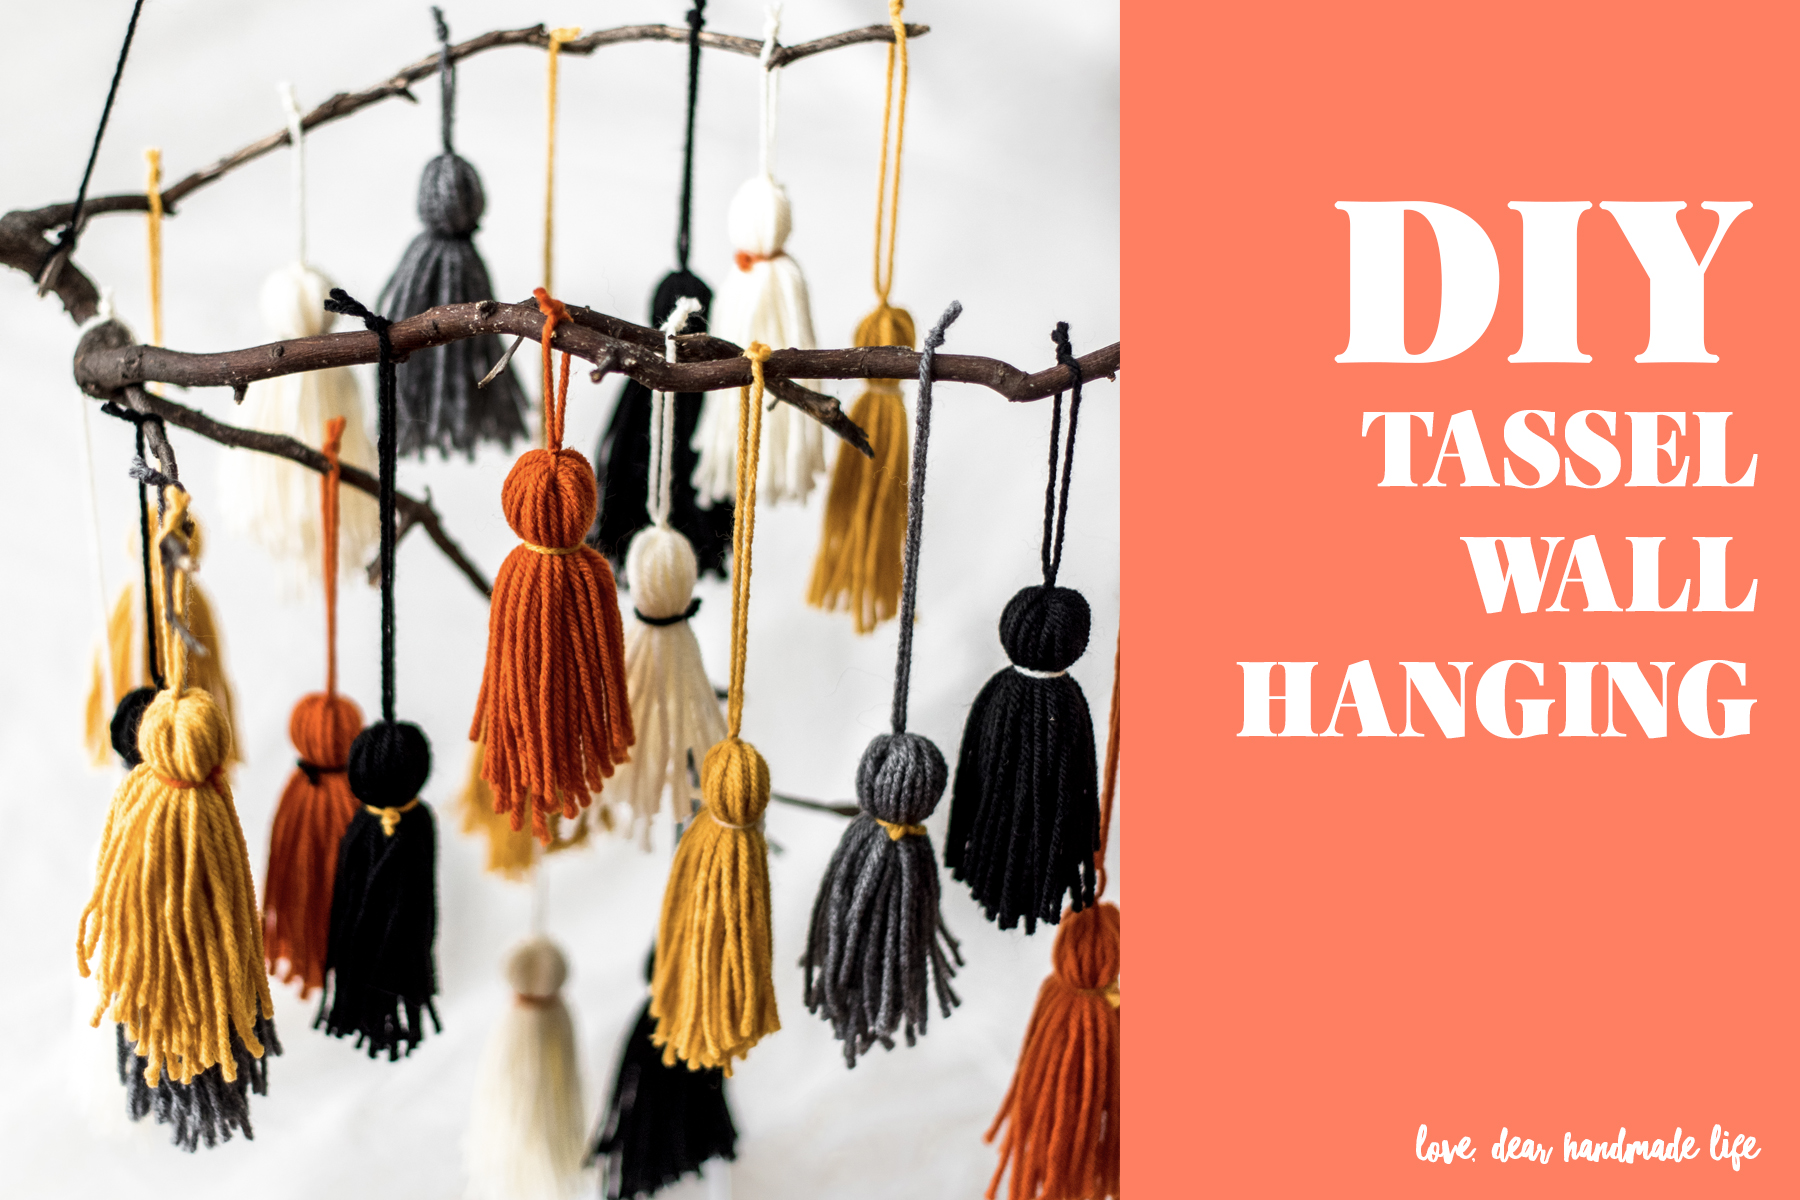
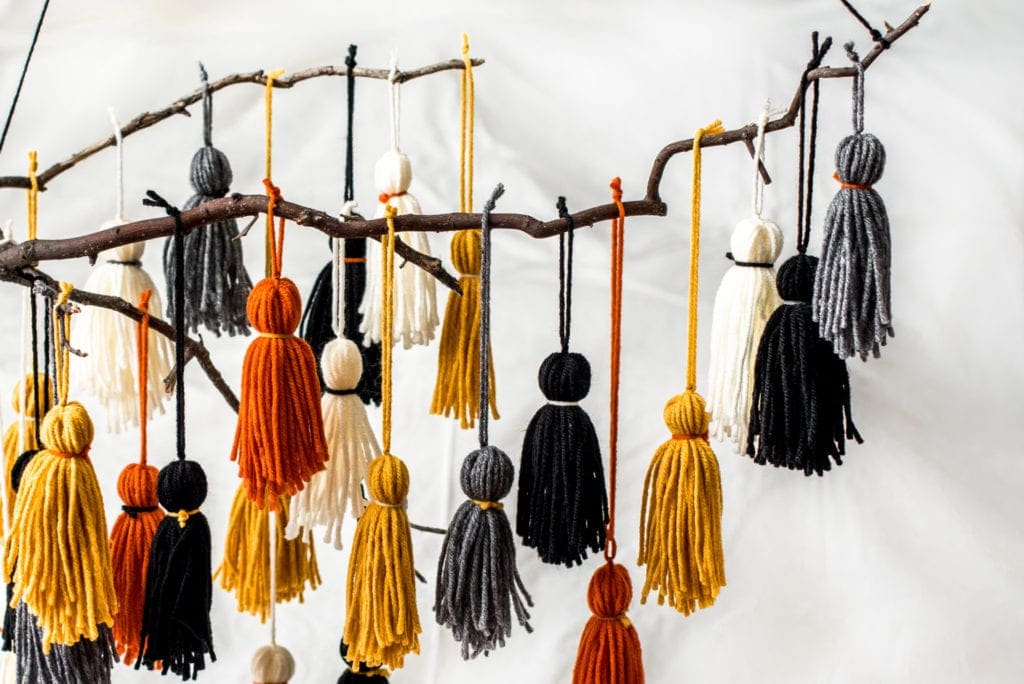
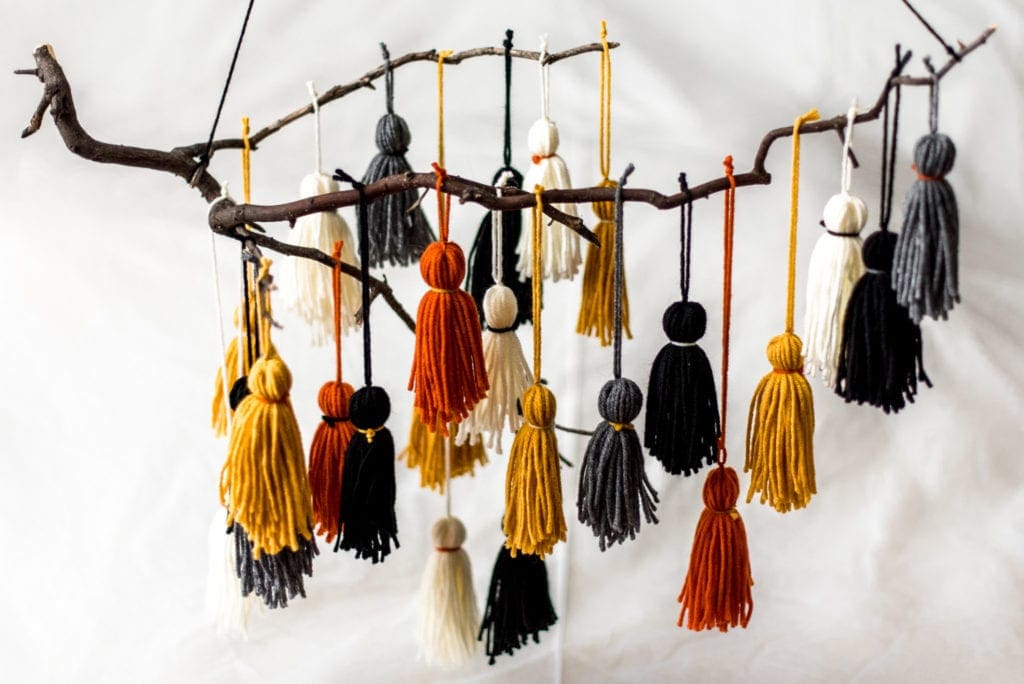
Fall is my favorite season for many reasons but especially for decorating. There are so many fun options in the stores to fill your home with, but if you know me by now, you know I love my DIY projects! I wanted something cute and easy and decided on this adorable tassel wall hanging which utilizes tassel makers from our friends at Clover! Let me show you how I did it.
WHAT TO GET:
-Yarn: I used Fair Isle Liberty
-Scissors
-Tree branch, wooden dowel or anything you want to hang the tassels from
WHAT TO DO:
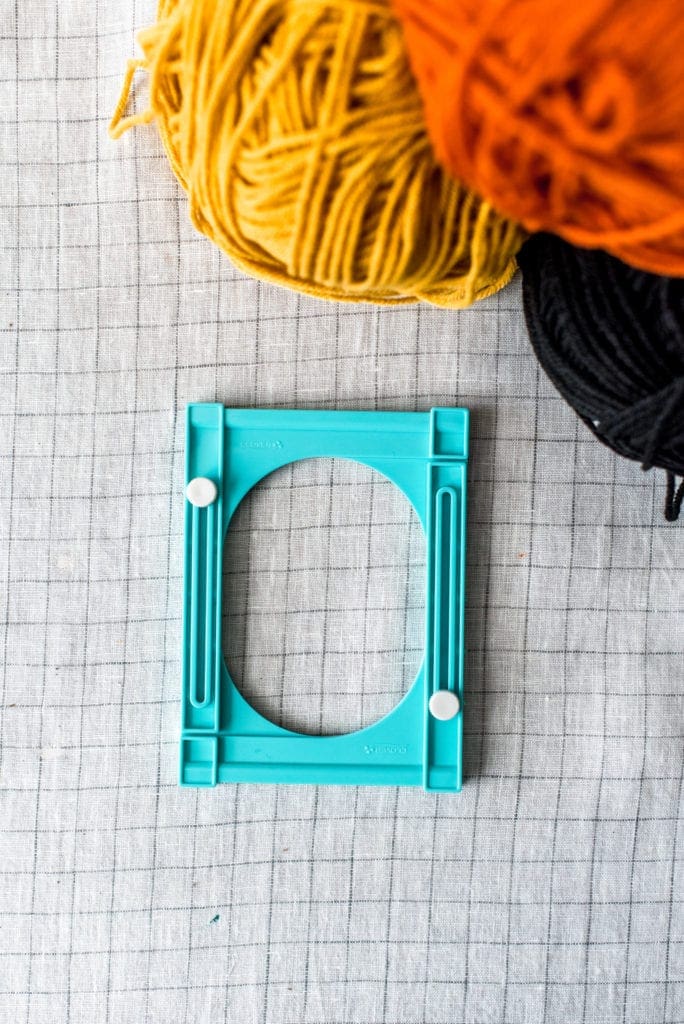
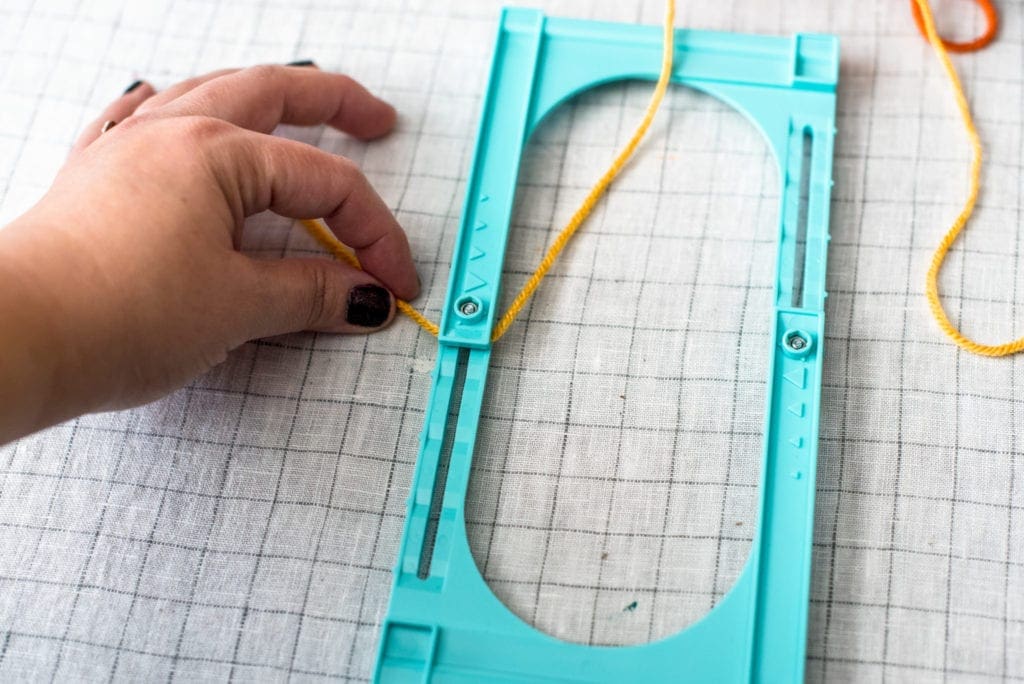
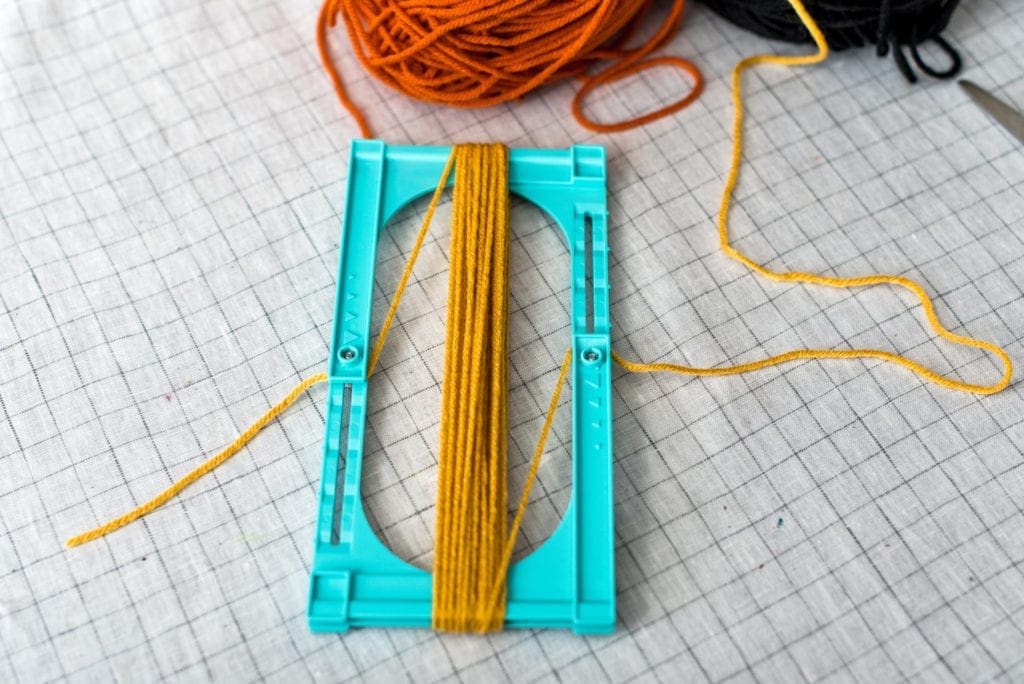
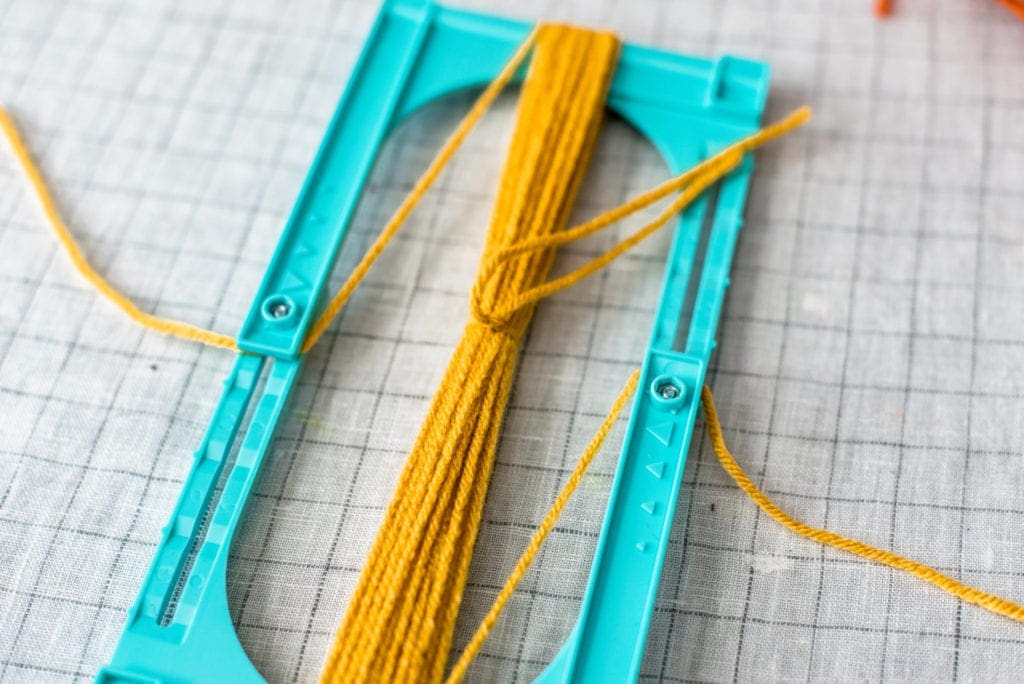
1. These Tassel Makers from Clover are what really makes this project SO quick and easy. For this project I only used the large size. The small size would be great for thinner yarn or embroidery floss to make tassels for jewelry or small embellishments. There are screws on each side of the maker that you loosen to extend the size and tighten back up, I made mine that the largest I could. Work from the “back” side of the maker, there are two little lips with arrows on them to guide you.
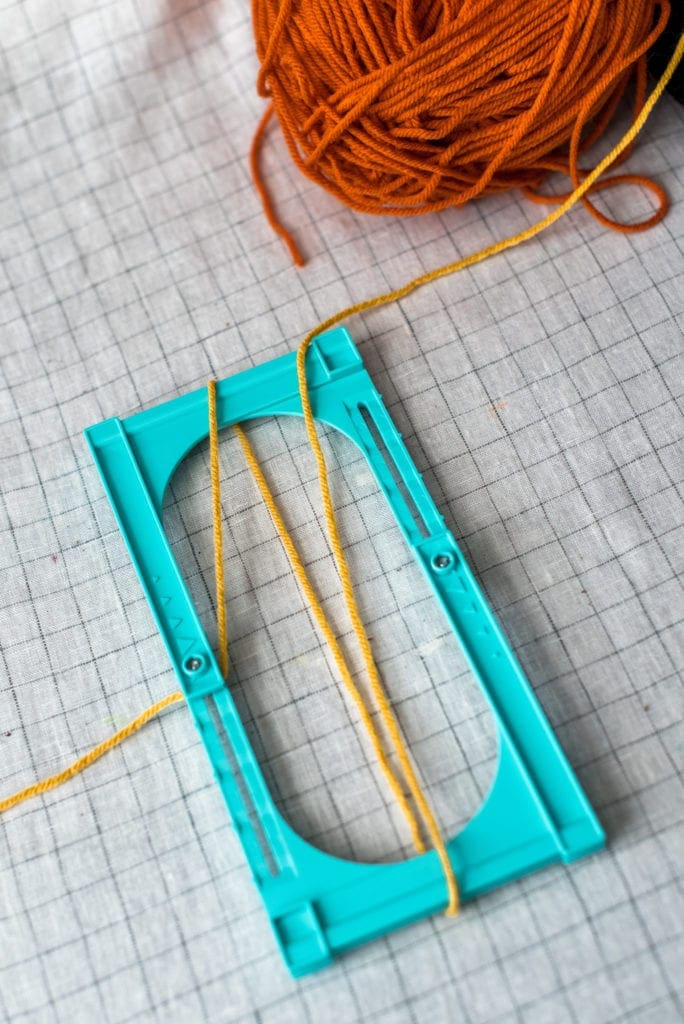
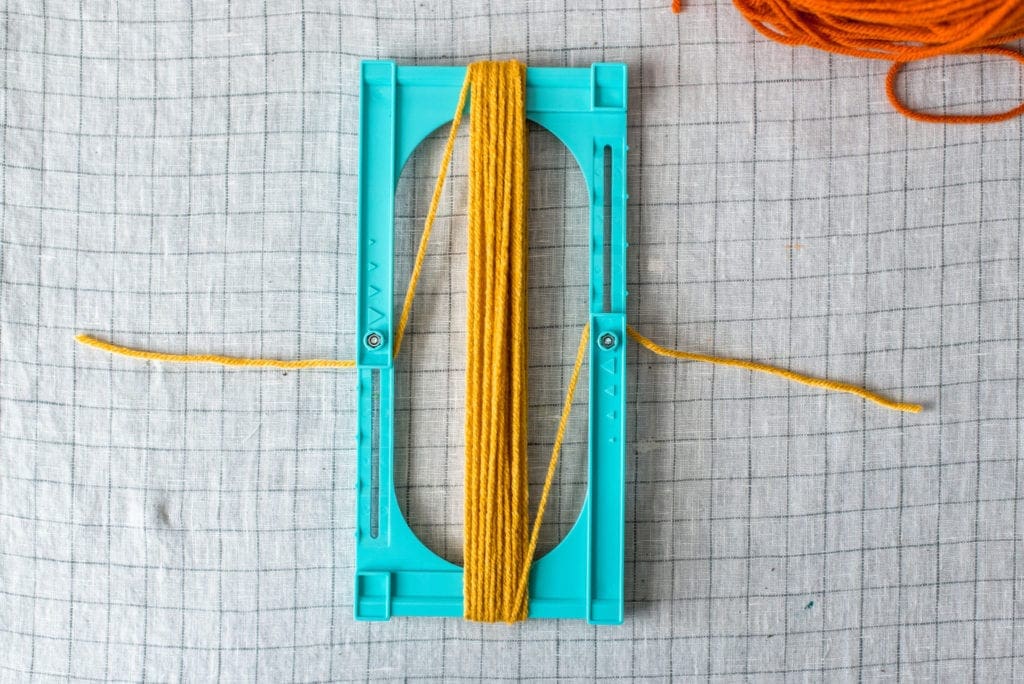
Secure the end of your yarn under one of the lips and start wrapping your yarn around the middle of the maker. Keep in mind that the more yarn you wrap around the thicker your tassel will ultimately be.
Once it’s wrapped to your liking, secure the other end of the yarn under the lip on the other side of the maker and snip the yarn.
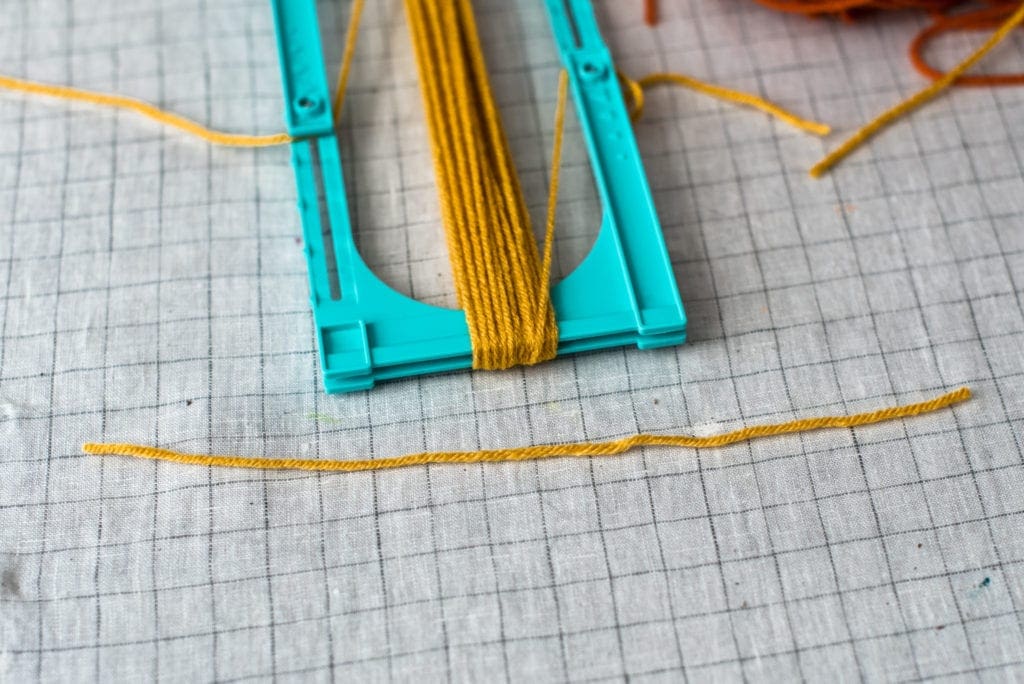
Cut a length of yarn, (I used the same color here) this will be where the tassel hangs from, and tie it around the yarn bundle in the center, knot it tightly and then knot again just so it’s secure.
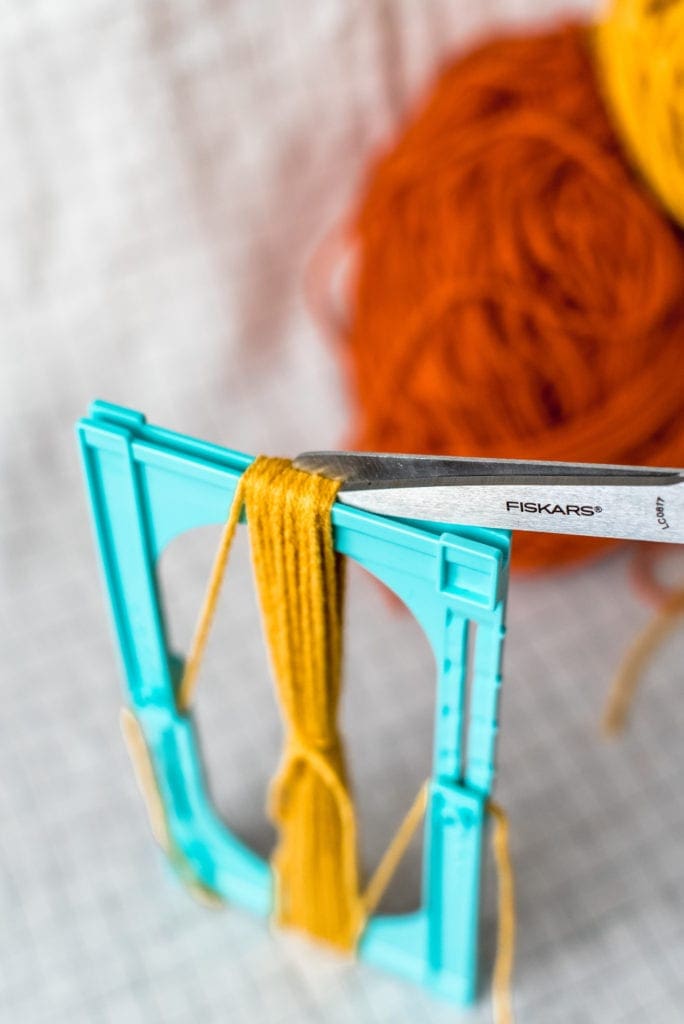
There are grooves at the top and bottom of the maker for your scissors to slide in and snip the threads, this is easiest if you hold the yarn securely before snipping. Snip one side and then the other.
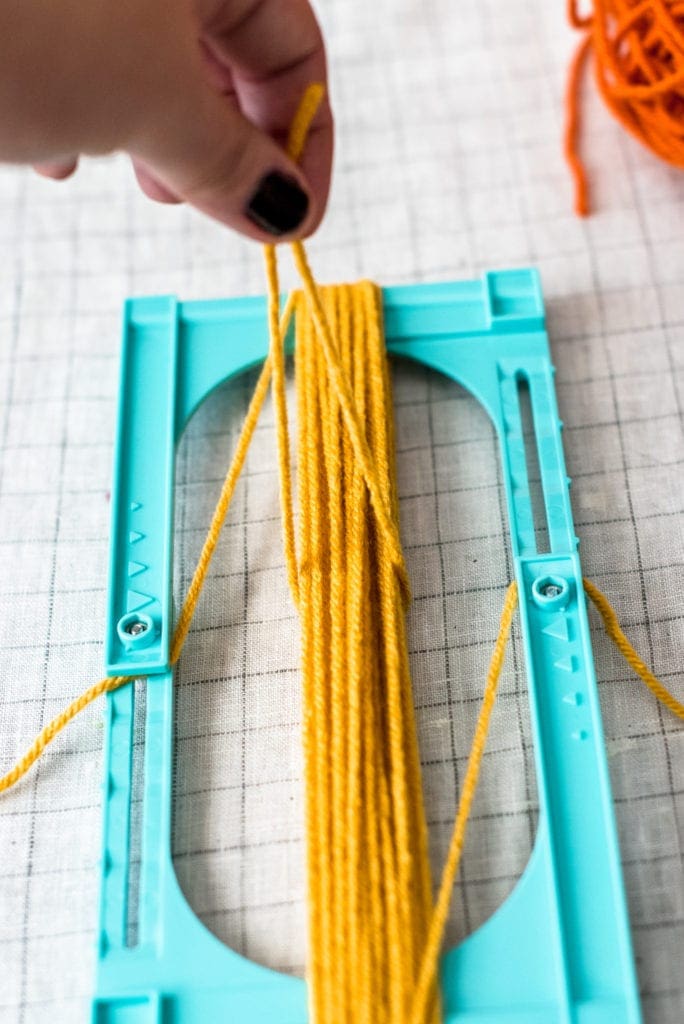
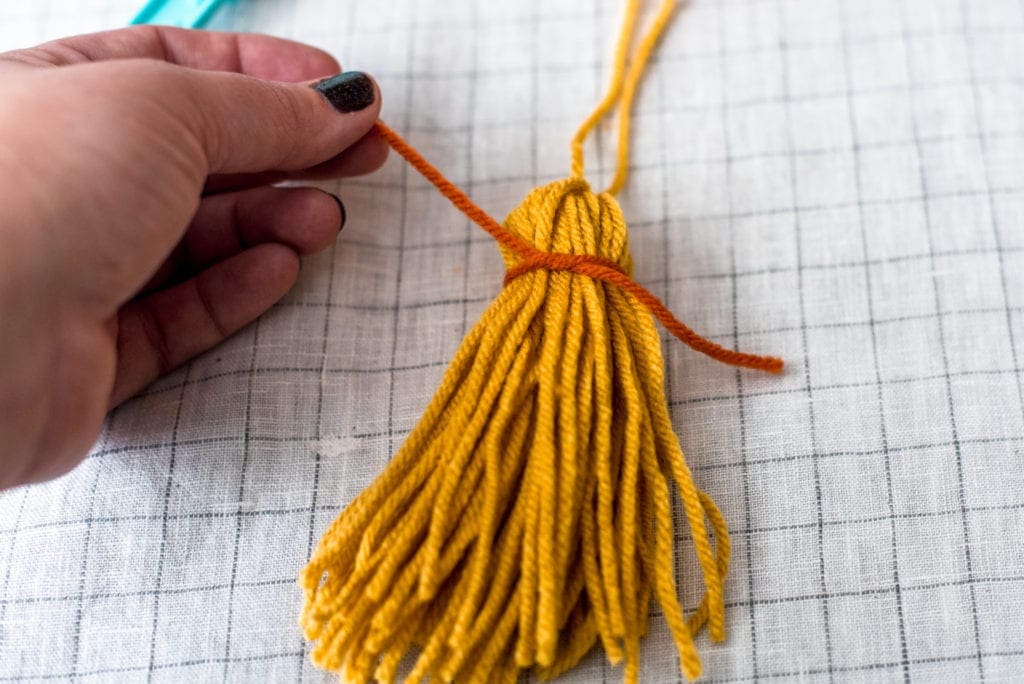
Find the two ends from your center strip of yarn and hold the tassel up so that all other threads lie flat.
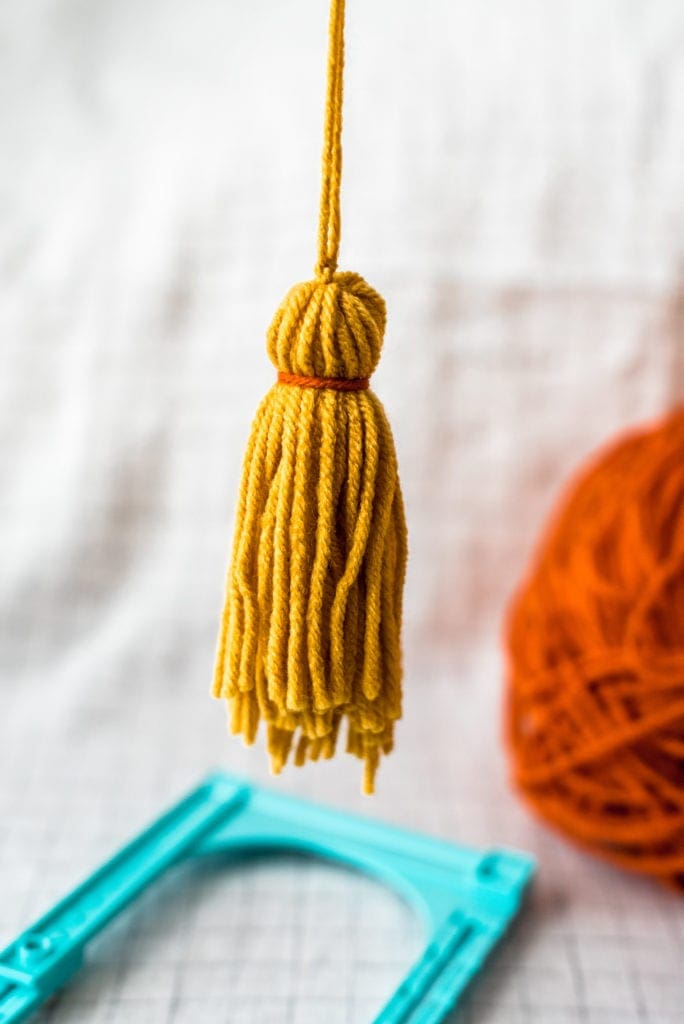
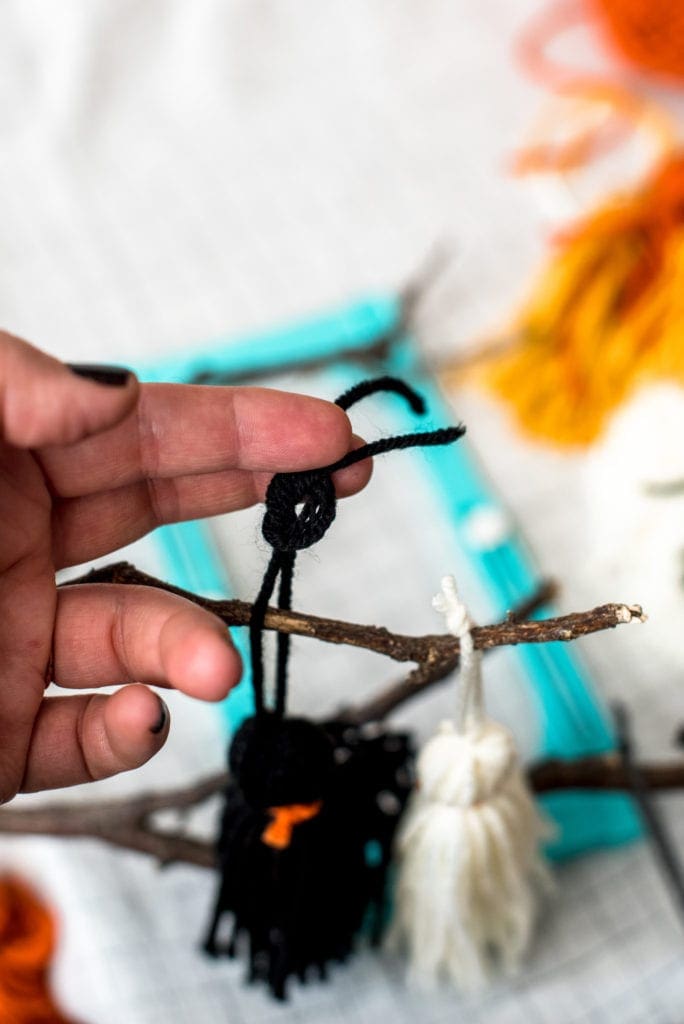
To make the “head” of the tassel, take another small length of yarn, I used different colors for this part. Lay the small length of yarn down and then lay your tassel on top of that, and tie a double knot around the tassel to create the ‘head’. You could wrap the yarn around a few times here to give it a different look, I only did it once.
At this point you could trim the bottom of your tassel if you want it all to be even, I left mine as is because I liked the more rustic look of it for this specific project.
Repeat these steps for as many tassels as you want to make!
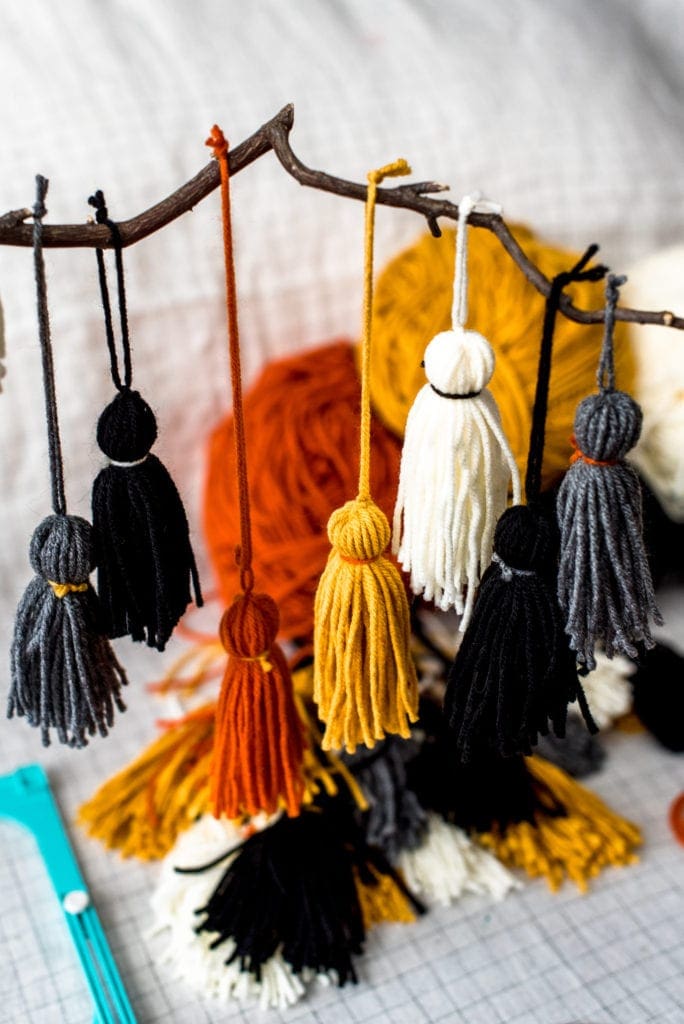
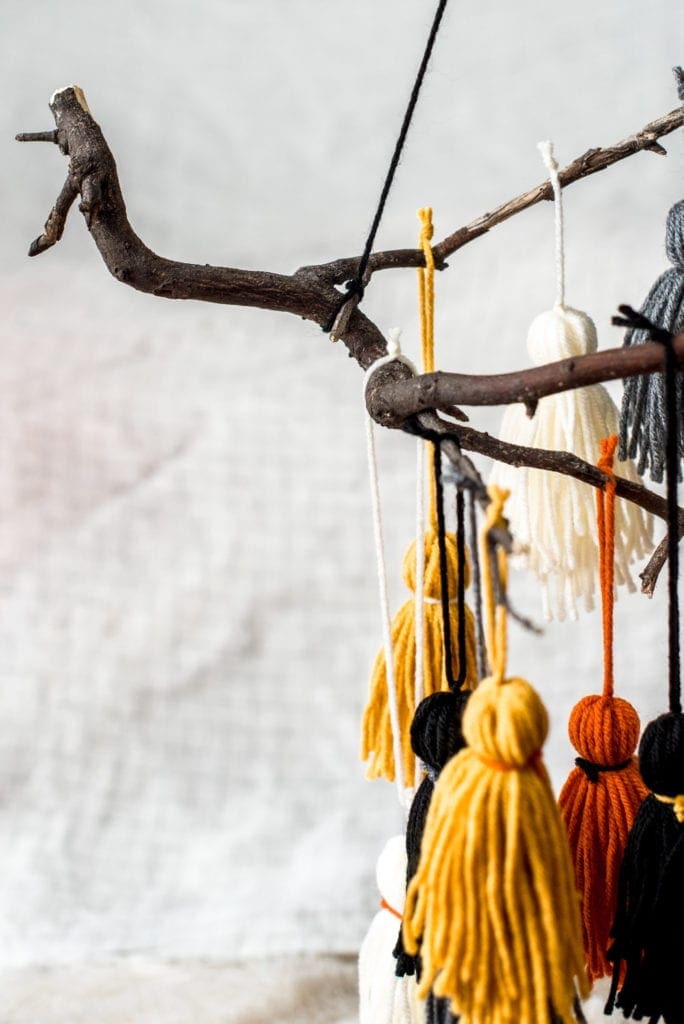
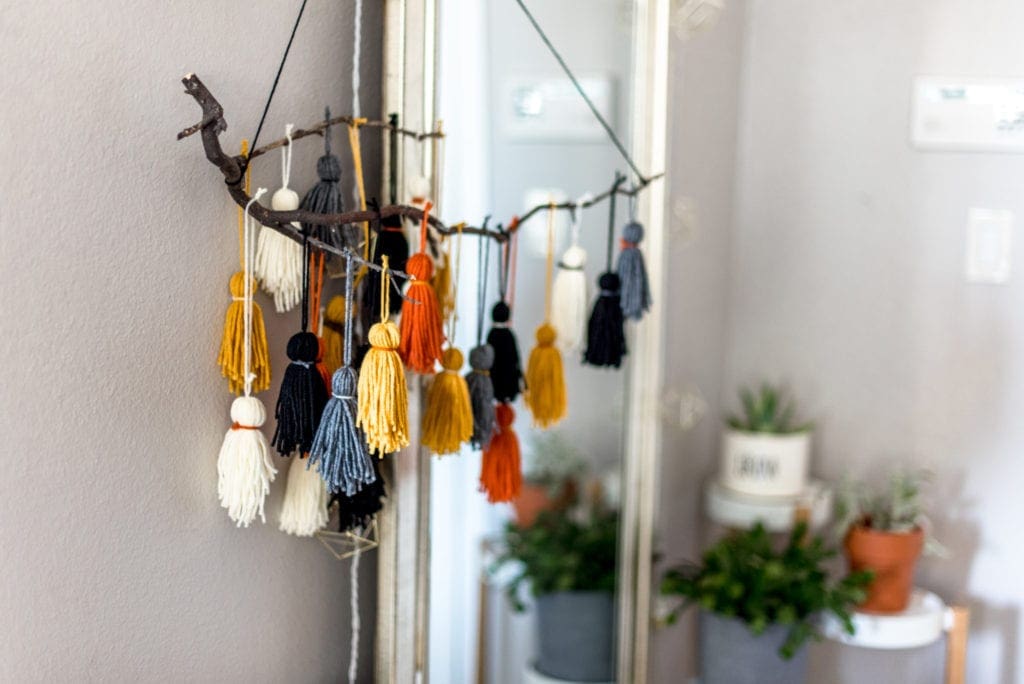
2. Tie your tassels to your tree branch/wooden dowel in whatever pattern you’d like! A special shout out to my friend Katie (@glitter_folk_studio) for finding me the PERFECT tree branch in her backyard! To tie the tassels to the branches, I just used a simple double loop knot at the top and then trimmed it. To make them longer, use a corresponding color of yarn in a longer piece and tie it to your tassel and then to the branch. For what it hangs from, I just used a long piece of black yarn and tied it on each end of my tree branch.
So easy, right? This can be made in so many different color combos & would be so fun to make for each season or holiday! Have fun making. 🙂
ABOUT NIK:
Nik is a maker, day dreamer & potty mouth who loves cats, coffee and craft beer. She is a self taught hand embroiderer and will DIY pretty much anything she can get her hands on. You can see her work on Instagram @wastingthyme & @nikvphotography. She lives in Long Beach with her husband and her three awesome cats (that she can’t shut up about).


