Trim Your Tree with DIY Spatterware-Inspired Ornaments
 I’ll just come right out and admit it: I’ve got a thing for Martha. Specifically, vintage Martha. I’ve begun to amass a small collection of hardcovers–some passed along from my mom, some from yard sales, some found mixed up with the Art History books I’ve moved into and out of every apartment for as long as I can remember.
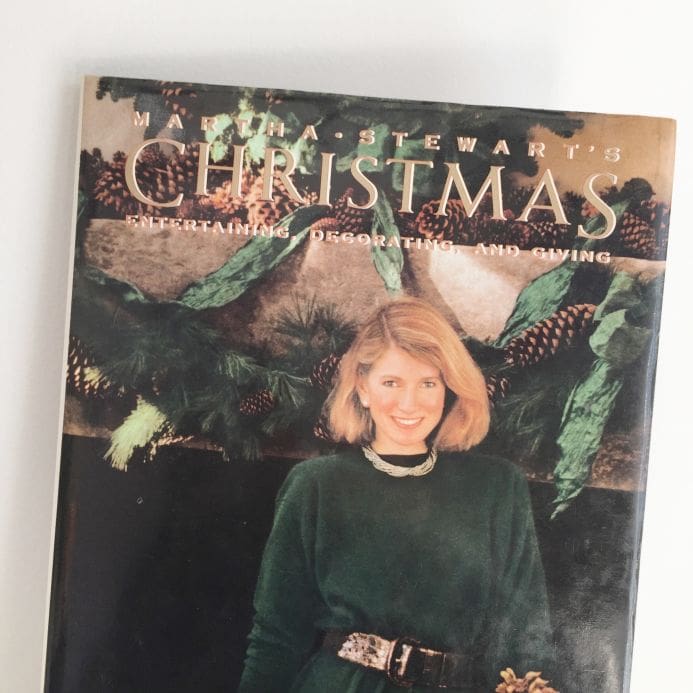 Martha Stewart’s Christmas is a particular gem that I rediscovered while pregnant with my second child. Nauseous and depleted, I hid under the covers during a particularly beautiful August seaside vacation and felt oddly comforted by her almost other-worldly interpretation of Christmas. Cue: heavy, medieval, Germanic lighting mashed-up with high-waisted cinch belts and un-ironic holiday knit sweaters one might wear to a Christmas party in Darien, Connecticut, circa 1989. There’s an entire chapter devoted to plum puddings. And another: Pomanders & Potpourri.
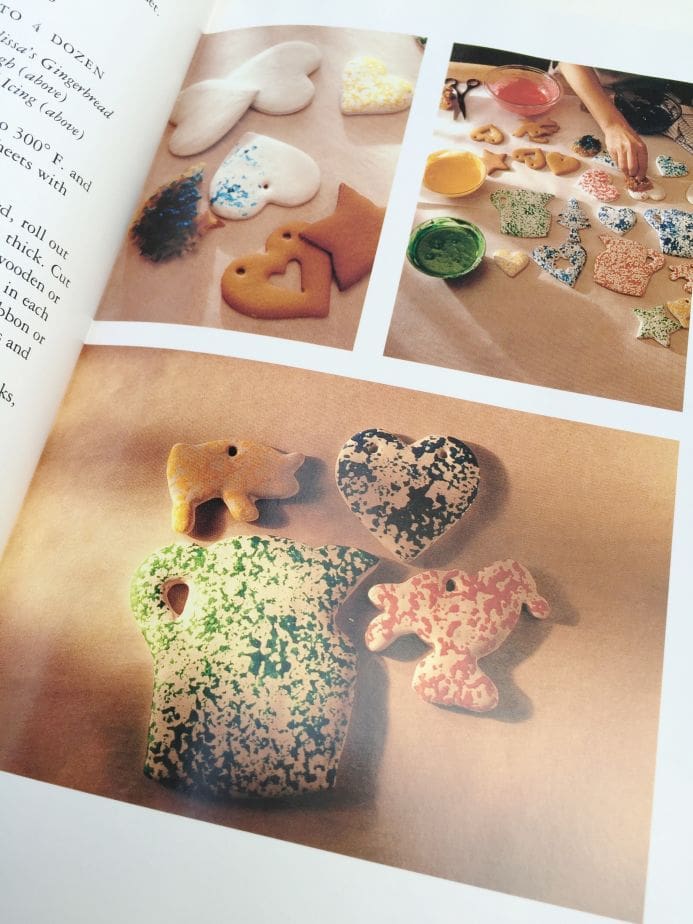
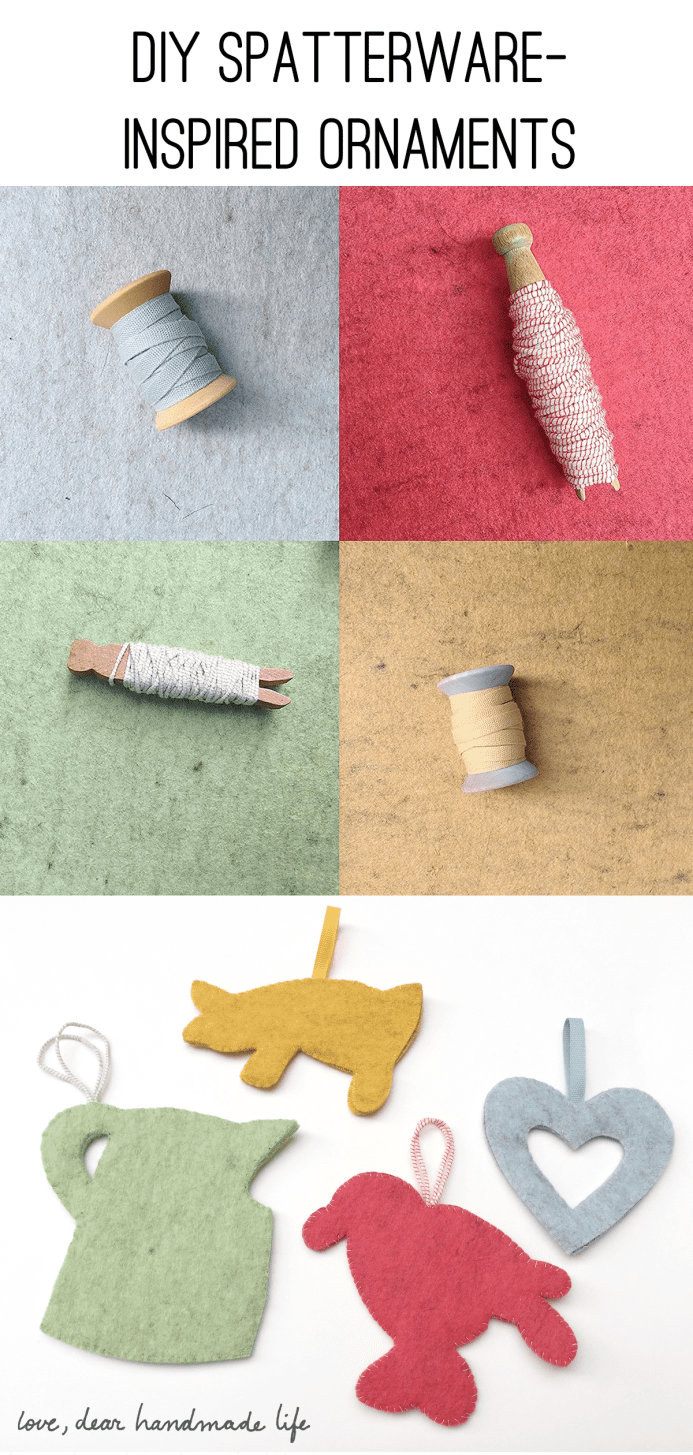
It’s love. It’s detached curiosity. It’s omg-is-that-really-your-life. It’s Martha. So imagine my surprise (at my own delight) upon discovering her take on the American pottery, Spatterware. She’s re-imagined the dishware as Christmas cookies, complete with assured advice for the novice homemaker, of course: “We found that domestic or rustic cookie shapes–like the pig, heart, pitcher, and rooster–worked best.”
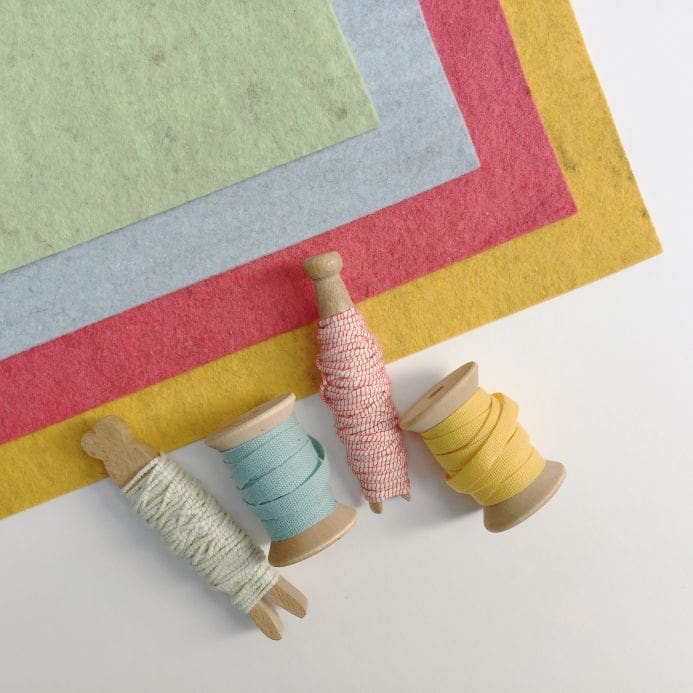
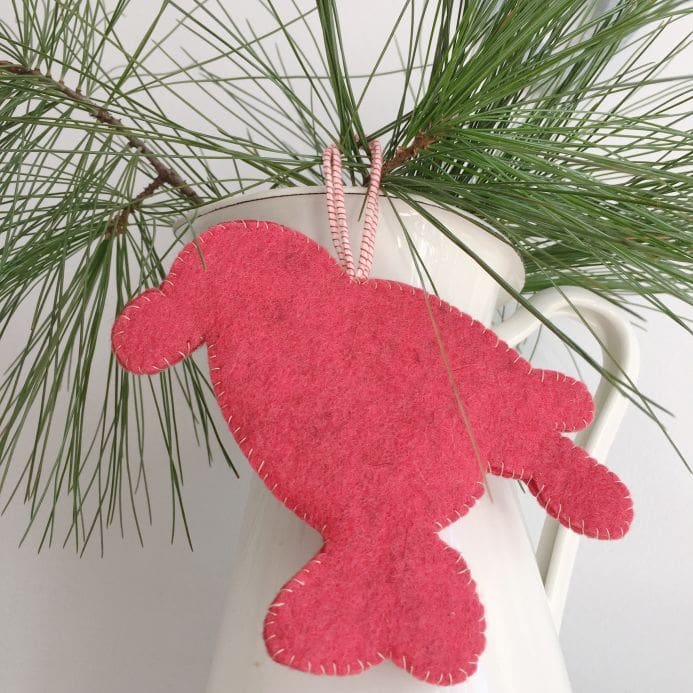
 A peruser of cookbooks, sure. A baker, I’m not. But I just had to make these. Synchronicity is a magical bird, or in this case, a colonial rooster. I just so happened to have a pile of felt on hand that embodied this traditional American pottery, both in speckle and shade. And now, well beyond those first-trimester months of illness, with a complete and whole and beautiful 9 month old babe set to celebrate his very first Christmas–I’m riffing upon her riff with a set of handmade, spatterware-inspired, Martha-approved (well, in spirit) felt ornaments. Heavy mood lighting and 80’s shoulder pads are optional.
What to get:
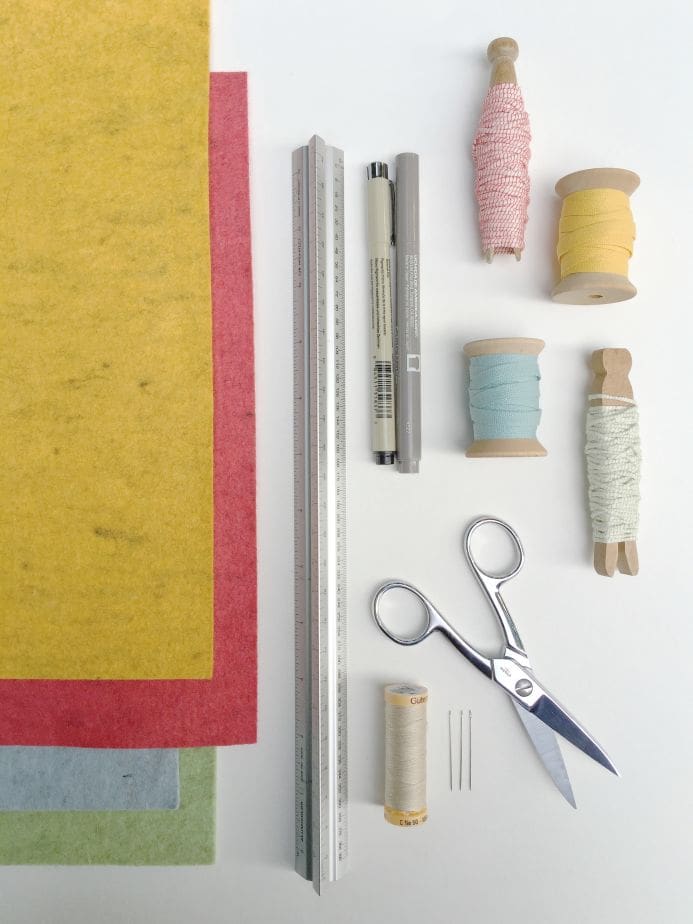
• Felt. FrescoFelt from Purl Soho evokes the spatterware look.
• The pattern. (Available as a free download on my site here.)
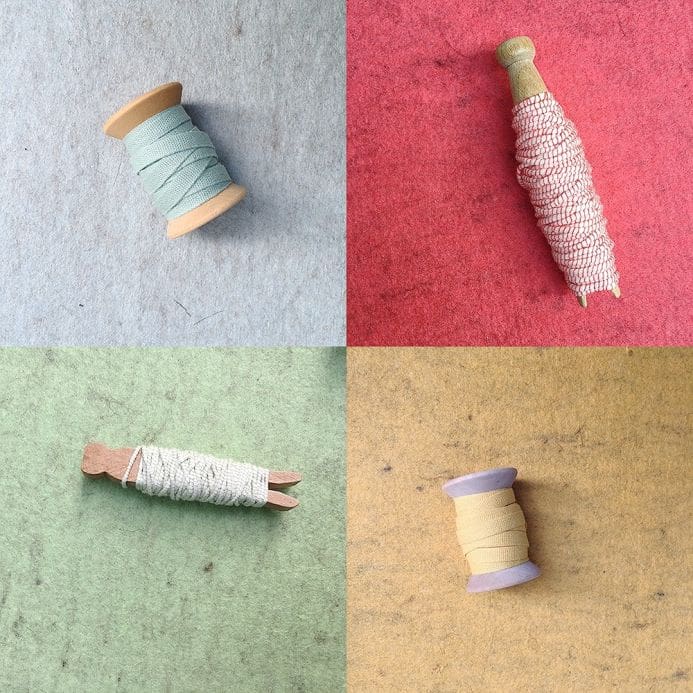
• Ribbon. I love everything out of Studio Carta but really any scrap ribbon will do.
• Basic sewing tools: a good pair of scissors, thread, needle, and a fabric pen.
What to do:
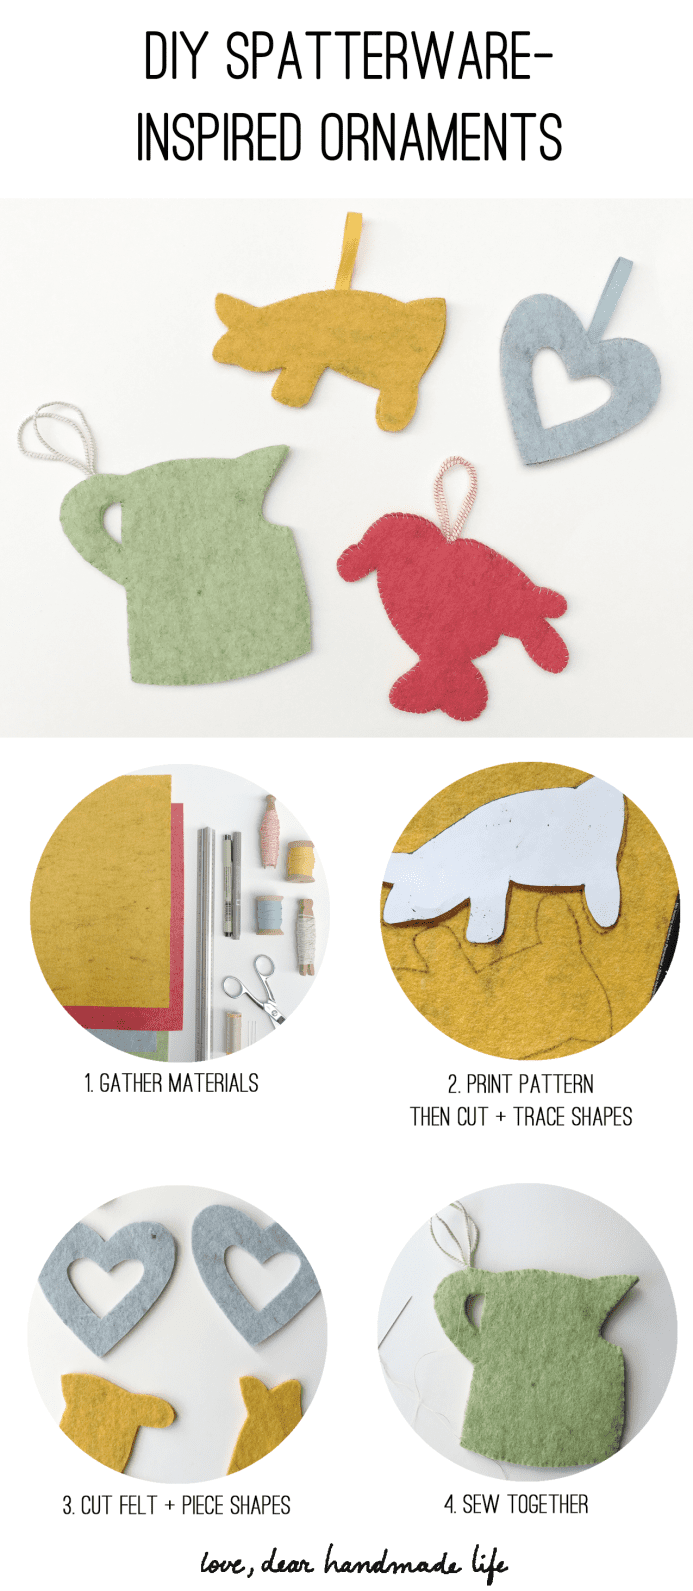
1. Print the pattern, available for download here.
2. Cut the shapes from the pattern.
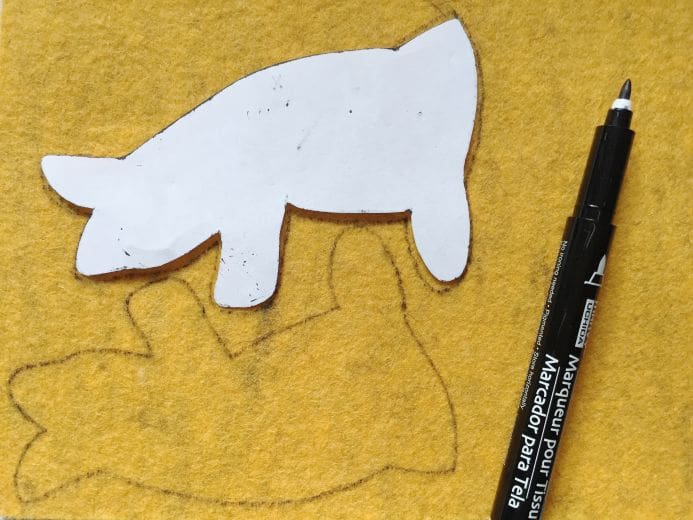
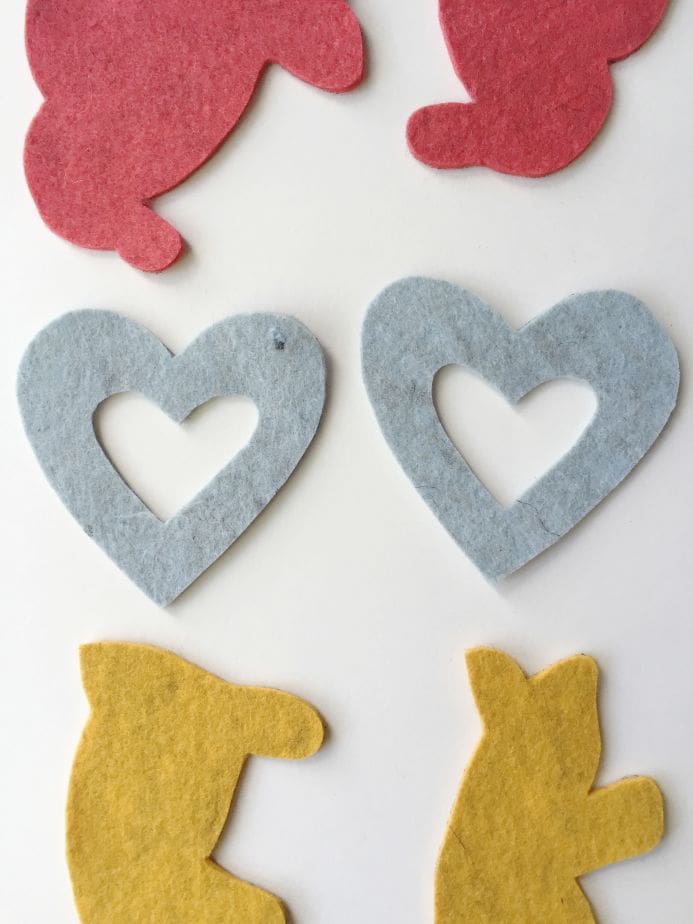 3. Using a pen for marking fabric, trace the patterns on the felt. After tracing each shape once, flip the pattern and trace again. Cut the shapes from the felt. You’ll have a total of 8 felt cut-outs, 2 for each shape.
4. Place the two matching pieces of felt cut-outs together like a sandwich, keeping the bits of fabric with any excess marker on the inside of the ornament.
5. Starting at the spot where you’ll eventually stitch the fabric hook for hanging, hand sew the two felt layers together.
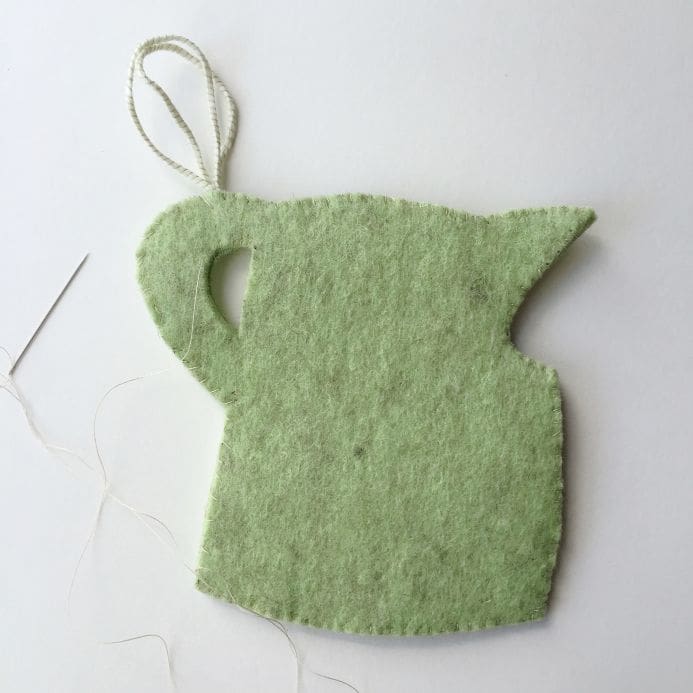 6. When you’ve stitched about half of the ornament together, stop to make the hook by cutting a piece of ribbon about 4 inches in length. Fold and sew the ribbon in-between the two layers of felt.
7. Continue to hand-sew the rest of the ornament together. Repeat for all 4 ornaments.
About Rebecca:
Rebecca Pitts makes and sells custom nursery decor and family heirlooms, available for purchase in her online shop, Hudson + Daughter. She also shares tips, tools, and inspiration for creatives who sell their products online on her blog and in her weekly newsletter for creative entrepreneurs. When you sign up for the newsletter here, you’ll also receive a free guide, How to Create Email Newsletters that your Customers Can’t Wait to Open.

