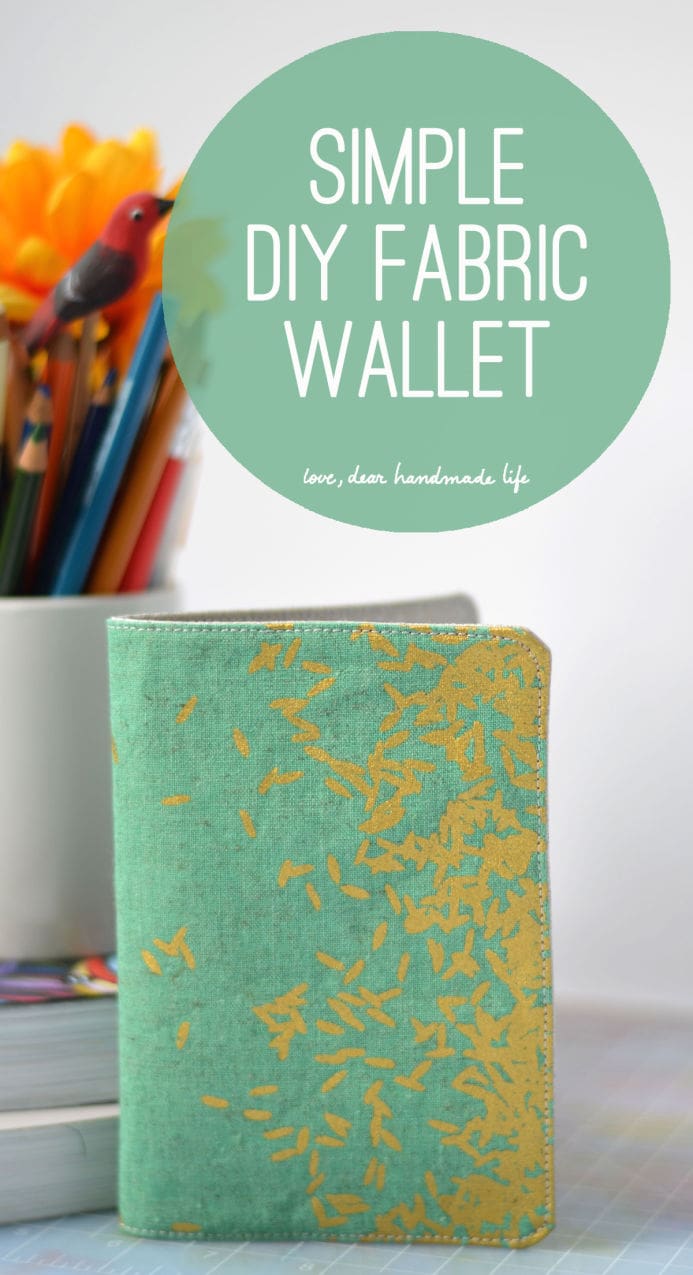
Simple DIY Fabric Wallet
Editor’s Note: We’re so excited to welcome Ashley Nickels of Alphabet Summer to the Dear Handmade Life team. Ashley is a seasoned maker and awesome sewist who’ll be sharing an array of sewing and DIY projects here. Welcome Ashley! -Nicole S.
This wallet makes me think about friendship.
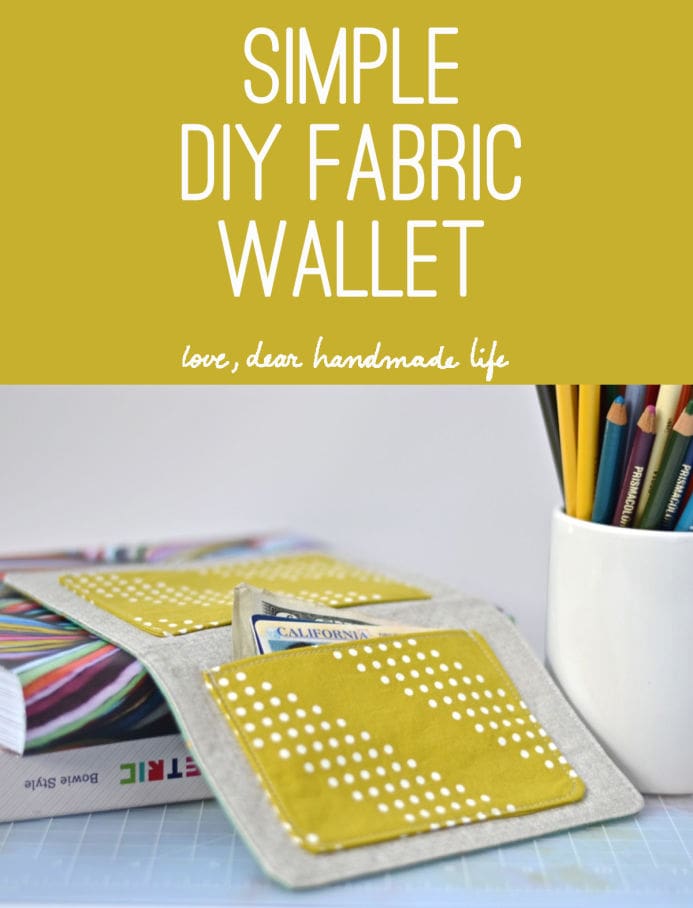
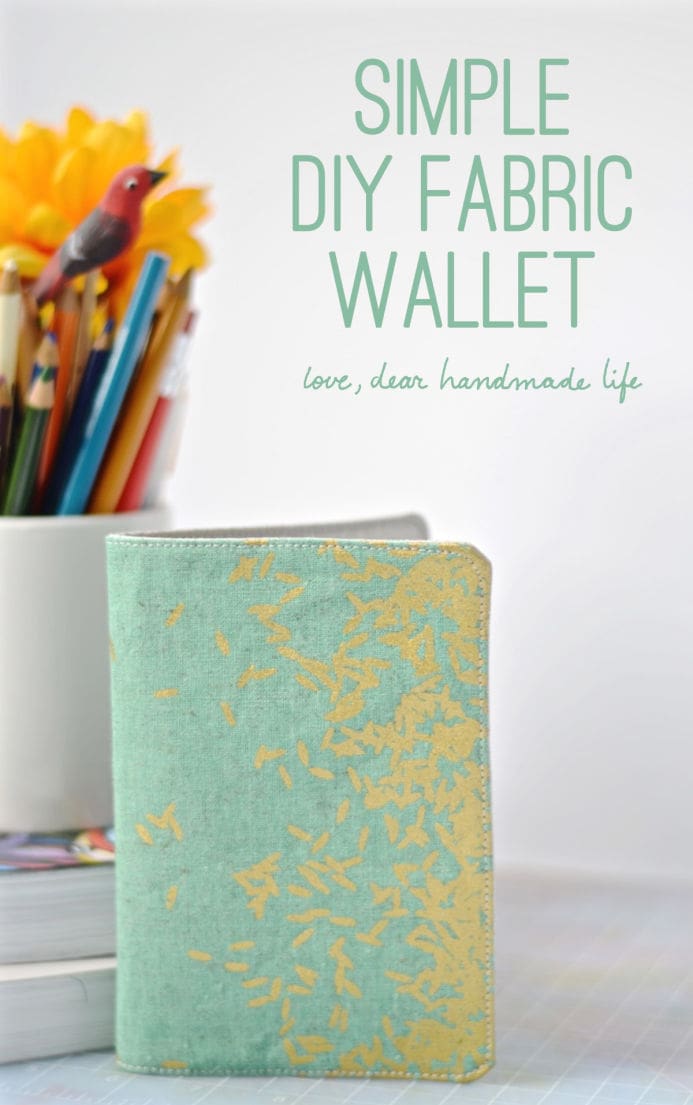
I have a friend who uses the wallet that I made for her years ago as her “Wallet Número Uno”. She shoves a giant stack of credit cards into one side. In the other, she puts receipts, business cards, cash, and even stamps. She has worn this wallet out. She’s spilled coffee on it, dumped wine in it, and has probably washed it more times than her favorite jeans. The last time I saw her, this well-loved fabric billfold was still going strong, in all its faded and worn-out glory.
Of course, I should point out that we are talking about a truly wonderful friend. She’s the kind of friend who– if you were to make her a dress out of a frumpy potato sack– would genuinely say that this new dress was her most favorite dress in the whole world, and would likely wear it once a week even though it actually made her look like a sack of potatoes.
That’s not to say that this wallet is the equivalent of a potato sack dress. No, no. This is a sweet, sweet wallet. But the story of my friend and her wallet reminds me of how something simple, when made by the right person, can become extraordinary.
People often ask about the power of handmade, about why we should make things ourselves when we can so easily get something similar for cheaper. I like to remember my friend’s wallet when I think about how to respond. Of course we can clothe ourselves on the cheap. But the clothes we wear, the wallets we carry… they aren’t just things. They represent us, they inspire us, they show the world what we believe in, and in whom we believe. That is why we make things ourselves.
I love this simple wallet. Not because it is revolutionary in its design– it’s not. Not even because it’s super easy to make– which it is. No, I love this wallet because it makes someone else happy when she goes to pay at the grocery store.
Now, go forth and make this wallet. But don’t just make it for yourself, make it for a friend. You never know whose day you’ll make.
Or, make two and keep one for yourself:)
Love,
Ashley
WHAT TO GET:
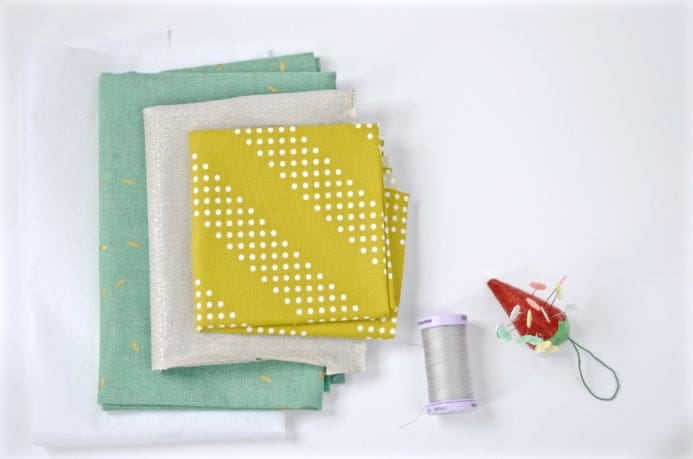
-Two 9” x 6 ½” rectangles of fabric in two colors (interior and exterior)
-Two 7” x 5” rectangles of fabric for pockets
-Fusible interfacing: Two 9” x 6 ½” rectangles and Two 7” x 5” rectangles
-Sewing machine
-Thread
-Iron
-Pins
WHAT TO DO:
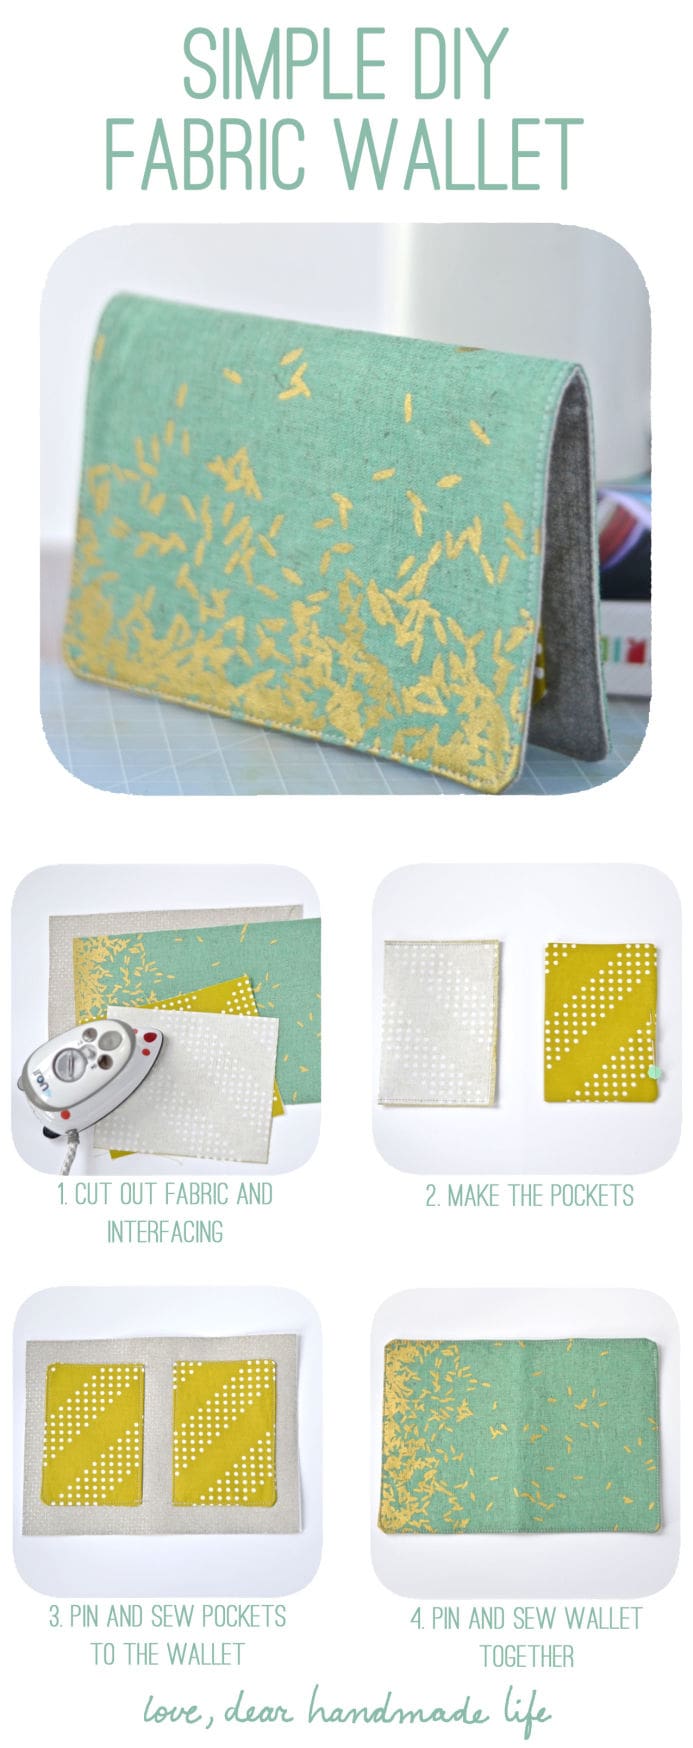
1. Cut out fabric and interfacing. Note: I used canvas (Cotton & Steel Mochi) but you can use any cotton fabric… the interfacing adds reinforcement! Iron the interfacing to each rectangle. Be sure to follow the manufacturer’s instructions and ensure you have the bumpy side facing the fabric! Otherwise, you just might fuse it directly to your iron and then you will be very sad.
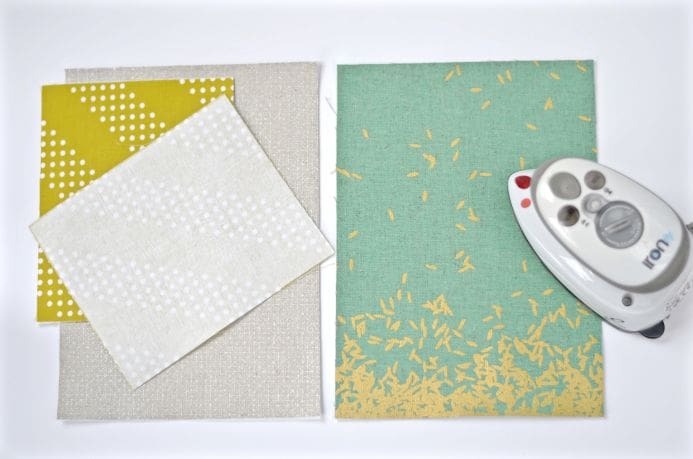
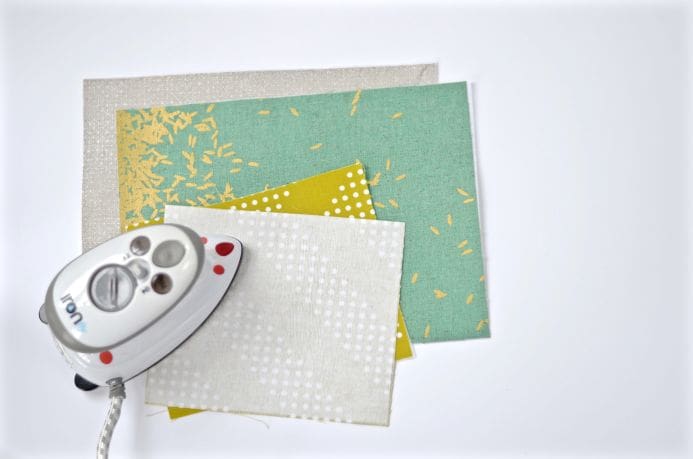
2. Make the pockets! Take one of your 7”x 5” rectangles (with the interfacing ironed on!) and fold in half, right sides together. Sew along the periphery, leaving about 2” open for turning. Turn, and use a pencil or scissor tip to push out the corners. Iron the pocket flat, paying special attention to the 2” gap. Use a pin to make sure that gap gets hidden. Also, I like to sew a topstitch along the folded edge at this point, because I think it makes the finished product look more polished. Repeat for the second pocket.
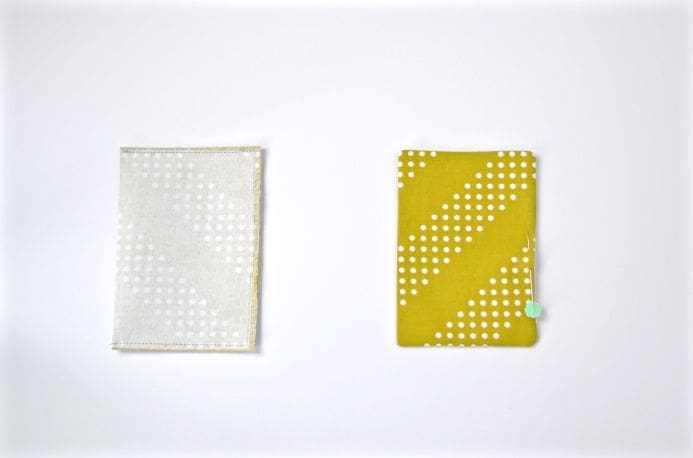
3. Pin each pocket on the interior rectangle so they are directly in the middle of each half. Sew along three sides, using a backstitch at the beginning and end to secure, as the pocket will get a lot of use! Pull all threads through to the back.
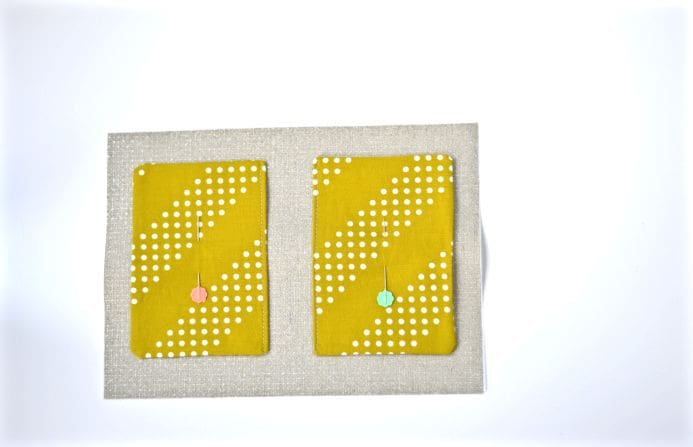
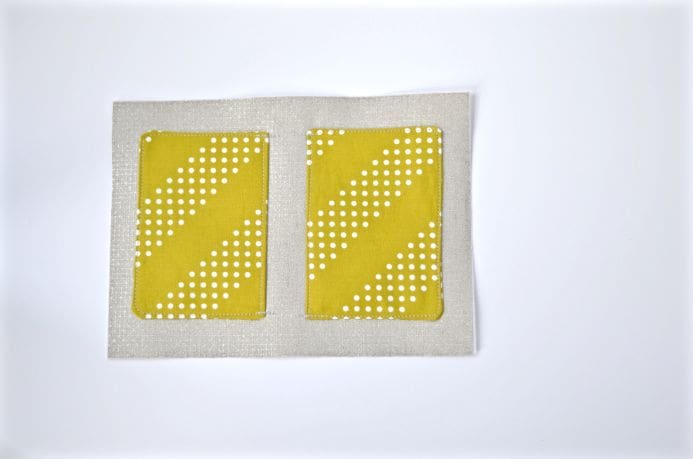
4. Place the two large rectangles right sides together. Pin along the edge, ensuring you leave a 3-4” gap for turning. (On my photo this gap is indicated by the coral-colored pins.)
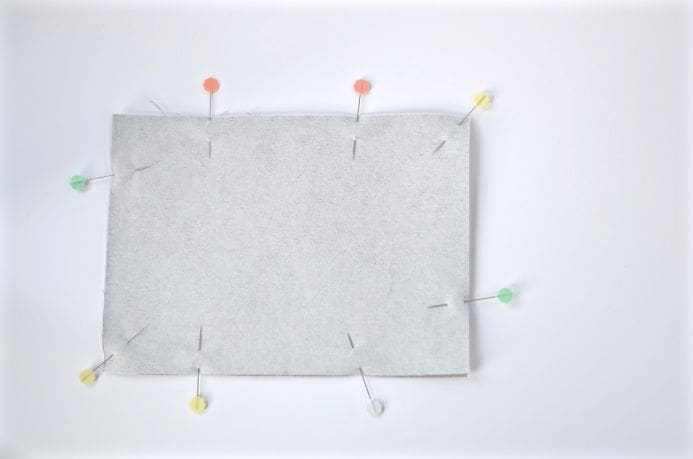
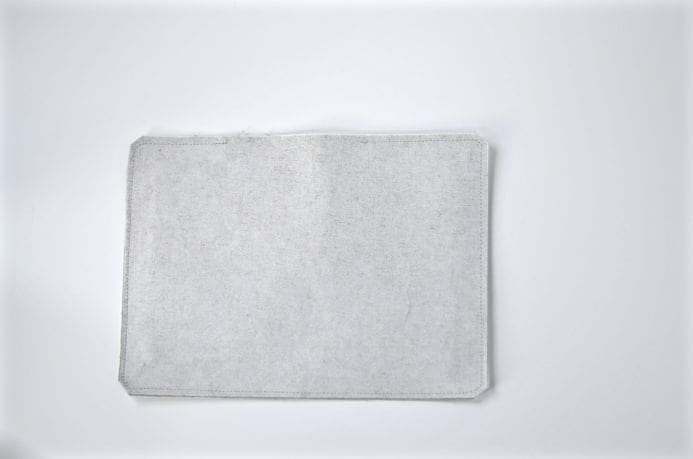
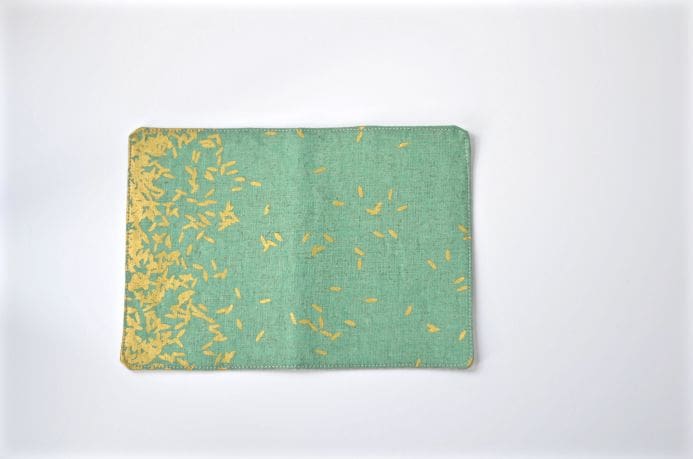
5. Snip the corners. Turn, use a pencil or scissor tip to push out the corners. Iron the whole thing flat, use a pin to hide the gap. Topstitch. Voilà!
About Ashley:
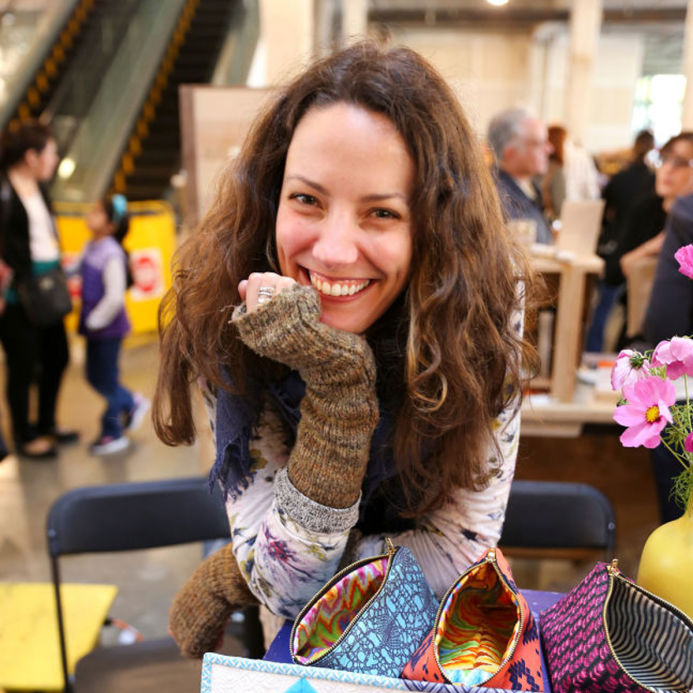
Ashley Nickels is a quilter, crafter, and teacher in the San Francisco Bay Area. She grew up surrounded by quilters—making her first nine-patch at age eight—and was designing handbags by high school. Ashley spent the first ten years of her career as a classroom teacher in Spain and San Francisco, all the while making quilts and bags and ripping out countless seams. If she could choose a superpower, it would be the ability to rip out a seam with the swipe of a finger! Ashley now works full time in the creative community, teaching in-person and online sewing and quilting classes, running her small handmade business, Alphabet Summer, and constantly looking to connect with other creatives. Ashley’s classes can be found on Creativebug.com, CreativeLive.com, and discover more on her website, www.alphabetsummer.com.



SO utterly cool. Love this and the fabric colour/pattern choices are just beautiful. Can’t wait to get off work and get making!
Awesome! So glad you like it!
So wonderful, thank for your sharing 🙂
Fun craft, perfect for a gift or just for yourself!
Love your designs. Can’t wait to try them and see more!!