How to make diy halloween bat garland
My first apartment was a typical first apartment. The parking situation was impossible and cars were broken into or towed away on an almost daily basis, not to mention horrible storage and little critters that popped up in cupboards and in the laundry room. But when a holiday came around- it didn’t matter which one- our crappy apartment was transformed into a veritable wonderland of twinkly lights, seasonal decor and familiar scents wafting through the kitchen and up the stairs. Celebrating the holidays made our little apartment feel like a great, big home. My then-boyfriend now-husband, Jon, was particularly fond of Halloween and invested in the most amazing decorations to add to our collection each year.
One perfectly ordinary and otherwise uneventful evening, we pulled up to our carport and noticed the door to our storage unit looked a bit odd. My heart sank deep into my stomach as we jumped out of the car for closer inspection. On the outside, broken hinges, smashed with a hammer by the looks of it. And inside? Empty. Our holiday decorations were gone. Every last bit. I had never felt so utterly violated.
I resolved to re-build our collection after the initial sting wore off. However, I decided I would focus on handmade decorations instead of the store-bought variety. Not that there’s anything particularly wrong with commercially-made holiday decor. Um, twinkly lights!? Besides having 100% creative control over the finished project, I also just love the process of making. Which usually includes lots of reflecting on cherished holiday memories and pondering the possibilities of holidays to come – none of which can ever be stolen.
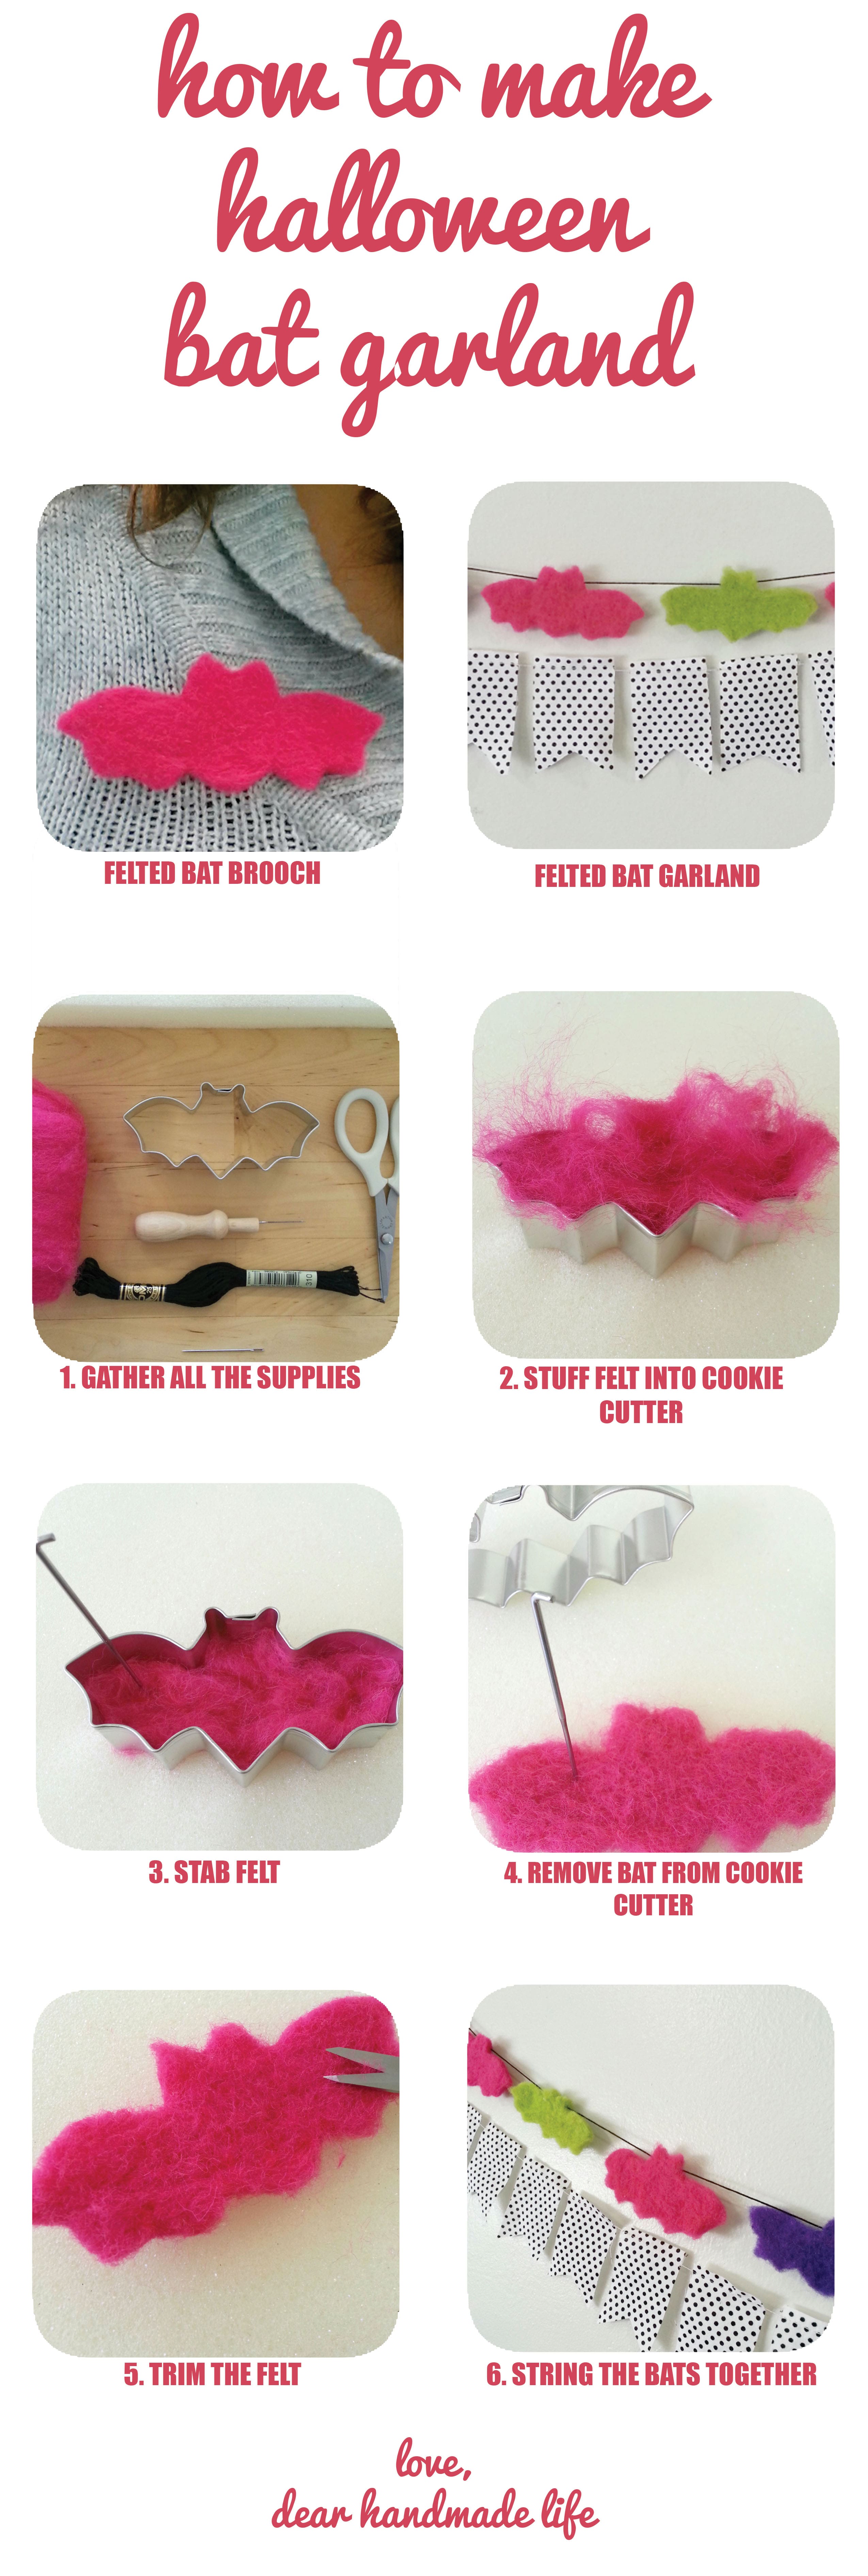
So in honor of my husband’s favorite holiday I’m happy to share a super easy needle felted decor project! If you’re not familiar with needle felting, it’s the process of creating objects by matting wool fibers together through the use of a barbed needle. Felting with the aid of a cookie cutter is the perfect and safest entry to needle felting! I used a bat, but you can choose whichever silhouette you’d like. You can easily find a nice variety seasonal cookie cutters online or in the baking aisle of big box craft stores.
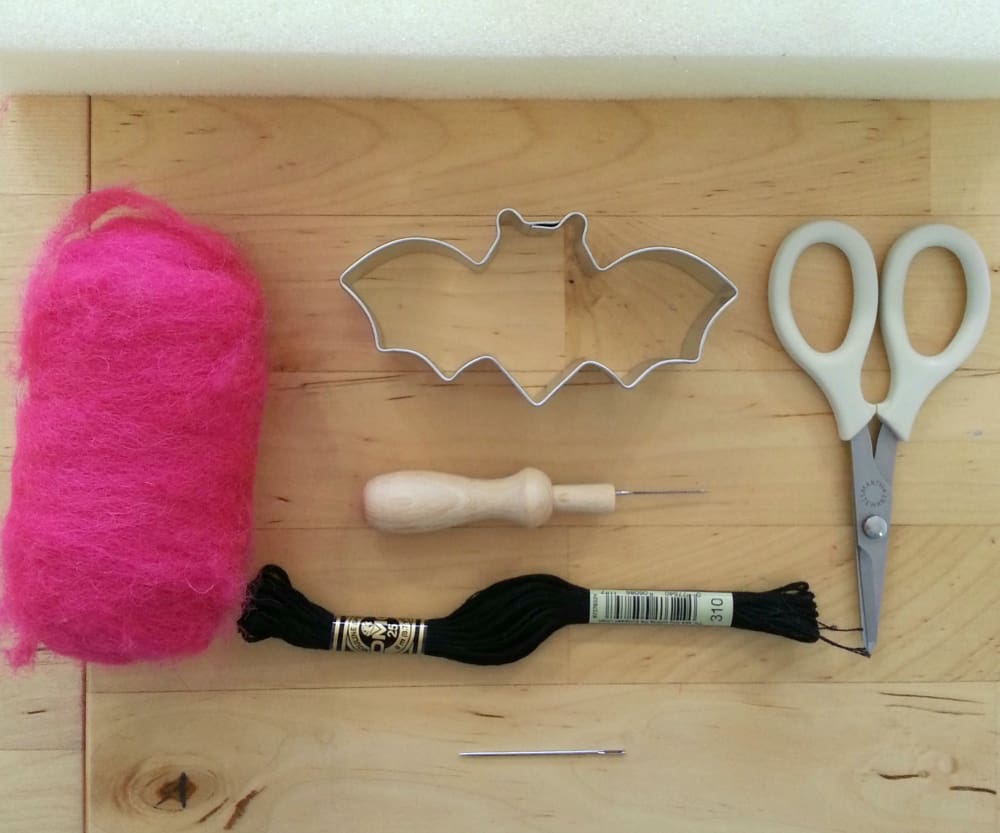
What you’ll need:
Wool Roving
Barbed Felting Needle
Punching Pad or Foam Block
Seasonal Cookie Cutters
Scissors
Sewing Needle
Embroidery Floss
What to do:
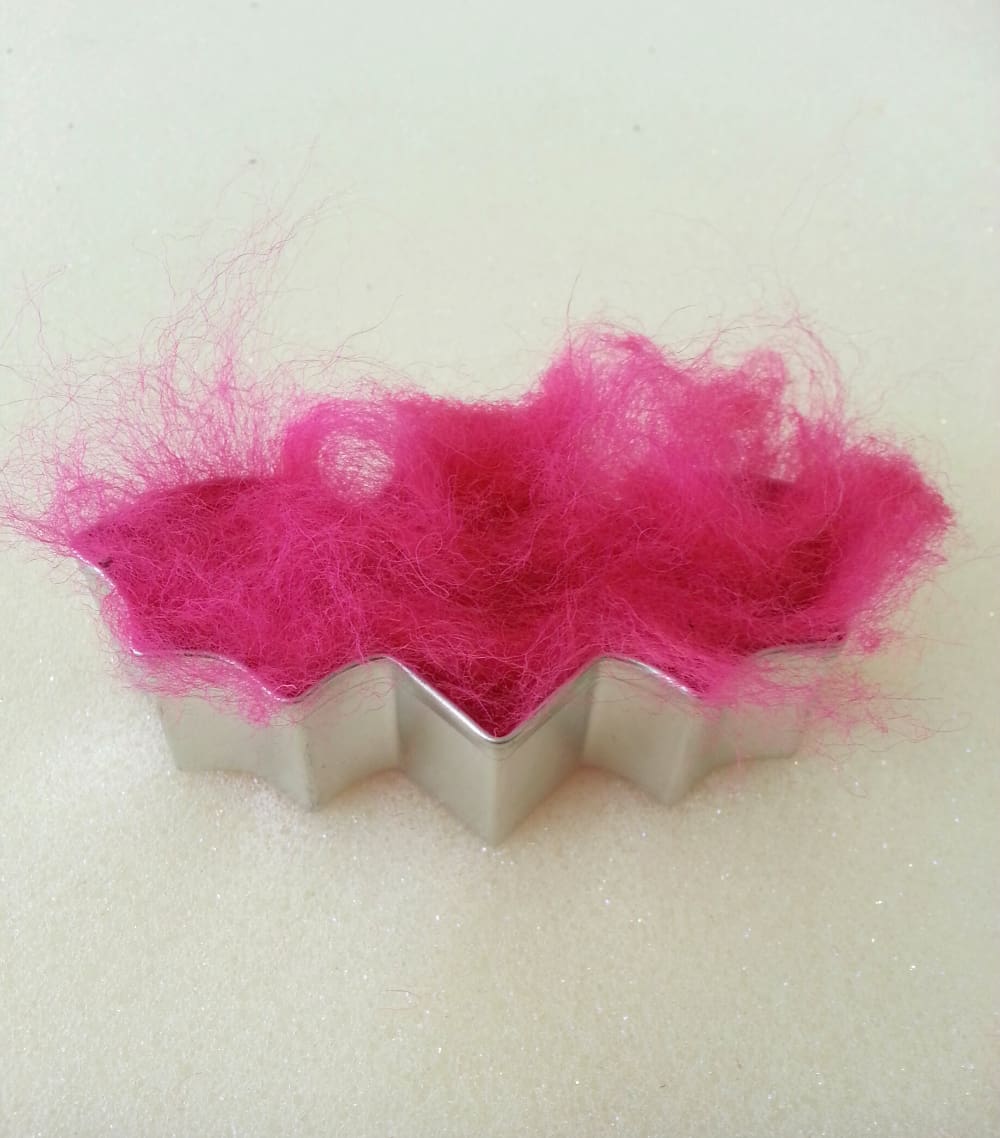
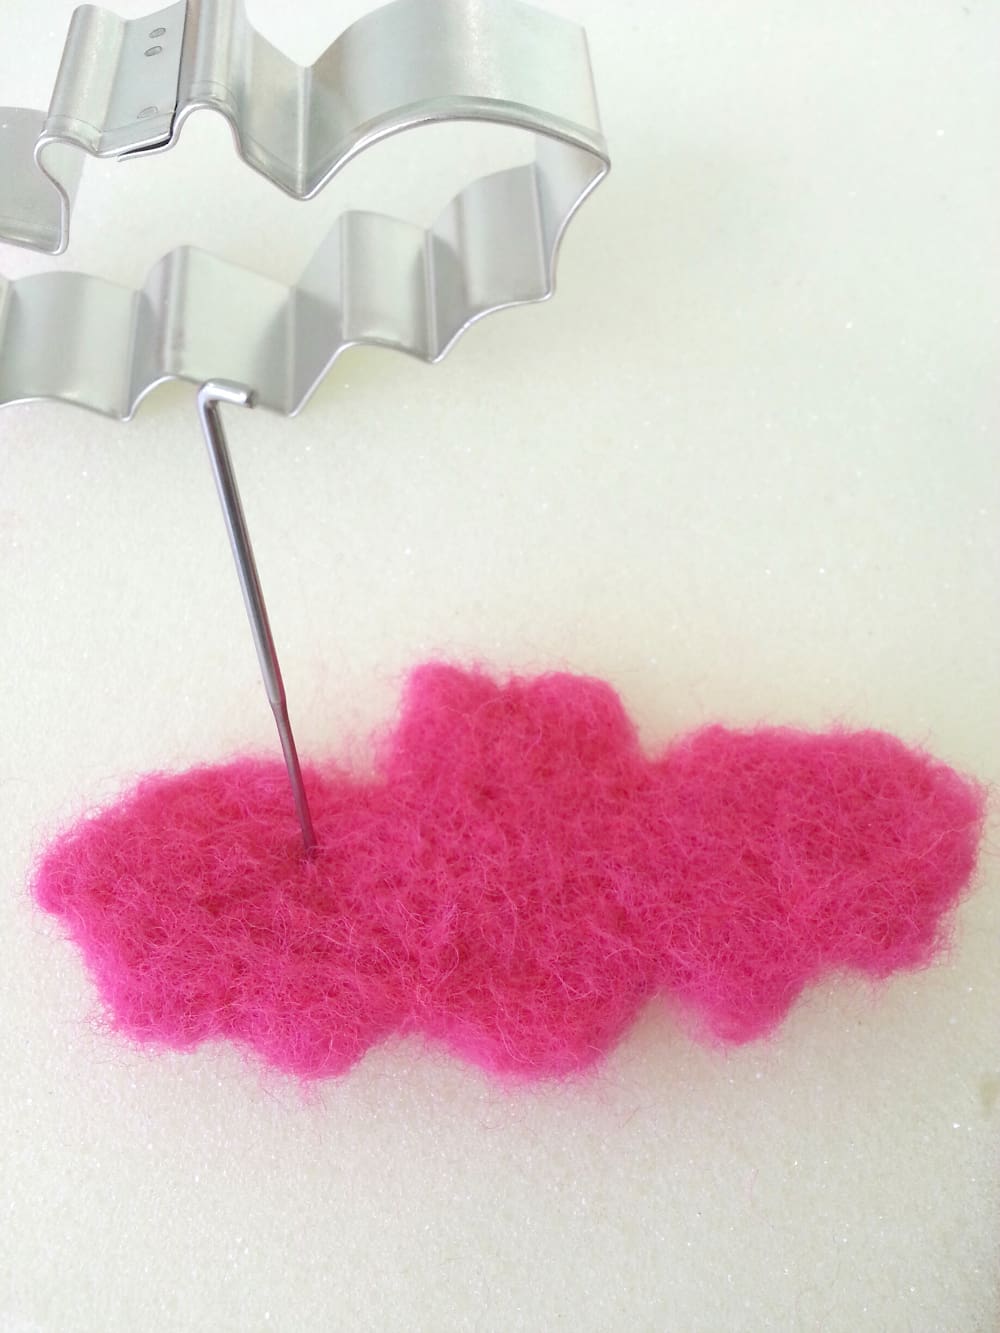
Lay your cookie cutter on your foam pad. Next, gently pull a tuft of roving off of your ball and lay the tuft horizontally inside of your cookie cutter. Alternate two more layers of roving vertically and horizontally. Make sure that your roving is roughly the same thickness inside of the cookie cutter.
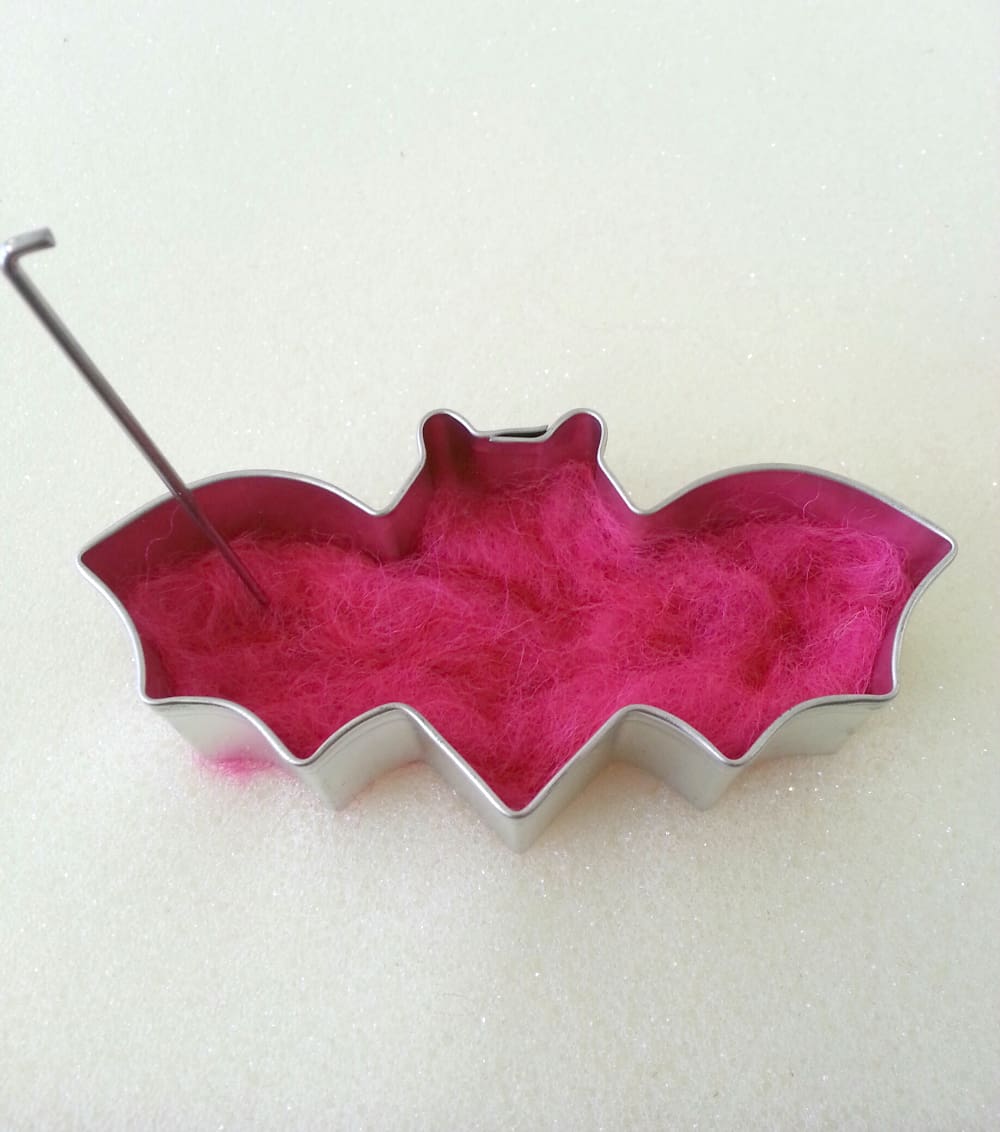
Pick up your felting needle and repeatedly stab at the wool inside of the cookie cutter. Make sure to needle felt around the inside perimeter of your cookie cutter to start and then move to the center.
Continue felting the wool with your needle for 10-15 minutes. Every couple of minutes turn your project around inside of your cookie cutter to felt sides evenly.
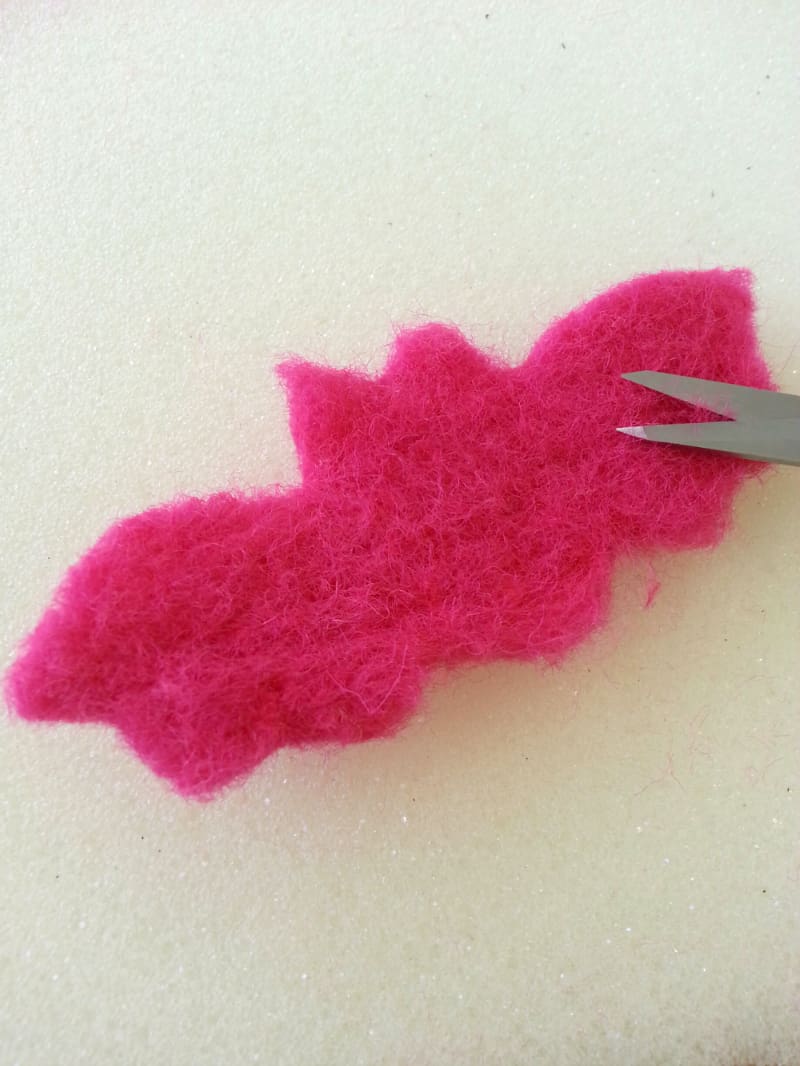
Once the wool fibers are densely matted and still feels a bit spongey, remove your project from the cookie cutter and continue to felt any loose fibers around the side (the part of your project that was against the “wall” of your cookie cutter).
Use a pair of sharp detail scissors to trim away any loose fibers and to give your project a nice finish. You can also manipulate the shape of your project by trimming away bits of wool (I decided to give my bat sharper ears).
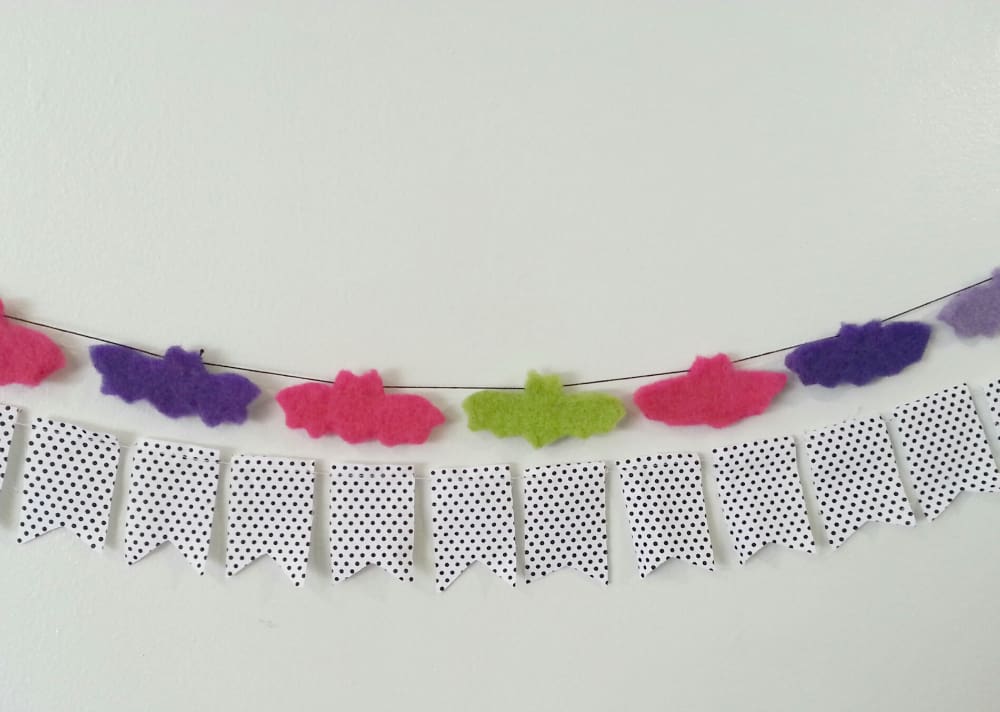
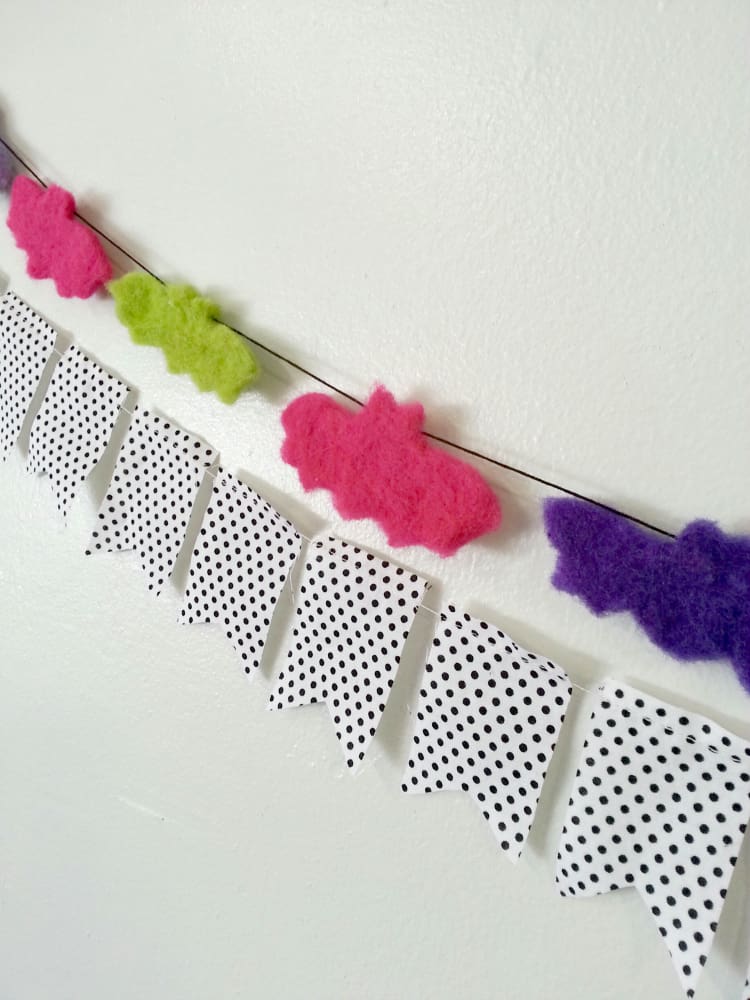
Use the embroidery floss and sewing needle to string together. Hang on your wall! For optimal cuteness, group together with 1 or 2 different garlands.
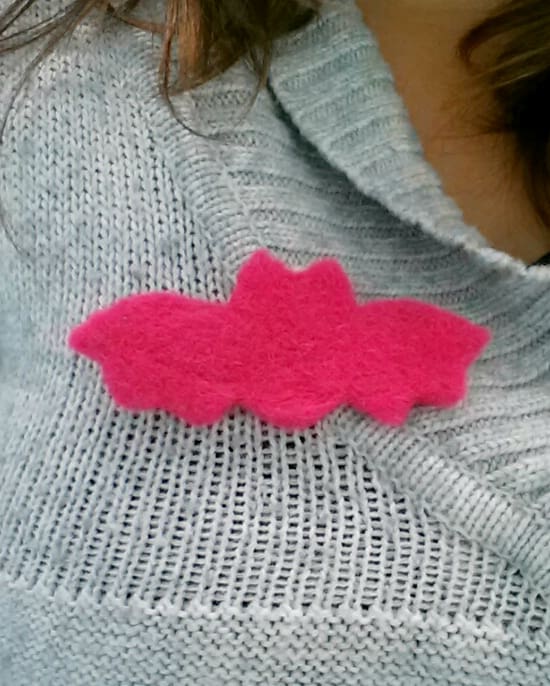
No time to needle felt an entire garland? This also makes a super cute brooch. Just hand sew a pinback finding to the back side of your project, and voilà!
Some helpful safety tips:
– Felting needles are super sharp. Keep your project on the foam block at all times. If you pick up your project while felting you are very likely to poke yourself.
– When inserting your needle into the wool, pull it out at the same angle as inserted to avoid breaking needles inside of your project.
If you have any questions, feel free to ask in the comments and I’ll get back to you asap. Also, I’d love to know what you guys are crafting up this Halloween!
-Lisa Rios
About Lisa:
“If you had asked my 12-year-old self what I wanted to be when I grow up, I probably would have had a perfectly sensible answer. Like a circus trapeze artist or an outer space explorer. Never in my wildest dreams could I have imagined that I would craft for a living. But fast-forward 20 years and I’m the owner of The Makery, a walk-in craft studio located in Anaheim. In addition to teaching and organizing local creative workshops, planning craft parties and designing handmade craft kits, I also design for Whimsy and Ink, the handmade biz I share with my rad hubby. My work has been featured in Real Simple, Brides Magazine, Bust, The Huffington Post, Orange Coast Magazine, Sunset Magazine, in Etsy’s Featured Sellers series, and in my mom’s emails to Grandma.”



supah cute Lisa!
Thanks, sweet Xenia!
thanks xenia! we are so excited to have lisa’s amazing talent on dear handmade life 🙂
This tutorial is so simple but adorable! Anyone can do it:) More tutorials like this please. Thank you!
thanks! i LOVE this one too! we’re super happy to have lisa doing more simple but amazing tutorials for dear handmade life every 2 weeks! stay posted for more of her awesomeness 🙂
Absolutely adorable! Love it! I think I’ll take a “stab” at this and make a pumpkin garland 🙂
danielle! totally loving the pumpkin garland idea! that’s one the things that’s so cool about this project-super versatile. you could use the basic techniques and switch it up for any holiday or event 🙂 good luck ‘stabbing’ those pumpkins!