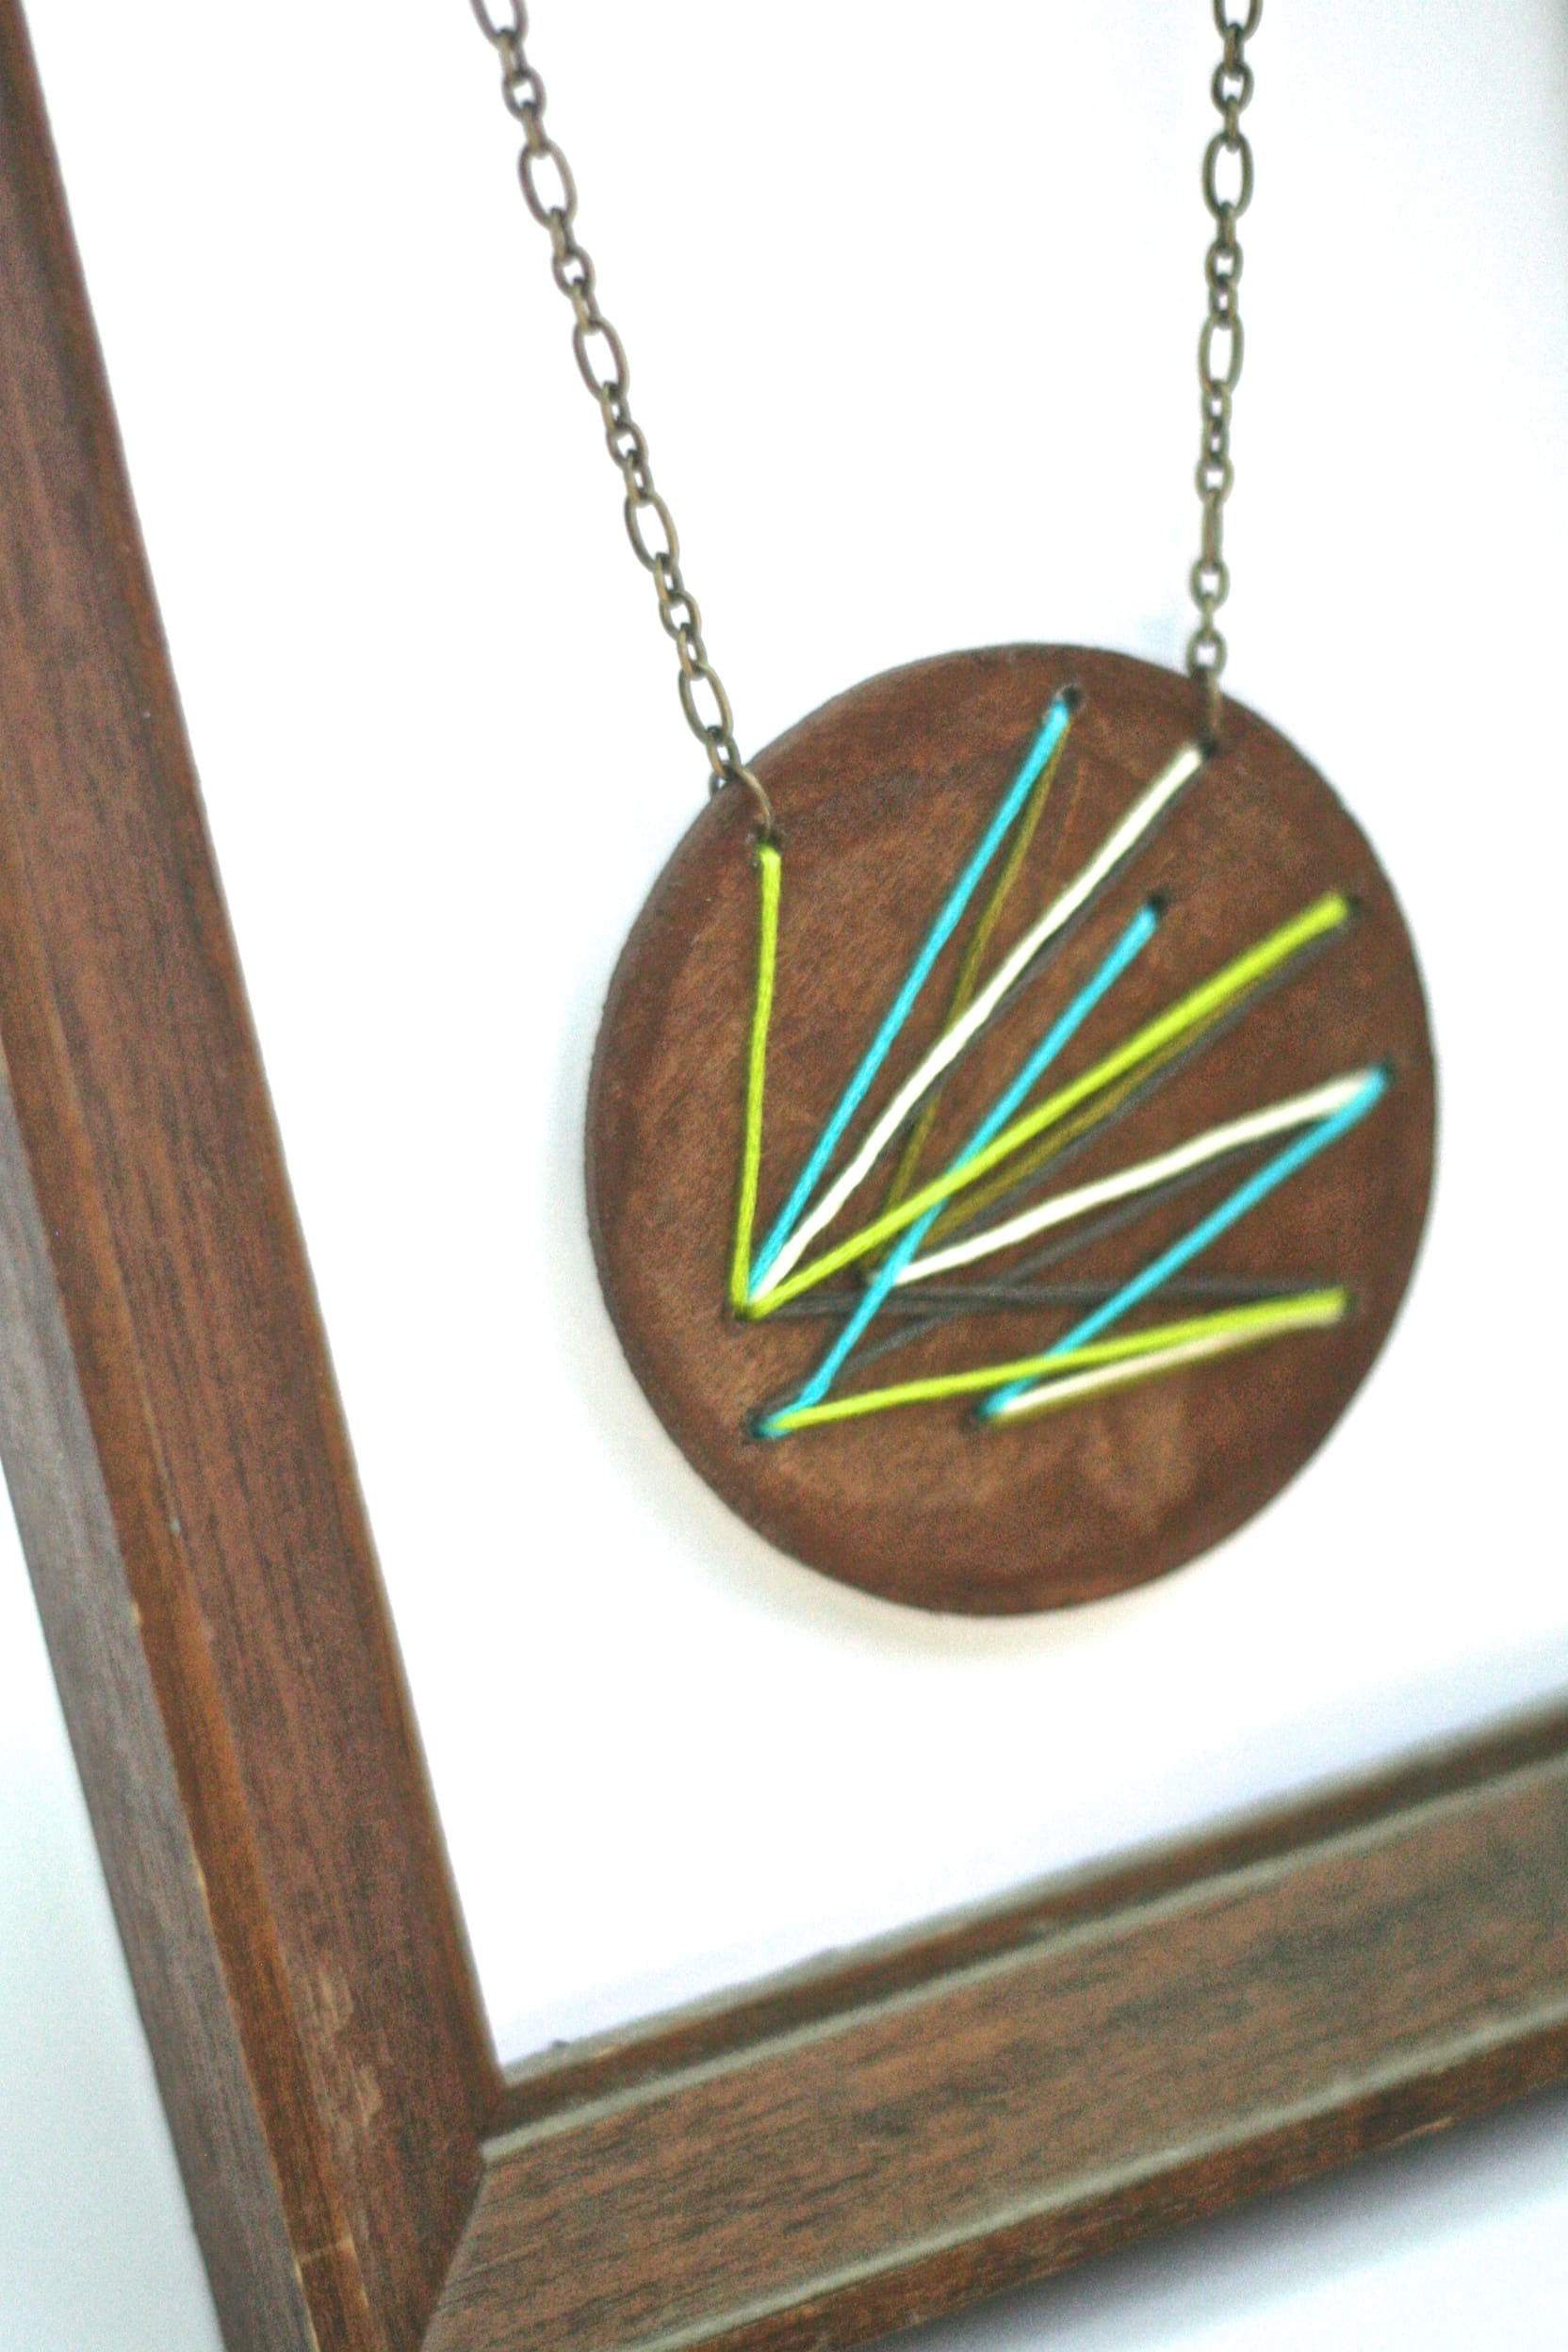
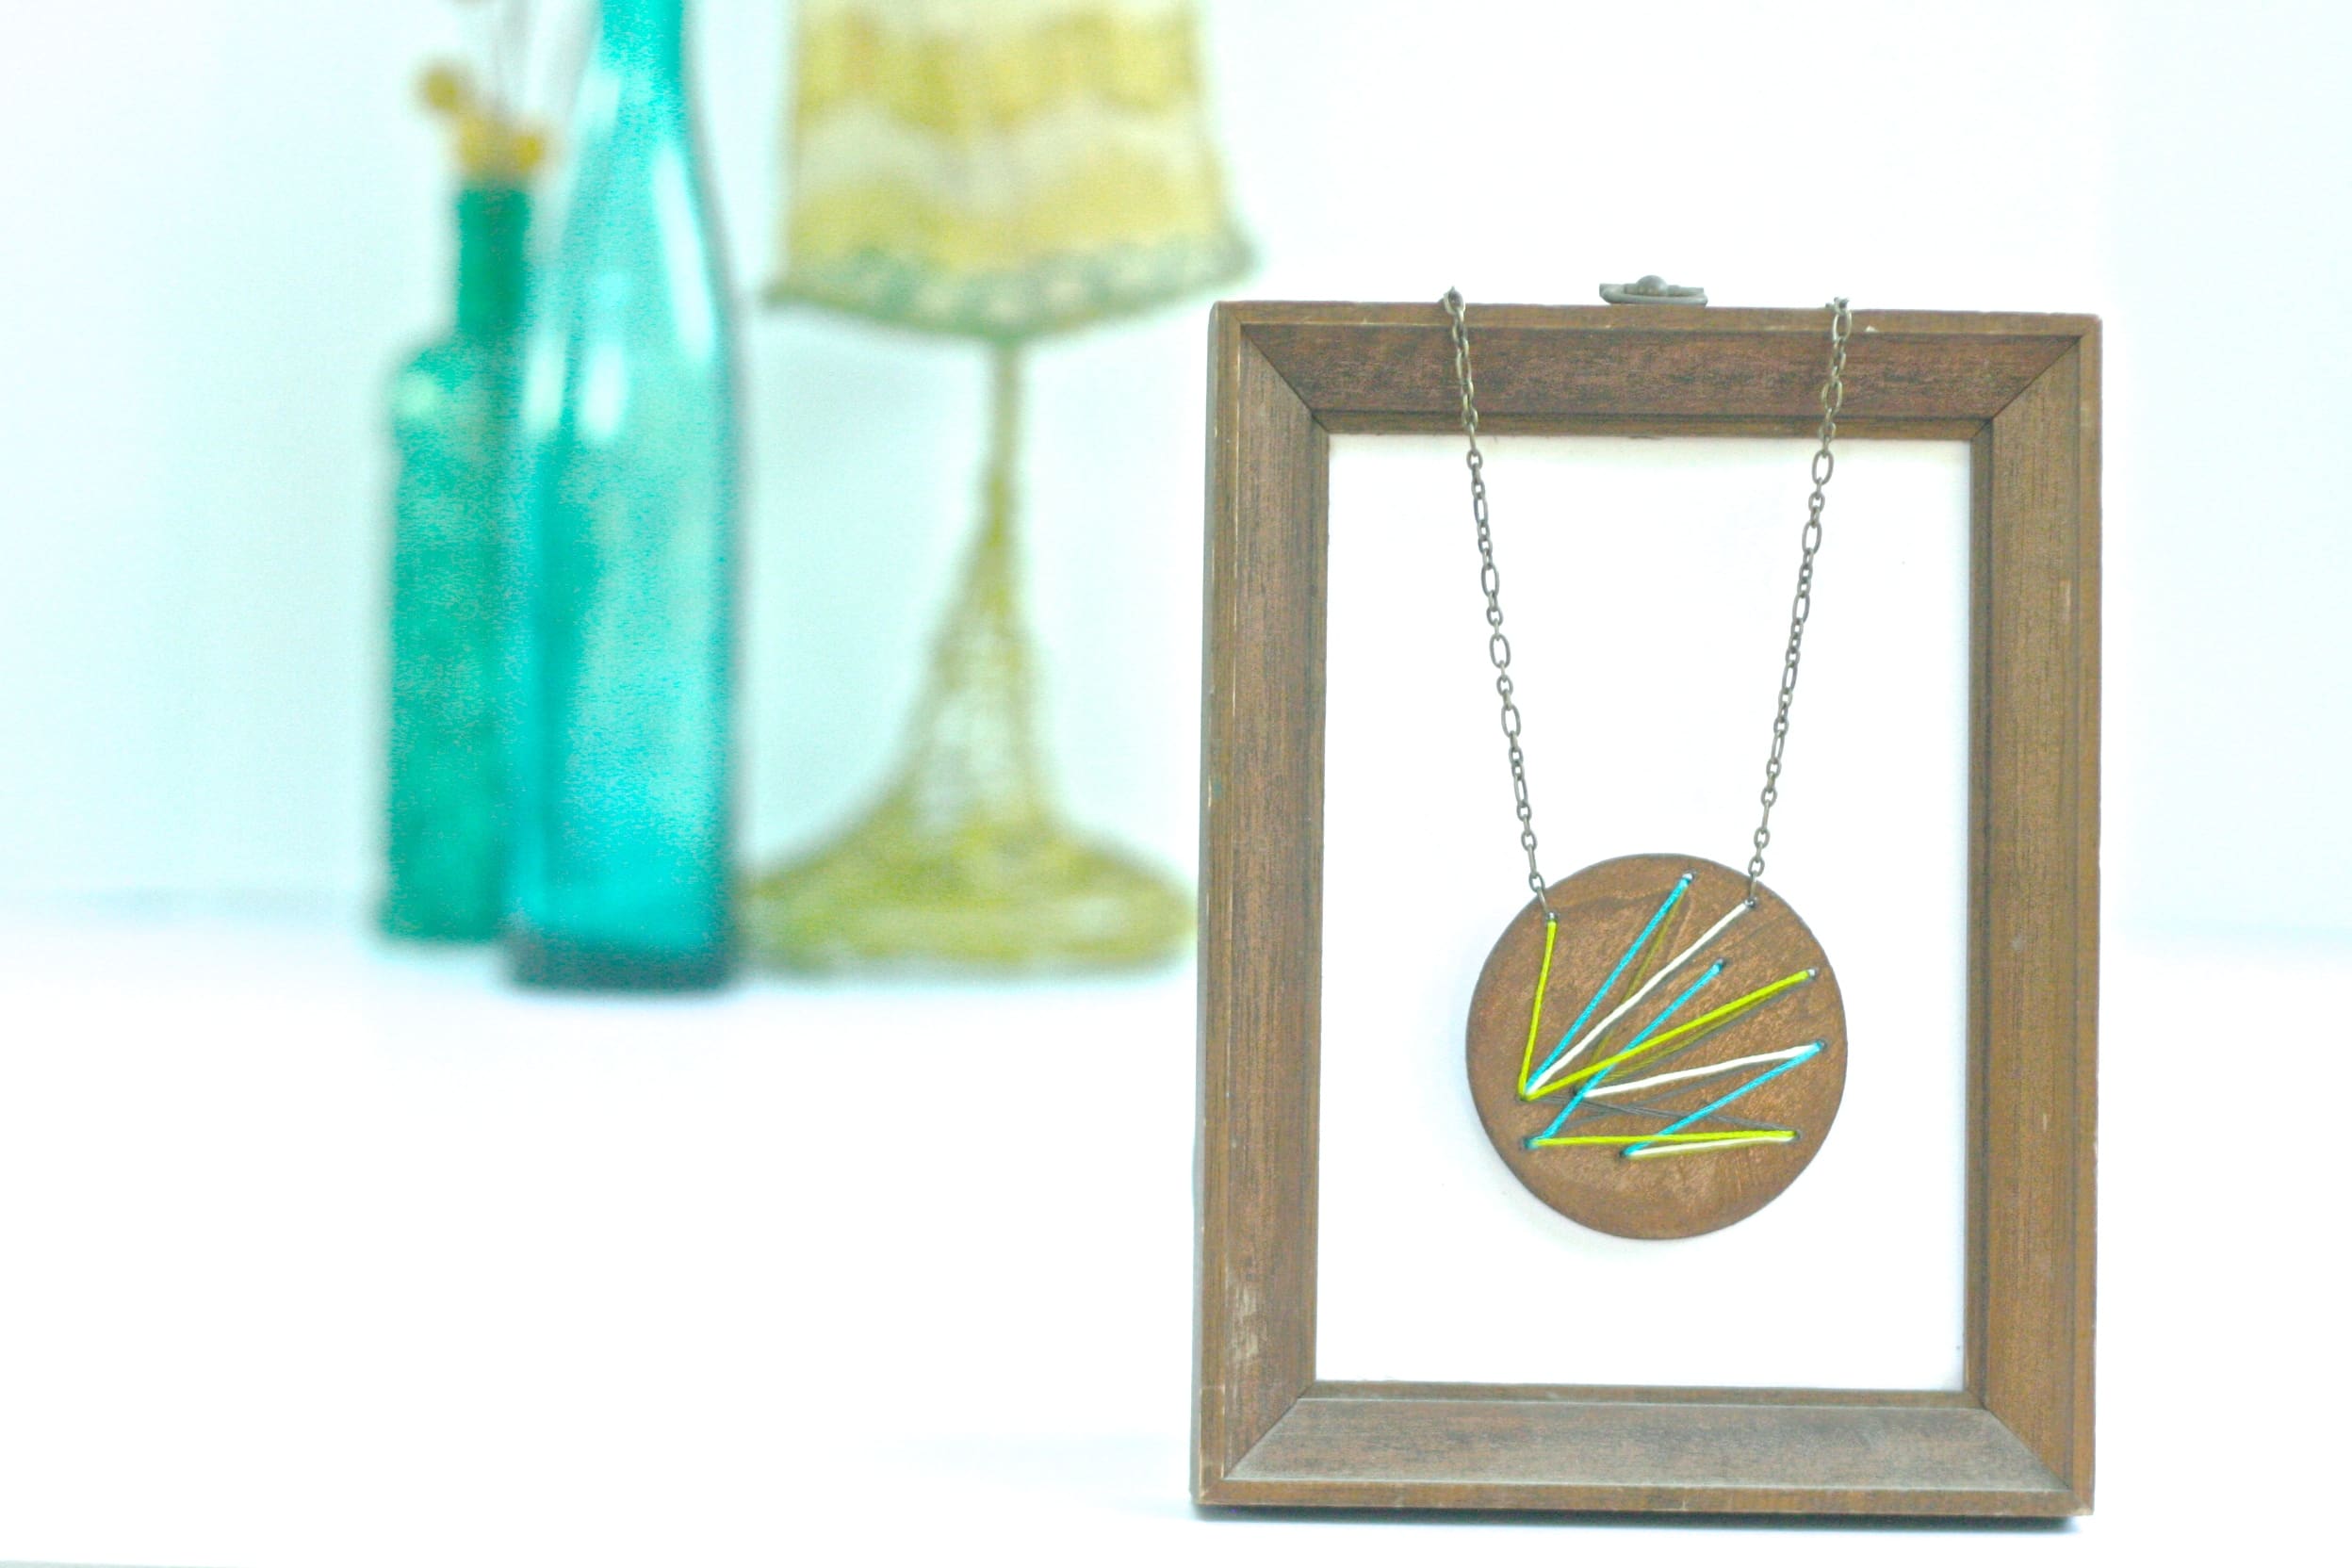
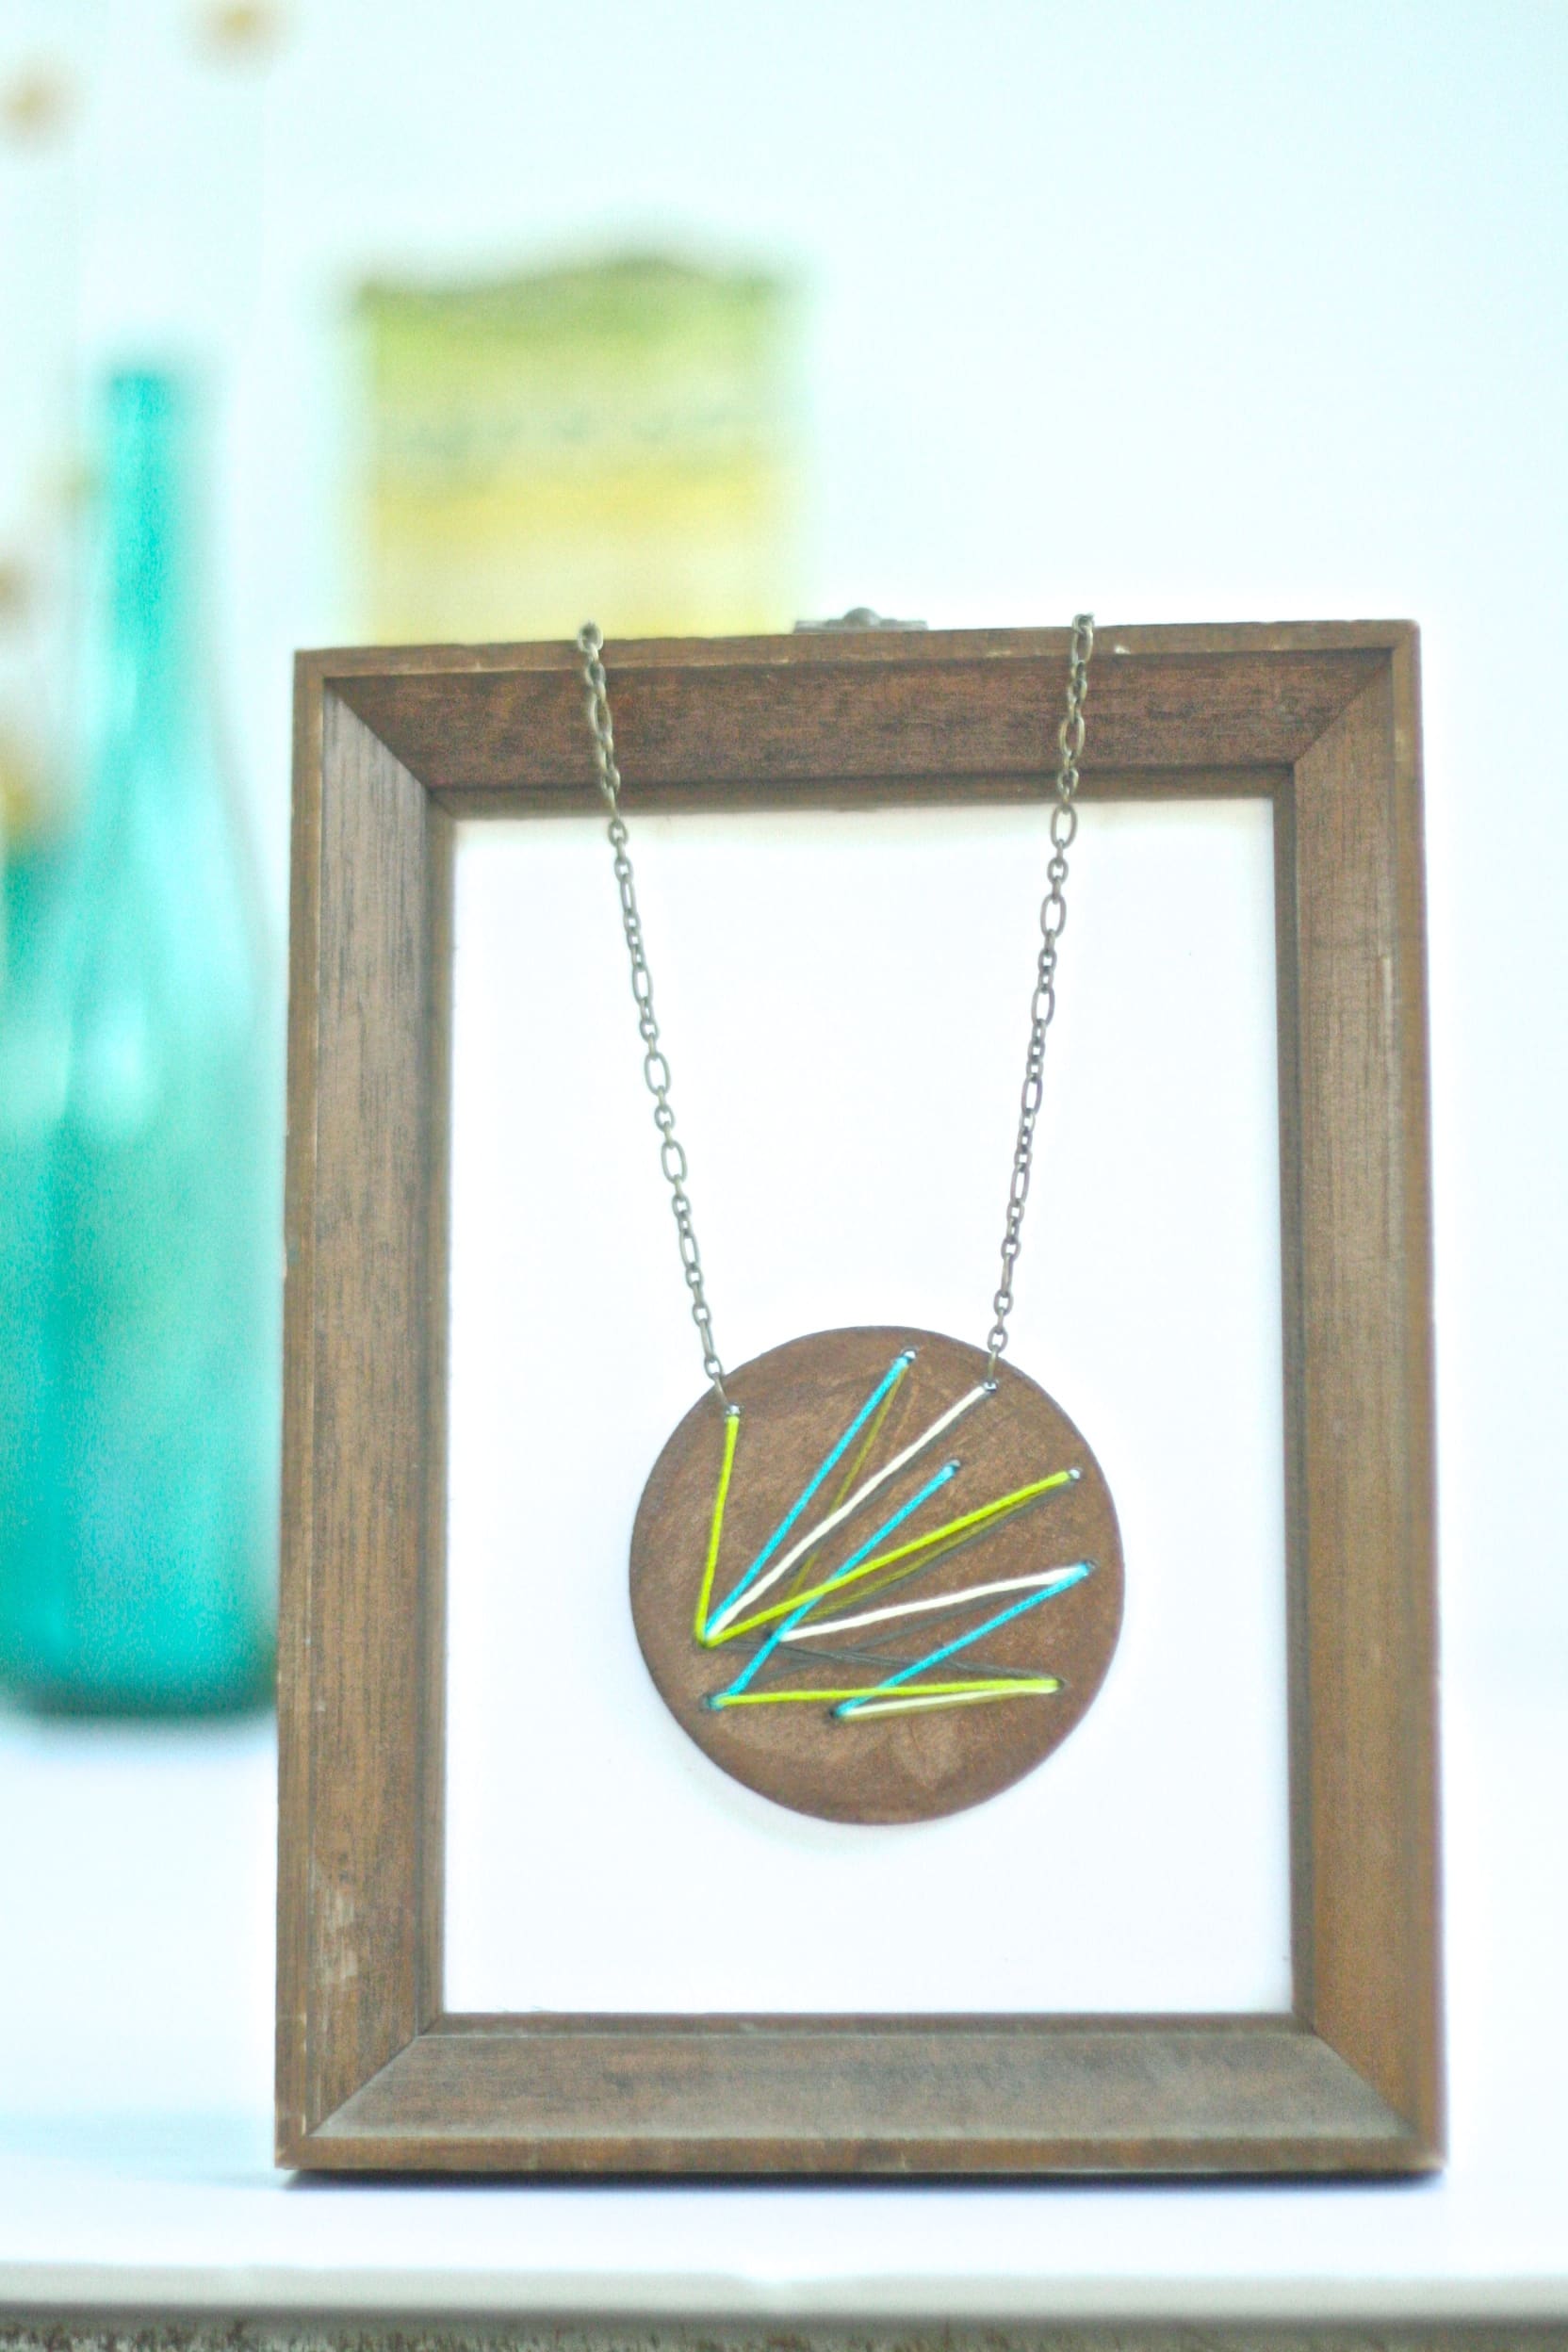
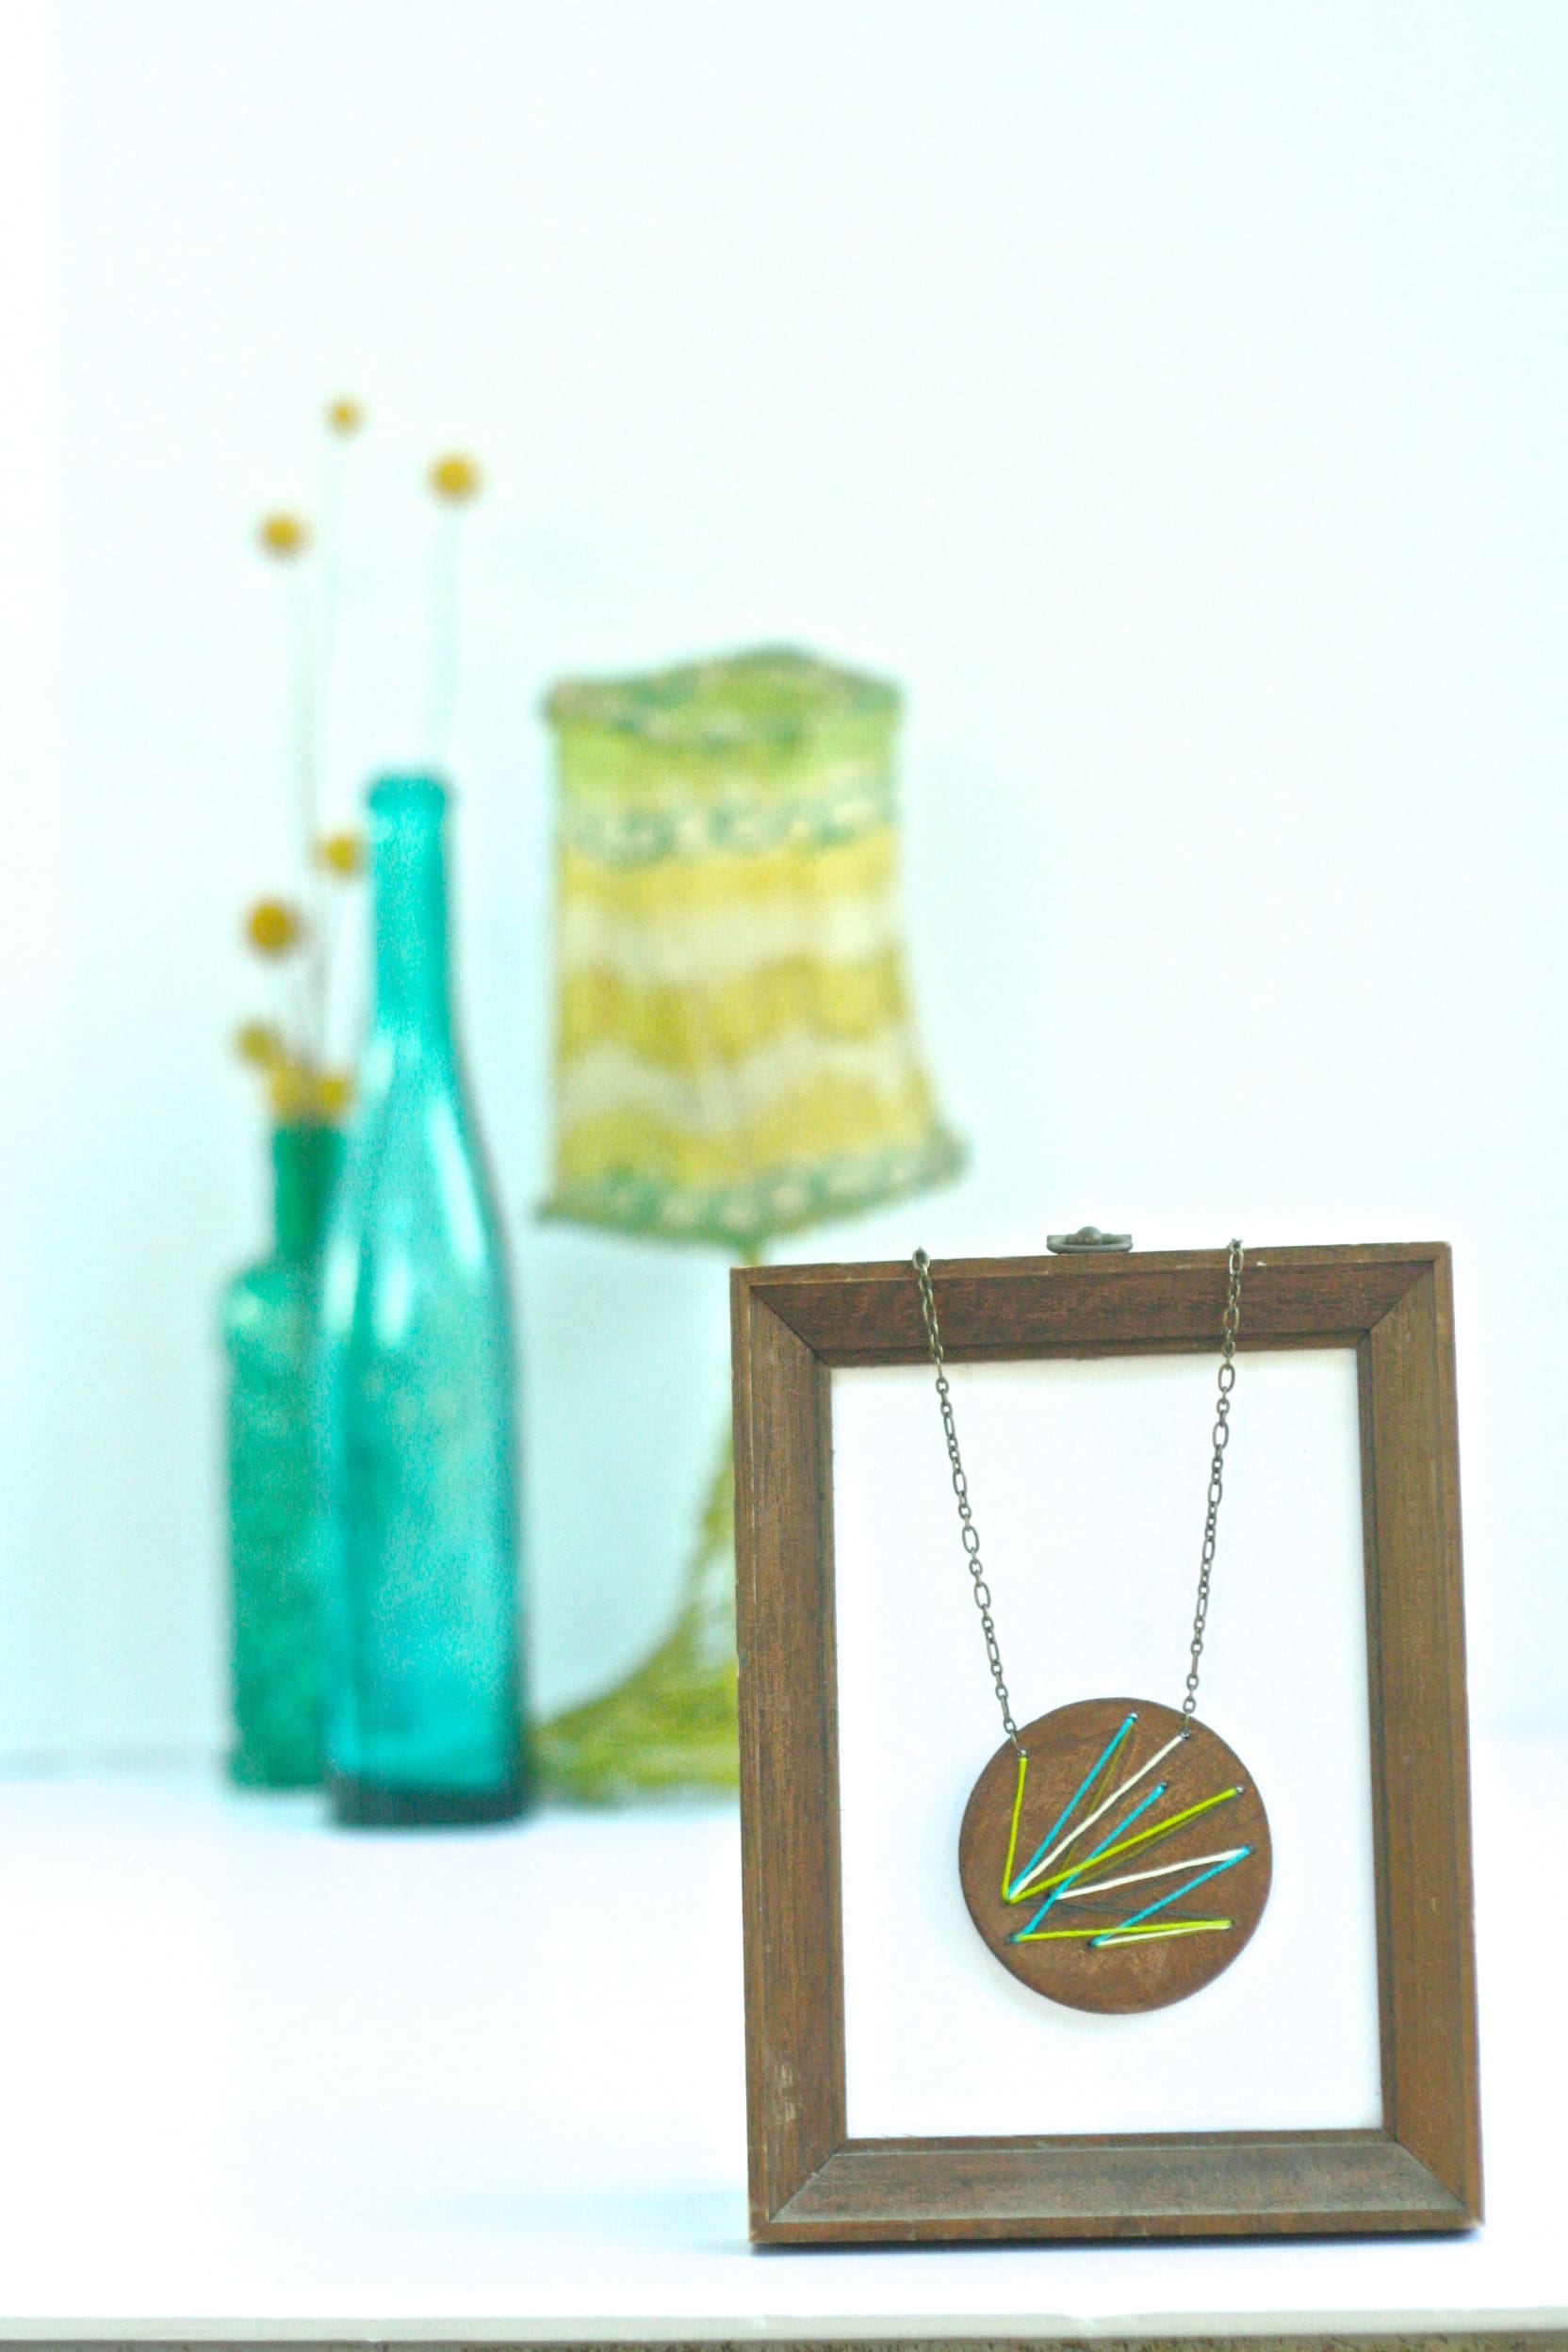
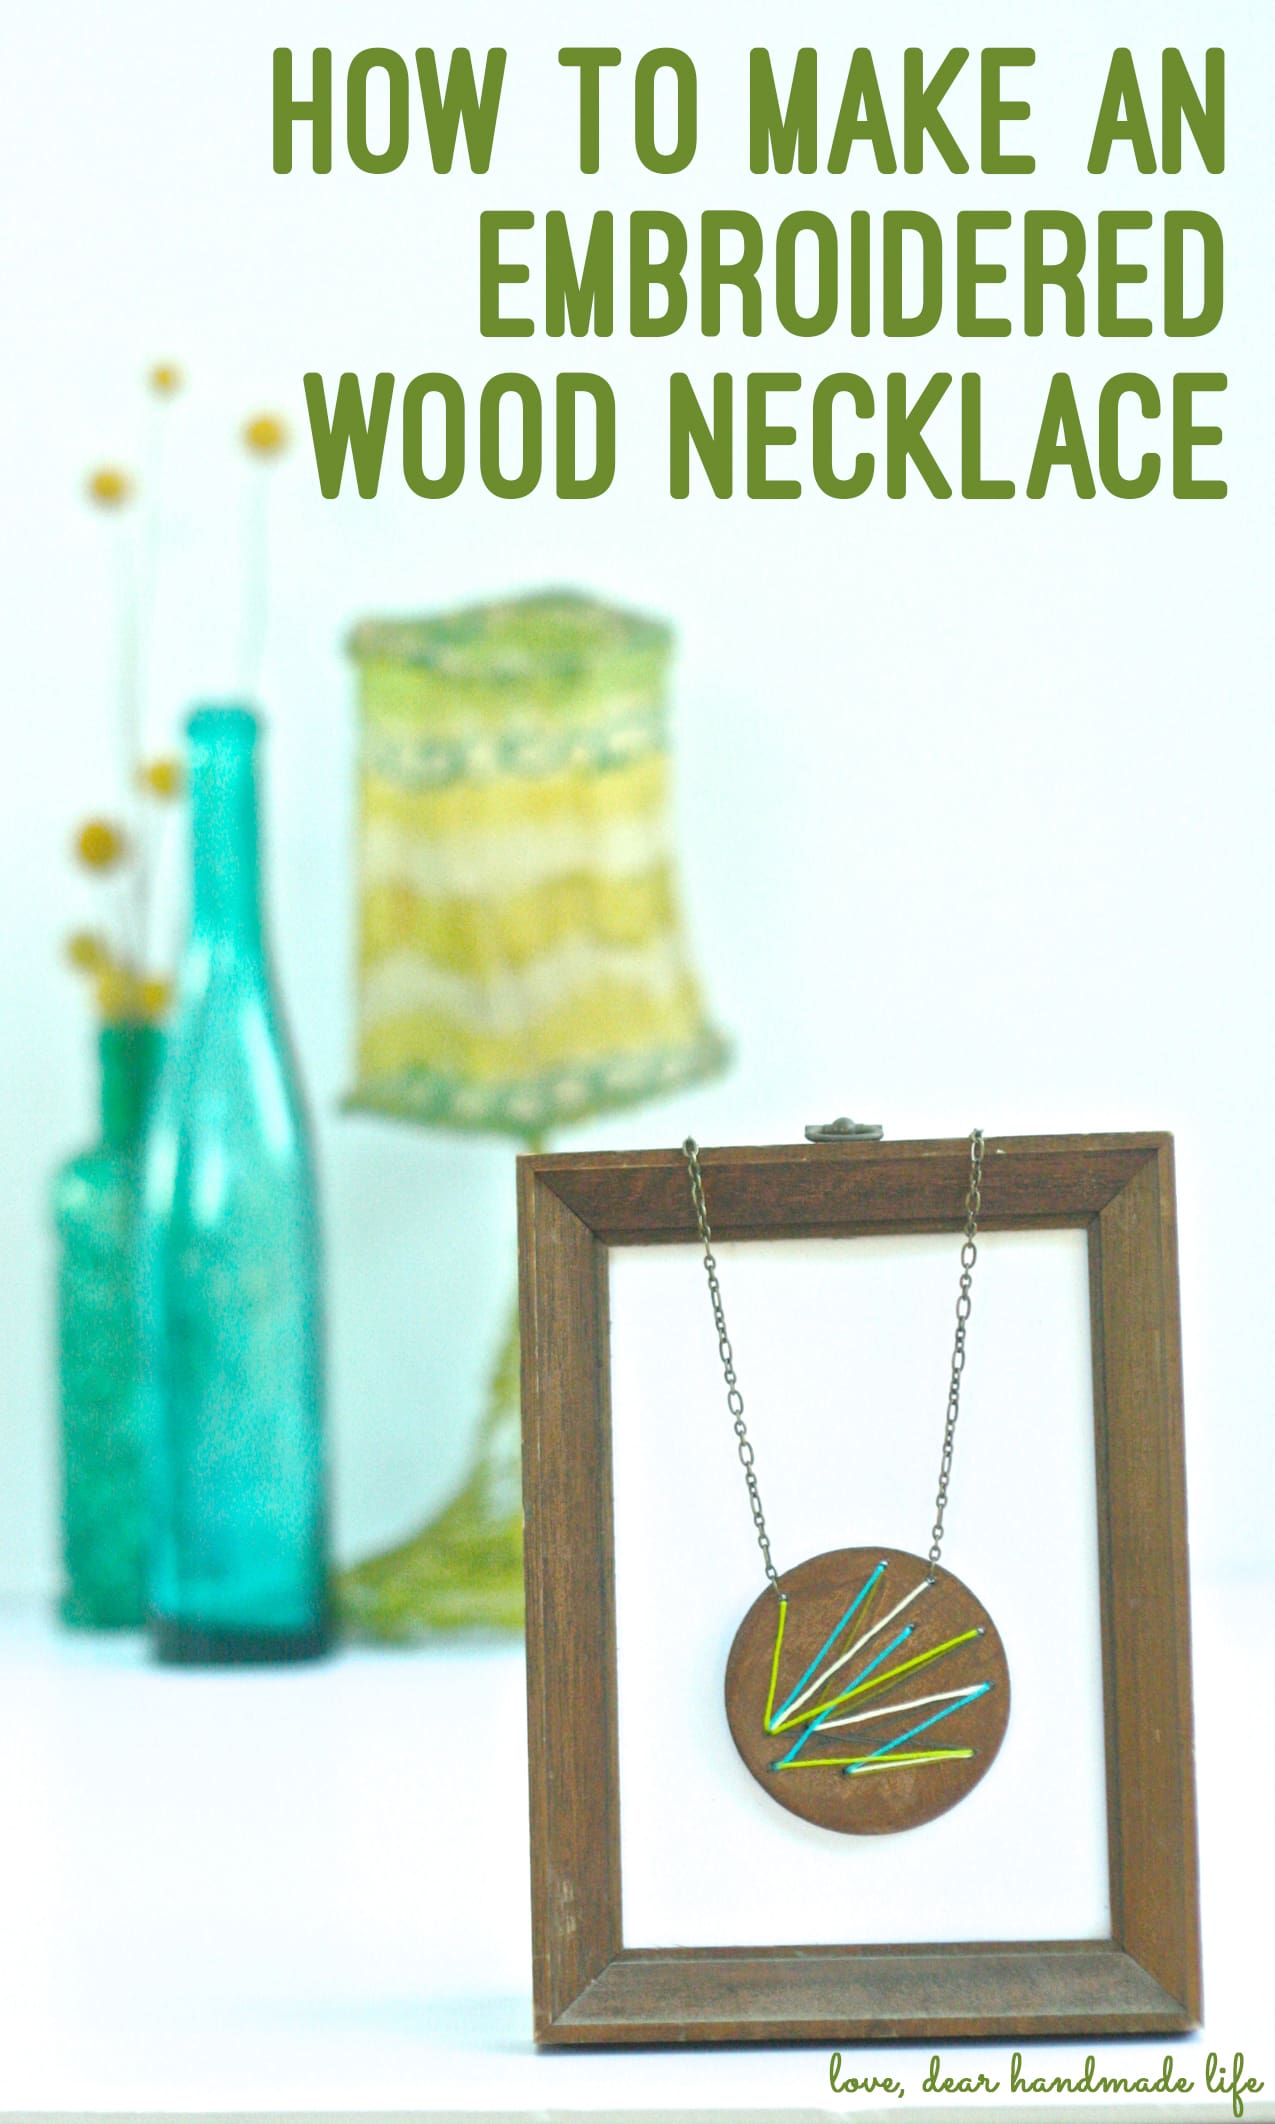
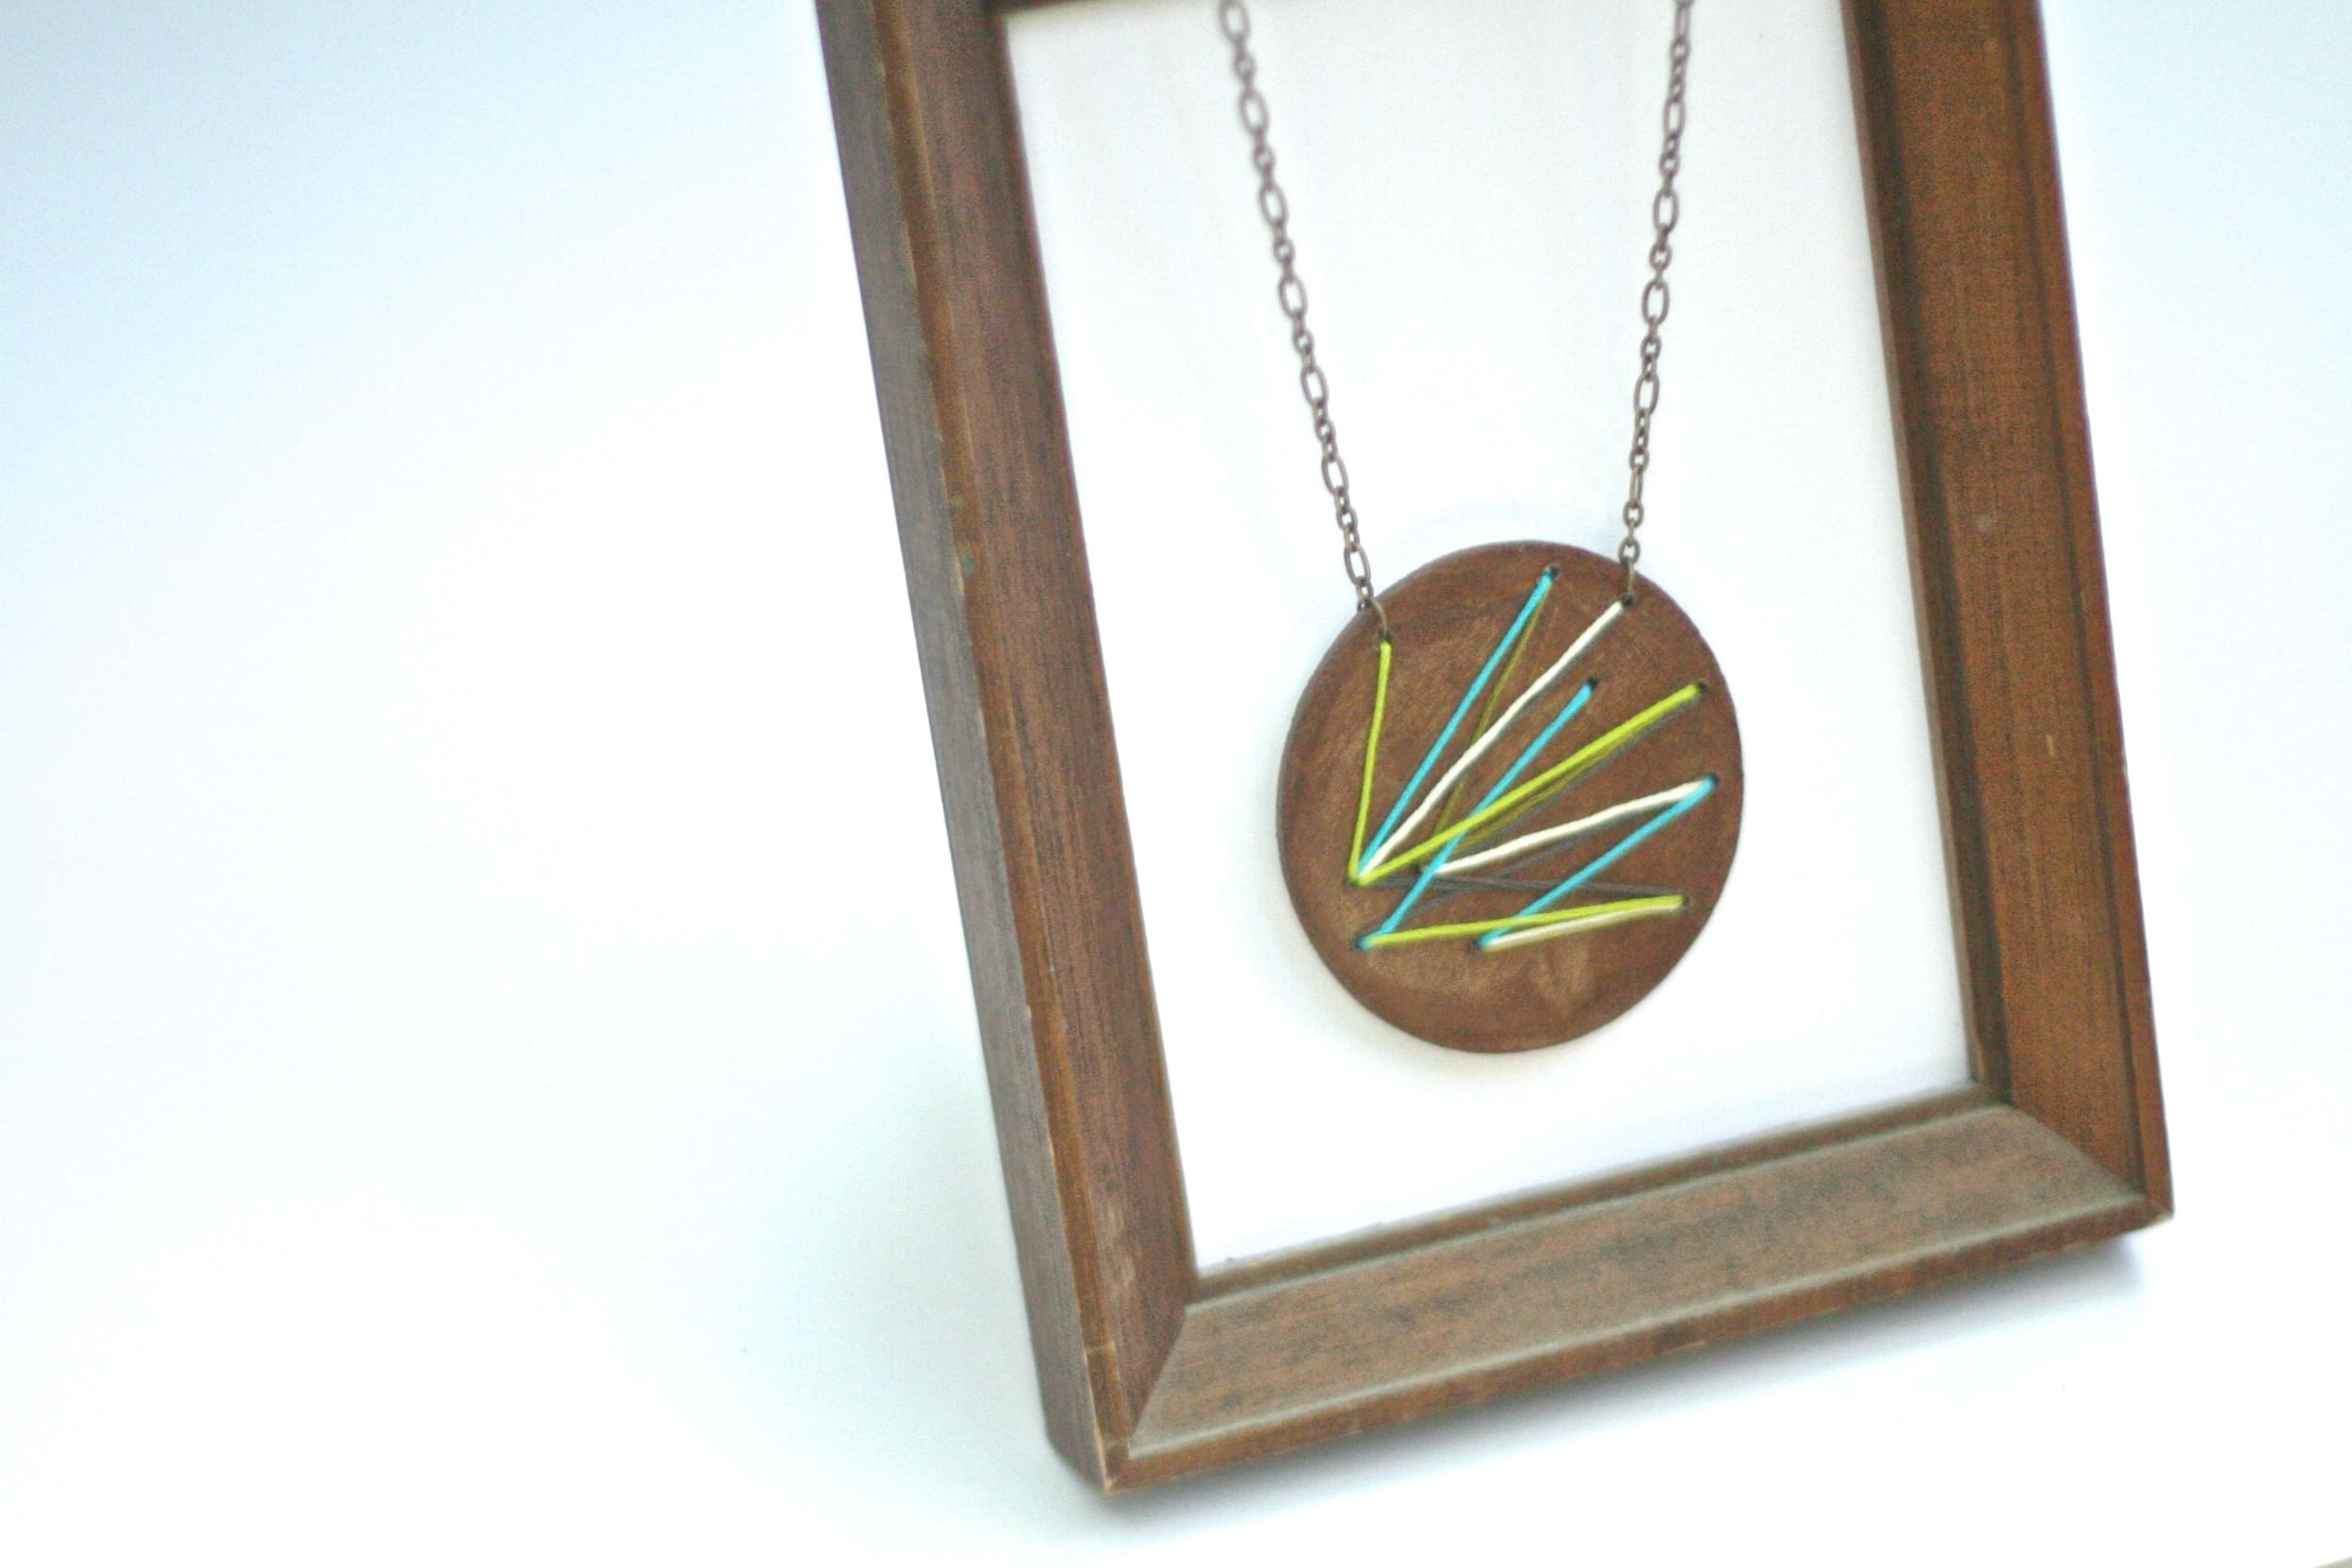
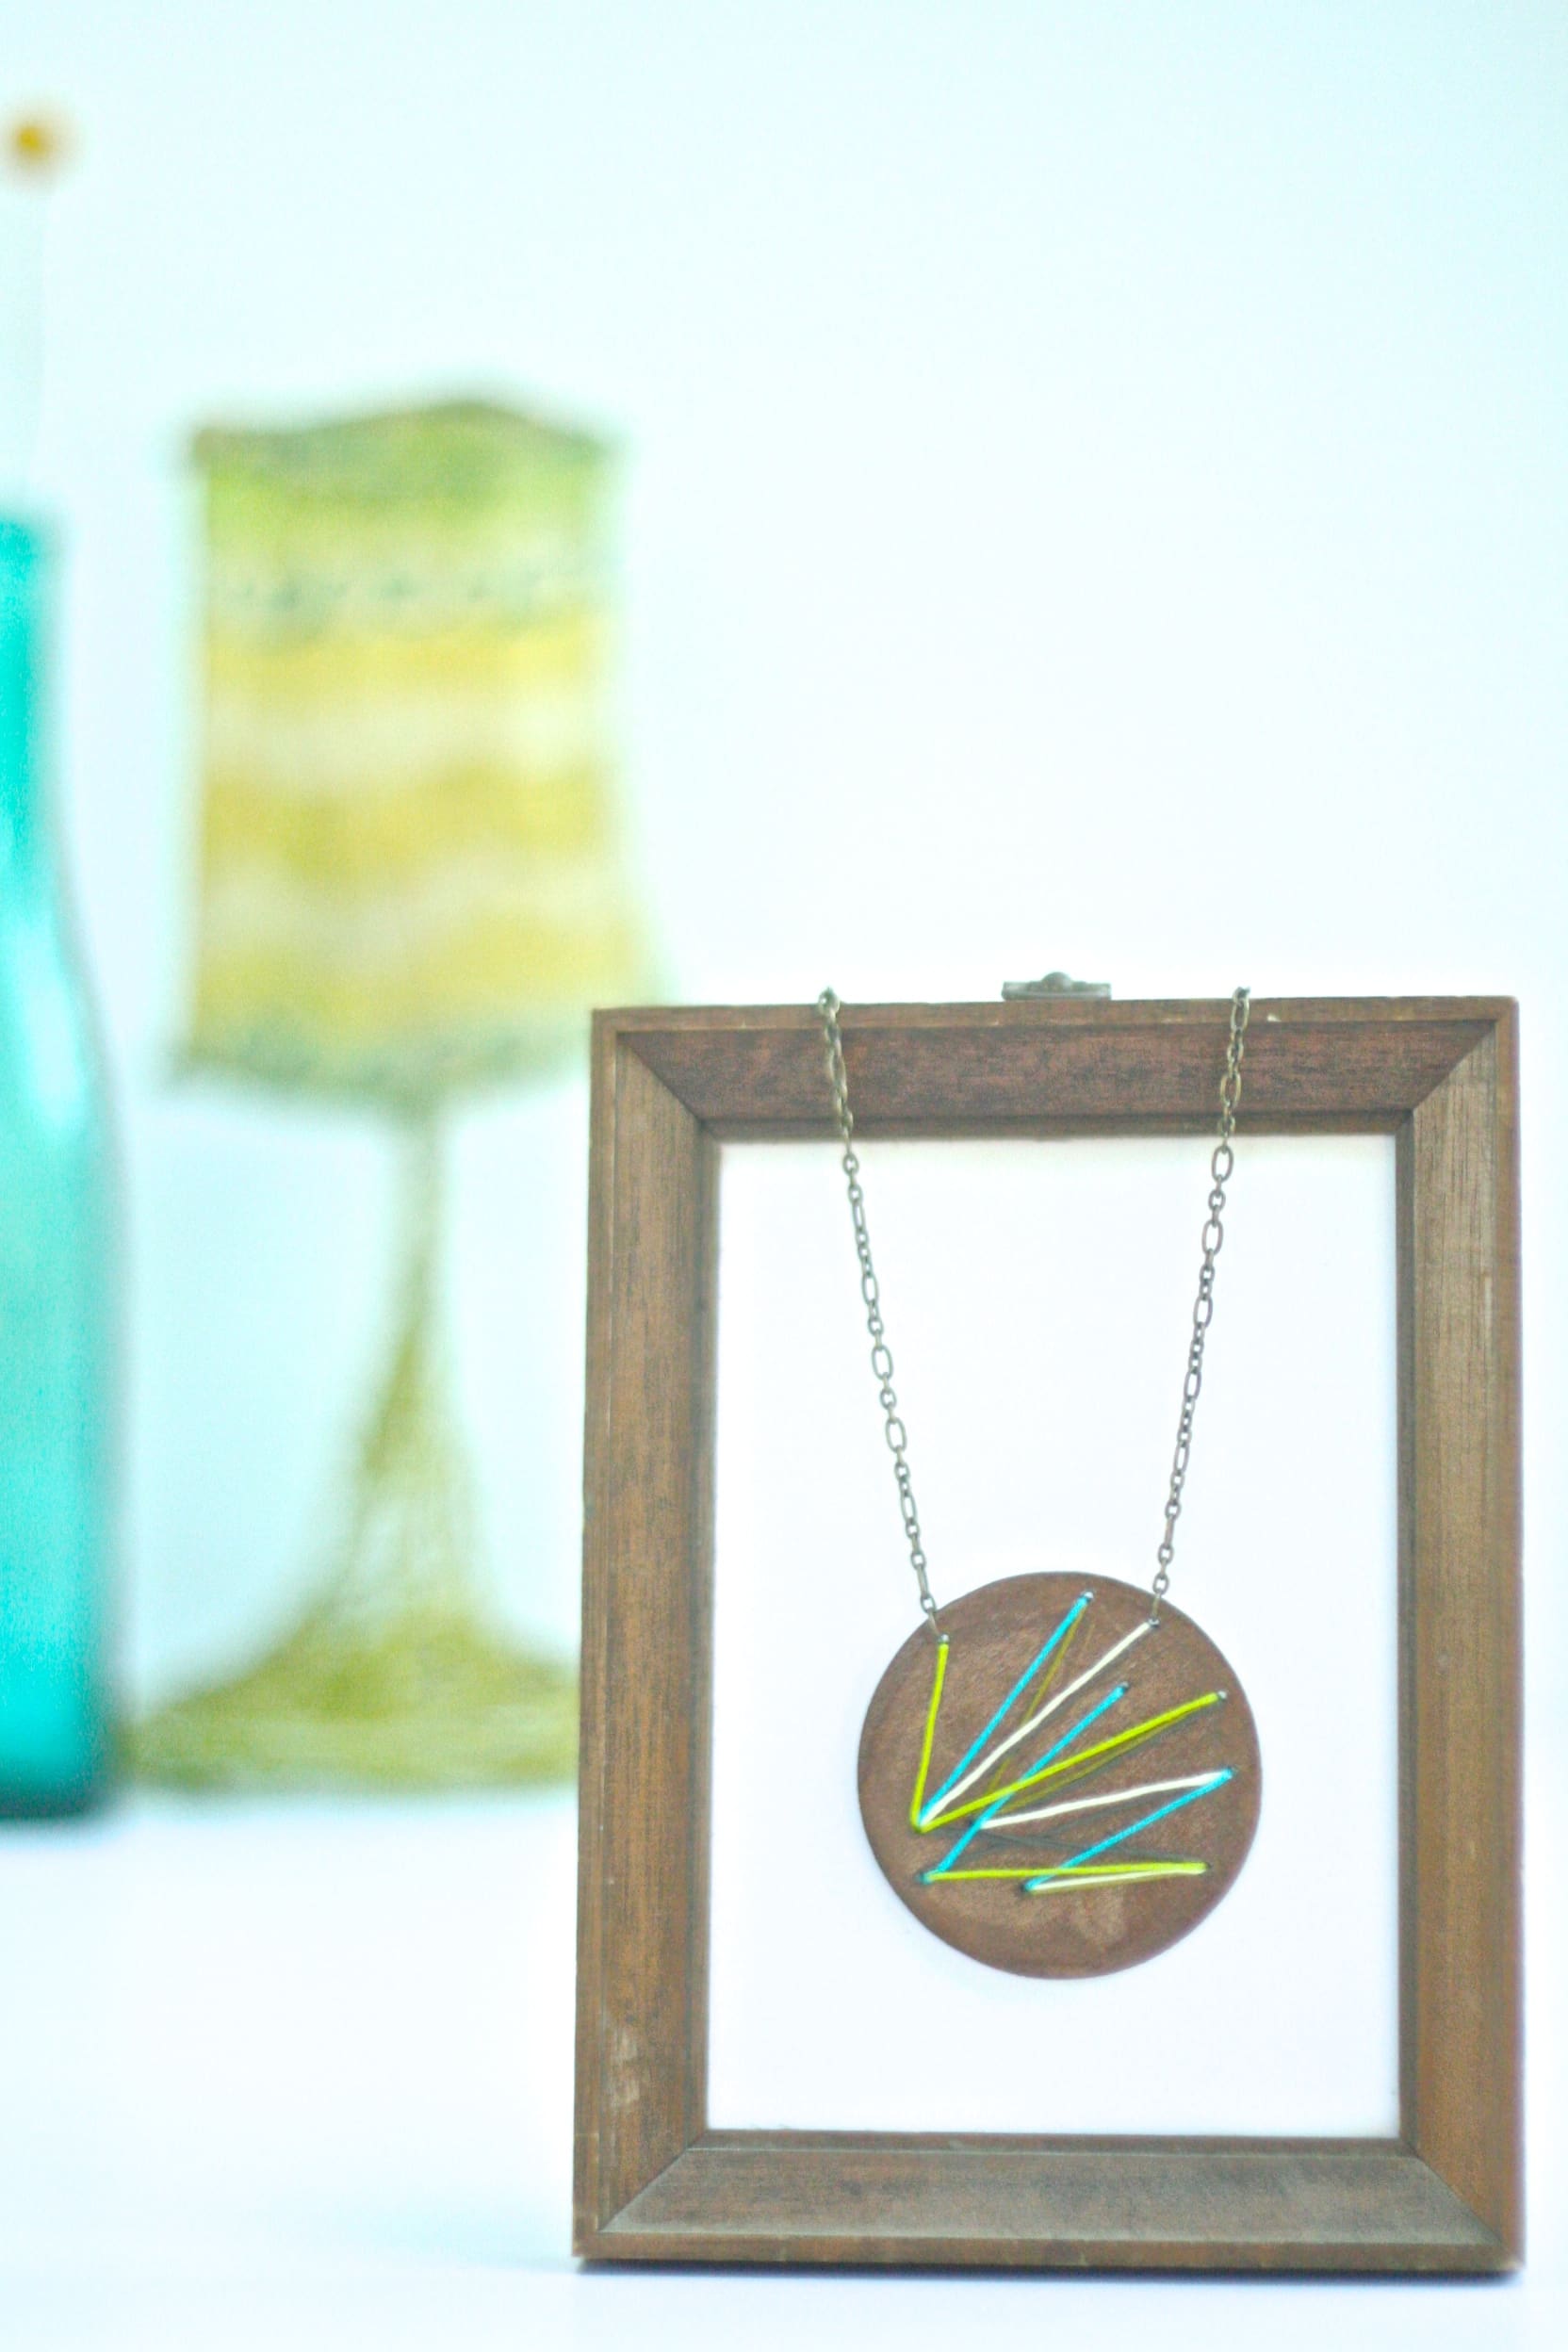
how to make an embroidered wood circle necklace
Wood is one of my all-time favorite materials to use in my diy craft projects. My love affair with wood started with the little side table my dad made in wood shop when he was in high school. This obsession may have started many years ago but it hasn’t wavered. A few weeks ago I collected some of my favorite diy craft project tutorials that use wood.
Last year a few bags of wooden circles ended up coming home with me from the craft store and have sat in my studio unused until now! With Craftcation 2014 and one out of three Patchwork Shows behind us, I finally had a spare moment to sit down and make something with those circles. I bought a lovely necklace from Voz Clothing and Art at our fall Patchwork Show and have worn it pretty much every day since! Although jewelry making isn’t my craft of choice, I was inspired by my love of Voz’s wooden necklaces to make my own piece. I had some embroidery thread leftover from one of Amelia Strader’s sewing workshops at Craftcation. I grabbed the wood circle, embroidery thread and my drill and spent the afternoon sitting in the backyard watching my new favorite show, Friday Night Lights, on my iPad. With the onset of summer, I’m trying to work as much as possible in the backyard so I can keep an eye on our chickens who love to sneak into our garden and wreak havoc on our flowers and veggies.
Making this necklace didn’t take long, about one episode of Friday Night Lights..No judgement on my new found love for this show please 🙂 A few weeks ago I tried to get into this show for the fifth time and it finally clicked. Honestly, I can’t believe I’m loving a show that has anything to do with sports, let alone football! In high school when I was dragged to a basketball game, I sat in the bleachers reading beatnik poetry. But even then, I’d look up for a minute and get goosebumps when everyone would cheer and chant. The energy of being in a place with so many people all wanting the same thing was overwhelming in the best way. Watching FNL doesn’t make me want to go back in time and date a jock or pay more attention to sports but the characters drew me in and to be honest I’ve gotten a tiny bit weepy during some of the coach’s inspiring locker rooms chats. Those motivational talks make me think about the creative entrepreneurial version of Coach Taylor, in my life. Women like Kari Chapin (who is teaching some free classes on Creativelive June 2-4) and Tiffany Han who both encouraged and held me accountable. With Patchwork and Craftcation growing, it’s been extremely valuable to have outside perspectives from these ladies on the focus and direction of our businesses. It was also nice to take a few hours off from all this left-brain stuff and tap into my right-brain as I created the pattern for the thread to follow on this necklace and then completely ignored it, once I started sewing through the holes in the wood.
If you need a little break from all the nuts and bolts of being a creative entrepreneur like I did, making this necklace is the perfect escape. Plus all the supplies cost less than $5! So, give yourself a little reprieve and get busy crafting.
-nicole s.
what to get:
-Embroidery thread (various colors)
-Embroidery needle
-2.5 inch wooden circle
-Drill with small drill bit
-Scissors
-20+ inches of chain (depending on how long you want your necklace)
-1 lobster clasp + 4 jump rings
-Gloss medium or gloss finish mod podge
-Paintbrush
-Dark brown acrylic craft paint
-Pencil
-Needle nose pliers 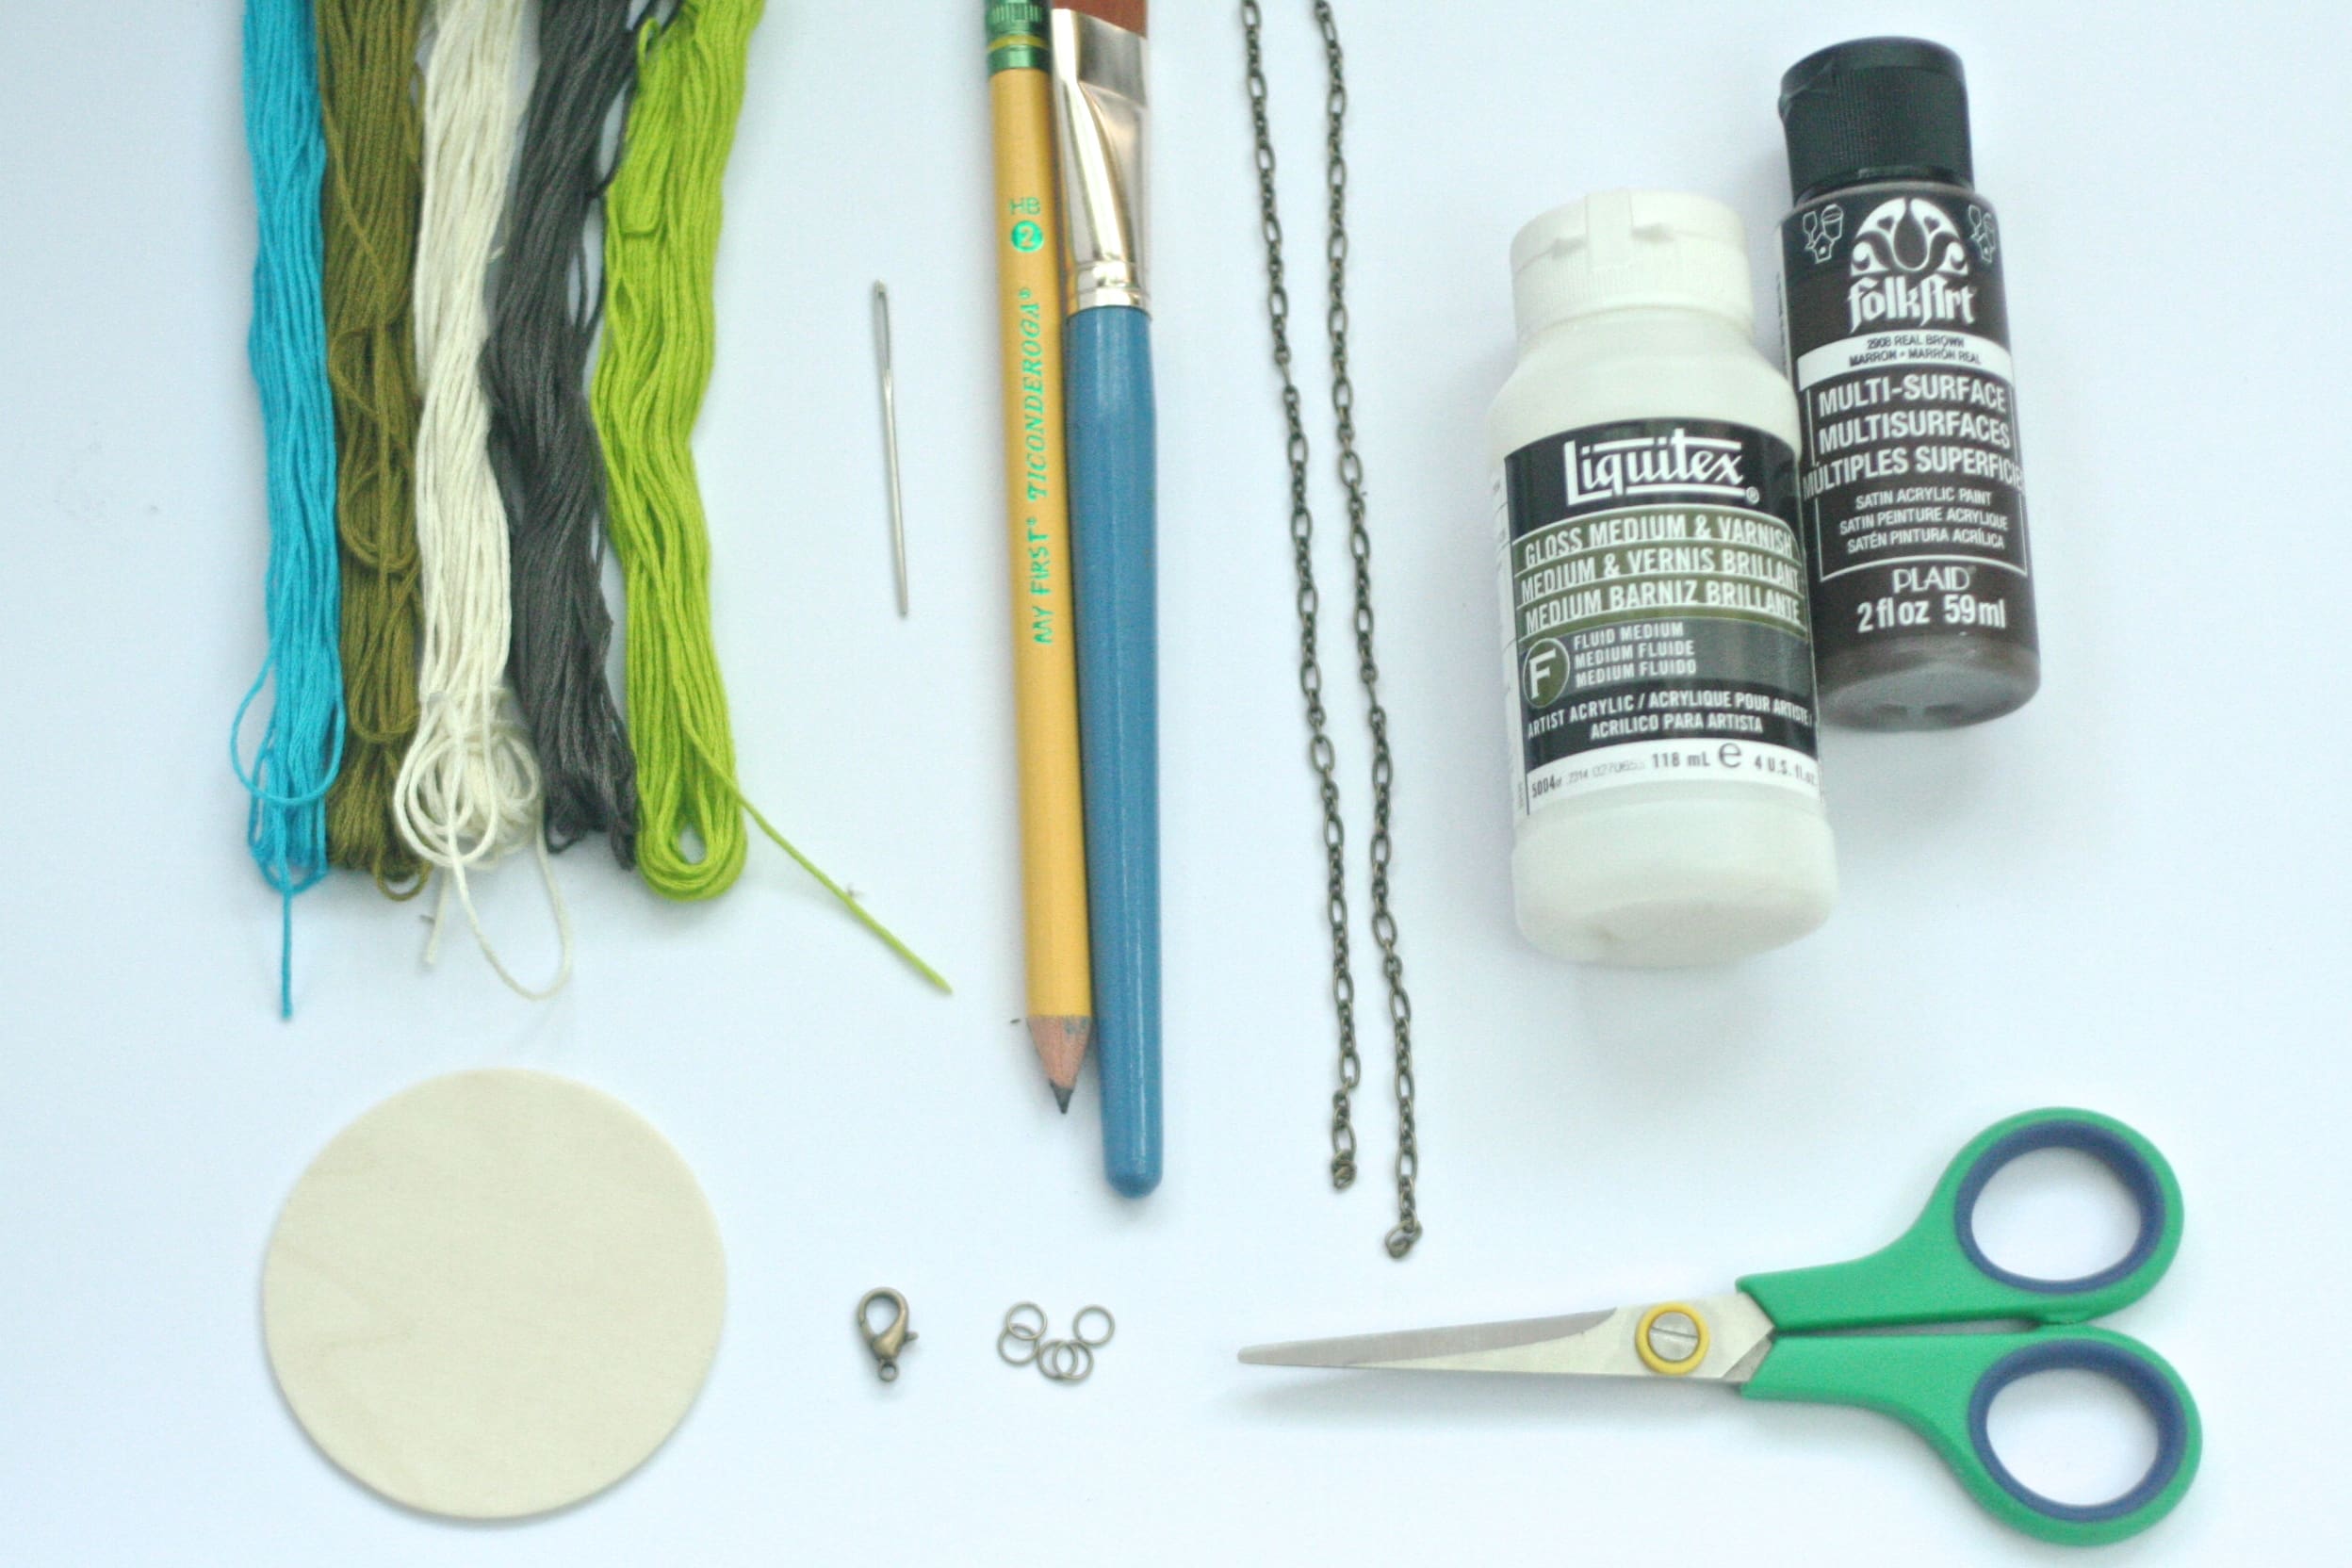
what to do:
1. Decide on a pattern for the thread on the circle as well as the spots where you’ll attach the chain on each side and mark drill holes with a pencil. 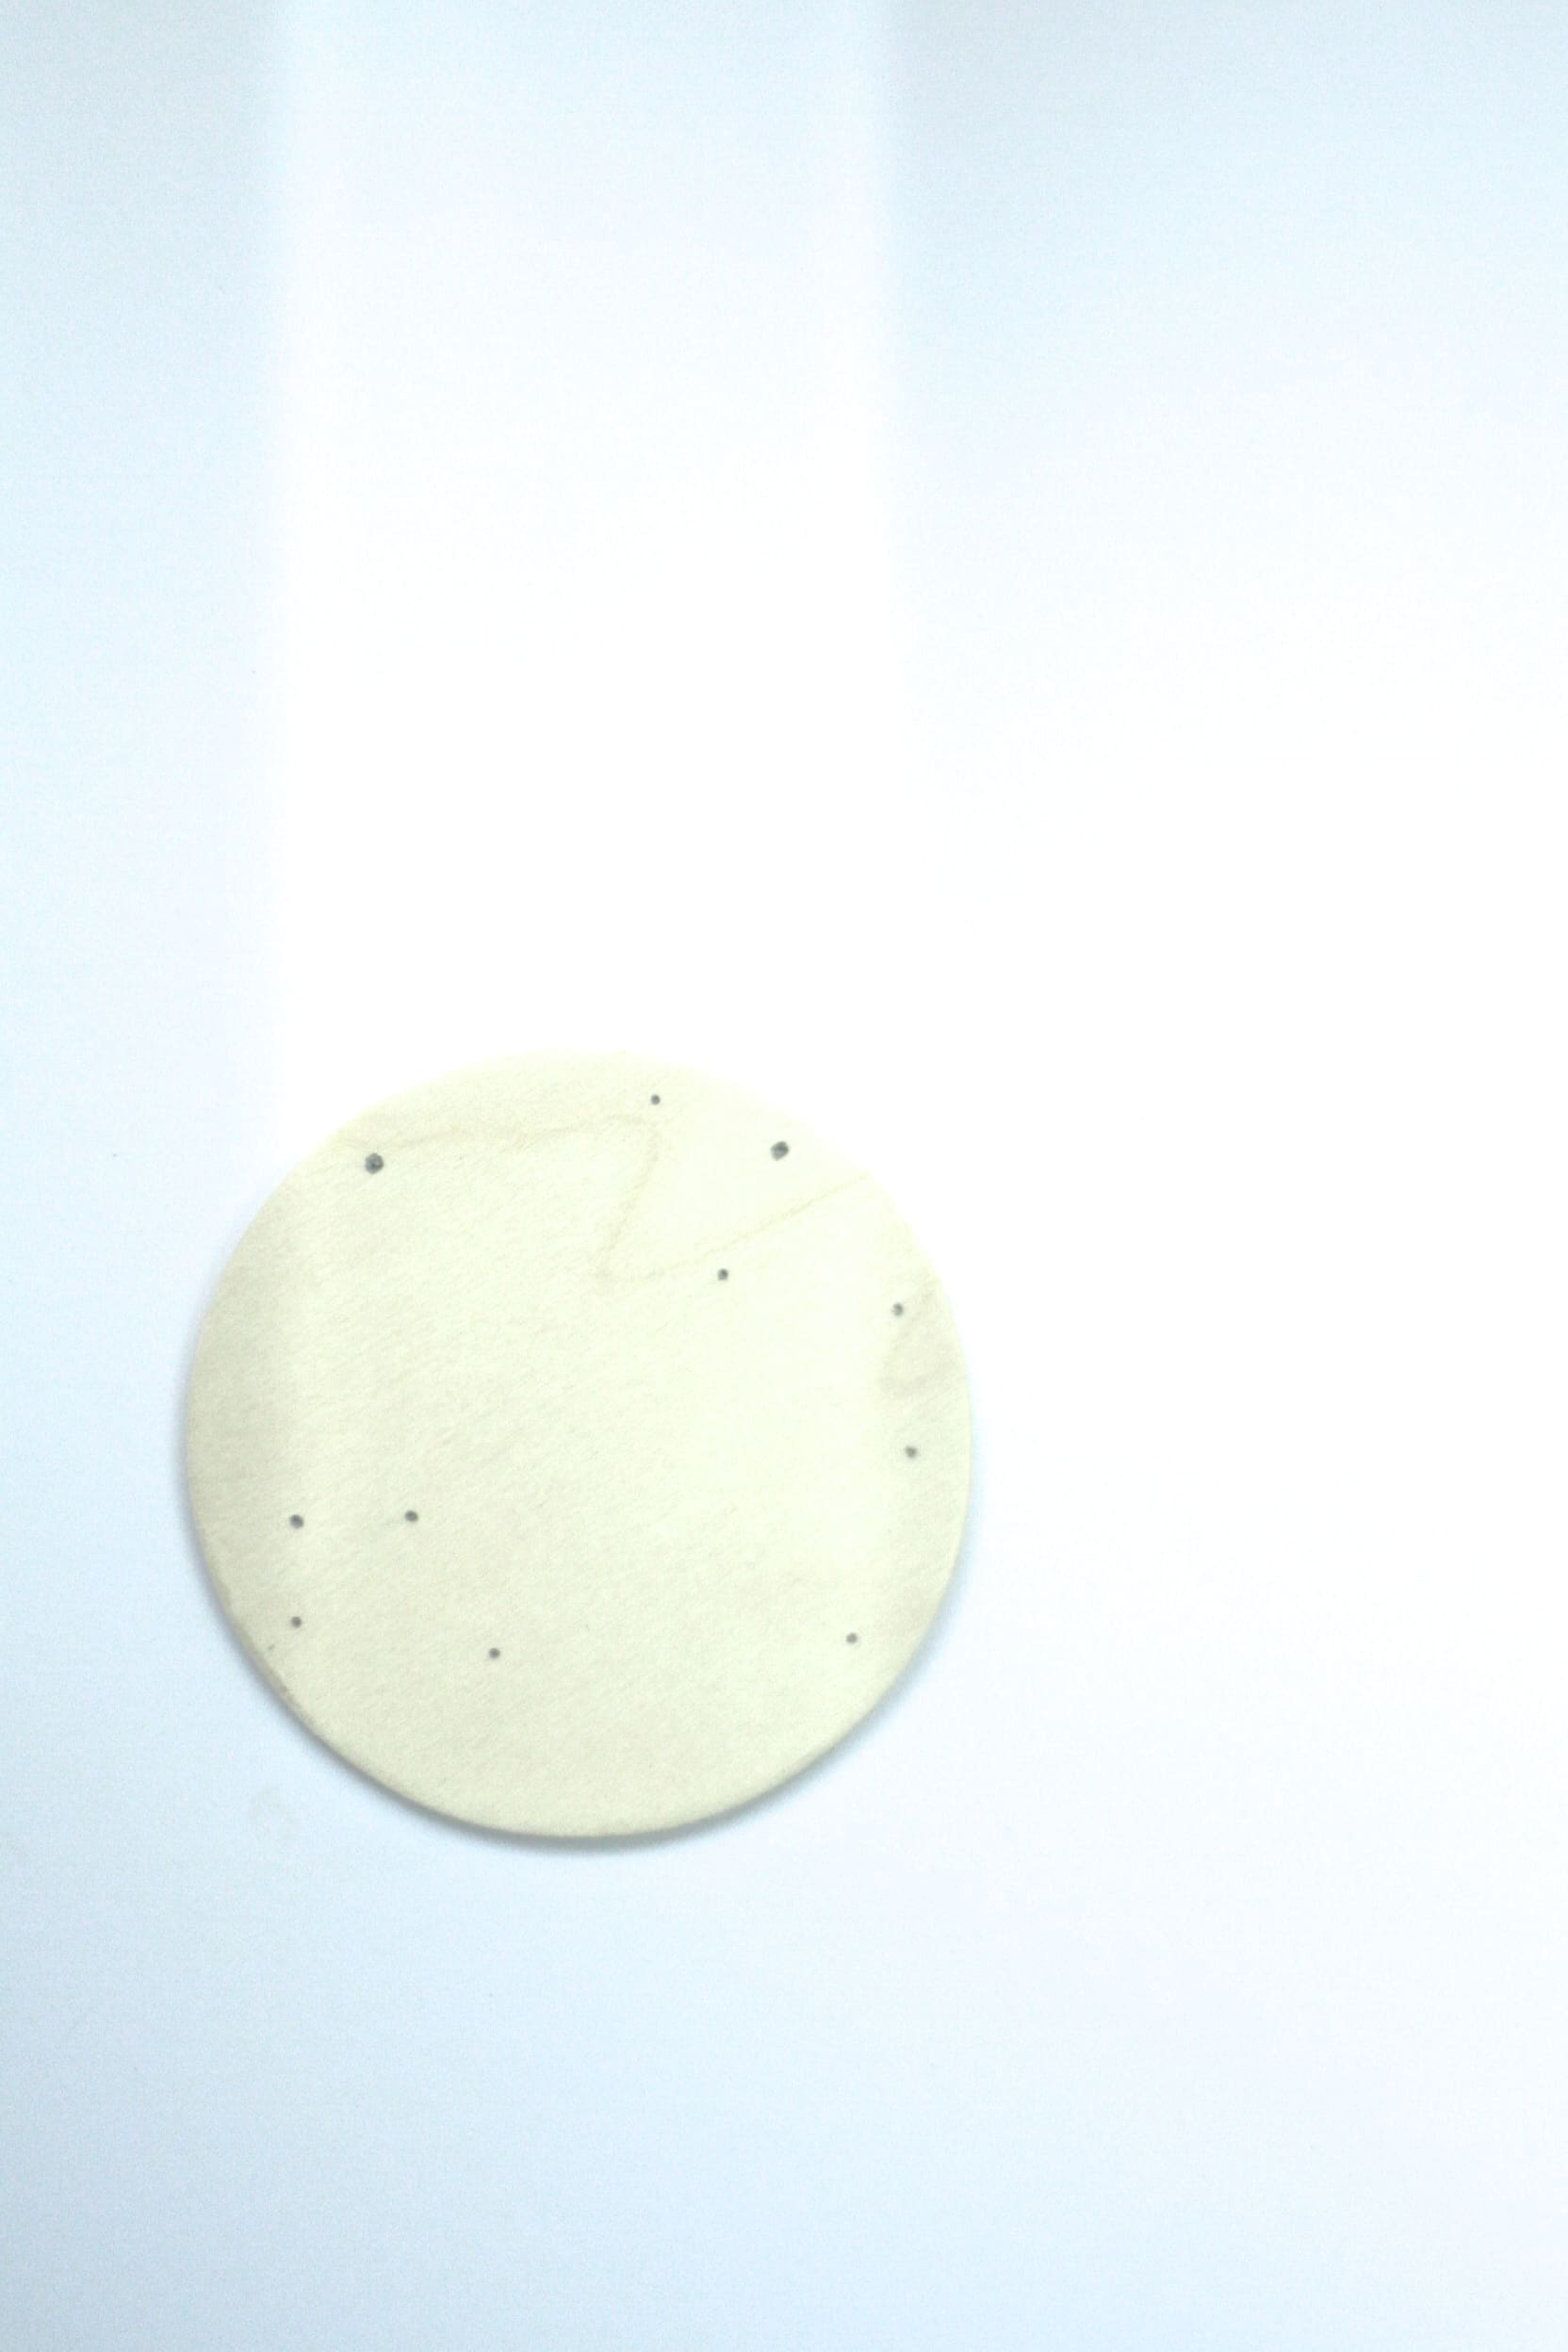 2. Drill holes using your pencil marks as a guide.
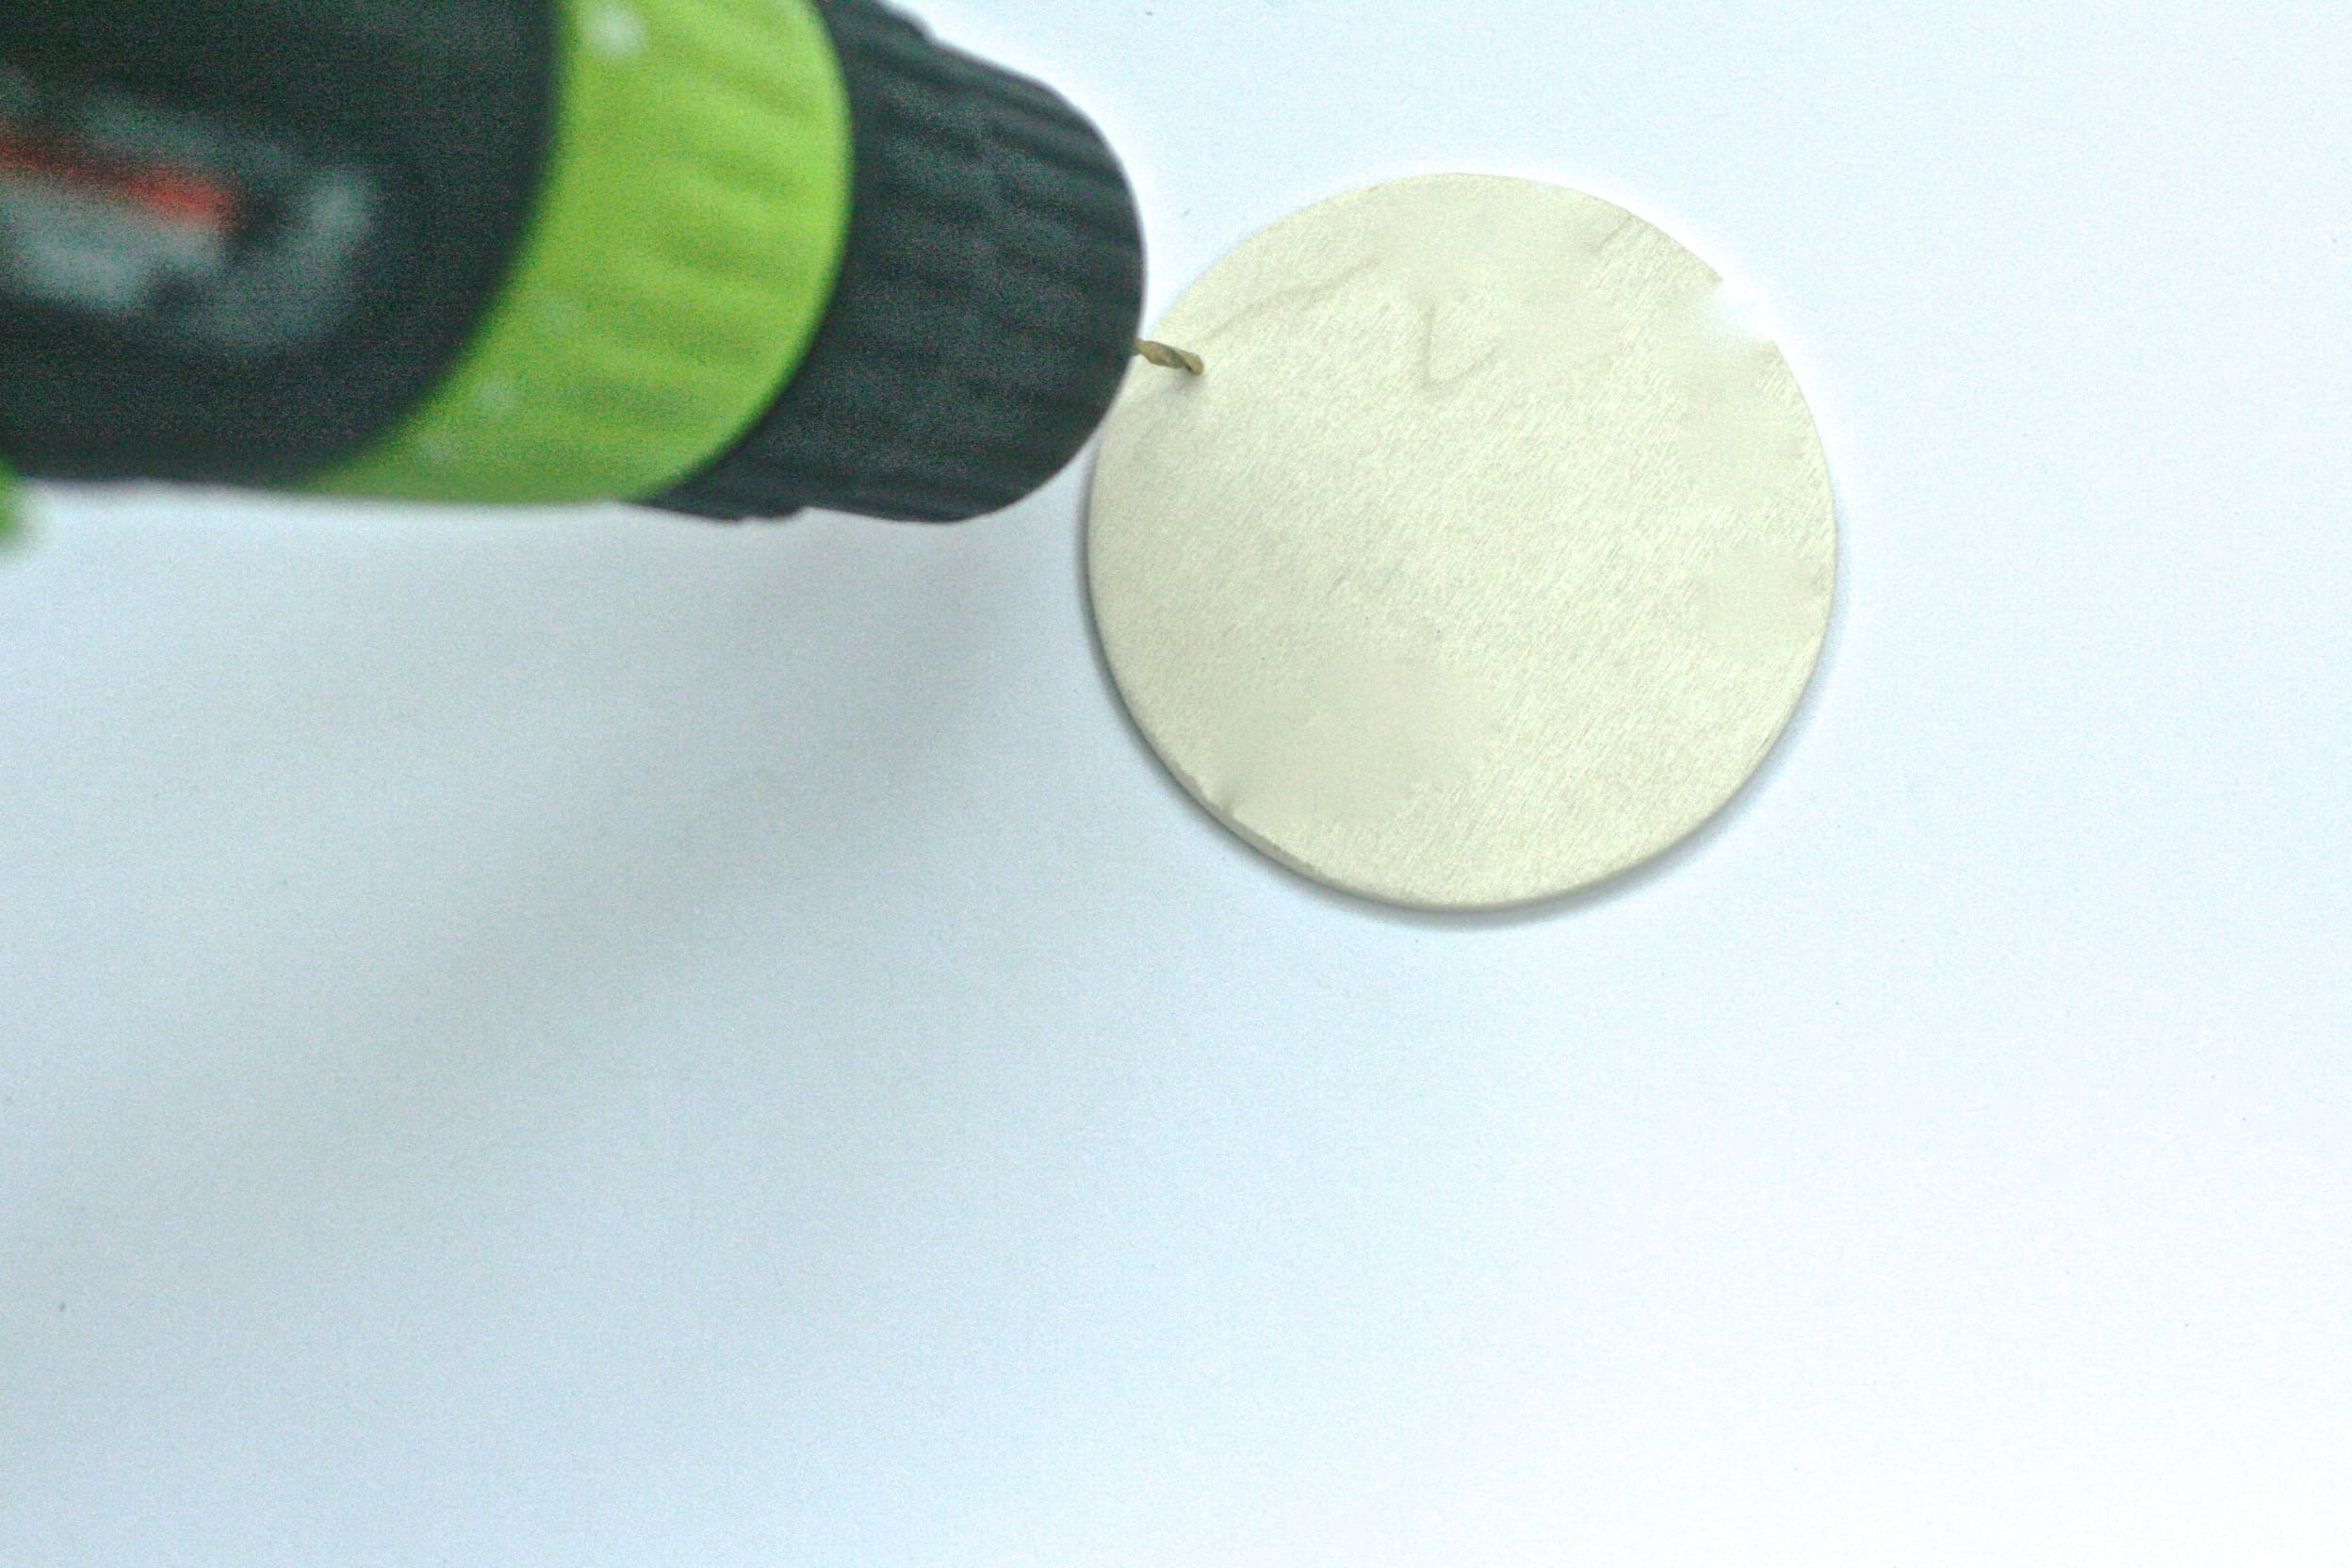
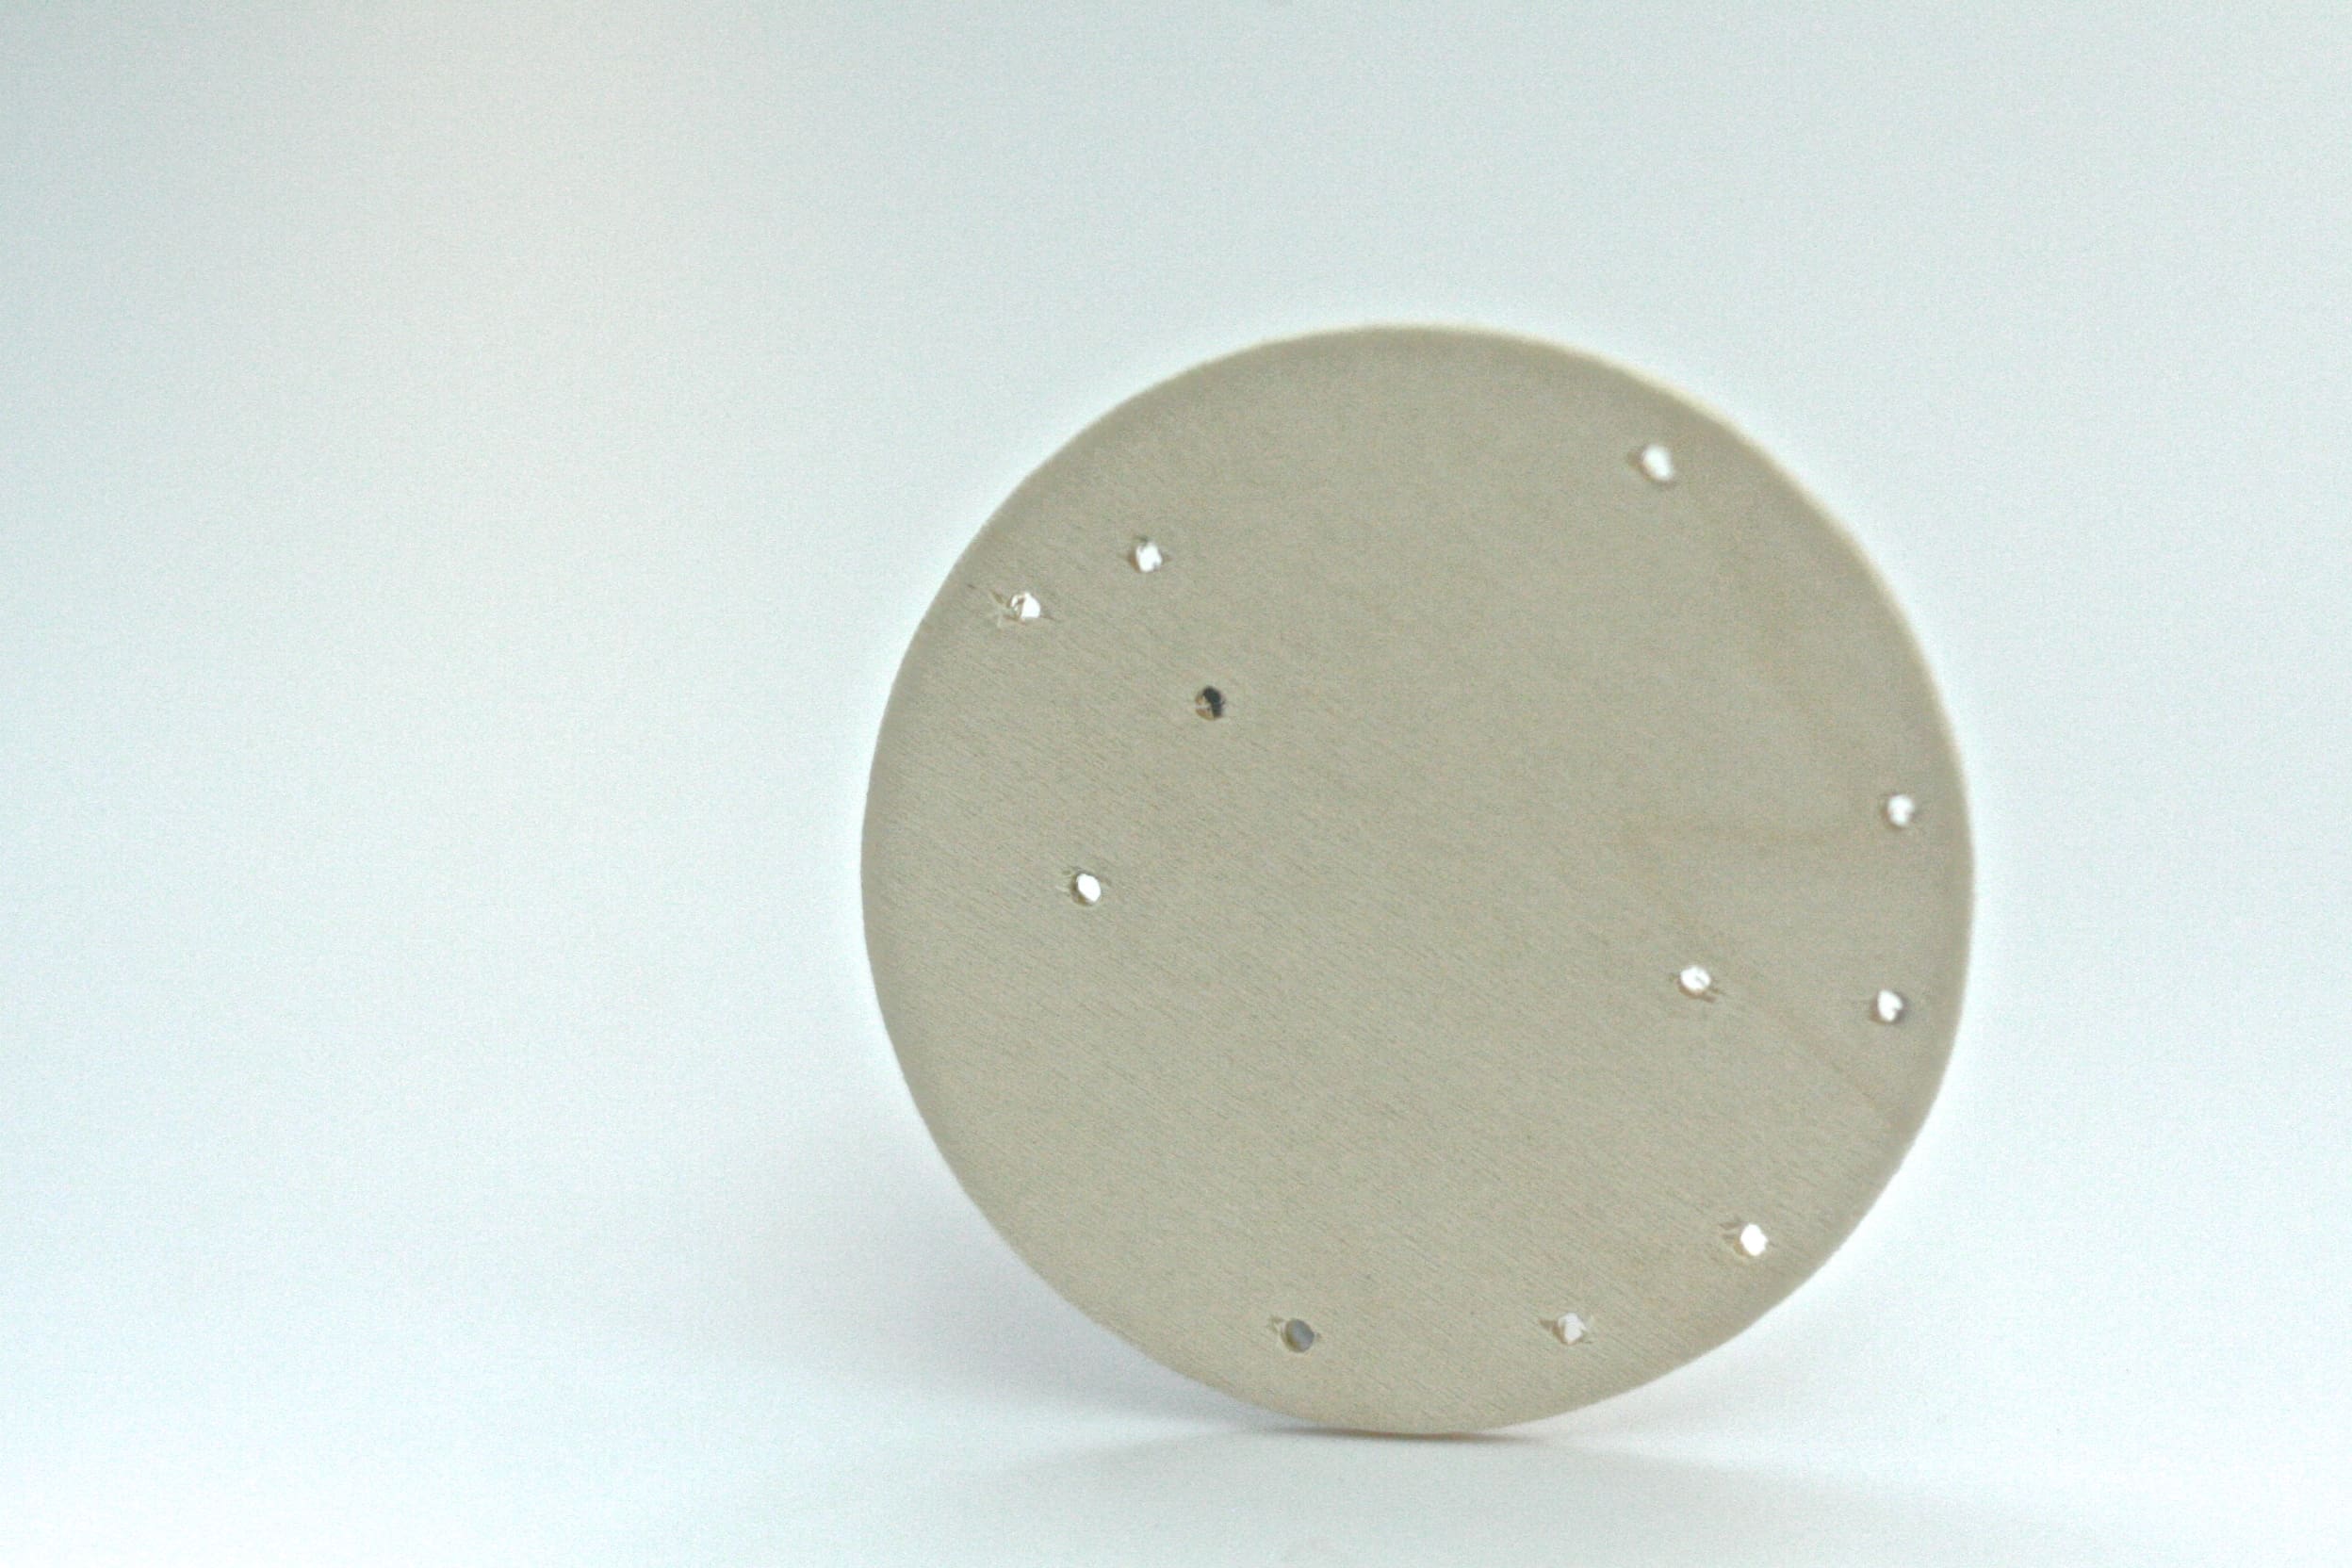
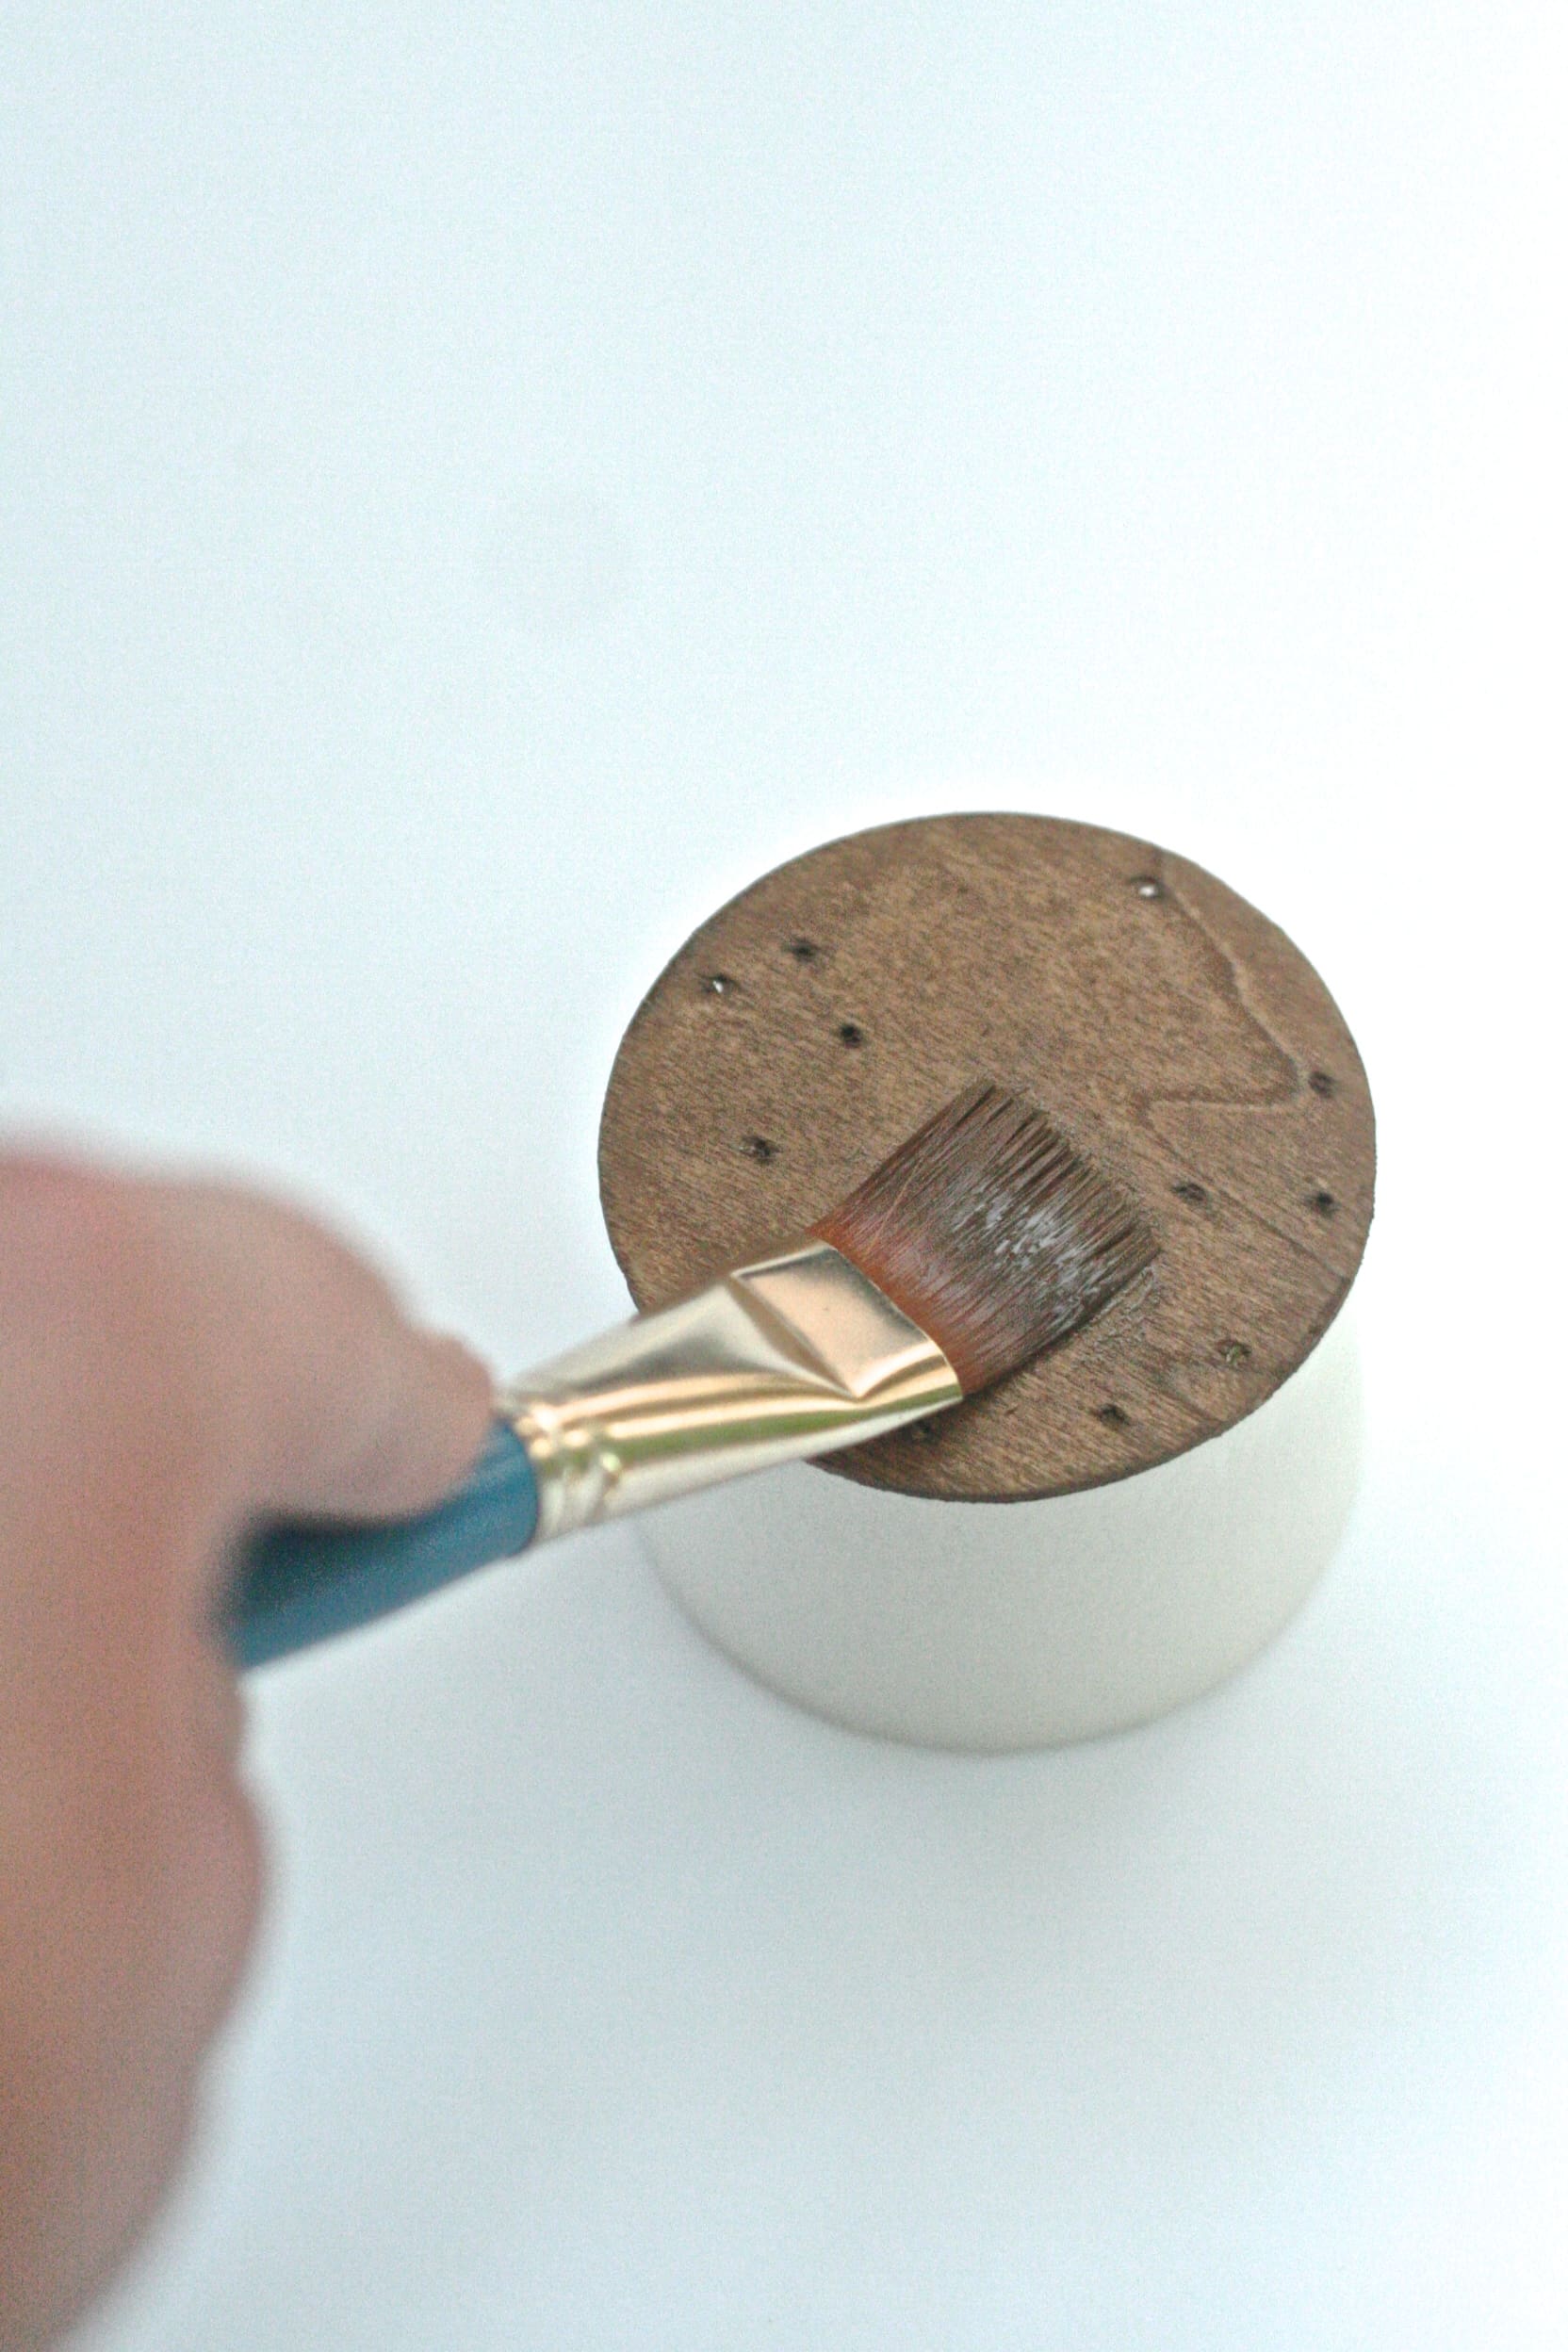 3. Mix your ‘stain’ by adding a bit of brown paint and gloss medium to water.
4. Stain your circle by painting on a few coats of the paint/water mixture. 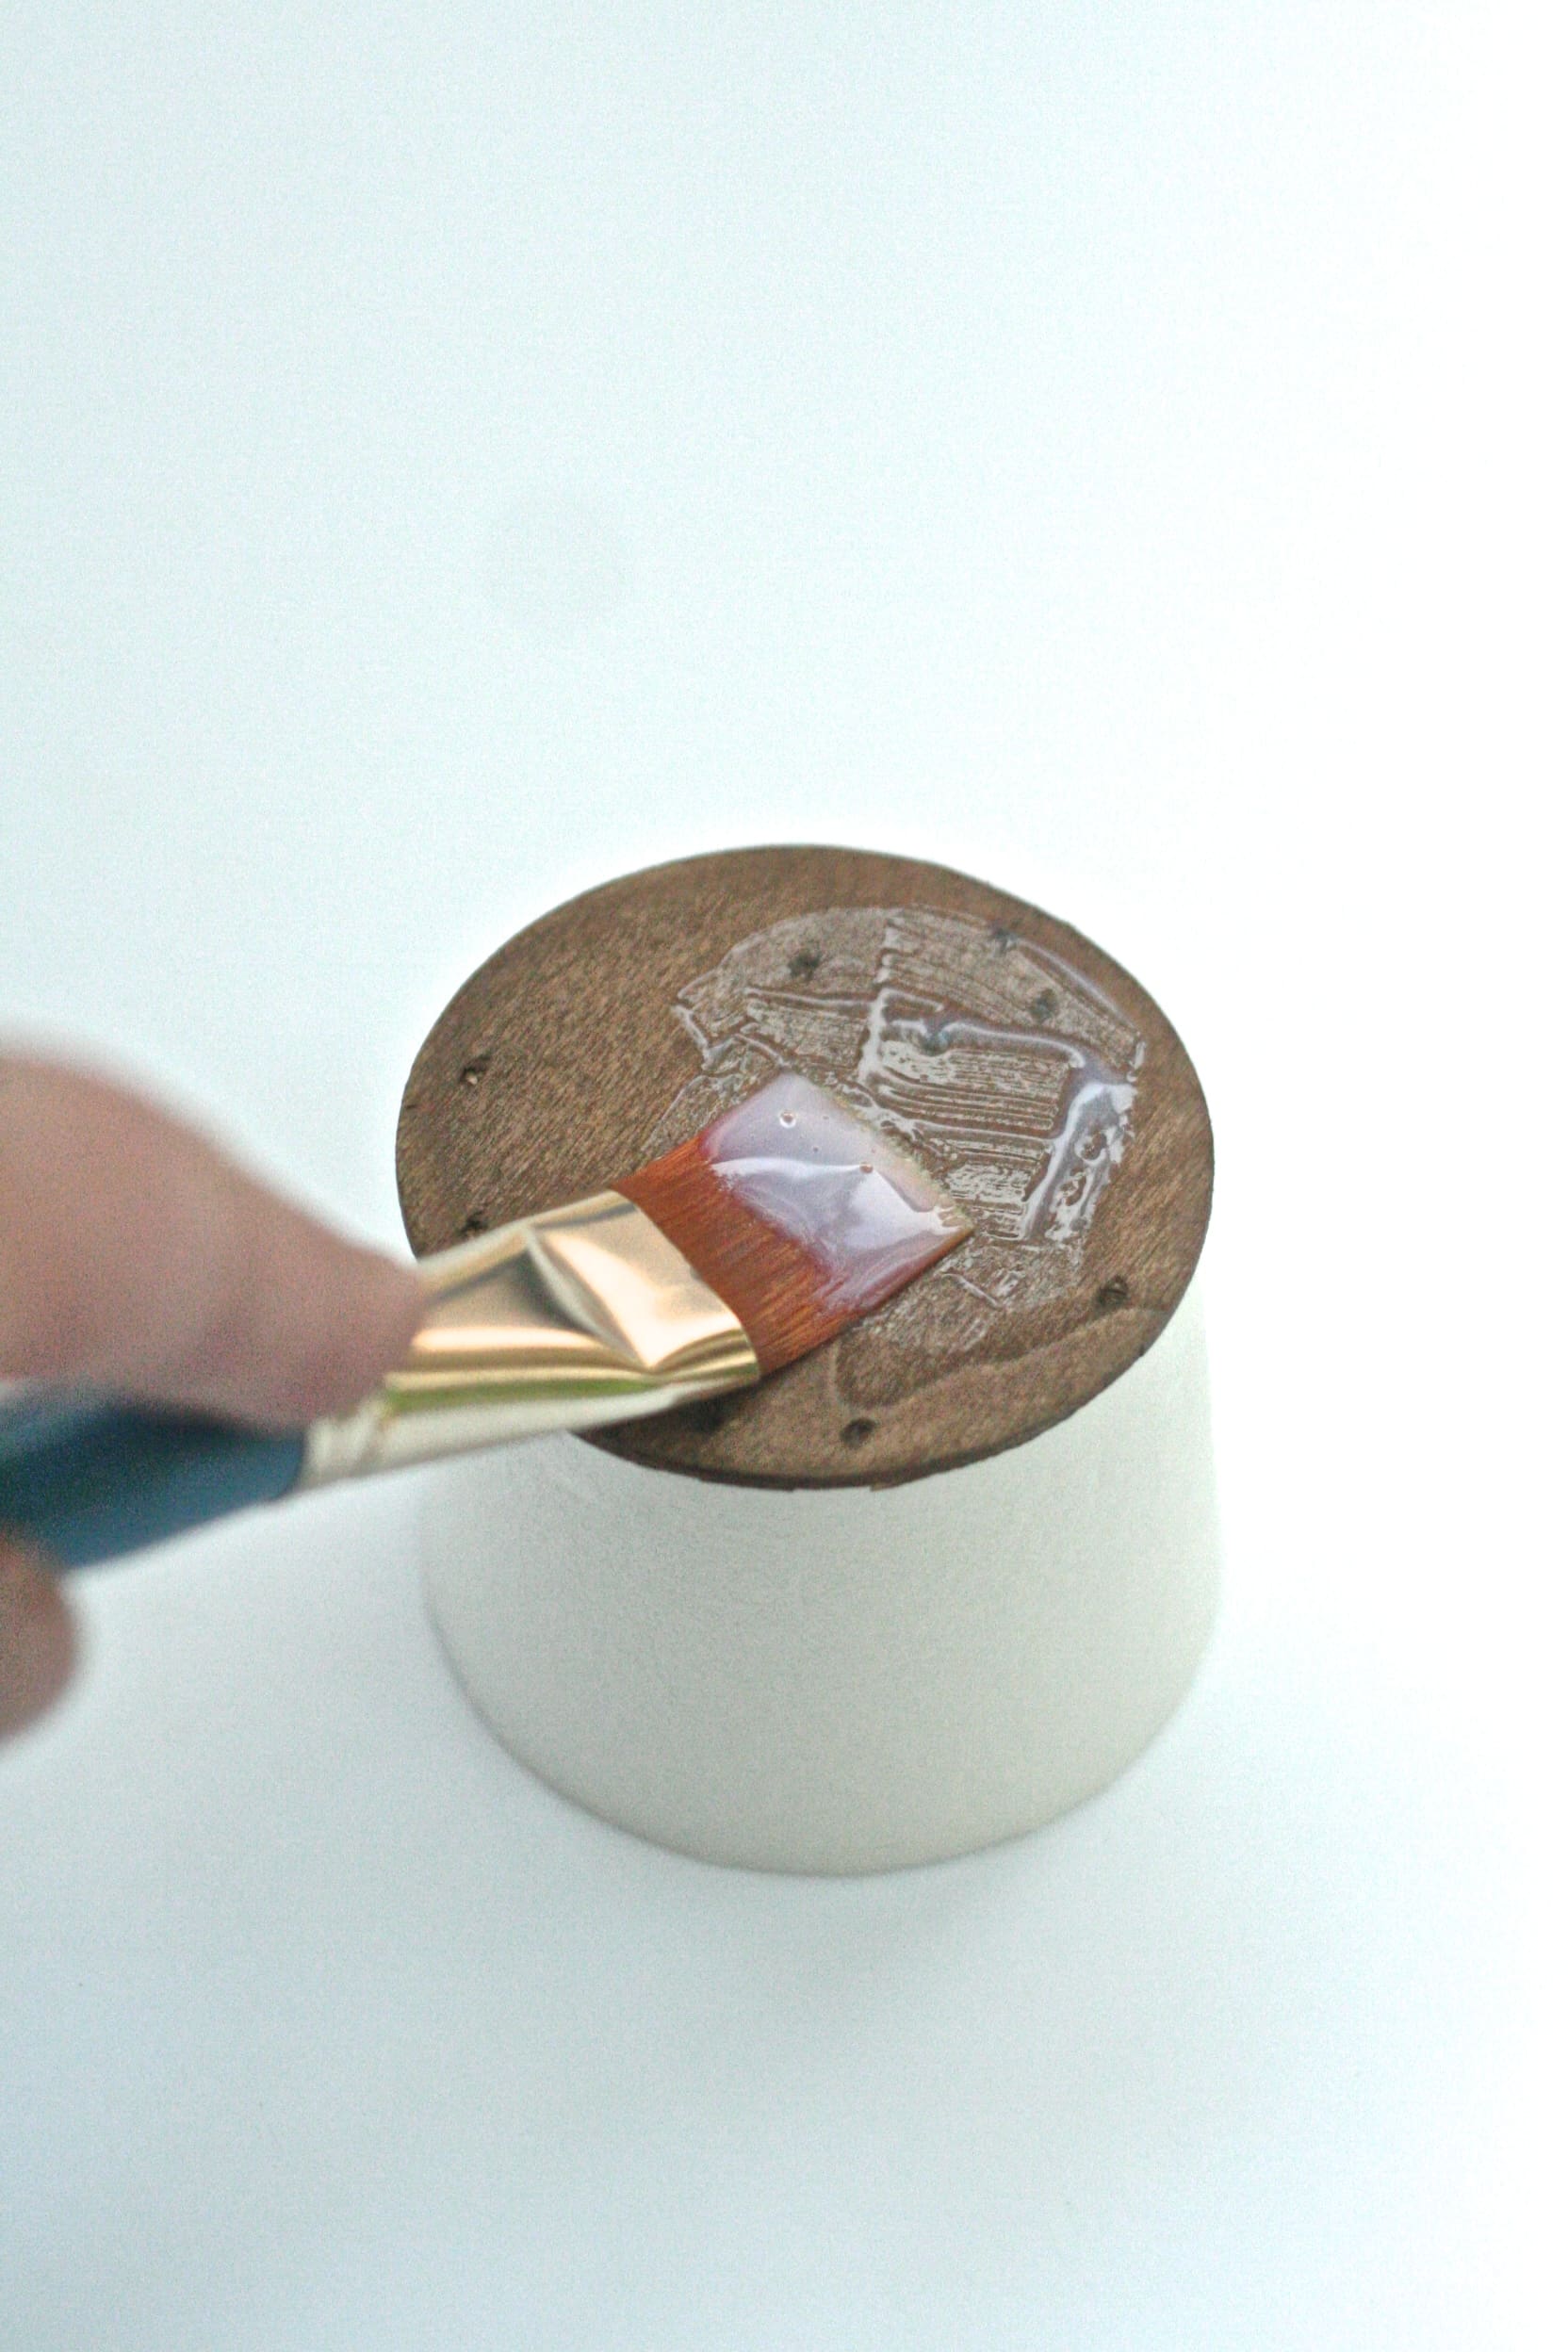 5. Once the stain is dry, add some shine by paining a few coats of plain glass medium over the stain.
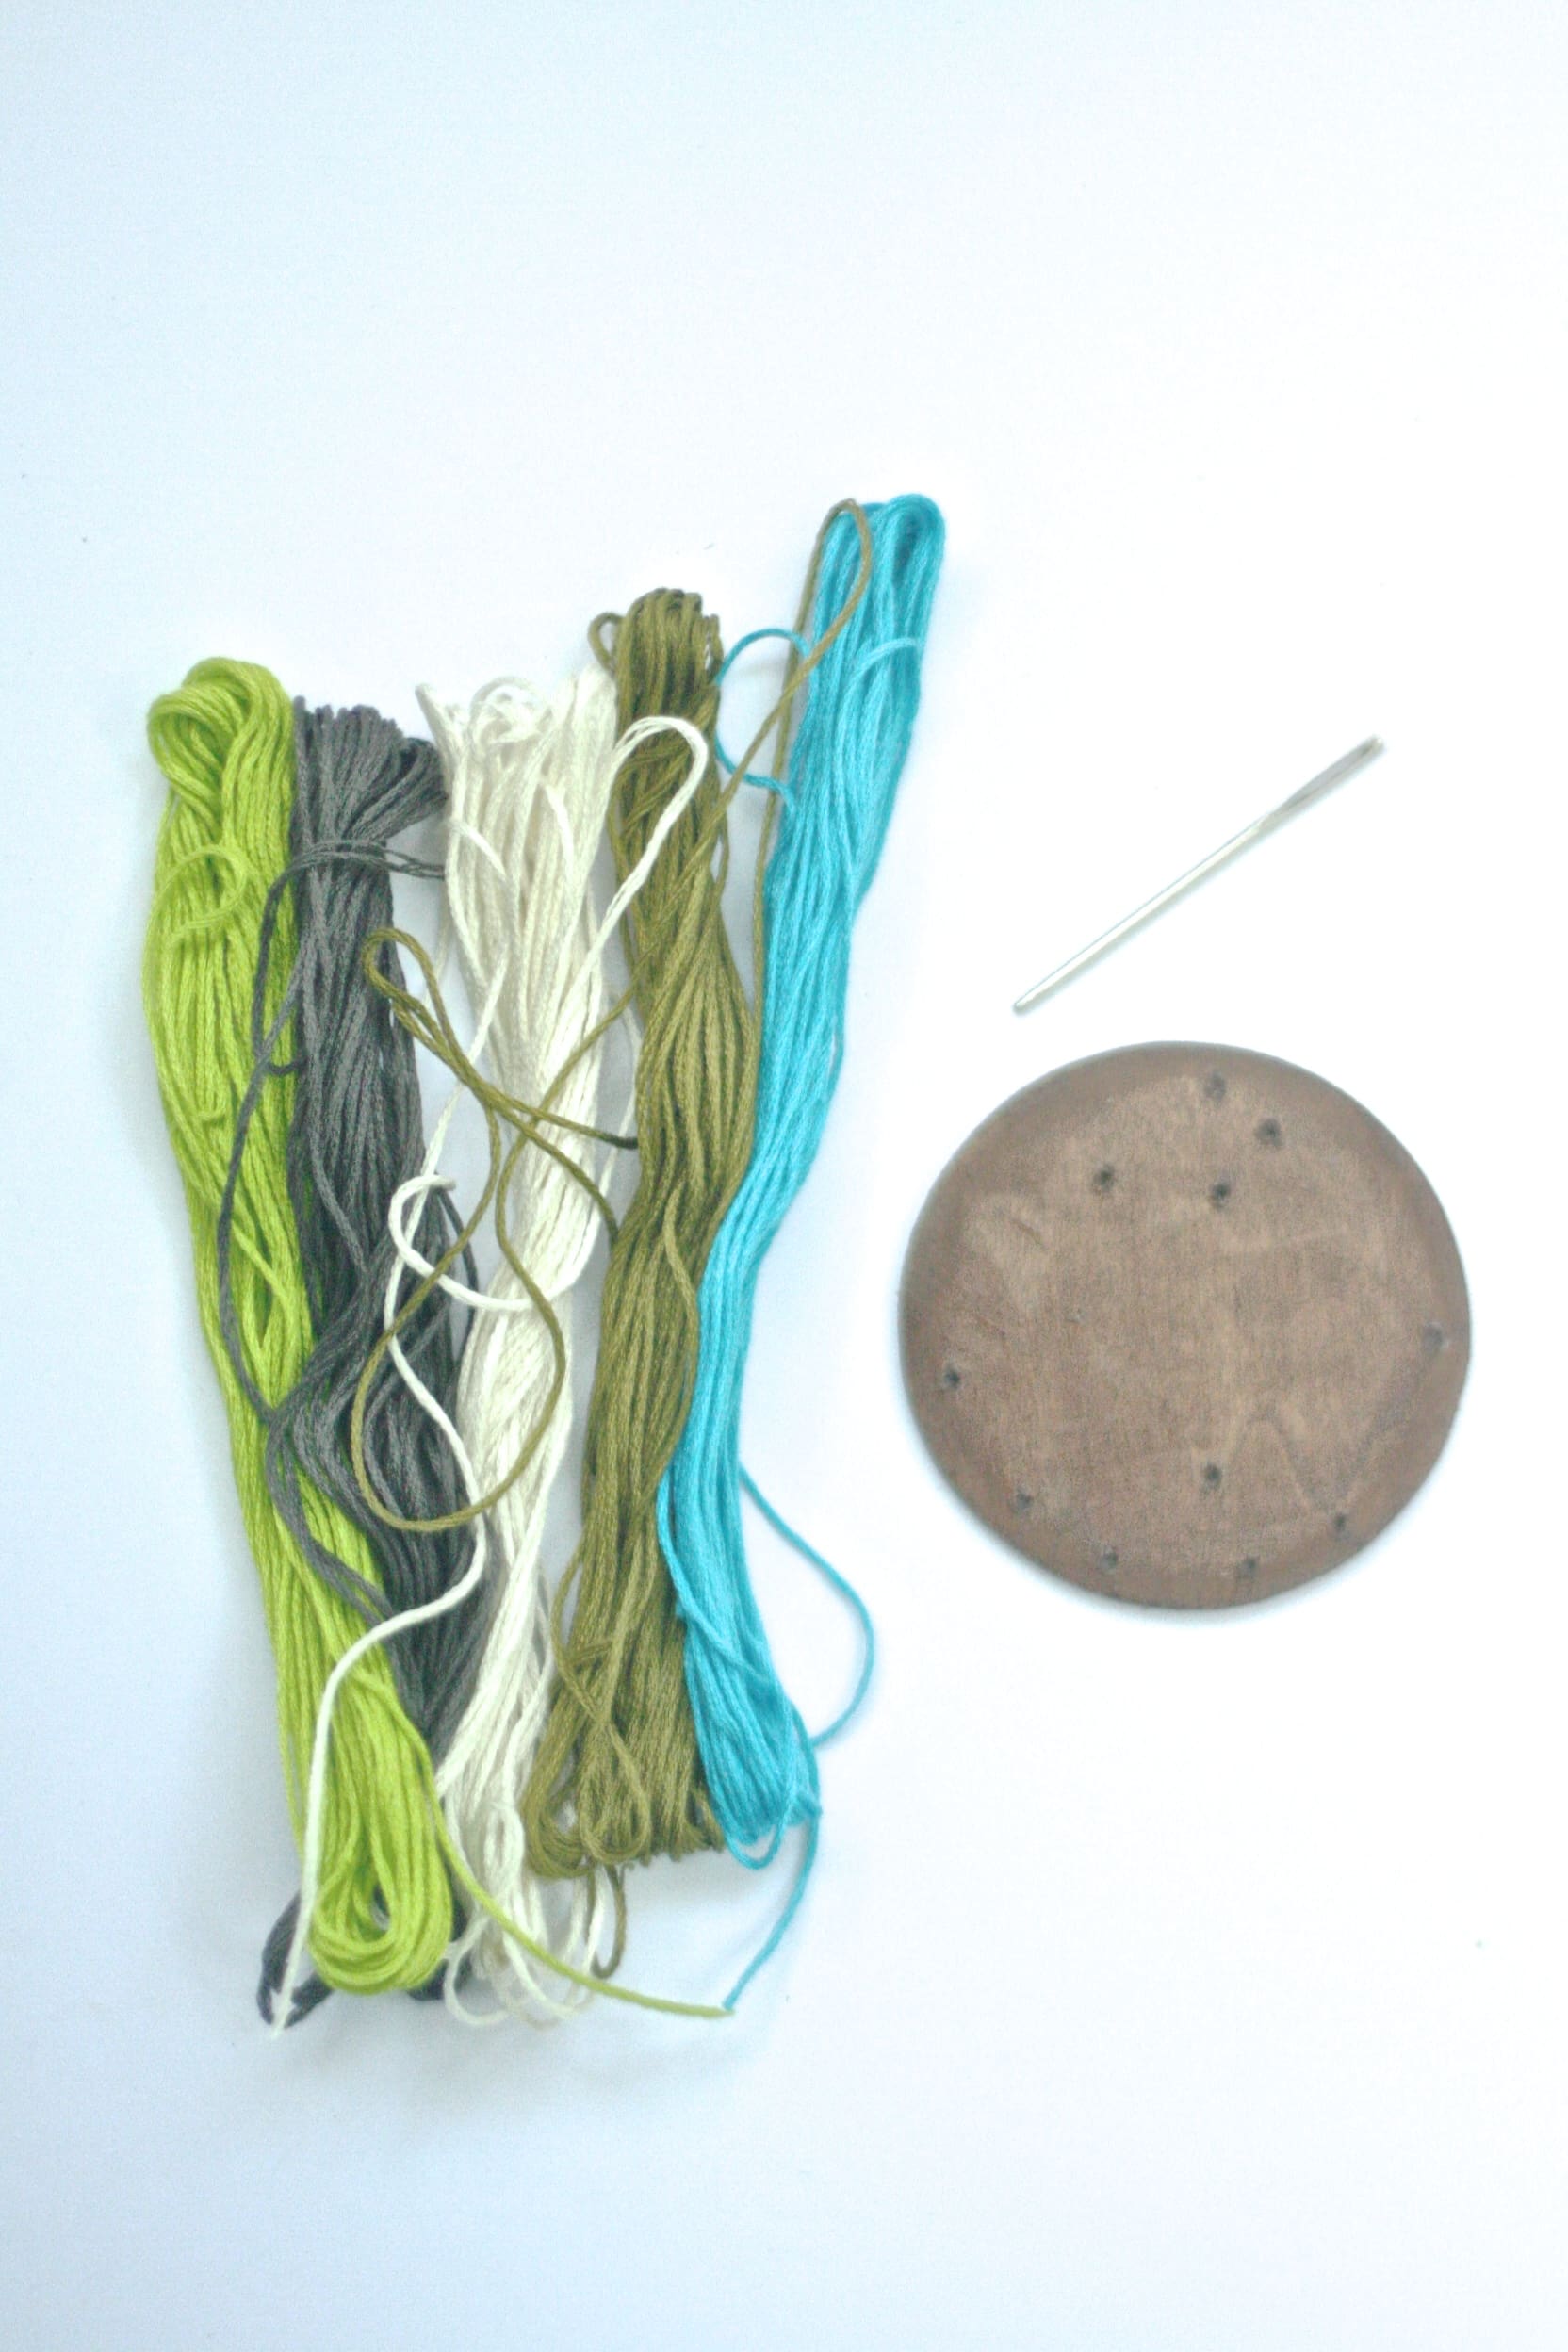
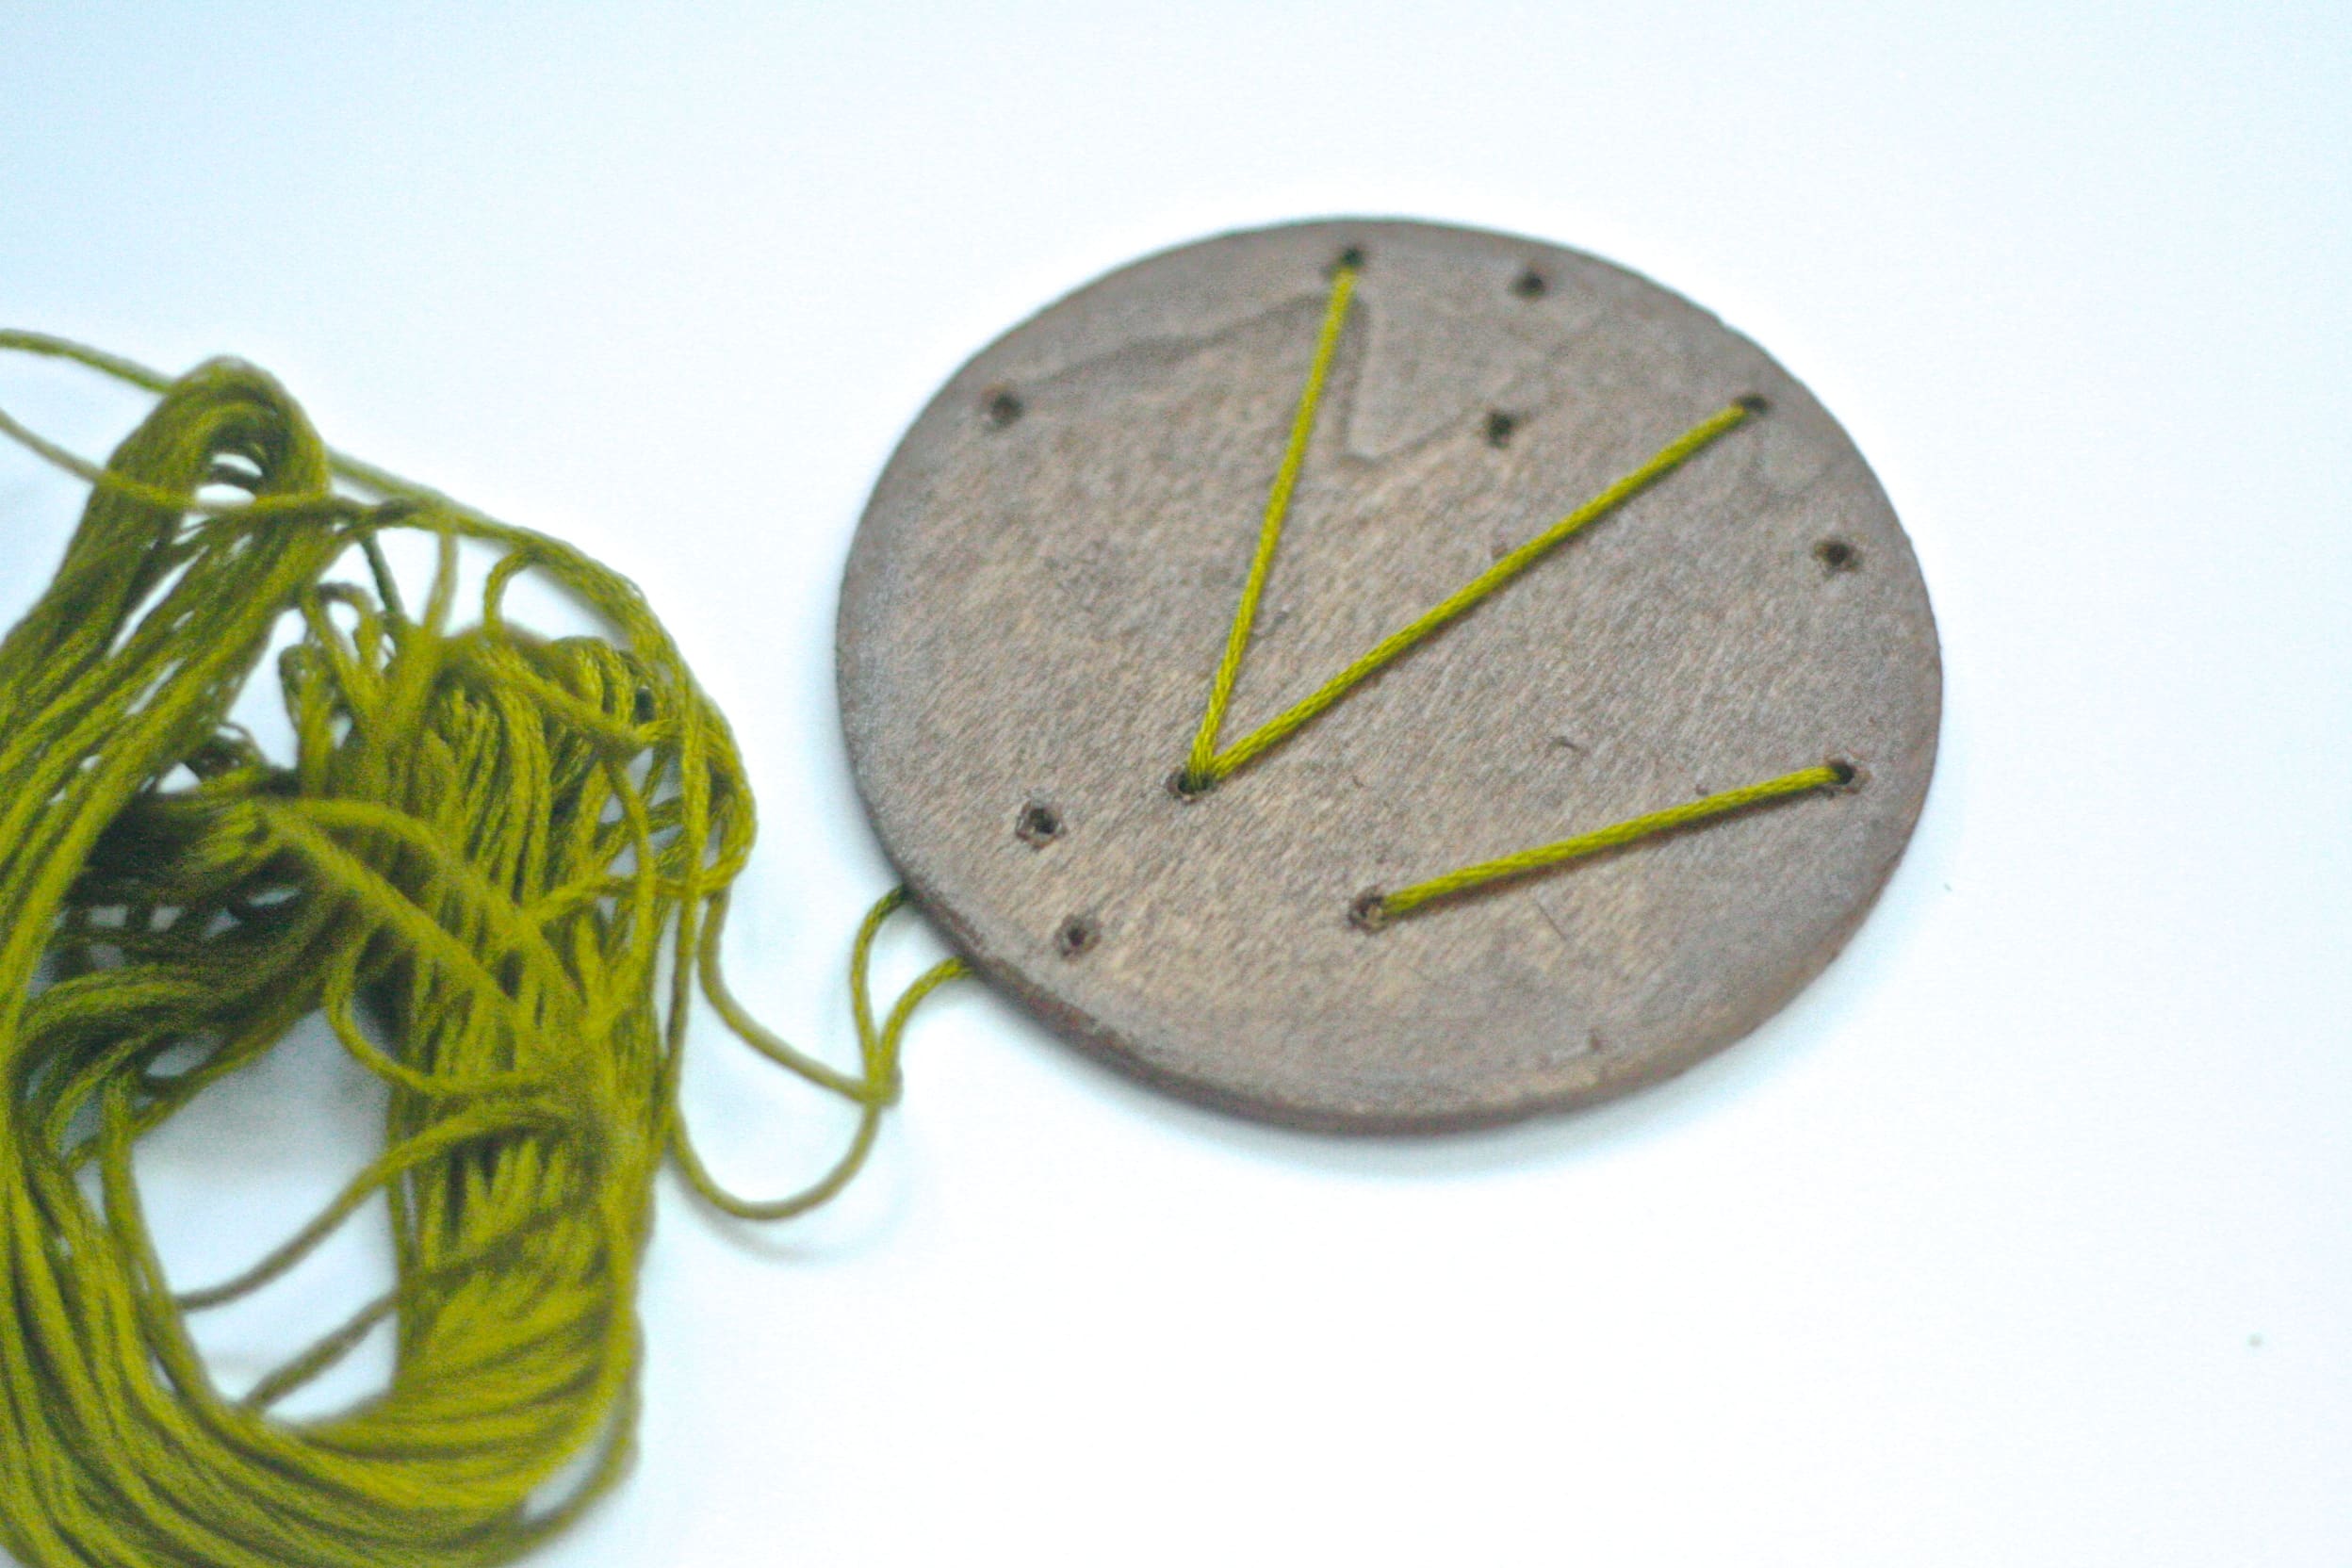 6. Thread your needle the first color of thread you’d like to use and starting from the back thread through one hole and out another. Make sure you end on the back, so the loose end isn’t on the front.
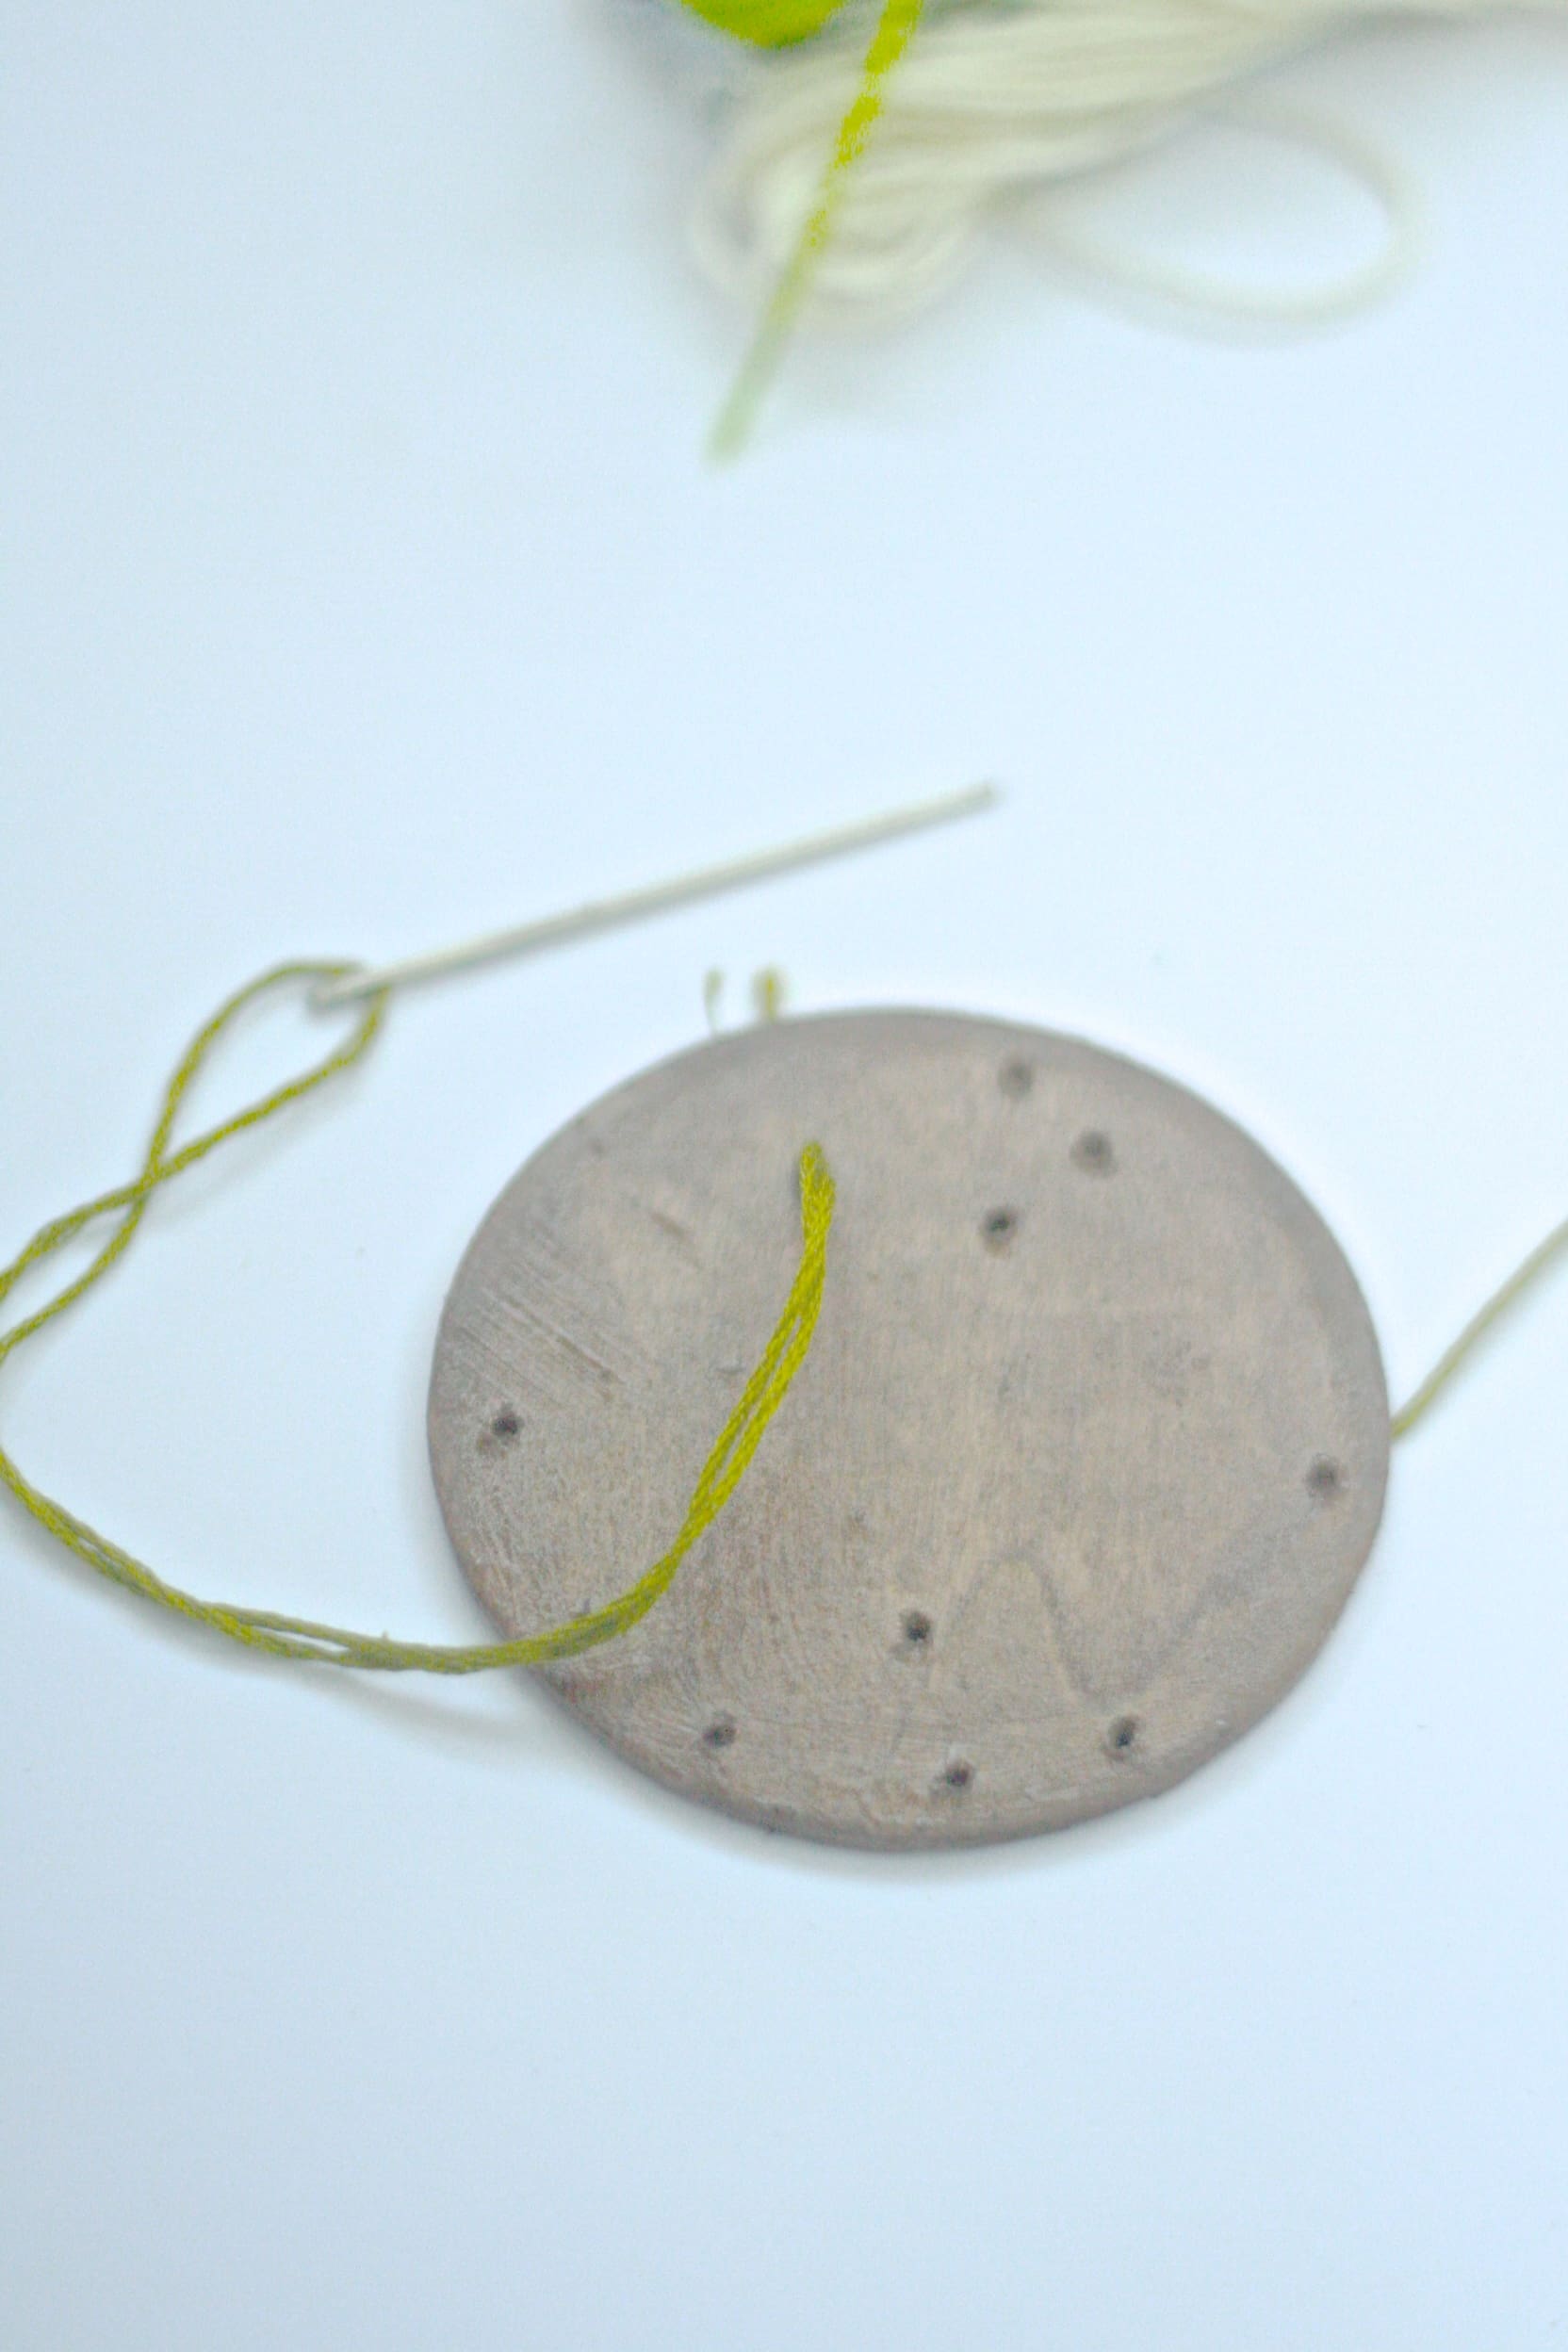
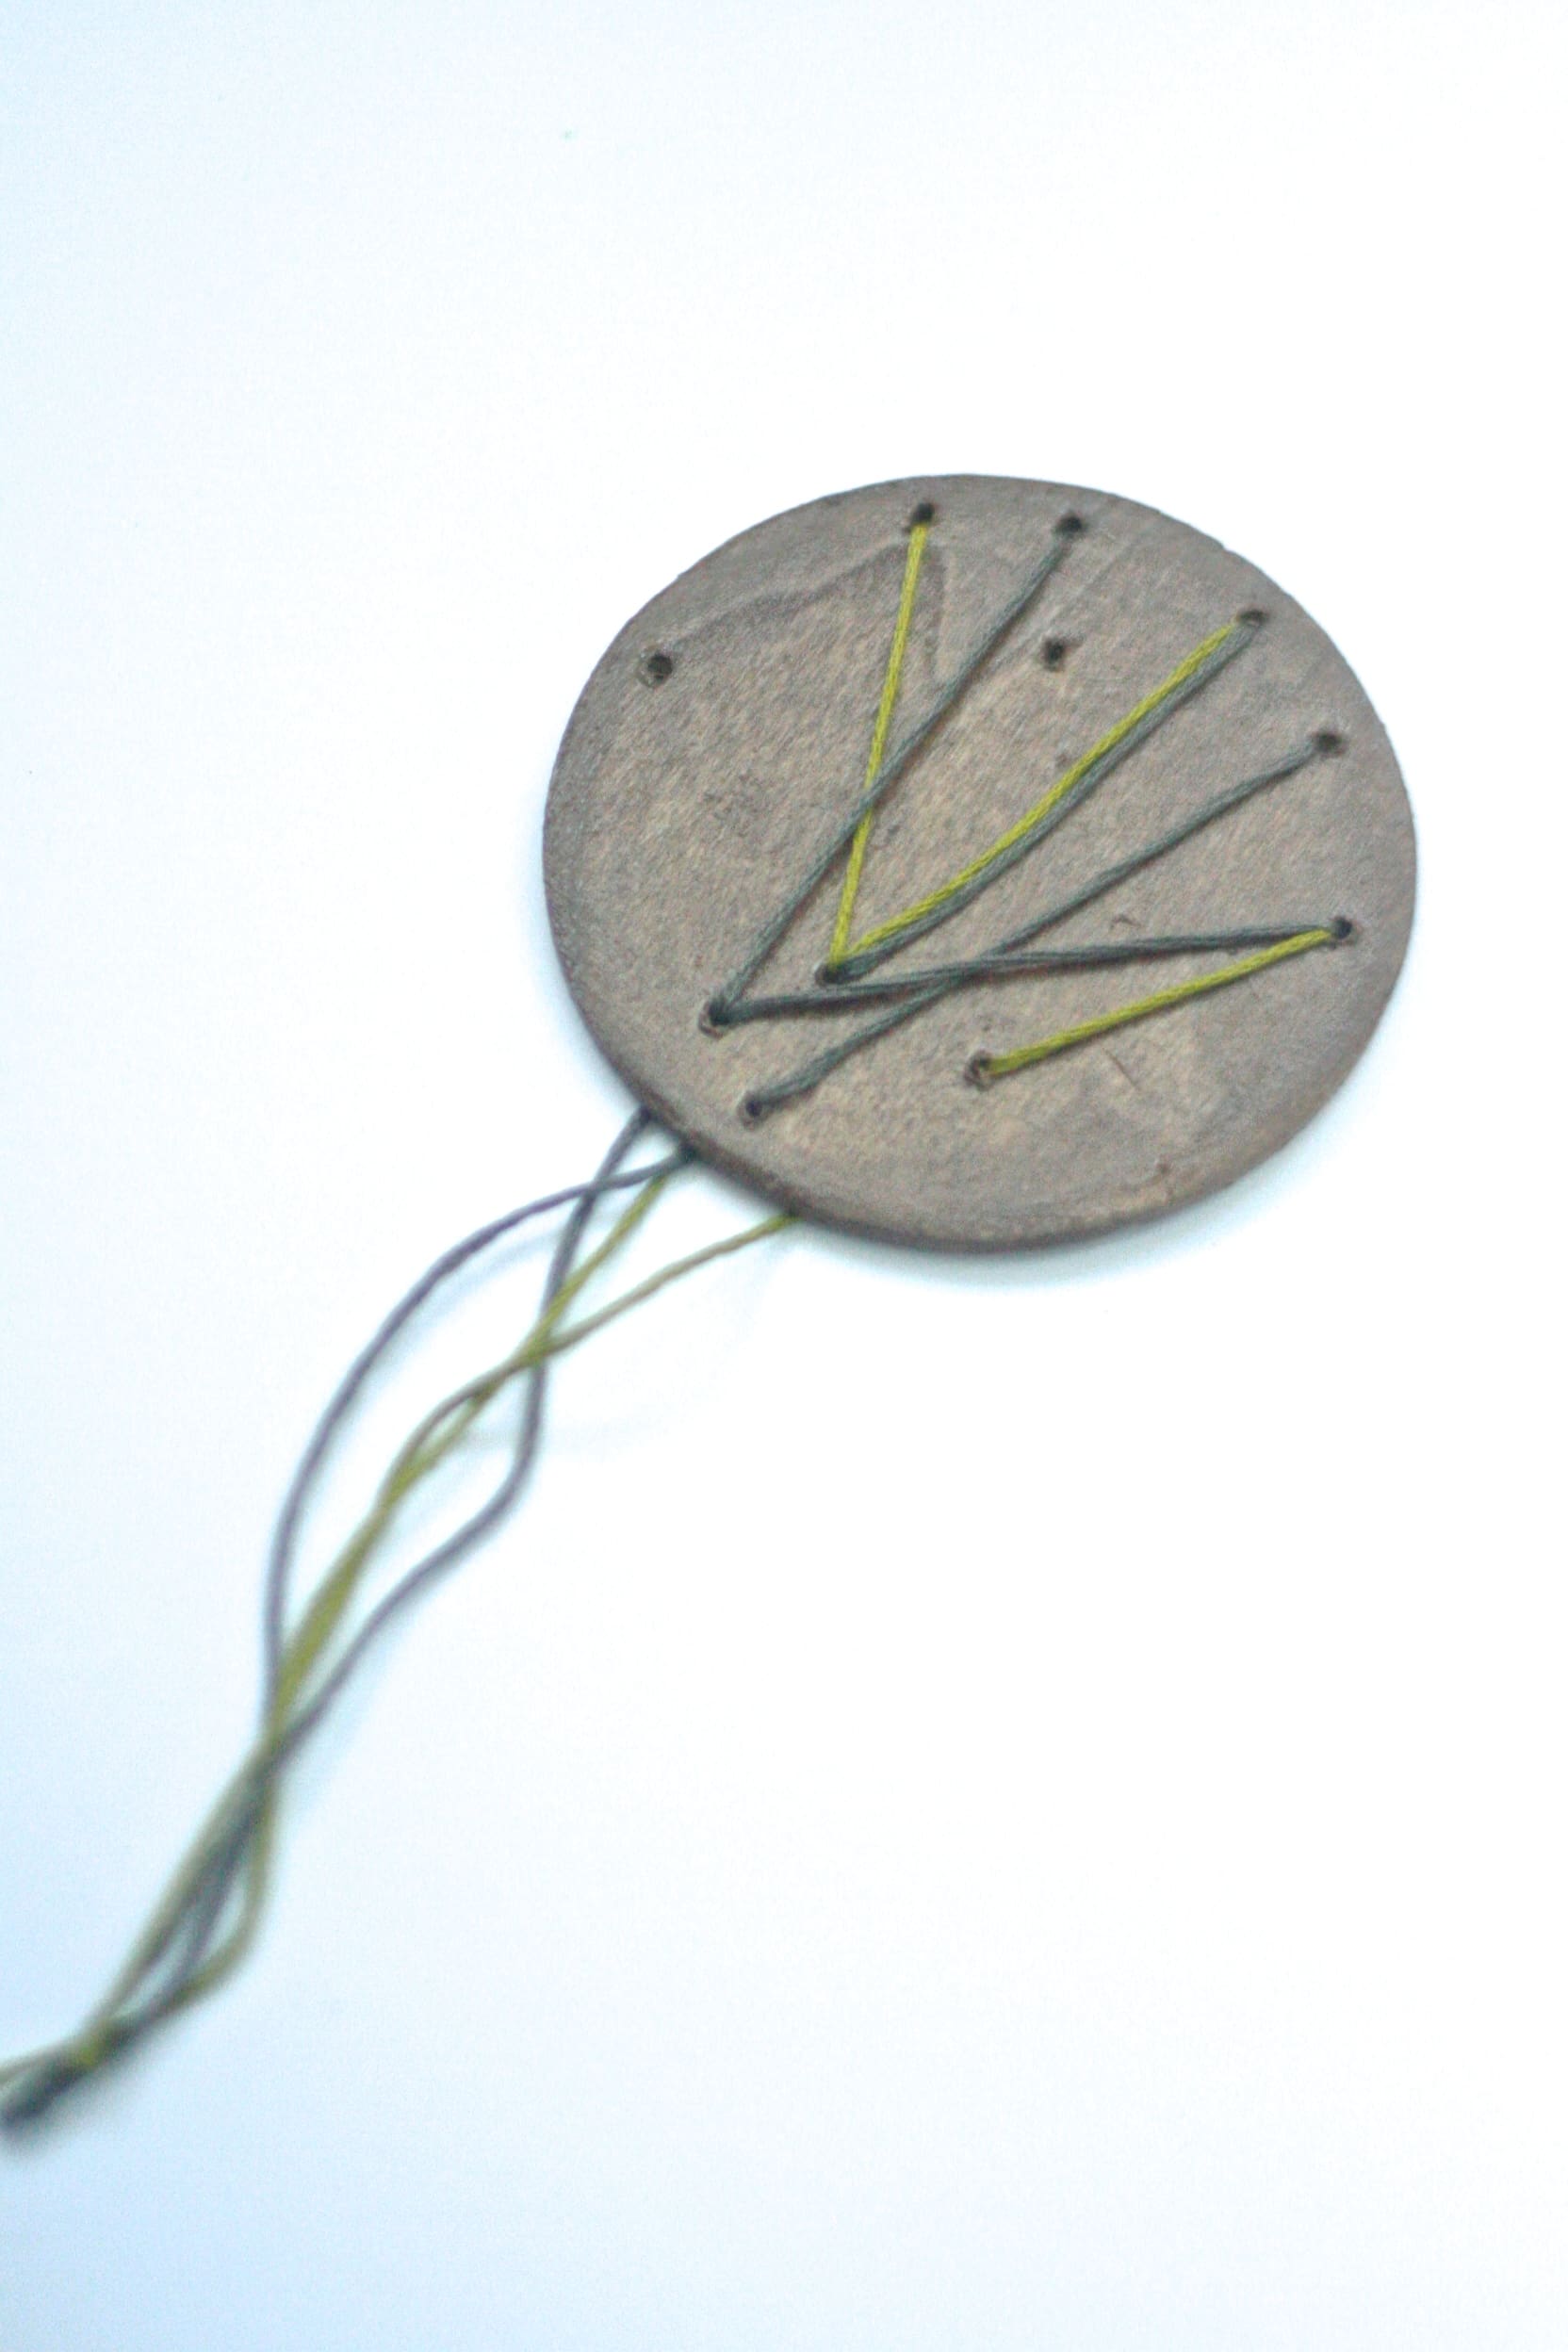
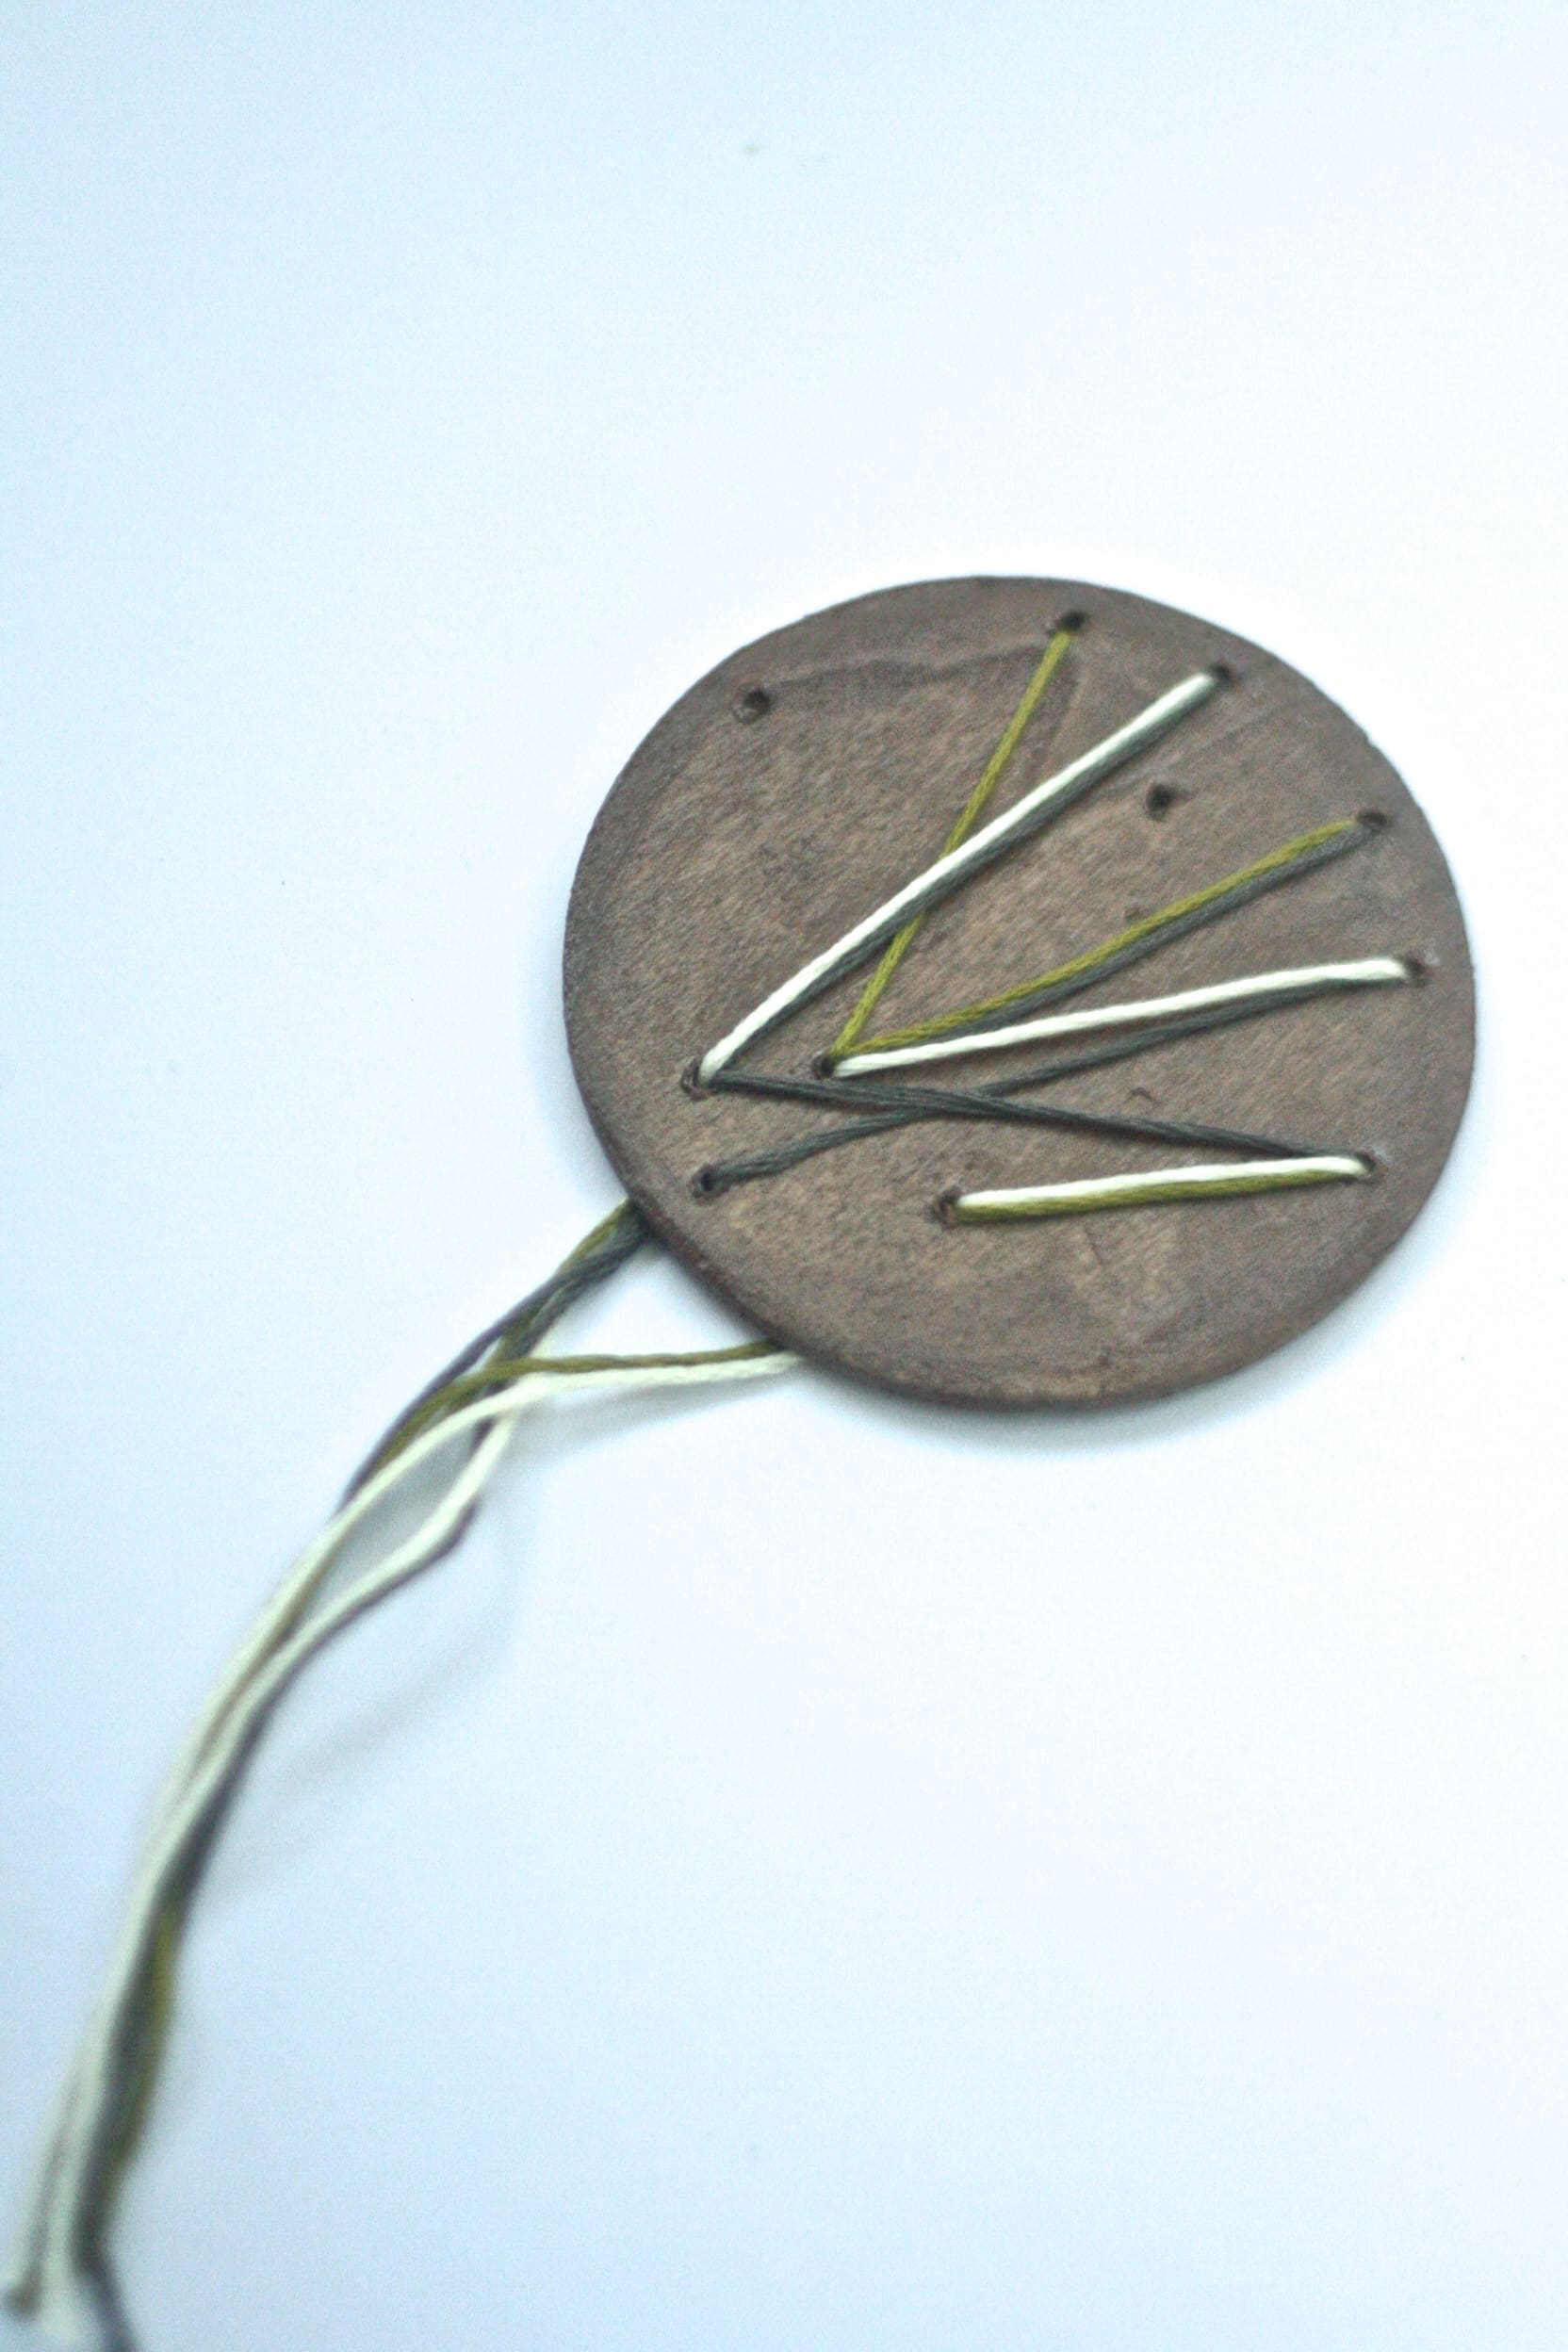 7. Repeat step seven for the other embroidery thread colors.
 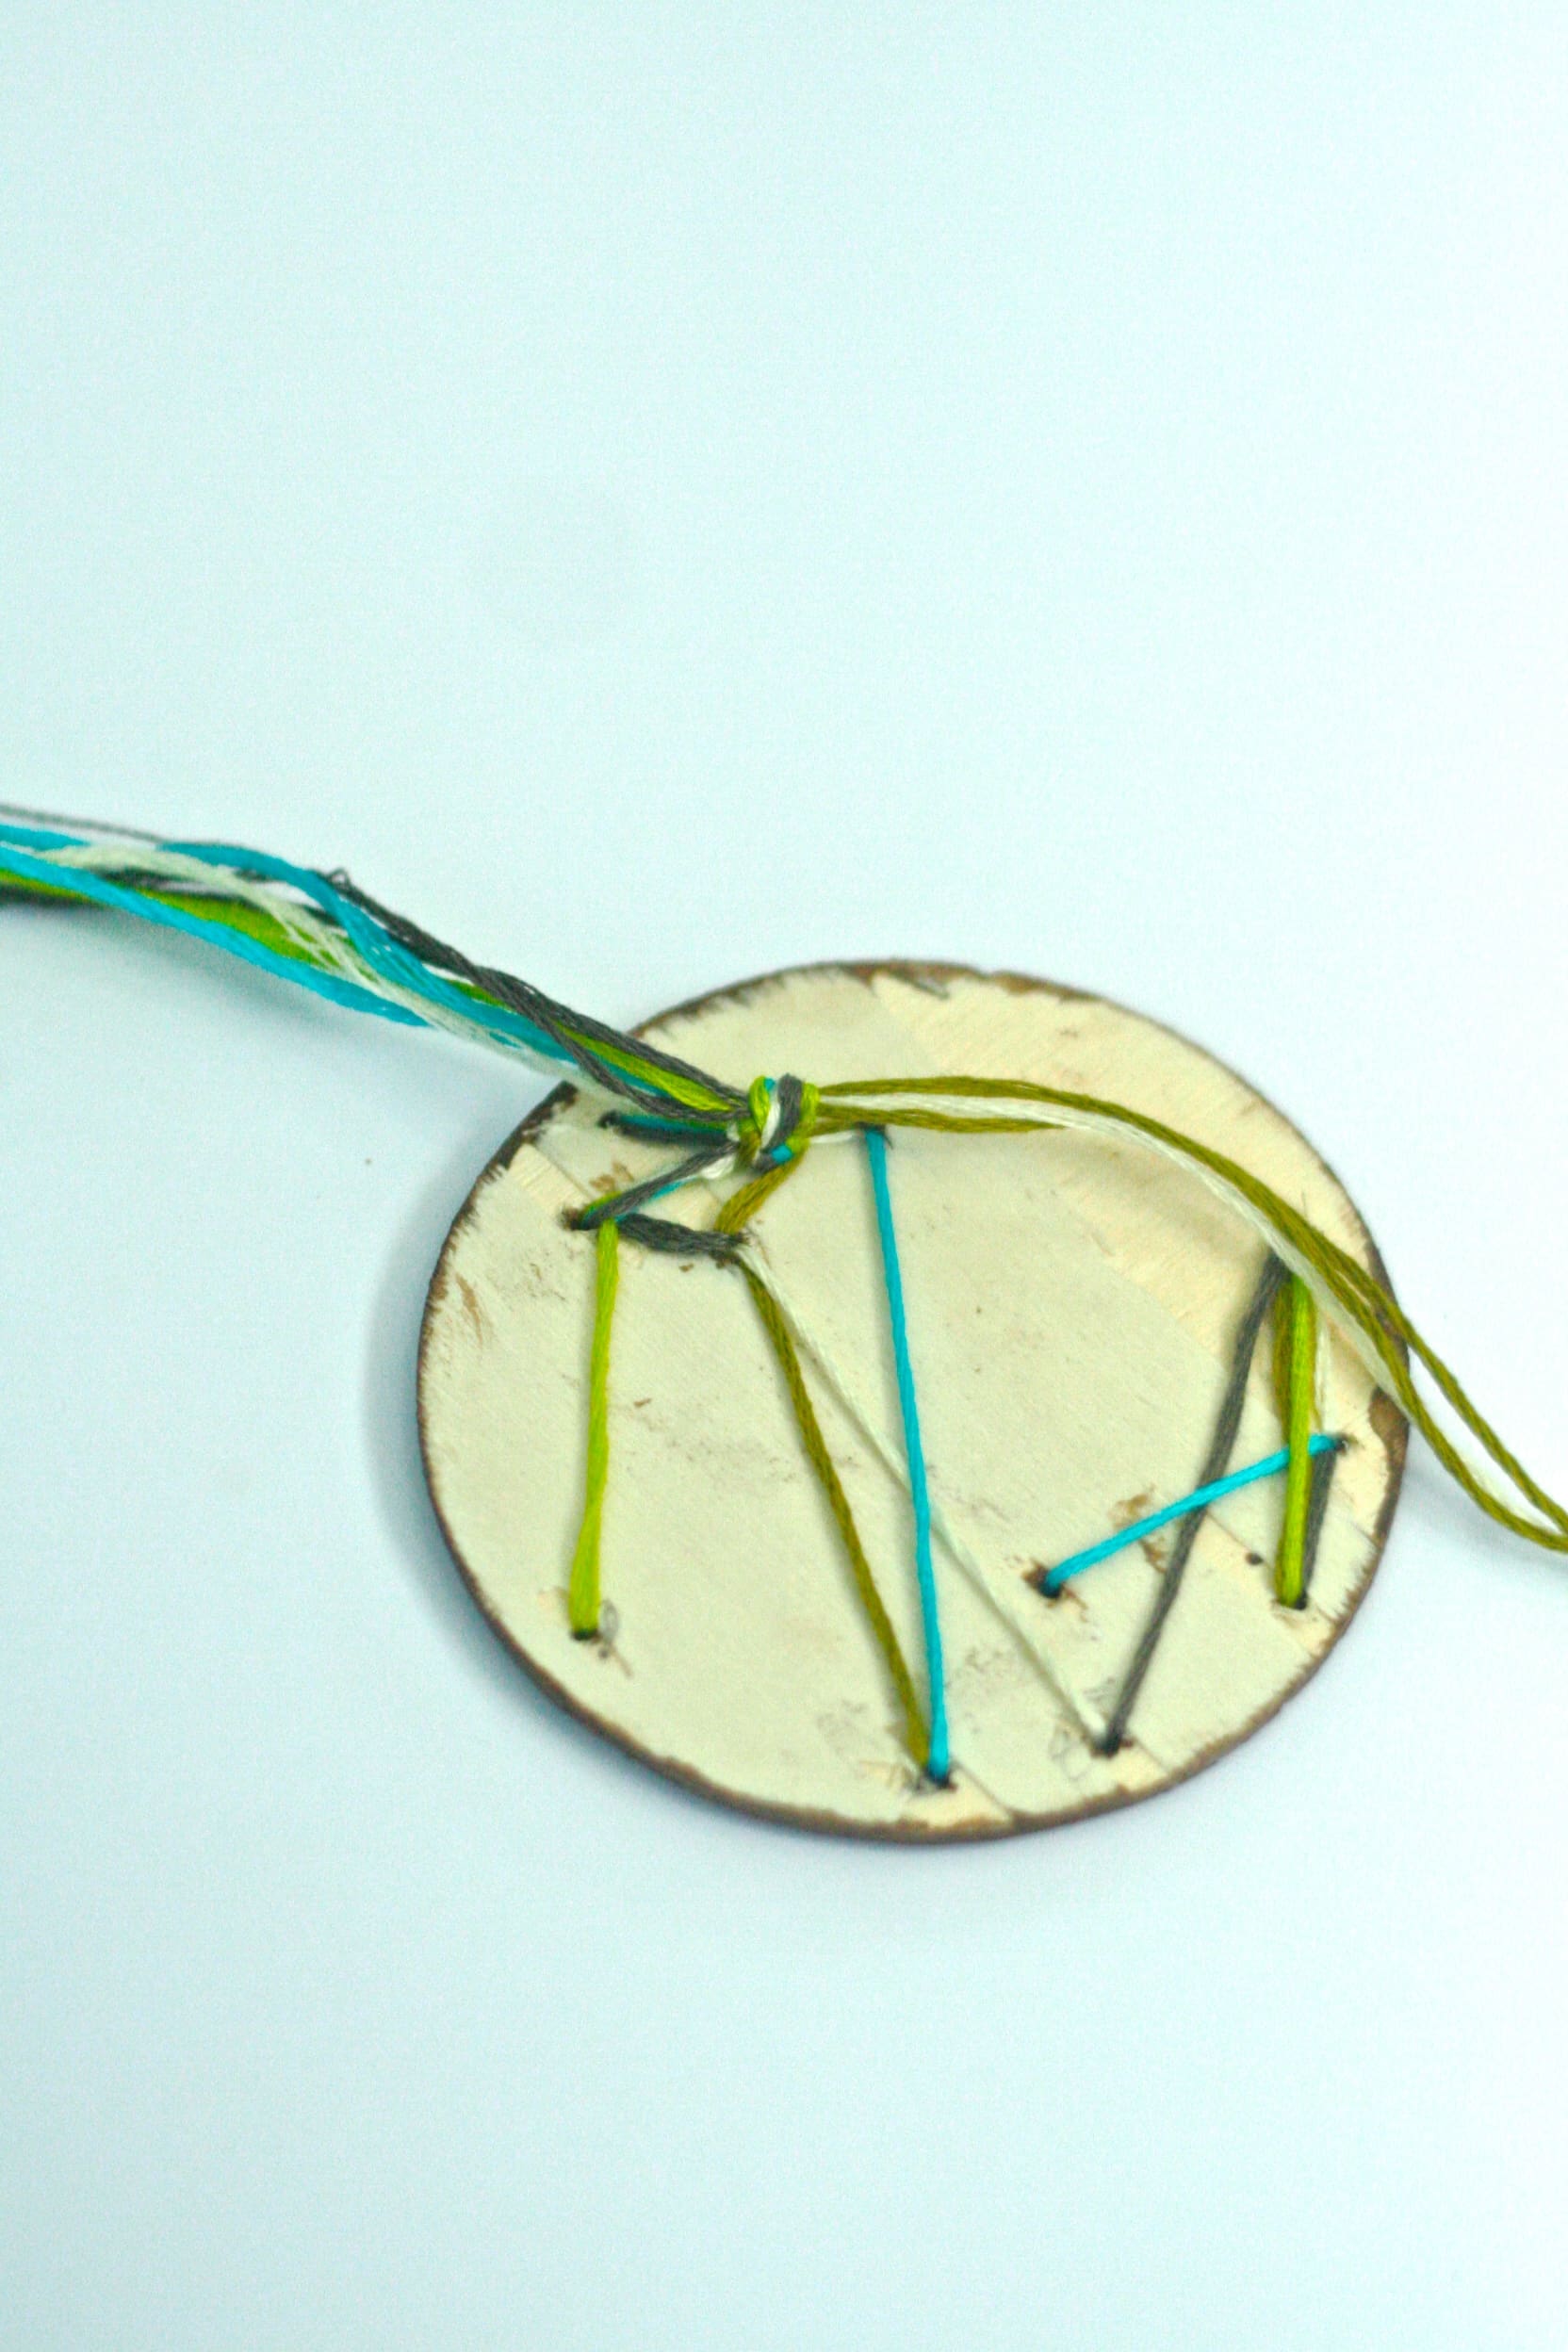 8. Tie all the loose thread ends together on the back in a knot.
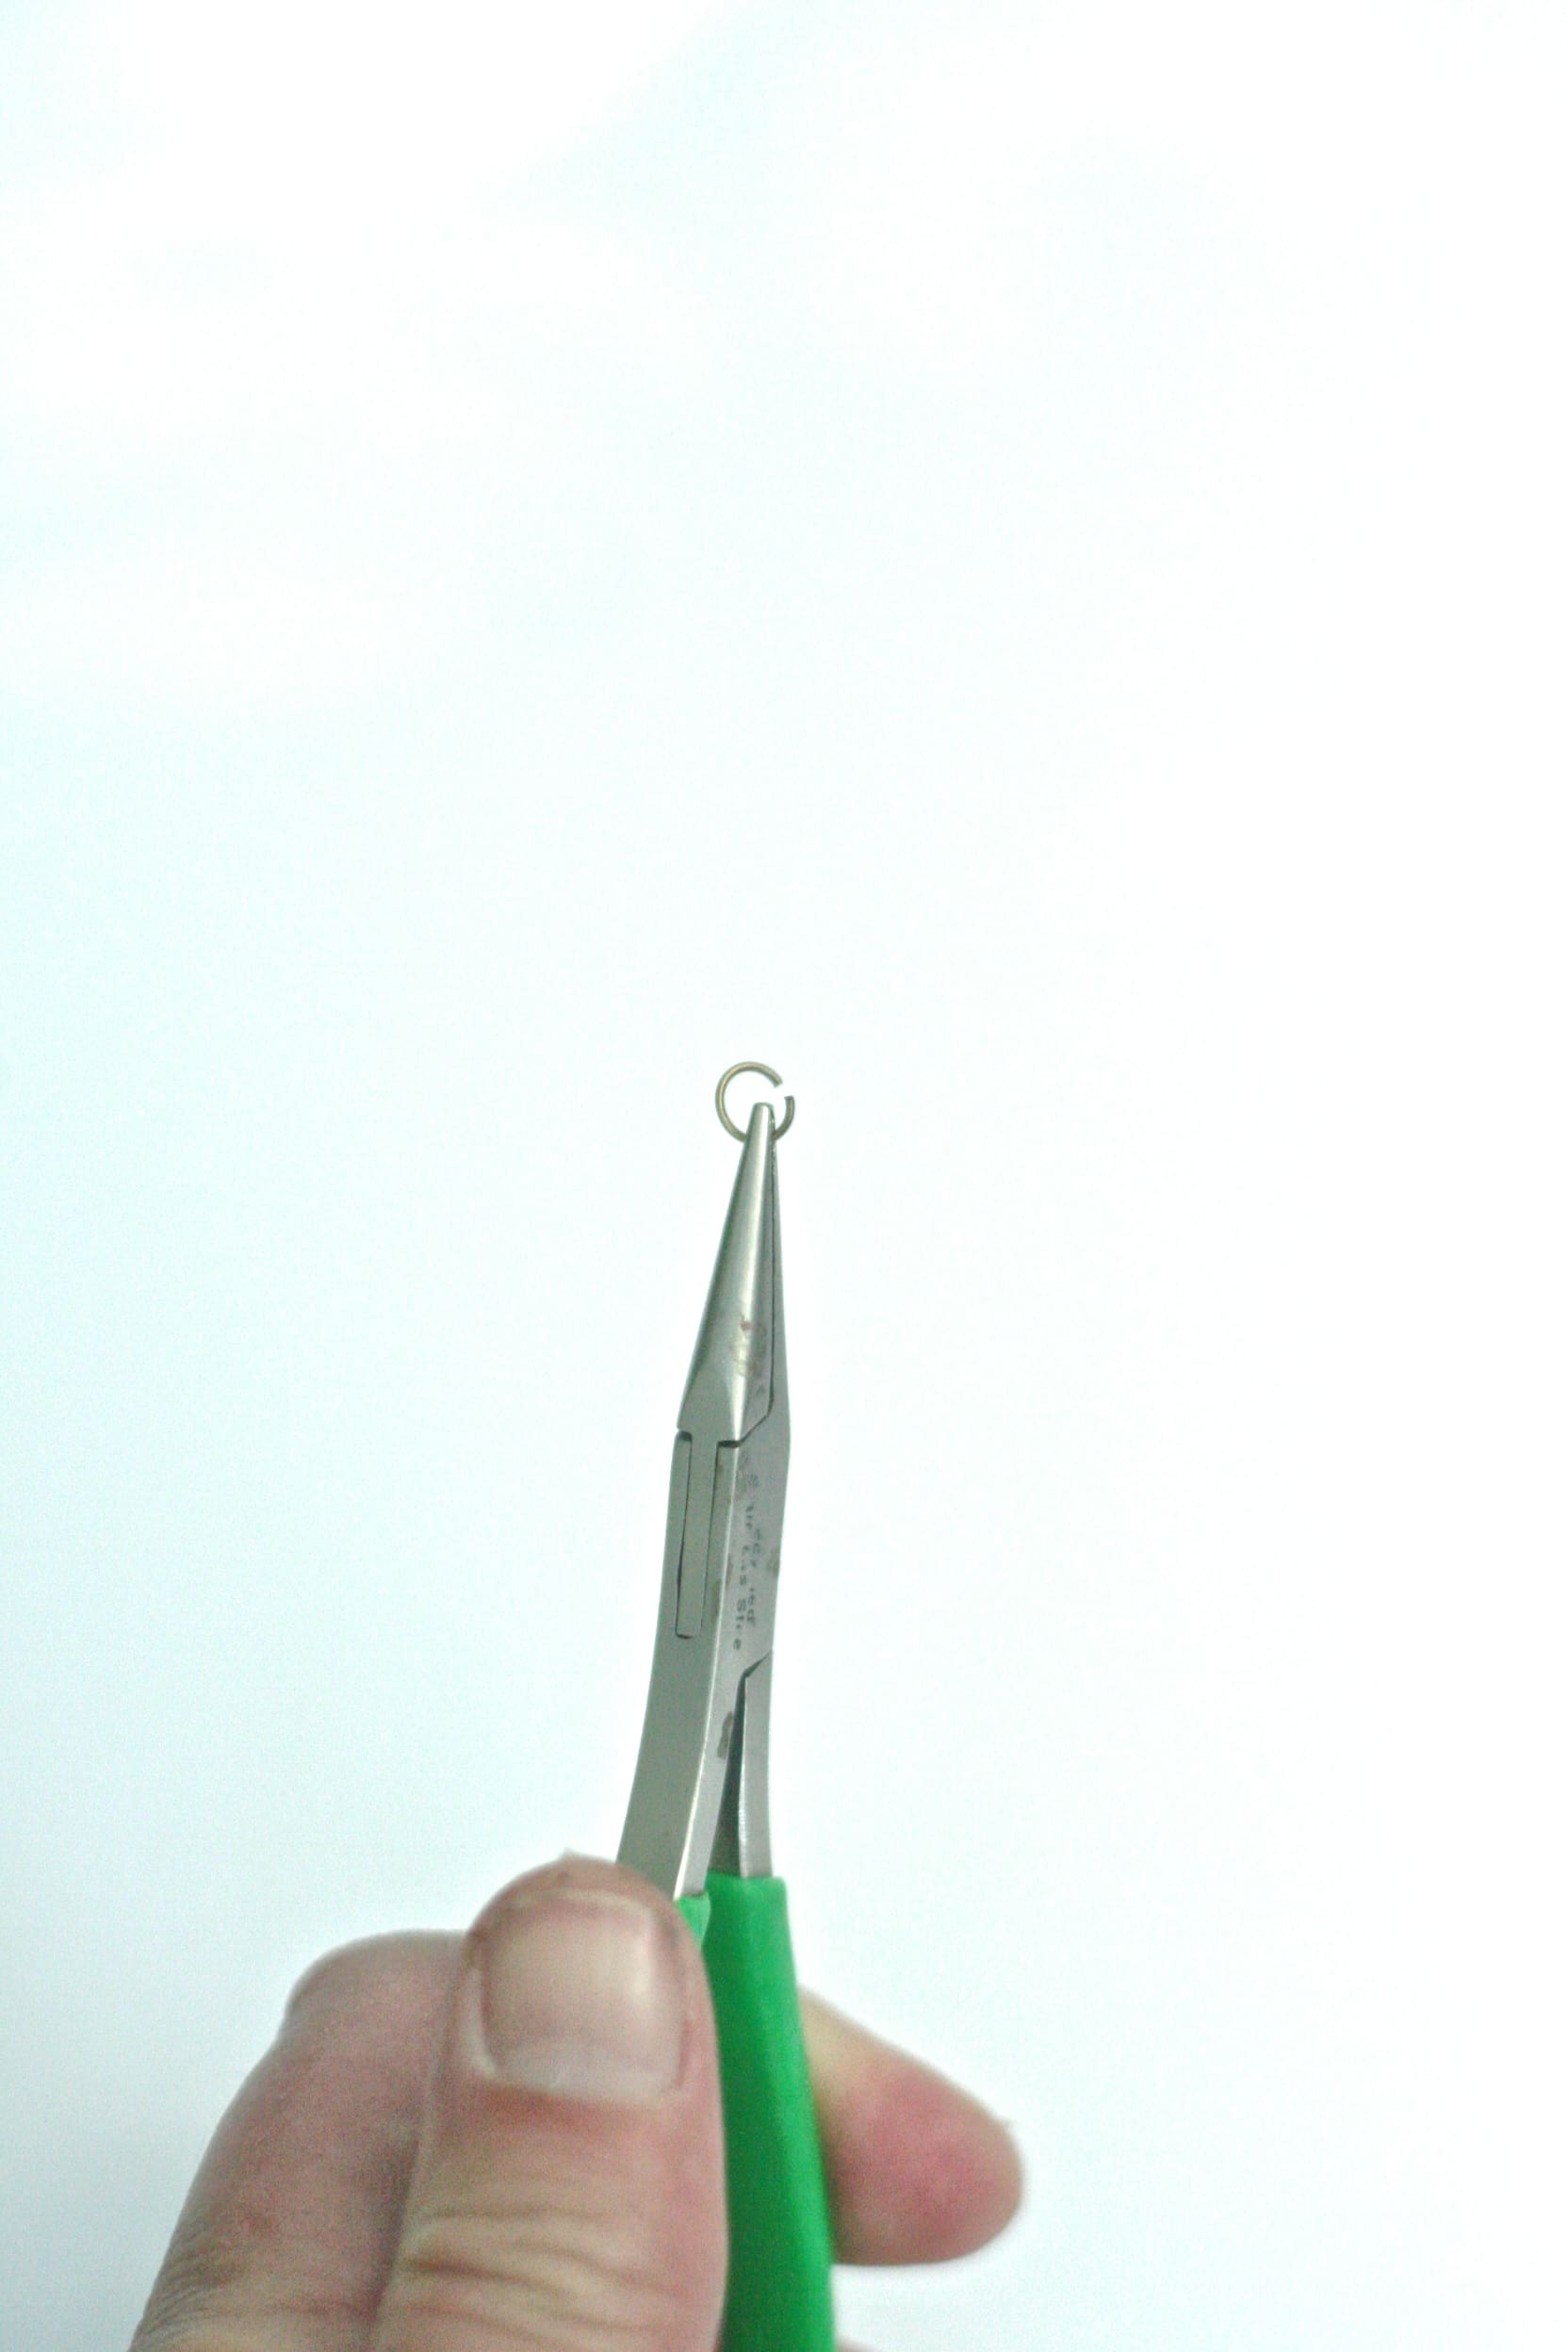

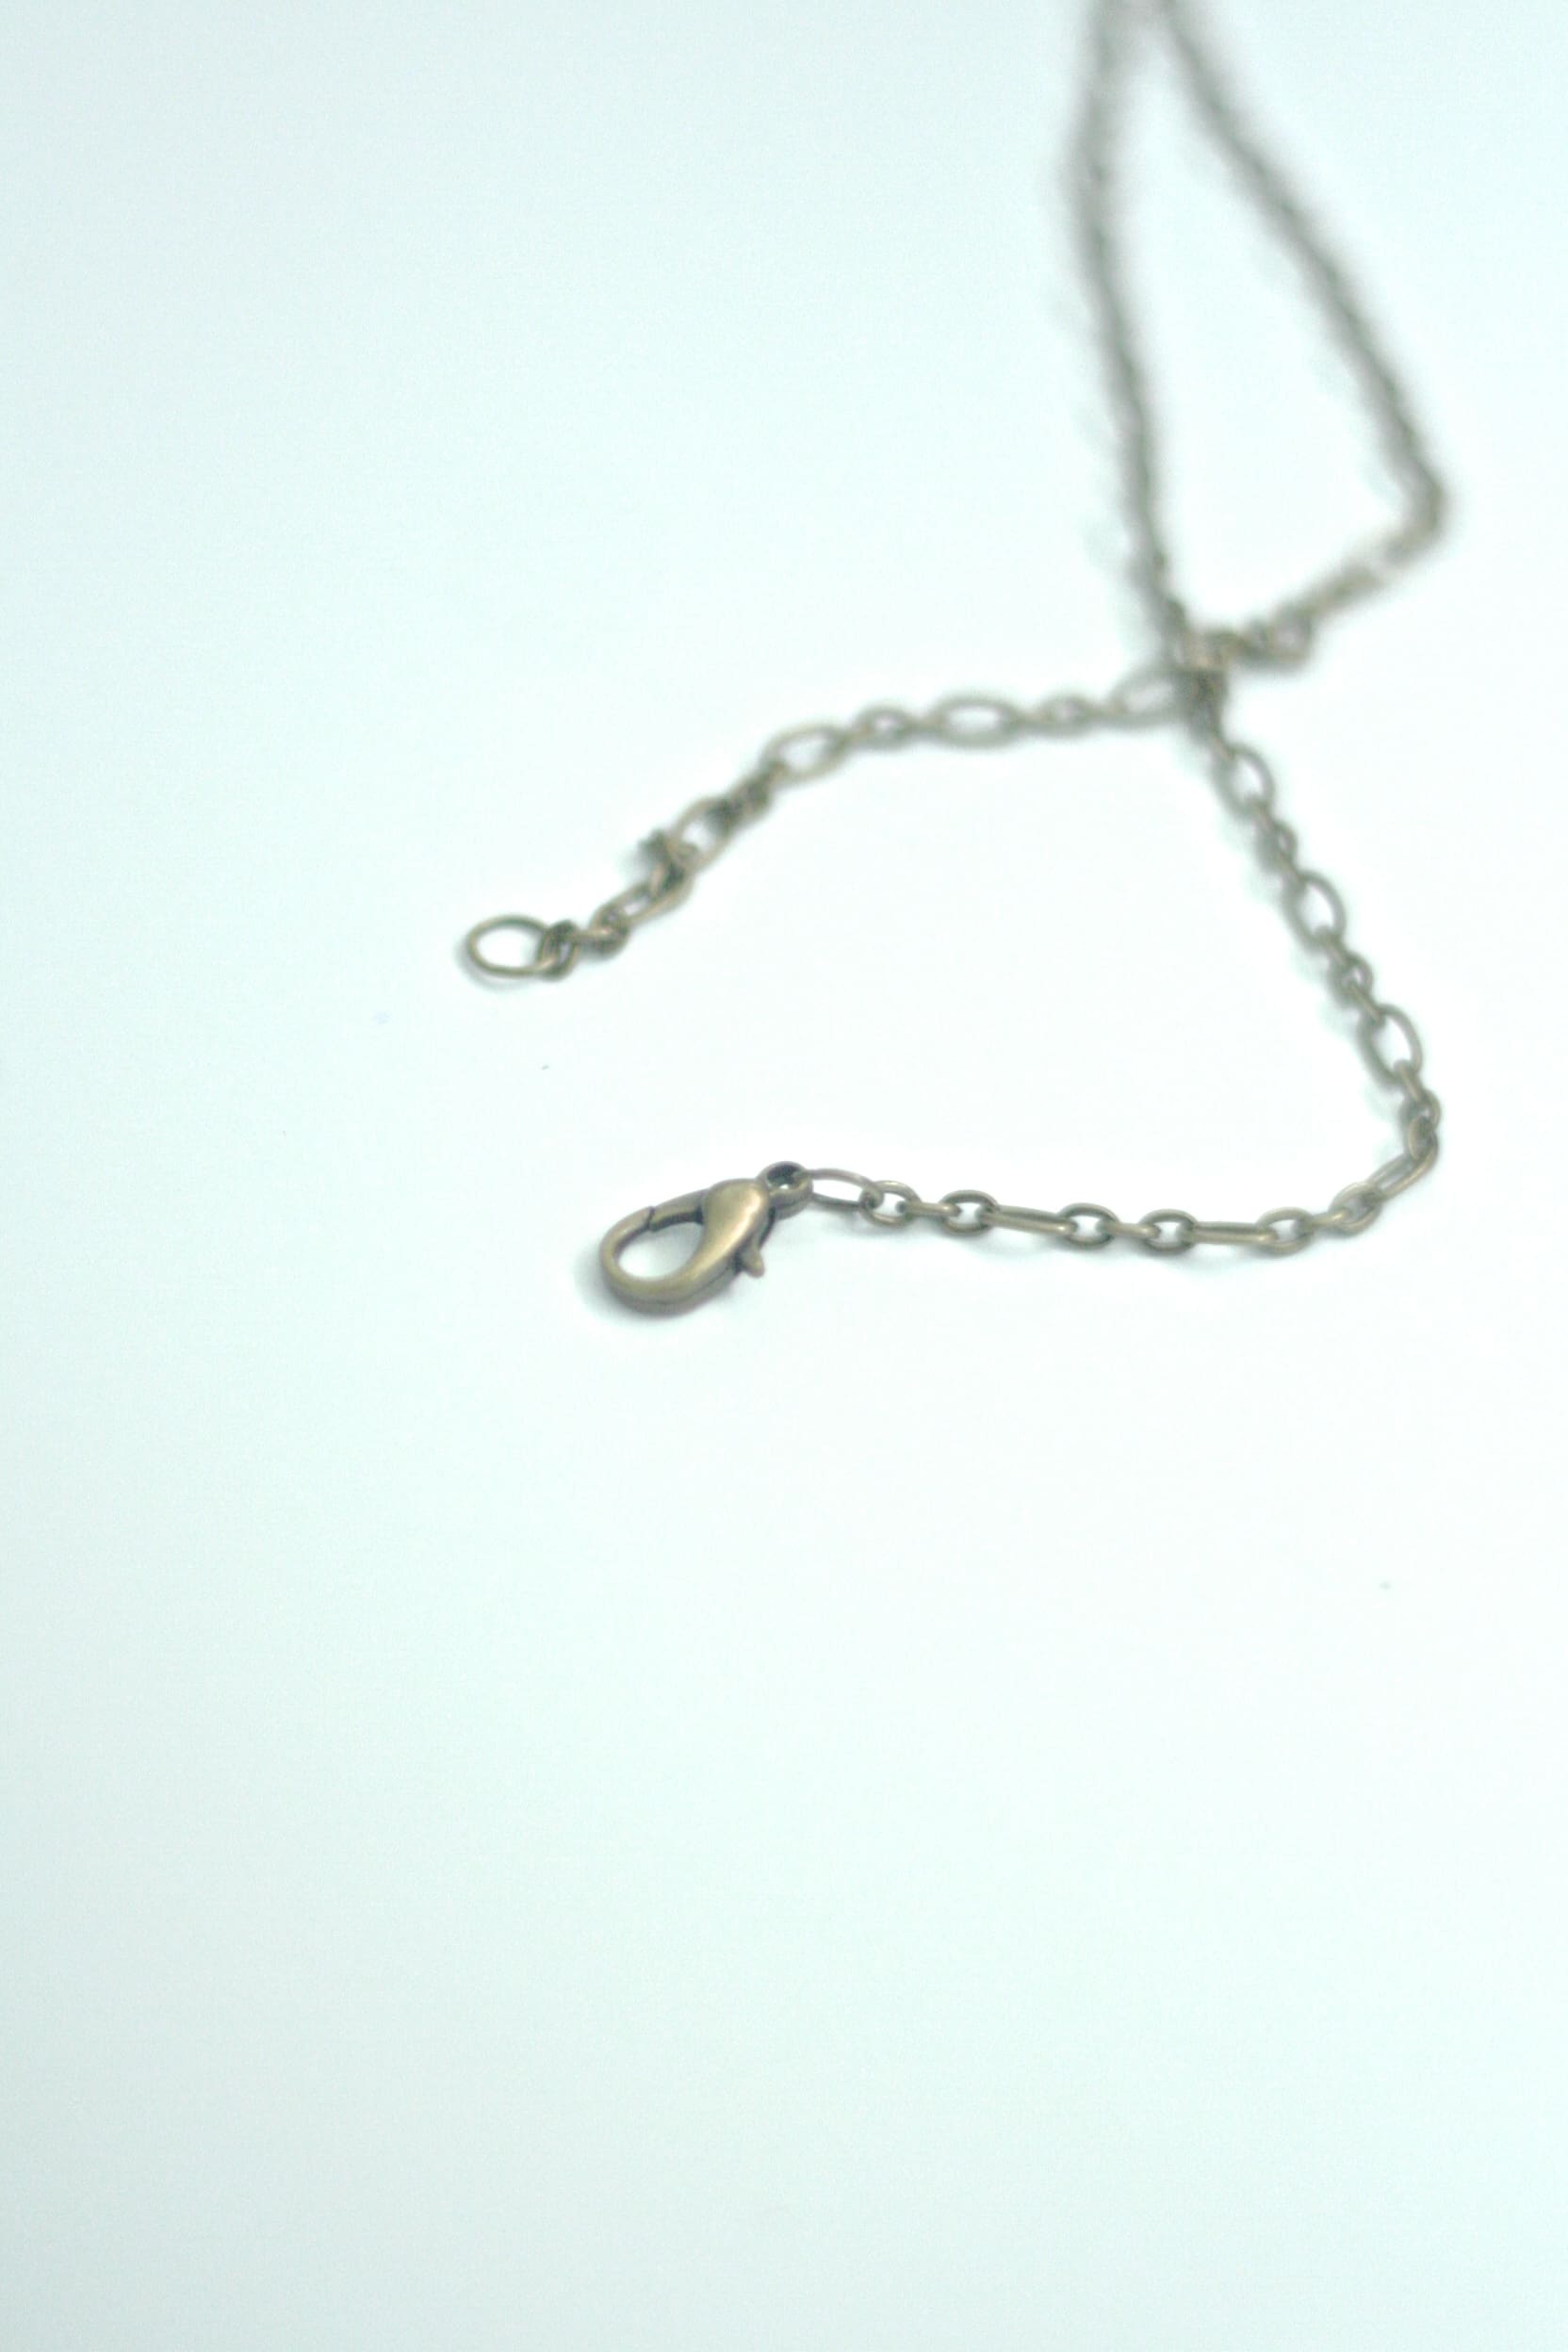
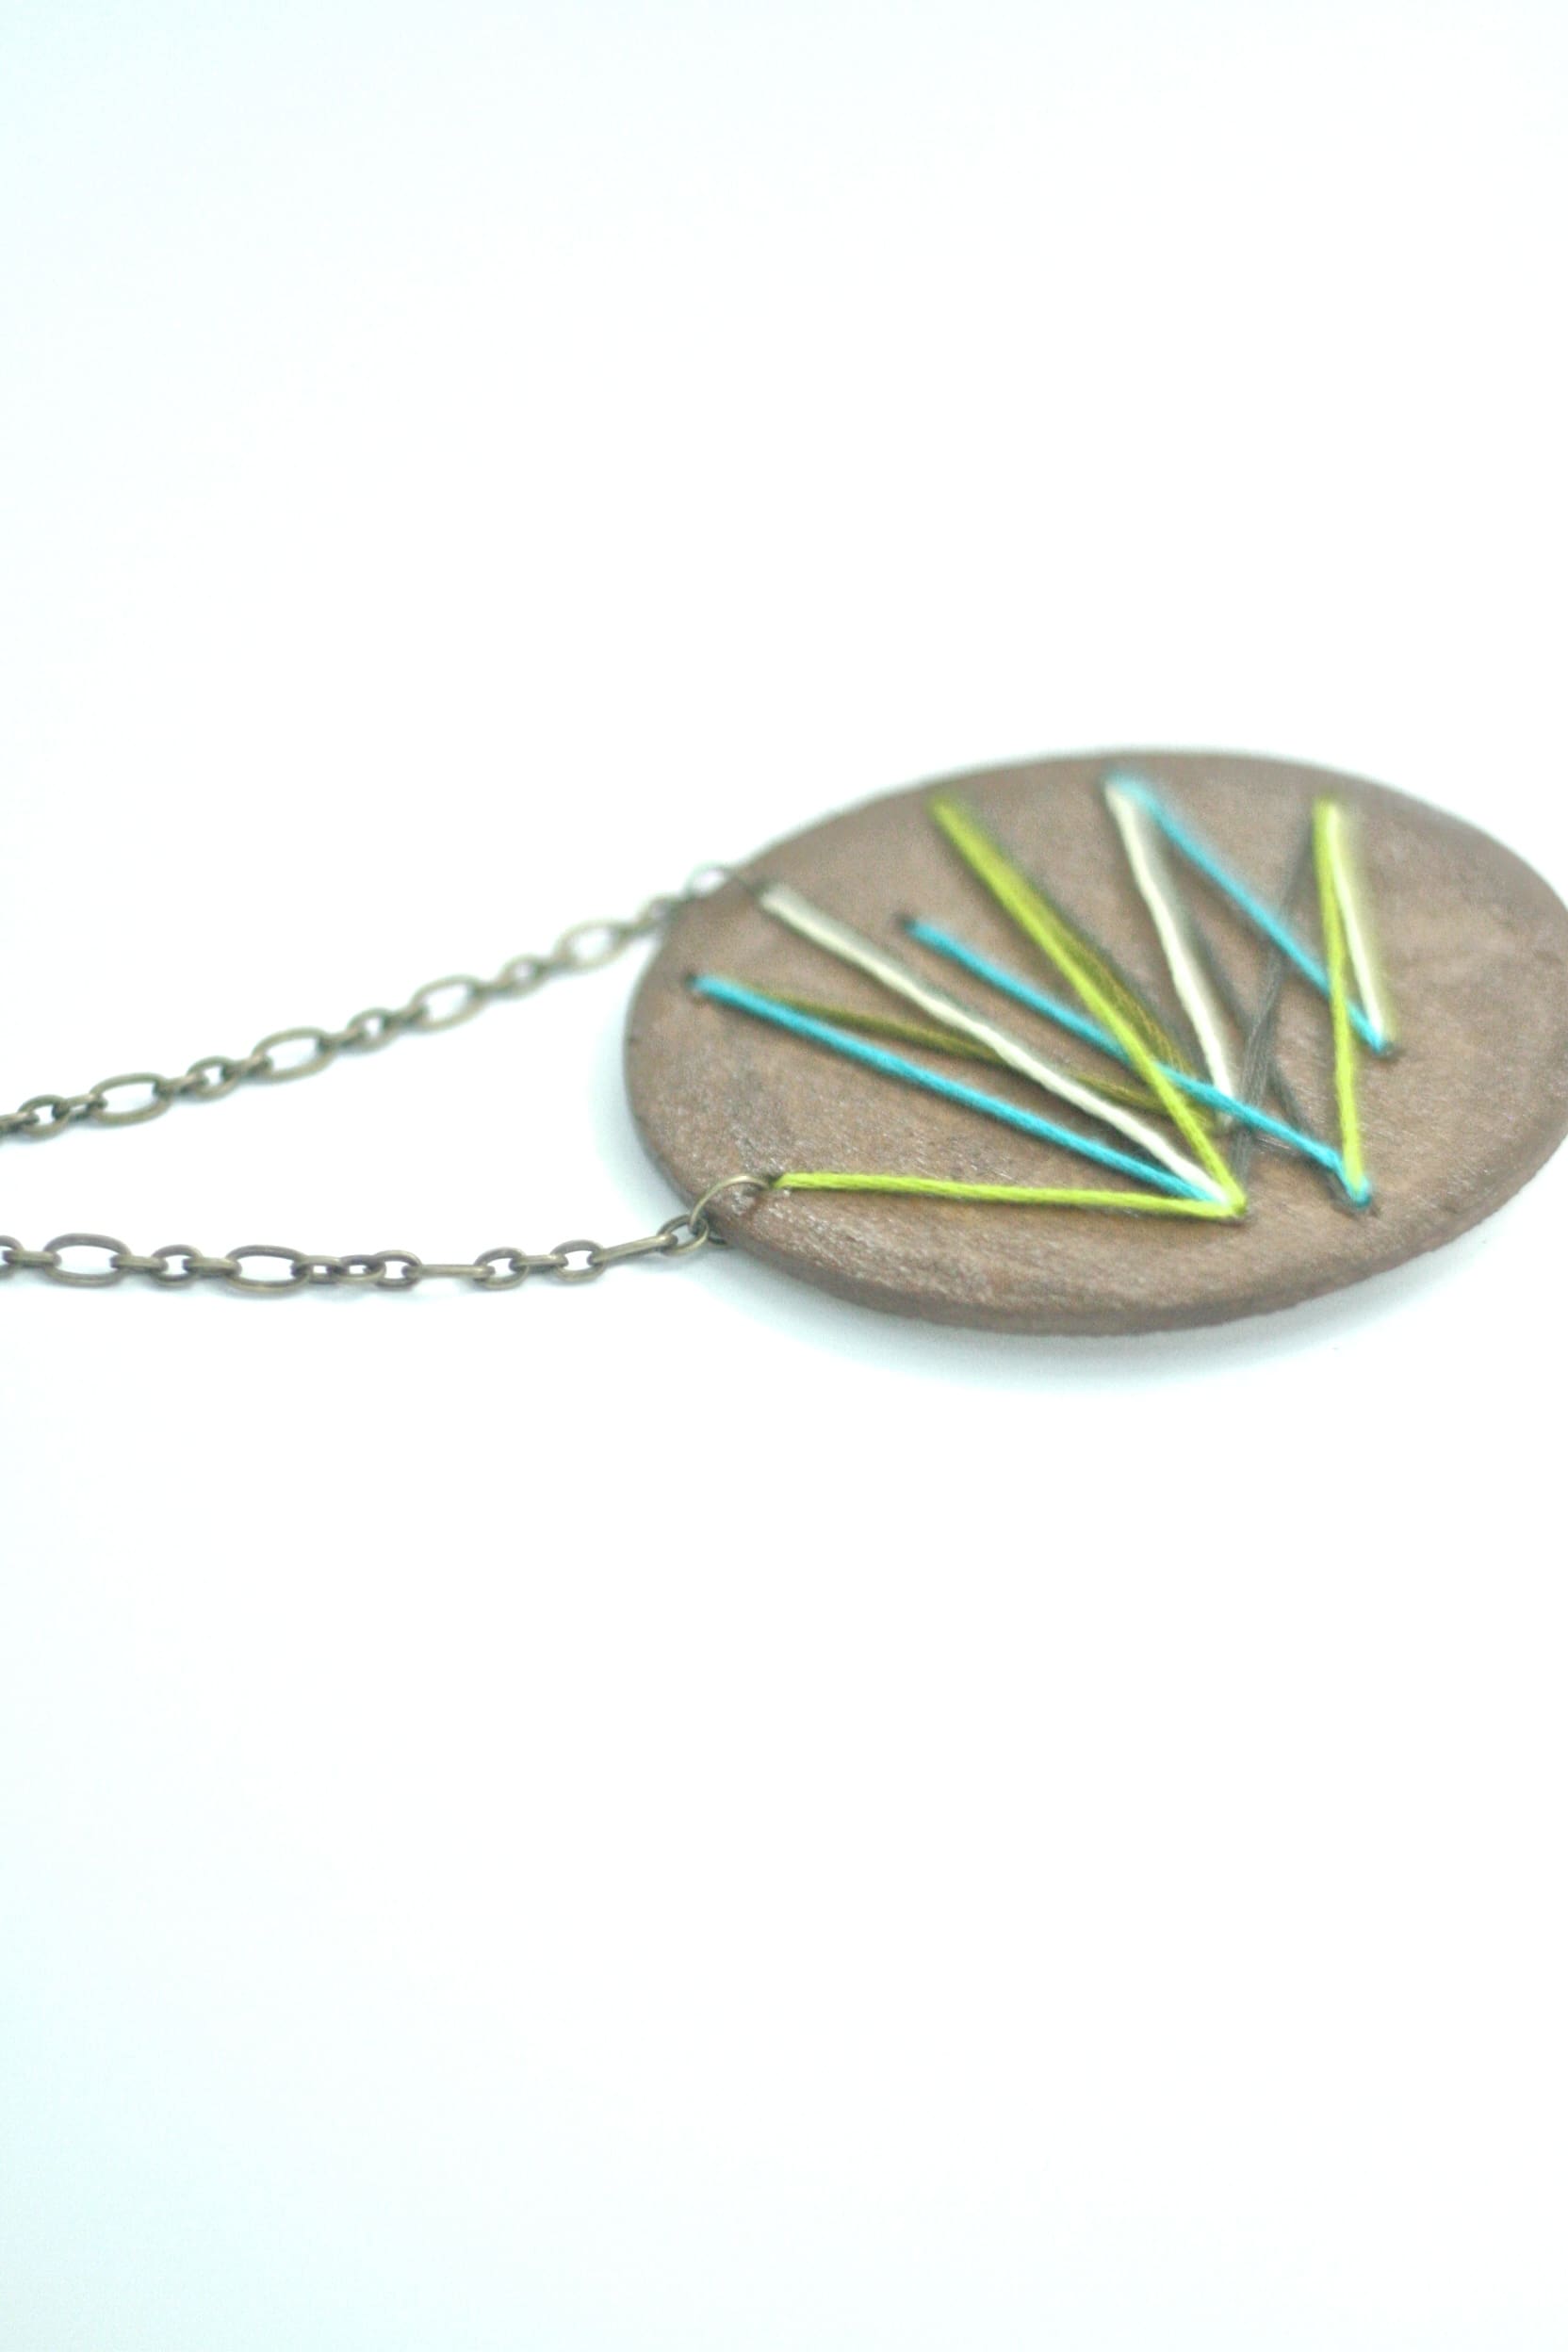 9. Cut your chain in half, measure your neck to determine length for each side and attach with a jump ring to each side of the necklace.
10. Use a jump ring to attach the lobster clasp to one end of one side of the chain and attach another jump ring to the other side. 