How to Make DIY washi tape wooden gift tags
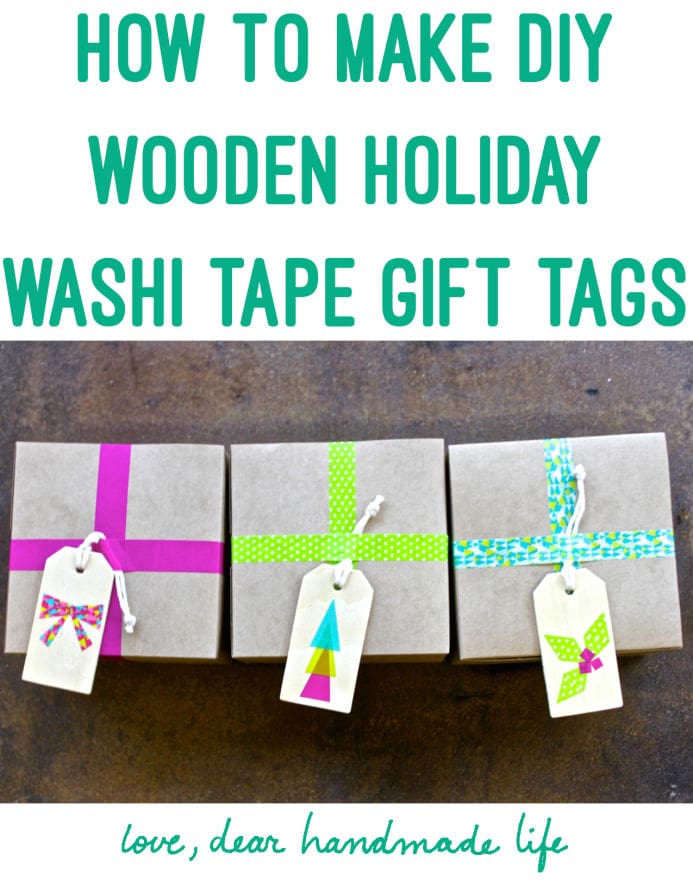 I never considered myself much of a paper crafter until recently. I have made exactly one scrapbook… over 10 years ago. All of that changed when washi tape hit the scene several years ago. If you aren’t familiar with washi tape, it is a decorative paper tape with low tack adhesive that is easy to tear and is repositionable. It is also the best. Thing. Ever. Though I don’t think I’ll ever revisit scrapbooking, I use washi tape on almost every paper or collage project I work on.
Out friends at Scotch generously sent us some Scotch washi tape for this project in our DIY craft station at Patchwork Show in Long Beach and Santa Ana. It’s fast, easy, and fun. Guests at our booth in Long Beach had a blast taping and cutting, and came up with some pretty amazing designs. Some men even joined in on the fun!
Stop by our booth at Patchwork Show in Santa Ana, California on November 30th and make your own set of complimentary wood + washi tags. We’ll be there all day, and passing out a sweet little gift for everyone who crafts with us. Hope to see you there! If you can’t make it to Patchwork Show in Santa Ana, don’t worry! We’ve got you covered. We’re giving away a box of assorted Scotch brand washi tape to one lucky winner.
To enter the contest:
Just leave comment on this post telling us about what excites you about the holidays. Post your comment by December 1st at midnight to be entered to win. Make sure to include your email address so we can get your address and ship you lots of awesome Scotch Expressions washi tape.
-Lisa Rios
**The Contest is now closed. Congrats to Sig!**
WHAT TO GET:
Scotch washi tape
Wood or paper gift tags
Scissors
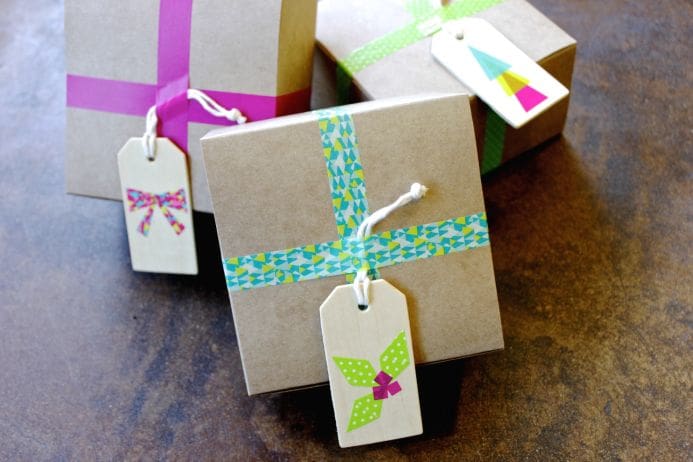
Twine for stringing
WHAT TO DO:
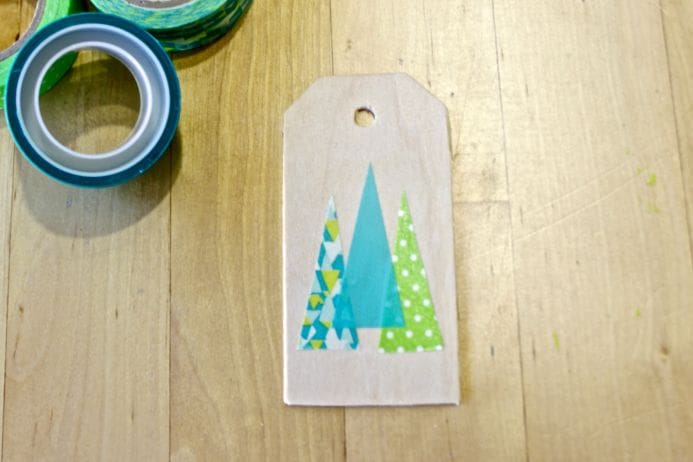
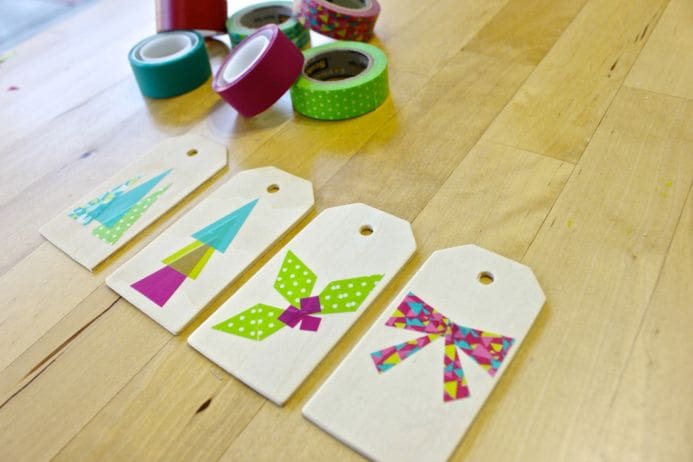
Geo Forest:
Tear off a piece of tape about 2 inches long and use your scissors to trim into a long triangle. Cut 2-4 triangles and layer them to create a cute cluster of trees in different colors/patterns.
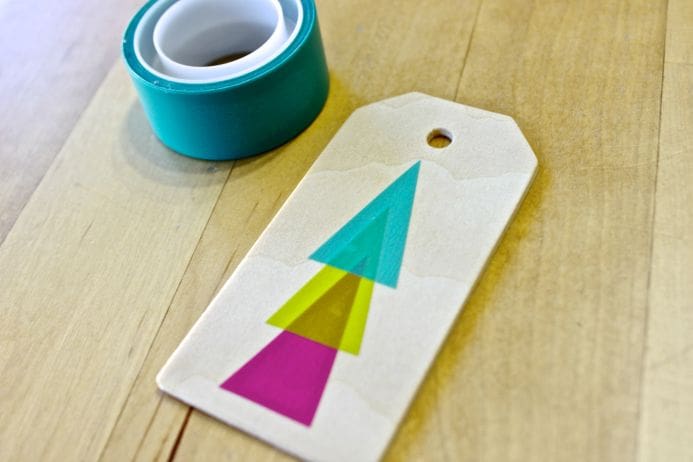
Geo Tree:
Create the base triangle using the method above. Repeat 2 more times, but make sure that each triangle is slightly smaller than the one before it. Layer each piece vertically, starting with the largest at the bottom.
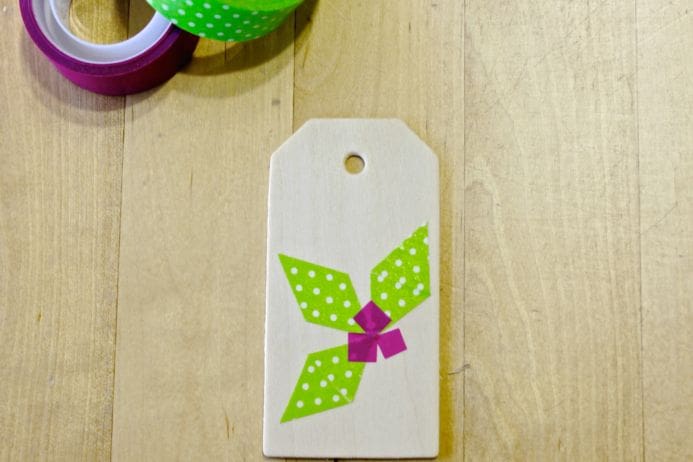
Geo Mistletoe:
Cut 6 small triangles, roughly the same size. Arrange them two at a time, with the bases of each triangle right next to each other. Each pair serves as a single leaf. Repeat two more times. Finish of with 2-3 small square-shaped berries.
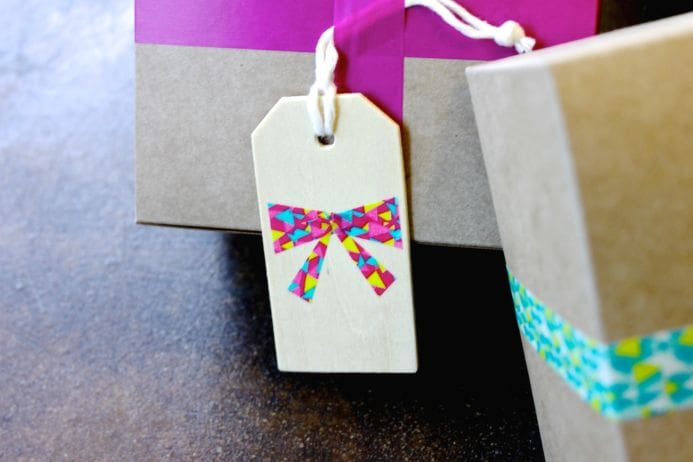
Geo Bow:
To create the top of the bow, cut two long triangles, roughly the same size. Lay them down on your tag so that the two points of the triangles overlap. Cut two super skinny triangles to create the tails.
About Lisa:
“If you had asked my 12-year-old self what I wanted to be when I grow up, I probably would have had a perfectly sensible answer. Like a circus trapeze artist or an outer space explorer. Never in my wildest dreams could I have imagined that I would craft for a living. But fast-forward 20 years and I’m the owner of The Makery, a walk-in craft studio located in Anaheim. In addition to teaching and organizing local creative workshops, planning craft parties and designing handmade craft kits, I also design for Whimsy and Ink, the handmade biz I share with my rad hubby. My work has been featured in Real Simple, Brides Magazine, Bust, The Huffington Post, Orange Coast Magazine, Sunset Magazine, in Etsy’s Featured Sellers series, and in my mom’s emails to Grandma.”




I get excited about hot chocolate, cookies, and time with family!
I’m excited about spending time with family, Christmas lights around the neighborhood – and washi tape!
I love love love decorating & wrapping presents. Oh and cookies. I eat so many cookies. Ah, and the Charlie Brown Christmas soundtrack!
ahhh!!!! my favorite part of the holidays is decorating my tree or wrapping gifts while watching charlie brown christmas! it’s not the holiday season until i see them do their dances! 🙂
Congrats on winning!
Great post!
https://selfistickz.com/collections/all