DIY Beaded Himmeli Earrings
I’m almost tired of seeing himmeli everywhere…almost. Sure the days of being really impressed by glass geometric shapes are waning, and the time you found out that those coveted hanging himmelis were made from mere straws is long behind you, but himmeli may have something new for us yet.
I fell in love with the himmeli necklace made by Minted Strawberry a few years ago, but I thought we ought to take advantage of working with the hollow tubes that define the craft. Beading seemed like the perfect way.
You can customize these earrings using a different color of wire or beads and I think they would make fantastic gifts. I guarantee you, no one has a pair. Plus, himmeli is really easy…like a child could do it easy. Once you get down the order of attaching straws I encourage you to go crazy. You might end up using that whole box after all.
-LP Hastings
What to get:
-Thin Wire (26 gauge) or Fishing Line *For those of you not experienced in wire wrapping, using wire for this project will be reeeally frustrating. Fishing line works just as well.
-Clear Cocktail Straws *You only need 3 for this project.
-Teeny Tiny Beads
-2 Ear hooks *I’m partial to always using the kind that have a latch. Few things suck more than loosing a cute earring.
-Scissors
-Flat and Round Pliers
-Wire Clippers
-Pinch of Moss *Find this at the craft store, or if you live in a wet climate, collect your own!
What to do:
1. Cut Straws. I find it’s helpful to let a piece of tape hold them while you work.
-8 straws to 1in. (4 per earring)
-16 straws to 21mm. (8 per earring)
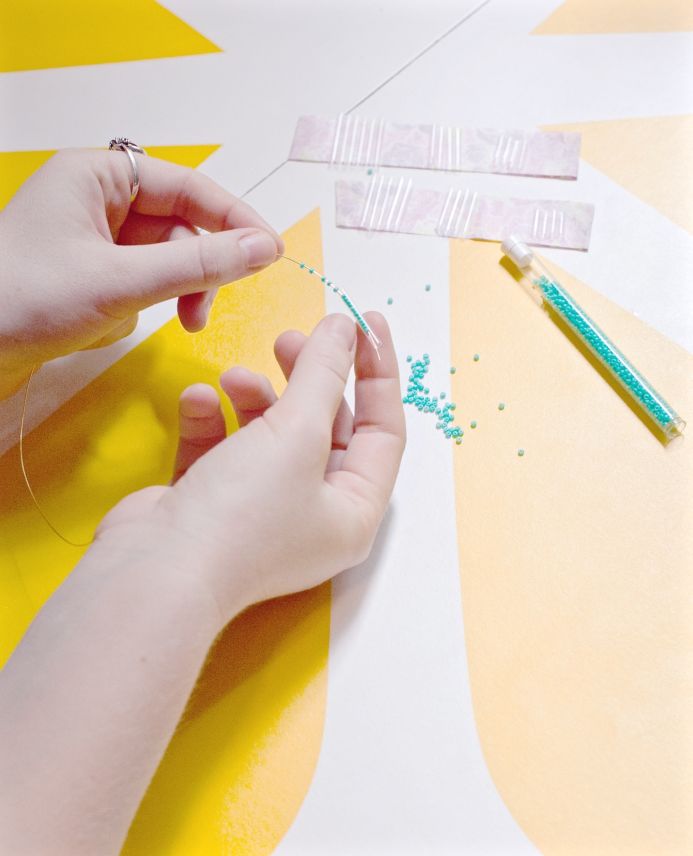
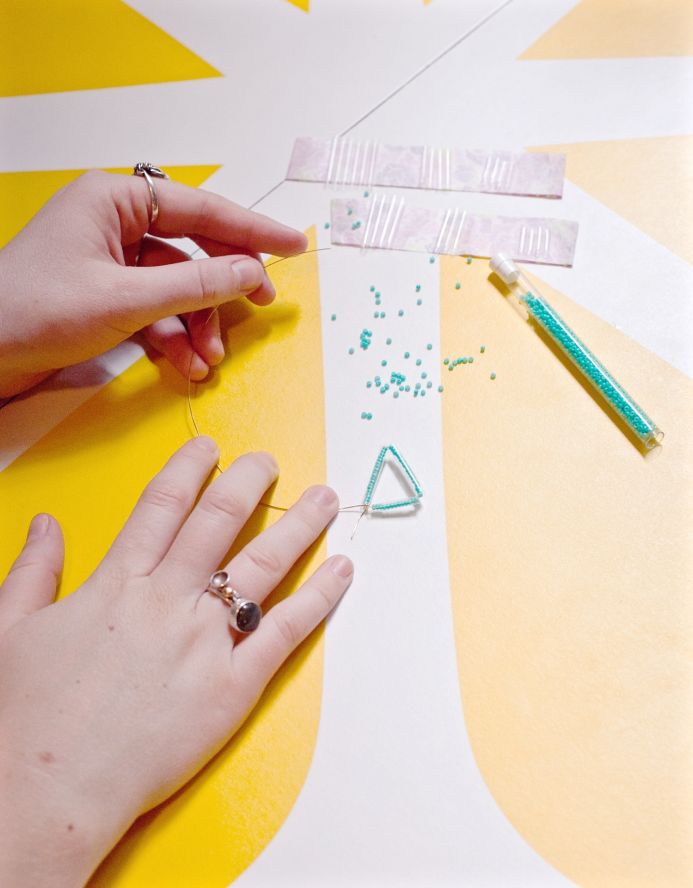
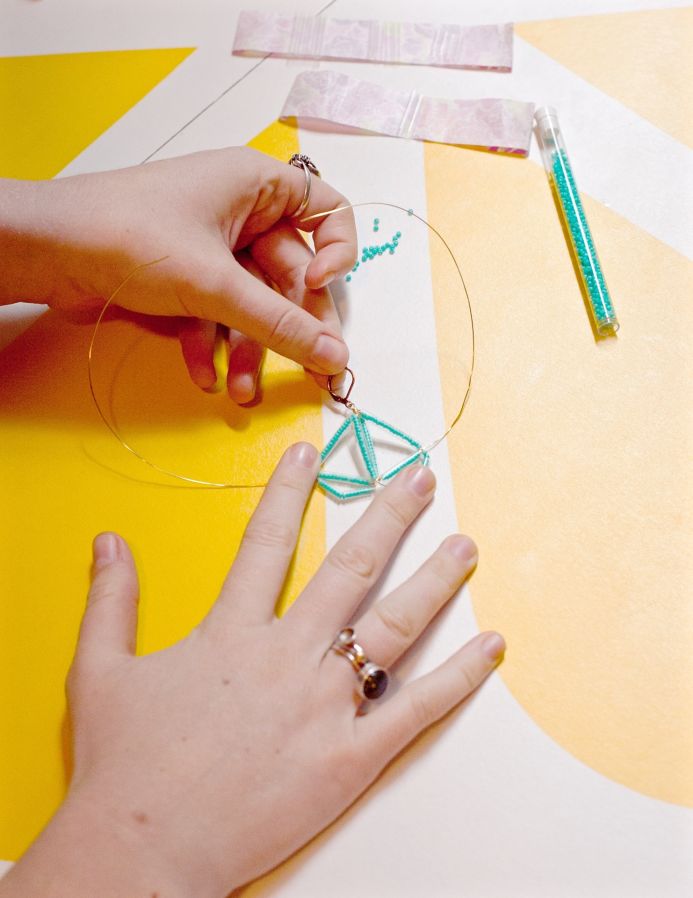
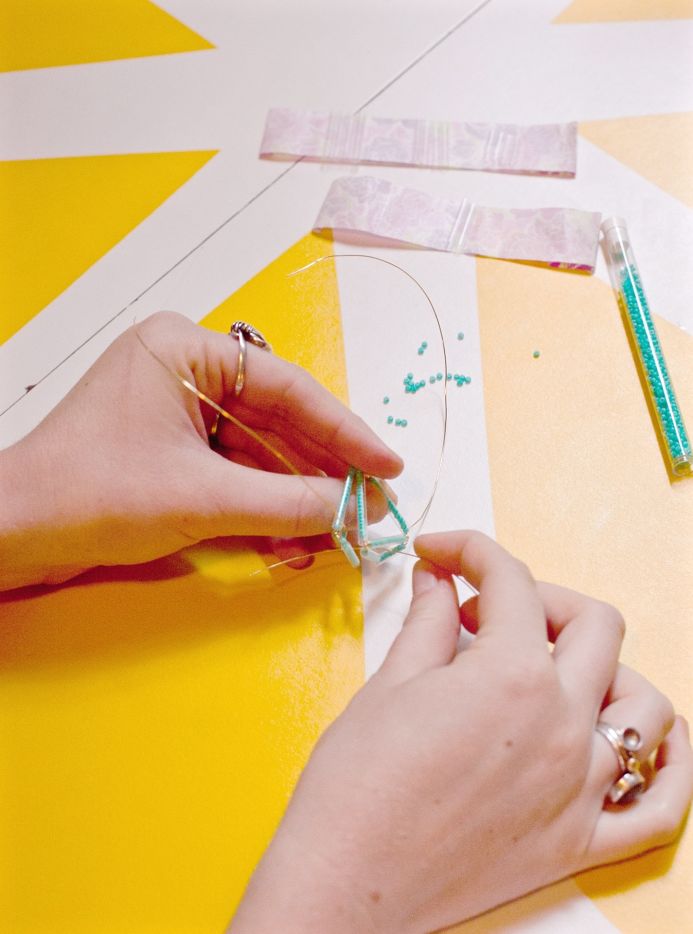
2. Cut a piece of wire, around 8 inches and begin to string the beads on. You’ll need enough beads to string two 1in. straws and one 21mm straw over the beads. It should be done in that order (1in, 1in, 21mm). Make sure to leave one side of the wire long and don’t overcrowd the beads inside the straws, a little wiggle room is good. Once they’re strung, bend the wire between each straw to make a triangle. Take the short end of the wire and wrap it around the long end of the wire to secure the triangle.
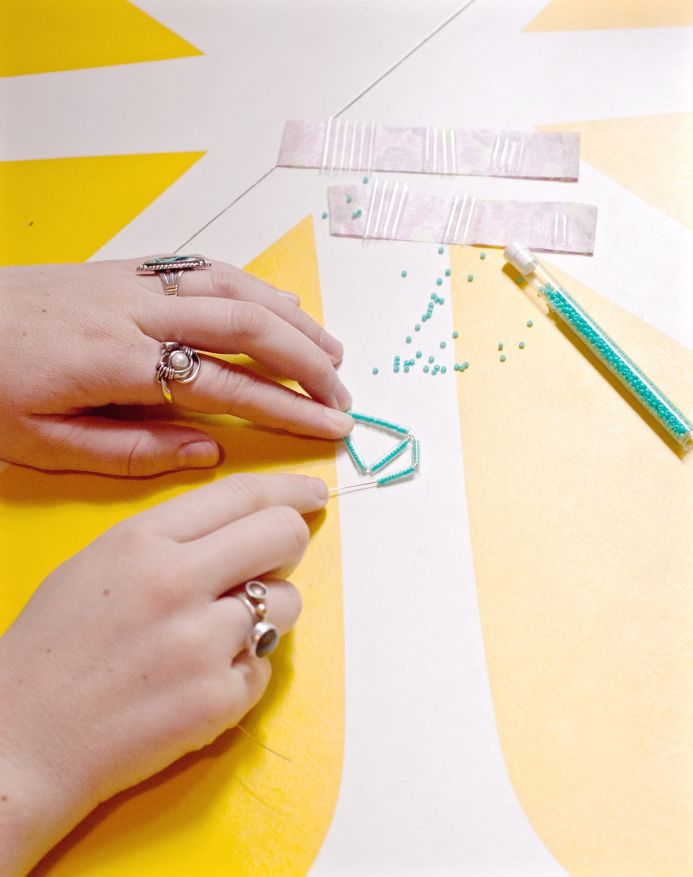
3. String more beads onto the remaining long wire. Then string two 21mm straws over the beads and bend in the middle of the straws to make a second triangle shape. Wrap the wire to the opposite end of the triangle. Your first shape is complete, leave the excess wire and set it aside.
4. Repeat steps 2-3 so that you have two double-triangle shapes.
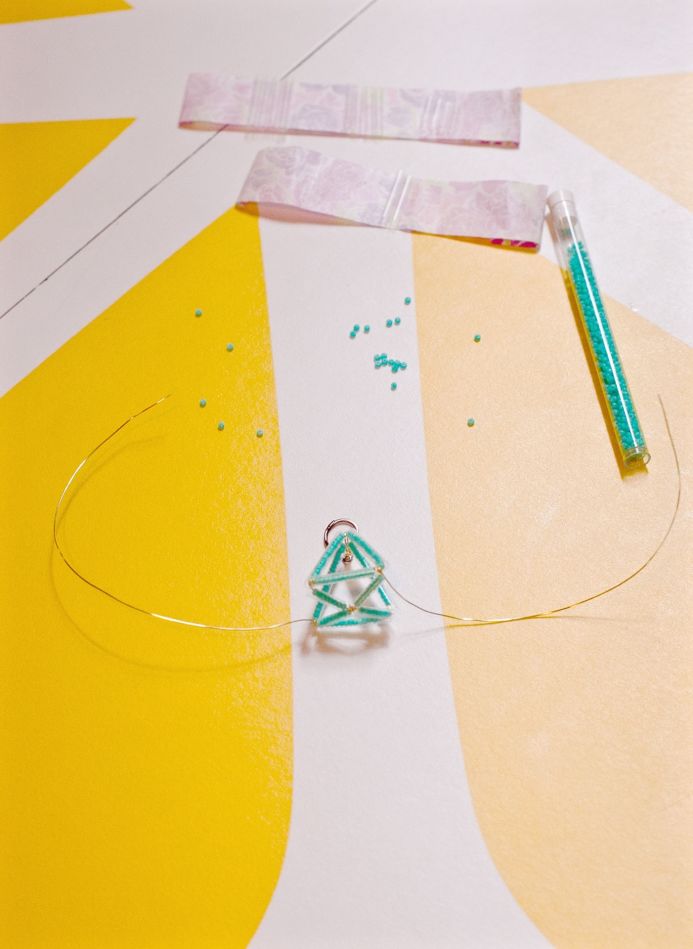
5. Using wire or a jump ring connect the tops of the big triangles together. Make sure to do this so that the excess wire on each shape is going in opposite directions. Add your ear hook to the top of the big triangles.
6. Using wire or a jump ring connect the bottoms of the little triangles together.
7. Now your two shapes are connected and we just need to fill out the middle. Take one of the excess pieces and string it with beads. Slide one 21mm straw over the beads and wrap the wire around the opposite end to secure. Cut off excess wire. Repeat this step for the excess wire on the other side.
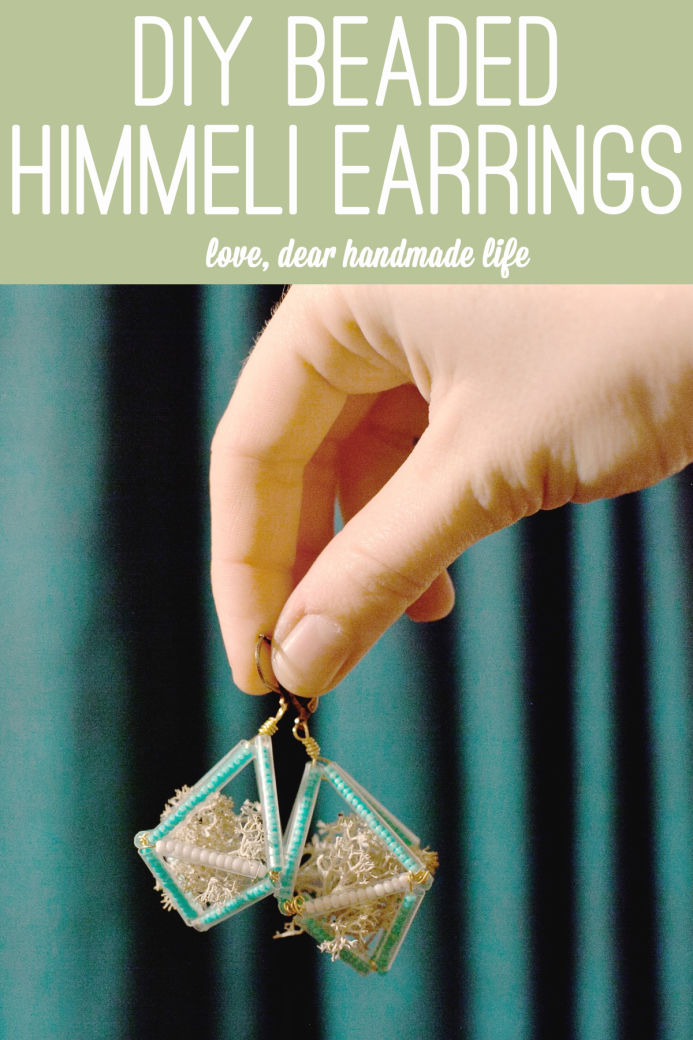
8. Ta-da! You now have one complete earring! And unless you’re one of those one-earring wearing persons then you probably want to repeat steps 2-7 to make a pair.
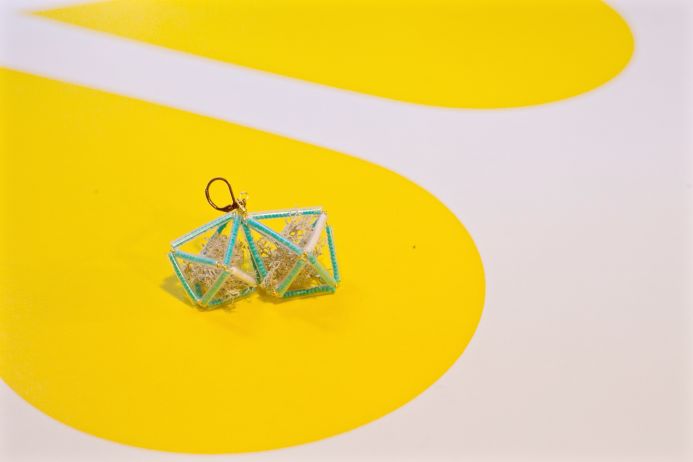 9. Add moss to your earrings and look cute!
-LP Hastings
LP is a writer, photographer, and videographer living in a tiny cabin in the Santa Cruz Mountains. She’s a regular on the Dear Handmade Life team and loves working with her hands. When she’s not shooting, she’s crafting jewelry for her line The Pod Shop or traveling with her art community at the Magoski Arts Colony in Fullerton. Follow her on Instagram @lphastings or @thepodshop











This is so creative and beautiful! Thanks for sharing