DIY Bleach Printing with Threadsy
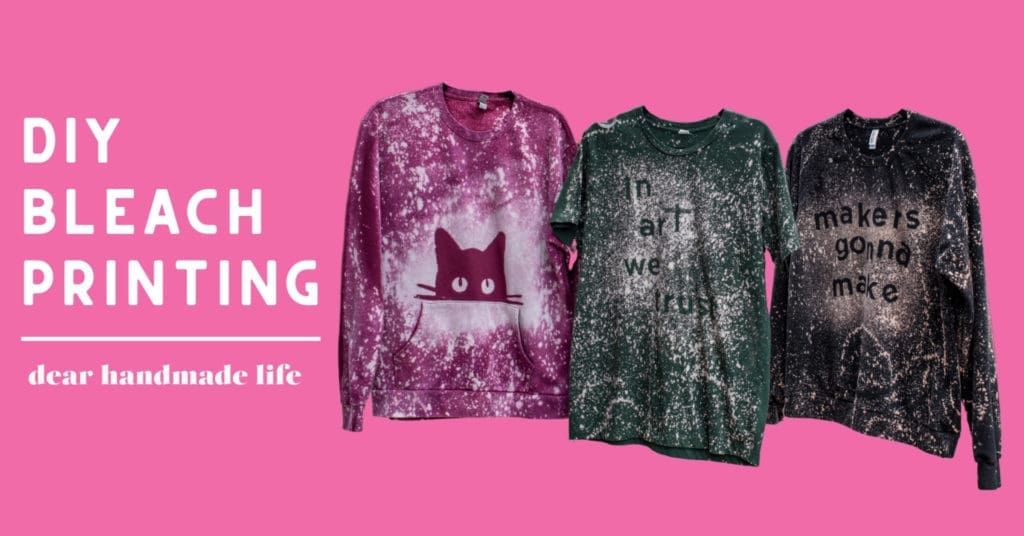
Thanks to our friends at Threadsy.com for providing us with the clothing for this project! Threadsy offers tons of clothing blanks that are perfect for this project and beyond! Ordering from them was easy and my order showed up super fast. You can find more at Threadsy.com!
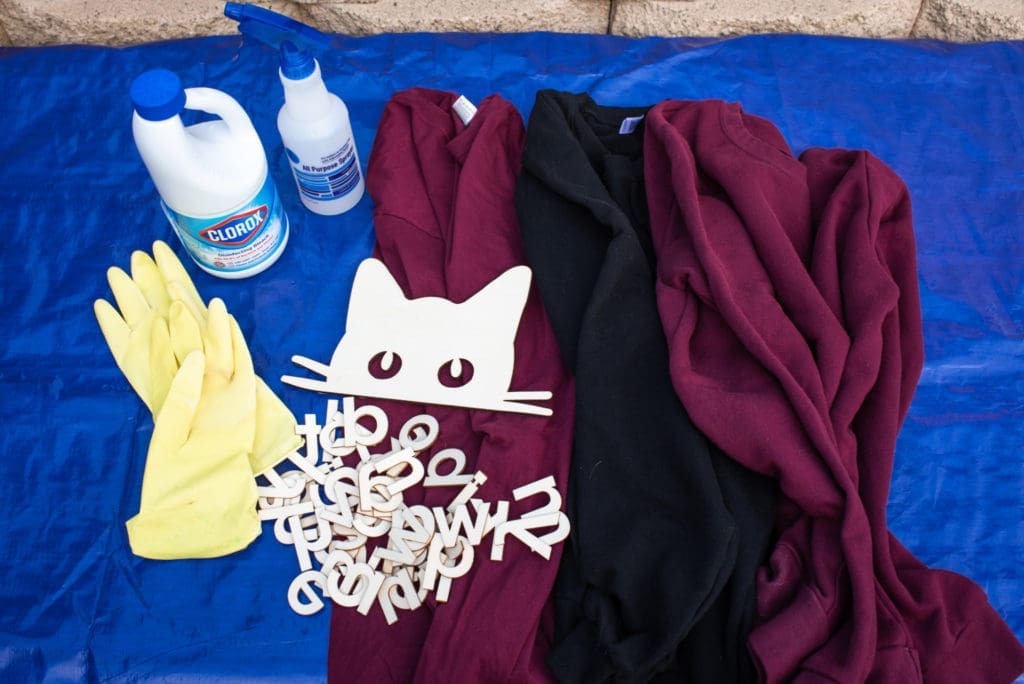
WHAT TO GET:
- Bleach (the chlorine kind, otherwise it won’t lift the color) I used Clorox
- Spray bottle
- Rubber Gloves to protect your skin from the bleach
- Wooden Stencils of your choice
- T-shirts/Hoodies Made from mostly Cotton. Mine are from https://www.threadsy.com
- Ventilated area to work and a surface that you can get bleach on. I used a tarp on a 6ft table in my backyard.
A few tips before we start!
- For this project, you’ll have the best results with dark-colored clothes that are made from cotton. 100% cotton fabrics are preferred, but cotton blends will also work well.
- If you are unsure how your item of clothing will react, you can always test a small corner of the garment with a dot of bleach. I did this on the back of one of the sweatshirts. That way, you’ll have an idea of how it will react without committing to the entire process just yet.
- It’s hard to know exactly what color your sweatshirt will turn in the bleach solution. Sometimes the color-change results can be really unexpected & that’s the beauty of it.
- Wear something that you don’t mind getting bleach on.
- You should pre wash your clothing and you can bleach onto damp clothing or completely dry clothing.
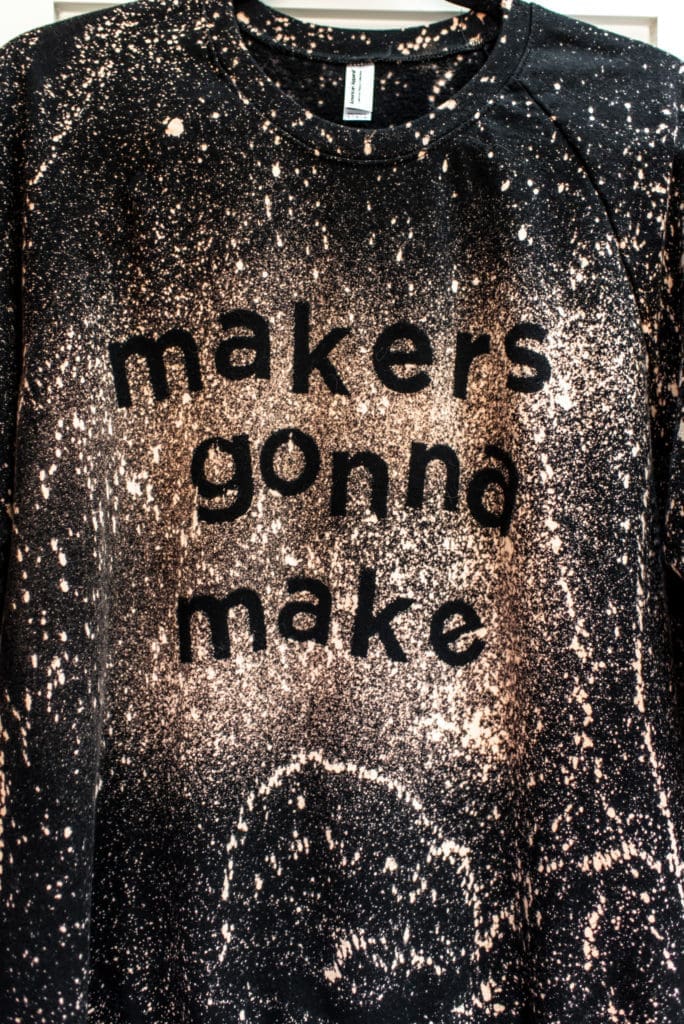
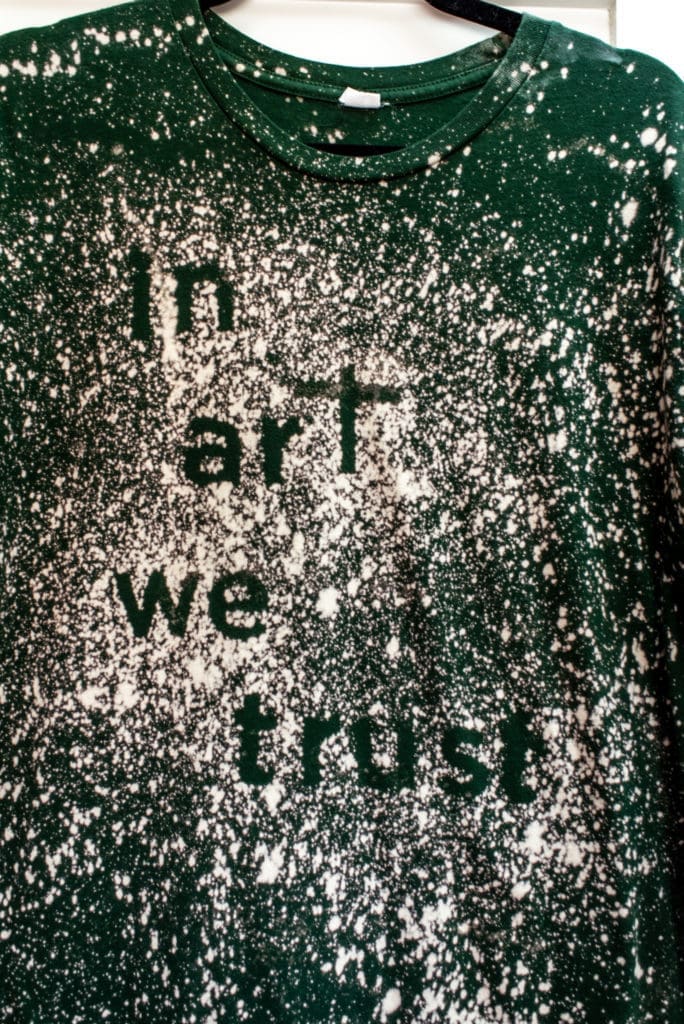
- The parts of your shirt that are covered up will stay the original color, or close to it, while the exposed fabric will turn a lighter color when it interacts with the bleach.
- You can try using different spray bottles for different spray effects, IE: a bigger droplet look or a more fine mist look. The spray bottle I was using gave me both of those effects just by adjusting the nozzle.
step one:
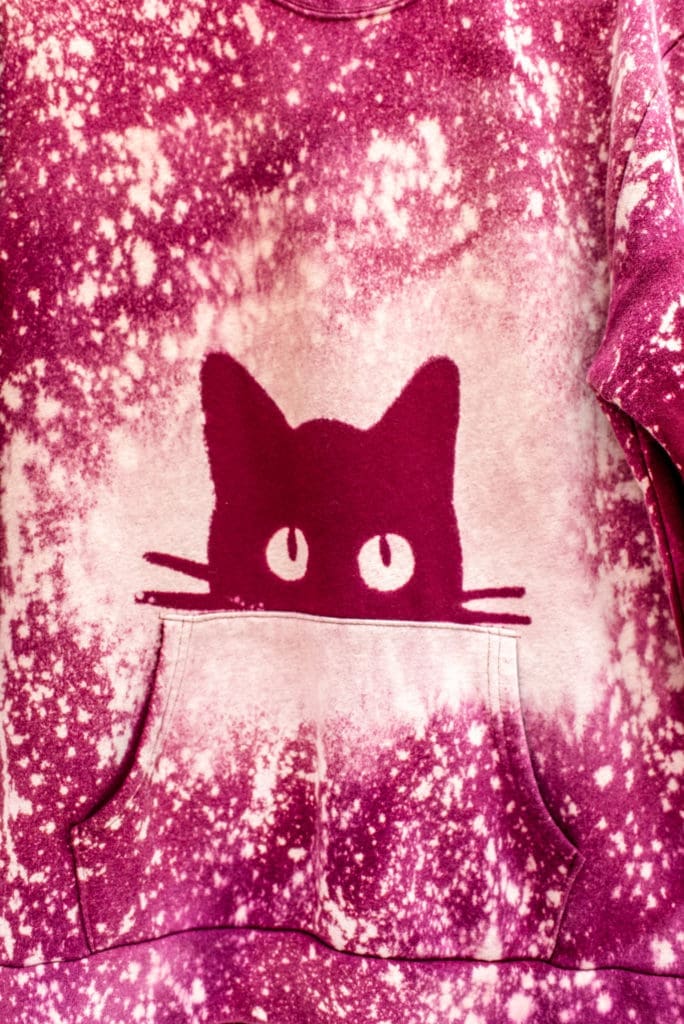
For my first piece I laid my wood stencil where I wanted it, for this cute cat head I chose it to be resting on top of the center pocket.
I misted this one with water before I started, and ended up liking the results on the dry items more, just something to keep in mind but it’s good to experiment! I filled my spray bottle with bleach, you can also dilute it with water but again I preferred the results with just straight bleach.
Keep in mind that bleach can eat away at the material you use! For the pieces with words on them, I did the same thing except I didn’t mist with water first.
STEP TWO:
I started by putting my spray bottle on the fine mist option and lightly spraying around the stencil first. Keep in mind that you can continue to add more bleach but you can’t take away what you’ve done. Depending on the piece of clothing you are using, you should be able to see the effects of the bleach fairly quickly. Also keep in mind that the longer you let the bleach sit on the fabric, the brighter those spots will become. Once the area around the stencil was saturated to my liking, I started playing around with the spray bottle nozzle to get different spray effects. You can make it so it’s more of a stream & you can move the bottle around in circles. You can also give it a splatter effect by the way you move the spray bottle. This will all be personal preference with some trial and error.
STEP THREE:
Once I was satisfied with the way my shirt was looking I let it sit for a few minutes with the stencil still in place. After a few minutes I removed the stencil, be careful here because you can drip some of the bleach where you might not want it. I then moved my shirt into the sun for it to dry a bit and for the bleached area to become brighter, this took about 30 minutes. Like I mentioned before, the bleach can eat away at the fabric so you don’t want it to sit for too long.
STEP FOUR:
After you have gotten the desired brightness on the bleach spots you need to rinse your item of clothing out, this will help stop the bleach process. I used a hose and an outdoor sink. You can do this inside, just make sure your space is well ventilated. Once everything is rinsed, wash and dry as normal. And there you have it, so much fun! I really love this take on discharge dyeing, there are so many endless options, especially when using the alphabet stencils. These would make perfect gifts and this would also be such a fun craft day to have with your friends, Enjoy!

ABOUT NIK
Nik is a maker, day dreamer & potty mouth who loves cats, coffee and craft beer. She is a self taught hand embroiderer and will DIY pretty much anything she can get her hands on. You can see her work on Instagram @wastingthyme & @nikvphotography. She lives in Long Beach with her husband and her three awesome cats (that she can’t shut up about).


