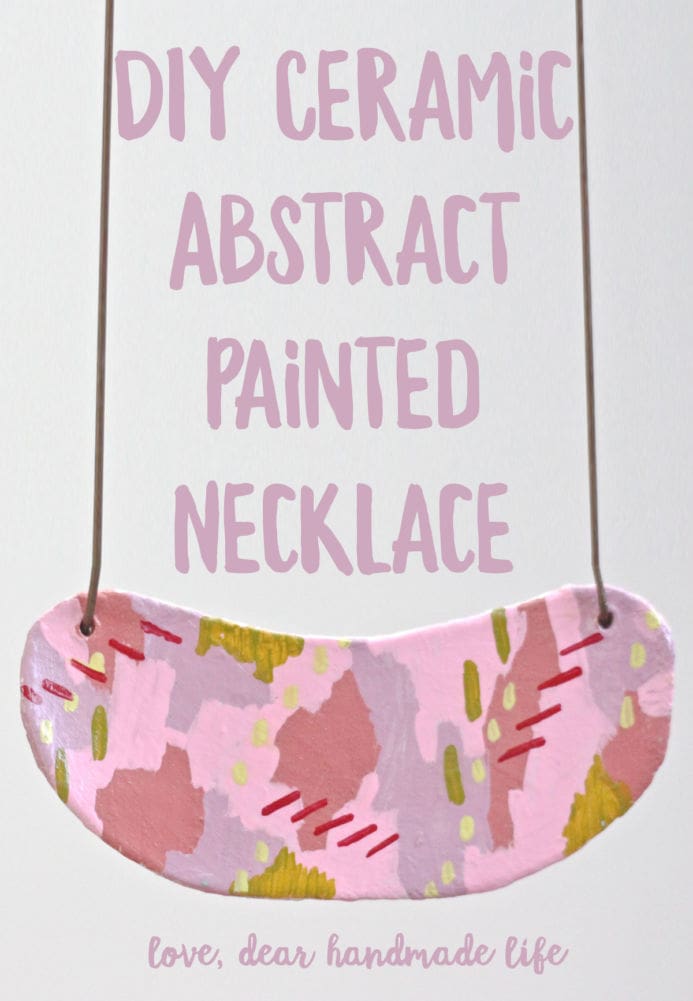
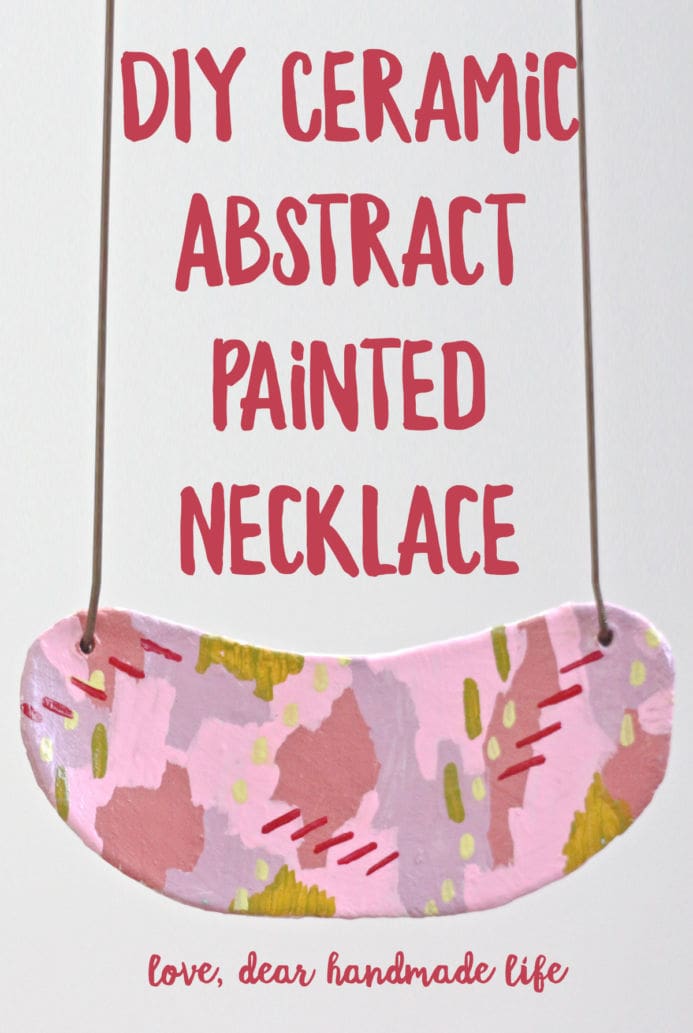
DIY Ceramic Abstract-painted Necklace
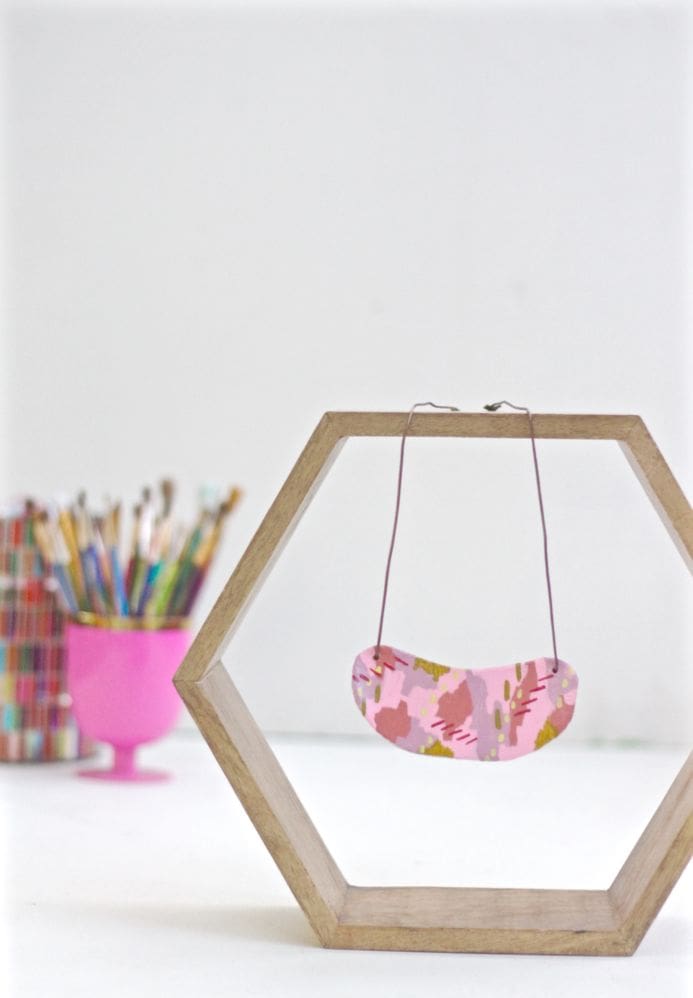
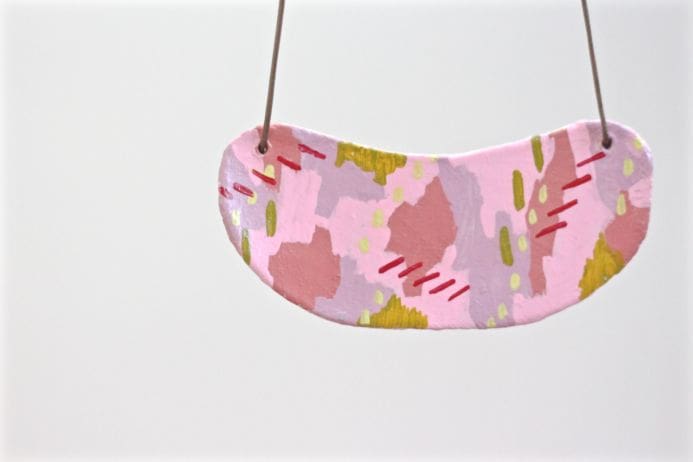
Last summer I completed one of my long-time goals of taking a pottery class. I wrote about the top three lessons I learned during the process of finally checking something off my bucket list that had been on it for YEARS. Despite my longing to continue with pottery this year I needed something a bit more mobile and opted to return to my sketchbook practice. I kept thinking about pottery and that lovely feeling of the clay on my hands so I decided to get some air-dry clay and try my hand at project I could do quickly and without a kiln. This DIY tutorial is a combination of what I learned last year in pottery and the abstract pieces I’ve been painting in my sketchbook and on wood this year. It’s a pretty simple and quick project and requires no previous skills in pottery or painting AND every time I wear my abstract clay necklace I get complimented on it!
-Nicole S.
What to get:
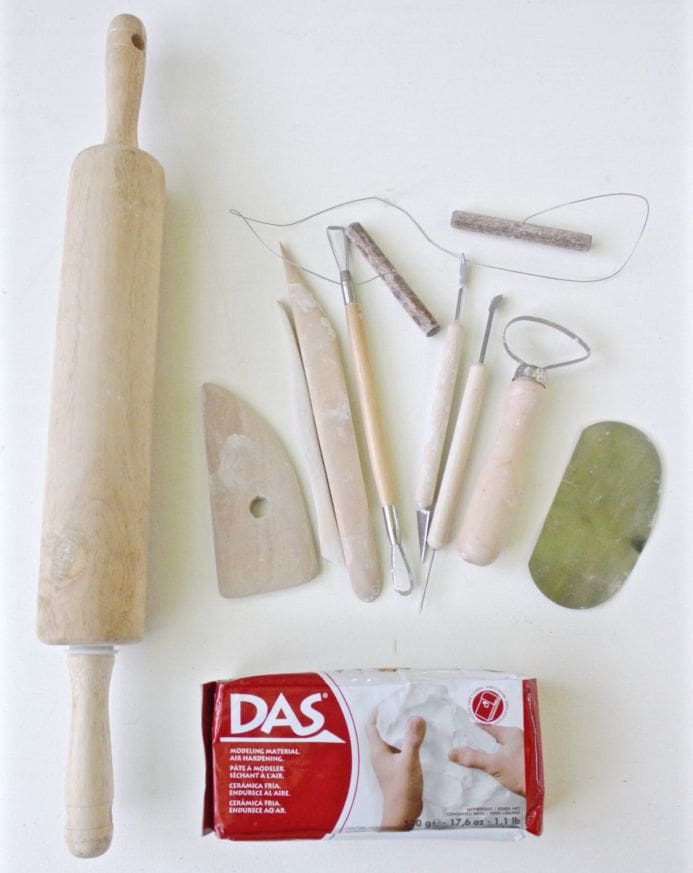
-Basic clay tools (we like this set)
–Air-dry clay
-Rolling pin
-Wax paper
-Bowl of water
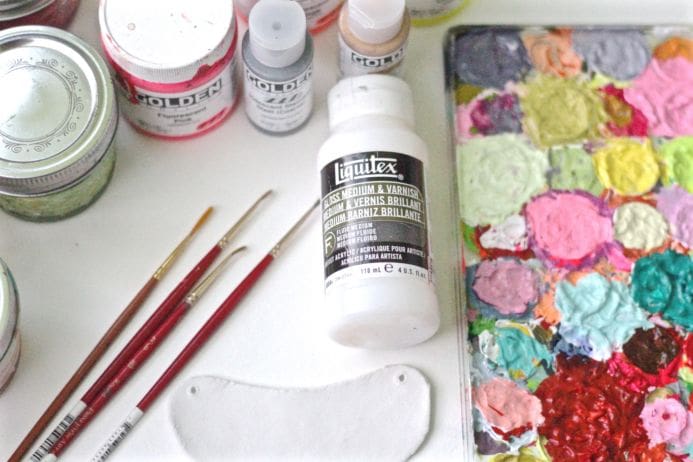
-Paintbrushes
-Acrylic paint
-One sheet of paper or card stock
–Metallic leather cording
-Jewelry findings: 1 lobster clasp, 2 split rings, 2 cord end caps
–Needle-nose jewelry pliers
What to do:
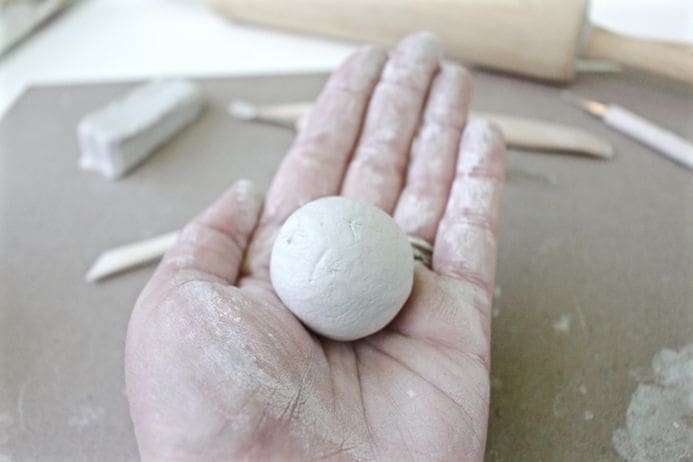
1. Create a ball from the clay (about 3 inches in diameter).
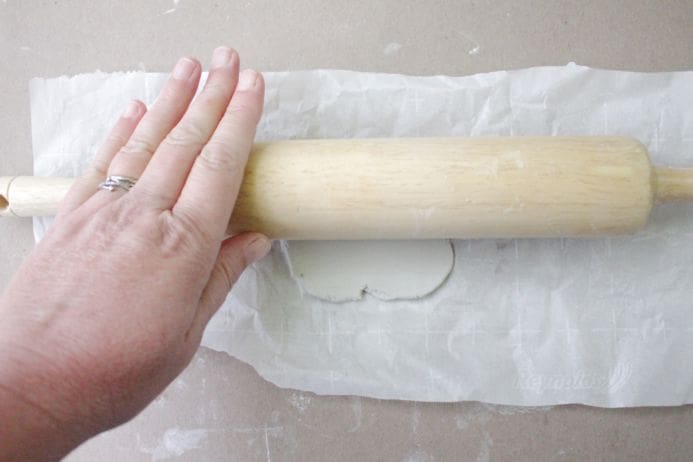
2. Roll out the ball of clay with a rolling pin until it’s flat.
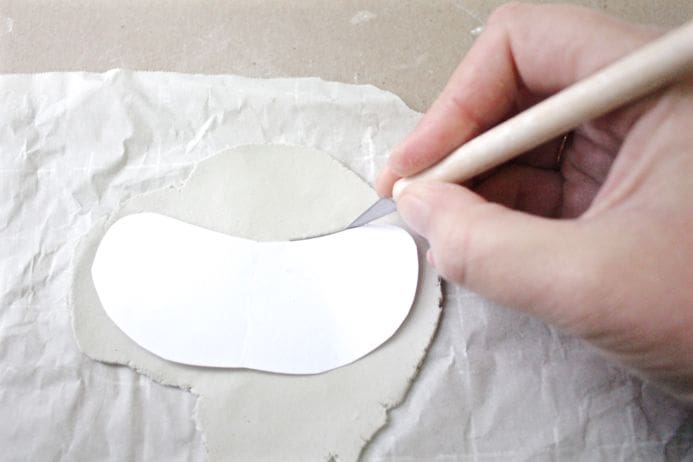
3. Create a template for the shape of your necklace using a piece of paper.
4. Set the template on top of your clay and use a clay tools to carve your necklace shape from the clay.
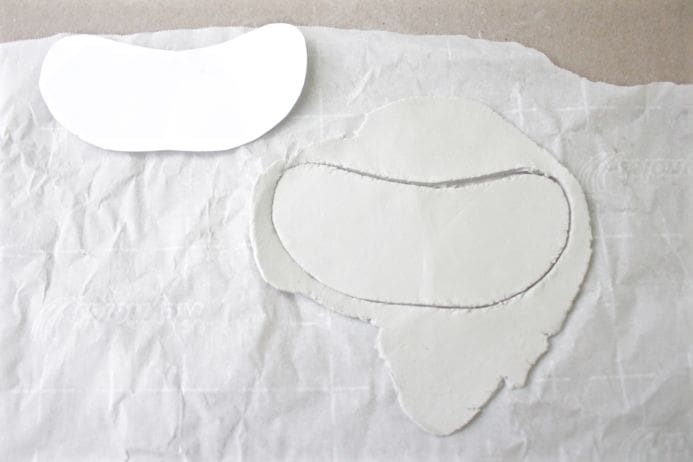
5. Use the pin tool to create small holes at the top right and left sides of your necklace so you can attach your cording later.
6. Wet your fingers and run them along the edges of the necklace to smooth them out.
7. Let the necklace dry overnight.
8. Once dry, paint the necklace with acrylic paint.
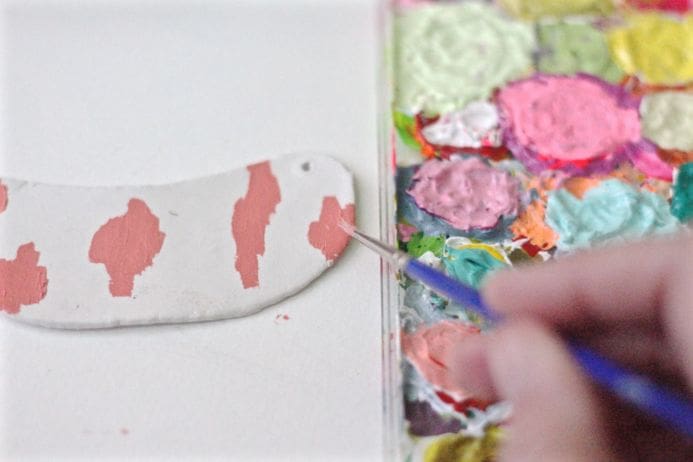
9. Measure the necklace to see where you’d like it sit on you and then cut a length of leather cording.
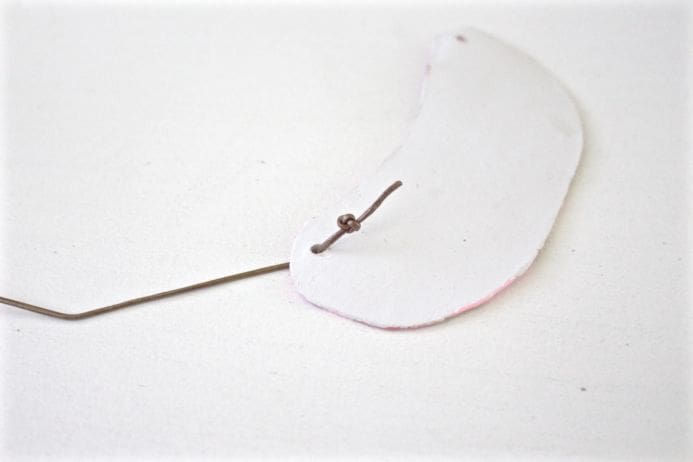
10. Put one end of the leather cording through the front of the hole of the right side of the necklace then tie two knots at the end on the back. Repeat for the other side.
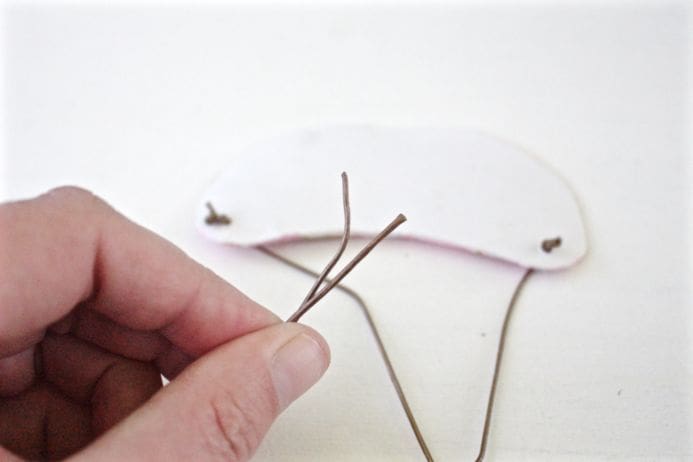
11. Use needle-nose jewelry pliers to attach the lobster clasp and split rings.
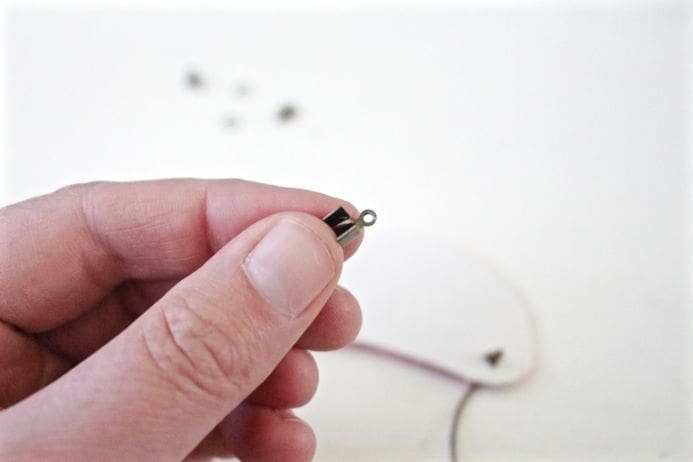
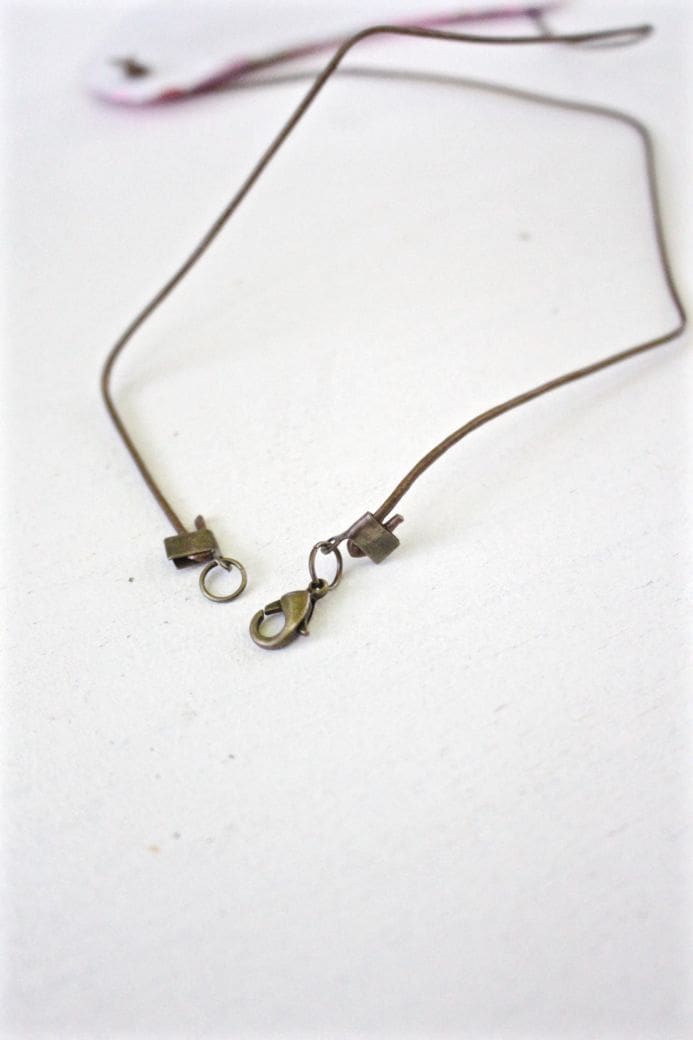
*If you work on a sheet of wax paper it will help the clay not stick to the surface you’re working on.



Hi Nicole Stevenson,
As you explained complete process in details with pictures, no confusion about making it. But I want to know about its weight and paint. Is it permanent paint.
Thanks