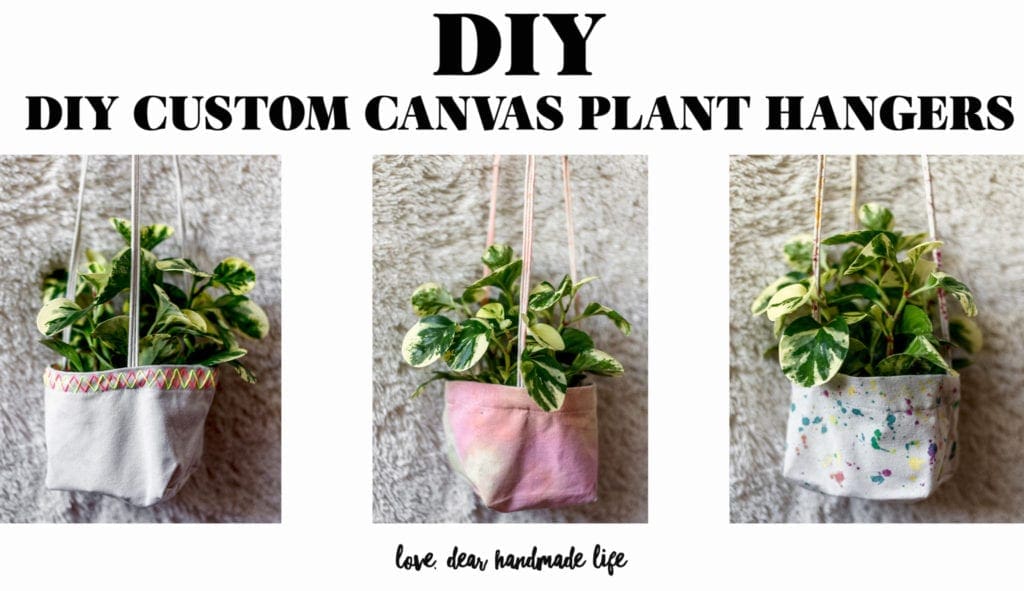
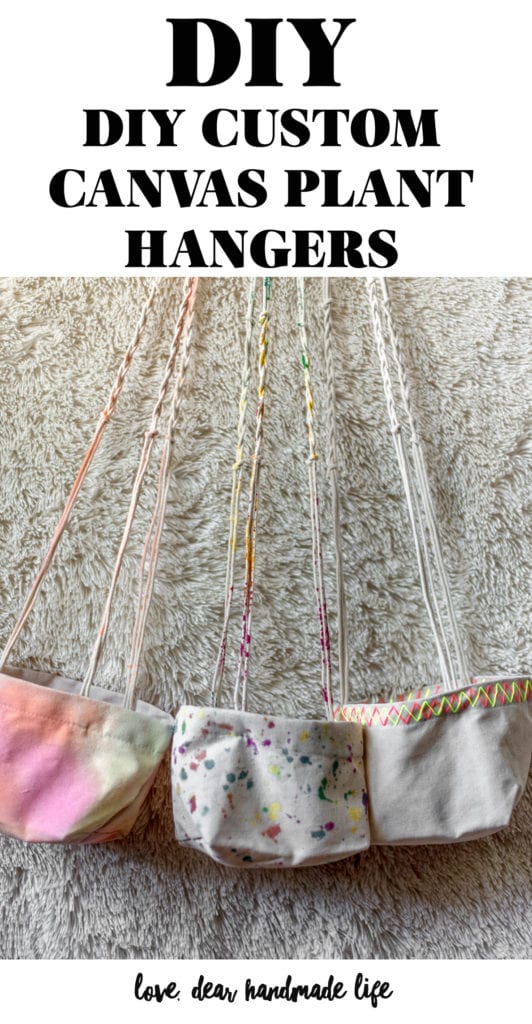
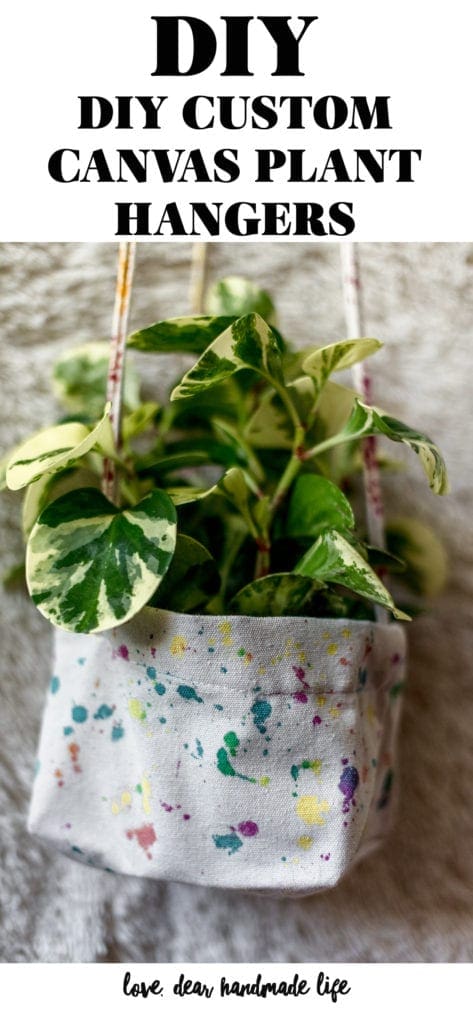
DIY Custom Canvas Plant Hangers
Now more than ever, I have really been trying to make my home brighter and happier. I always thought I had a black thumb when it came to plants but recently I’ve had the time and the patience to tend to them and they are quite honestly starting to takeover a lot of my living space. When I saw these Canvas Plant Hangars from Darice I knew they would be the perfect thing that I could customize and use to bring even more life into my home! Let me show you what I did.
WHAT TO GET:
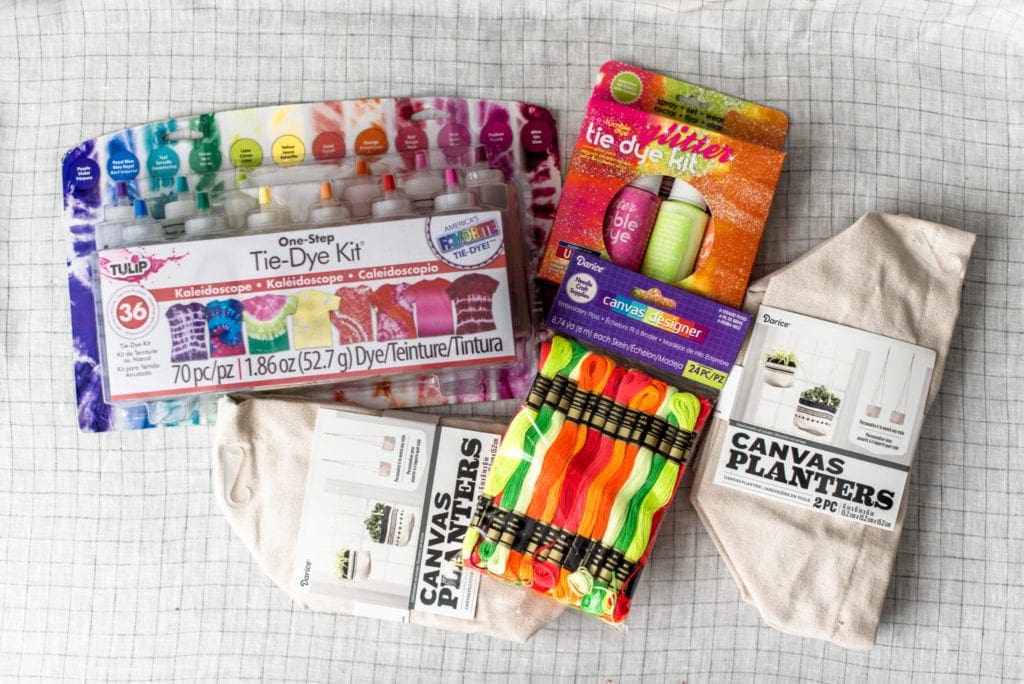
- Canvas Plant Hangers
- Tulip Tie Dye Kit
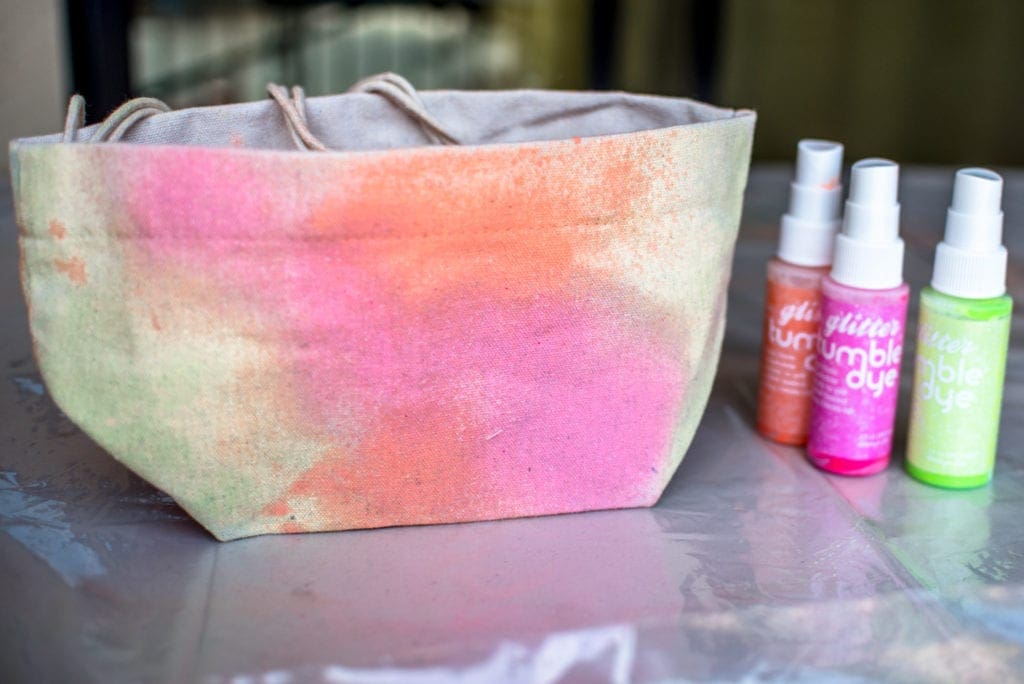
- Glitter Spray Fabric Paint
- Embroidery Floss
- Embroidery Needle
- Scissors
WHAT TO DO:
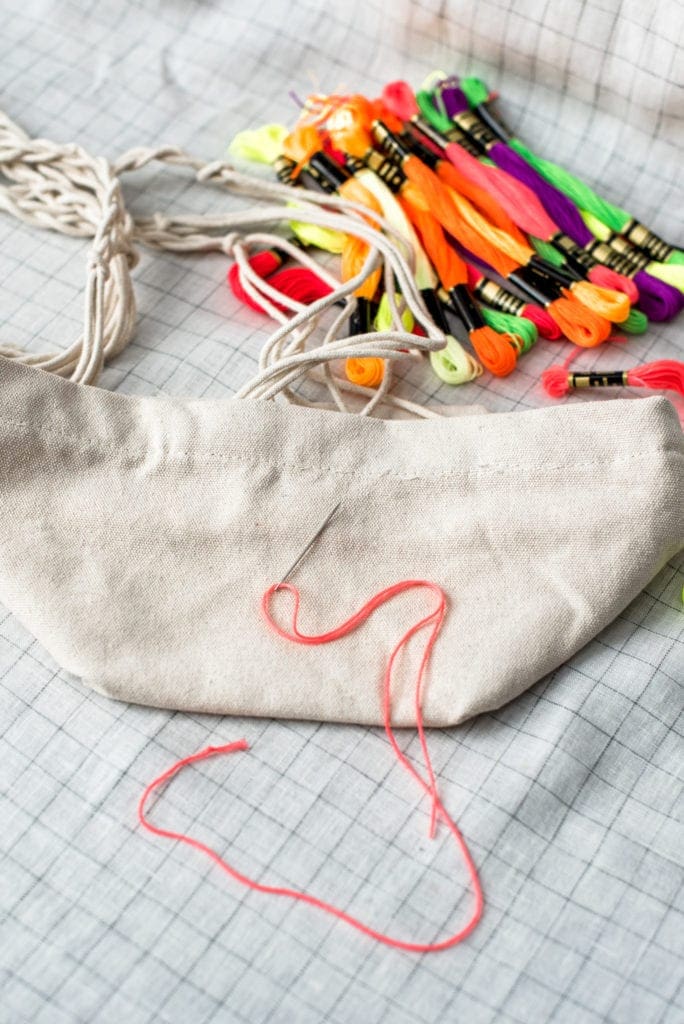
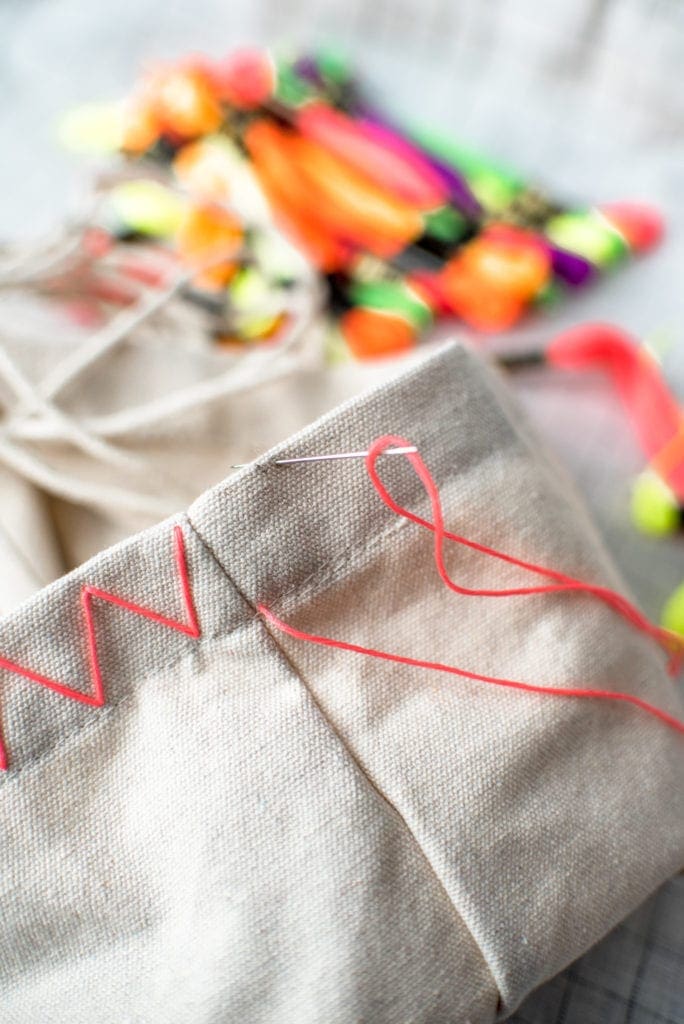
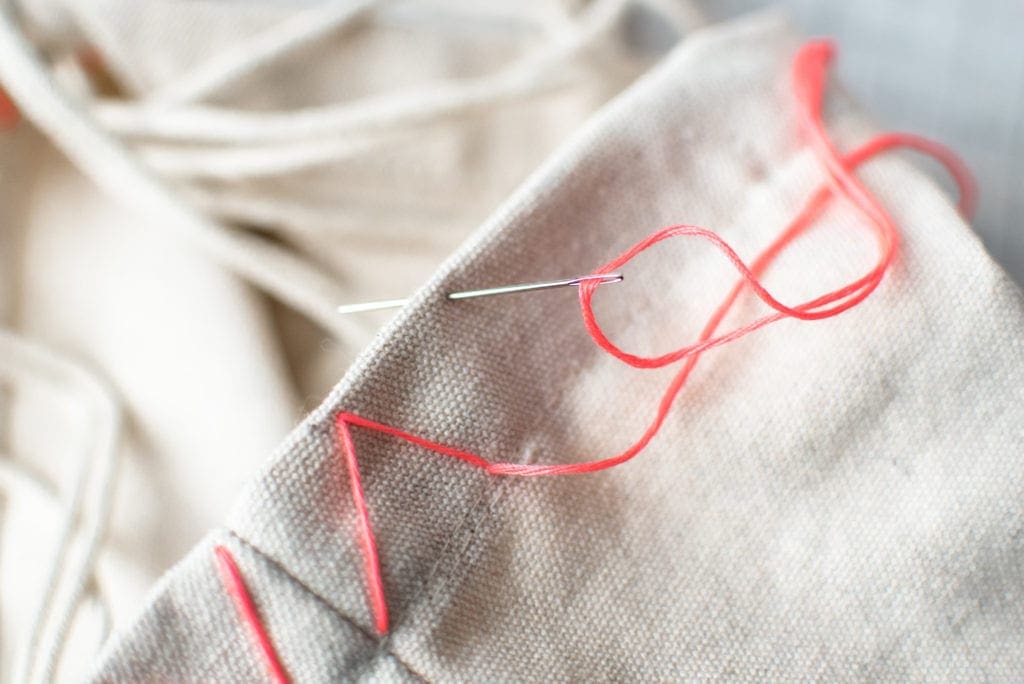
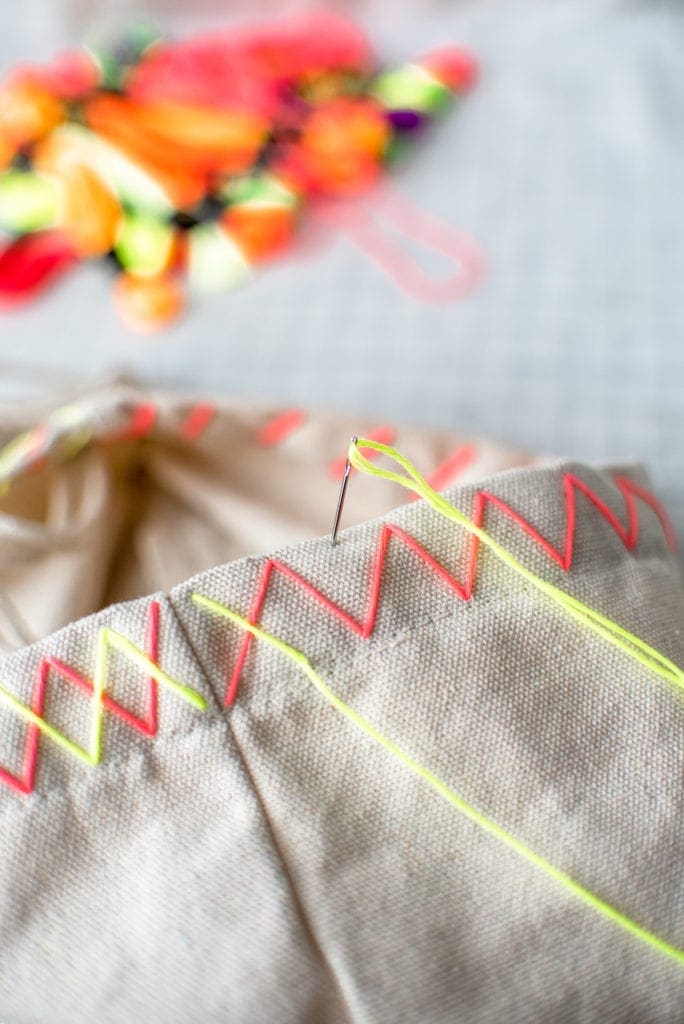
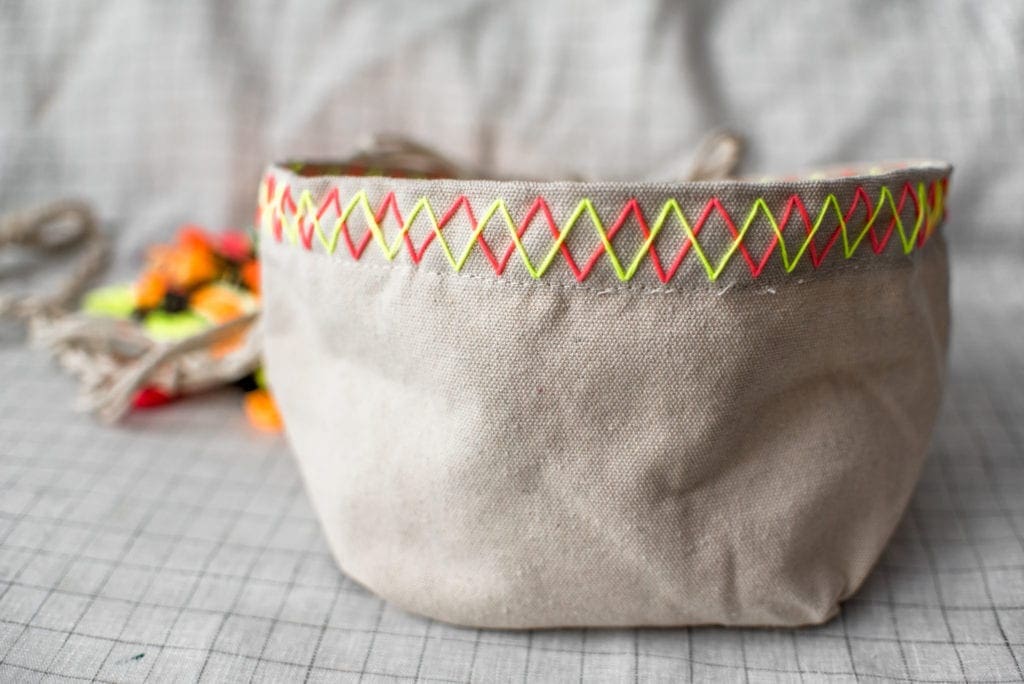
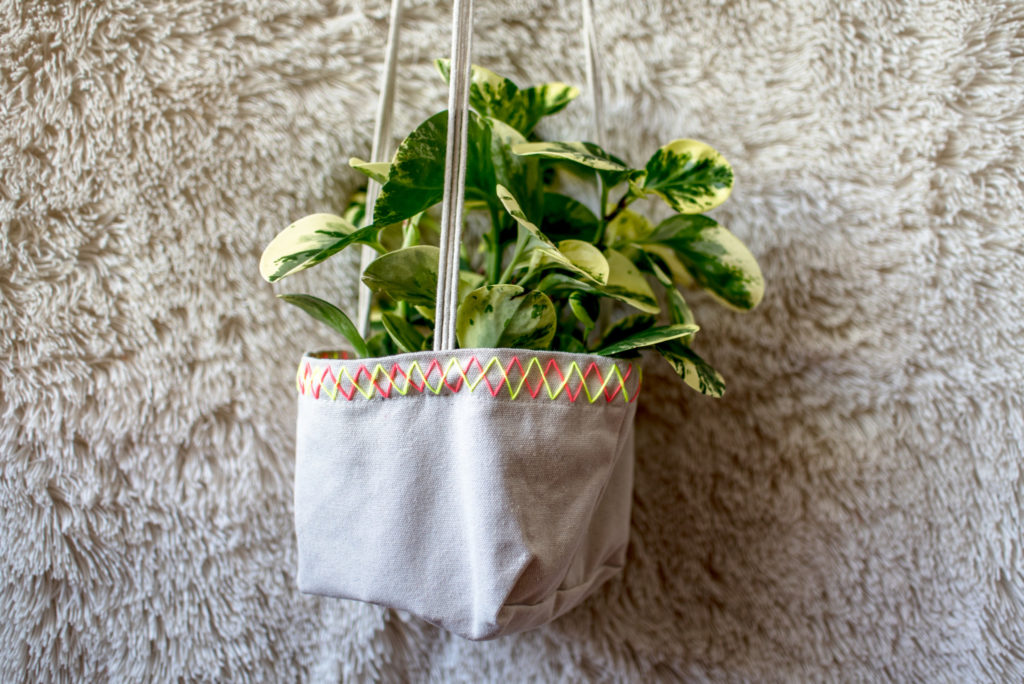
1. Decide what you want to embroider! I went with a simple geometric border, I love little neon pops of color on neutral things, so that was the look I was going for. You could really embroider anything here though, this canvas is easy to work with and stiff enough that I didn’t even need to use an embroidery hoop. I chose to work with only two colors here, so thread your embroidery needle with all six strands of the first color, only tying a double knot at one end. Start from the back (inside) at the bottom of the hem. Poke your needle and pull though the floss until the knot is right up against the back. I completely freehanded this design just by making simple open triangles using the back stitch. So I pushed my needle back into the canvas at an angle at the top, came up through the bottom about a half an inch away, pulled the floss through and pushed the needle back in the hole at the top, and continued until I’d made it around. Now do the same with your second color just going in and out in between the triangles.
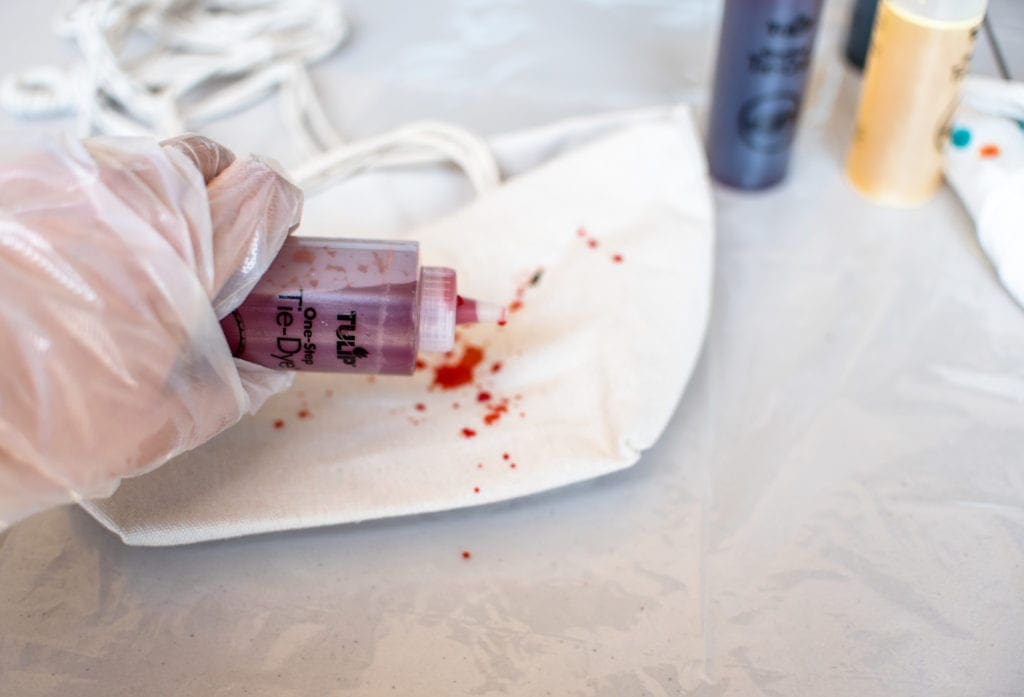
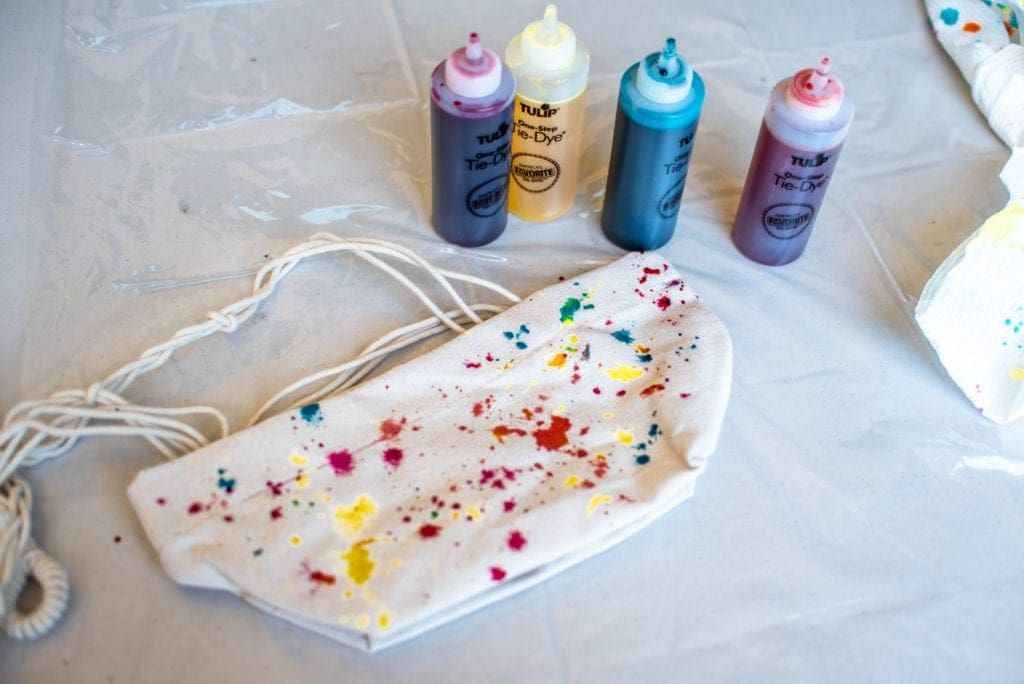
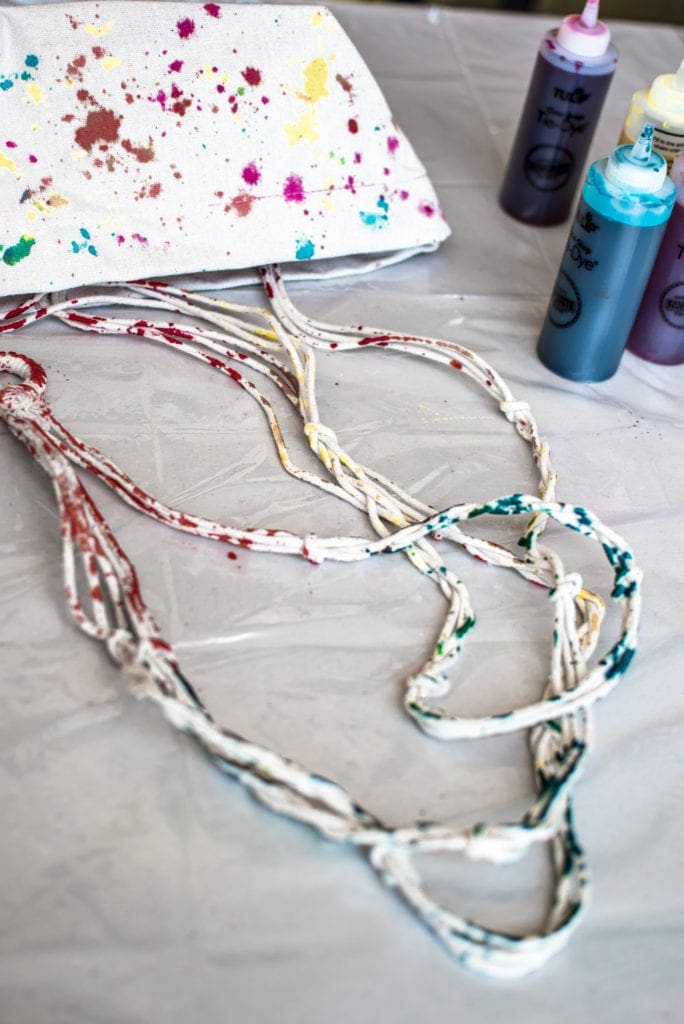
2. This tie dye kit is awesome and has so many colors to choose from! I went with only four here as I didn’t want to muddy up my project, but you could use all of them if you wanted! *Quick note* We are only using a small amount of dye here and once you fill the bottles with water it needs to be used within 45 minutes, so pick something else to use up the dye with! I dyed two tea towels with the excess dye. 🙂
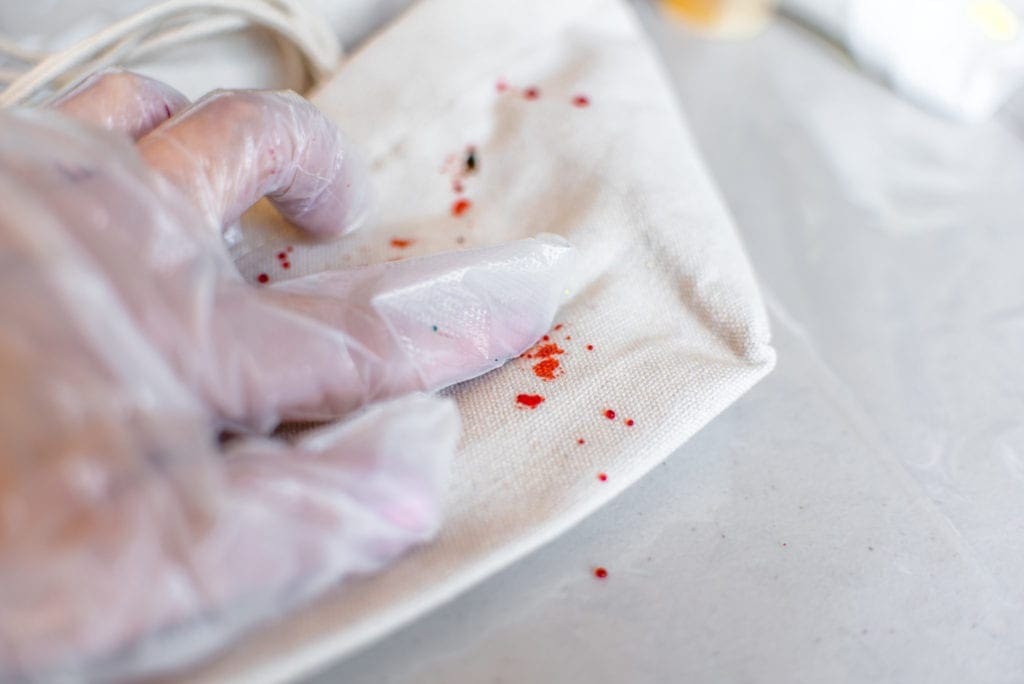
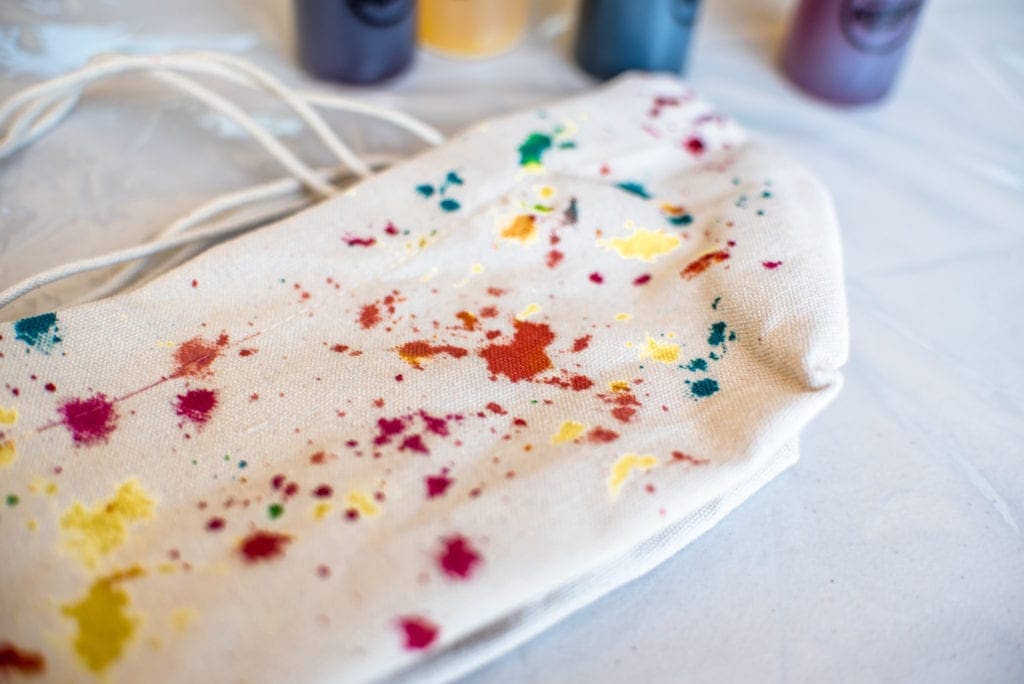
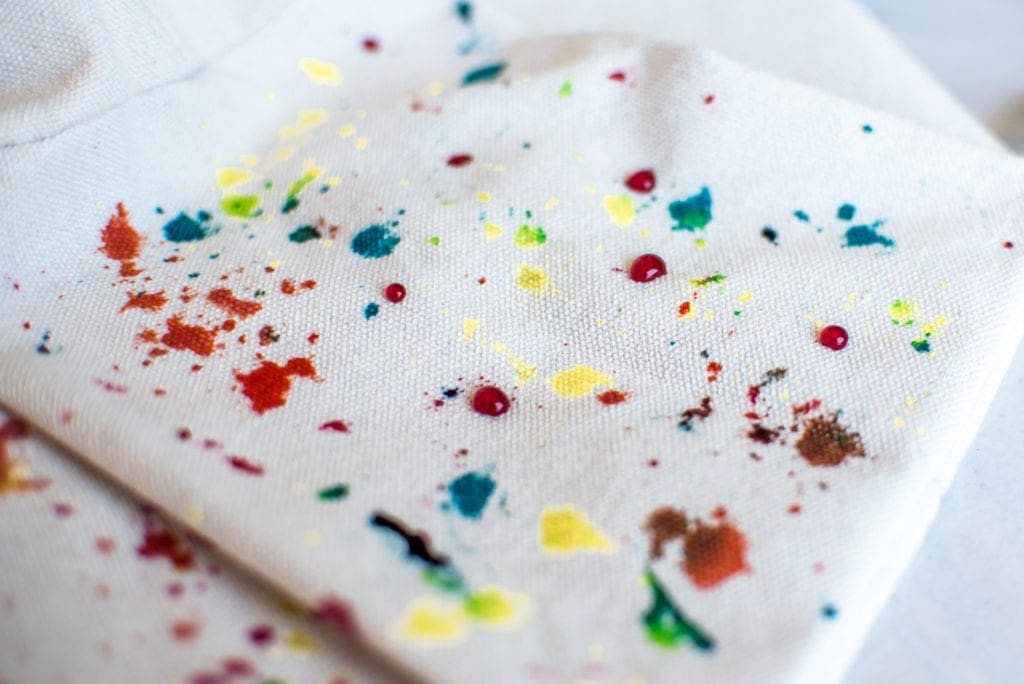
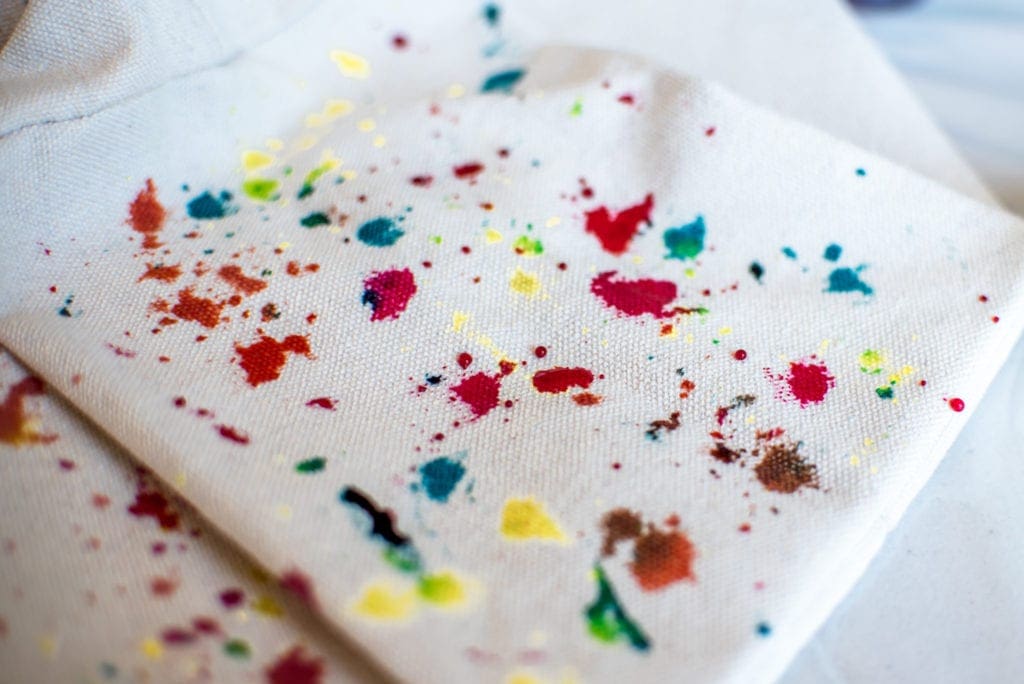
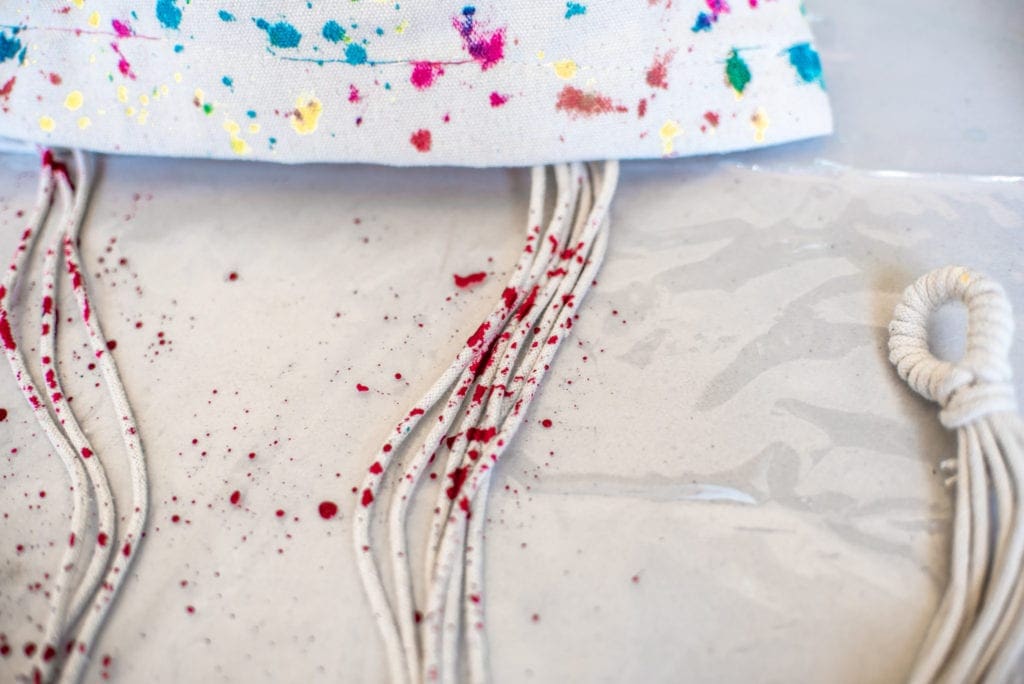
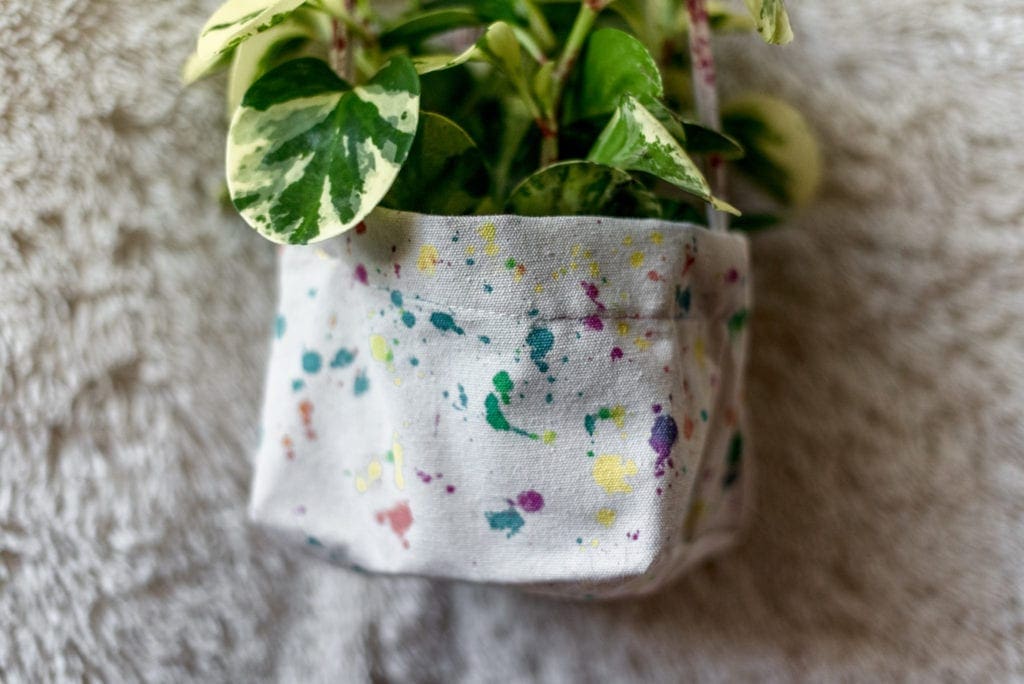
Set up your dye station, I did this out on my patio and used the plastic cover provided and the plastic gloves provided as well. Fill your dye bottles to the line on the bottle with water and shake until the dye is dissolved. I started by tipping the bottle slightly over the canvas so that a few droplets come out at a time and then with a gloved hand I simply pushed the droplets into the fabric. The nature of the canvas here is that the droplets will just lay on top but once you push down slightly the fabric absorbs the dye and makes these cool paint splatter effects. I repeated this process for all of the other colors and around the rest of the canvas including the cording that it hangs from. Let air dry. 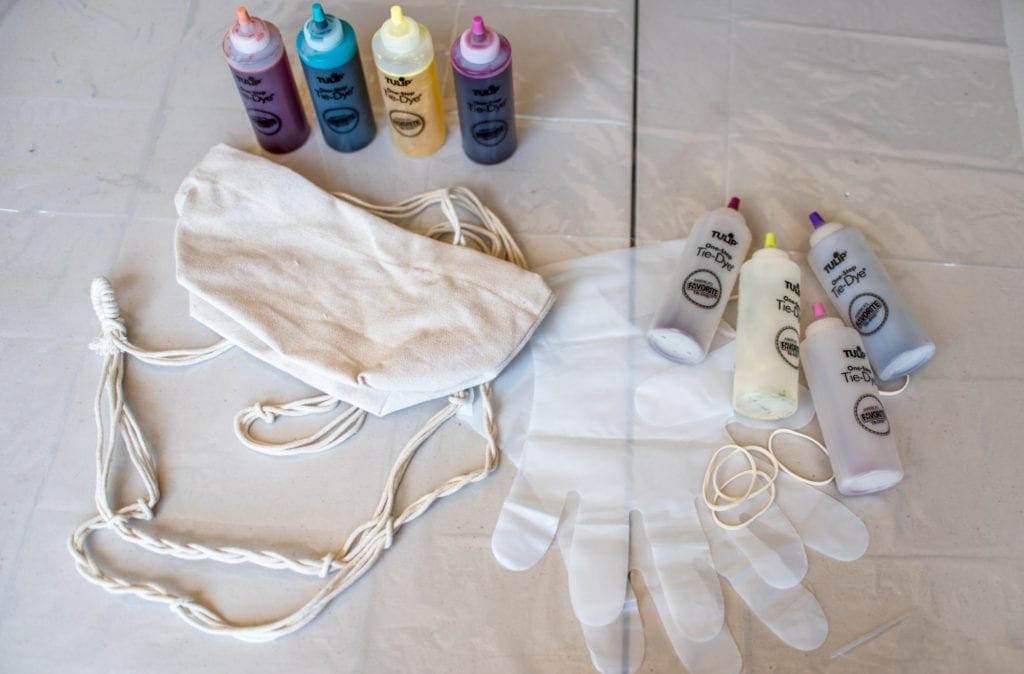
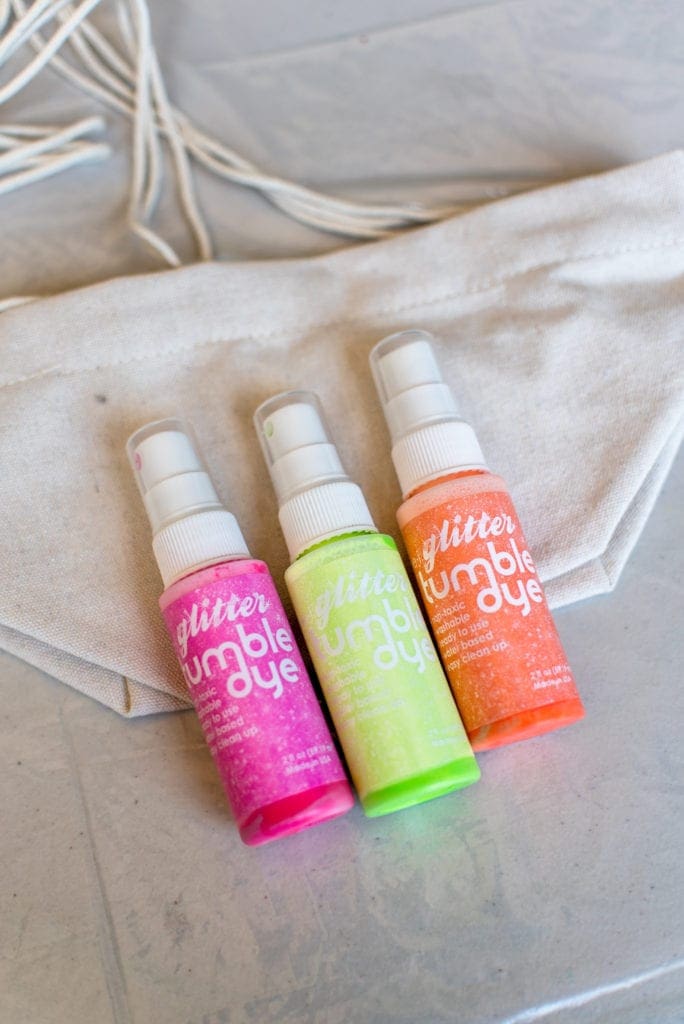
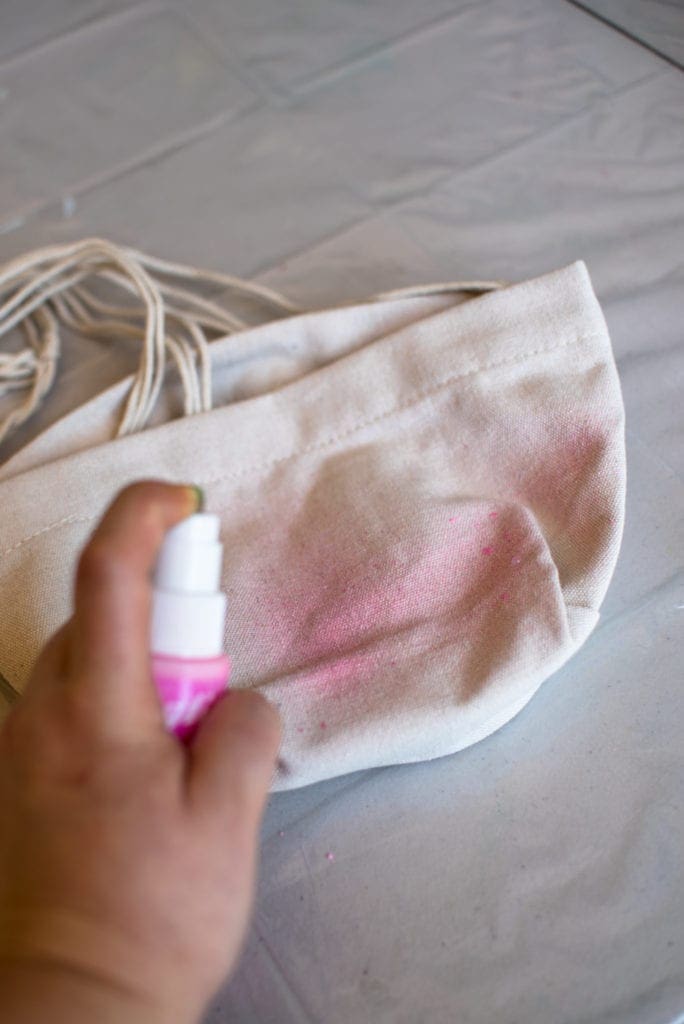
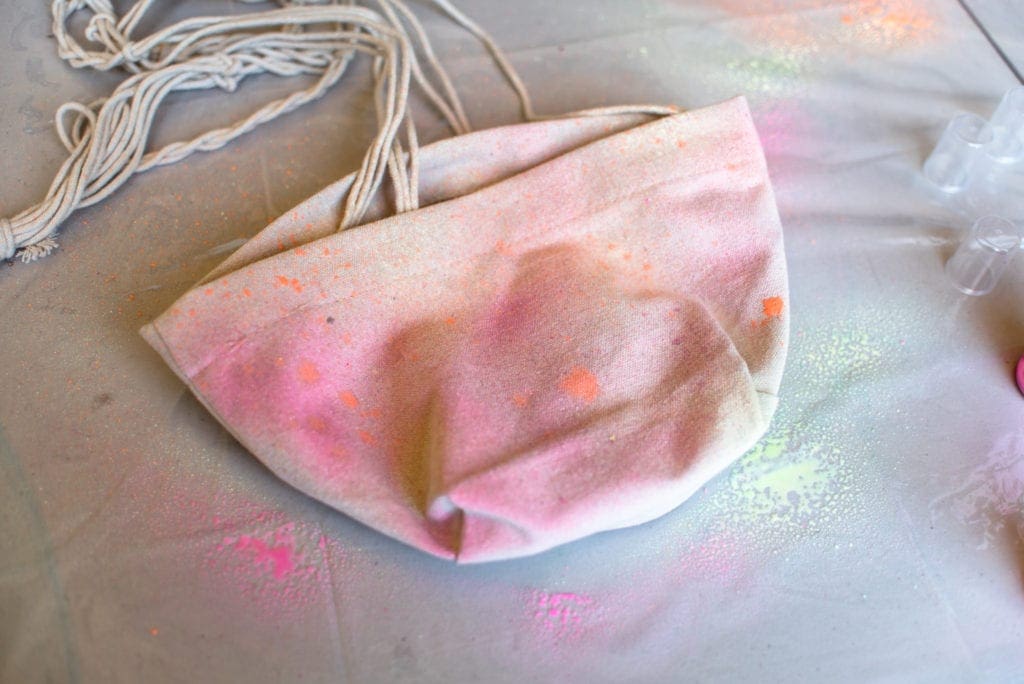
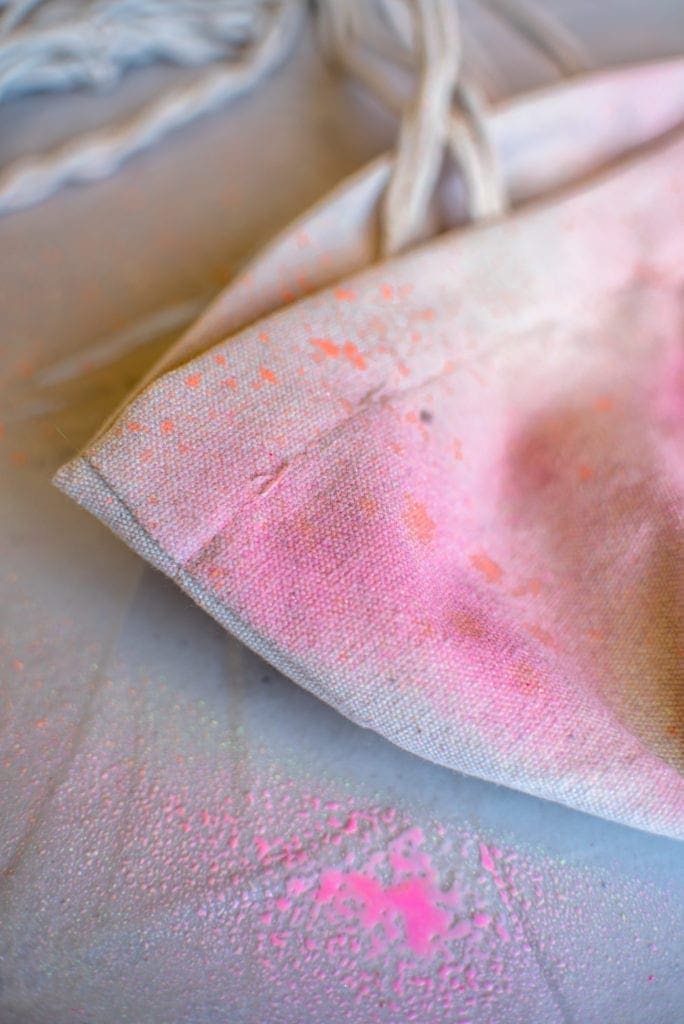
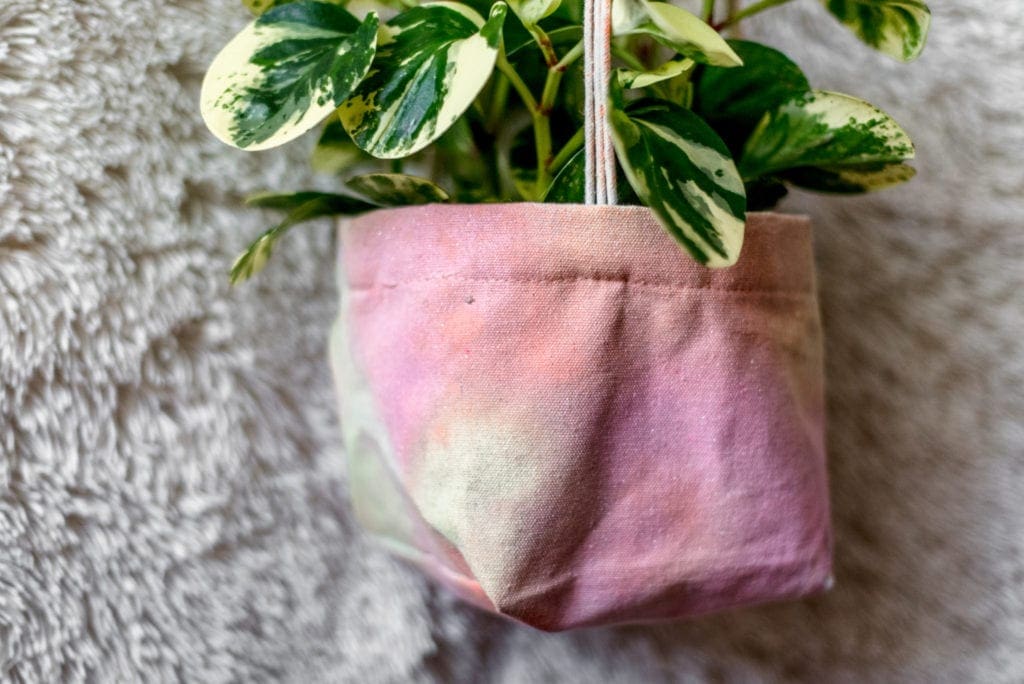
3. I used the same outside set up with the same plastic covering down. These glitter paints are so fun and super easy to use! All you have to do its spray them on, let dry and heat set with an iron! It’s hard to capture in the photos but they really are super glittery. I loved all three colors in this pack so I just sprayed this canvas in a random pattern. You can continue to layer colors to make it darker too. Let it dry completely and use a hot iron over it to set the paint. So easy right?!
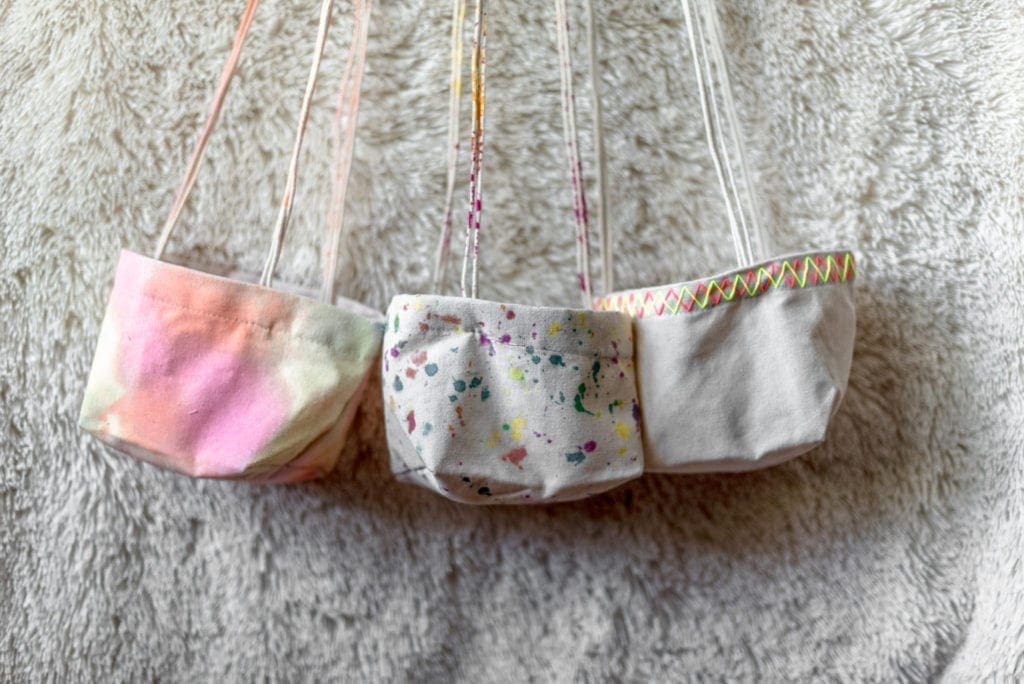
These are just a few examples to get you started, the options are literally endless! Enjoy. 🙂

