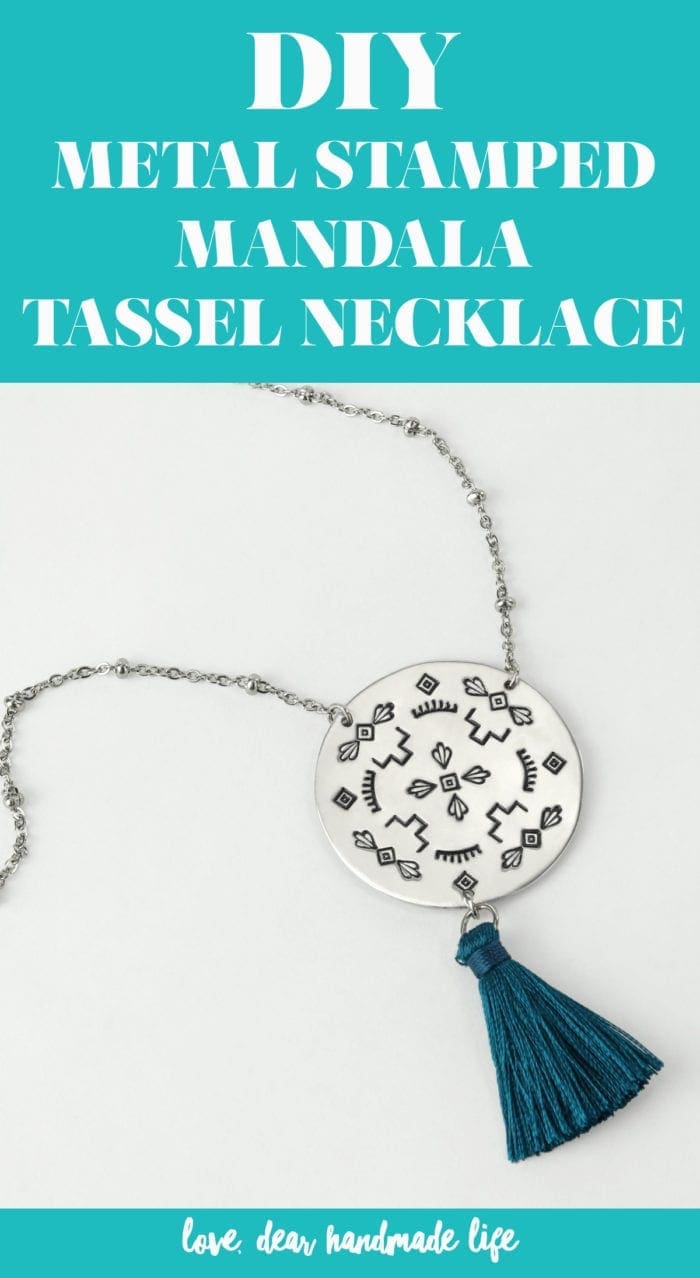
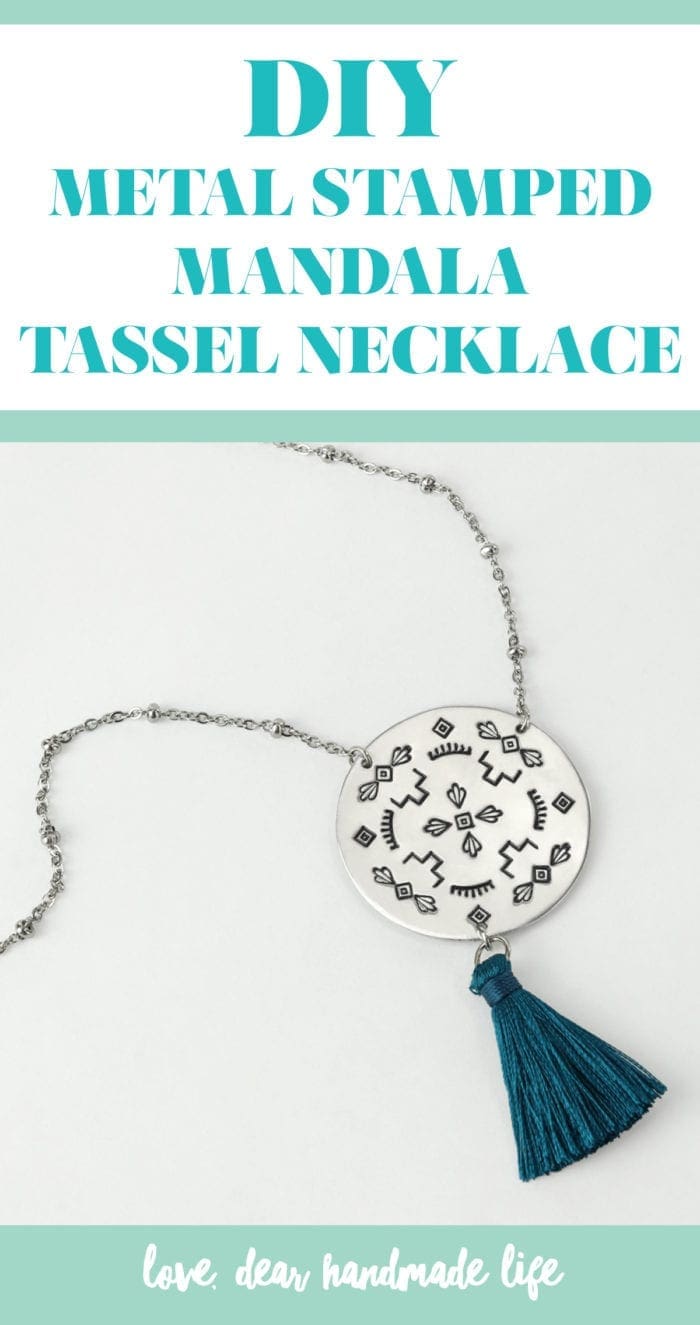
DIY Metal Stamped Mandala Tassel Necklace
Over the past few years I’ve realized that as a creative business owner, if I don’t take time out to take care of myself, not only do I suffer, but my business does too. I’m not alone in this struggle to find harmony with my work and personal life. Burnout, overwhelm and excessive busyness were hot topics the past few years at our Craftcation: Business & Makers Conference. So, at Craftcation last year we introduced some workshops and activities focused on self-care and mindfulness. We had workshops on avoiding burnout and mindful business practices, yoga and meditation on the beach, tarot reading mini-sessions during office hours and Wanderings (our self-guided hotel room artwalk spearheaded by Rosalie Gale) plus we encouraged attendees to make space in their schedule downtime.
Maybe it was just me, but walking through the Marriott hotel courtyard at Craftcation and seeing an attendee with her eyes closed and face up to sky meditating or overhearing an attendee share about their experience doing sunrise yoga on the beach, I felt like overall there was a greater sense of calm and connection. Self-care can feel overwhelming but you can start small. Maybe with a five minute morning stretch or committing to spending one minute focusing on gratitude. I’ve added both of these things to my morning routine at various points over the past few years and I was amazed at how just a few minutes of intentional mindfulness altered my state of mind throughout the day.
If stretching and gratitude meditations aren’t for you, you can bring a little mindfulness into your crafting with this DIY Metal Stamped Mandala Tassel Necklace Tutorial that our friends at ImpressArt created for us. ImpressArt was at Craftcation helping attendees learn (and fall in love with) the art of proper metal stamping. I was even able to sneak away from my duties for a few minutes and create a necklace stamped with my initial on it in their booth! There’s definitely an art and technique to metal stamping, so I encourage you to practice before you make your final piece.
And, if you start to get stressed trying to make it perfect, take a breath and look at the mandala which symbolizes the inner and outer world of the universe and is used as a focal point for meditation AND remember our motto when making is “progress, not perfection”!
-Nicole S.
WHAT TO GET:
- ImpressArt Ergo-Angle TM Metal Stamping Hammer
- ImpressArt Steel Block
- ImpressArt Stamp Enamel Marker TM
- 2 ImpressArt Chain Nose Pliers
- ImpressArt Flush Cutters
- ImpressArt Hole Punch Pliers
- ImpressArt Sticker Guides TM
- ImpressArt Southwestern Mandala Stamp Pack 6, 6, 4, 3 mm
- 1 ImpressArt Alkemé TM Circle Blank – 1 ½ inch
- 3 ImpressArt 5mm Jump Ring
- 30 inch Premade Chain necklace with Clasp
- Premade Tassel on Jump Ring
- ImpressArt Flush Cutters
- Polishing Cloth, Paper Towel, or Clean Rag
WHAT TO DO:
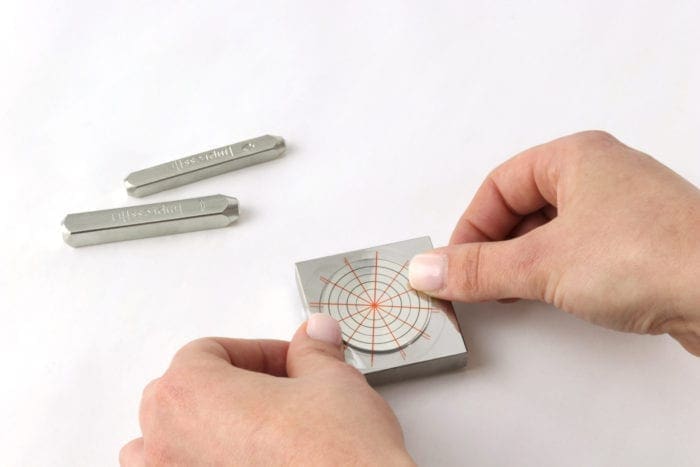
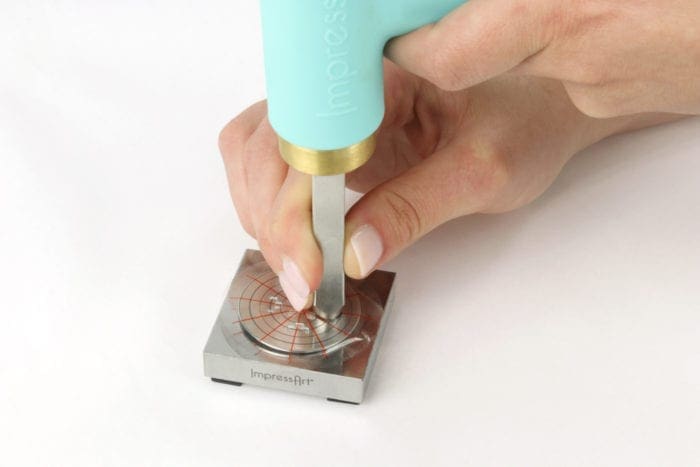
1. Center the circle pattern grid stamp guide over the blank to secure it to stamping block.
IMPORTANT: Make sure stamping block is on a hard, sturdy surface.
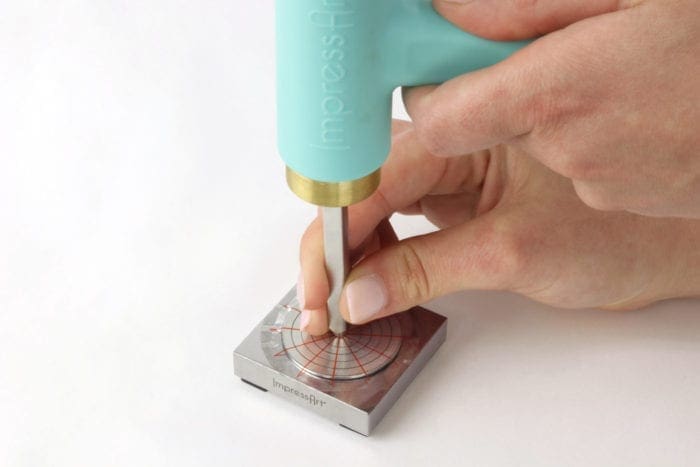
2. Place DIAMOND design stamp in the center of the grid. Hold stamp flush and firmly at a 90-degree angle on the stamping blank. Strike stamp once with medium force.
*TIP: Always start mandala patterns in the center and work outwards.
*TIP: If the stamp has an ImpressArt logo, make sure it is facing you so the letter is stamped in the correct direction.
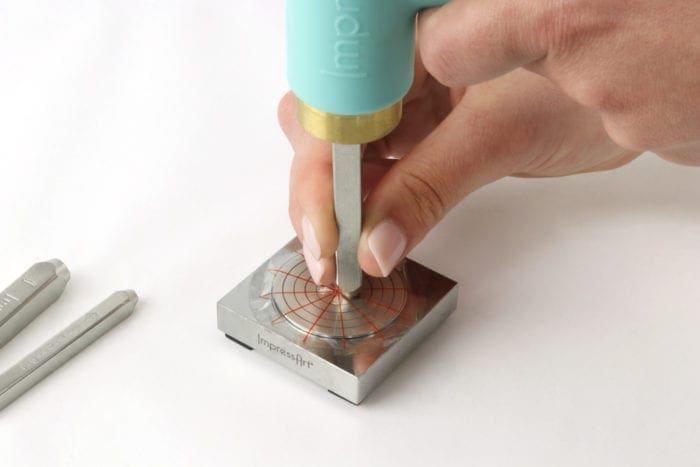
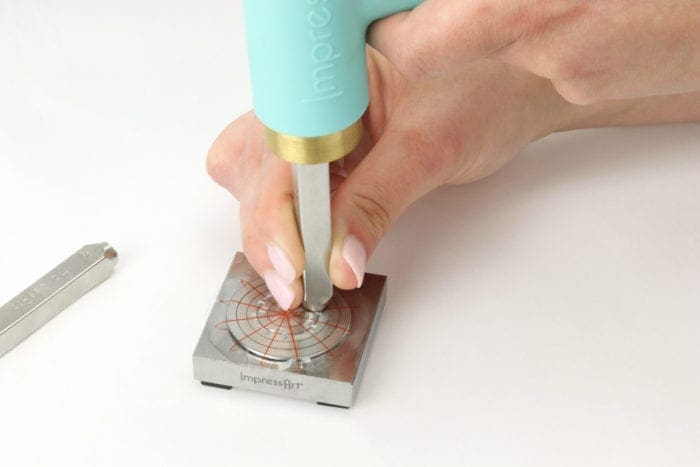
3. Stamp the FLOURISH design on each side of the diamond impression, between the center and first small black circle grid mark.
*TIP: As you work, turn the steel block to complete the curricular pattern. This will ensure the stamp is facing in the correct direction.
4. Stamp the AZTEC TEMPLE design in the middle of the first and second black circle grid mark, between the flourish impressions.
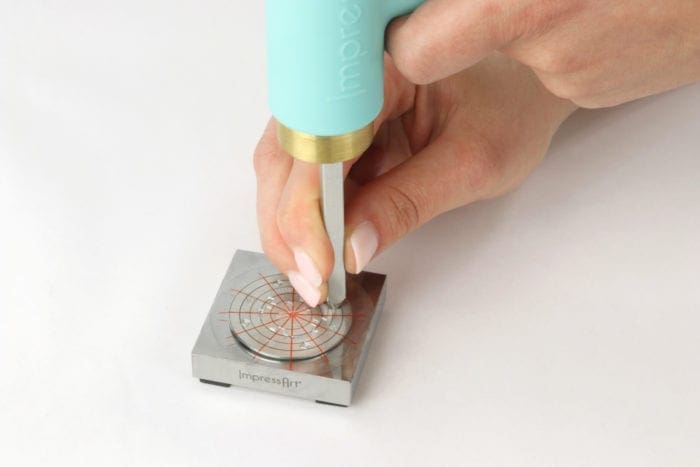
5. Using the second black circle grid mark as your guide, stamp the AZTEC SUN design directly between the Aztec temple impressions.
6. Stamp the DIAMOND design between the third and fourth black circle grid marks, above the Aztec sun and Aztec temple impressions.
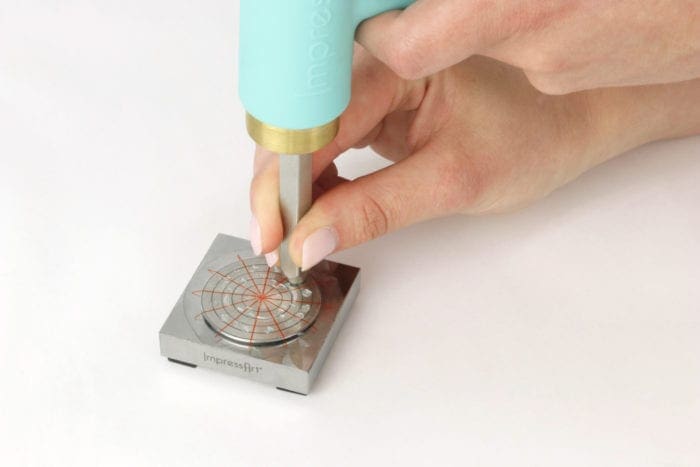
7. Stamp the FLOURISH design on both sides of the diamond impressions that are directly above an Aztec temple impression.
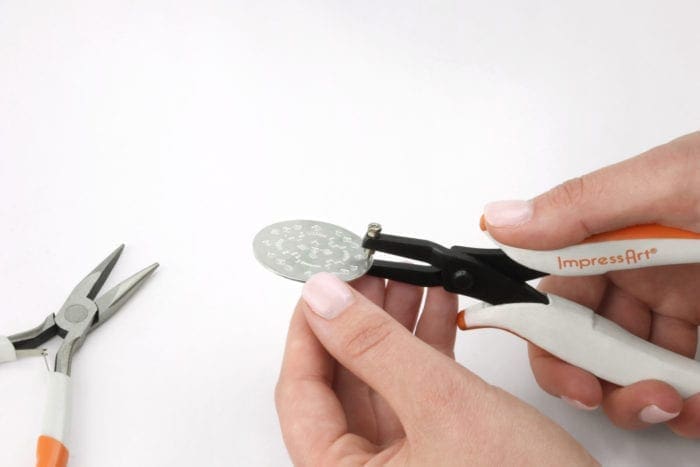
8. Use Hole Punch Pliers to pierce three holes in the stamping blank – Top Left, Top Right, and Bottom Center.
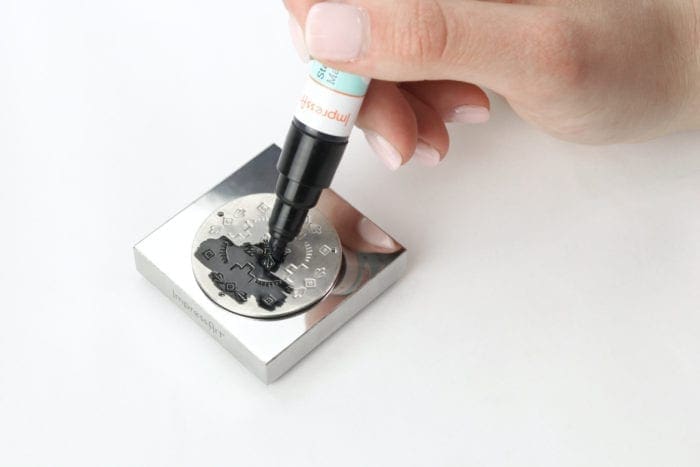
9. Highlight the impressions with Stamp Enamel Marker. Wait 1-3 minutes, then wipe away excess.
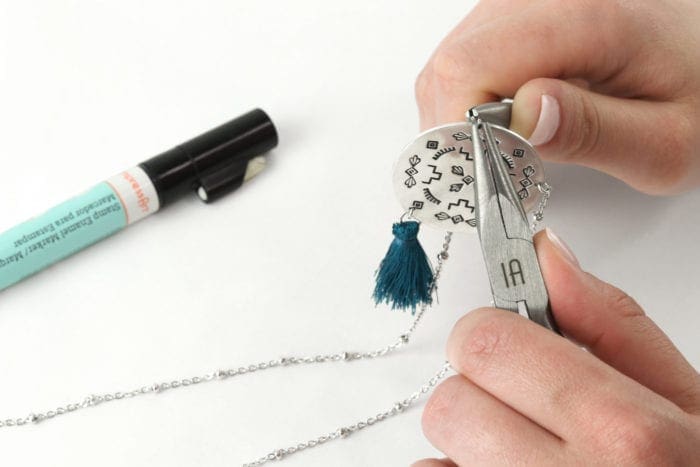
10. Use two Chain Nose Pliers, one in each hand, to twist and separate the jump ring. Slide the bottom of the blank and the tassel onto the jump ring. Twist the jump ring back with tension to close.
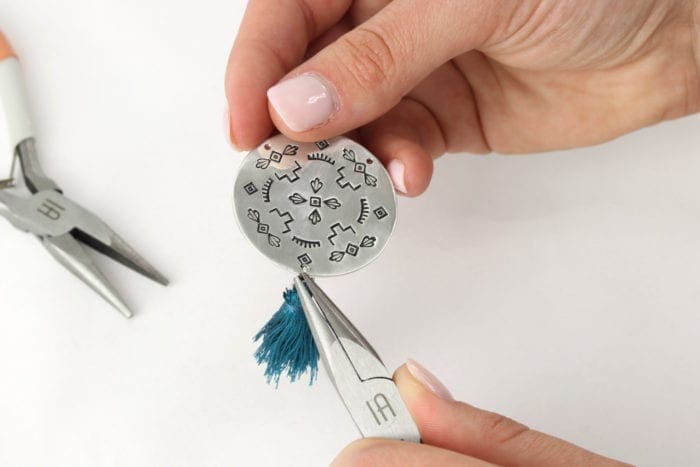 11. Use Flush Cutters to cut the 30 inch premade chain in half. Attach the chain to the top left and top right of the blank using Chain Nose Pliers and jump rings.

