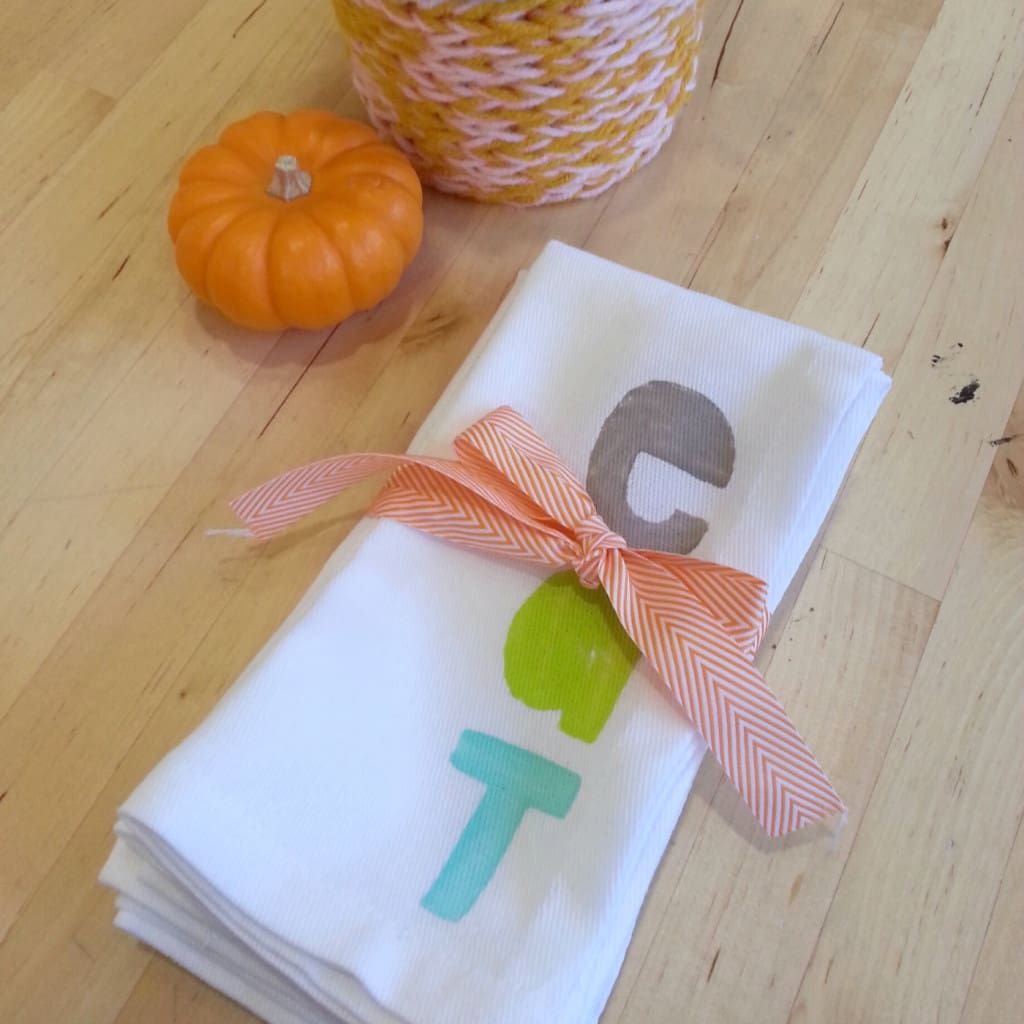
diy potato stamp printed tea towels
My husband and I just celebrated our one-year anniversary at the end of October. And while we reminisced fondly about our favorite moments from our wedding day, I must admit that I was secretly just blissed-out grateful to have the whole wedding planning ordeal behind us. Last year (mostly in the two months leading up to the wedding) I took on a crazy number of DIY projects. I even squeezed in a last-minute project the night before our nuptials. I mean, everyone needs an over-sized blush-pink heart pillow for their wedding photos, right? My absolute favorite wedding project (and arguably the craziest) was the handmade napkins my mom and I whipped up as favors for our guests. They were made from quilting-weight cotton and we included a large variety of modern patterns and colors. Yes, they took about 100 hours to make but I still smile when I remember how cheerful they made the tables look. That being said, I’m not in any hurry to sew another set of napkins again. Probably ever. But I still think they make great gifts!
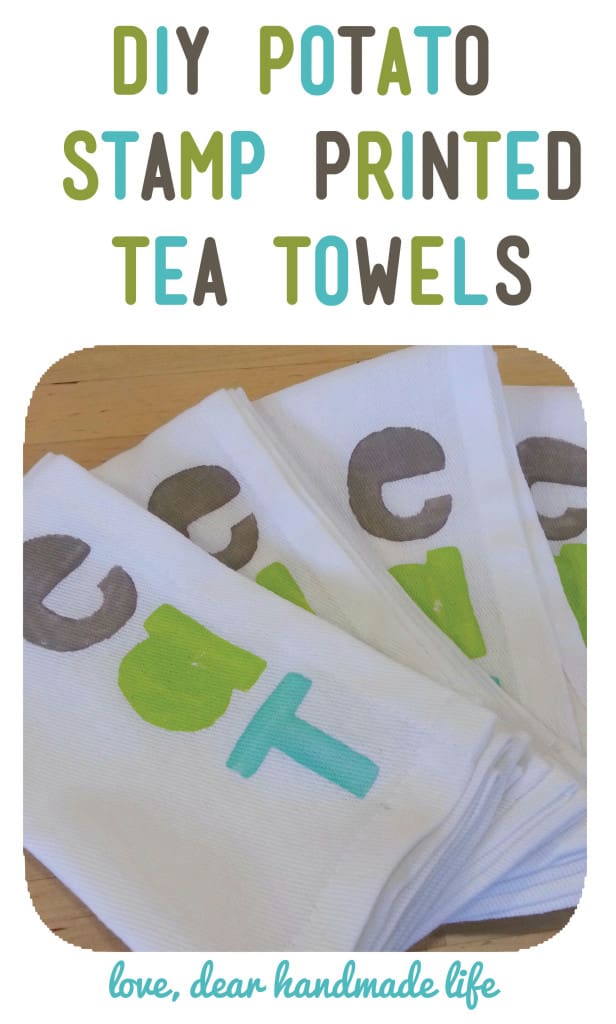
I was recently perusing the aisles of Target and happened across a set of simple, white cotton cloth napkins. Perfect for customizing and gifting! All you need is a few items (most of which you probably already have) and about an hour of your time and you’ve got DIY potato stamp printed tea towels (a super thoughtful hostess gift for all of your holiday dinners)!
what to get:
-Cotton cloth napkins
-Potato
-Acrylic paint
-Fabric medium
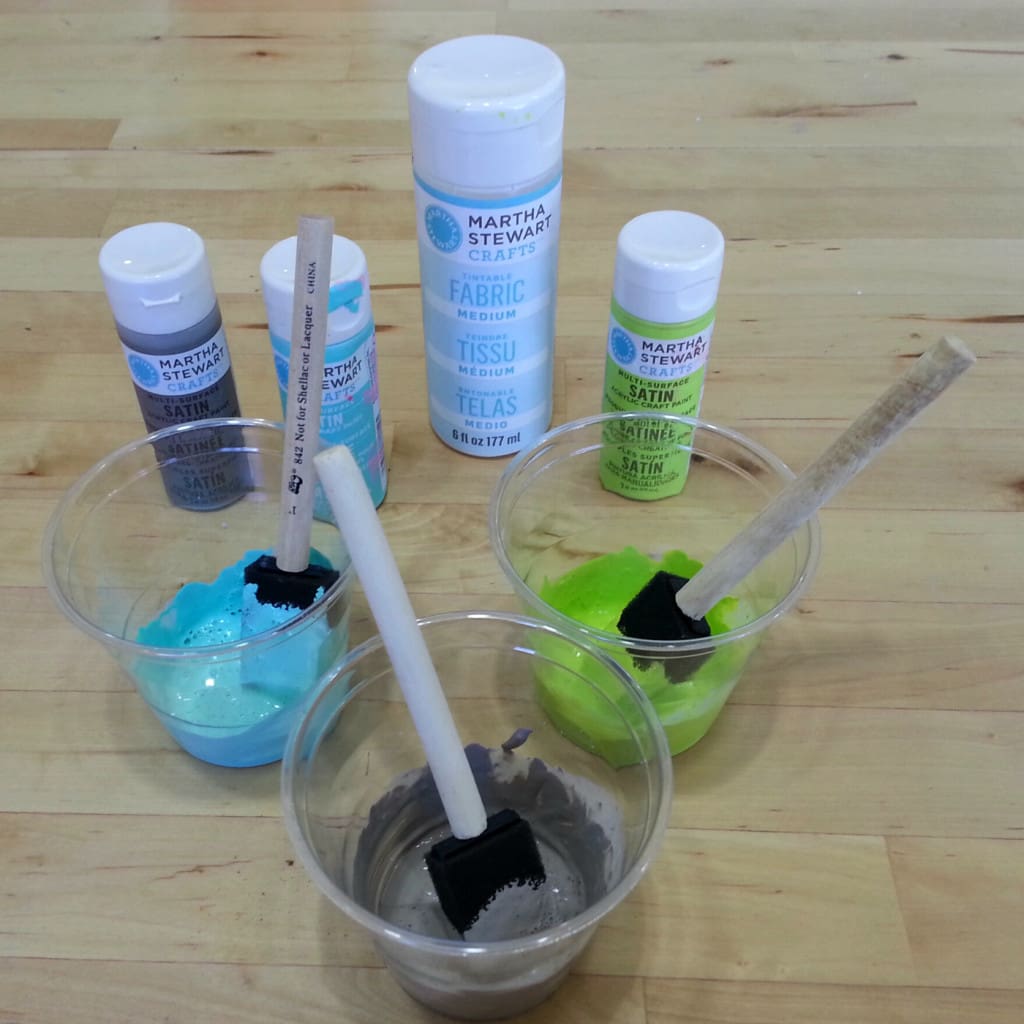
-Plastic cups
-Sharp knife + cutting board
-Sharpie
-Craft knife
-Foam brush
-Paper towels
-Iron + ironing board
what to do:
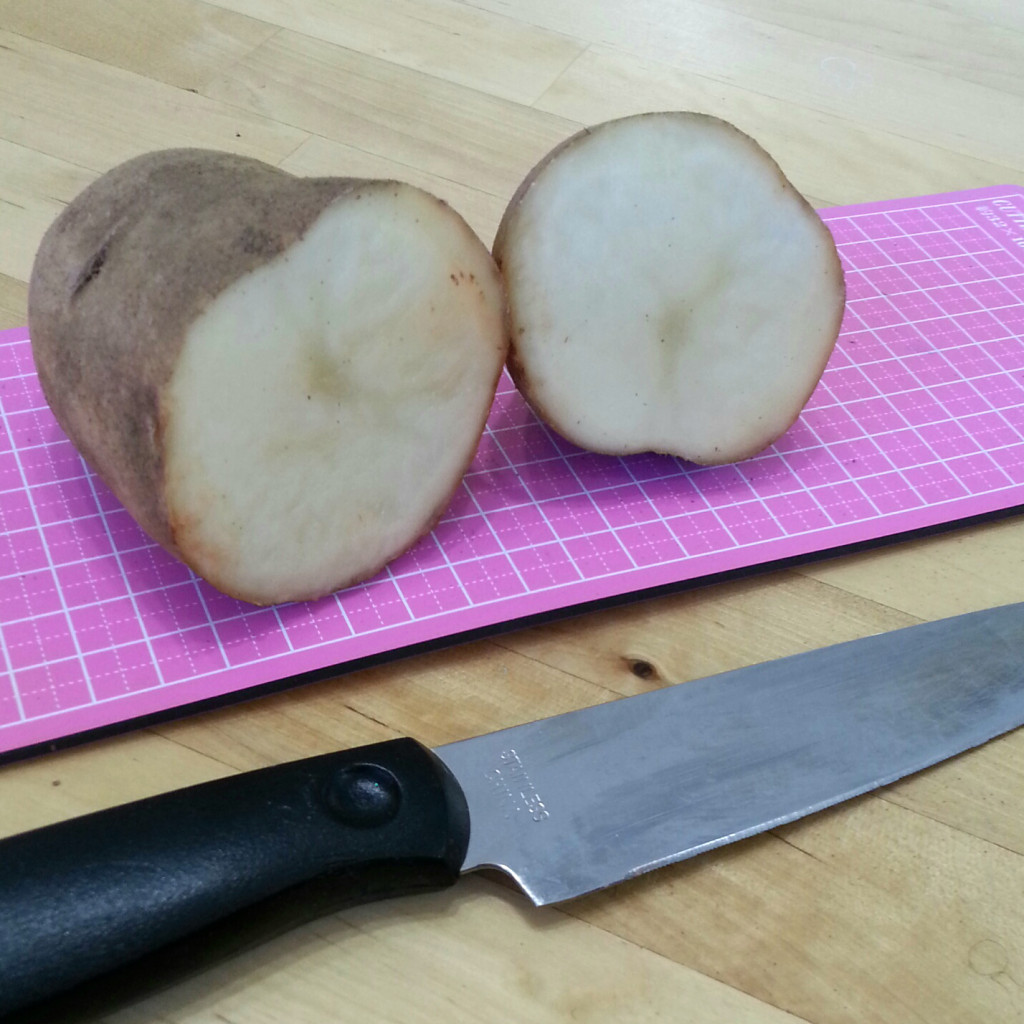
1. Cut your potato in half with a sharp kitchen knife. Blot the freshly sliced surface of the potato dry with a paper towel.
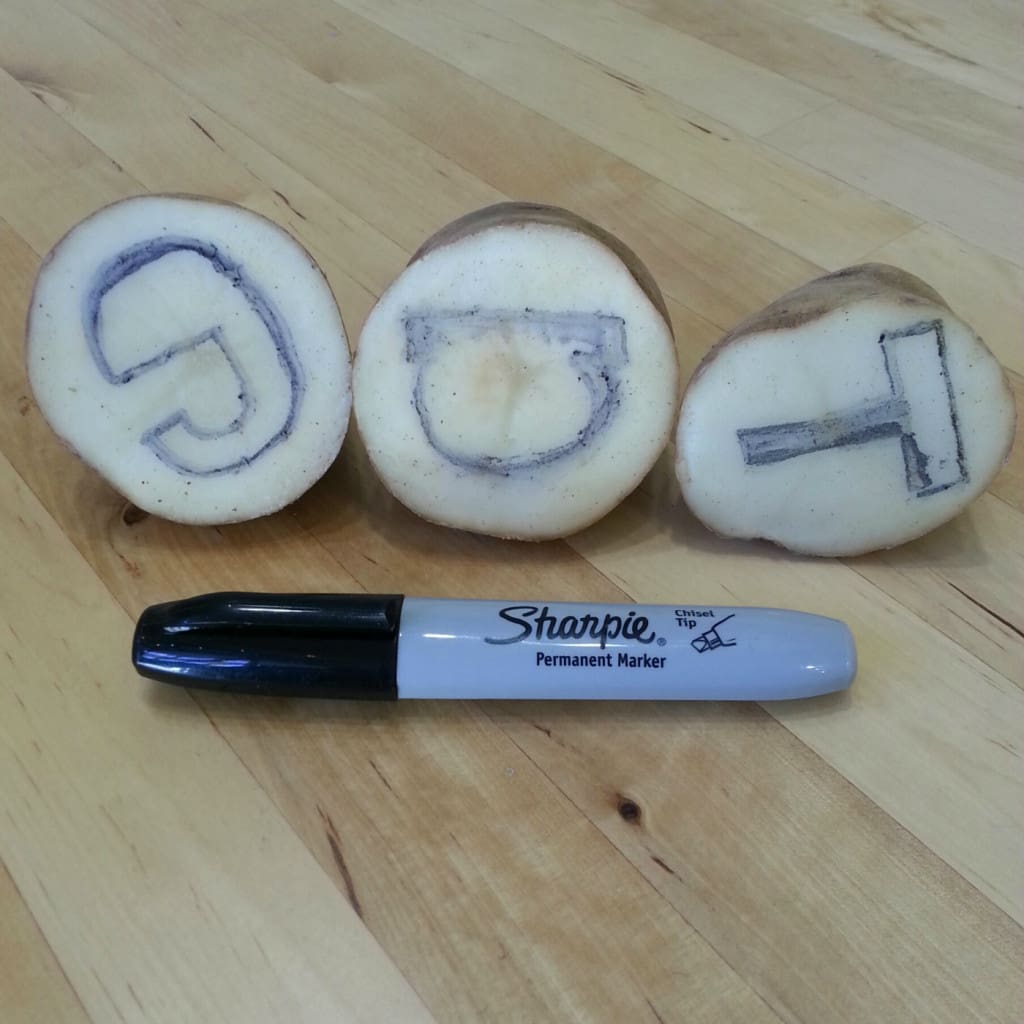
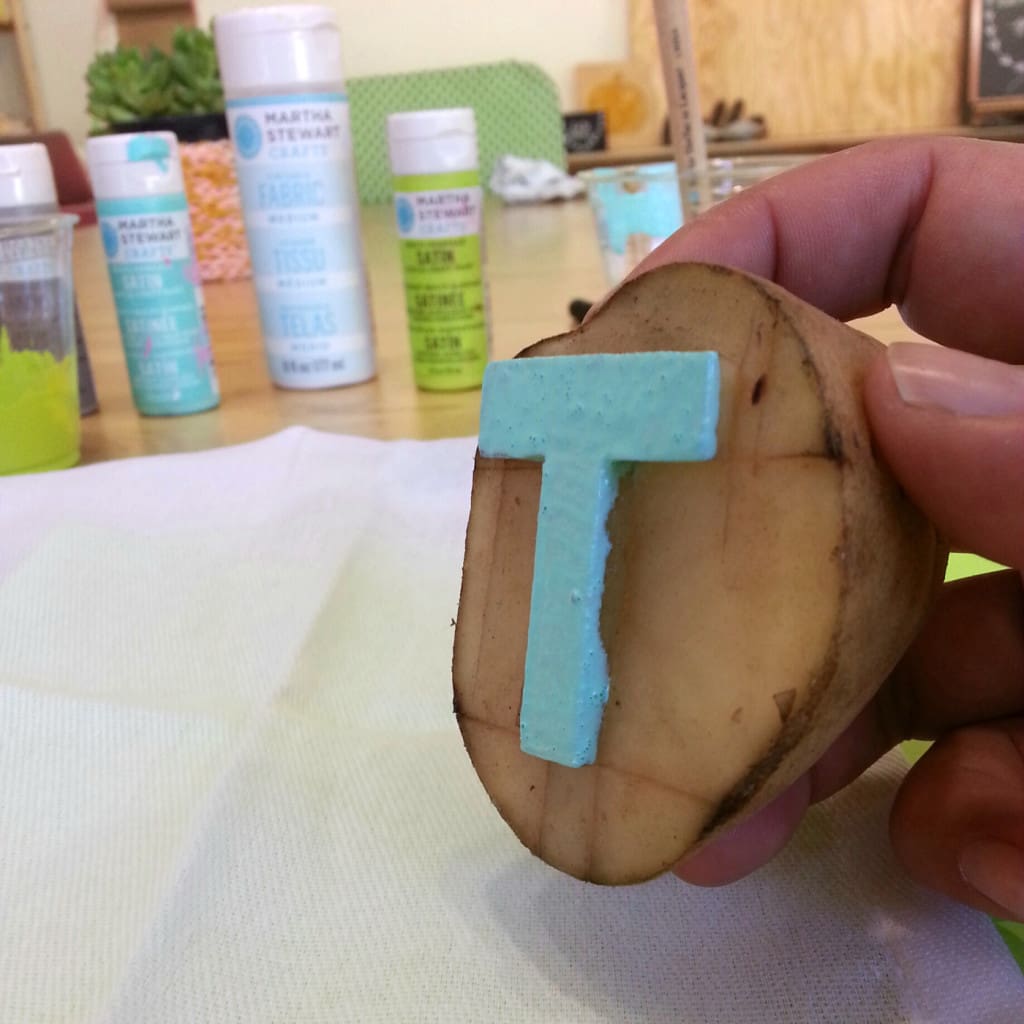
2. Draw your design directly on the cut end of the potato with a sharpie. Take care not to press down too hard on the potato with your marker as it might compromise the quality of the print surface. Also, if you’re using letters like I did be sure to draw them in reverse so they’ll show up the right way when you stamp them.
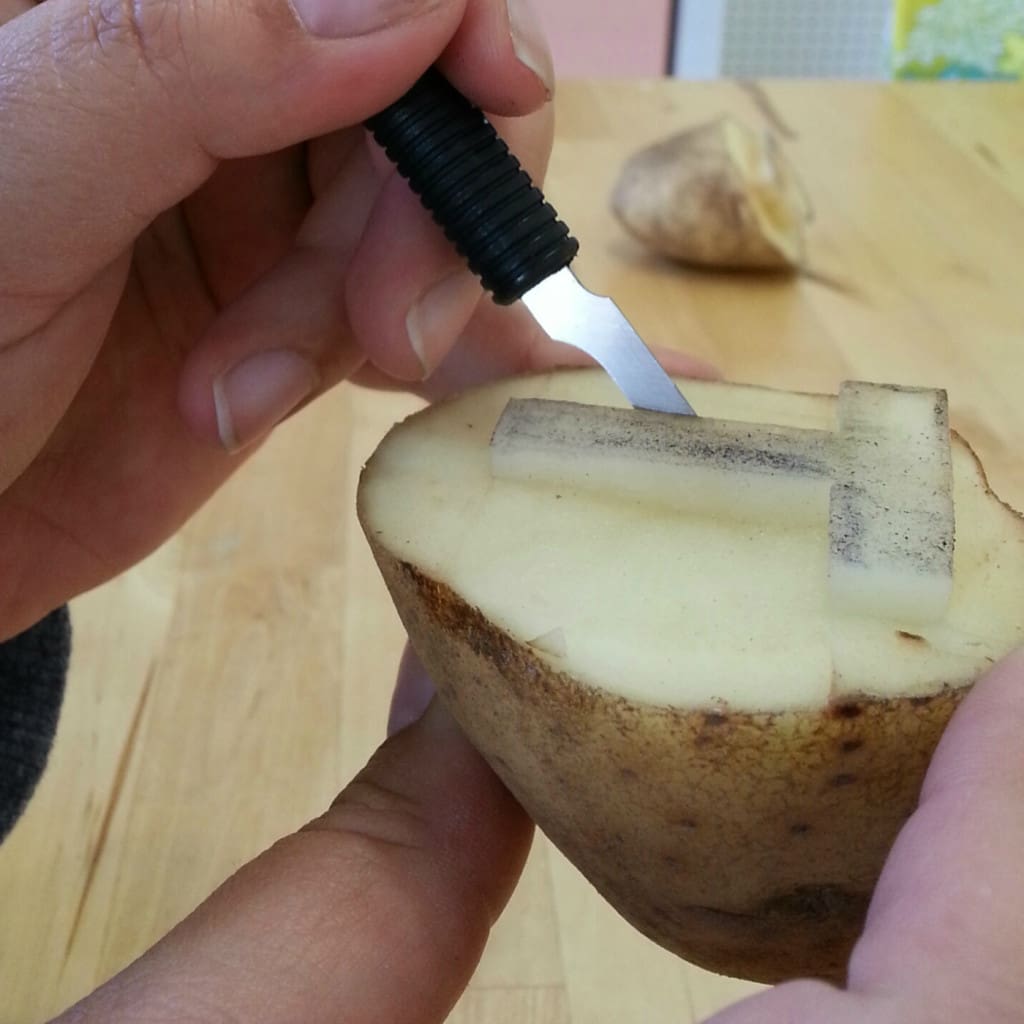
3. Use your craft knife to carve away the negative space of your design. This will be the area of the potato that falls outside of your drawn design.
4. Mix 2 parts acrylic paint with 1 part fabric medium in a plastic cup. Repeat for each color you will be using in your design. It’s a good idea to mix less than you think you’ll use to avoid waste. It’s always super easy to go back and mix up some more paint and fabric medium as needed!
5. Use the foam brush to apply an event coat of paint on to your design.
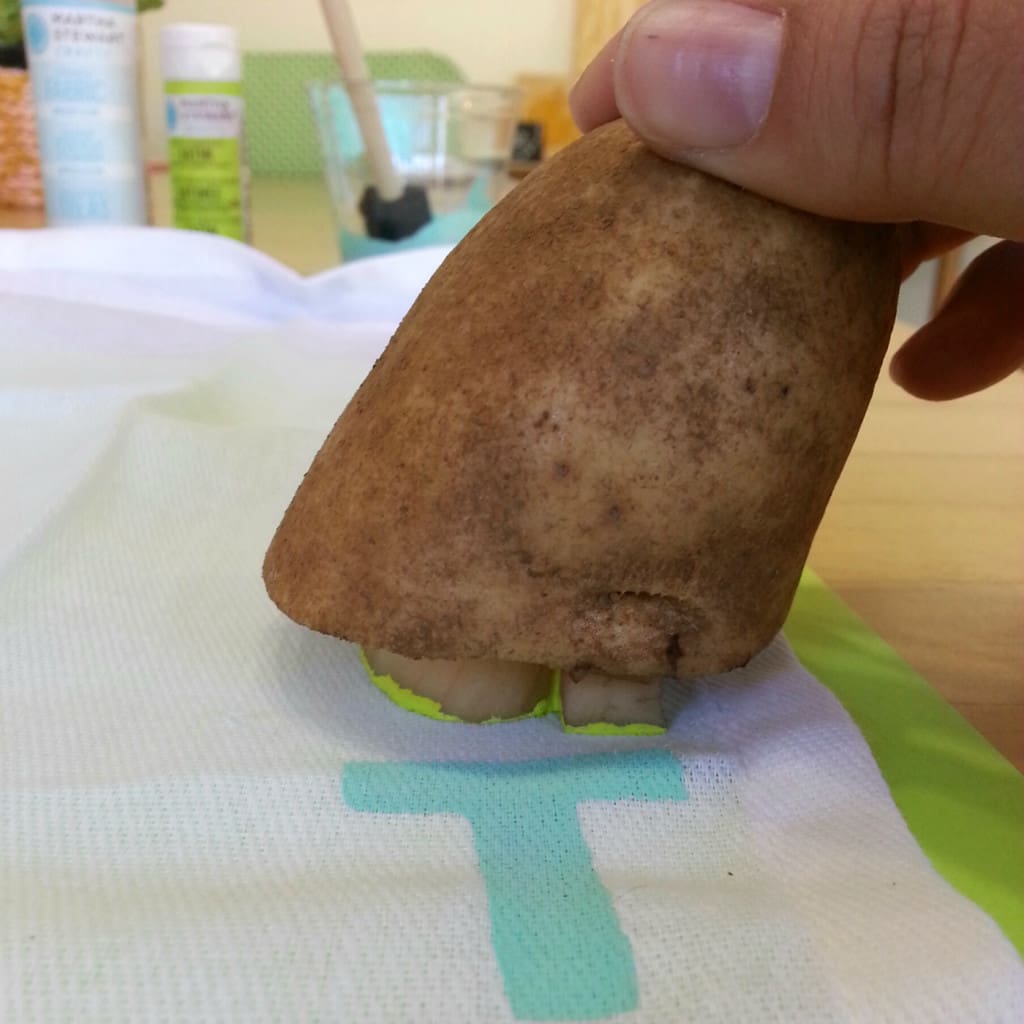
6. After you decide where you’d like your design to be, press your potato firmly down on your napkin. Apply even pressure and be sure not to move or wiggle the potato. Repeat this process as needed.
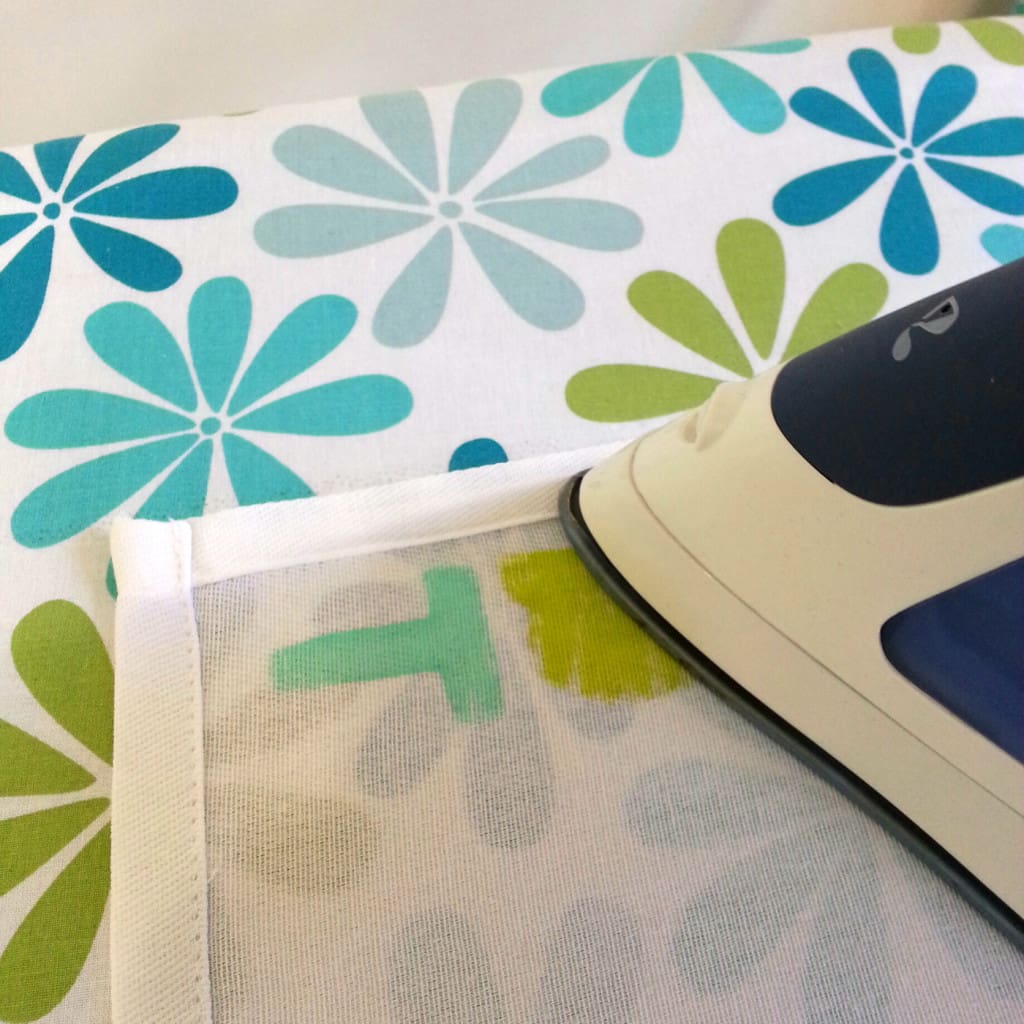
7. After your paint is dry to the touch, heat set your design with a hot iron on the cotton setting, without any steam. I like to iron on the wrong side of the fabric, just in case!
8. Fold your finished napkins and bundle with some pretty ribbon for a thoughtful gift!
If you’d like to make this project, but don’t want to gather all of the supplies needed, check out the Handmade Gifts for the Holidays series of workshops at The Makery! In addition to printed napkins, we’ll also be making mason jar soy candles, clay ornaments, needle felted terrariums and much more!
-lisa rios
About Lisa:
“If you had asked my 12-year-old self what I wanted to be when I grow up, I probably would have had a perfectly sensible answer. Like a circus trapeze artist or an outer space explorer. Never in my wildest dreams could I have imagined that I would craft for a living. But fast-forward 20 years and I’m the owner of The Makery, a walk-in craft studio located in Anaheim. In addition to teaching and organizing local creative workshops, planning craft parties and designing handmade craft kits, I also design for Whimsy and Ink, the handmade biz I share with my rad hubby. My work has been featured in Real Simple, Brides Magazine, Bust, The Huffington Post, Orange Coast Magazine, Sunset Magazine, in Etsy’s Featured Sellers series, and in my mom’s emails to Grandma.”



what a cute idea! I will definitely have to try this.
rachel,
awesome! you totally should try it. best part is the supplies are super cheap 🙂
nicole