How to Make a Yarn Chandelier
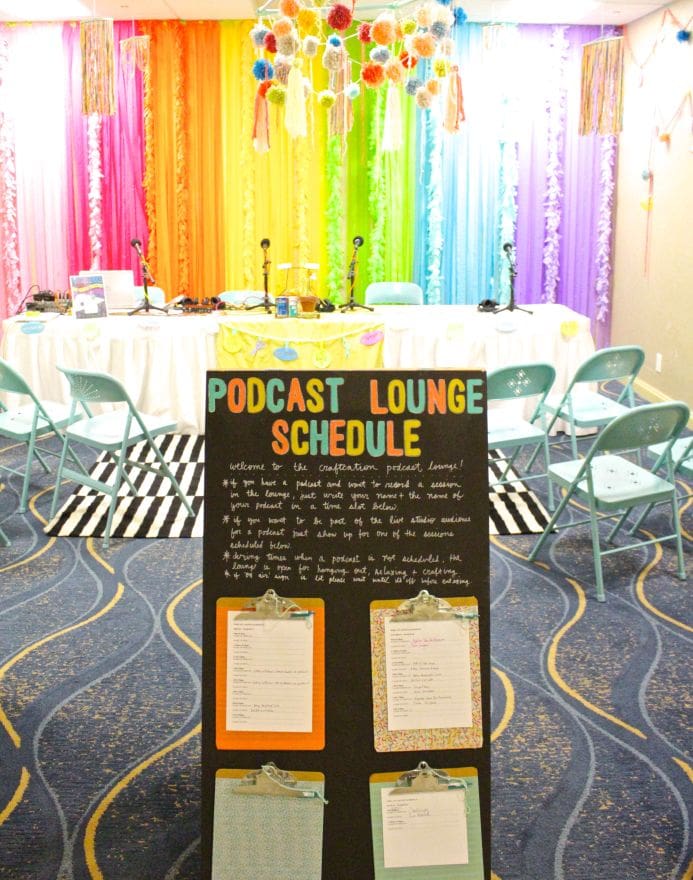
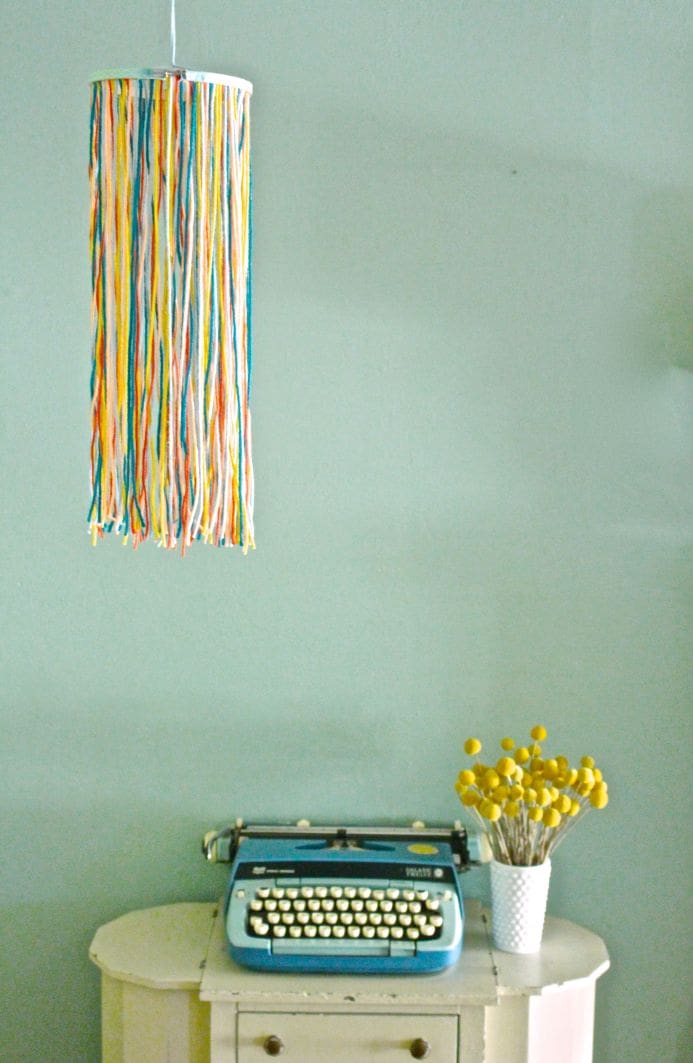
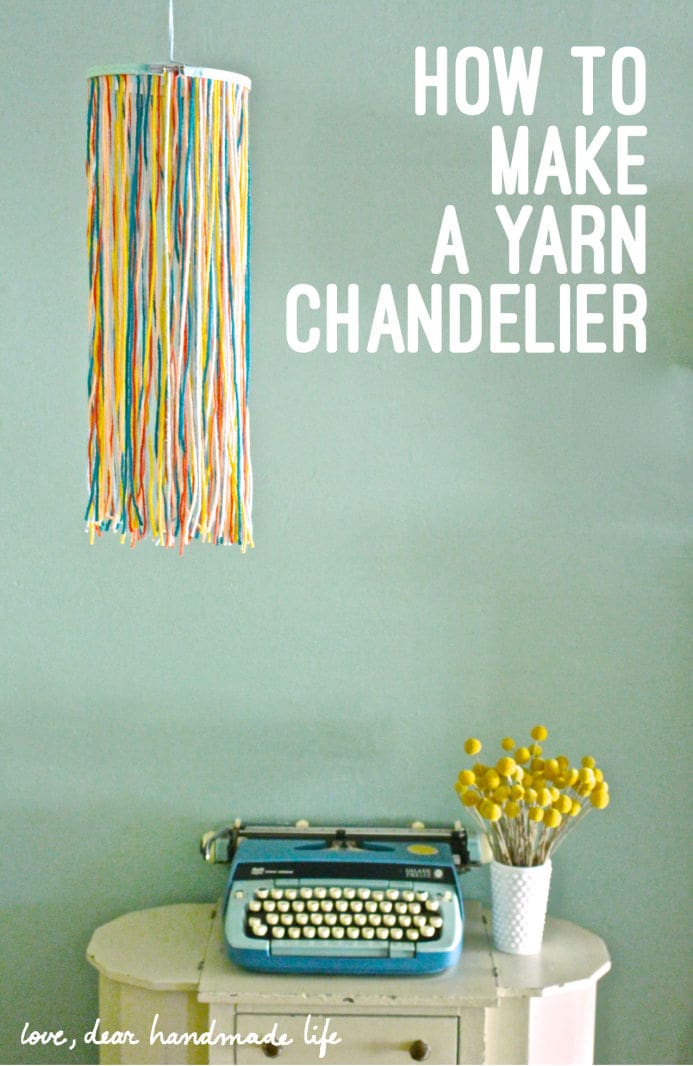 Every year at Craftcation our décor team headed up by my partner Delilah and Lisa Rios of The Makery conceptualizes, designs and creates all the décor for the conference. I’m always blown away by the clever and budget-friendly ideas they come up with. This year Lisa transformed a boring conference room into our podcast lounge (photo below) with a rainbow streamer backdrop wall, garlands created from yarn and paper cut-outs she made with some custom dies from our friends at Sizzix and yarn chandeliers. Lisa’s gorgeous chandeliers inspired me to create my own version which is much more simple. These yarn chandeliers are super inexpensive and easy to make and are perfect for adding color and texture to party or event décor or your house.
-Nicole S.
 What to get:
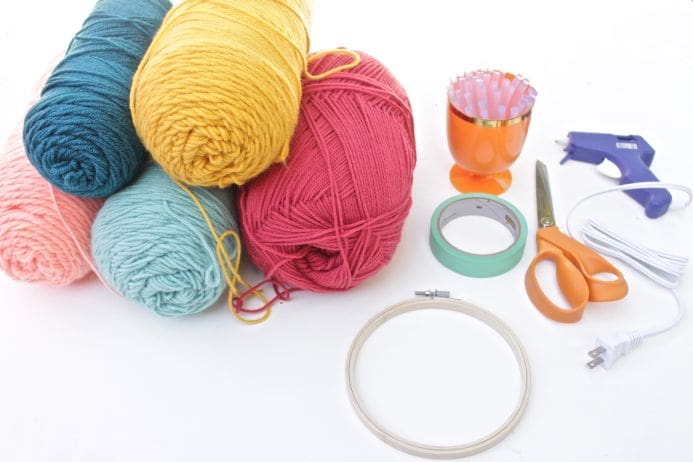 Yarn (This multi-pack of brights is awesome)
Embroidery hoop (You can use any size you’d like but I like this one)
Hot glue gun + glue sticks
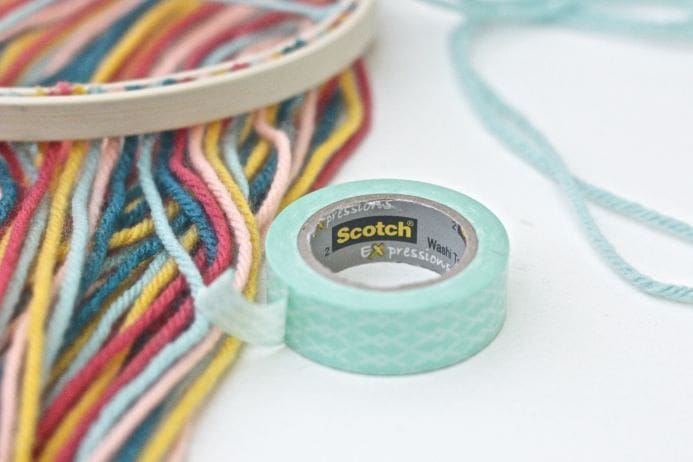
Washi tape
Scissors (We love these ones)
What to do:
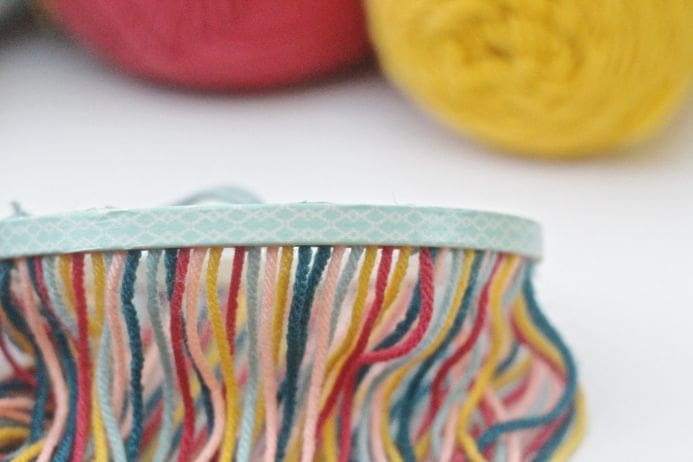
1. Grab the end of one of each of the yarn colors.
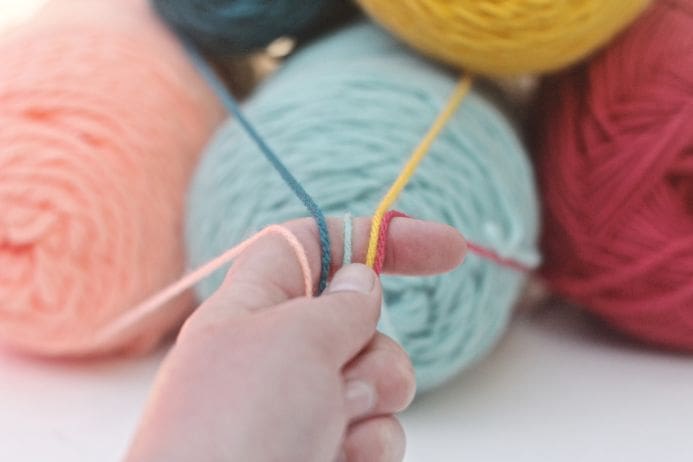
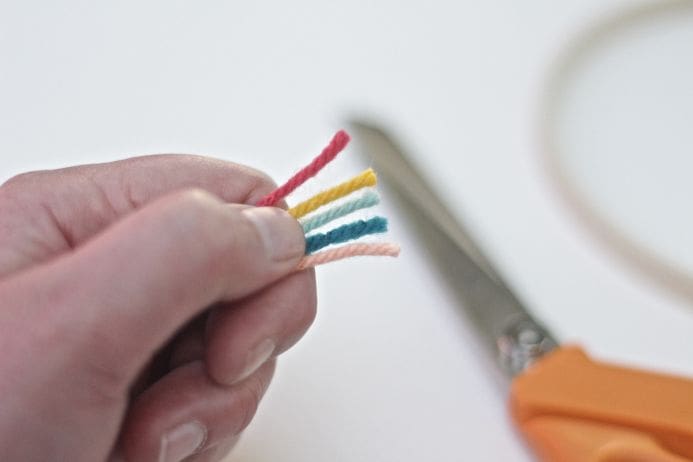 2. Add a strip of hot glue the same width of the strips of yarn lined up next to each other on the embroidery hoop.
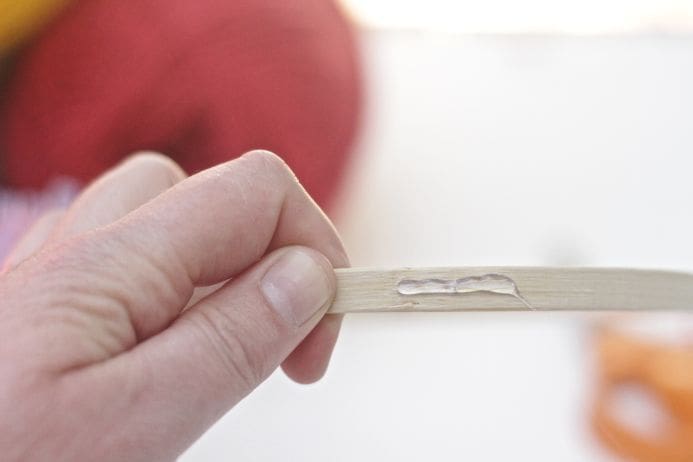 3. Adhere the yarn to the glue.
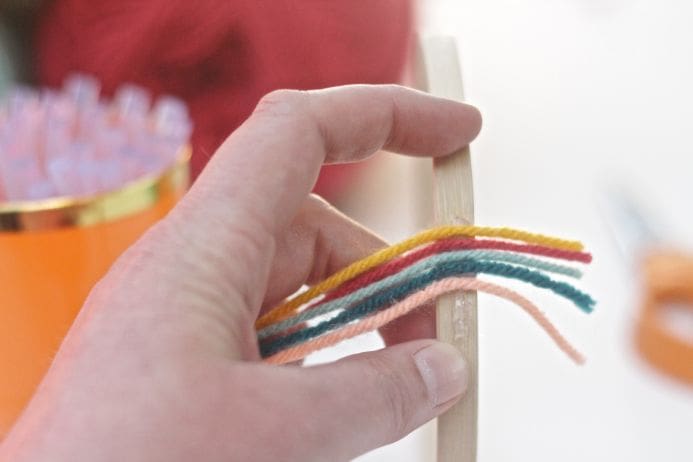 4. Trim the end of the yarn to desired length.
5. Repeat steps 1-4 until you’ve gone around the whole embroidery hoop completely.
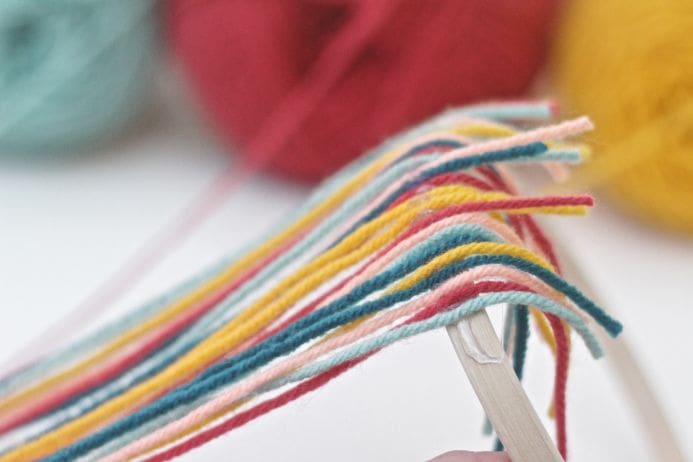
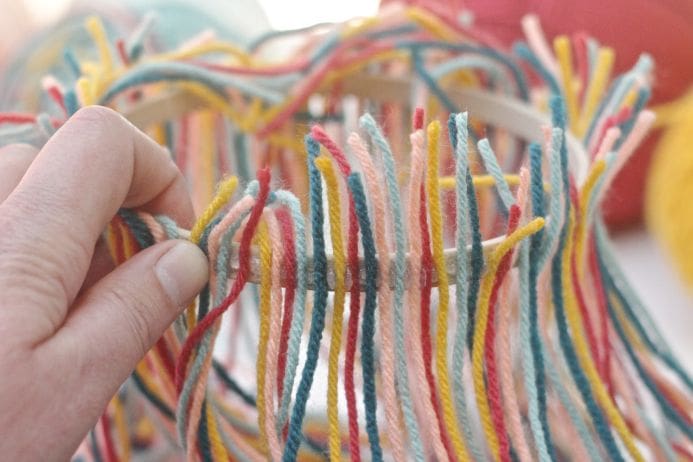 6. Trim the short end of the yarn pieces around the top of the embroidery hoop.
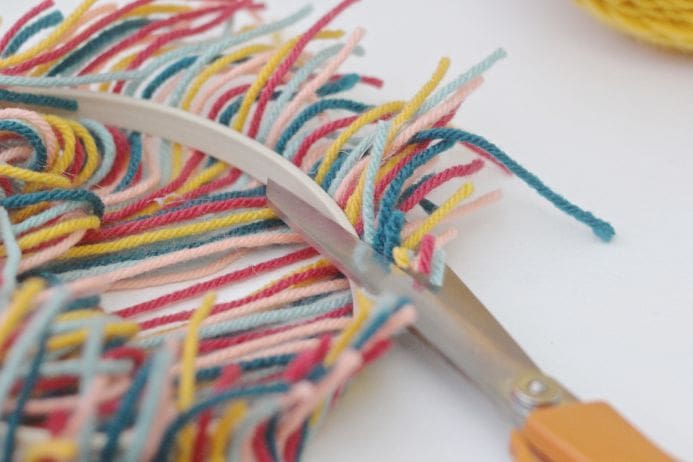
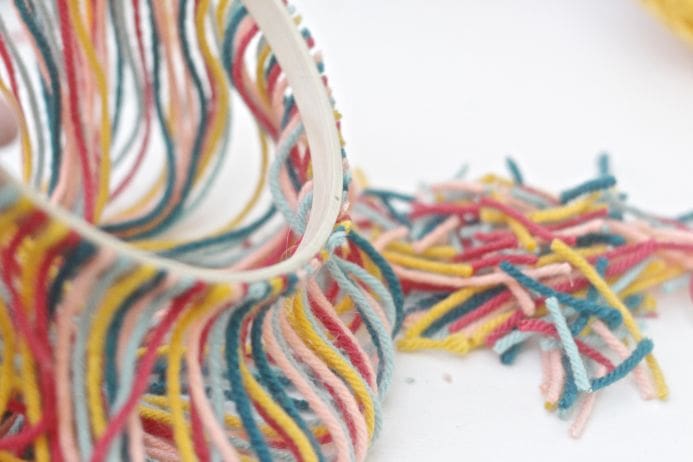 7. Tie two pieces of yarn across the embroidery hoop in a cross pattern.
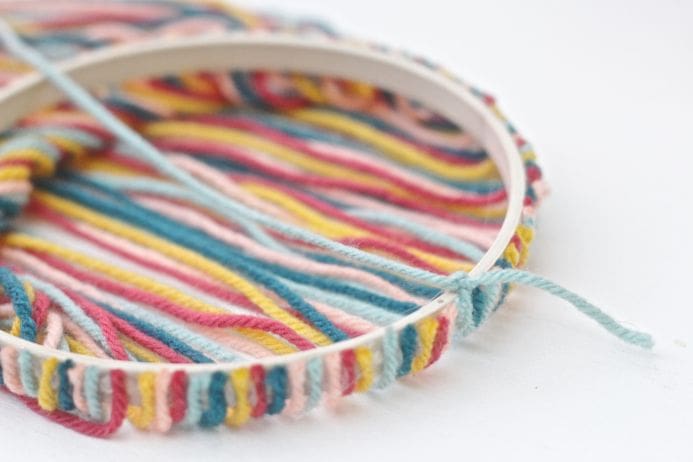
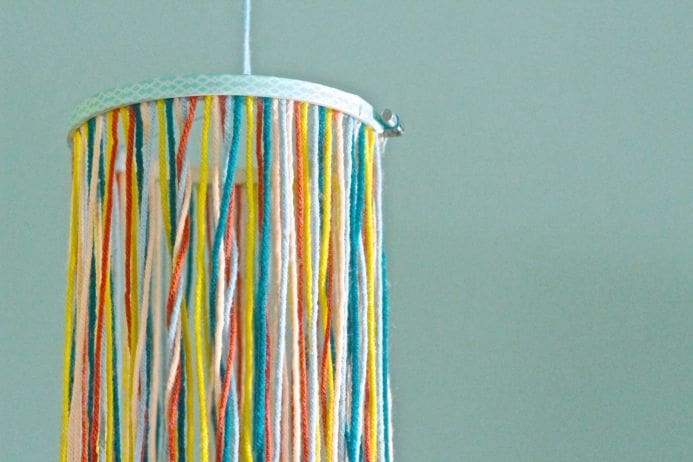
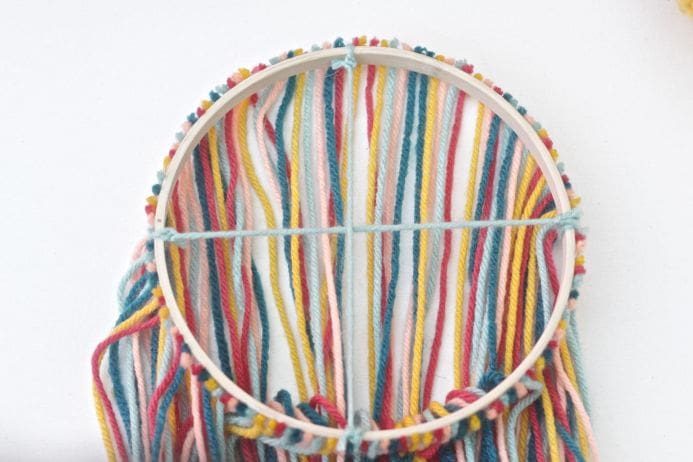 8. Tie a piece of yarn in the center of the cross. This will be what you use to hang the chandelier.
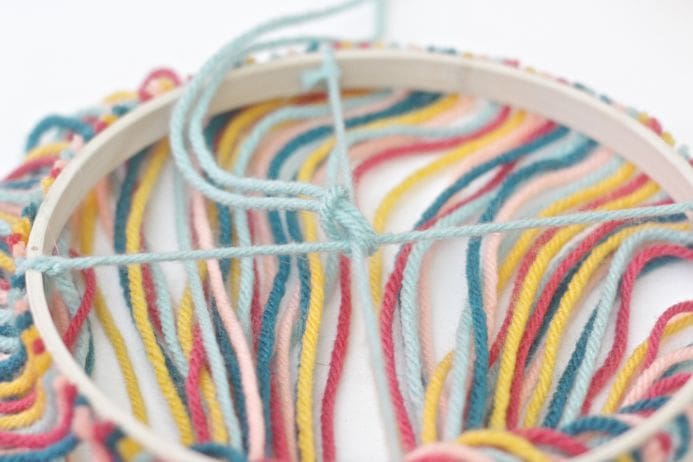 9. Put the outside piece of the embroidery hoop on over the yarn covered inside piece.
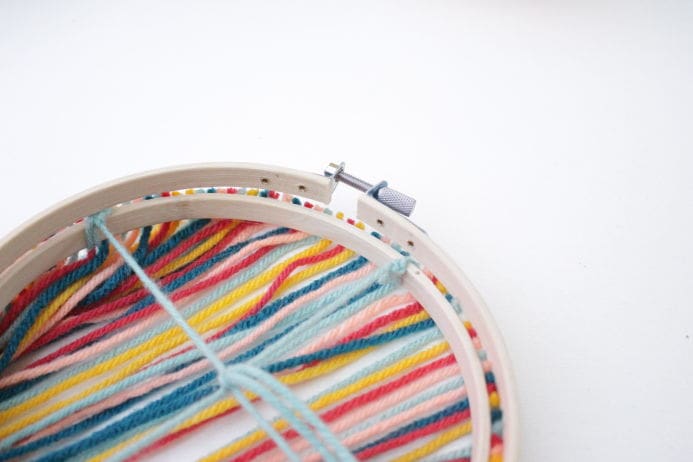
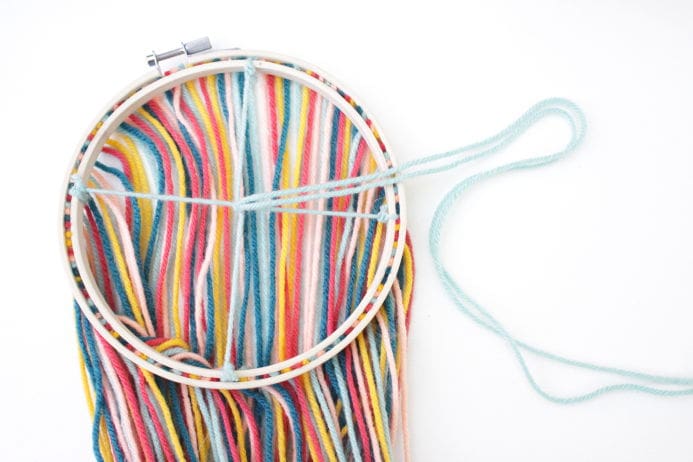 10. Add a strip of washi tape across the outside of the embroidery hoop and trim if needed.


Do you know where to buy tassels like the one’s you see on necklaces??
I”m not sure. I’ve never used small tassels like that. I would try calling a yarn store and asking them. Sorry I couldn’t be more helpful.
Try michaels the craft store Ive seen them there before.