Multi-Surface Wood Burning with Walnut Hollow
![](https://b126121.smushcdn.com/126121/wp-content/uploads/2022/08/08.24.22_wood-burning.png?lossy=2&strip=1&webp=1)
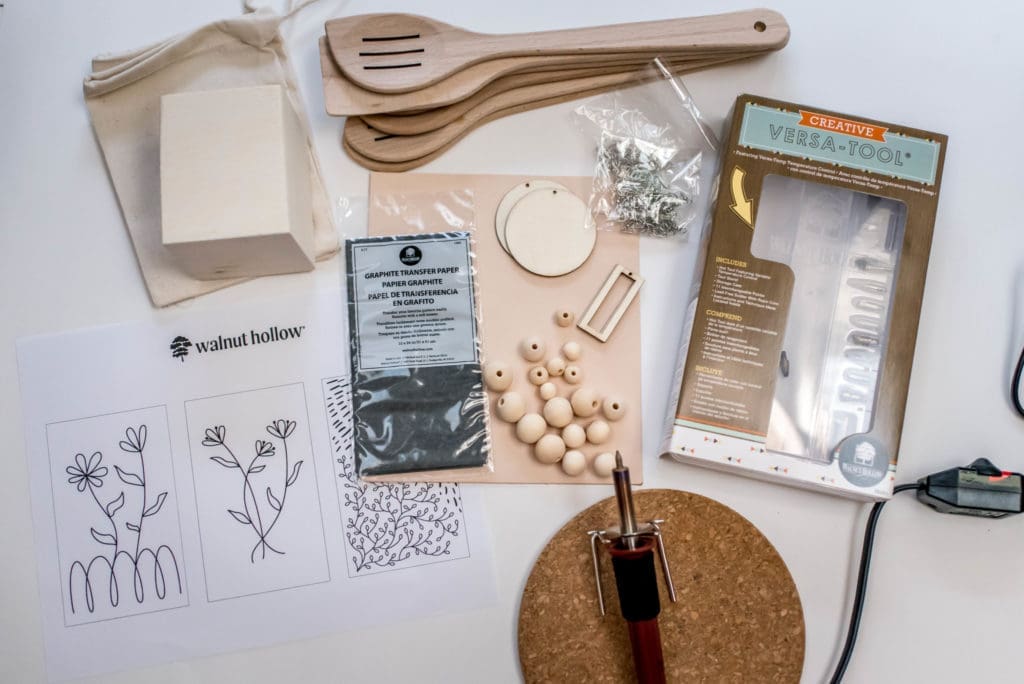
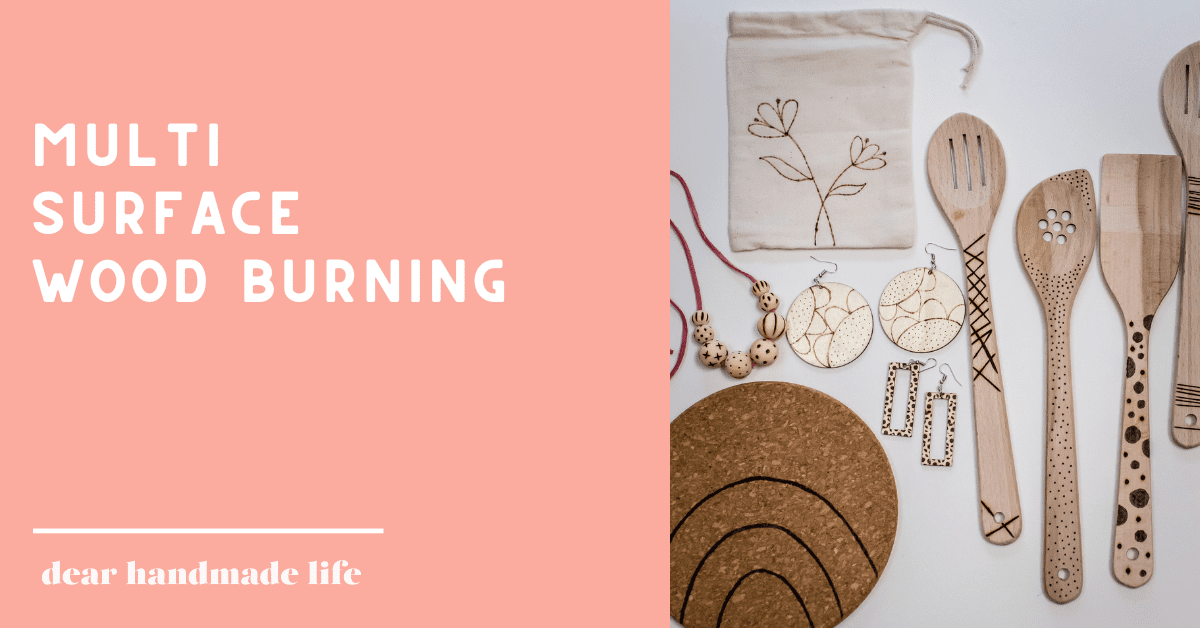
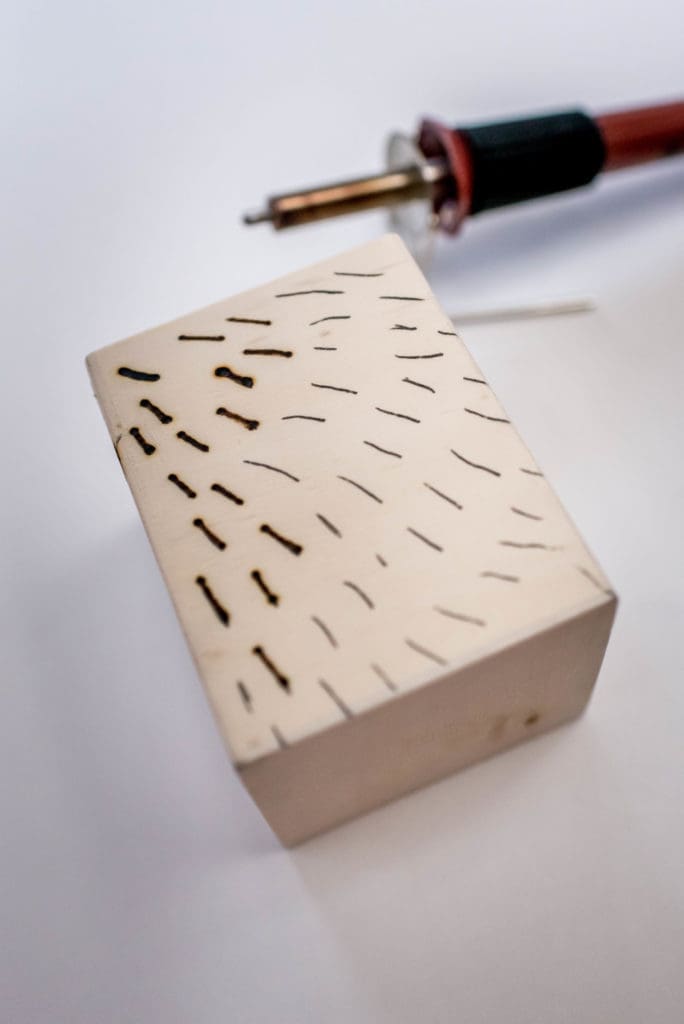
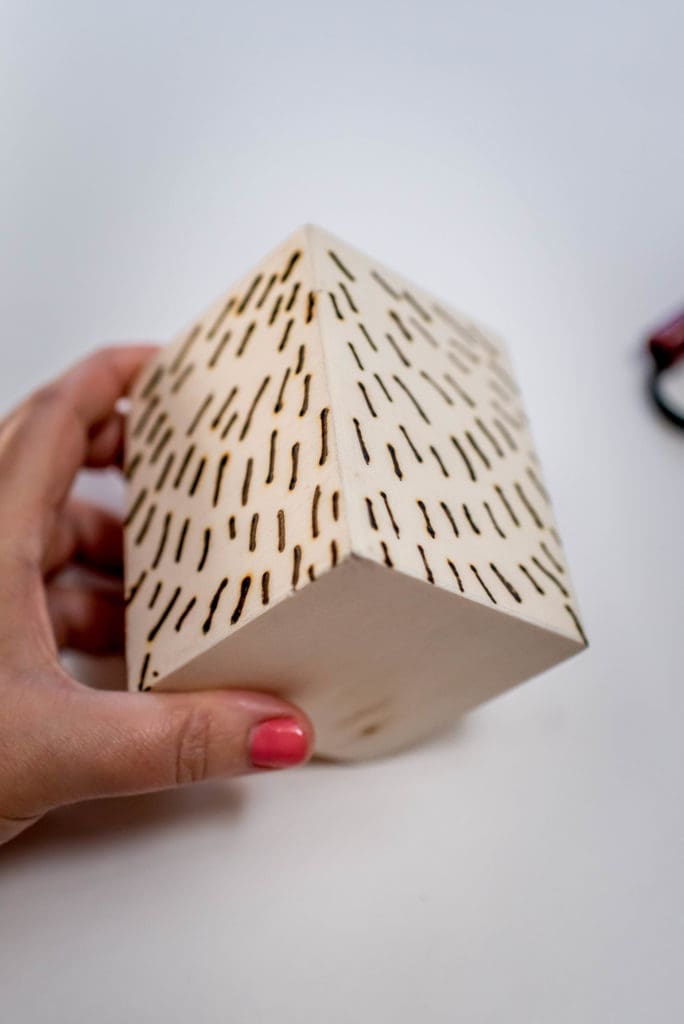
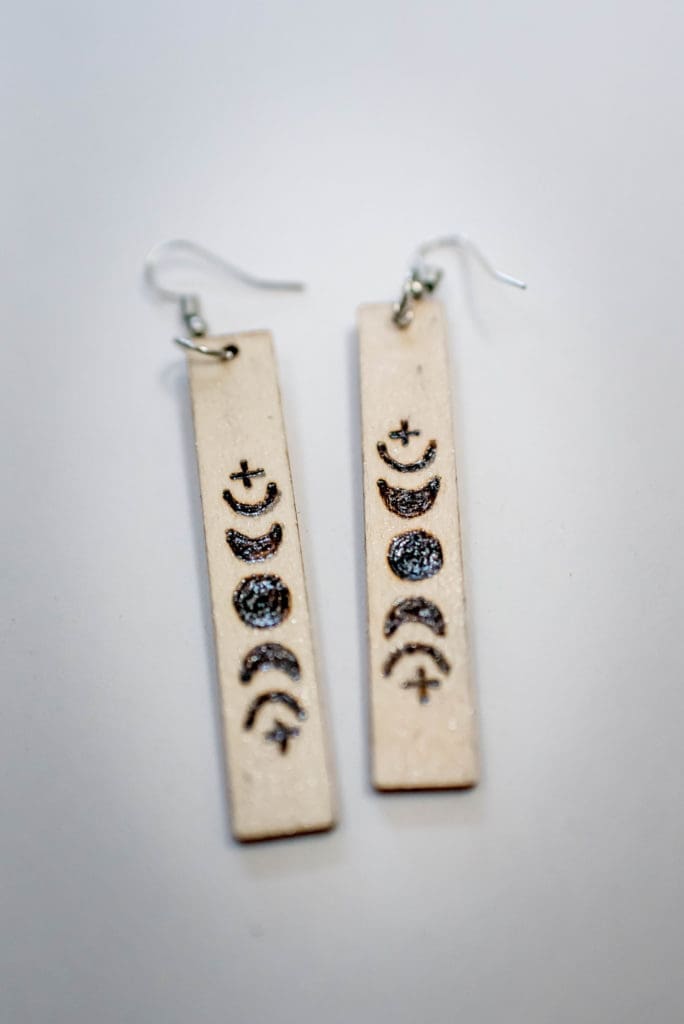
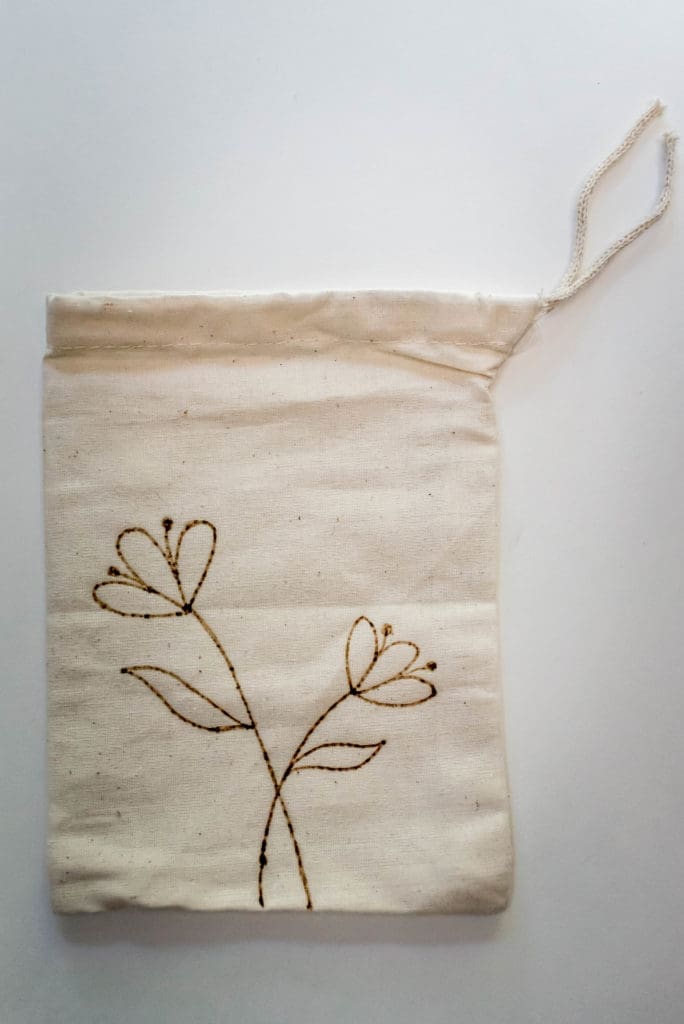
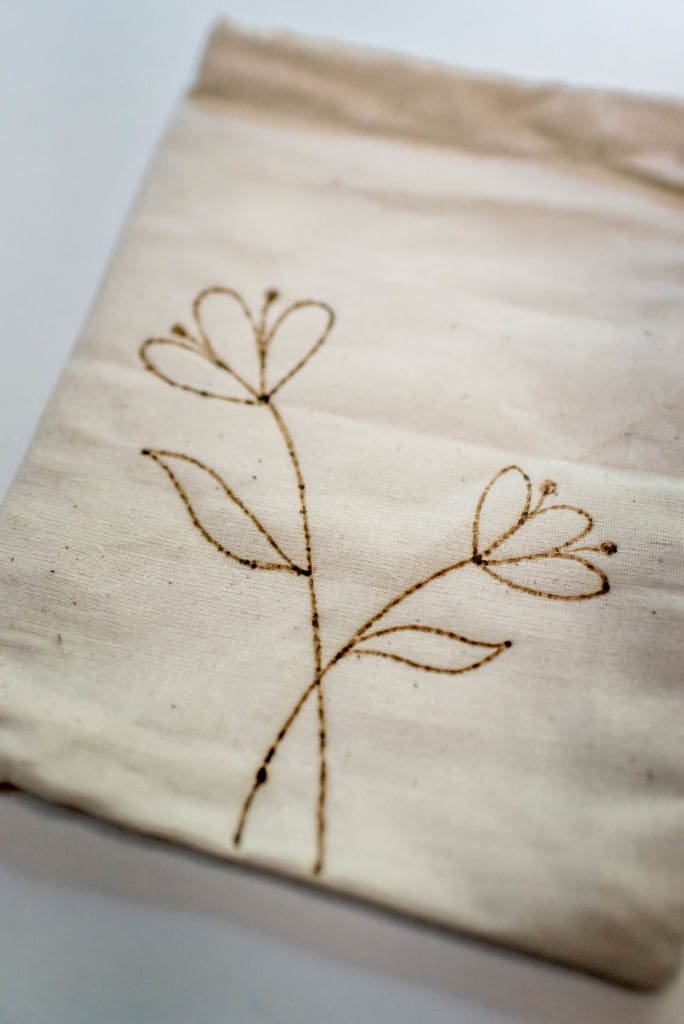
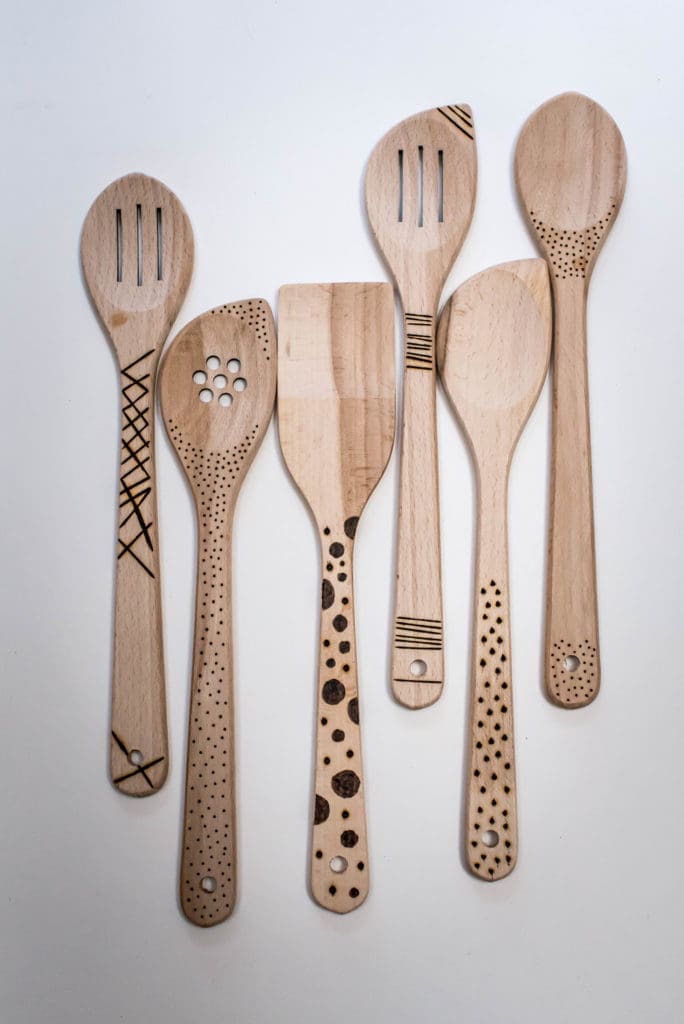
In case you missed it…. last week Walnut Hollow hosted a free online workshop with us to show you how fun their Creative Versa Tool is! I only ever thought burning was for wood but was so amazed to see how many surfaces you can actually burn on! I know it says it right there in the title but what I love most about it is the versatility! I’m not a professional pyrographer (yes that’s what people who do this are called!) but because of the versatility and ease of this tool, I can kind of act like one. Click here to watch the replay of the workshop!
Here are a few takeaways from the workshop that I thought were helpful.
- Best woods to burn on: Basswood, Birch, Oak
- Tape down your wood burn tool stand to the desk you’re working on to avoid slippage or it falling.
- Treat your tool like a plane taking off and landing. This will help achieve an overall smoother look
- If you don’t have graphite paper, you can pick some up HERE but you can also use a pencil and rub it all across the back of your stencil and then trace over it onto your surface like normal.
- If you are using any kind of color: paint, colored pencil, marker etc. Do that only AFTER you burn. Burning over color can cause toxic fumes.
- If you want to seal your pieces you can use a Polycrylic Spray like this.
- Remember practice makes progress!
Just a warning, some of the materials you burn onto can cause toxic fumes.
Please burn in a well ventilated area using a mask as a precaution.
![](https://b126121.smushcdn.com/126121/wp-content/uploads/2022/08/Step1_1-1-684x1024.jpg?lossy=2&strip=1&webp=1)
![](https://b126121.smushcdn.com/126121/wp-content/uploads/2022/08/Step1_2-1-684x1024.jpg?lossy=2&strip=1&webp=1)
![](https://b126121.smushcdn.com/126121/wp-content/uploads/2022/08/Step1_3-1-684x1024.jpg?lossy=2&strip=1&webp=1)
![](https://b126121.smushcdn.com/126121/wp-content/uploads/2022/08/Step1_4-684x1024.jpg?lossy=2&strip=1&webp=1)
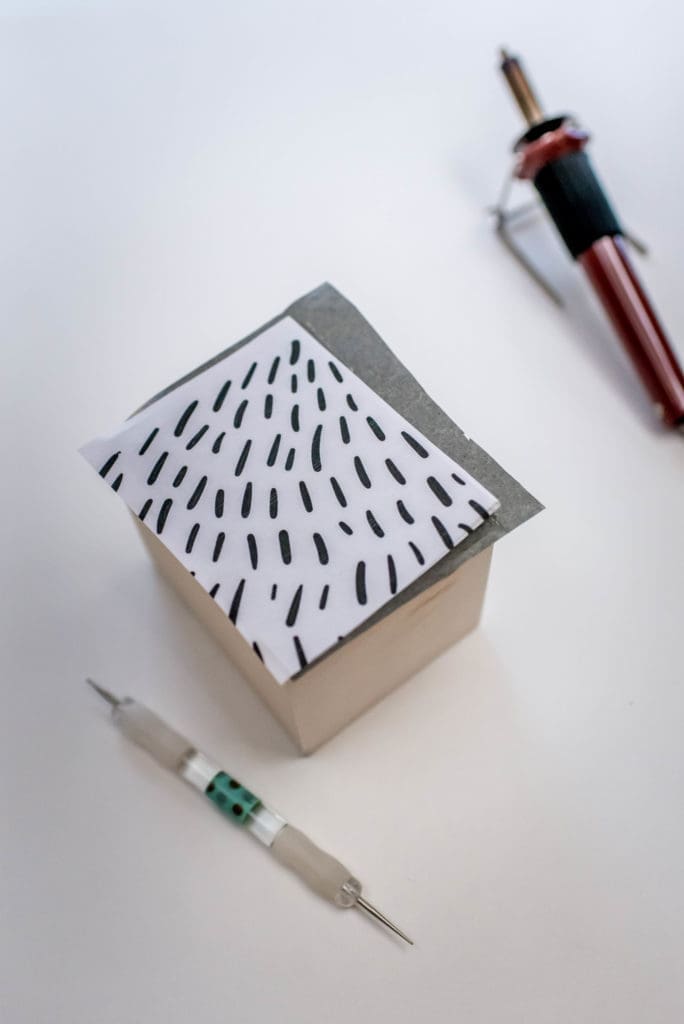
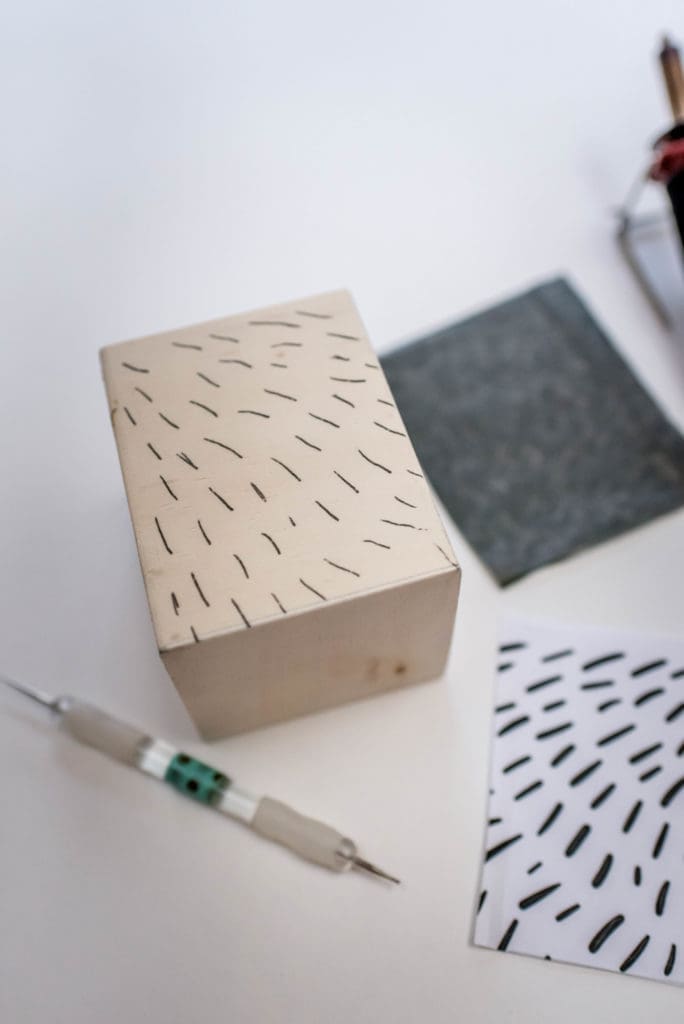
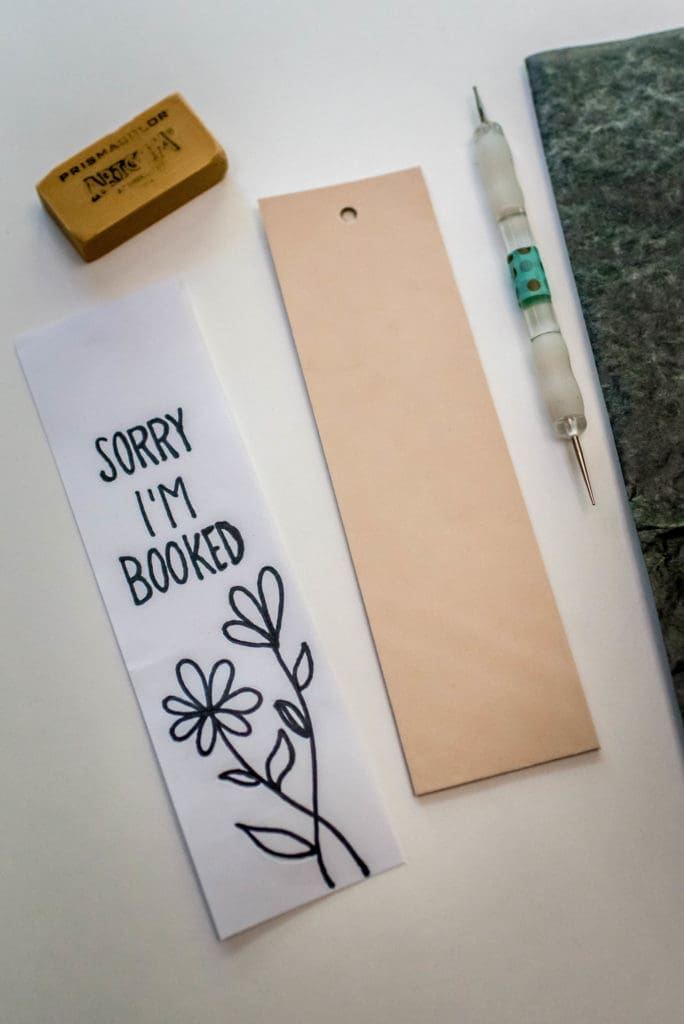
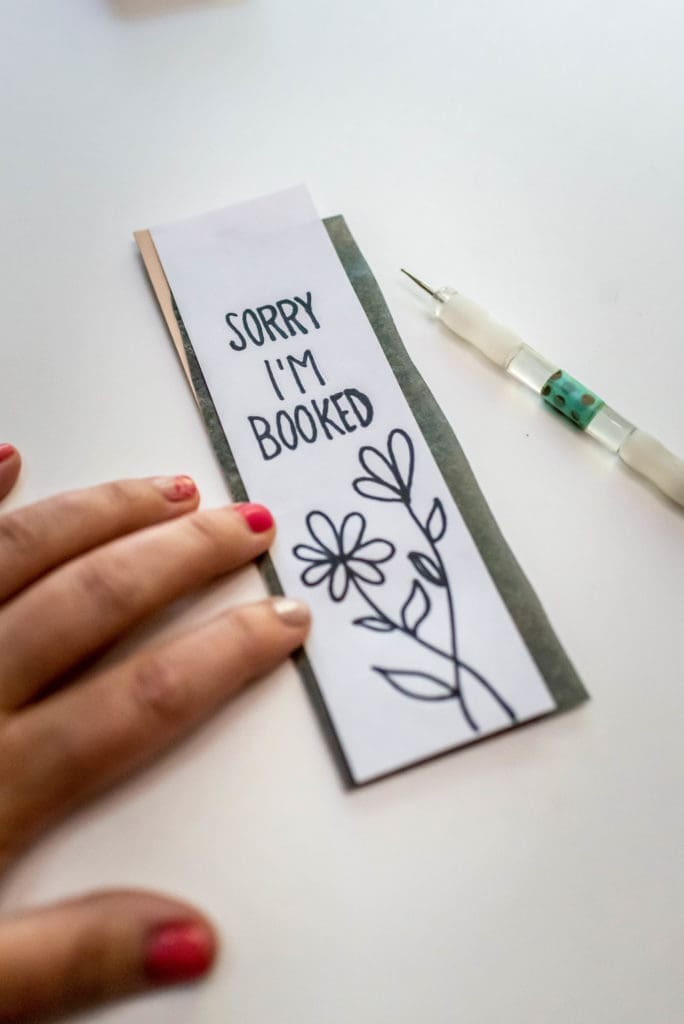
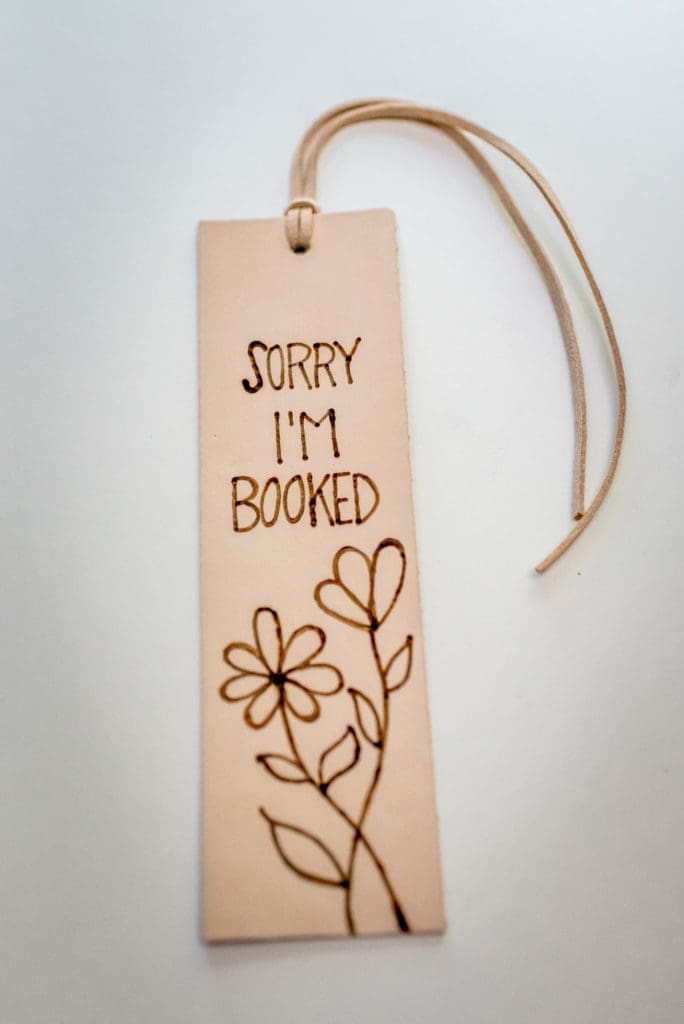
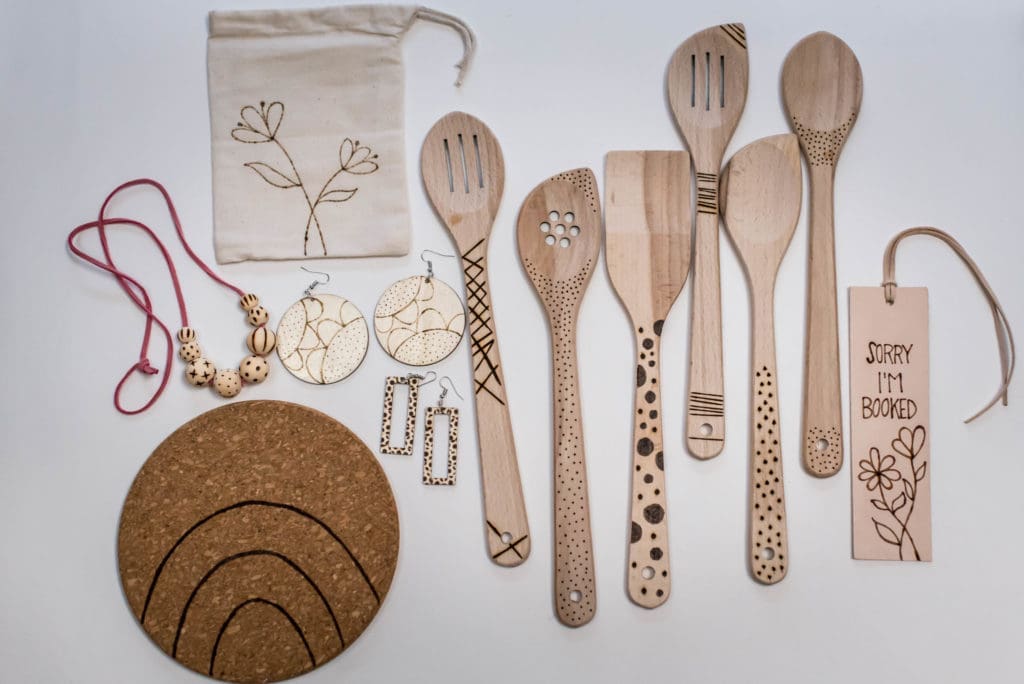
With this I made this super cute bookmark. Burning onto leather was probably my favorite. It was definitely the easiest and smoothest and I really love the look of it. I started by cutting a 2×7 strip out of the leather. I created my own stencil with a mix of my lettering and one of the freebie designs. I used the graphite paper and a stylus to transfer the design onto the leather and then burned over it with the Cone Point. I was able to use an eraser to erase away any of the graphite left, so cool!
![](https://b126121.smushcdn.com/126121/wp-content/uploads/2022/08/Step2_1-1-684x1024.jpg?lossy=2&strip=1&webp=1)
![](https://b126121.smushcdn.com/126121/wp-content/uploads/2022/08/Step2_2-1-684x1024.jpg?lossy=2&strip=1&webp=1)
![](https://b126121.smushcdn.com/126121/wp-content/uploads/2022/08/Step2_4-1-684x1024.jpg?lossy=2&strip=1&webp=1)
![](https://b126121.smushcdn.com/126121/wp-content/uploads/2022/08/Step3_1-1-684x1024.jpg?lossy=2&strip=1&webp=1)
![](https://b126121.smushcdn.com/126121/wp-content/uploads/2022/08/Step3_2-1-684x1024.jpg?lossy=2&strip=1&webp=1)
![](https://b126121.smushcdn.com/126121/wp-content/uploads/2022/08/Step3_3-1-684x1024.jpg?lossy=2&strip=1&webp=1)
![](https://b126121.smushcdn.com/126121/wp-content/uploads/2022/08/Step3_4-684x1024.jpg?lossy=2&strip=1&webp=1)
![](https://b126121.smushcdn.com/126121/wp-content/uploads/2022/08/Step4_2-1024x684.jpg?lossy=2&strip=1&webp=1)
![](https://b126121.smushcdn.com/126121/wp-content/uploads/2022/08/Step4_3-684x1024.jpg?lossy=2&strip=1&webp=1)
![](https://b126121.smushcdn.com/126121/wp-content/uploads/2022/08/Step5_1-684x1024.jpg?lossy=2&strip=1&webp=1)
![](https://b126121.smushcdn.com/126121/wp-content/uploads/2022/08/Step5_2-684x1024.jpg?lossy=2&strip=1&webp=1)
![](https://b126121.smushcdn.com/126121/wp-content/uploads/2022/08/Step6_1-684x1024.jpg?lossy=2&strip=1&webp=1)
![](https://b126121.smushcdn.com/126121/wp-content/uploads/2022/08/Step6_2-684x1024.jpg?lossy=2&strip=1&webp=1)
![](https://b126121.smushcdn.com/126121/wp-content/uploads/2022/08/Step7_1-684x1024.jpg?lossy=2&strip=1&webp=1)
![](https://b126121.smushcdn.com/126121/wp-content/uploads/2022/08/Step7_2-684x1024.jpg?lossy=2&strip=1&webp=1)
![](https://b126121.smushcdn.com/126121/wp-content/uploads/2022/08/Step8_FINAL-1024x684.jpg?lossy=2&strip=1&webp=1)
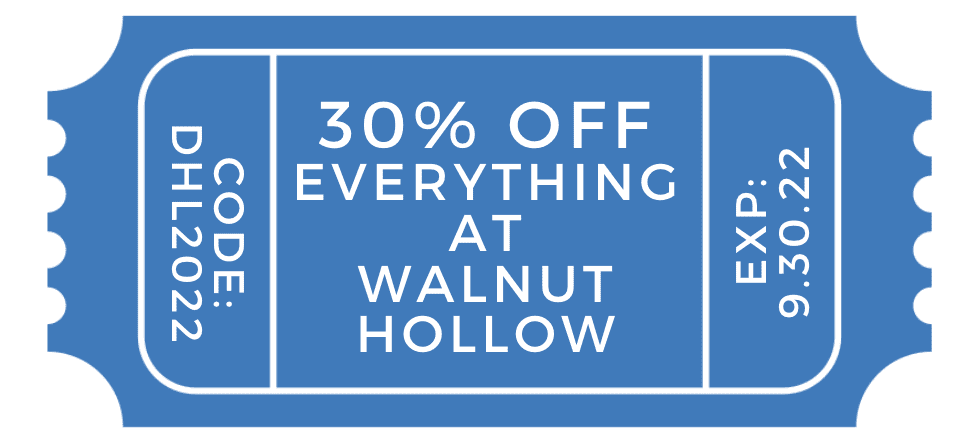
If you would like to pick up any of these items and get started on your wood burning journey, Use the code DHL2022 to get 30% OFF anything and everything at Walnut Hollow through 9/30/22.
I hope you decide to give this a try! We would love to see your burn experiments! Please tag us on Instagram @dearhandmadelife & @walnuthollow
![](https://b126121.smushcdn.com/126121/wp-content/uploads/2021/05/nik-v-1024x1024.png?lossy=2&strip=1&webp=1)
ABOUT NIK
Nik is a maker, day dreamer & potty mouth who loves cats, coffee and craft beer. She is a self taught hand embroiderer and will DIY pretty much anything she can get her hands on. You can see her work on Instagram @wastingthyme & @nikvphotography. She lives in Long Beach with her husband and her three awesome cats (that she can’t shut up about).
YOU MIGHT ALSO LIKE...