


One Comment
Comments are closed.
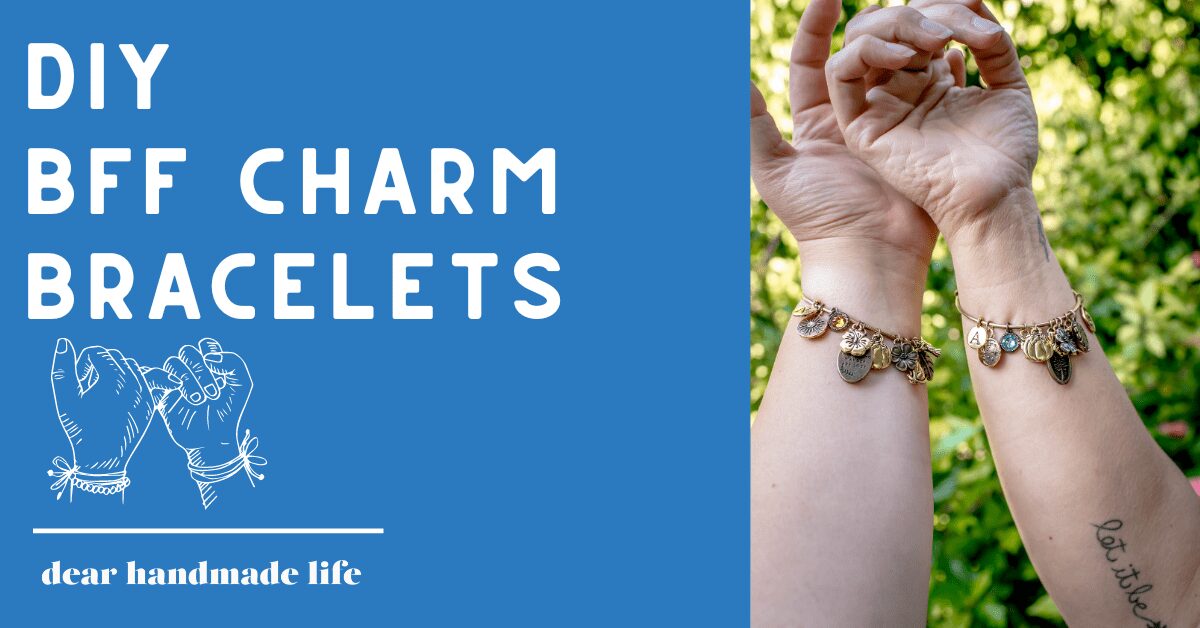
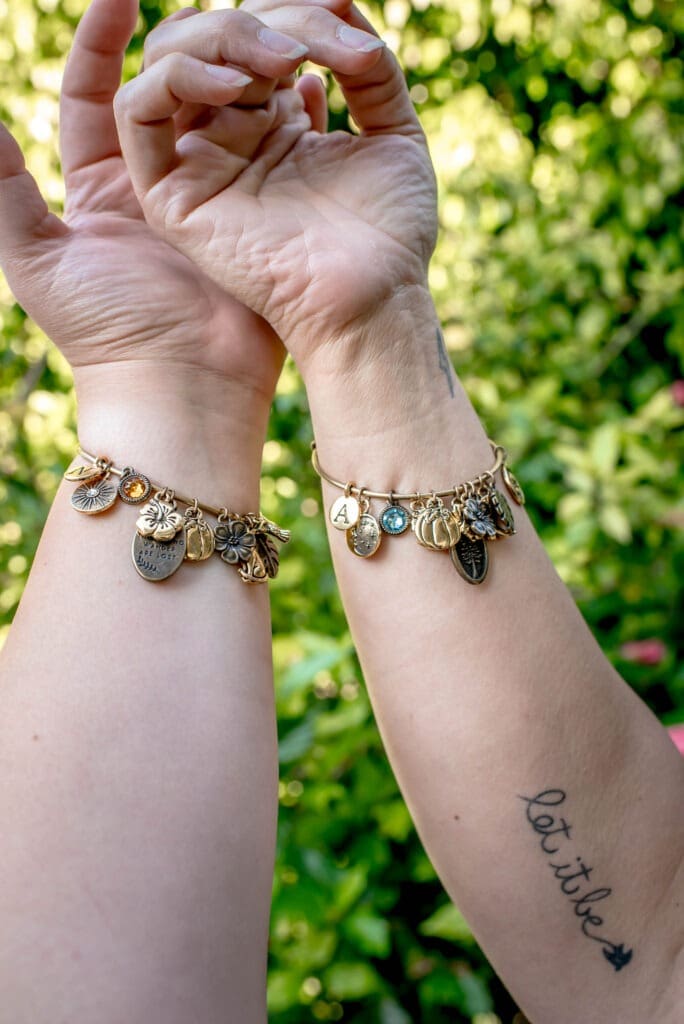
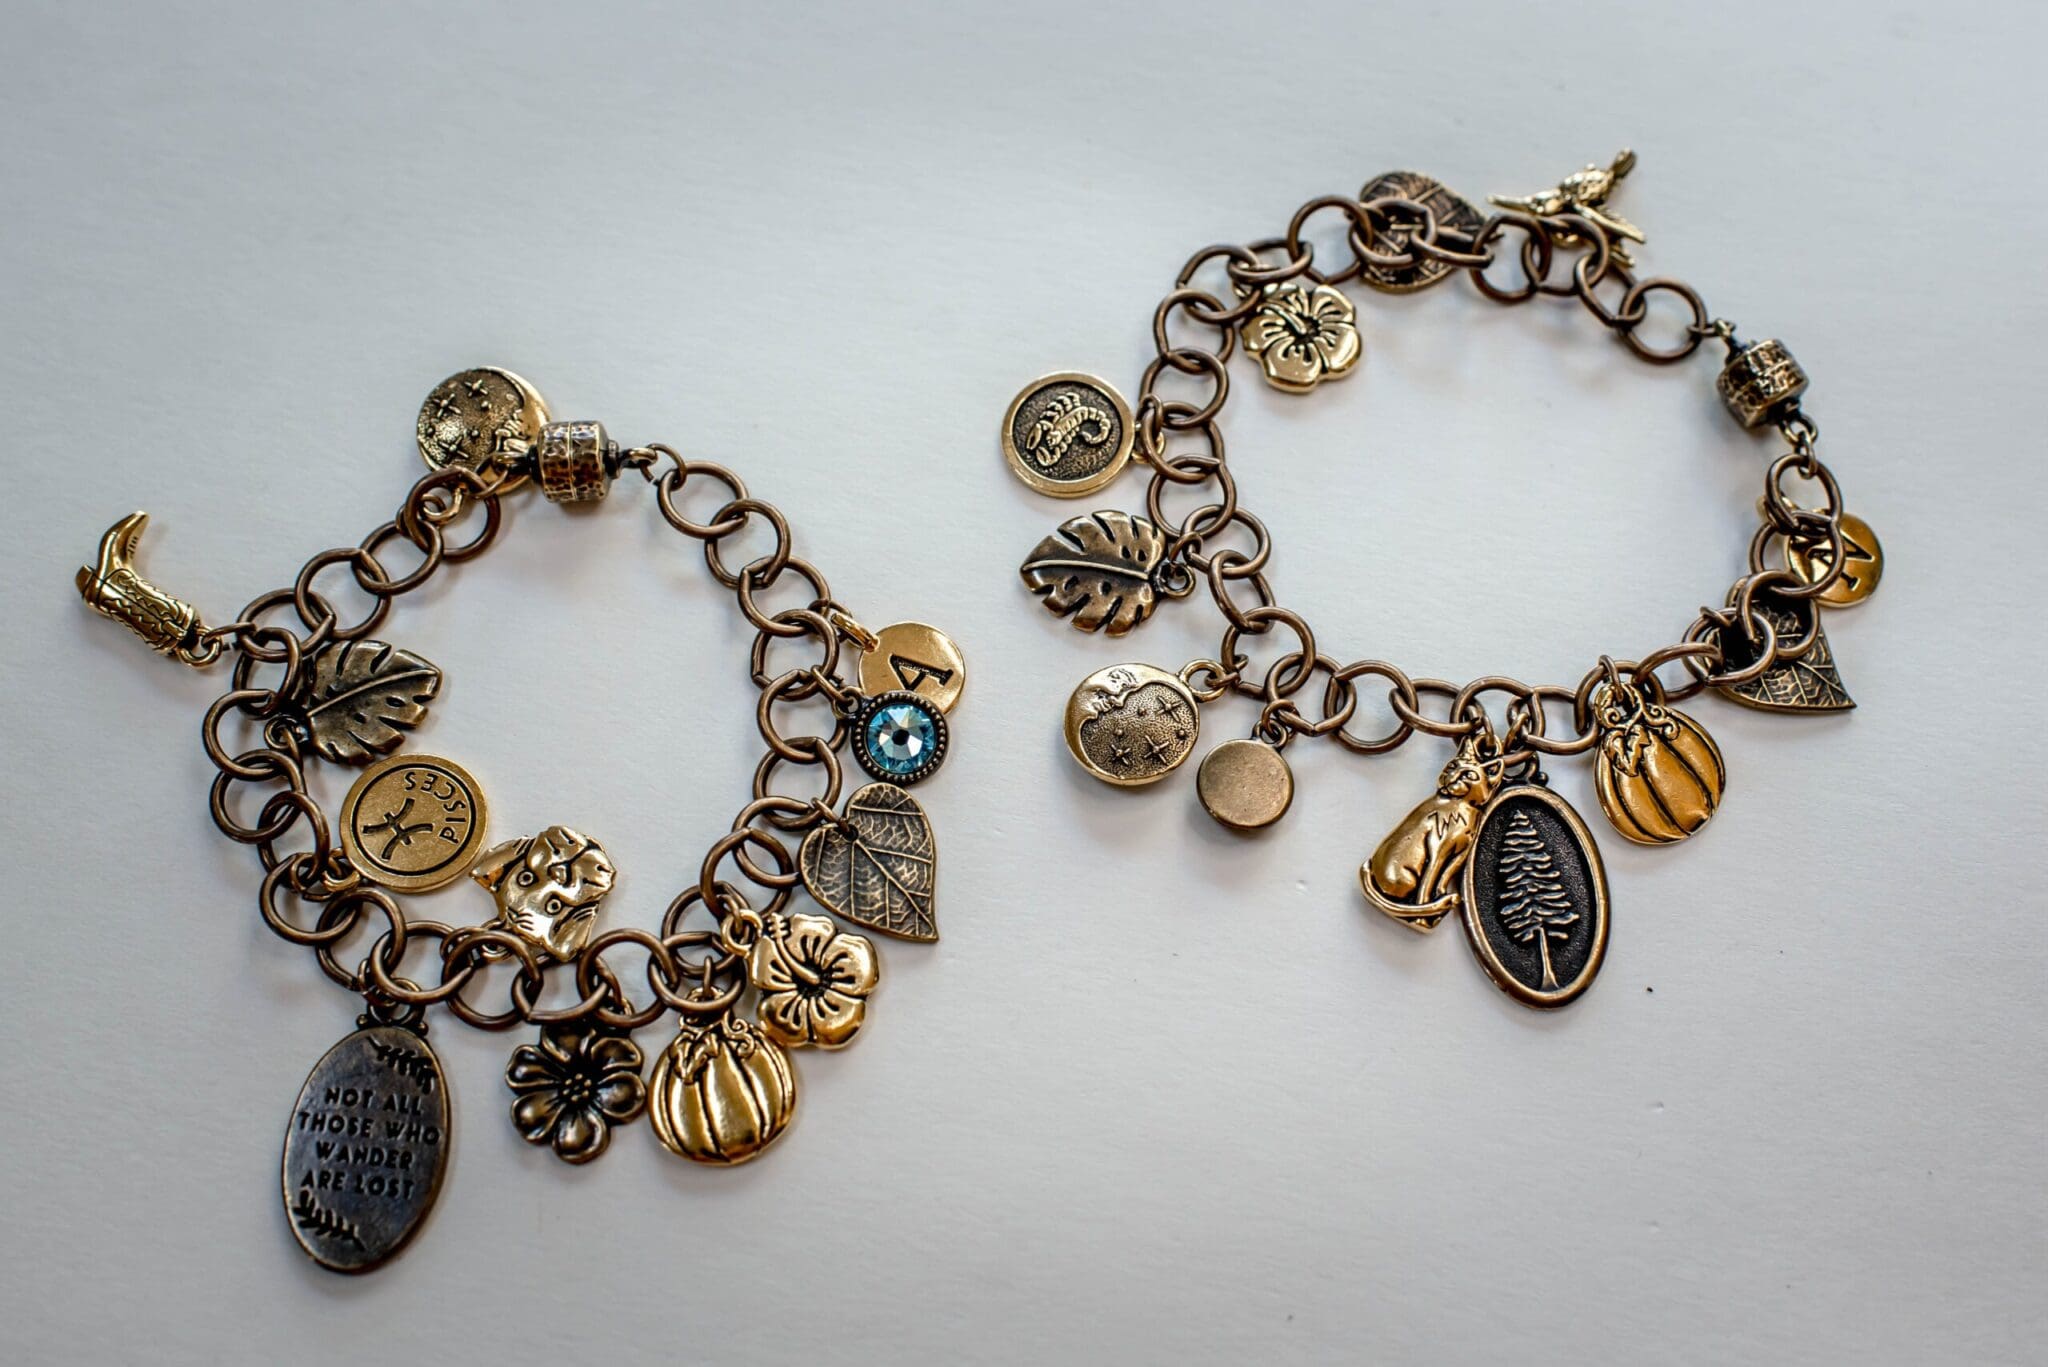
Remember those BFF necklaces you would get at the mall or even out of a machine when we were younger? I wanted to come up with something that was reminiscent of those but that would also be more suitable for us as adults so I went with: BFF Charm Bracelets! TierraCast is the perfect place to find pretty much everything you need to make these.
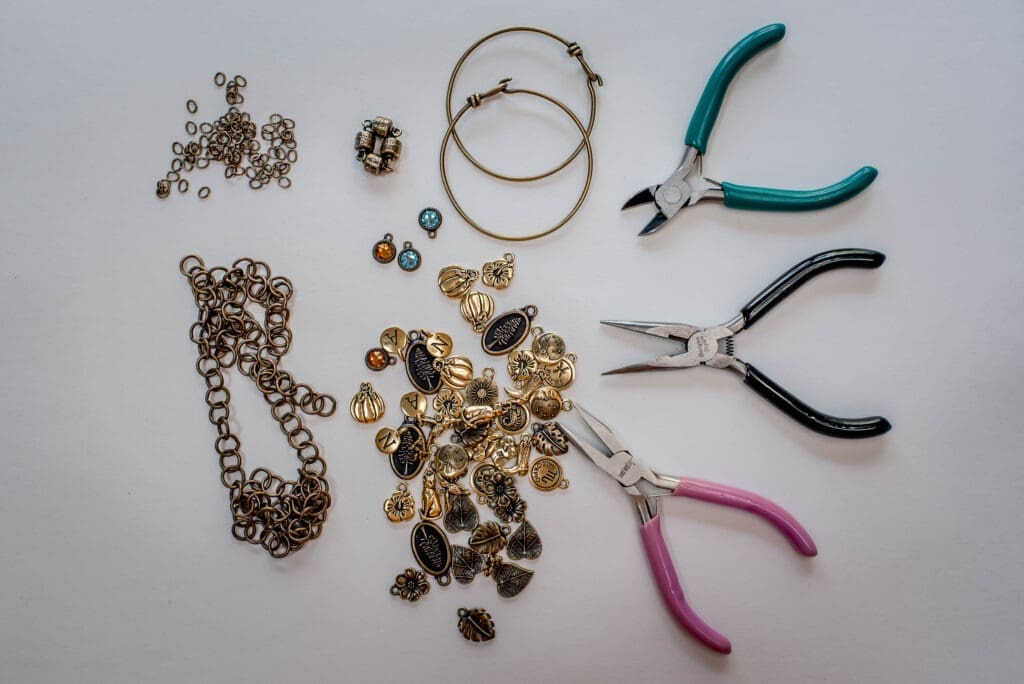
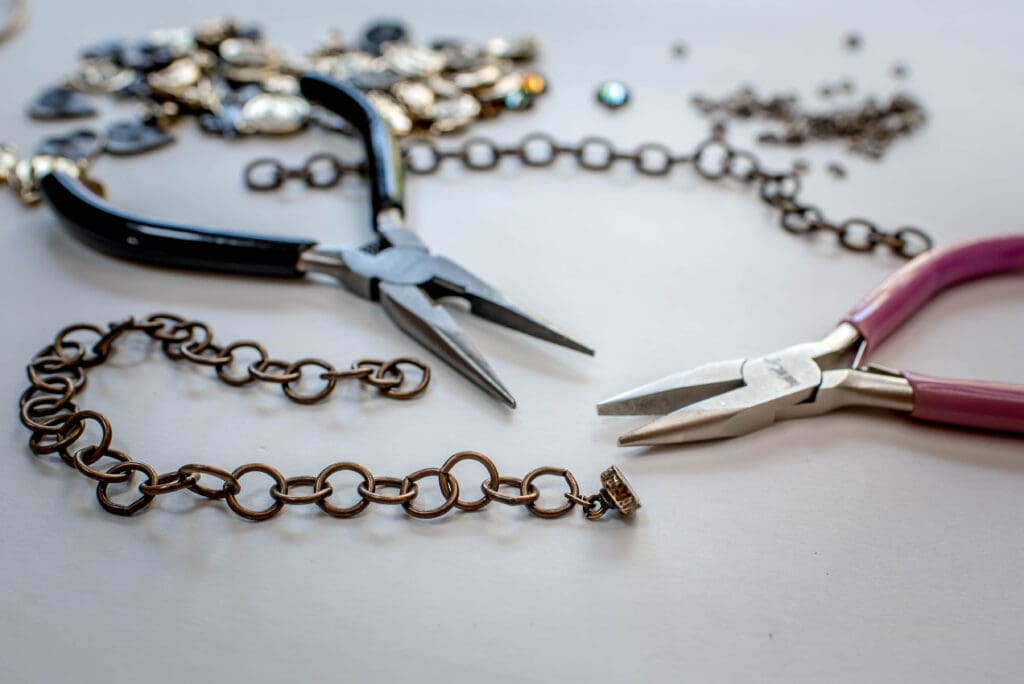
What you’ll Need:
For the simple bracelet I used the Wire Bracelet with hook opening in 12 gauge wire and the same charms
I wanted to show you two different ways you could make these bracelets. The 1st way is a bit more involved and helps if you have basic jewelry making experience.
STEP ONE:
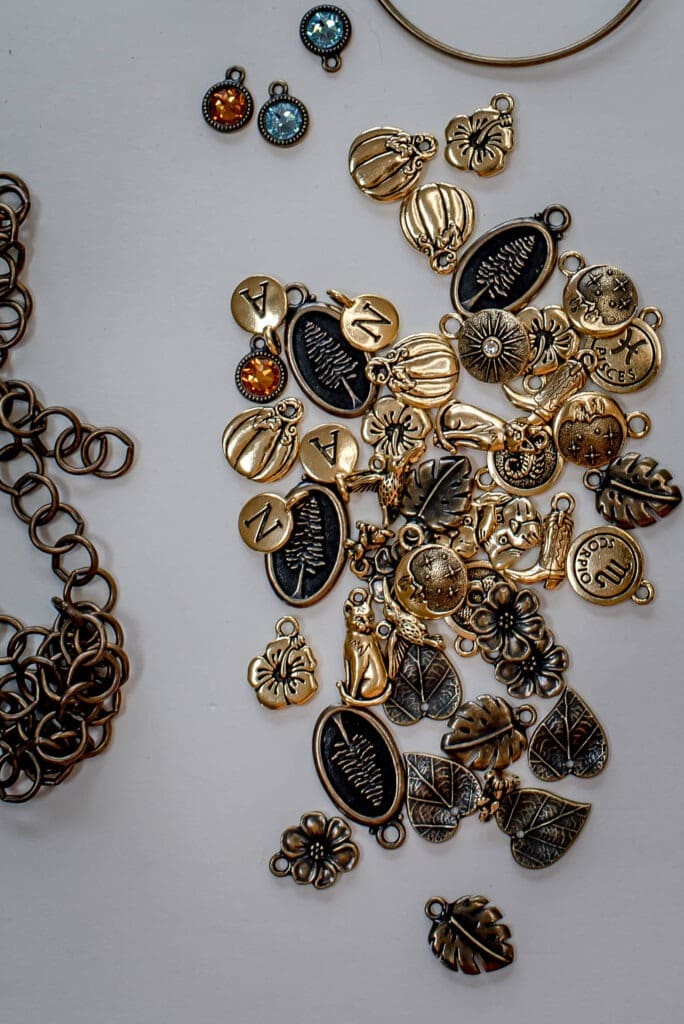
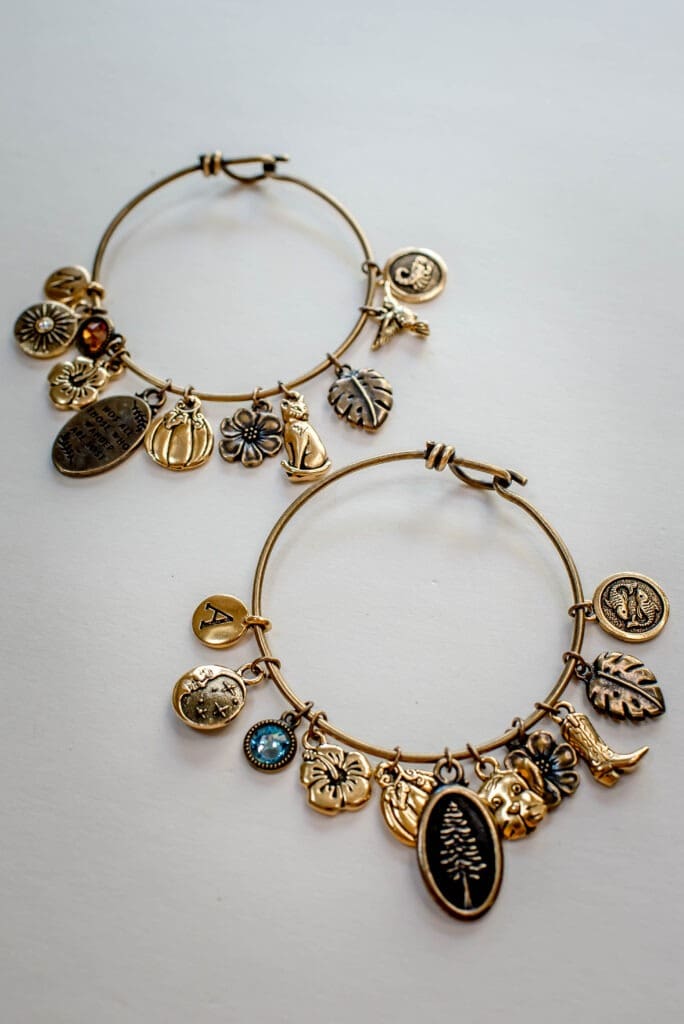
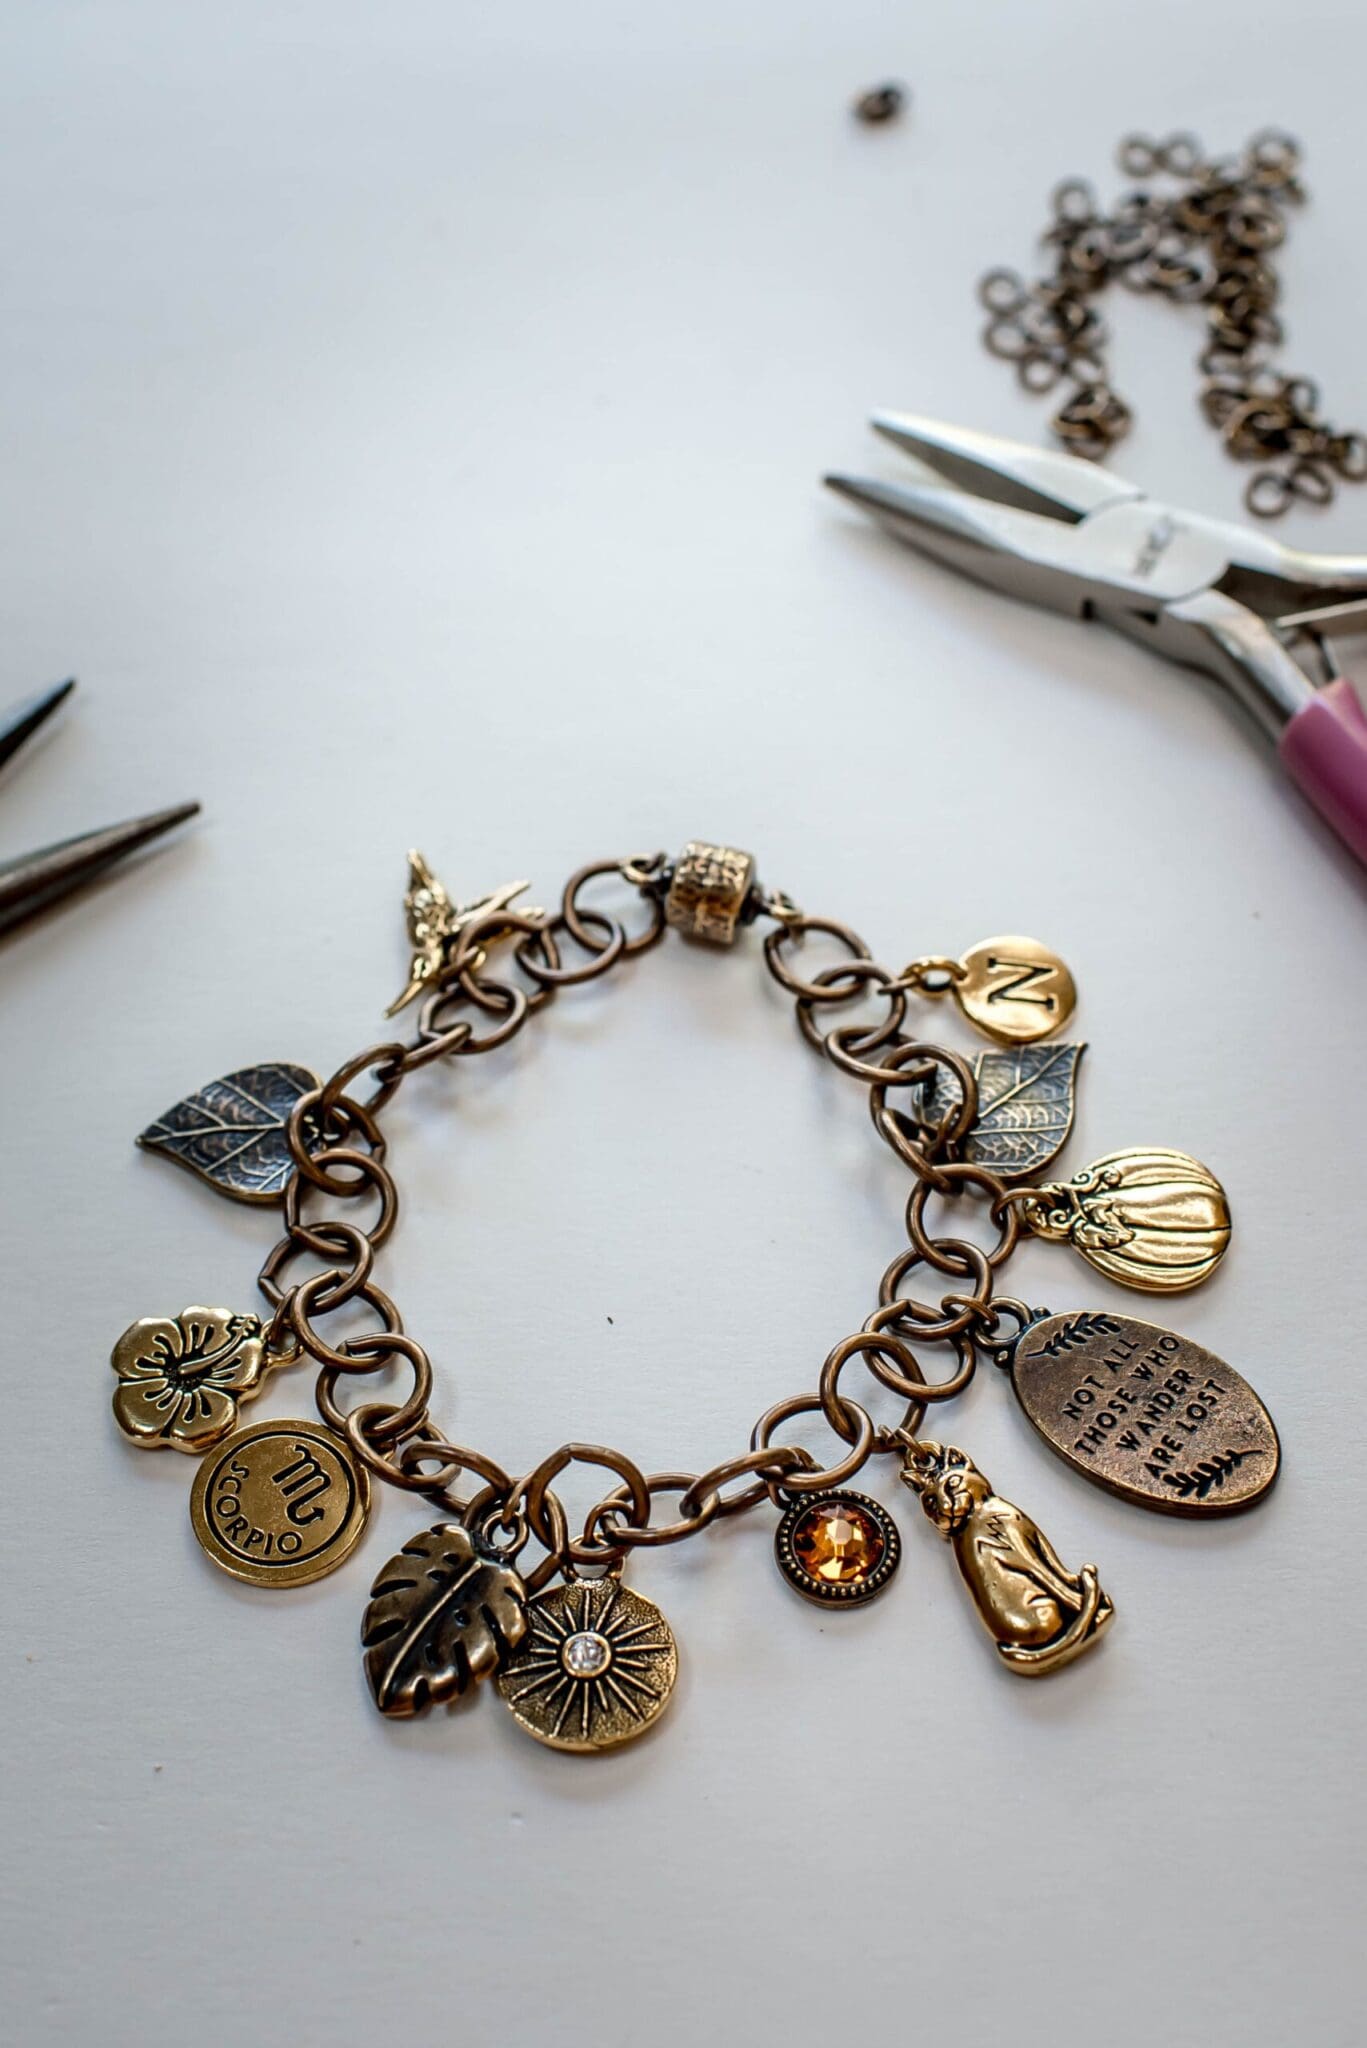
Choose your charms! This will obviously be completely different and personalized to each bestie but I wanted to give you some ideas of how and what to select. I went with:
The list is honestly endless though! TierraCast has so many cute charms to choose from in several colors too!
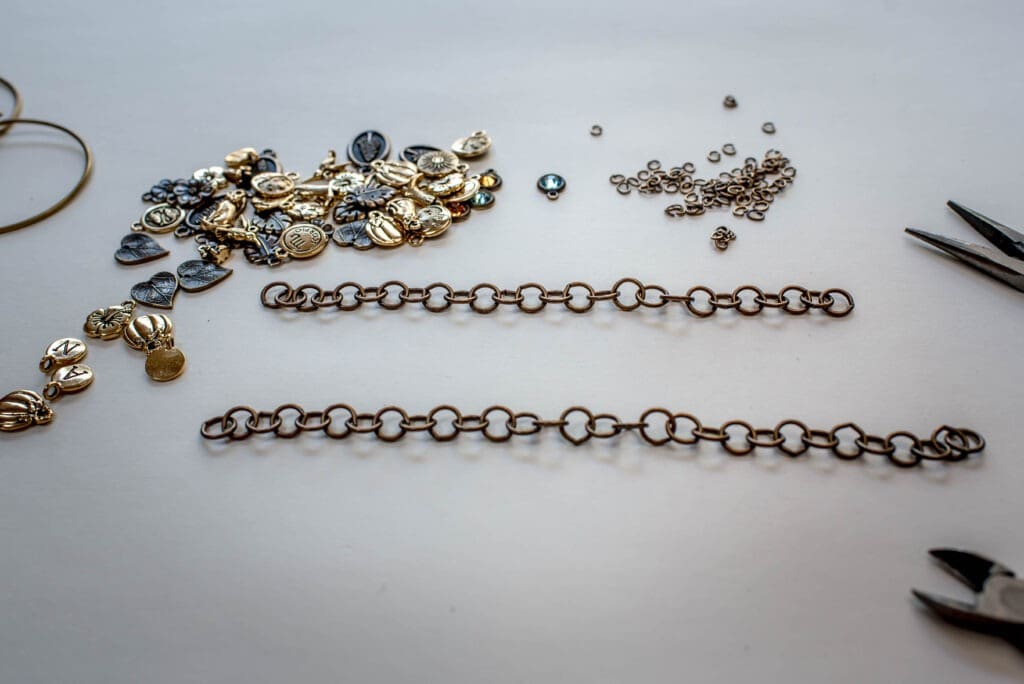
STEP TWO:
Measure out the length of chain you are going to need. I did this simply by putting it around my wrist and cutting it a couple rings shorter than I needed to account for adding the magnetic clasp at the end. Use your wire cutters to do this.
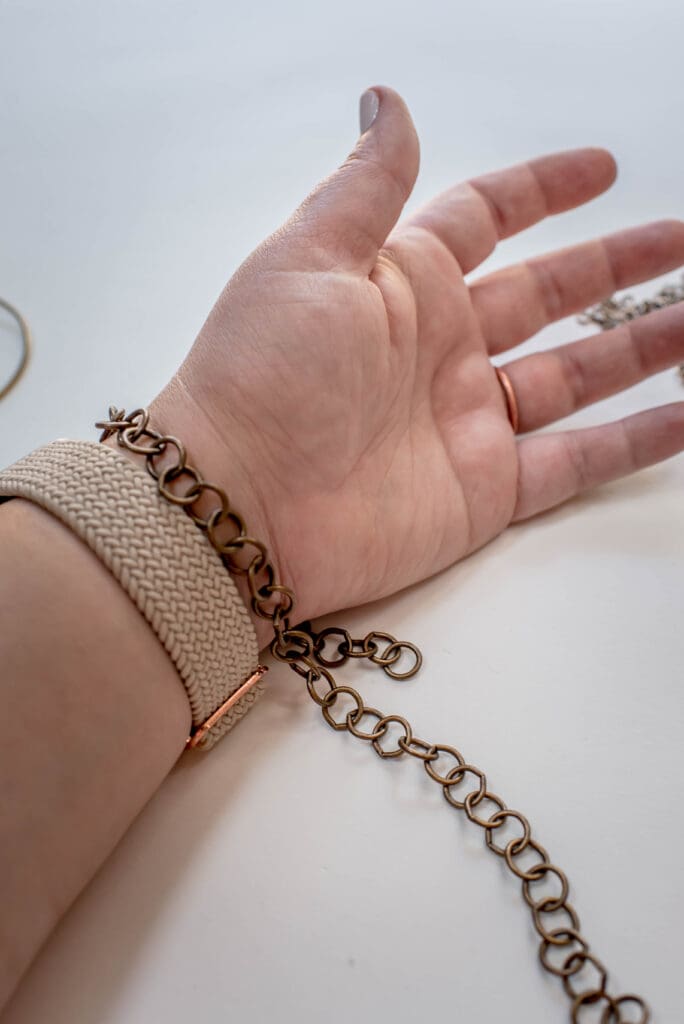
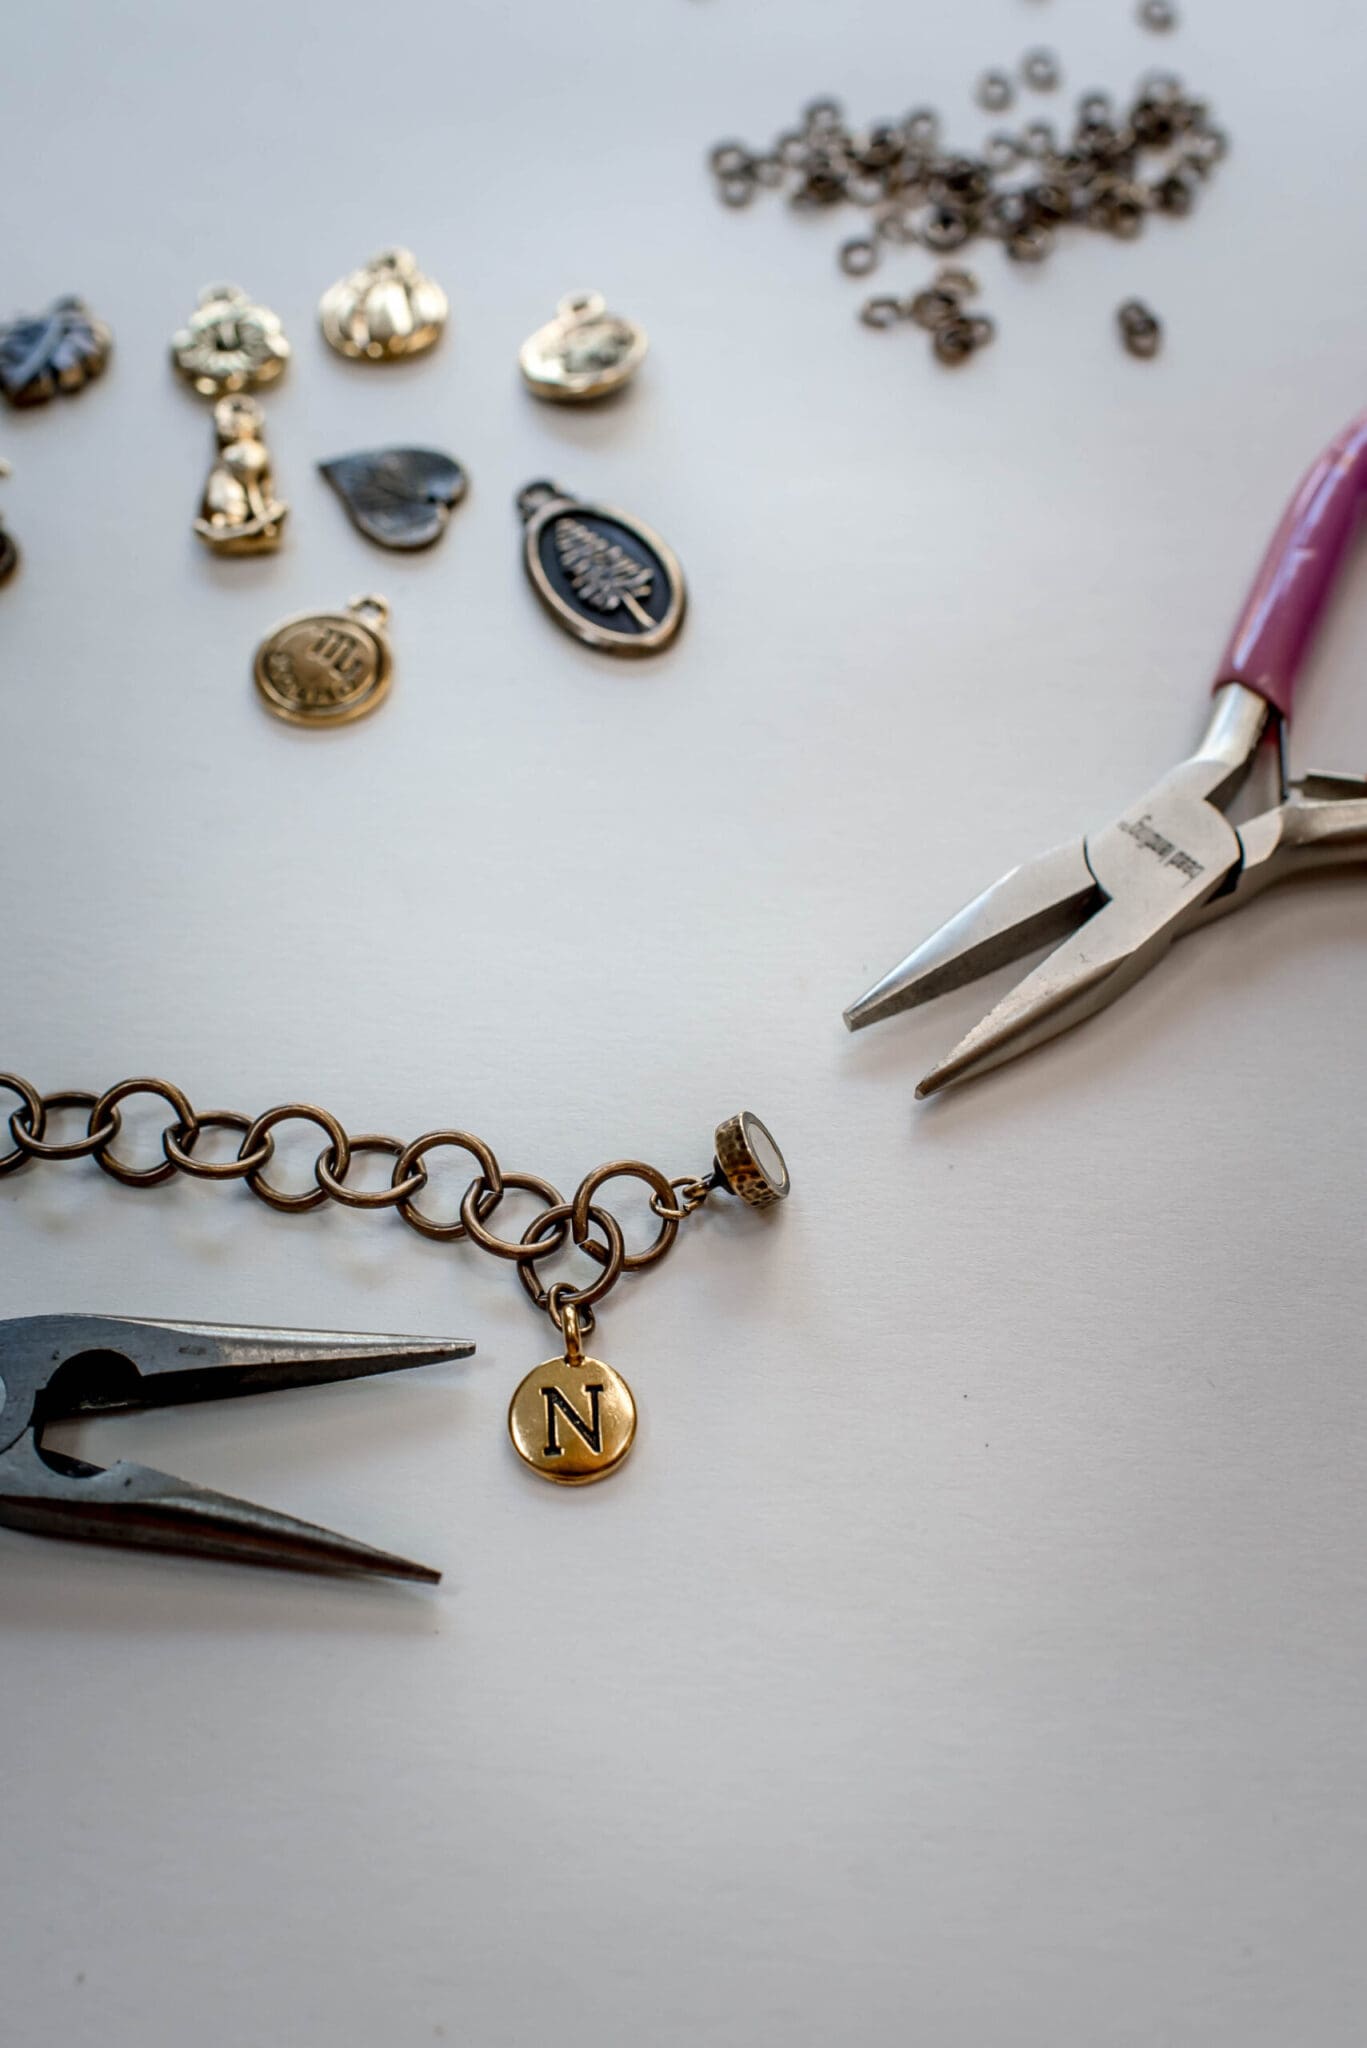
STEP THREE:
Attach your clasps! I used the same jump rings to attach the magnetic clasps, one on each end. I chose the magnetic ones for the easiest on/off but there are also a ton of closures to choose from.
STEP FOUR:
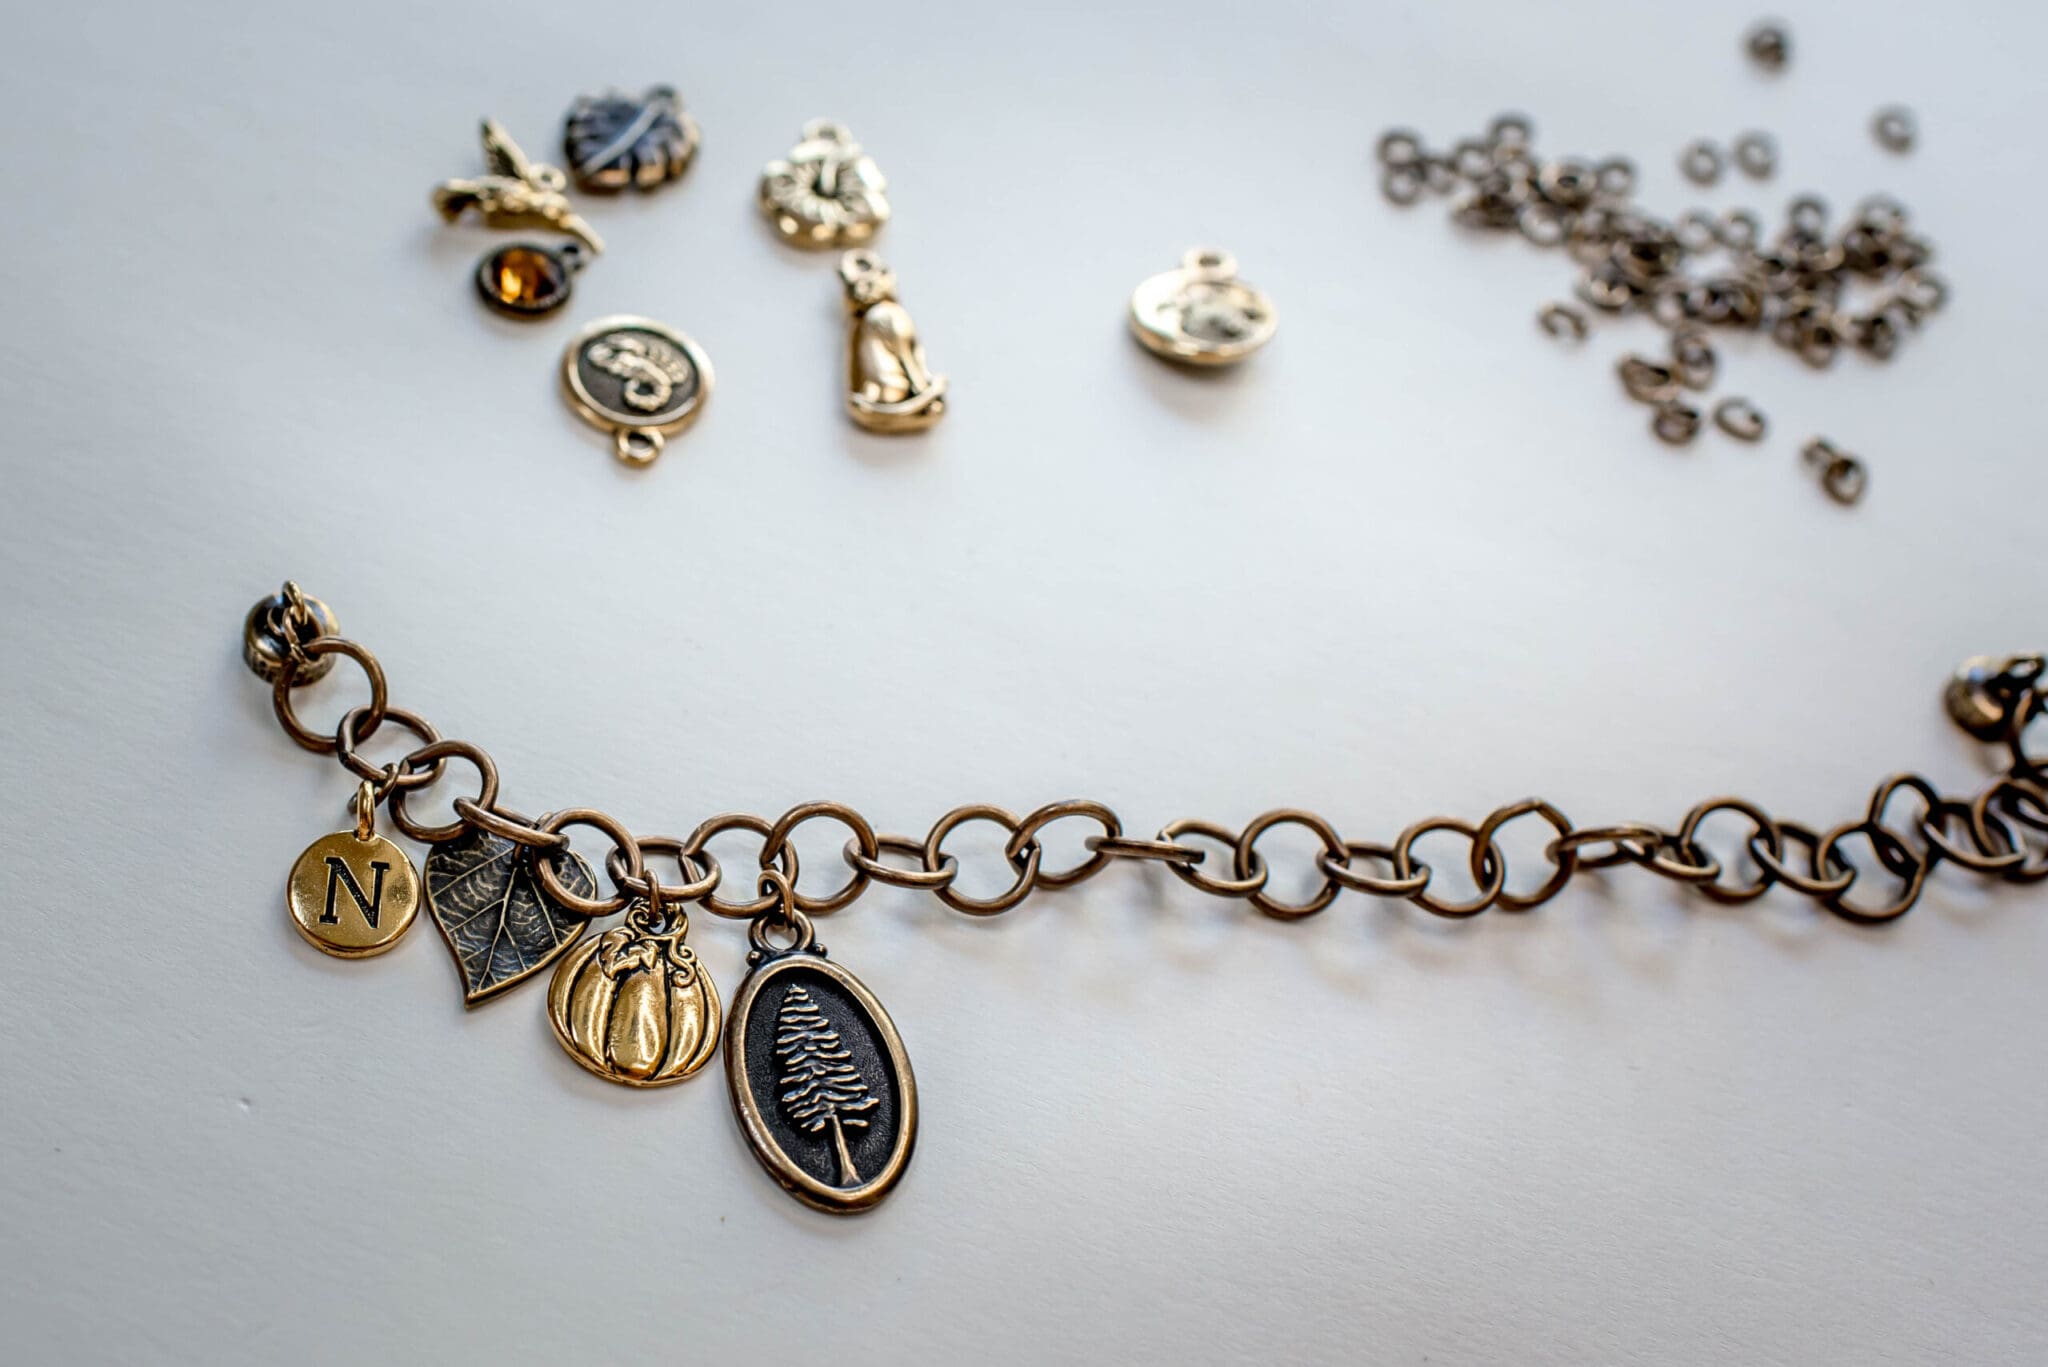
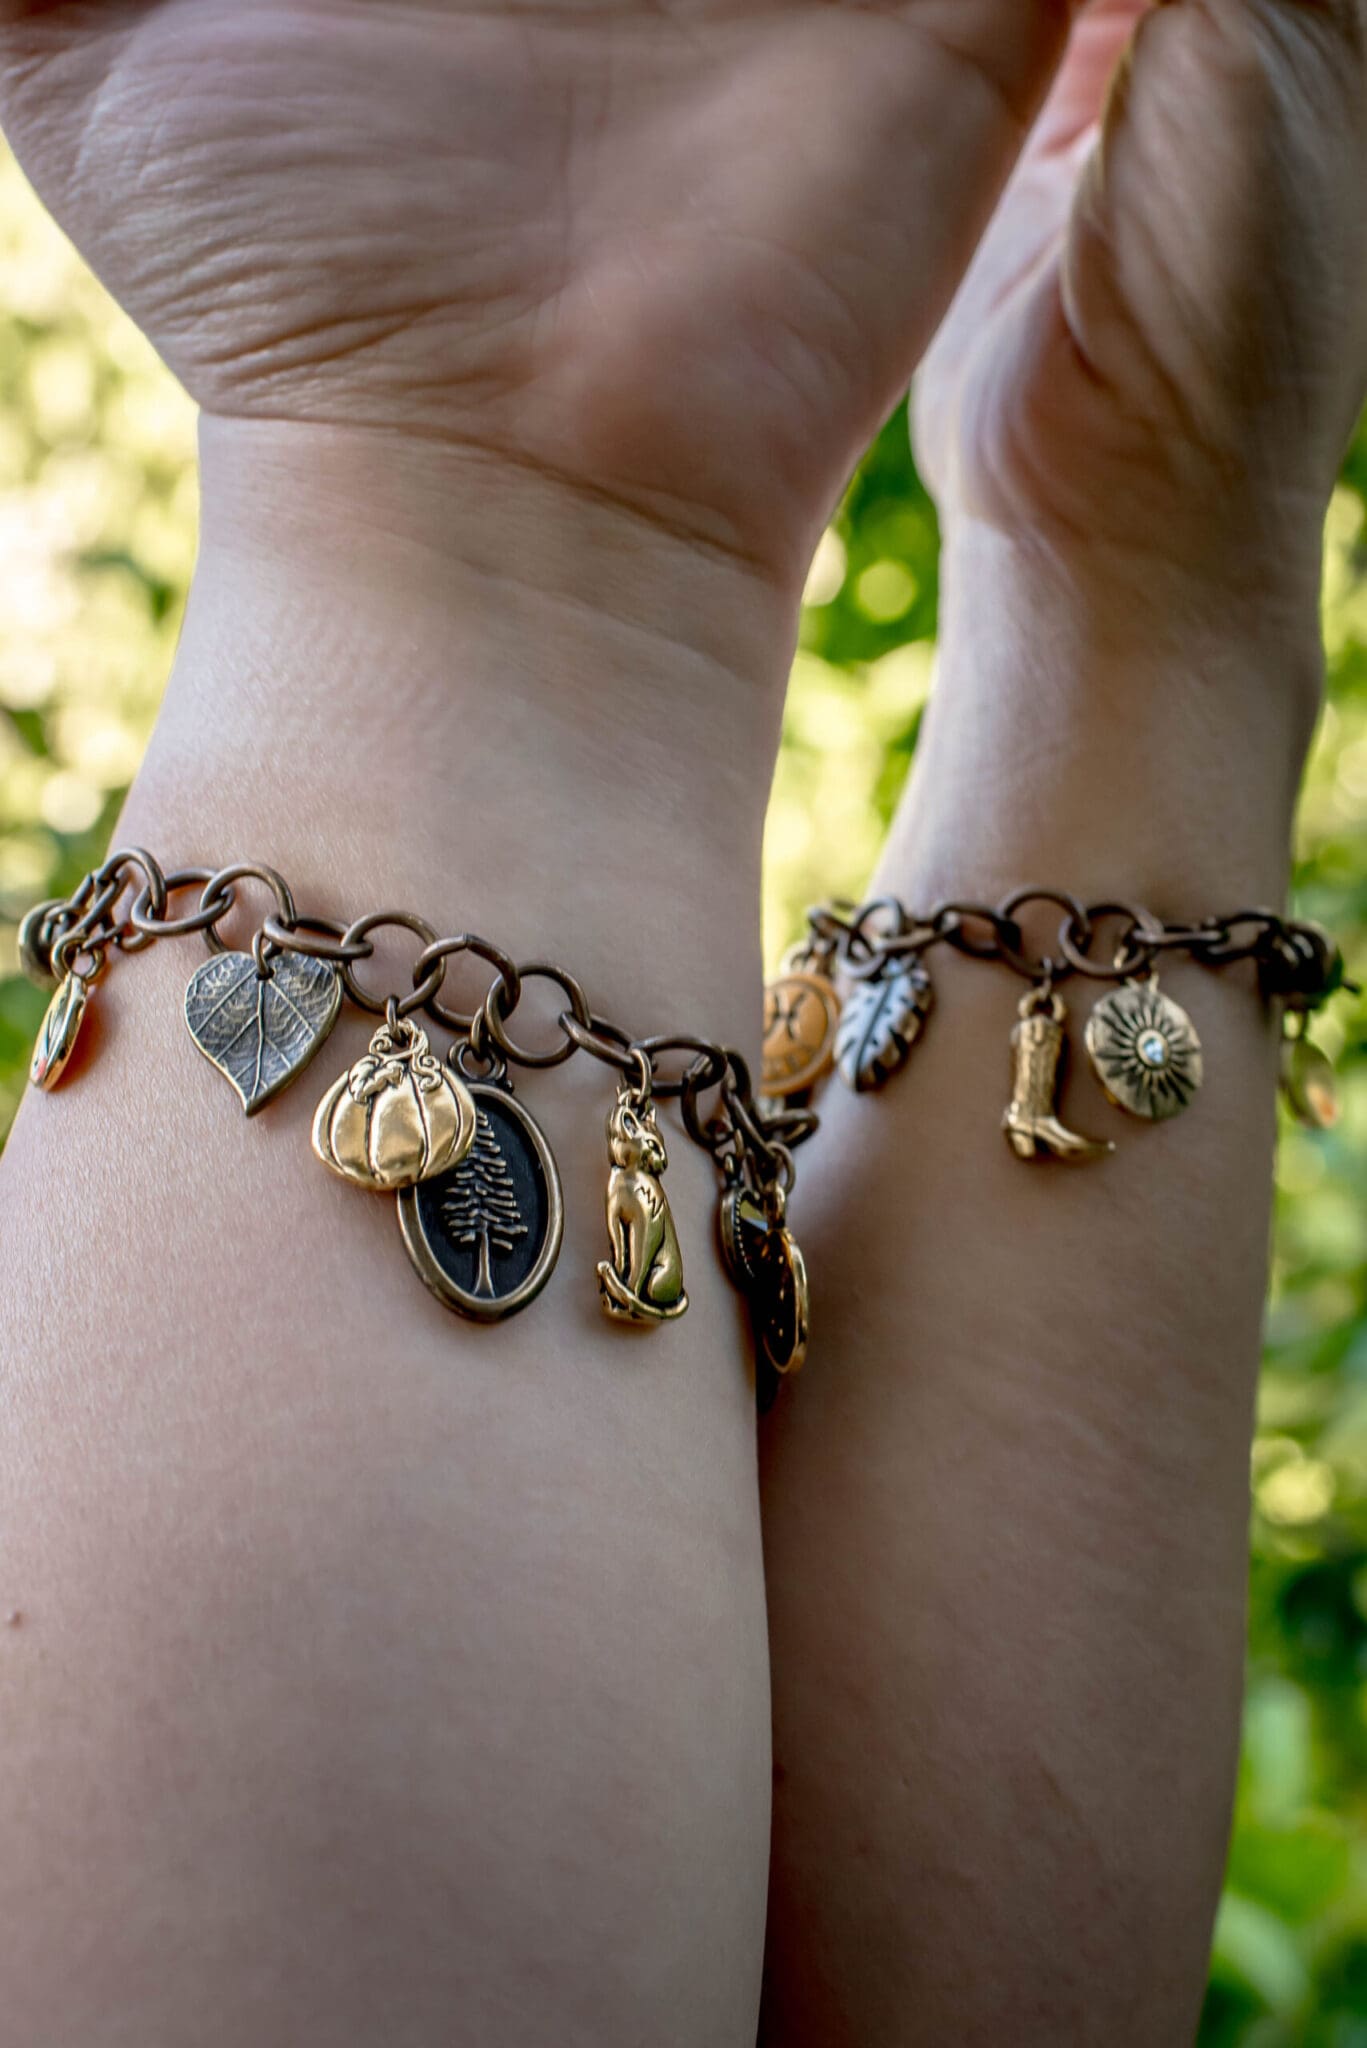
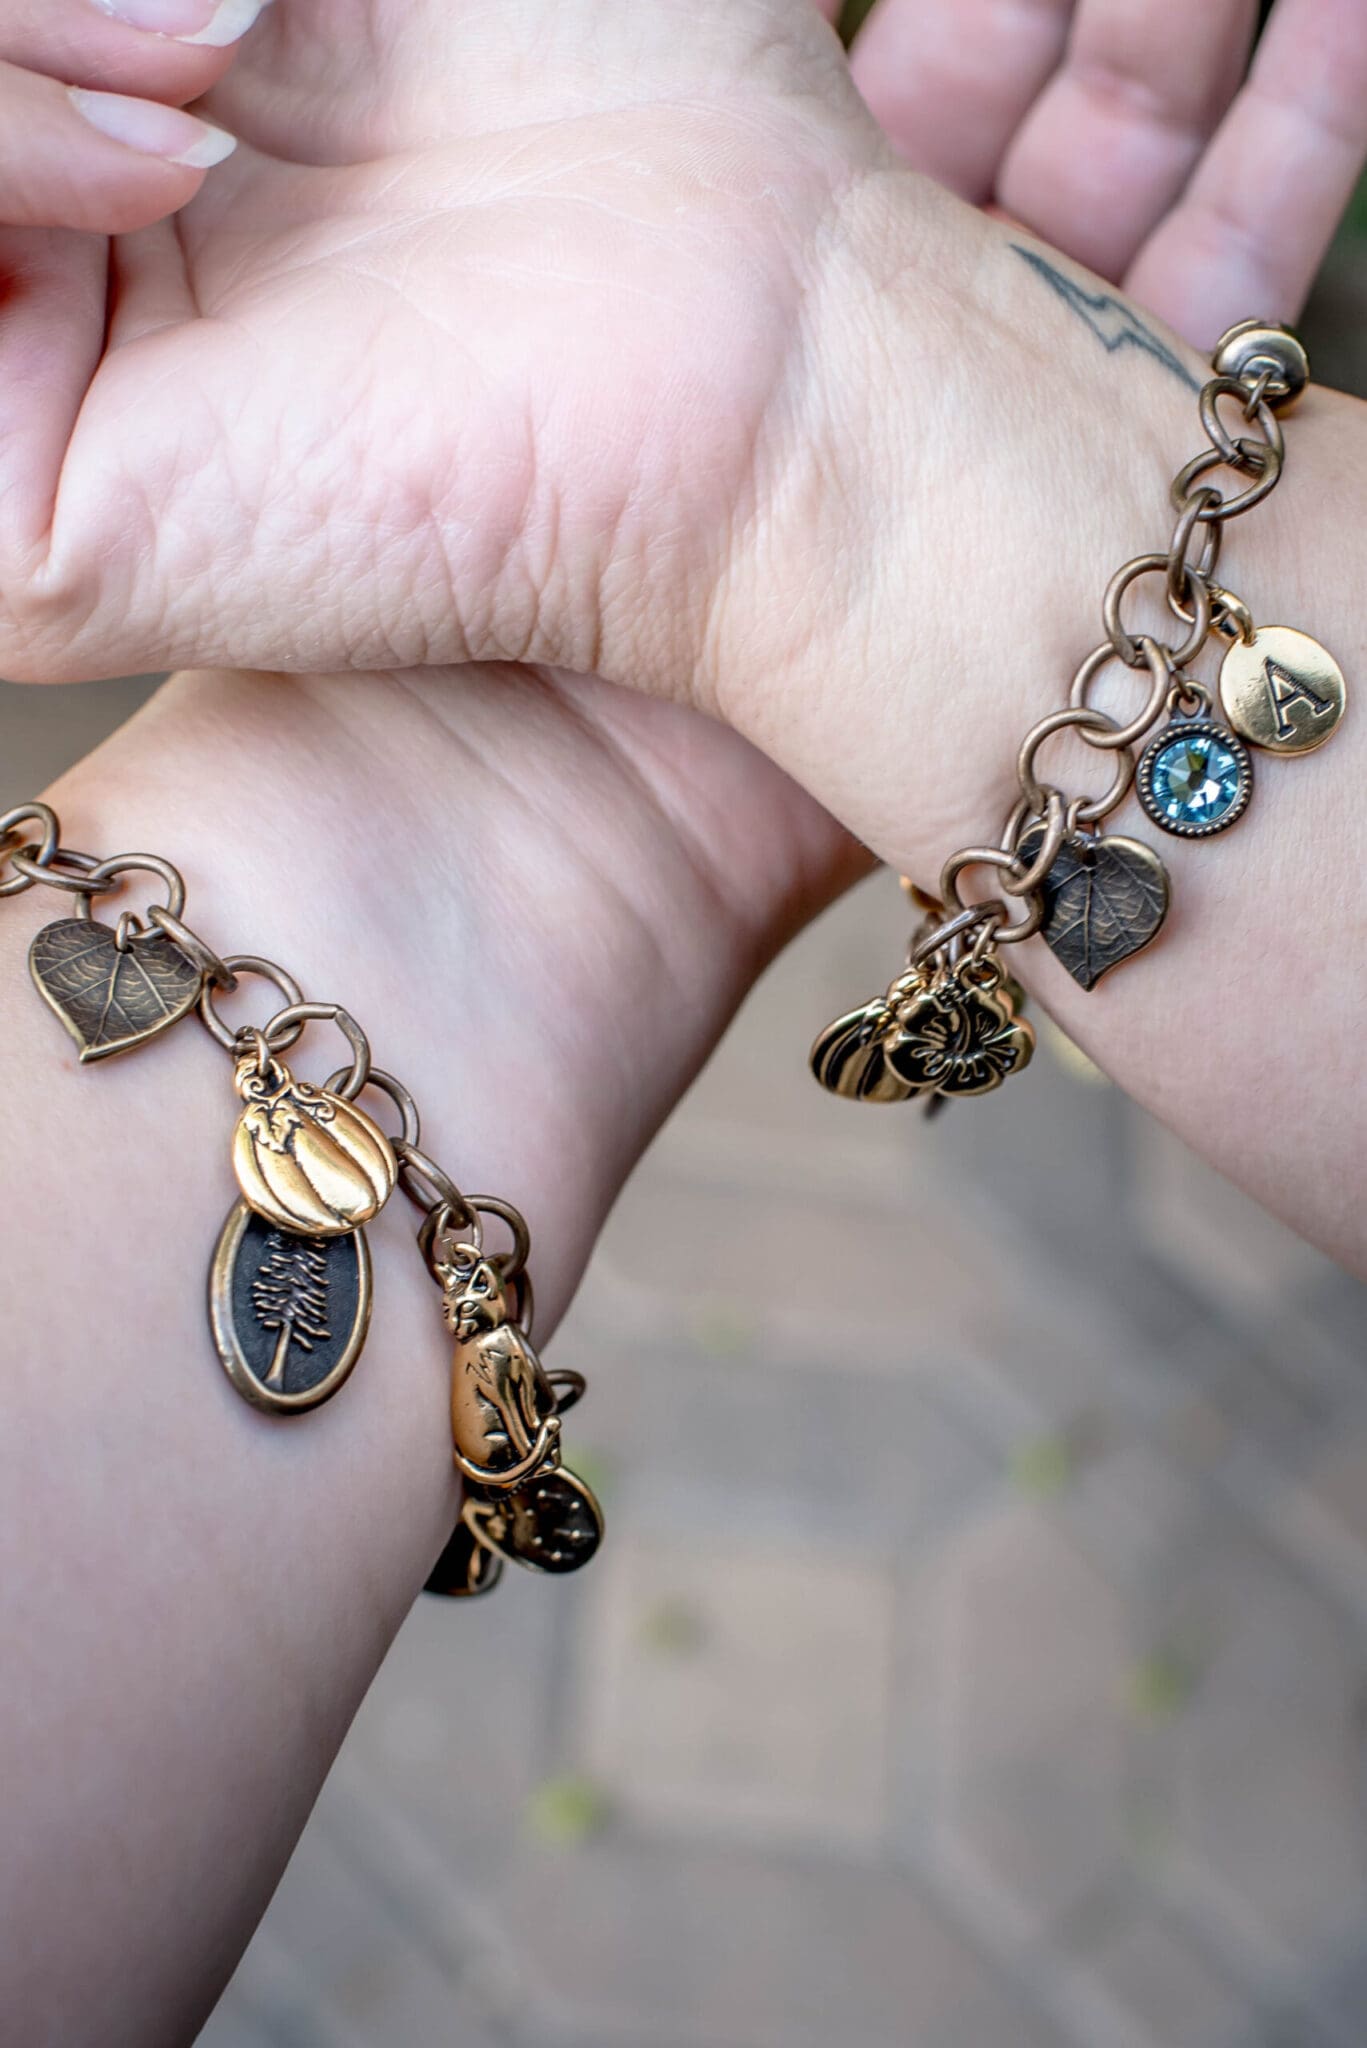
Use your jump rings to attach your charms to your chain. I chose to put a charm on about every other ring on the chain, this will depend on how many charms you use and how ‘full’ you want your bracelet to be.
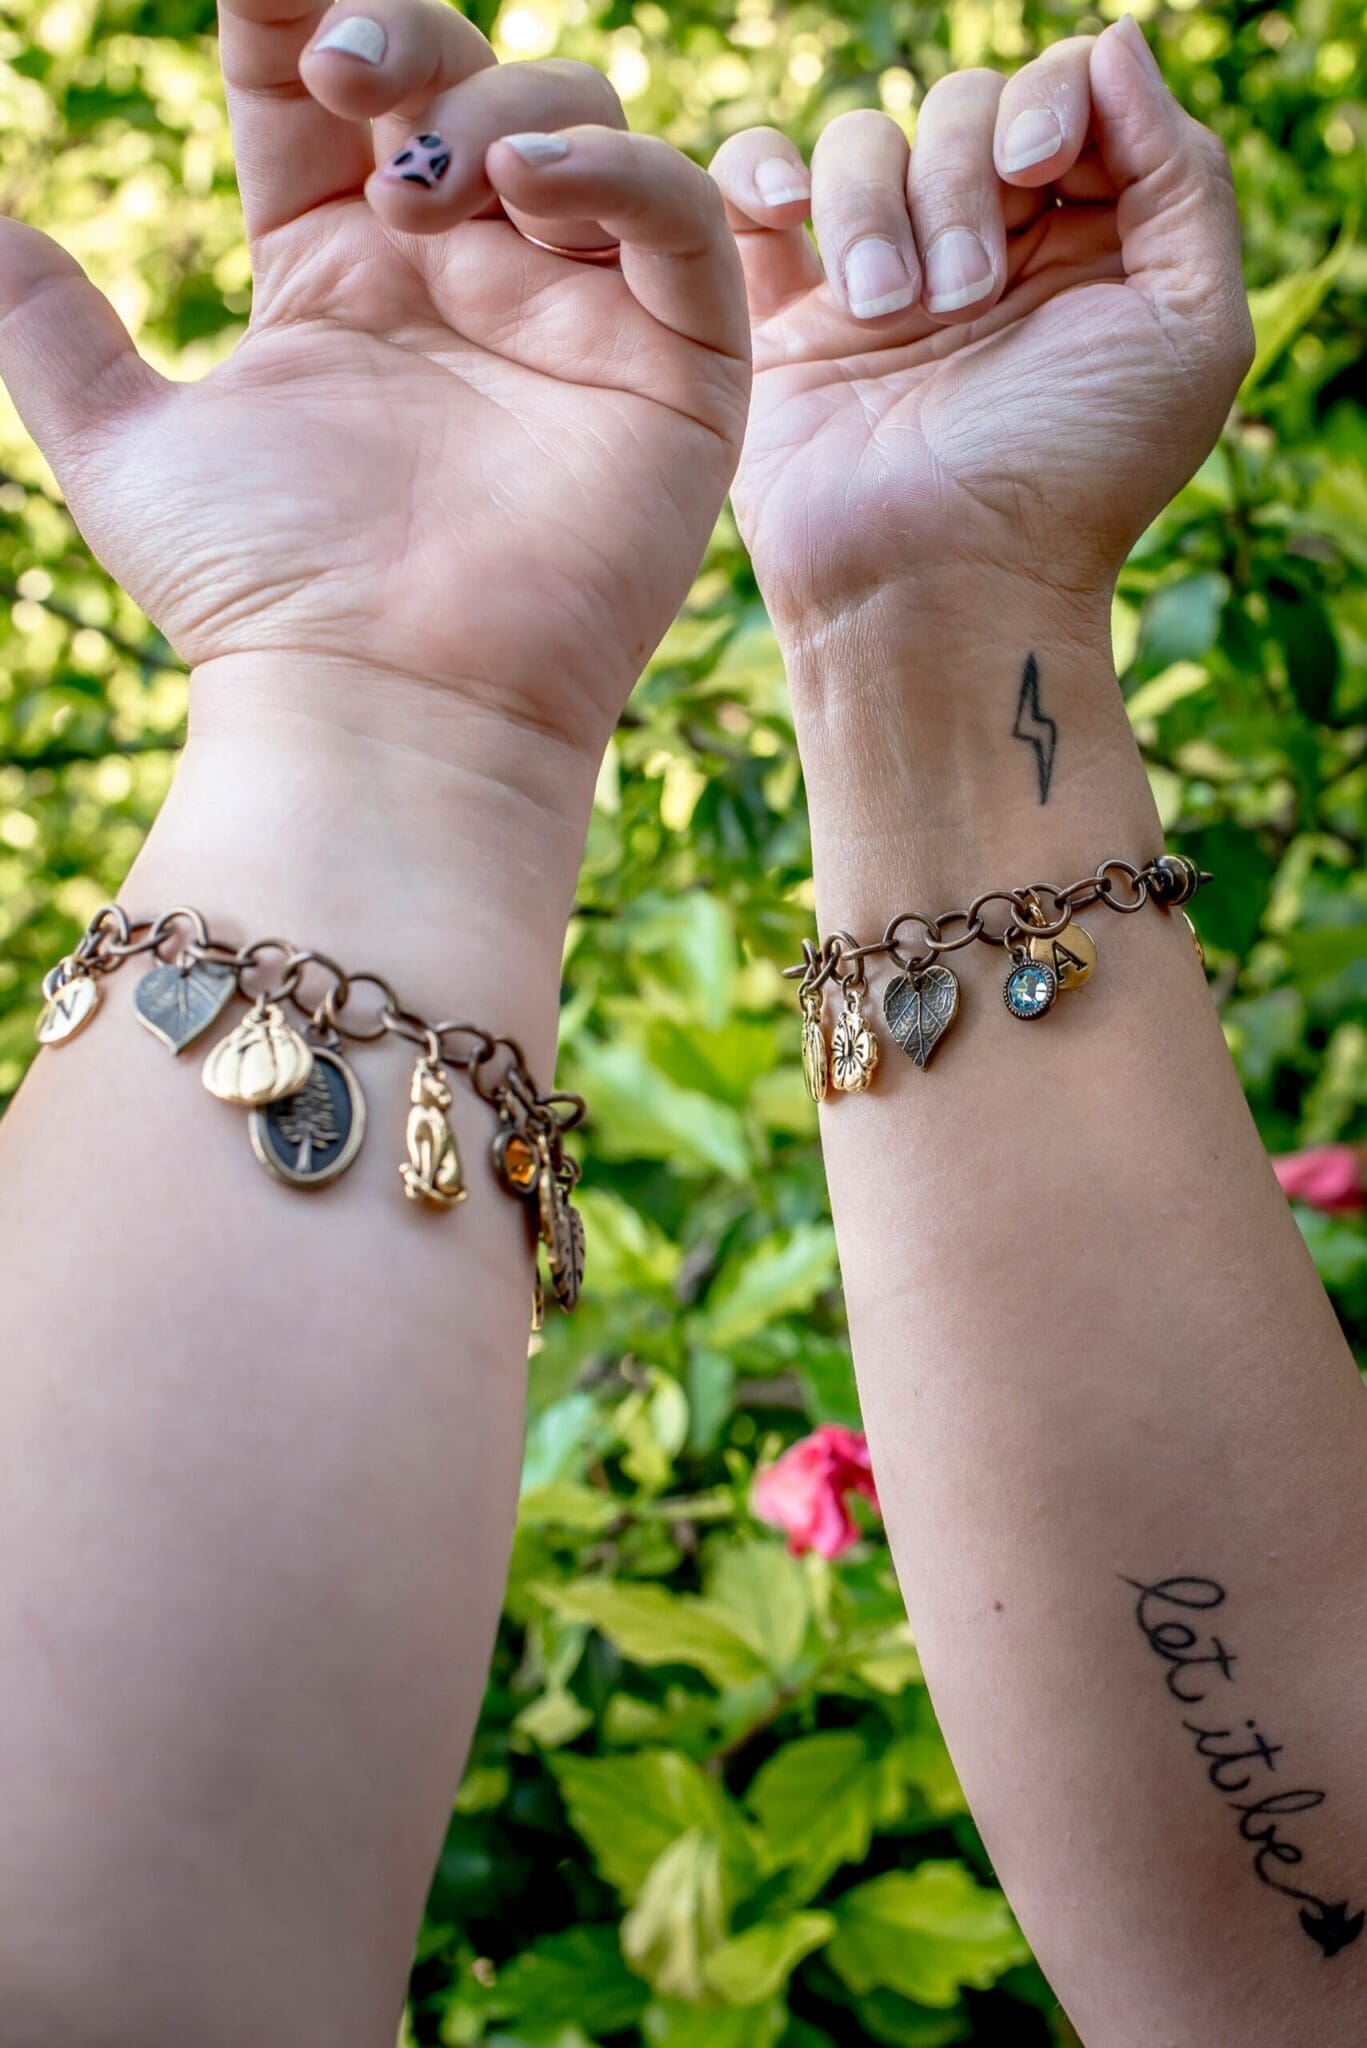
Continue to add until you are out or satisfied with how it looks. Repeat steps for each bracelet, and you’re done! Now it’s time to gift or share with your Bestie!
The second way is to just pick up one of these pre made bracelets: Wire Bracelet with hook opening in 12 gauge wire and then using the same charms just slip them on one by one and you’re done! This would be a great beginner project for kids or a perfect last minute gift idea when you are on a time crunch.
Nik is a maker, day dreamer & potty mouth who loves cats, coffee and craft beer. She is a self taught hand embroiderer and will DIY pretty much anything she can get her hands on. You can see her work on Instagram @wastingthyme & @nikvphotography. She lives in Long Beach with her husband and her three awesome cats (that she can’t shut up about).
Comments are closed.
© DEAR HANDMADE LIFE 2025. ALL RIGHTS RESERVED. THIS SITE USES AFFILIATE LINKS. WE DISCLOSE ALL SPONSORED POSTS BY NAMING THE SPONSOR IN THE POST.
Get our mostly monthly emails featuring event updates, secret deals, pep talks and inspiration to make every day awesome.

Note – if you use one of those wire bracelets – you can slide on spacer beads to keep the charms a little way apart from each other. You don’t want long spacer beads as they won’t fit well on the curved wire.