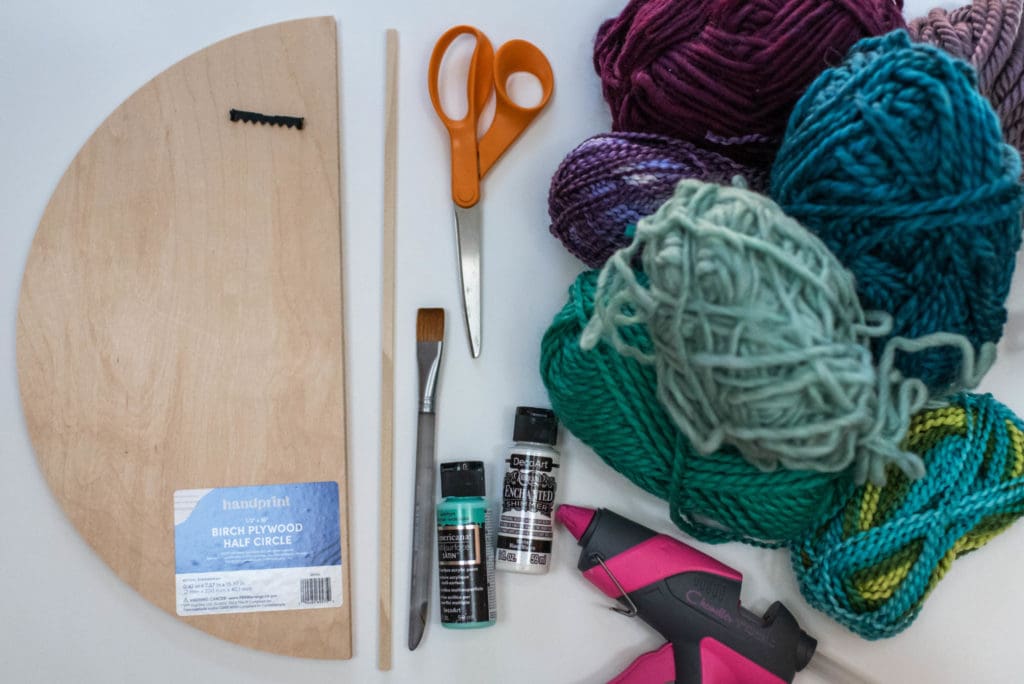
We were so excited to have Handprint debut at Craftcation this year! They are a great company who manufactures tons of different wood items that are perfect for the everyday crafter/maker. I love that they have so many versatile options that can be used for home decor or a fun craft day with your friends! This project was one I used at a craft day I hosted at home. I loved how we started with the same materials but all ended up with completely different projects in the end. I wanted to show you just one example of how you can make this wall art, but the options are really endless here!
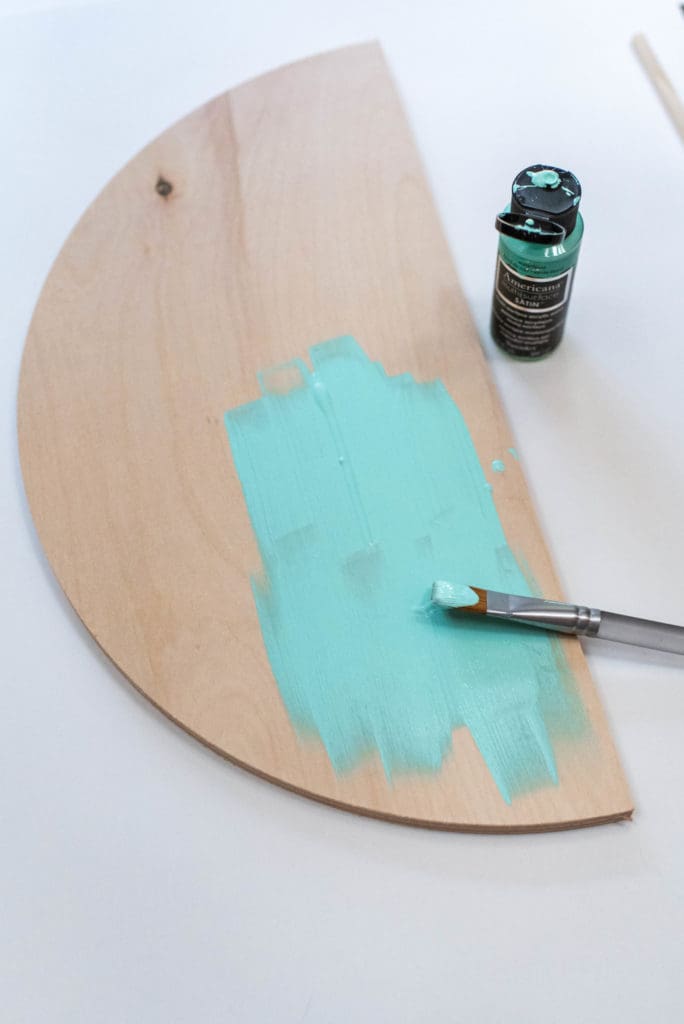
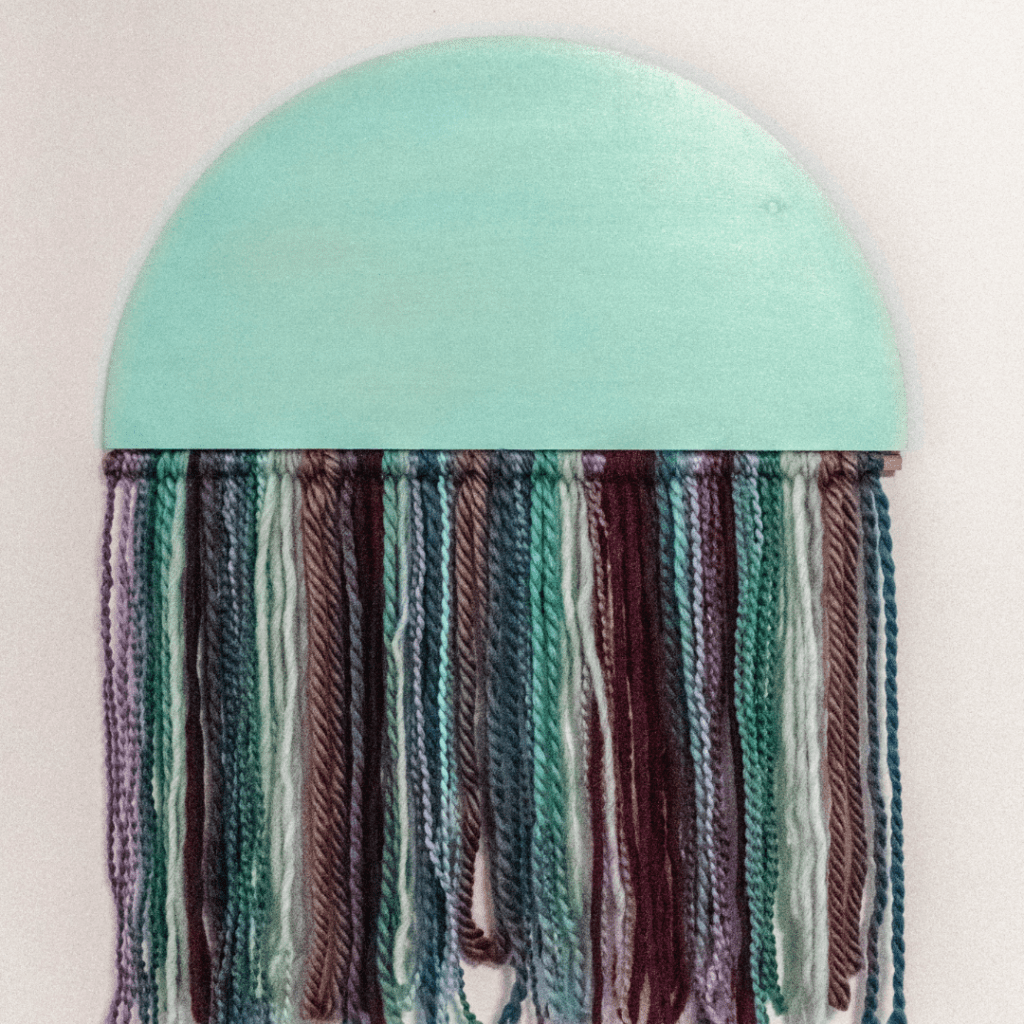
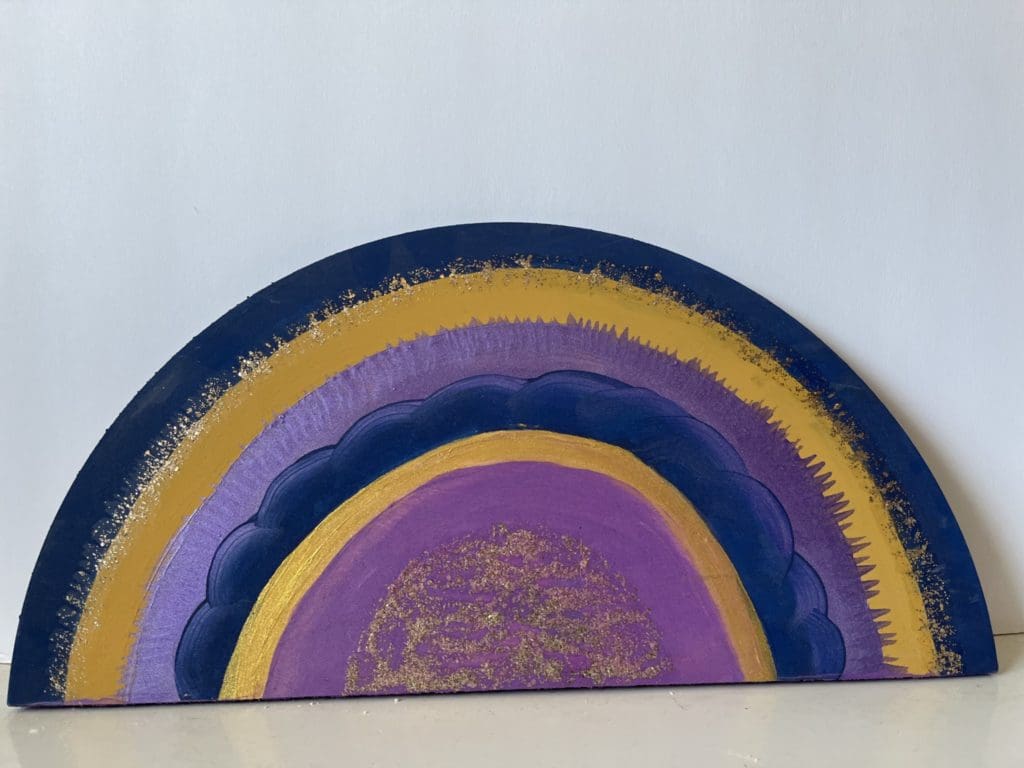
Paint or stain your half circle shape. I chose to paint mine in a color that corresponded to the yarn that I was using. I used a Satin finish acrylic paint and a shimmer paint as my top coat. This is completely up to your design aesthetic, I think the birch also looks beautiful left natural!


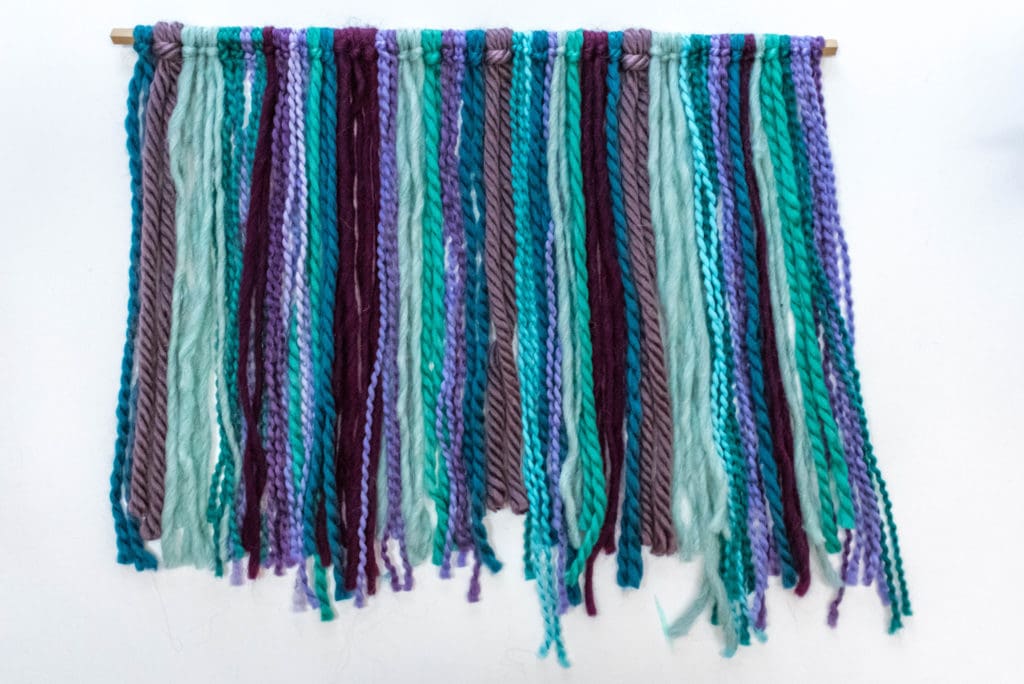
Cut your yarn into the lengths that you would like to use. If you do a bulk of the cutting in the beginning, this will make the process of attaching your yarn go much quicker! The length will also depend on the design aesthetic you are looking for. If you want to end up trimming your yarn in a certain shape or way, then take that into consideration as you are cutting your pieces. They don’t need to be completely uniform, especially if you will be trimming it at the end anyway.
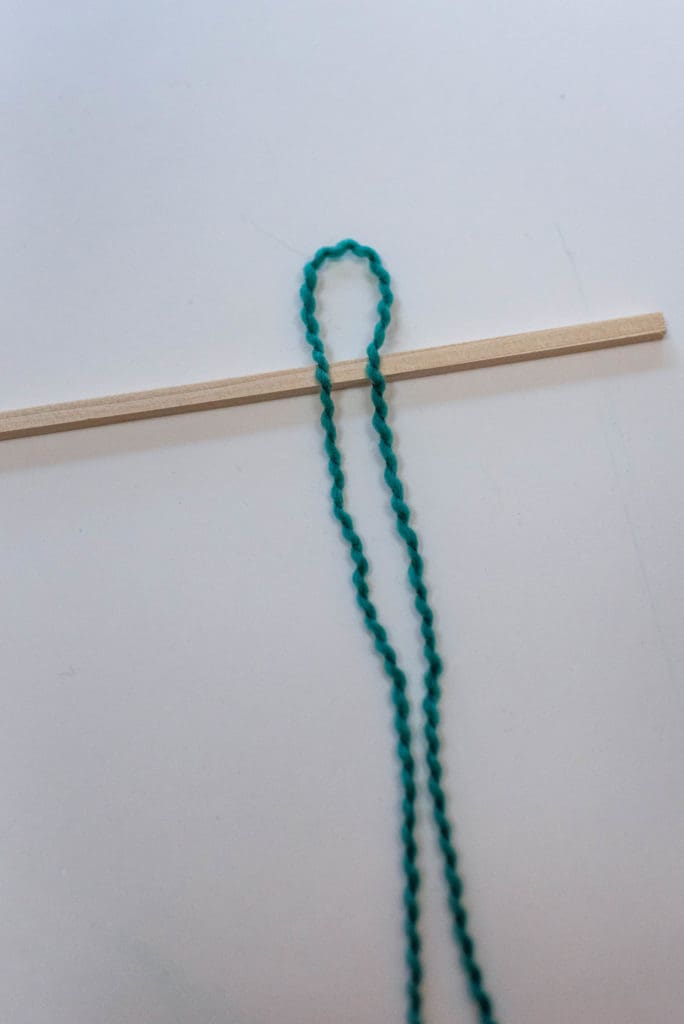
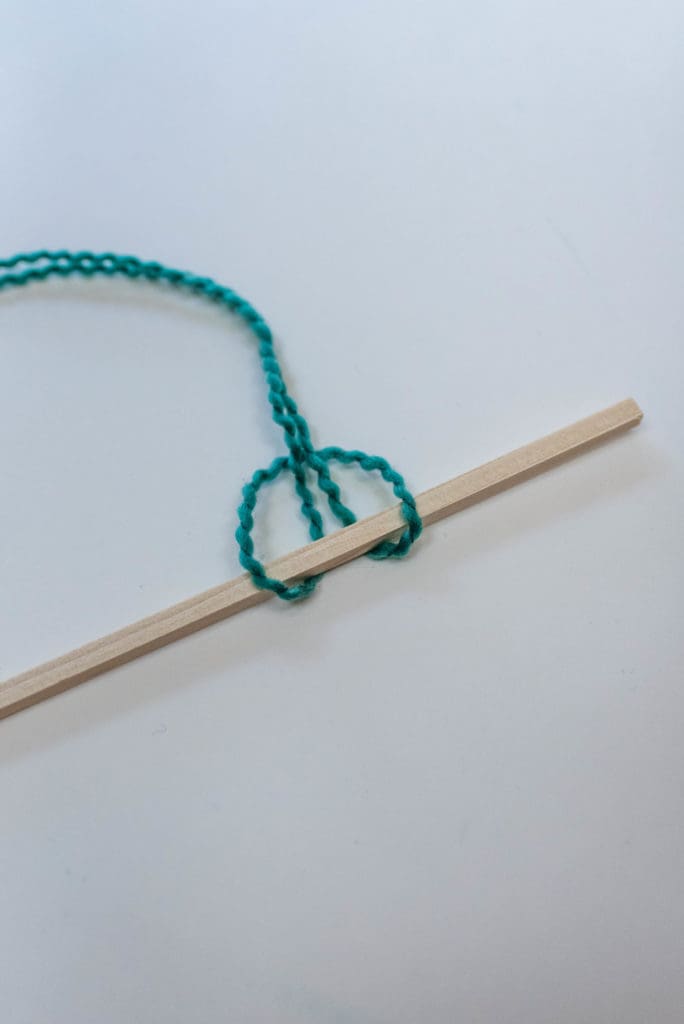
Attach your yarn to the wooden dowel. To keep this project easy and accessible, I went with a simple and quick way of securing the yarn to the dowel. You create a loop in the center of your cut of yarn, lay it over the dowel, and bring the 2 cut ends of the yarn up from behind and through the loop and pull it taught to secure. Keep doing this until you have filled your dowel or until you have the amount of yarn you’d like.


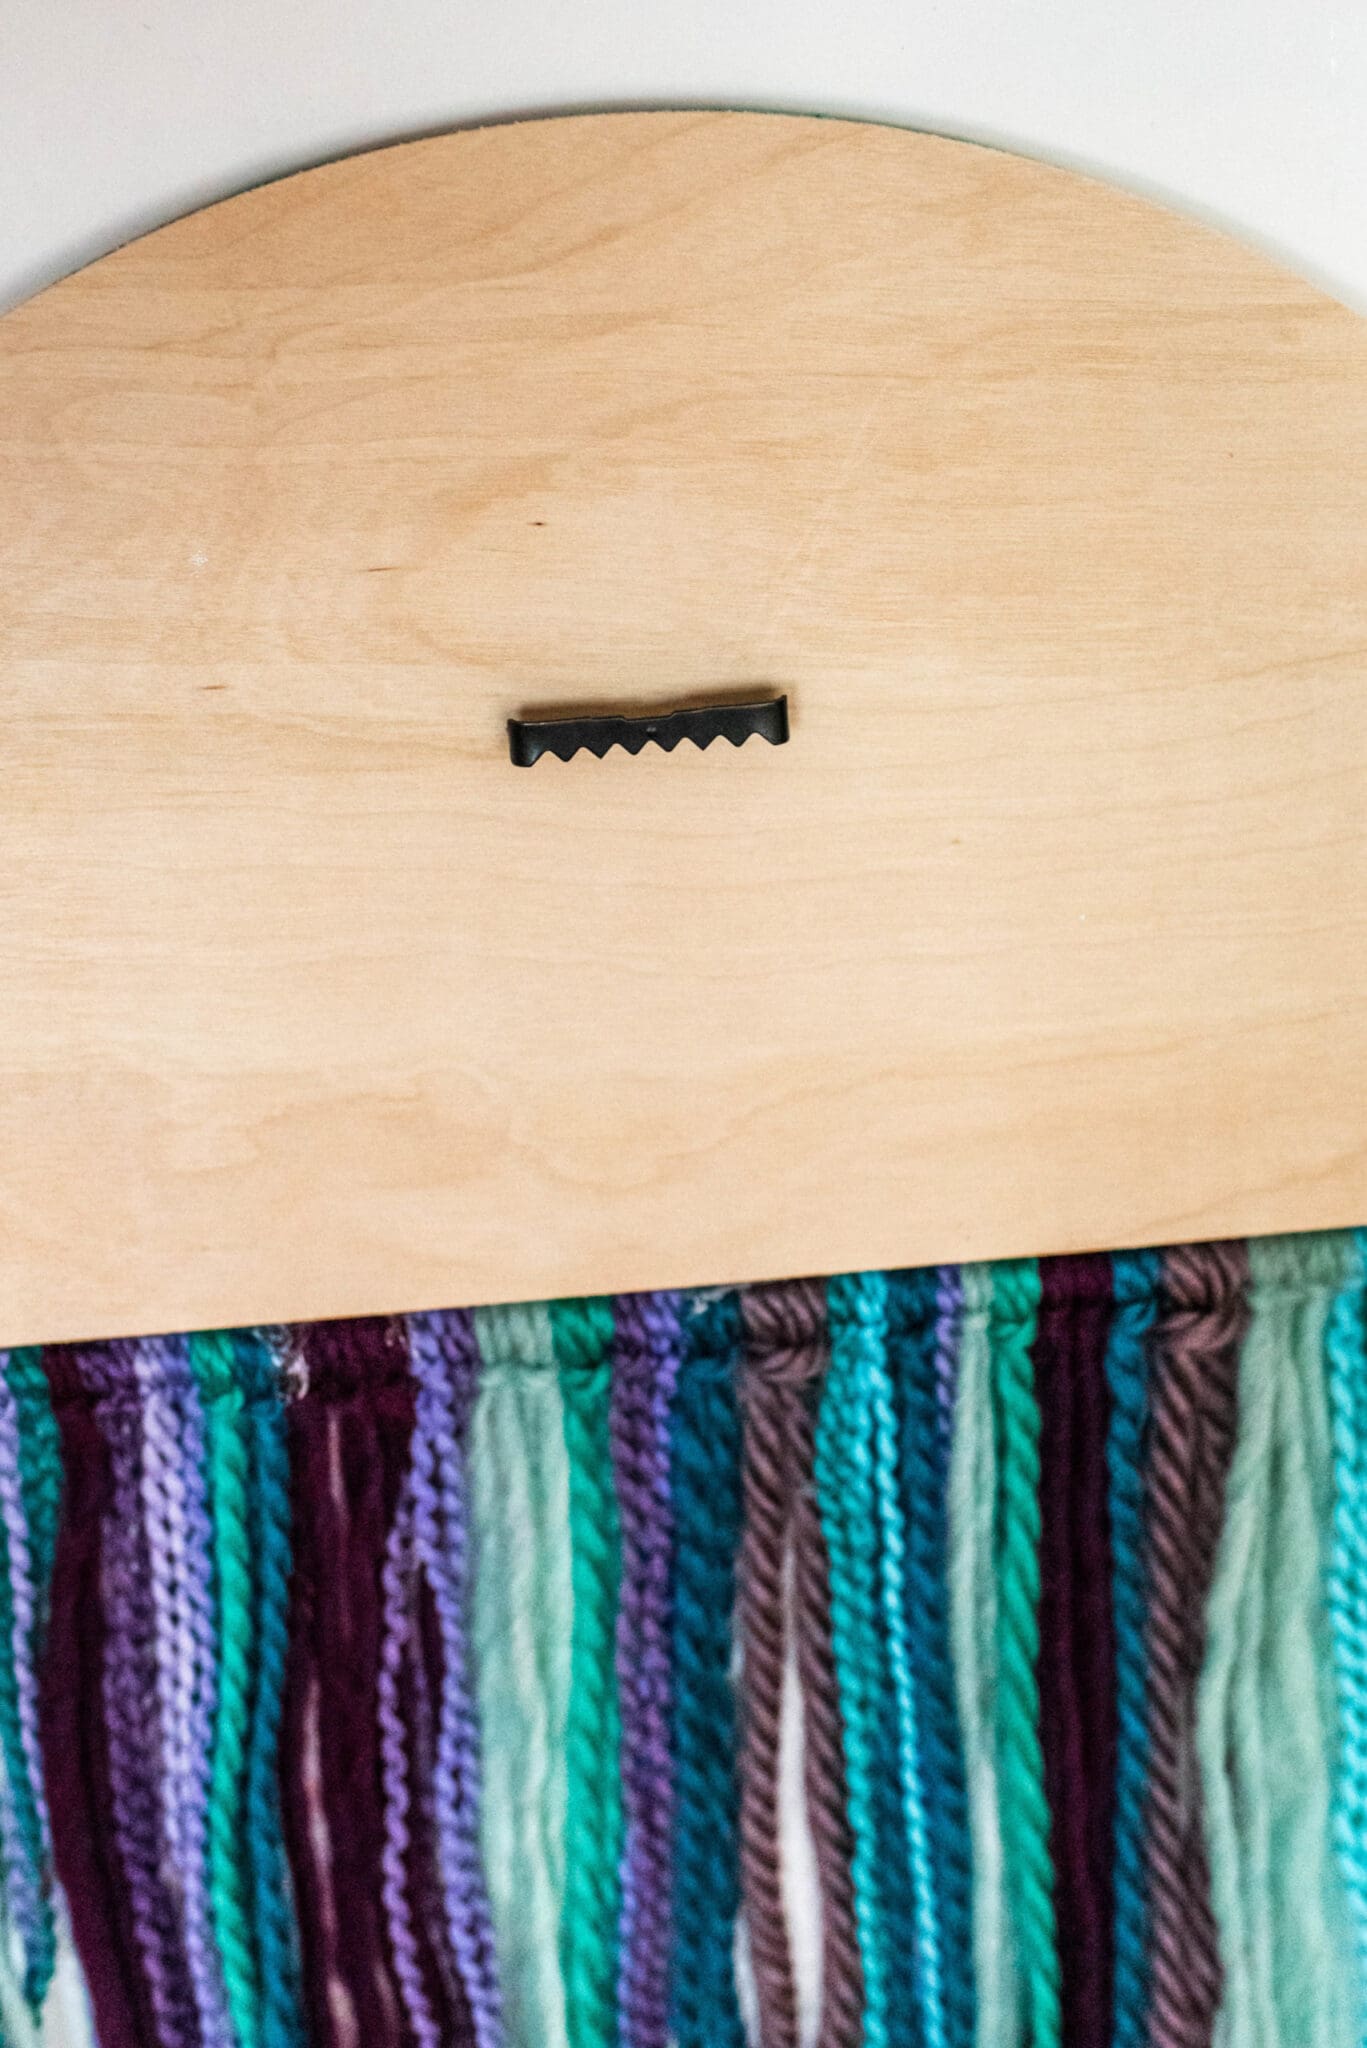
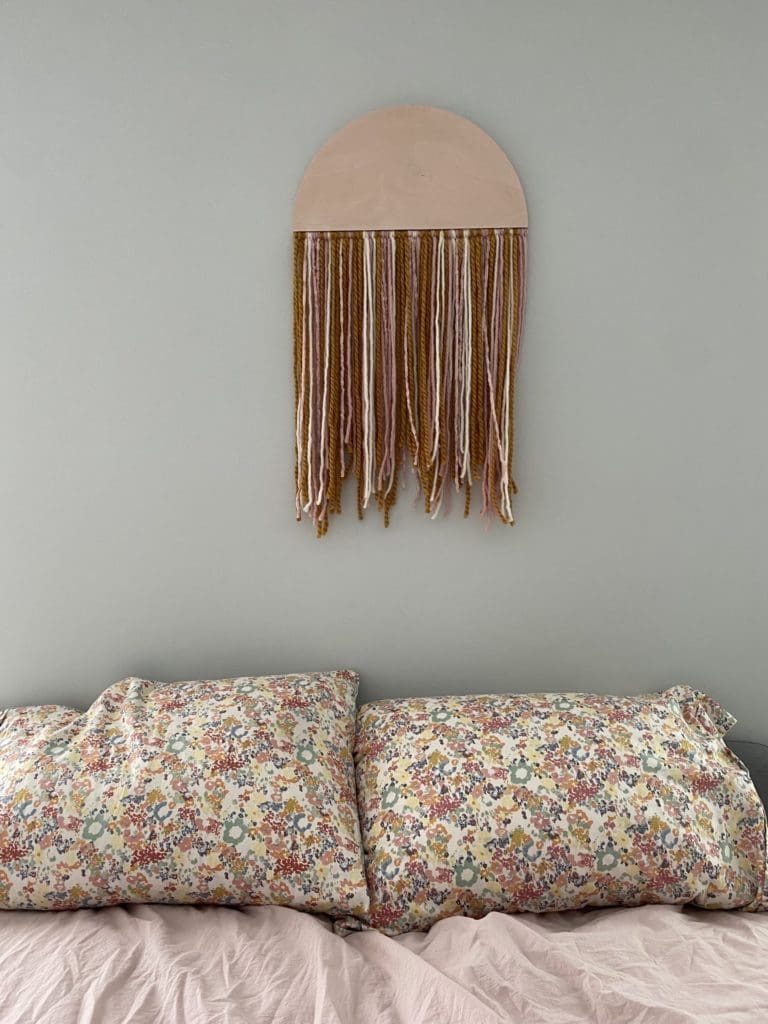
Use your hot glue gun to attach your dowel with the yarn, to the bottom of your half moon shape. I used quite a bit of hot glue here to make sure this stays secure! You can also trim the bottom of the yarn into whatever shape you’d like. A straight line, circle, triangle etc. I chose to leave mine uneven as I really liked the organic look of it.


If you are using a sawtooth picture hanger, you can attach it now. The Birch is pretty soft and you should just be able to push it into the back of your piece but you can also use a hammer here too.
And you’re done! Hang up & admire your new work of art.
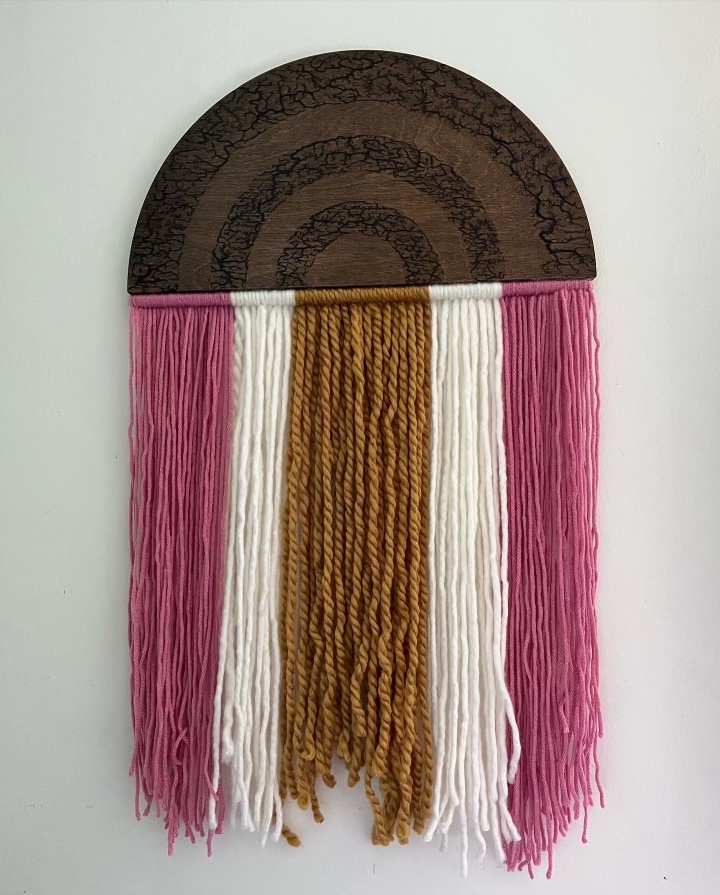
For a bit more inspiration, I’ve included some of the photos of the projects my friends made at our craft day too!
Nik is a maker, day dreamer & potty mouth who loves cats, coffee and craft beer. She is a self taught hand embroiderer and will DIY pretty much anything she can get her hands on. You can see her work on Instagram @wastingthyme & @nikvphotography. She lives in Long Beach with her husband and her three awesome cats (that she can’t shut up about).
© DEAR HANDMADE LIFE 2020. ALL RIGHTS RESERVED. THIS SITE USES AFFILIATE LINKS. WE DISCLOSE ALL SPONSORED POSTS BY NAMING THE SPONSOR IN THE POST.
Get our mostly monthly emails featuring event updates, secret deals, pep talks and inspiration to make every day awesome.