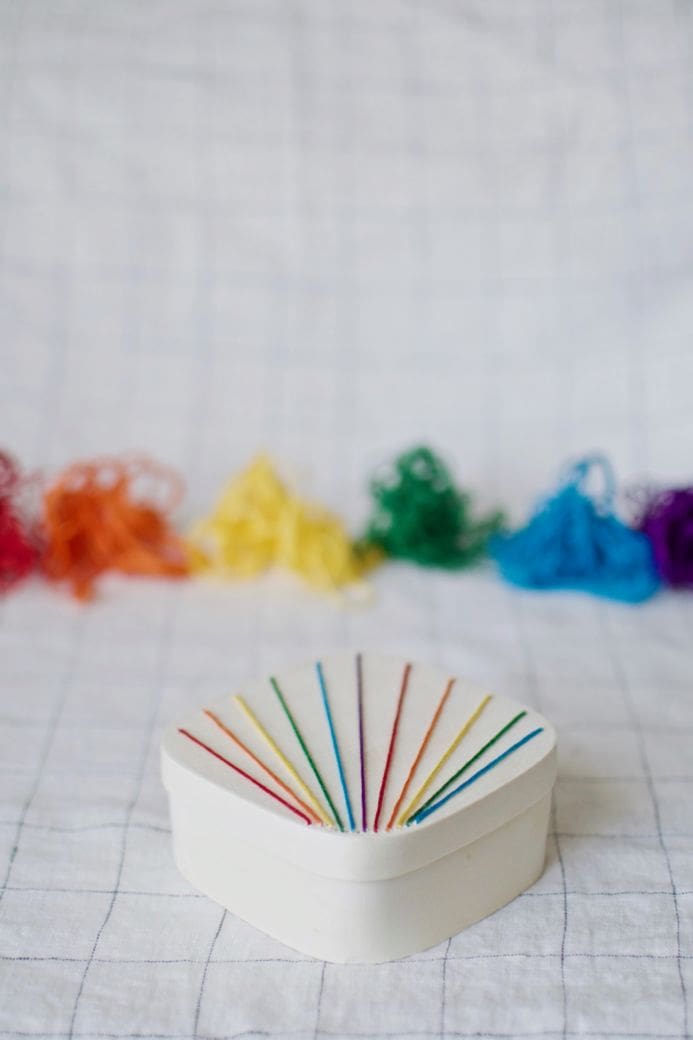
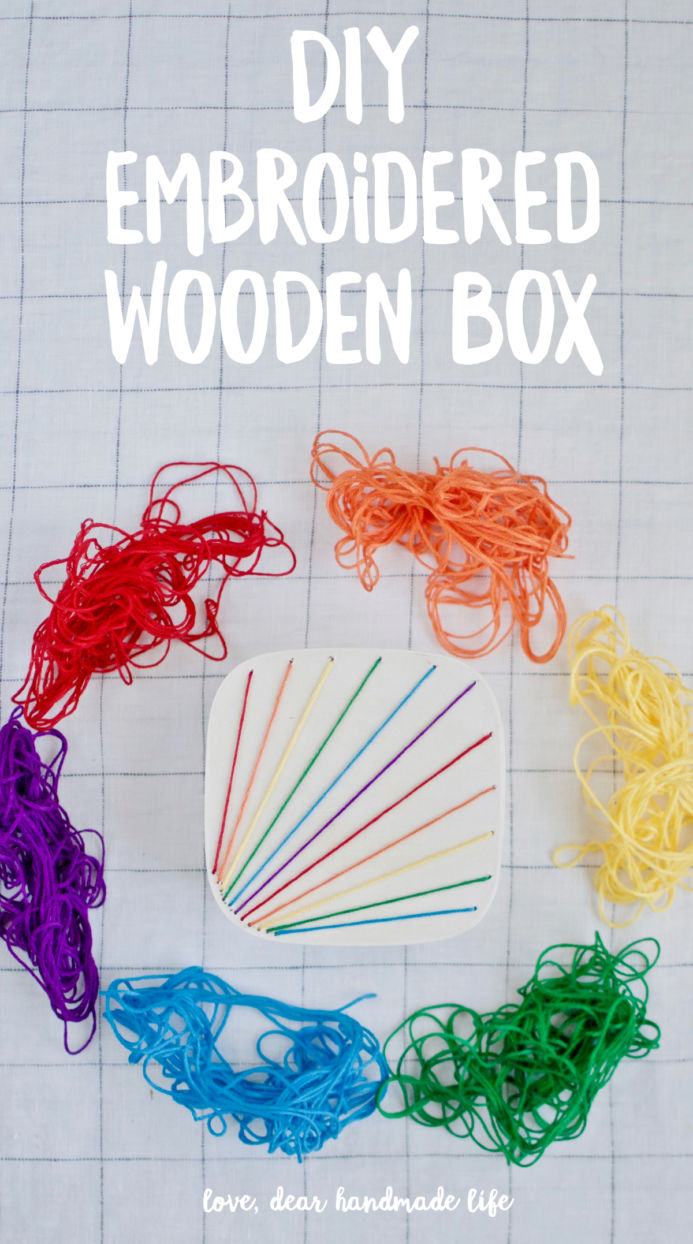
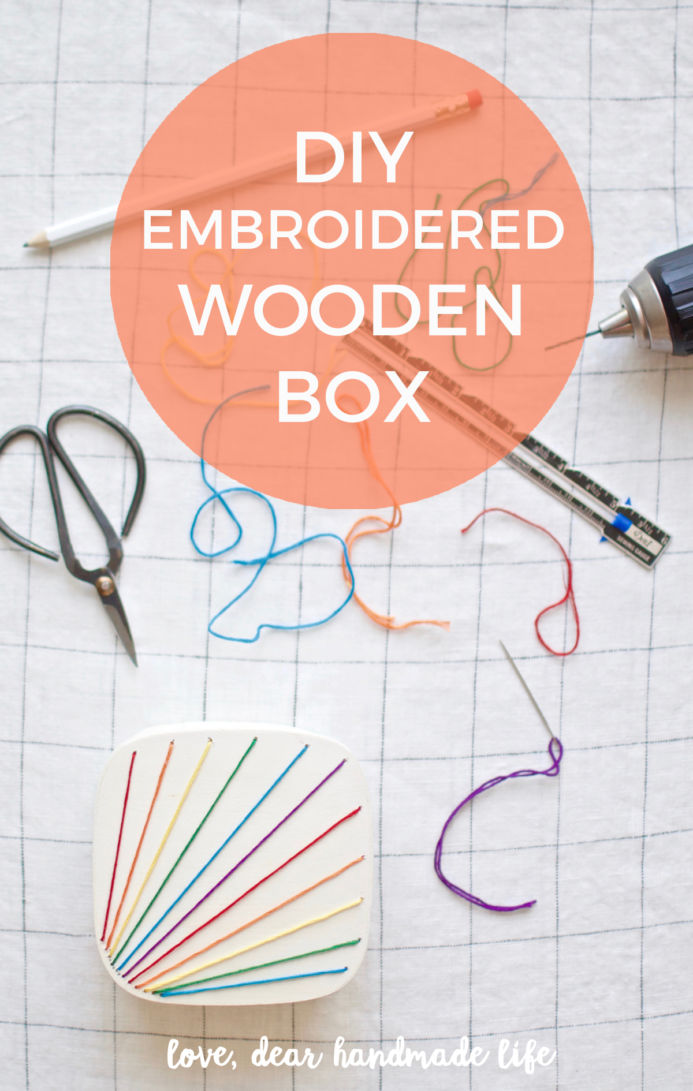
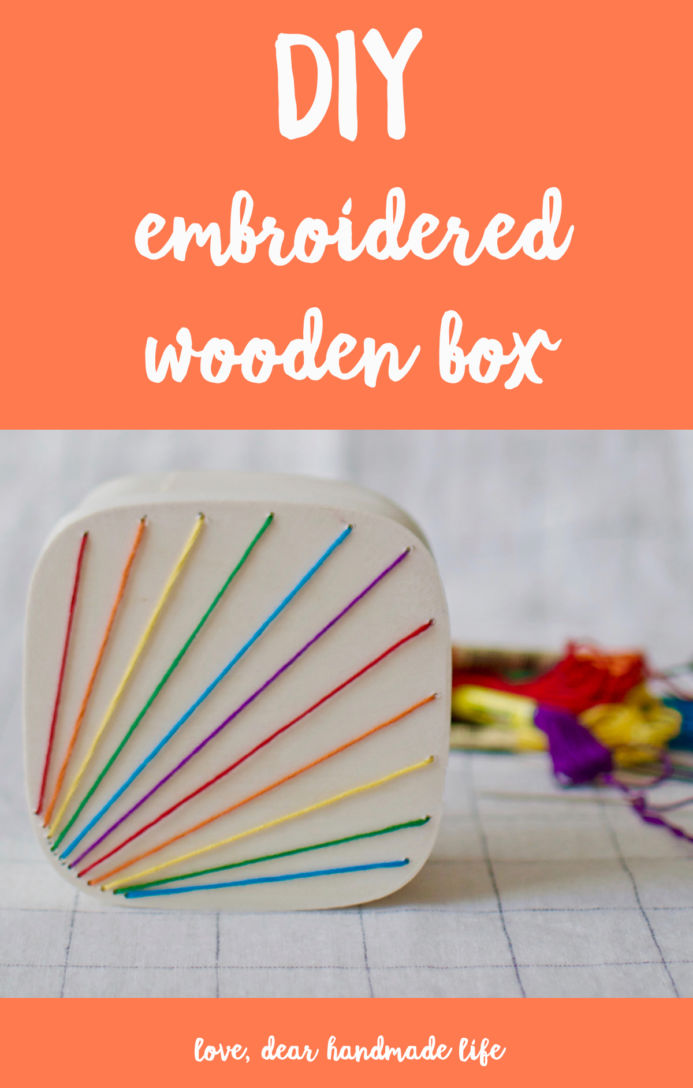
DIY Embroidered Wooden Box
Editor’s Note: We’re excited to welcome Nik Vanderveter from WastingThyme for some guest posts. Nik is one of the craft managers for our business and makers conference Craftcation + she’s also a super talented maker and photographer.
P.S. – If you’re inspired by this project and want to get your DIY on or need packaging or shipping supplies for your business, check out our friends at Paper Mart. Paper Mart is a fourth-generation family owned business and they’re the largest discount packaging, bulk gift wrapping, and party supplies company in the United States! From craft project supplies to packaging to décor to shipping supplies to label and MORE… Paper Mart is awesome!
-Nicole S.
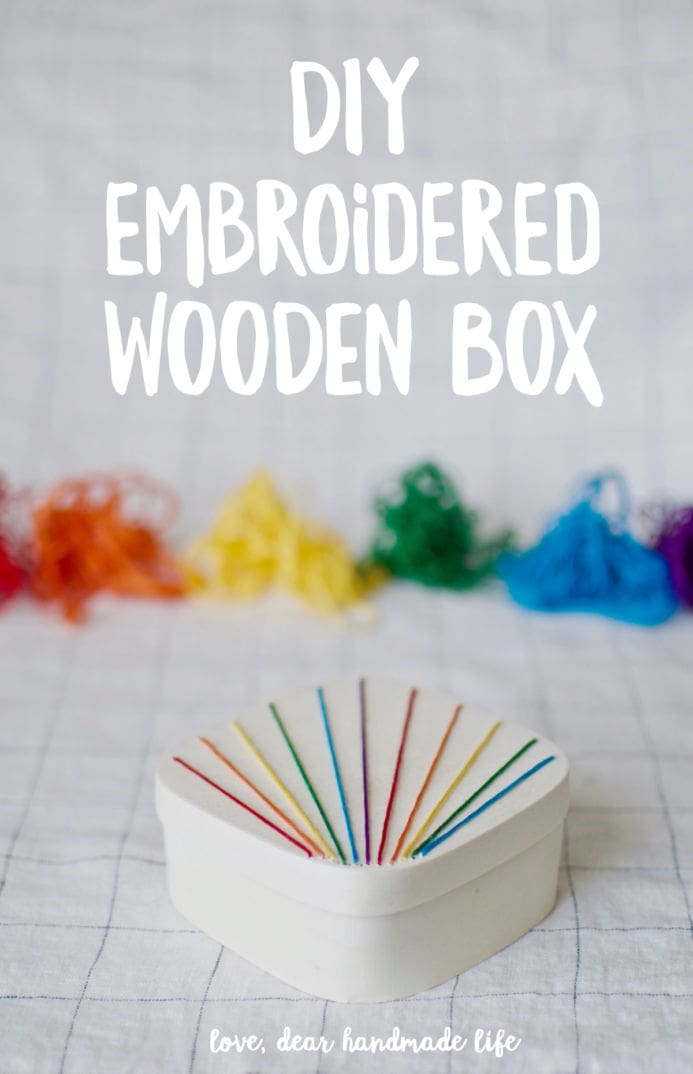
Hi there! Nik here from WastingThyme, I’ve been embroidering for over five years but only recently have I really been trying to think out of the box (or on the box in this case) and try embroidering on non-traditional surfaces. This super fun project is easier than it looks and comes together in no time! Let me show you how it’s done.
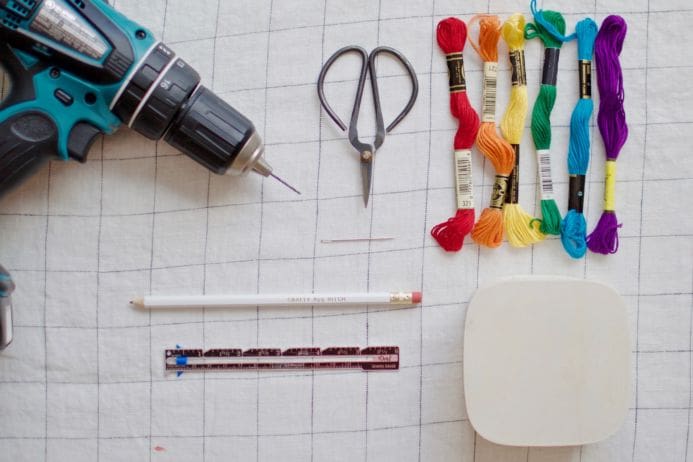
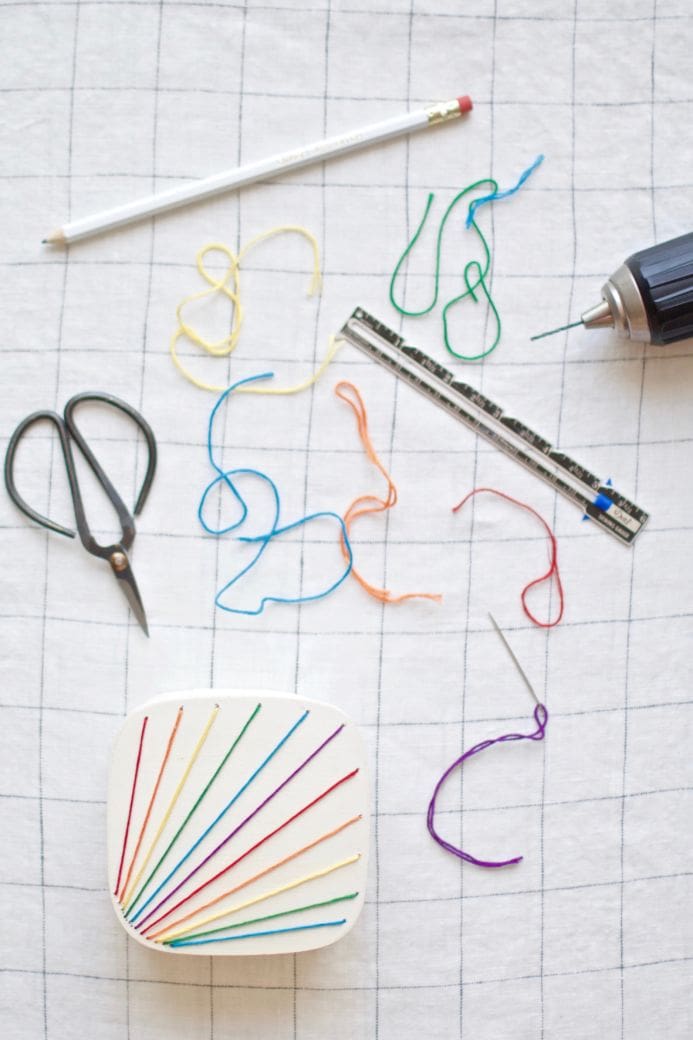
WHAT TO GET:
-Wooden box (I used the large in this set from PaperMart)
-Scissors (we love these classic embroidery scissors)
-Embroidery floss (this is a great inexpensive multi-color pack)
-Embroidery or thin tapestry needle (like these)
-Pencil
-Ruler, I used a small sewing gauge
-Power drill with small drill bit, 5/64 or 1/16 (this one is awesome)
WHAT TO DO:
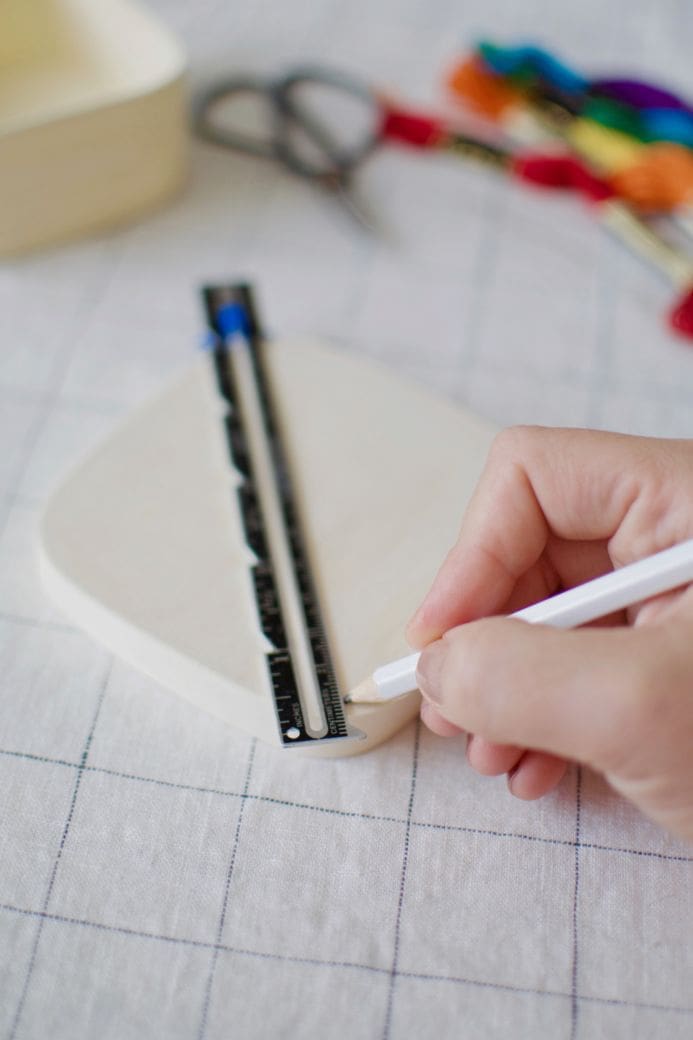
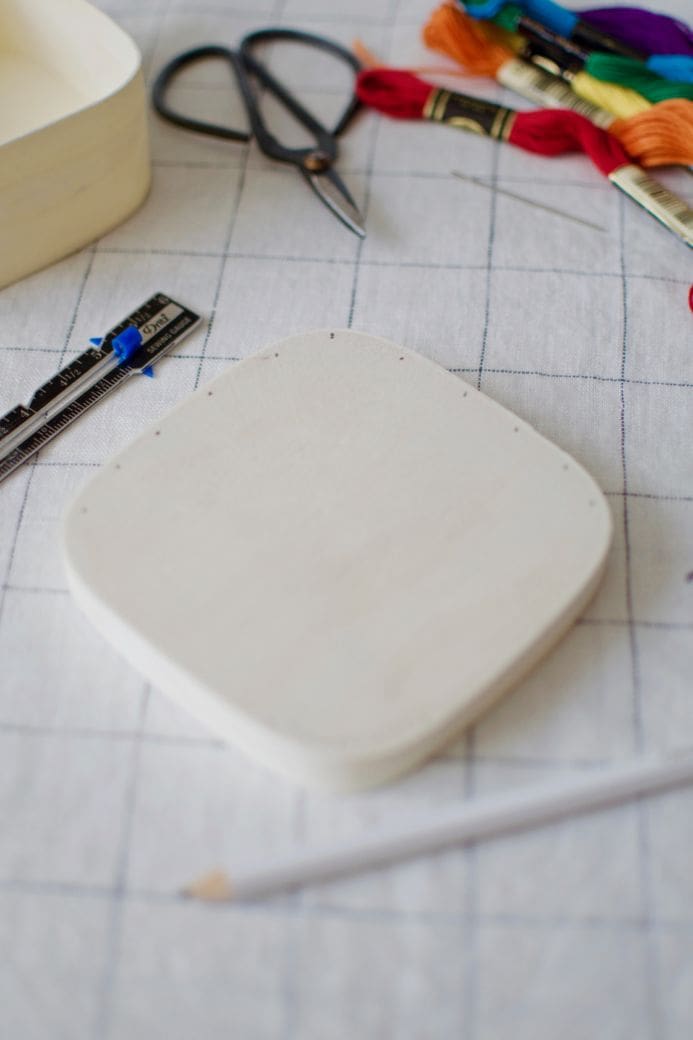
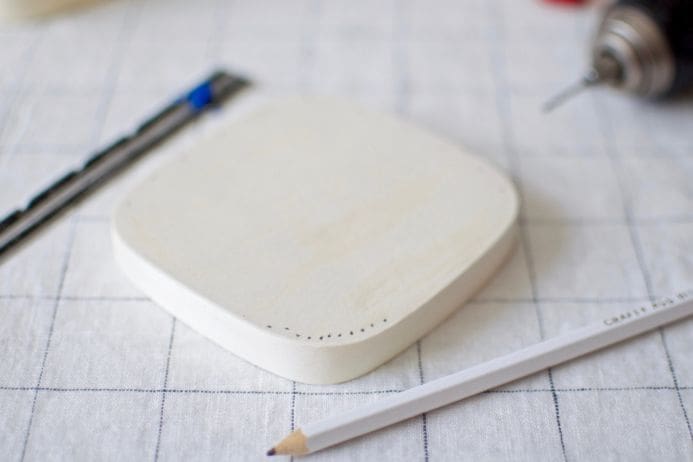
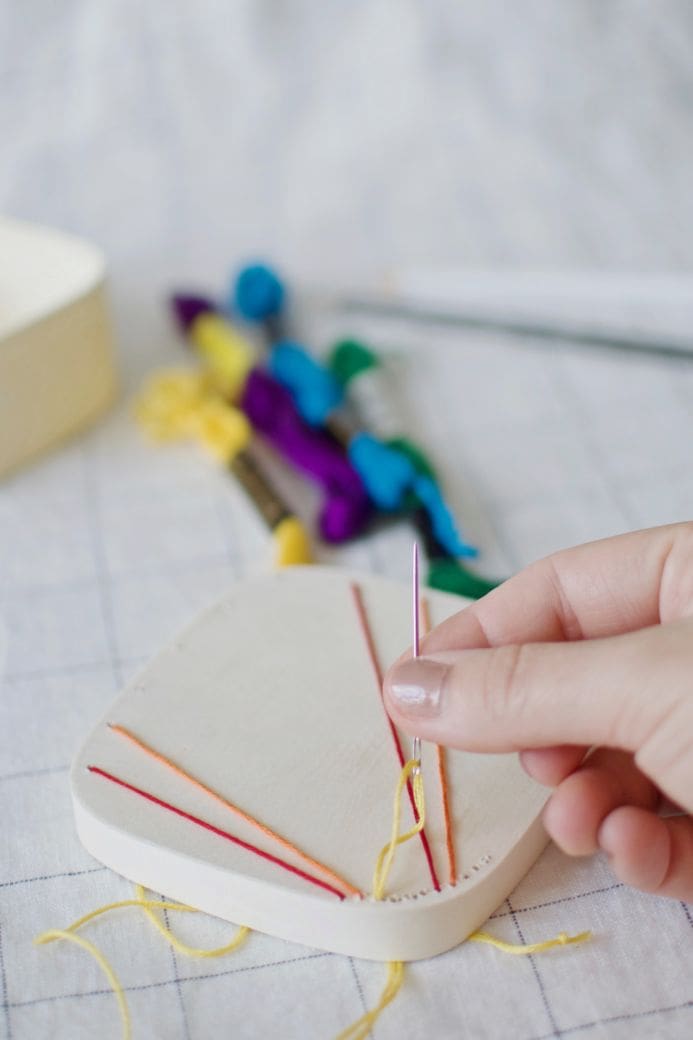
1. To create this starburst effect I started by marking my dots in the middle and moving outwards. You only need to mark where you will be drilling your holes, use the ruler as a guide and make a small dot with your pencil at both ends of the box. Since I was using the sewing gauge I used the width (about a 1/2 inch) of that as my spaces between the dots along the outer part of the box. Keep the ruler at an angle as you go.
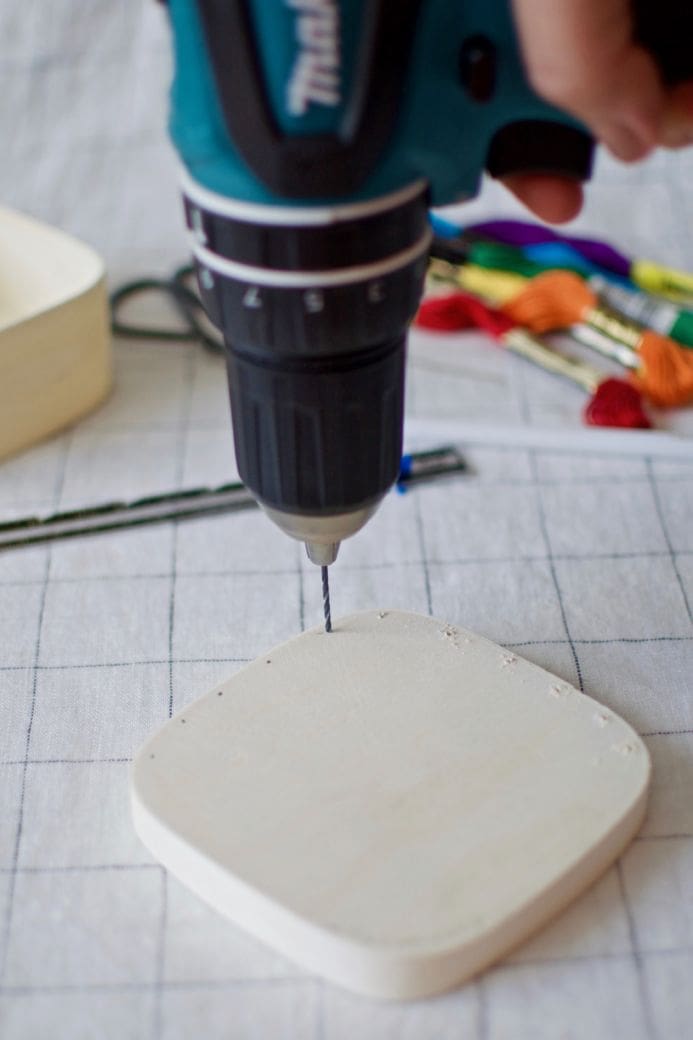
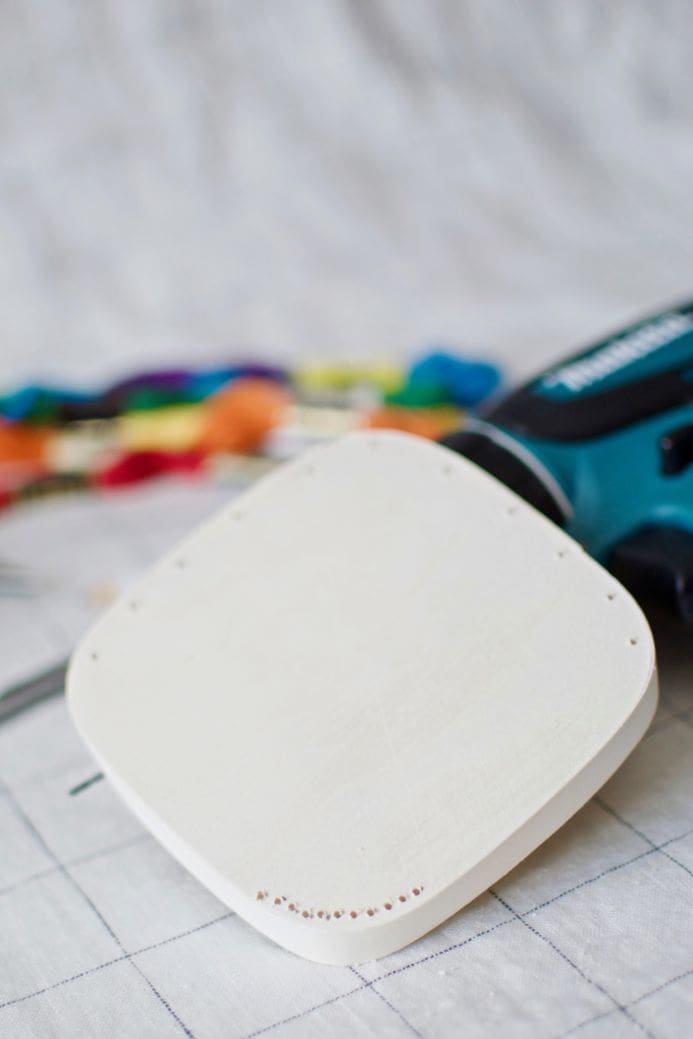
2. Slowly and gently drill where you’ve made your marks. Brush away or blow off any dust this might create.
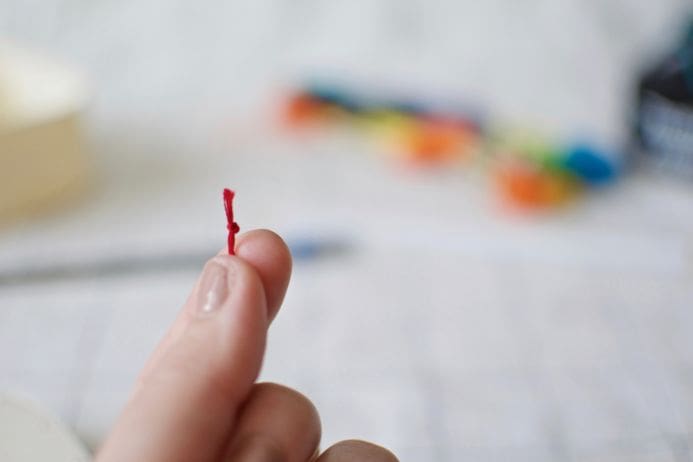
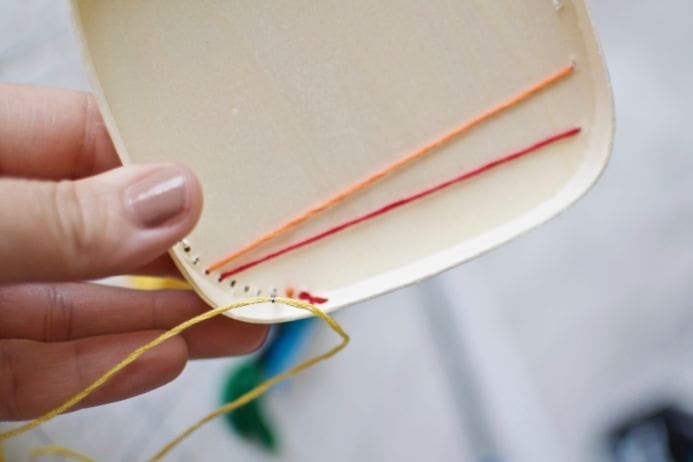
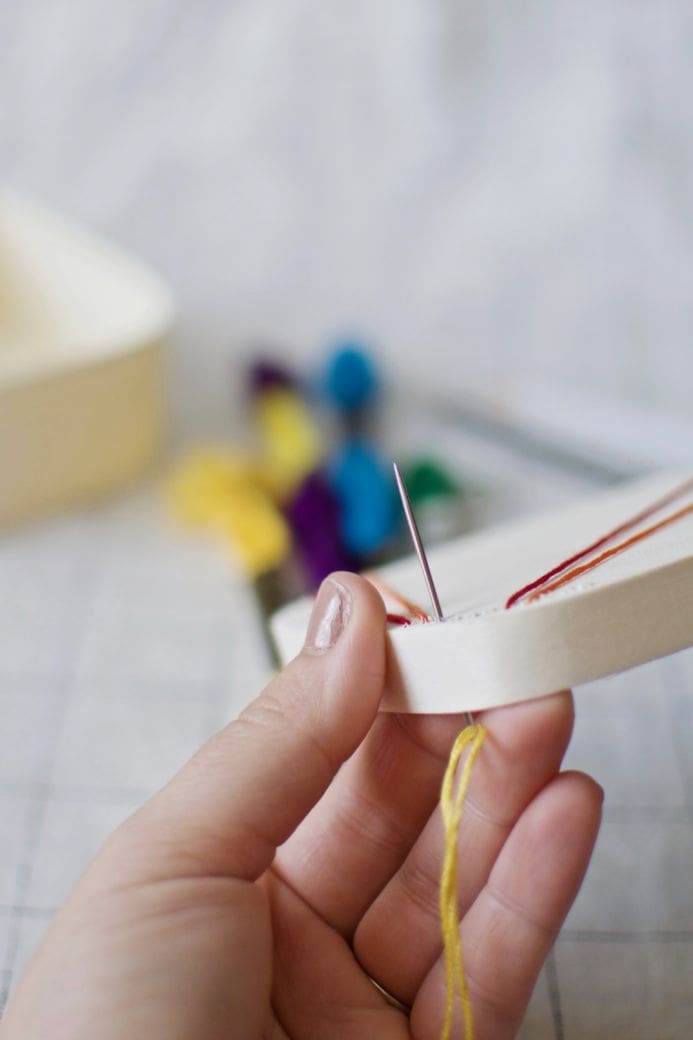
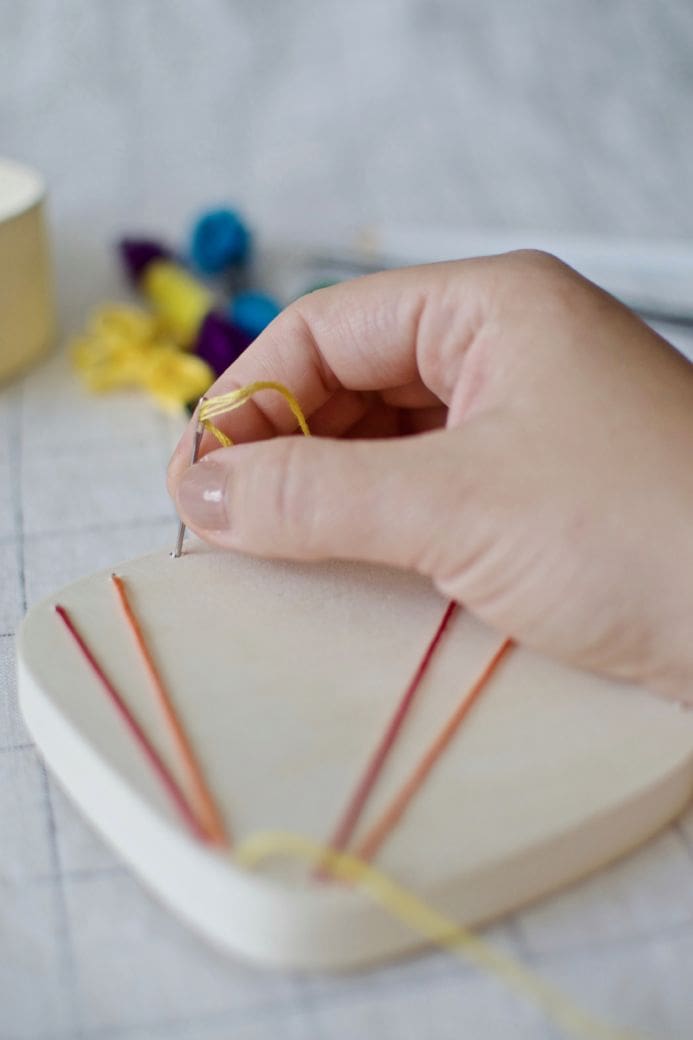
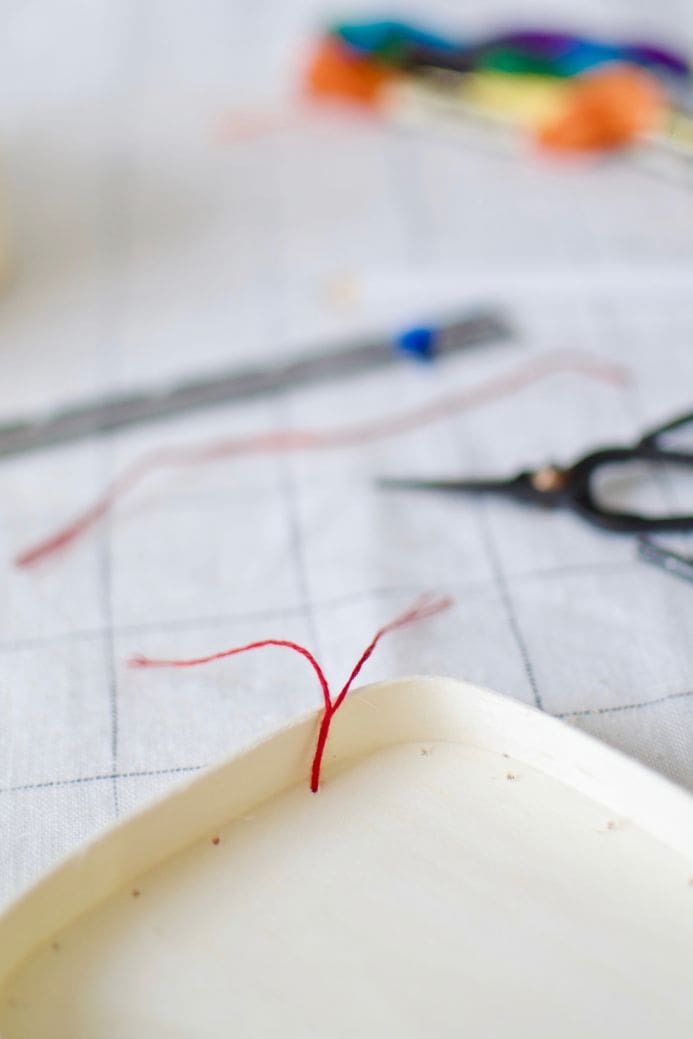
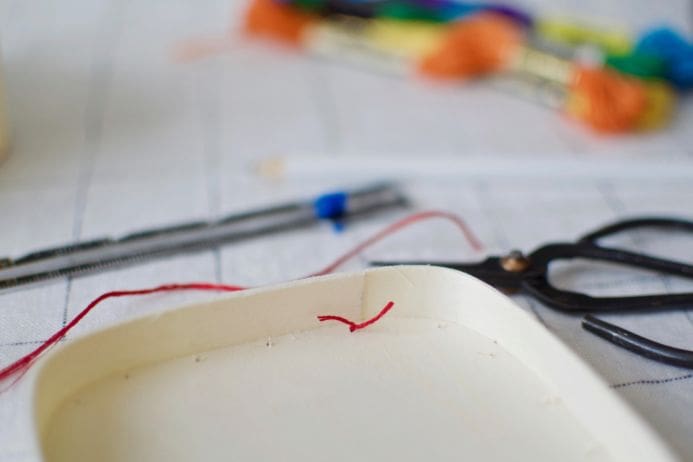
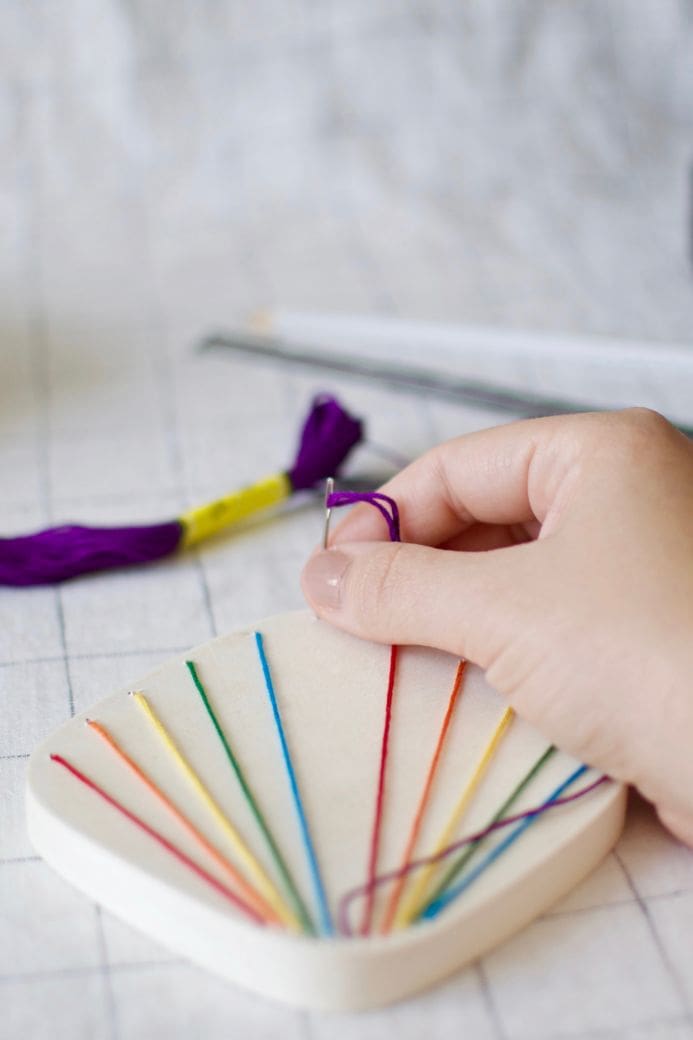
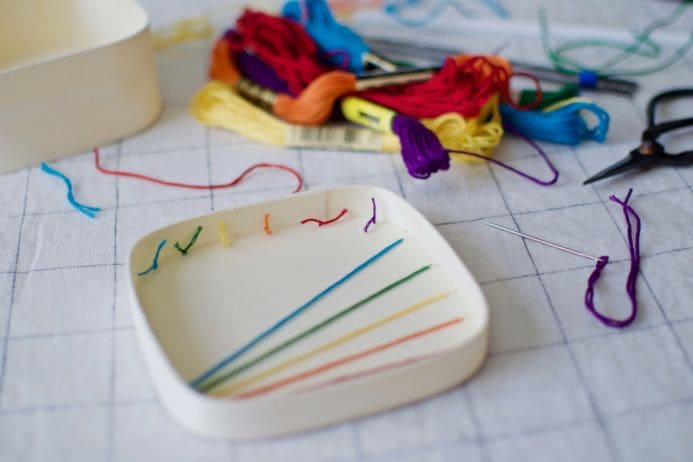
3. Thread your needle with the full six-ply embroidery floss, tie a double knot at one end so the floss stays put. You can also use tape on the underside of the box to keep the floss in place but I prefer the knots for a cleaner finished look. Since I had already planned on a rainbow color combo I mapped out which holes I would use what color embroidery floss on (you can use however many or few colors you’d like!). Start on the underside of the box, bring your needle up through the first hole (I started with the ones closer together and worked my way out) and gently pull until the knot hits the inside of the box. Put the needle through the corresponding hole on the other side.
4. To tie it off I separated the six strand embroidery floss into three strands each and tied them together in a double knot, you can also tape them down. Finish stitching and tying off (or taping down) until you’ve got all the holes covered.
And you’re done! Pretty simple right? This would be a great gift idea or you could use it to hold a gift as well. The possibilities are endless and who doesn’t need a super cute box to brighten up any space in their home? Enjoy!
Bio:
Nik is a maker, day dreamer & potty mouth who loves cats, coffee and craft beer. She is a self taught hand embroider and will DIY pretty much anything she can get her hands on. She is head Boss Bitch behind Wasting Thyme creating & selling naughty hand embroidery and sassy greeting cards. You can find her products at justwastingthyme.etsy.com. She lives in Long Beach with her husband and her three awesome cats (that she can’t shut up about).

