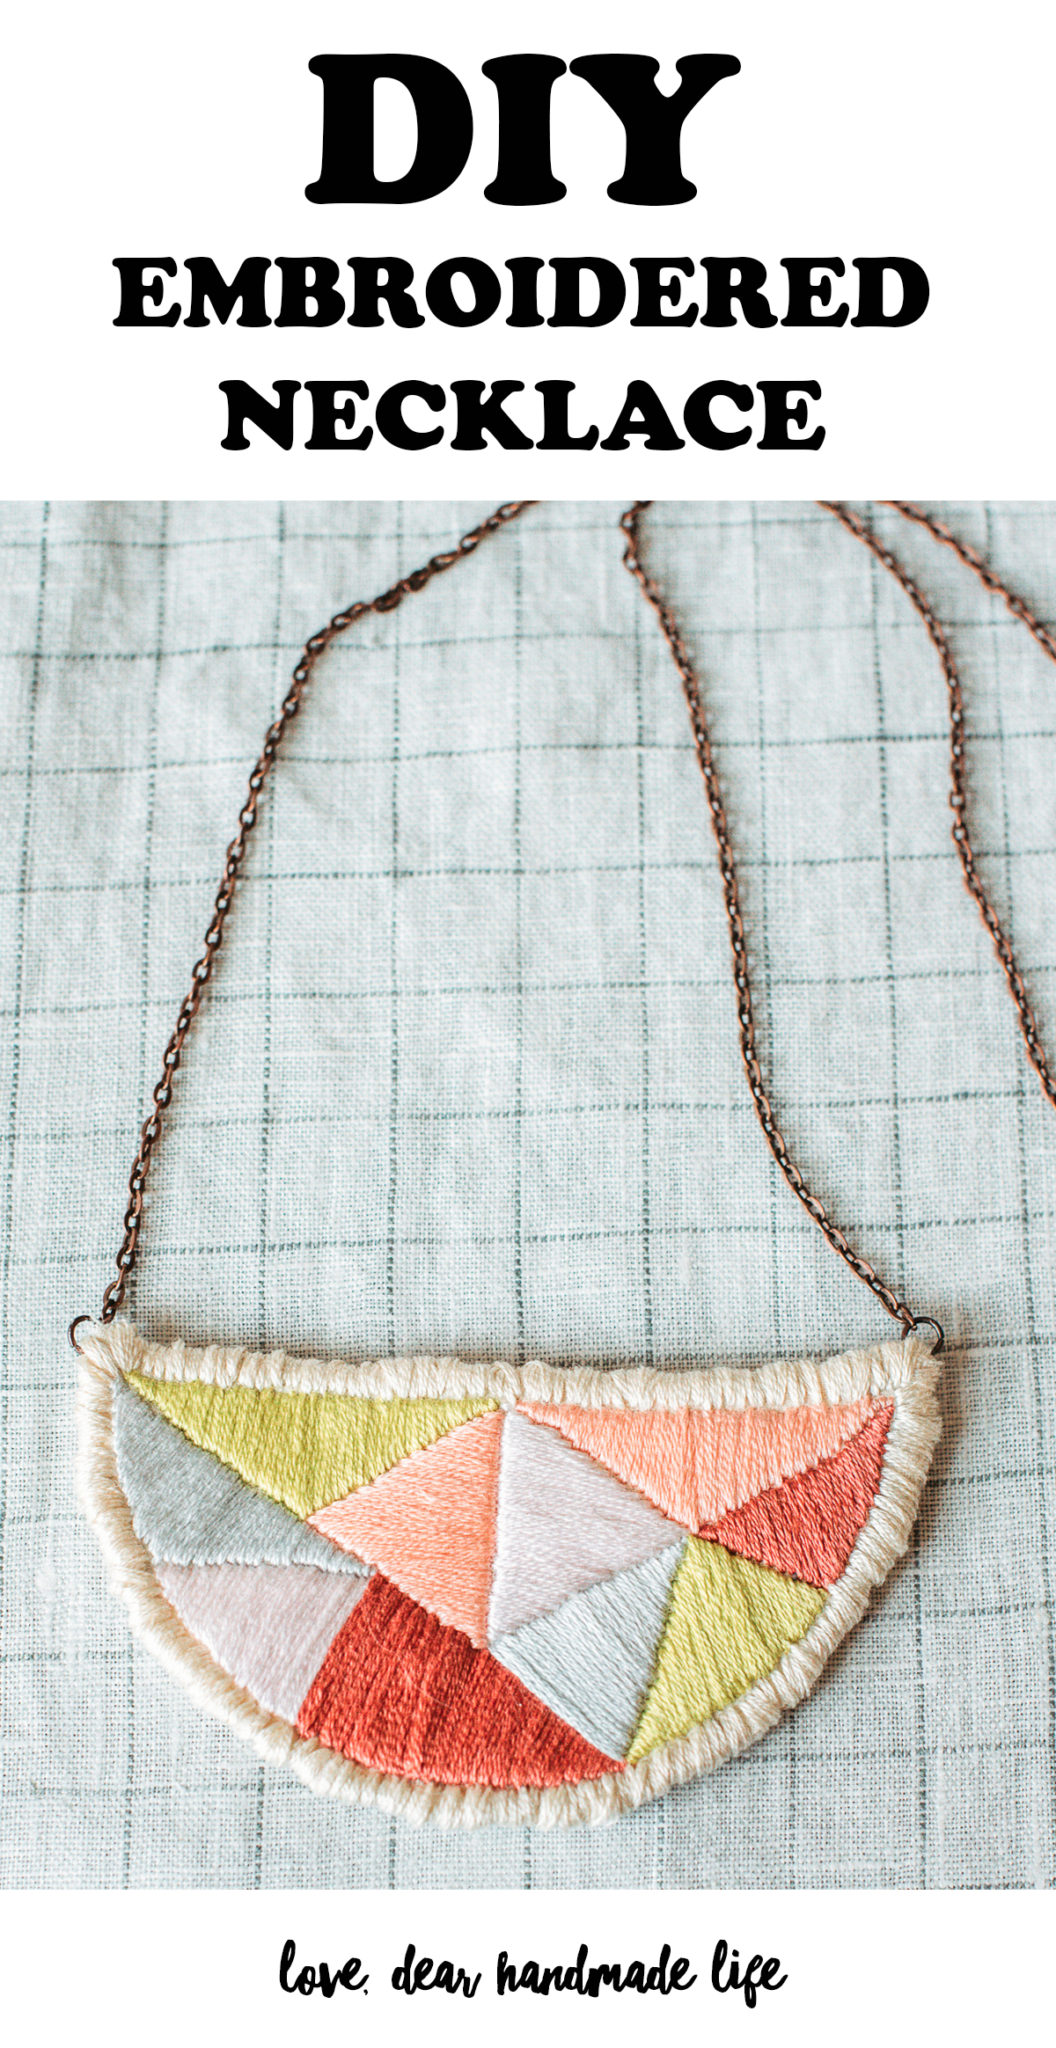
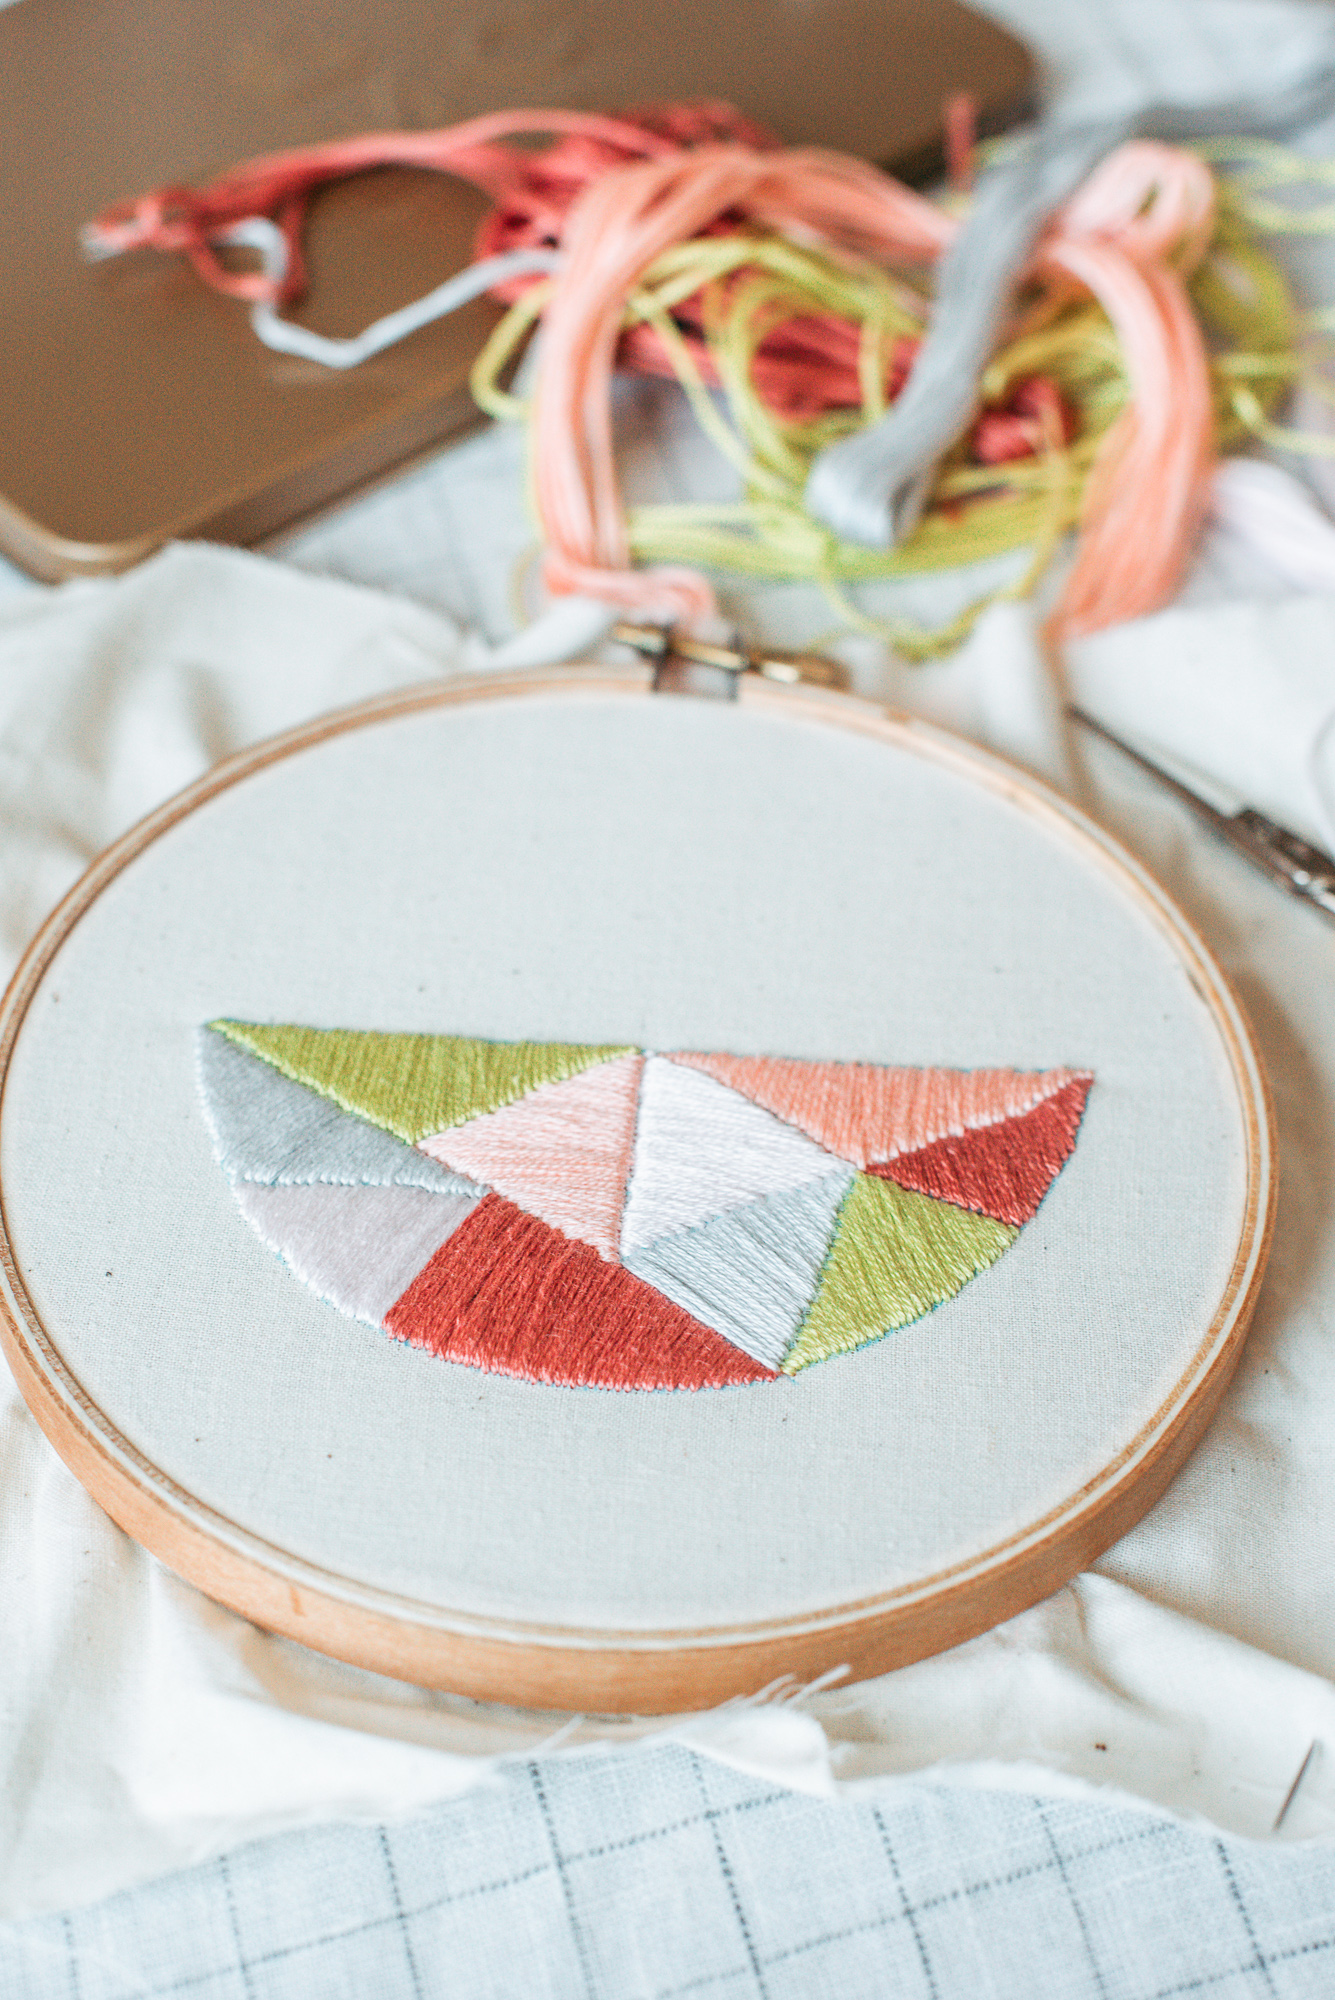
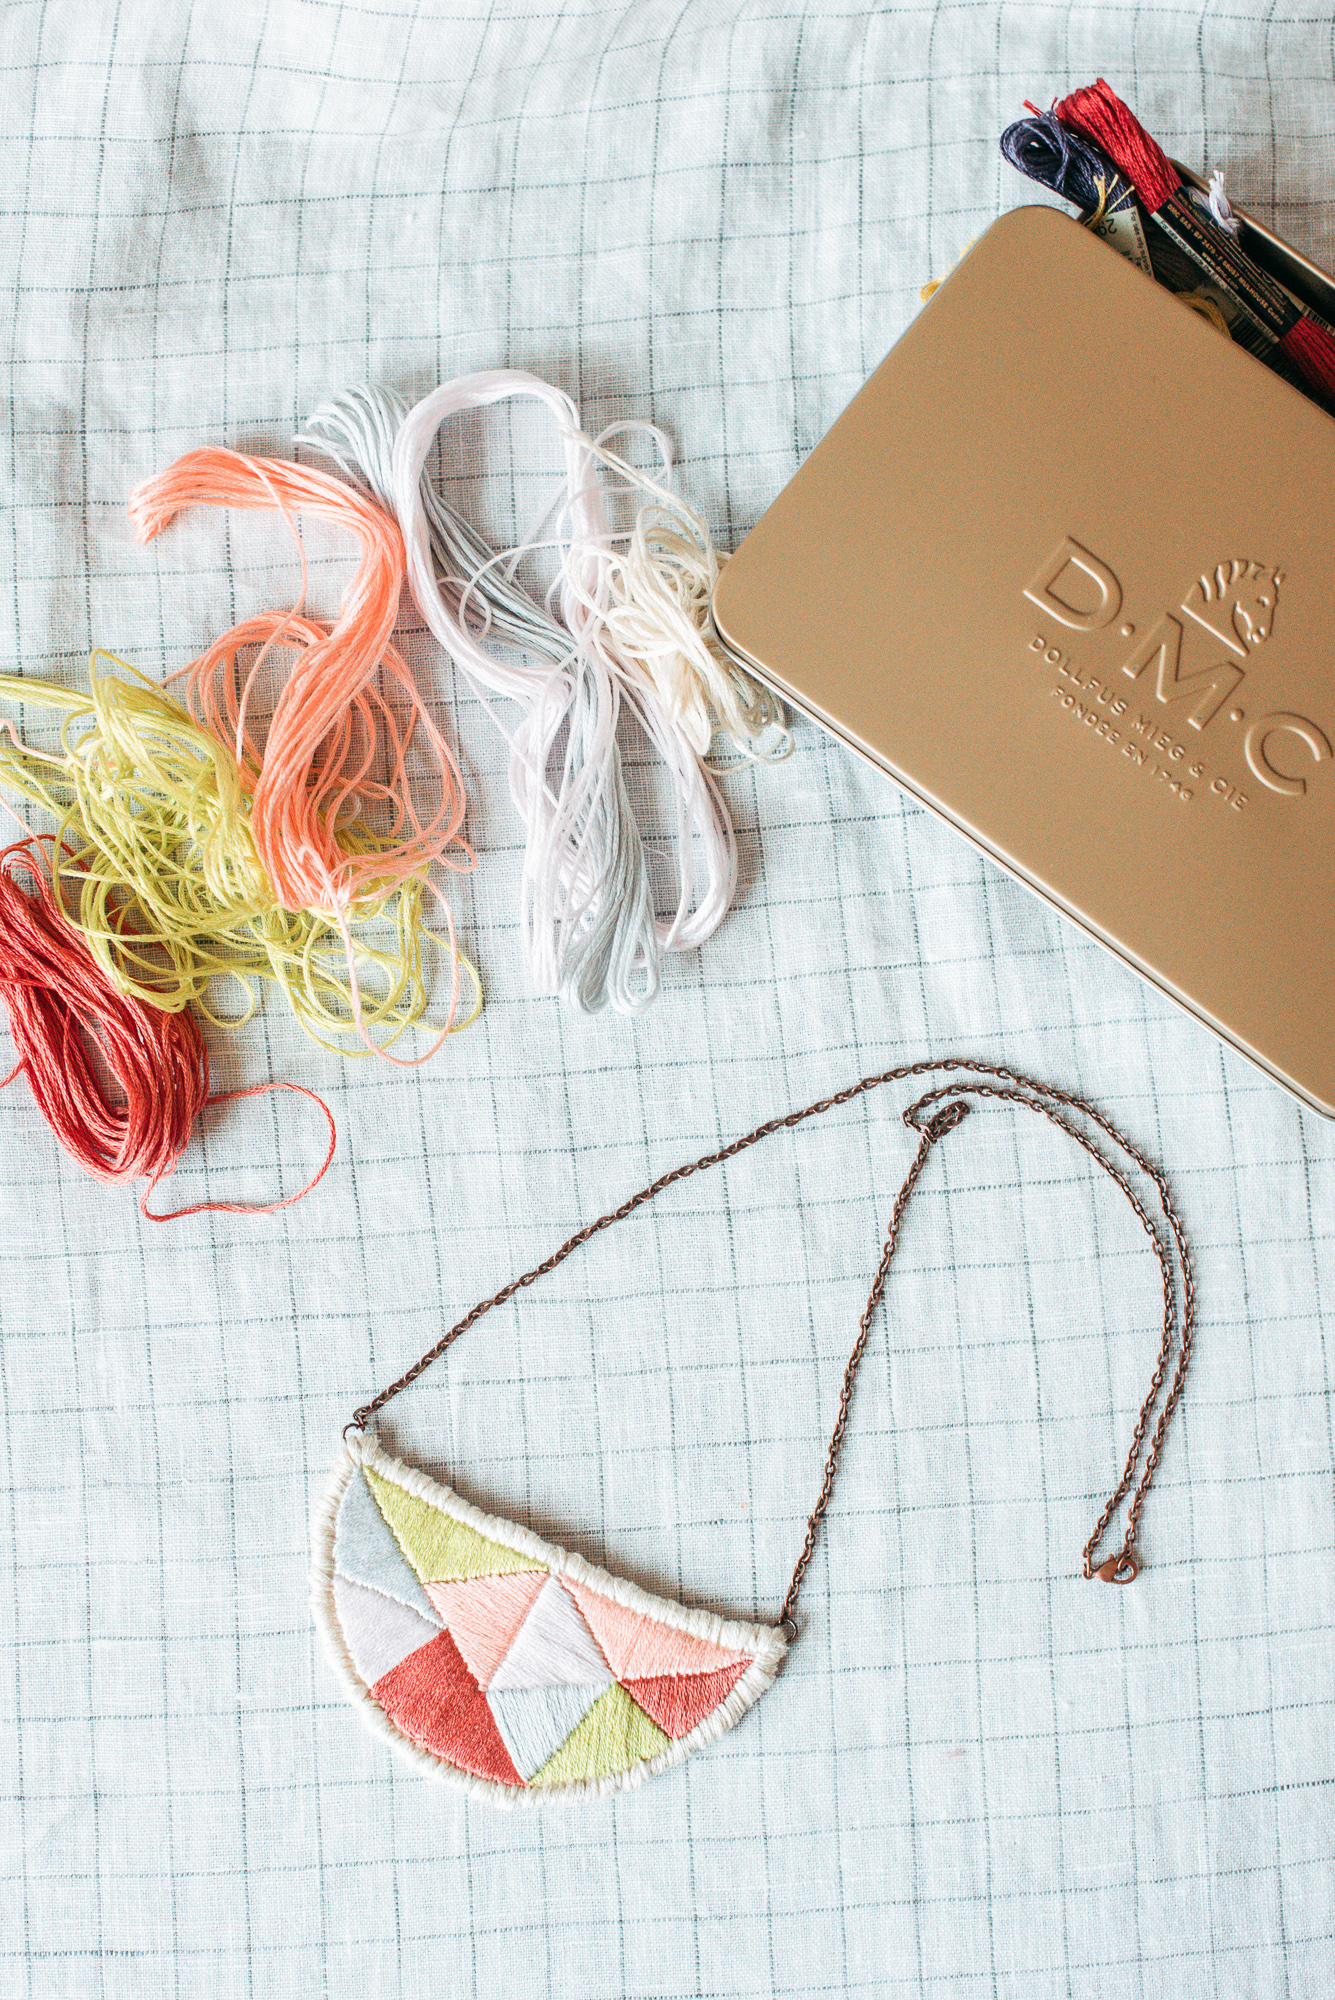
DIY Hand Embroidered Necklace
Hand embroidery has been a passion of mine for a long time now. I feel like at this point I have stitched on almost any surface I could (including an actual pumpkin one year!) I like pushing myself and my creativity to see what I can do with a needle and thread. The satin stitch was one that I felt eluded me for awhile. It’s tedious and can be very finicky but the results can also be so gorgeous that it’s worth practicing until you’ve found what works for you. Since I feel more comfortable with this stitch now I came up with a way to really show it off with this modern geometric necklace.
Let me show you how I did it.
WHAT TO GET:
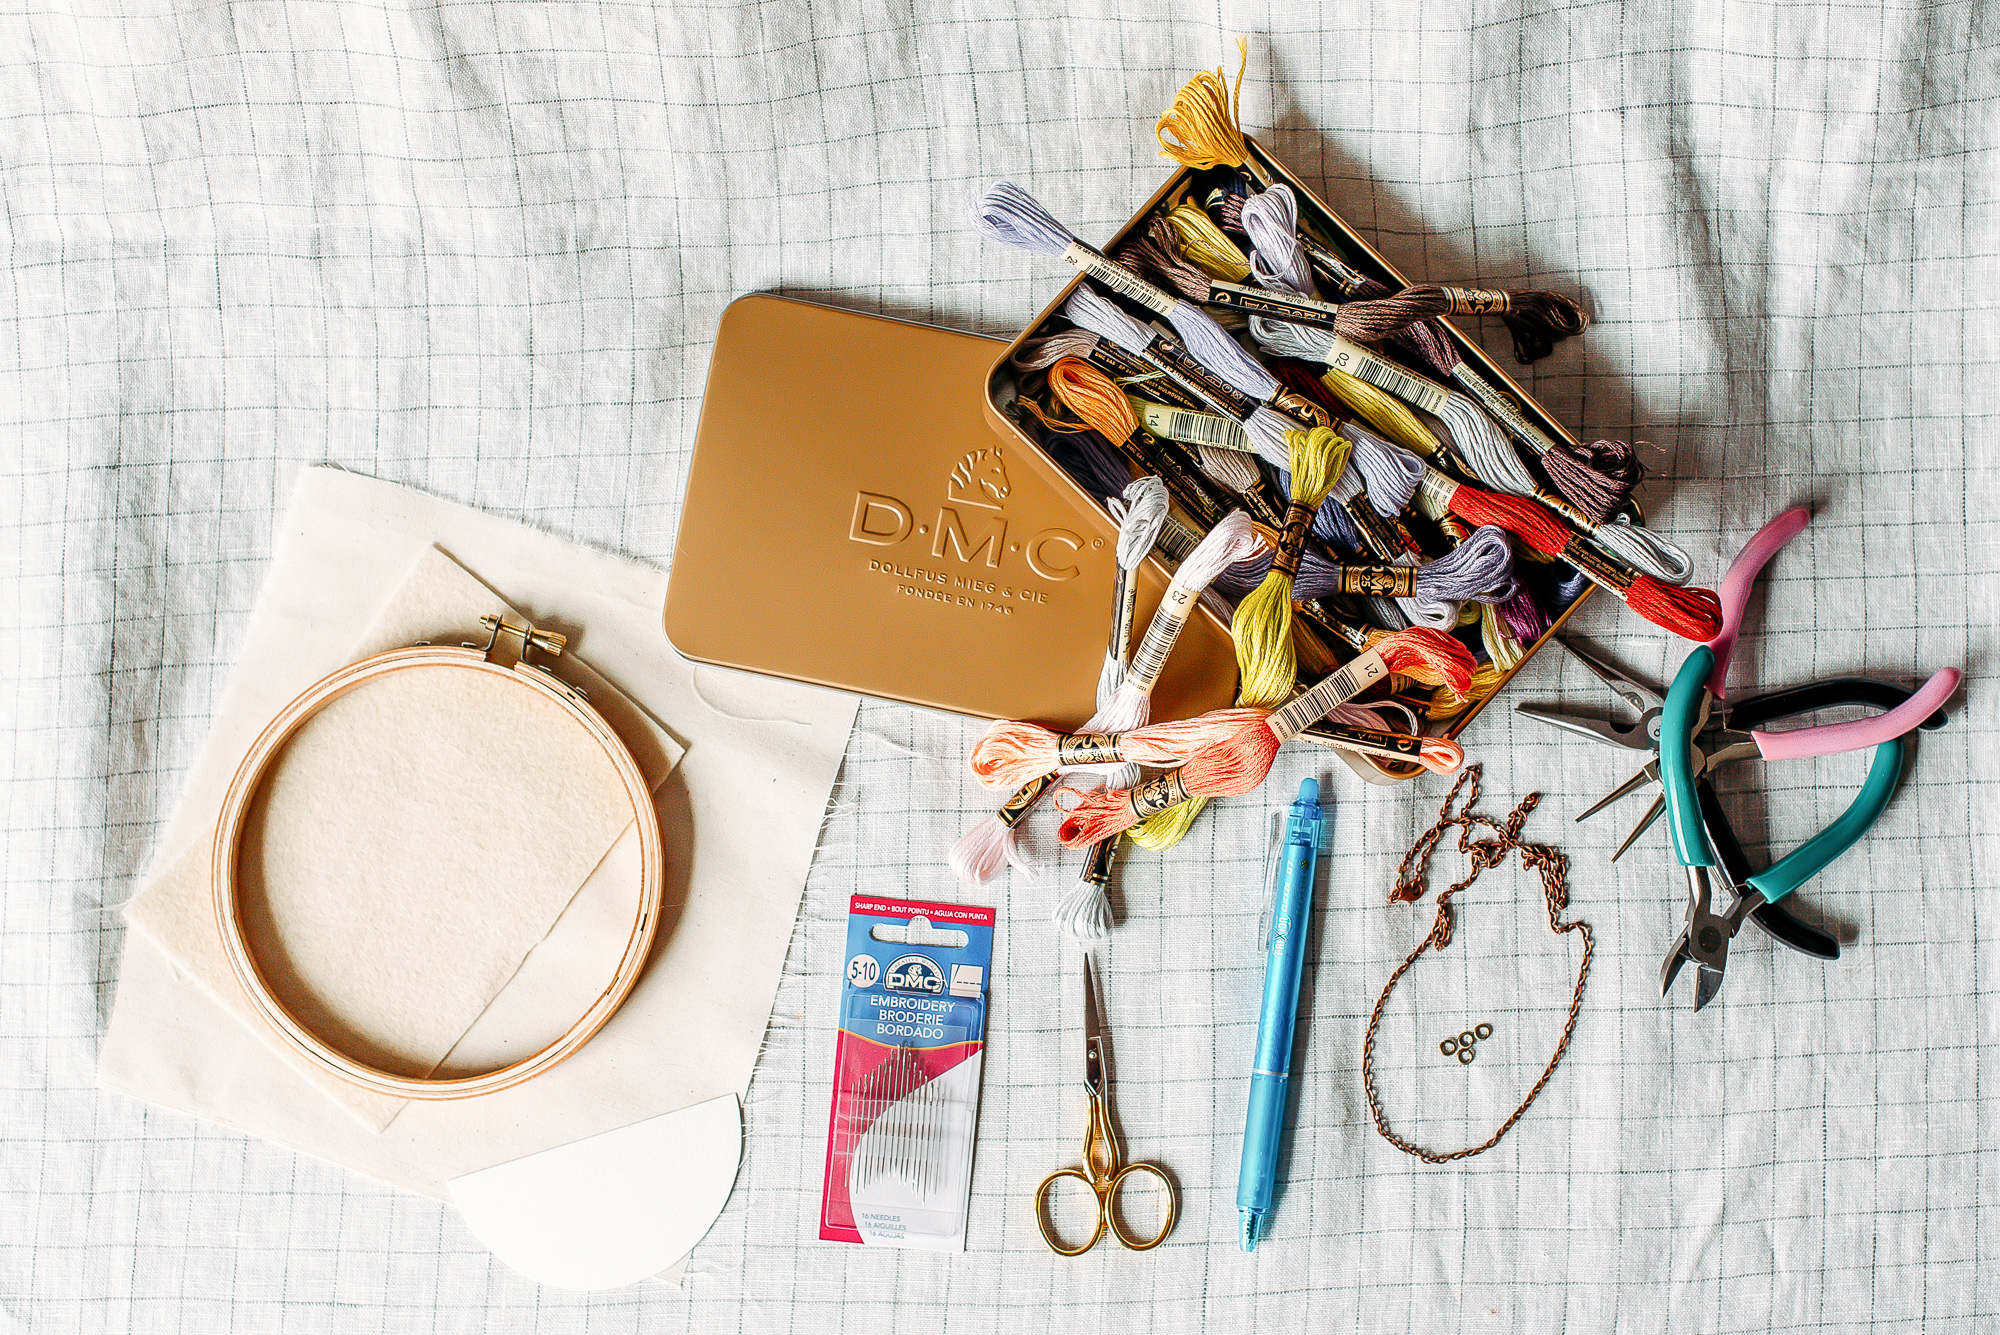
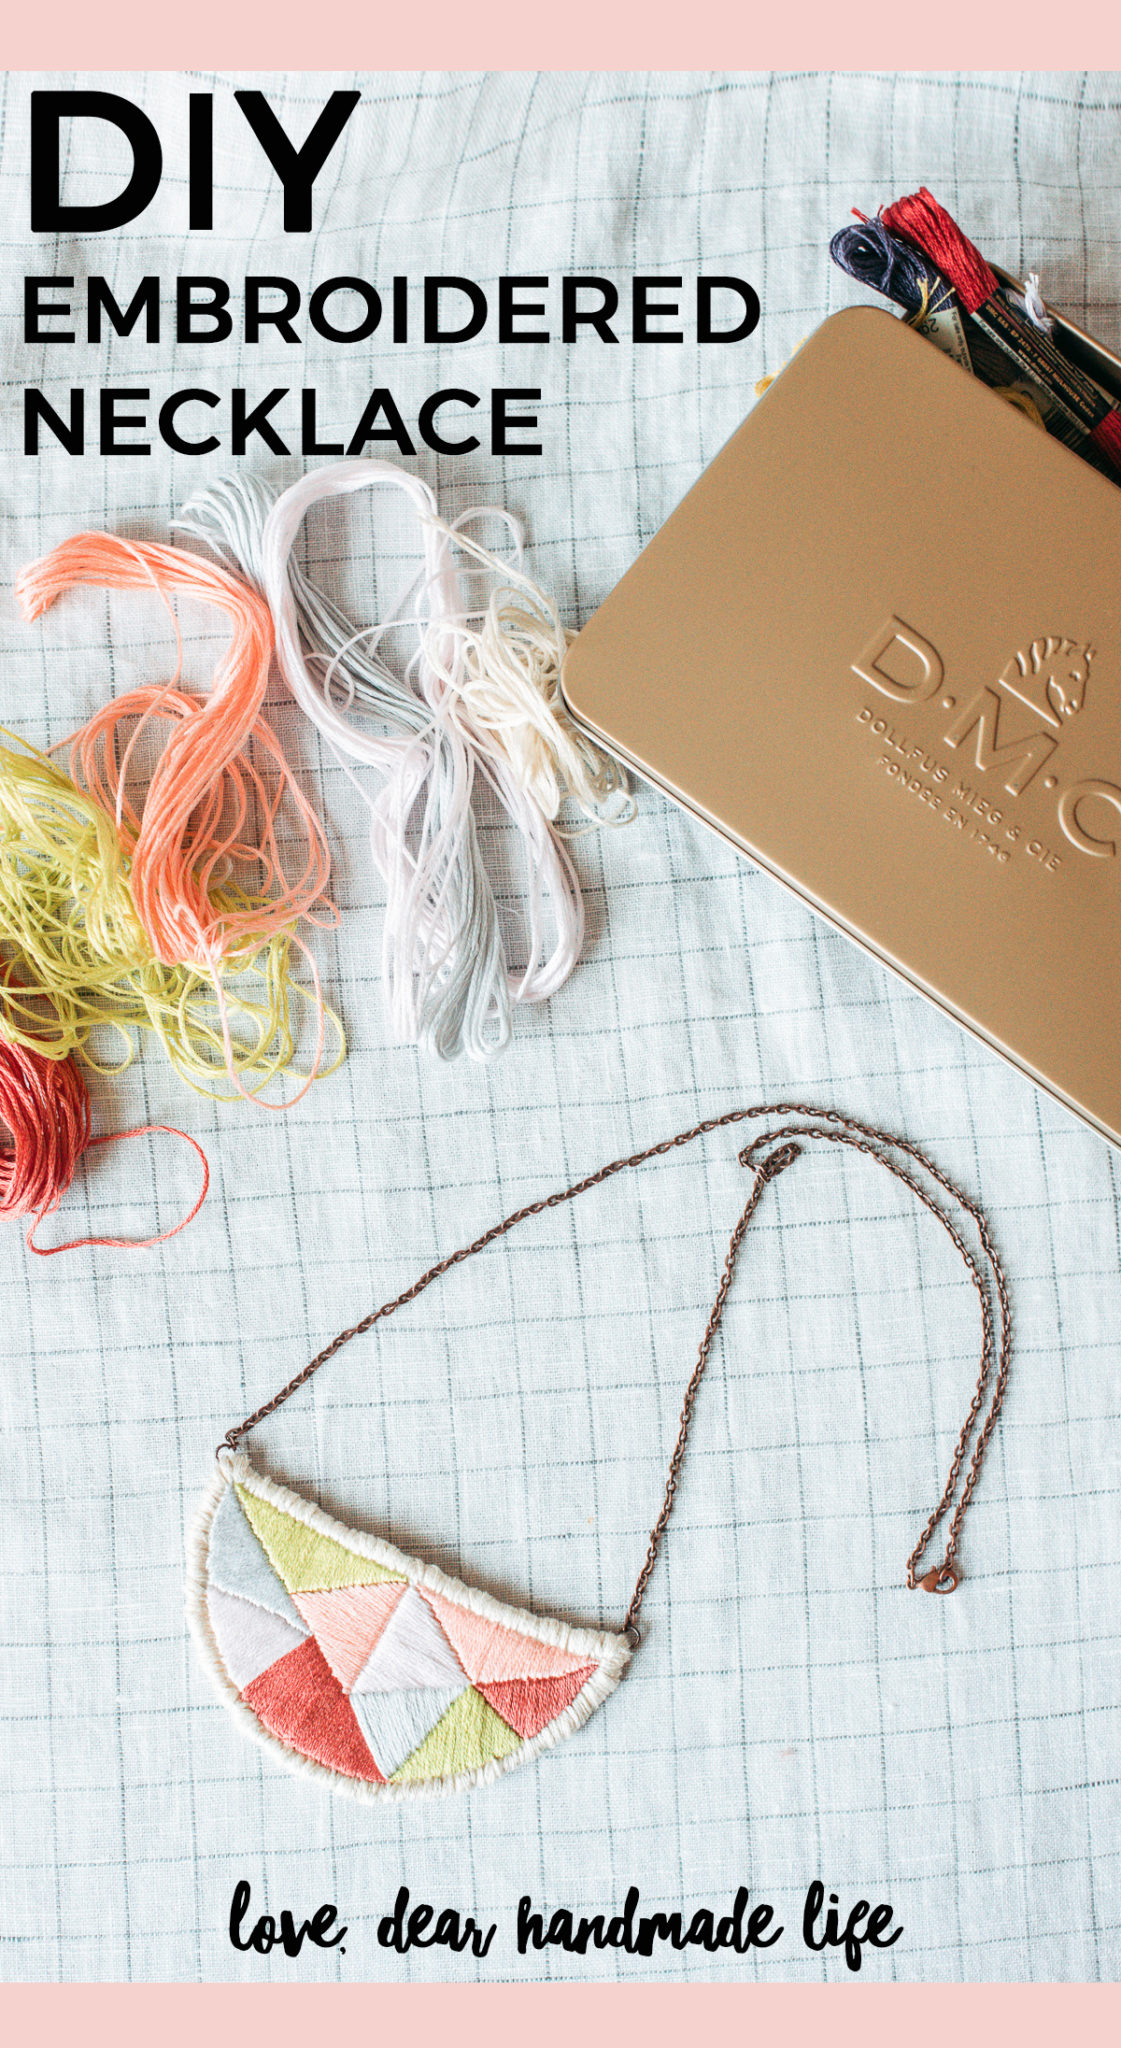
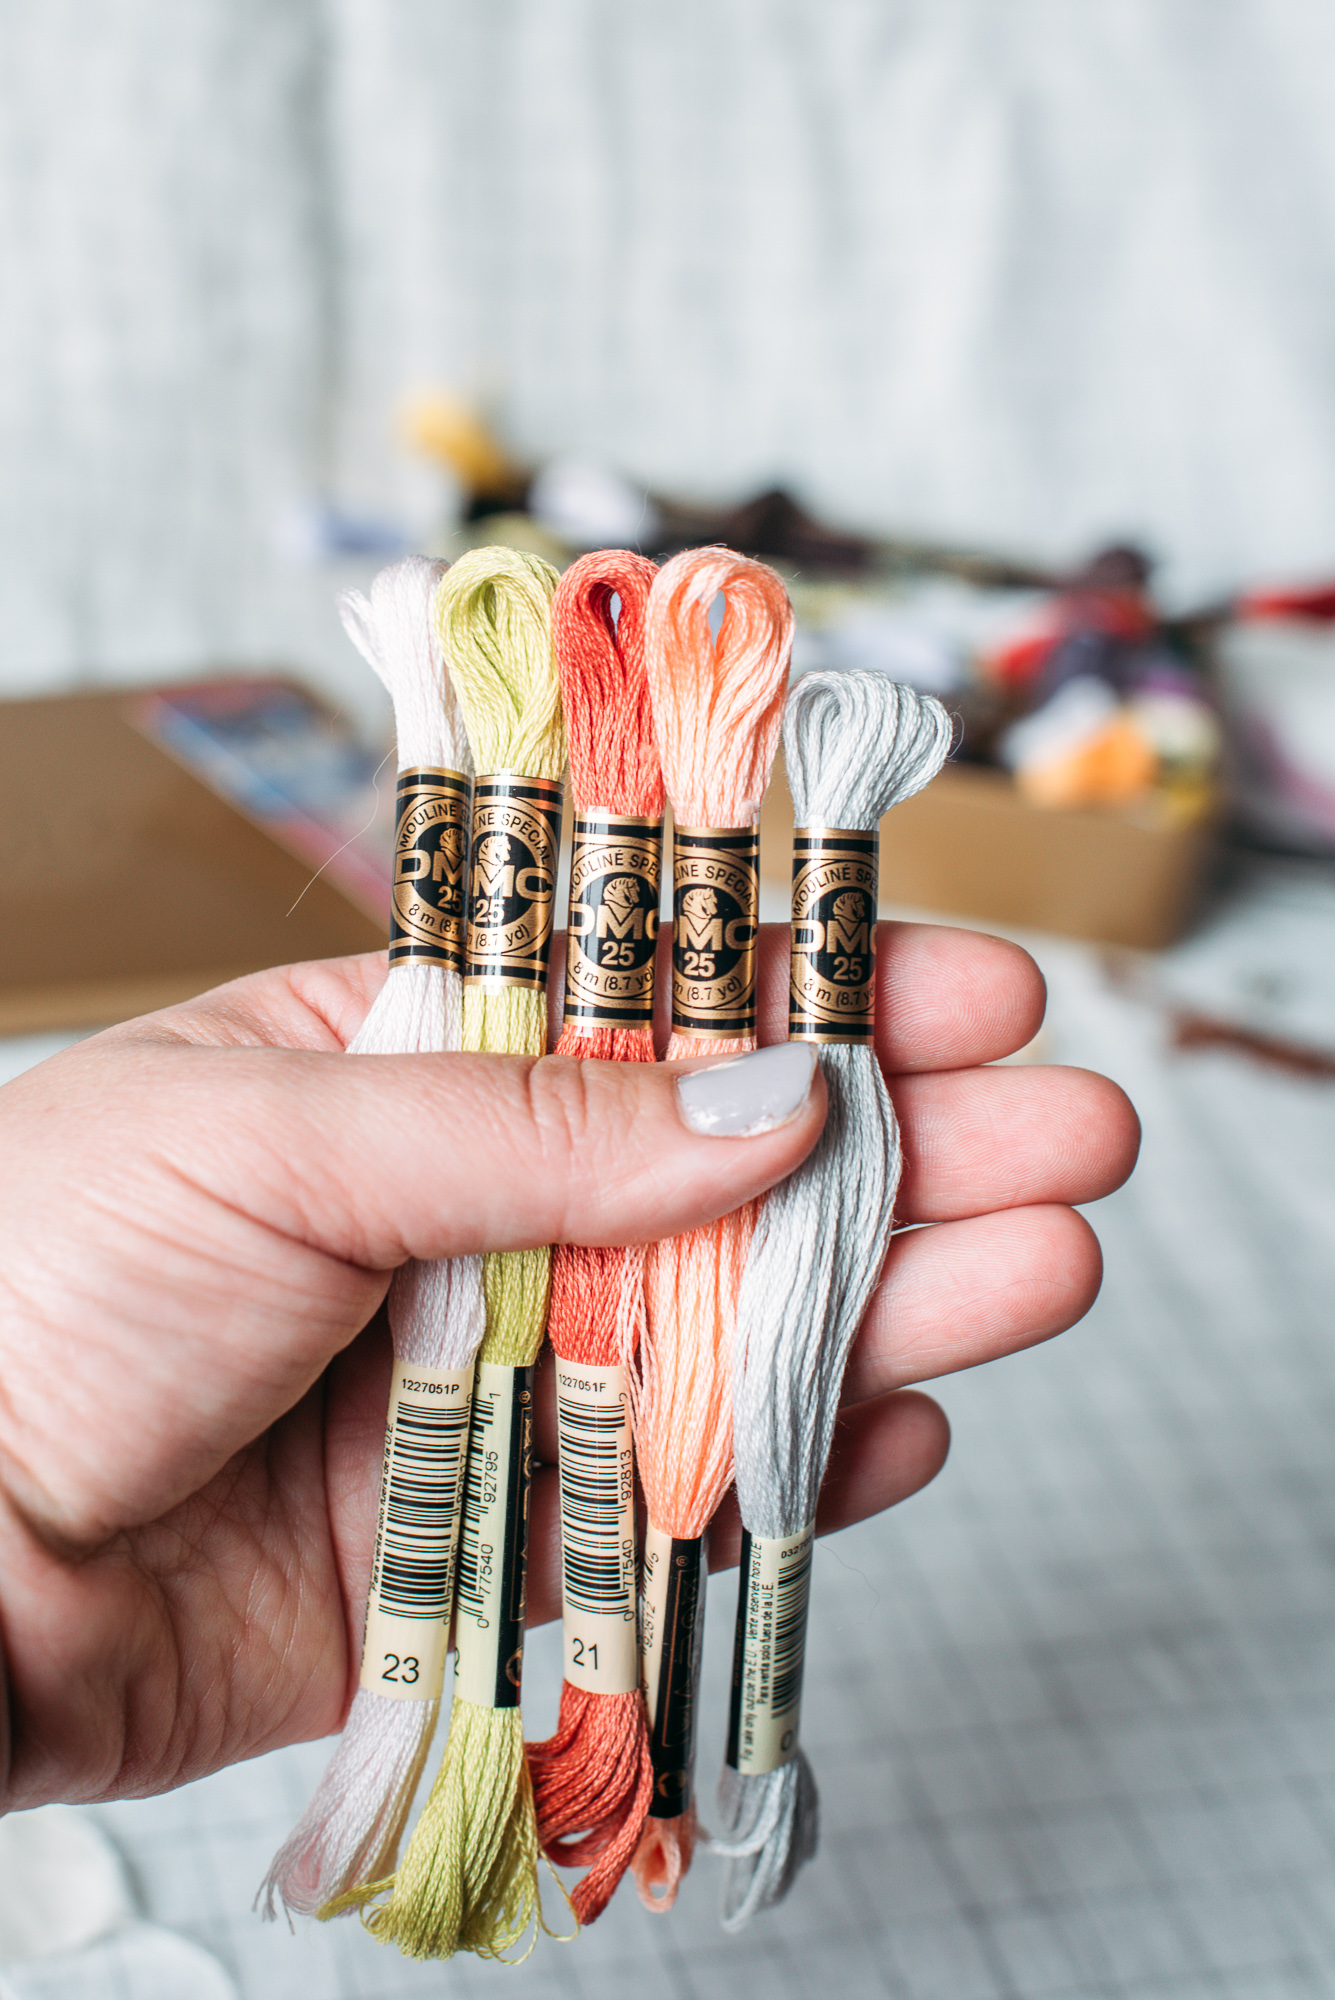
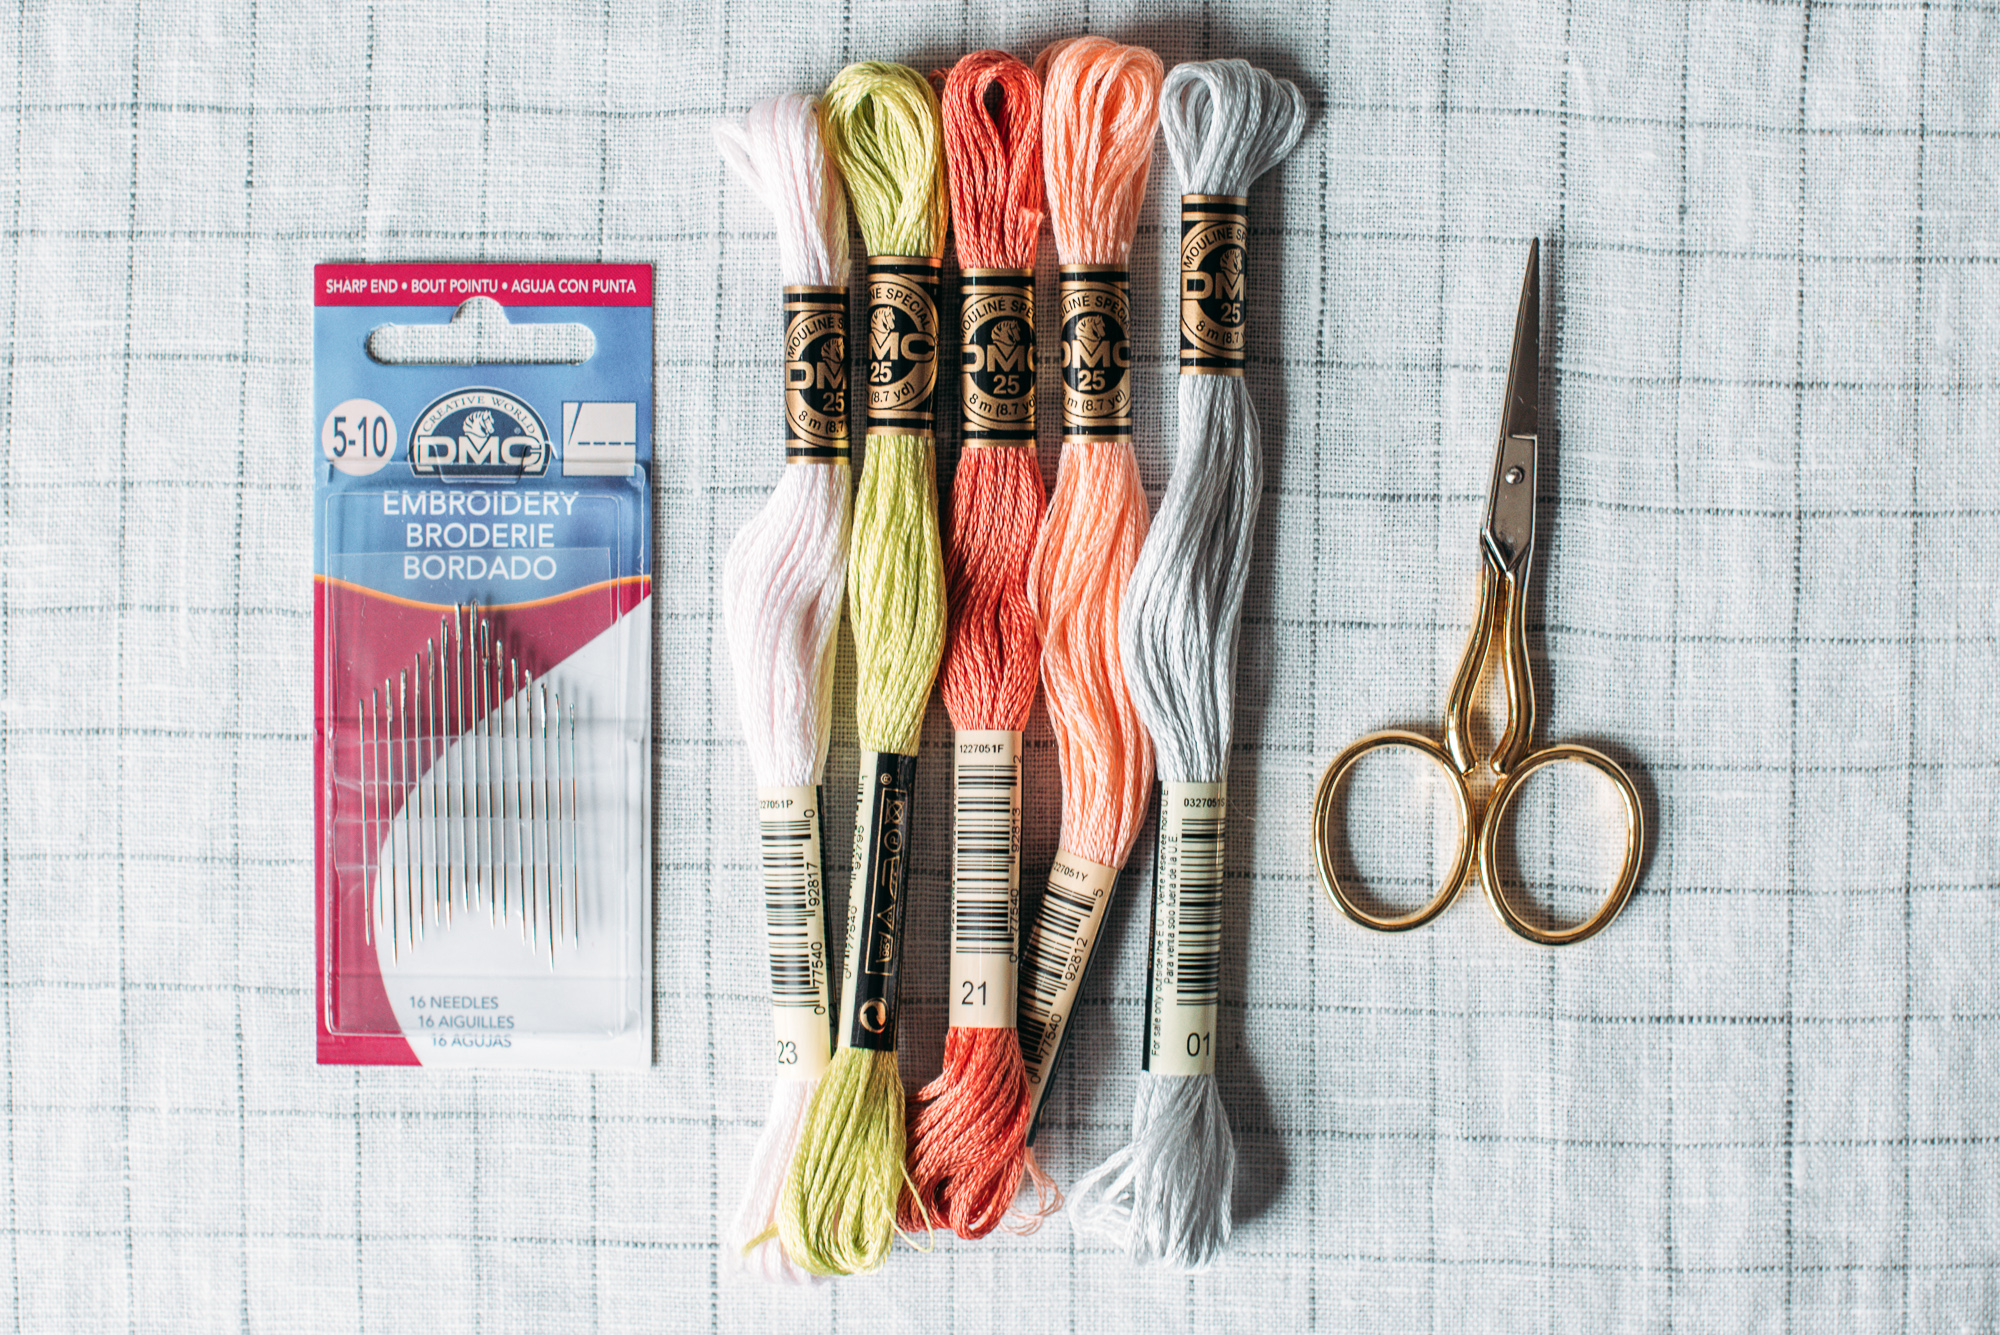
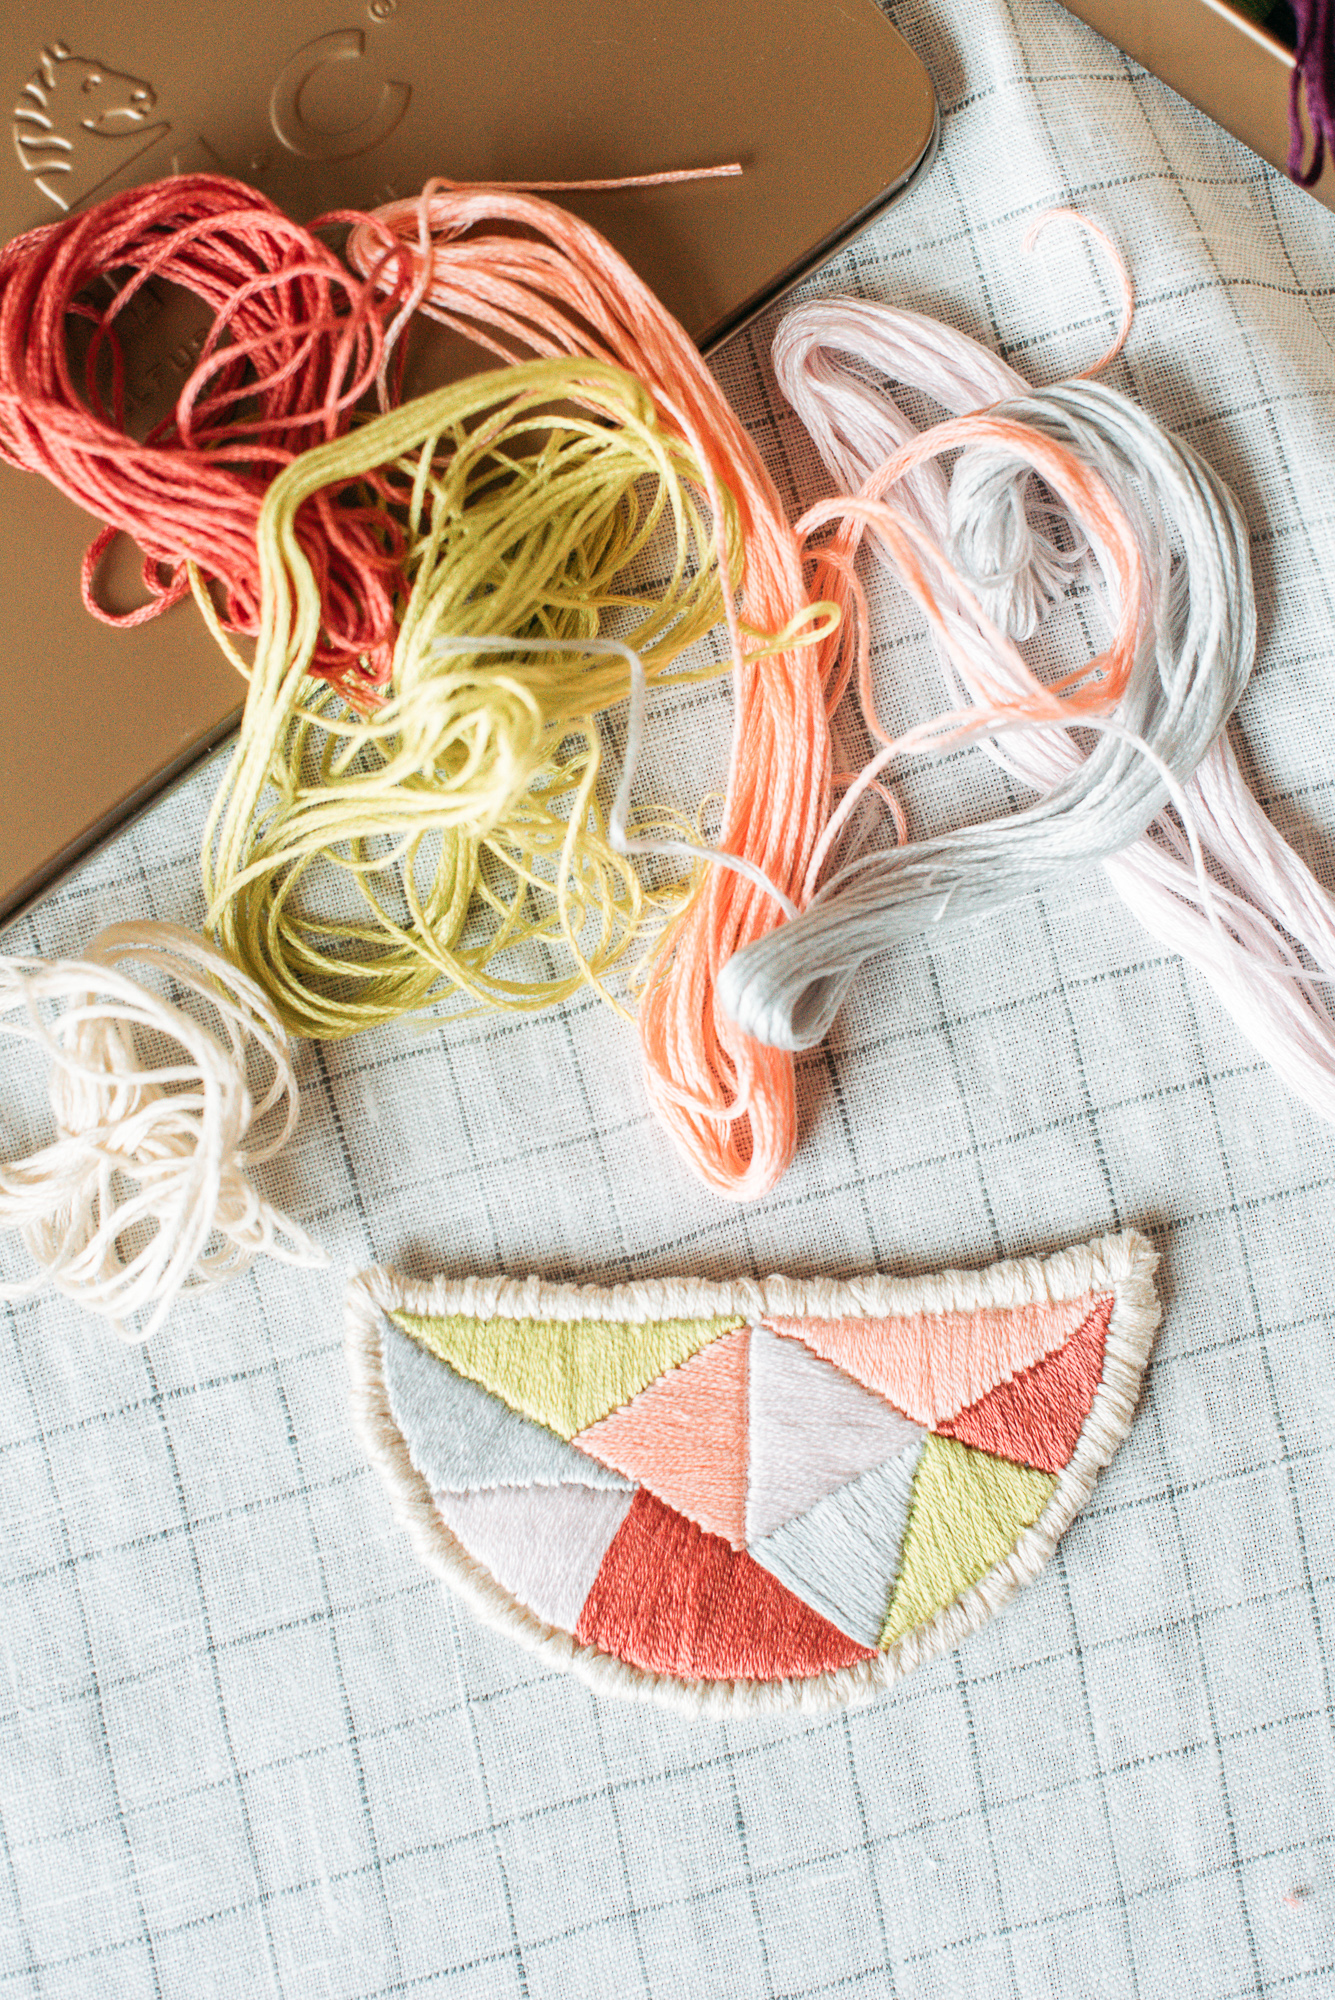
-Embroidery Floss (DMC is my favorite and I used some of their newest colors from this set)
-Embroidery Needle (I used these from DMC)
-Embroidery Scissors (like these or these)
-Embroidery Hoop (Size will depend on the size of necklace you want, I used a size 5)
-Fabric (I chose a tight weave 100% cotton muslin fabric like this)
-Felt for backing (I used a beige eco-fi felt like this)
-Cardstock/Paper for shape stencil (or you could freehand this)
-Pencil/disappearing ink pen/water soluble pen- I use Frixon pens that disappear when heat is applied.
-Chain necklace (The kind that already comes made with a clasp like this is easiest)
-Needle nose pliers and Round nose pliers or two of each type to open jump rings (these are just my preference and this is a great four piece jewelry plier kit!)
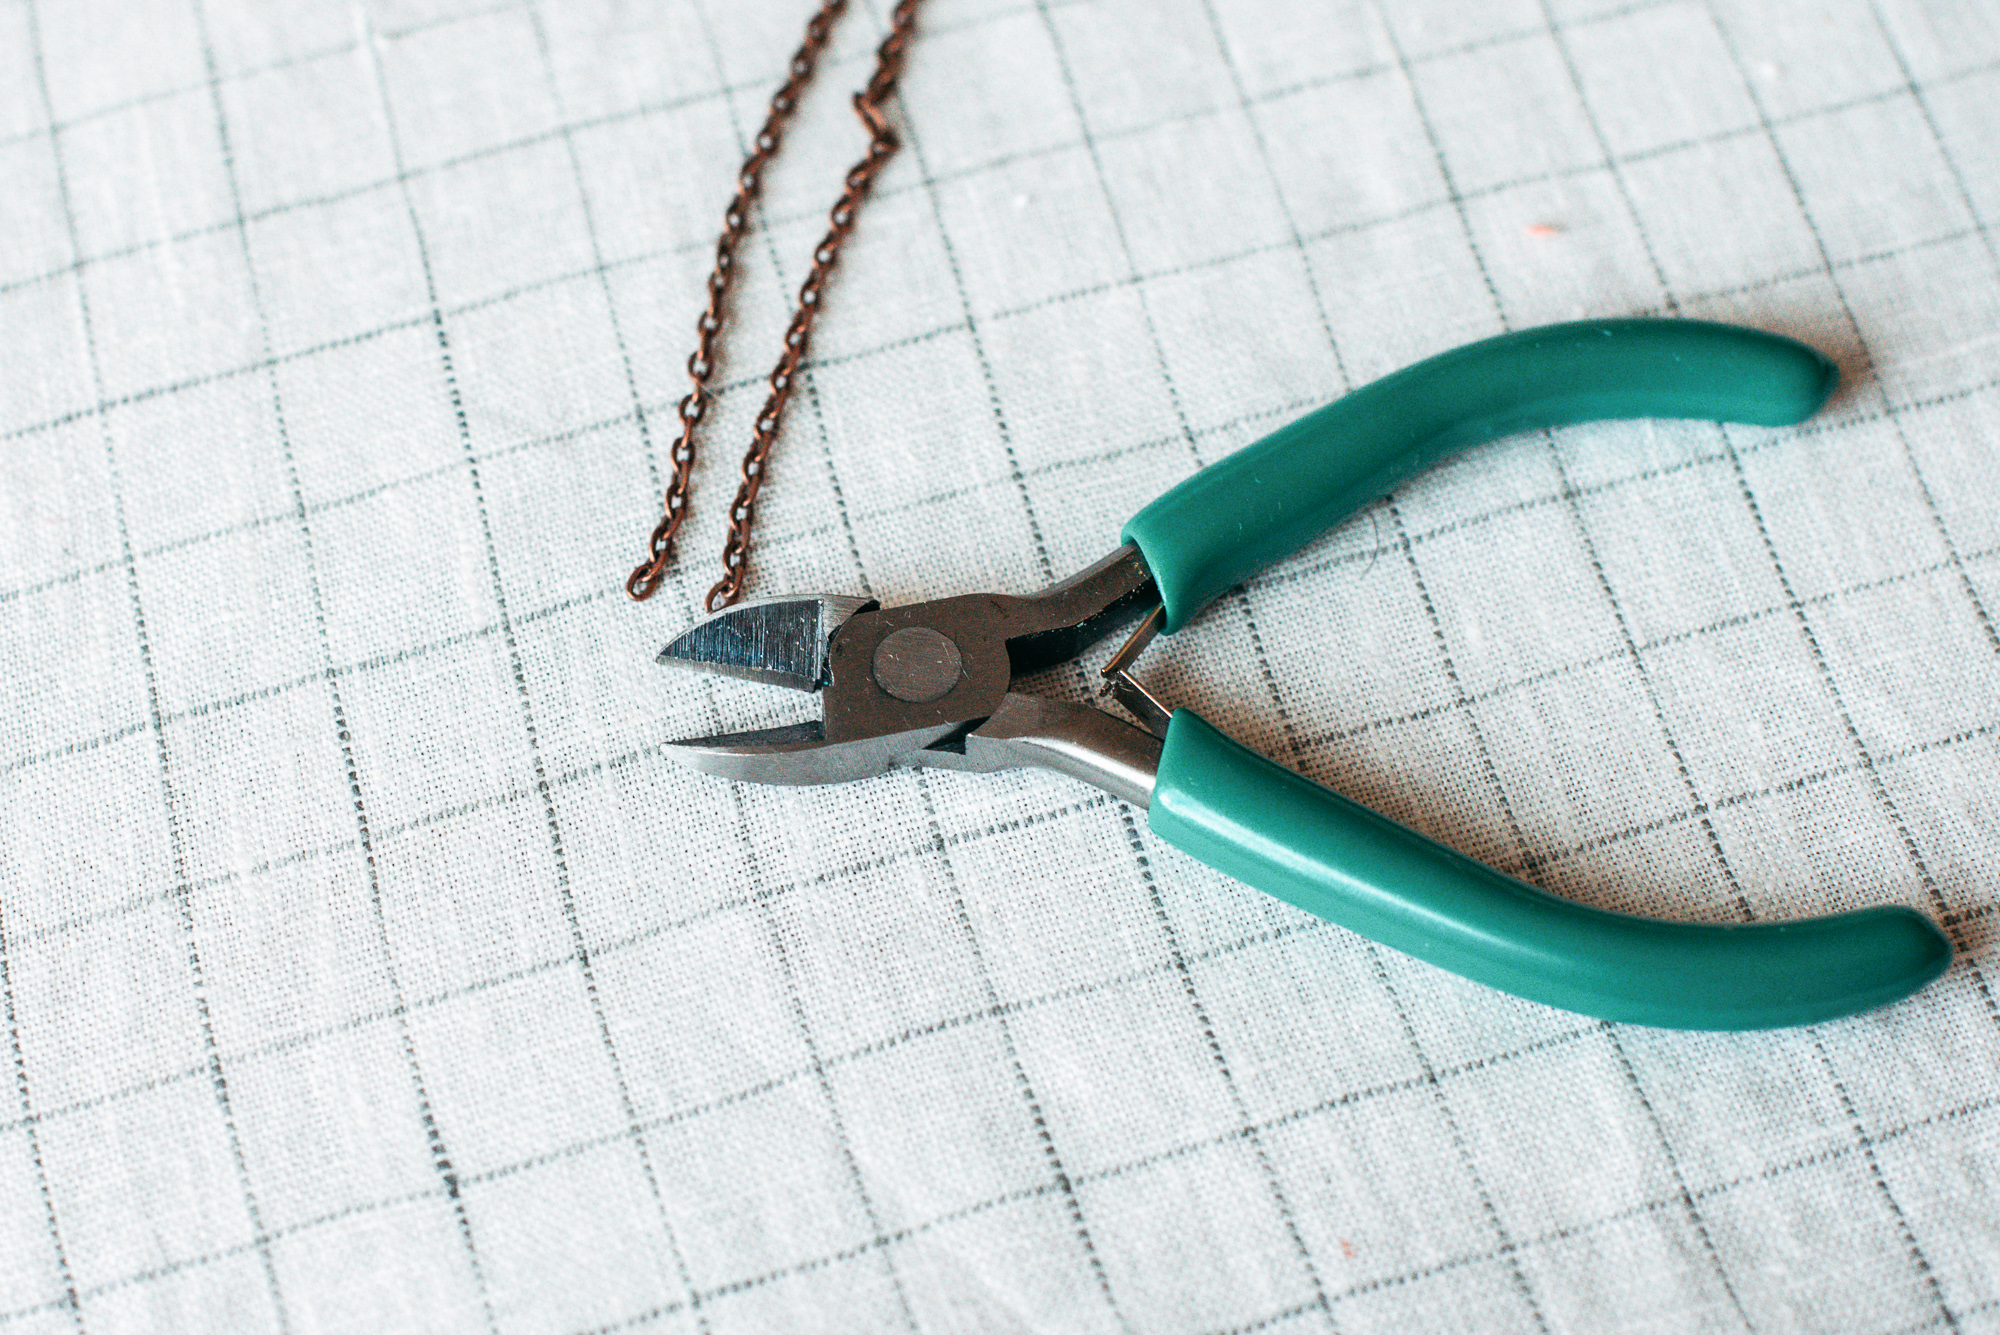
-Side or flush cutter to cut the chain (there’s one in this set)
WHAT TO DO:
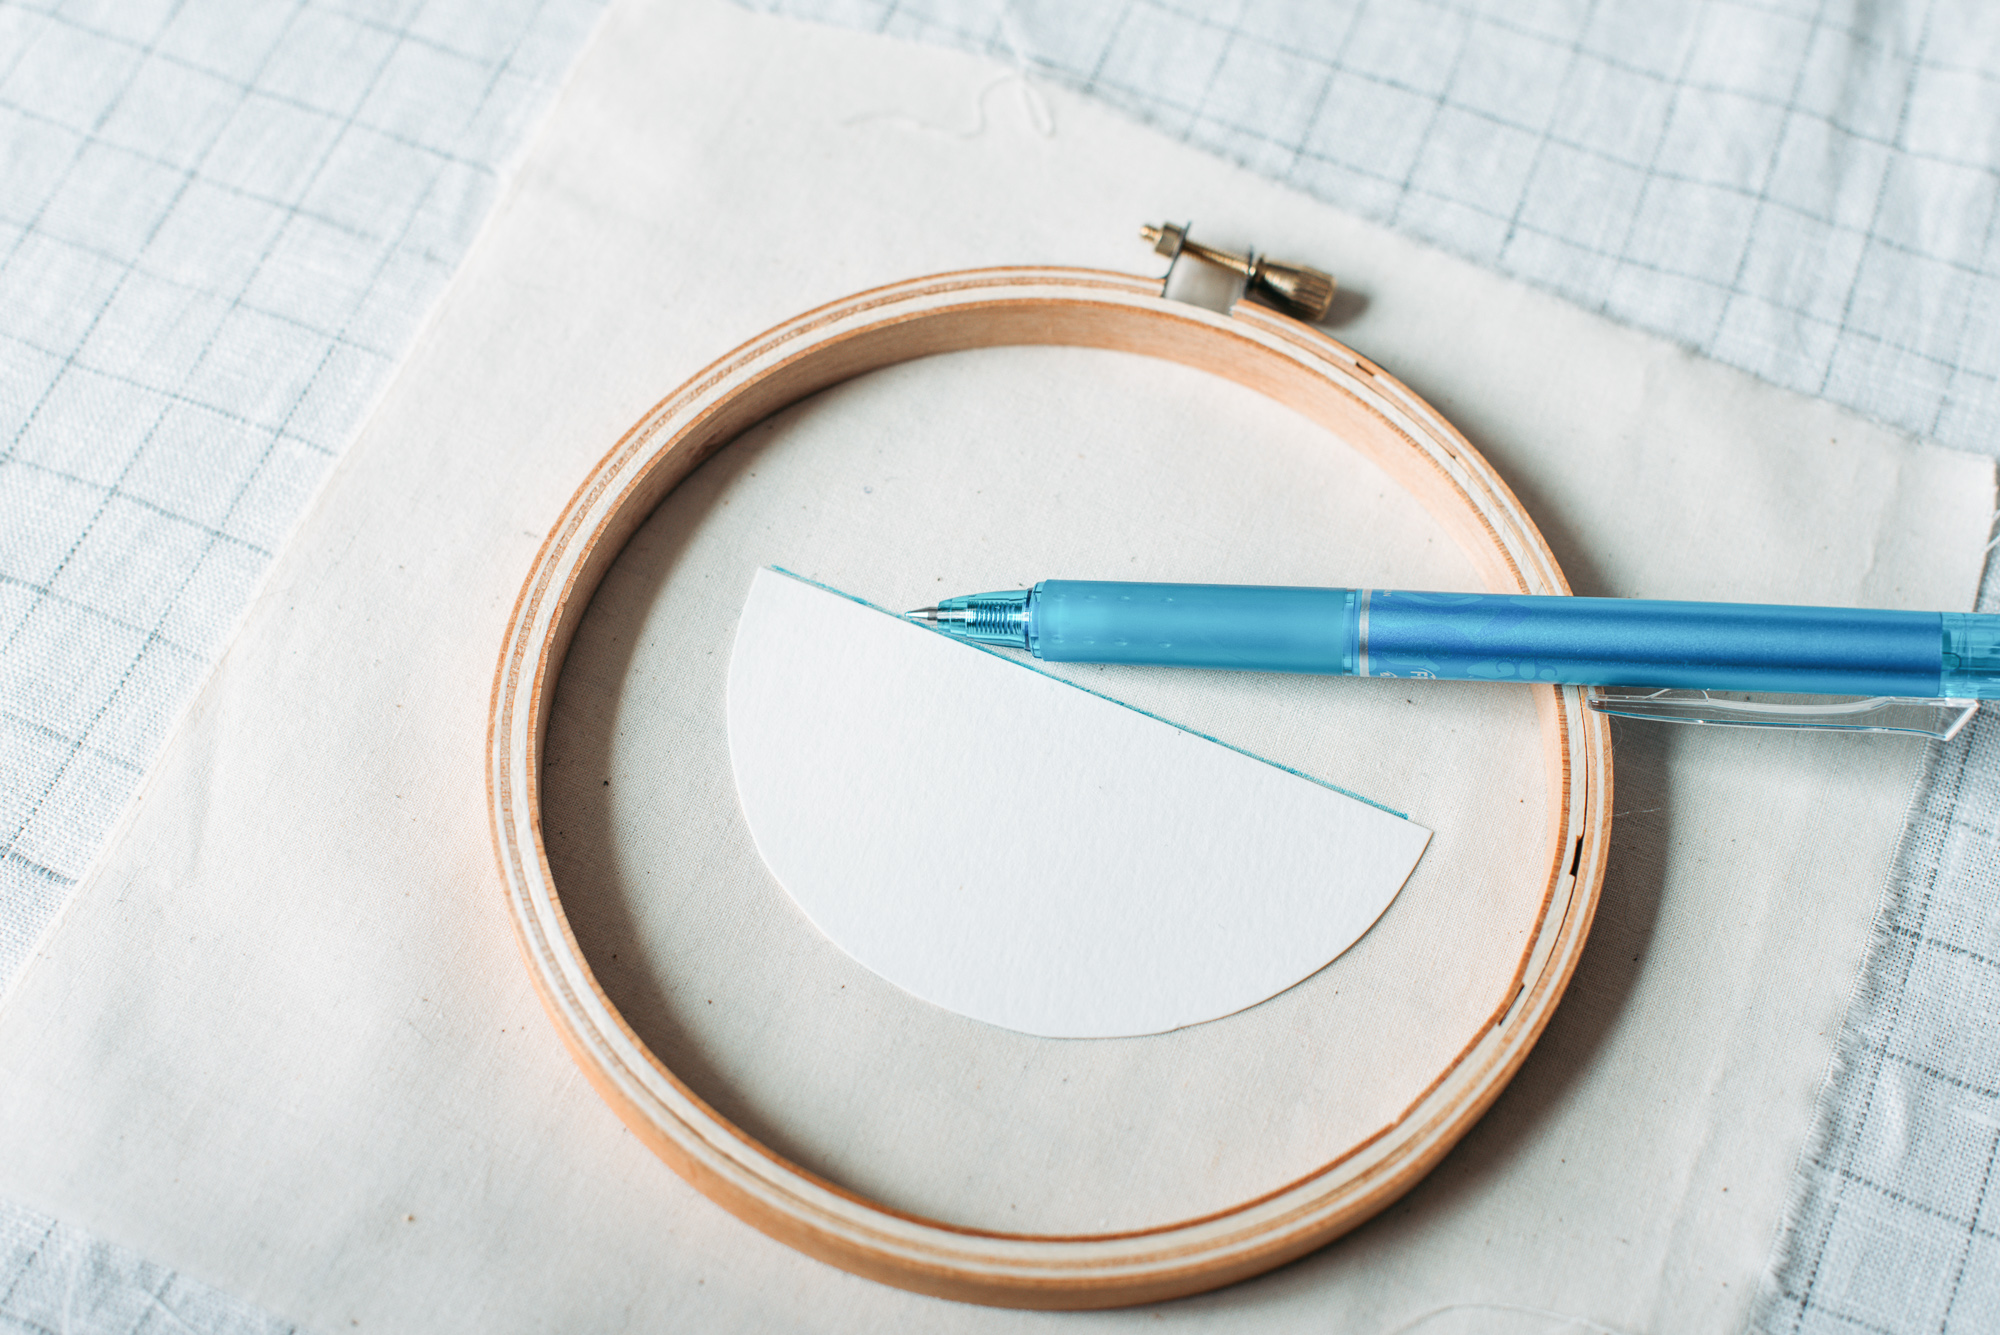
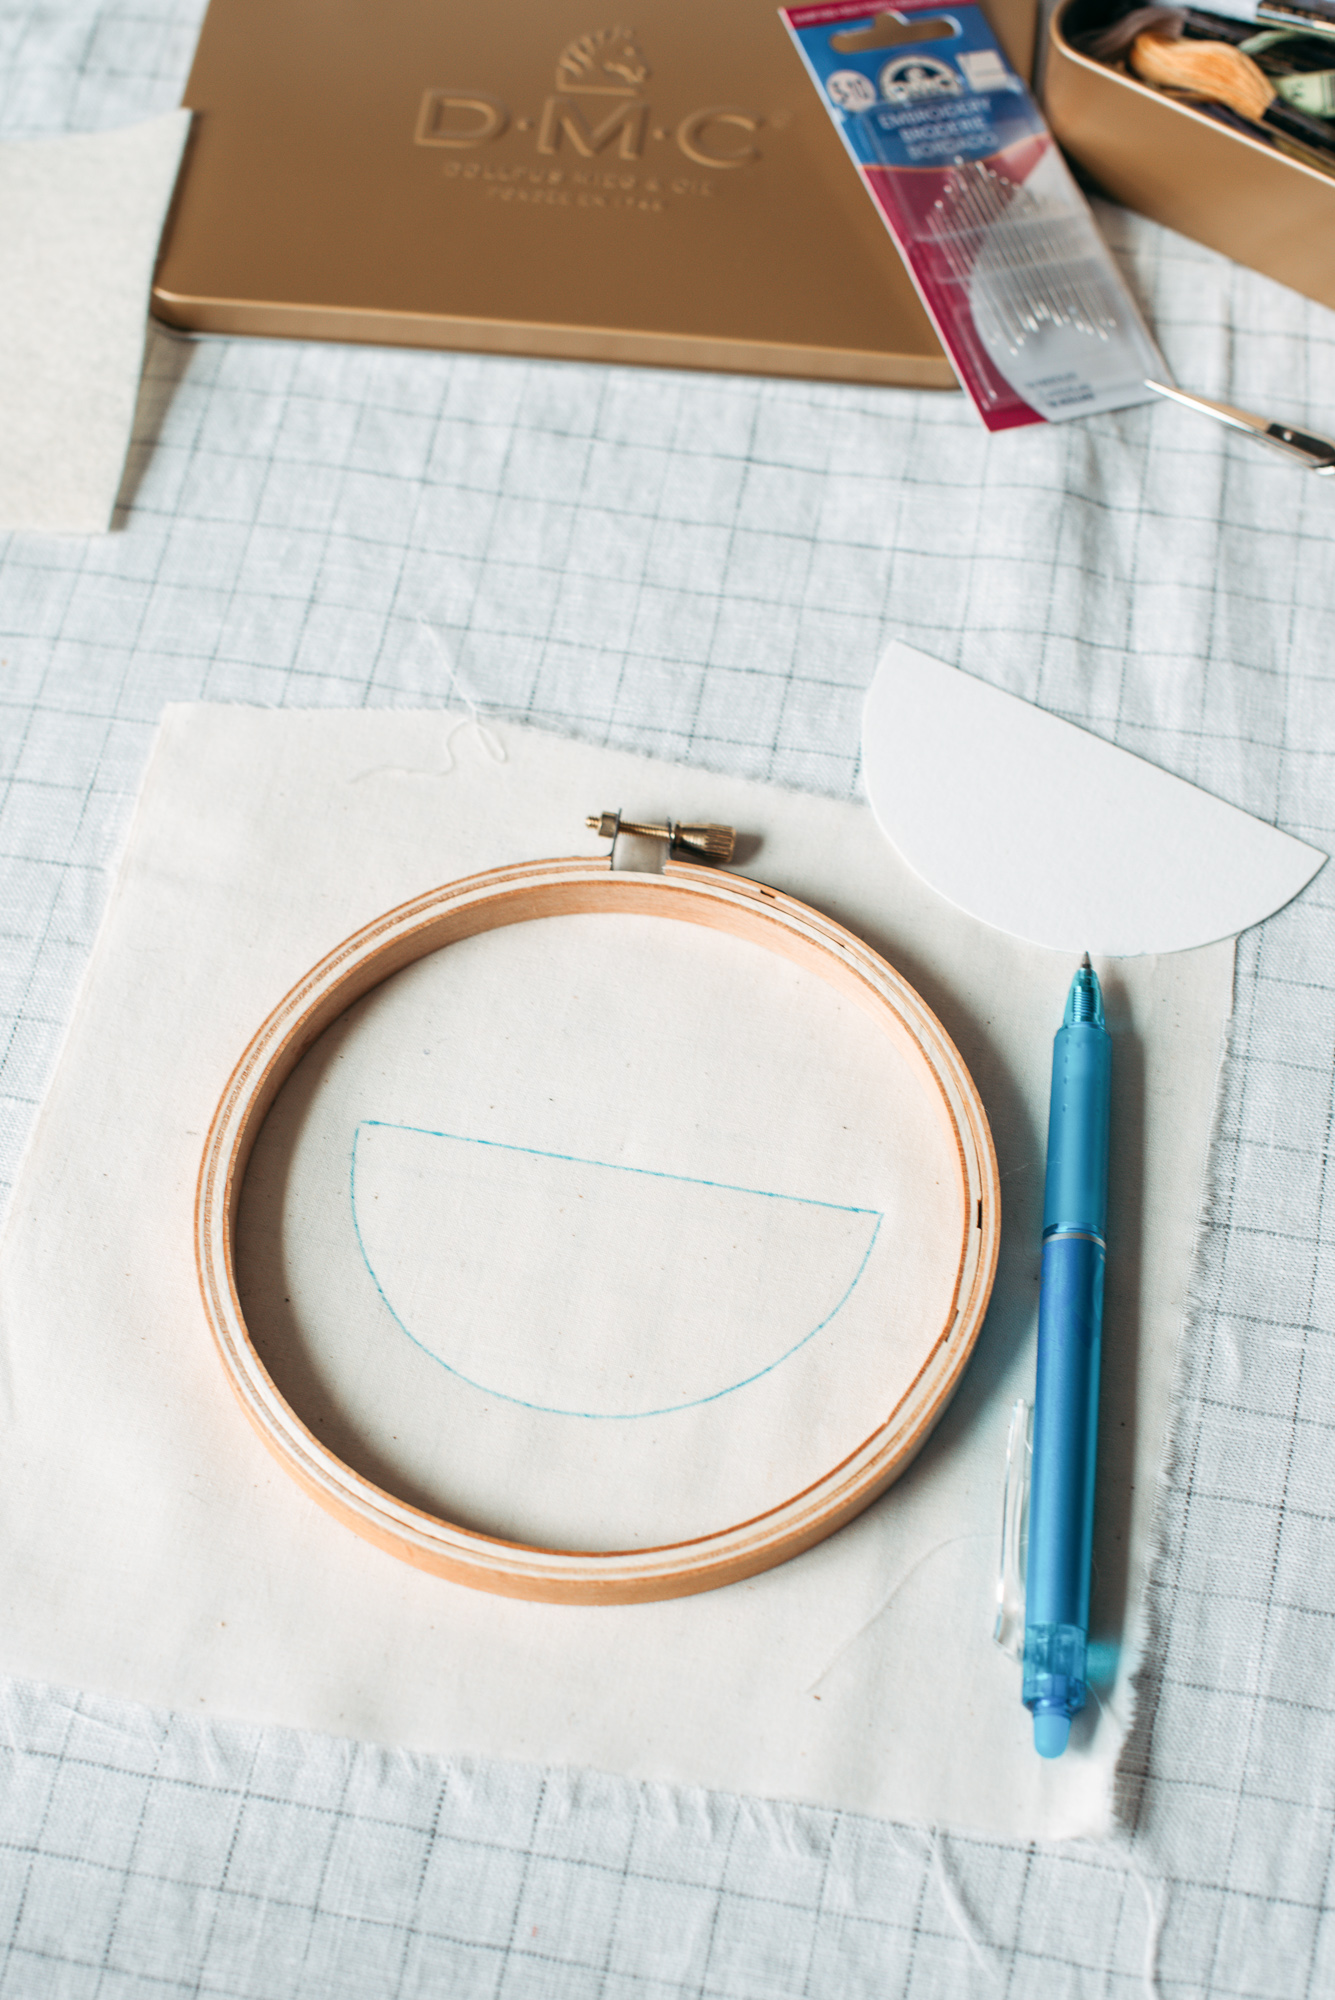
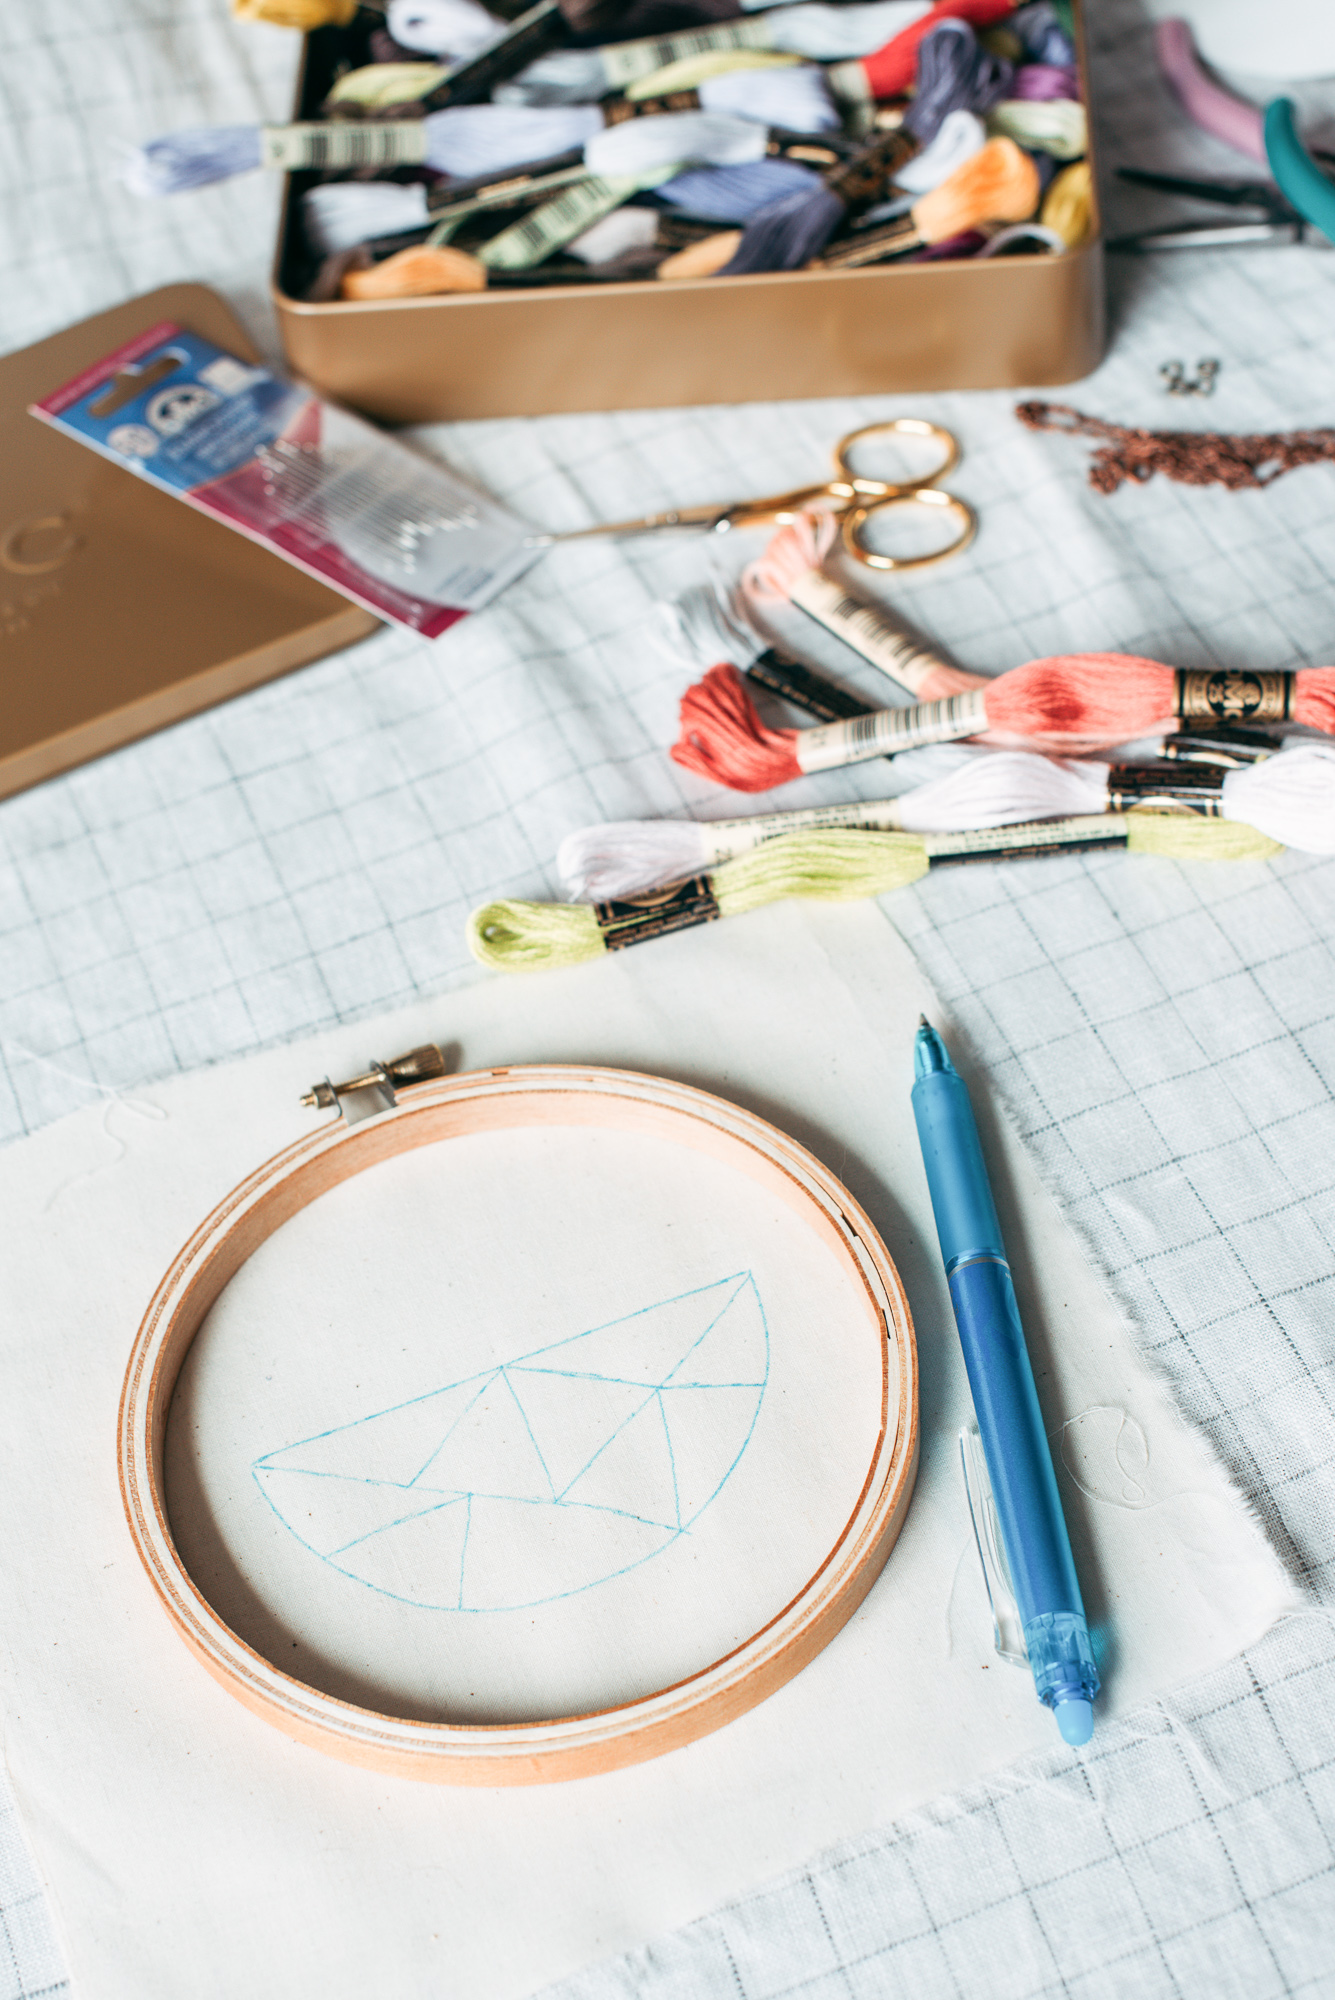
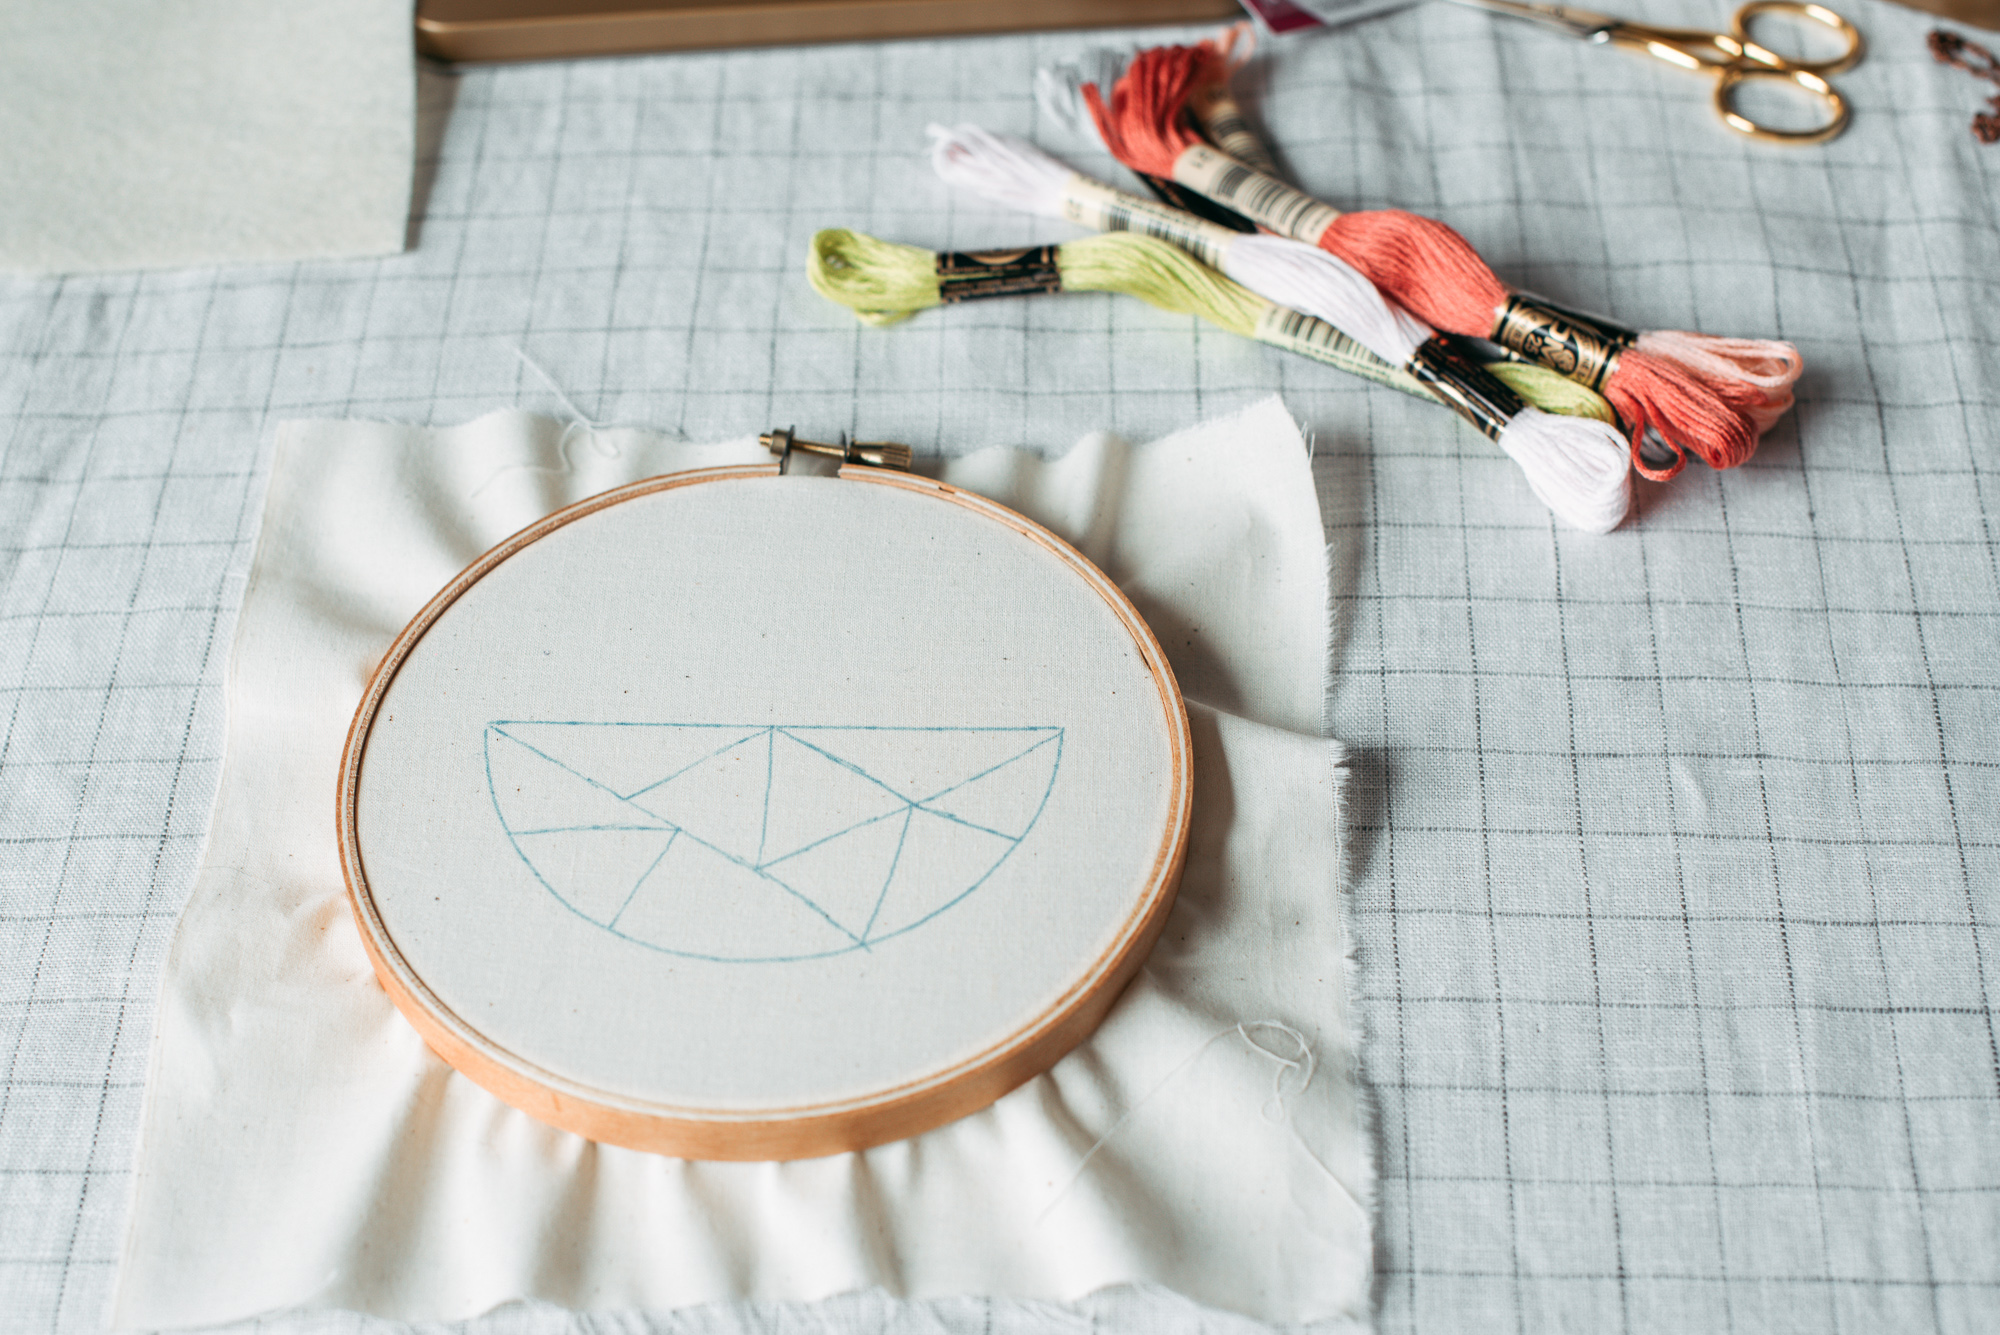
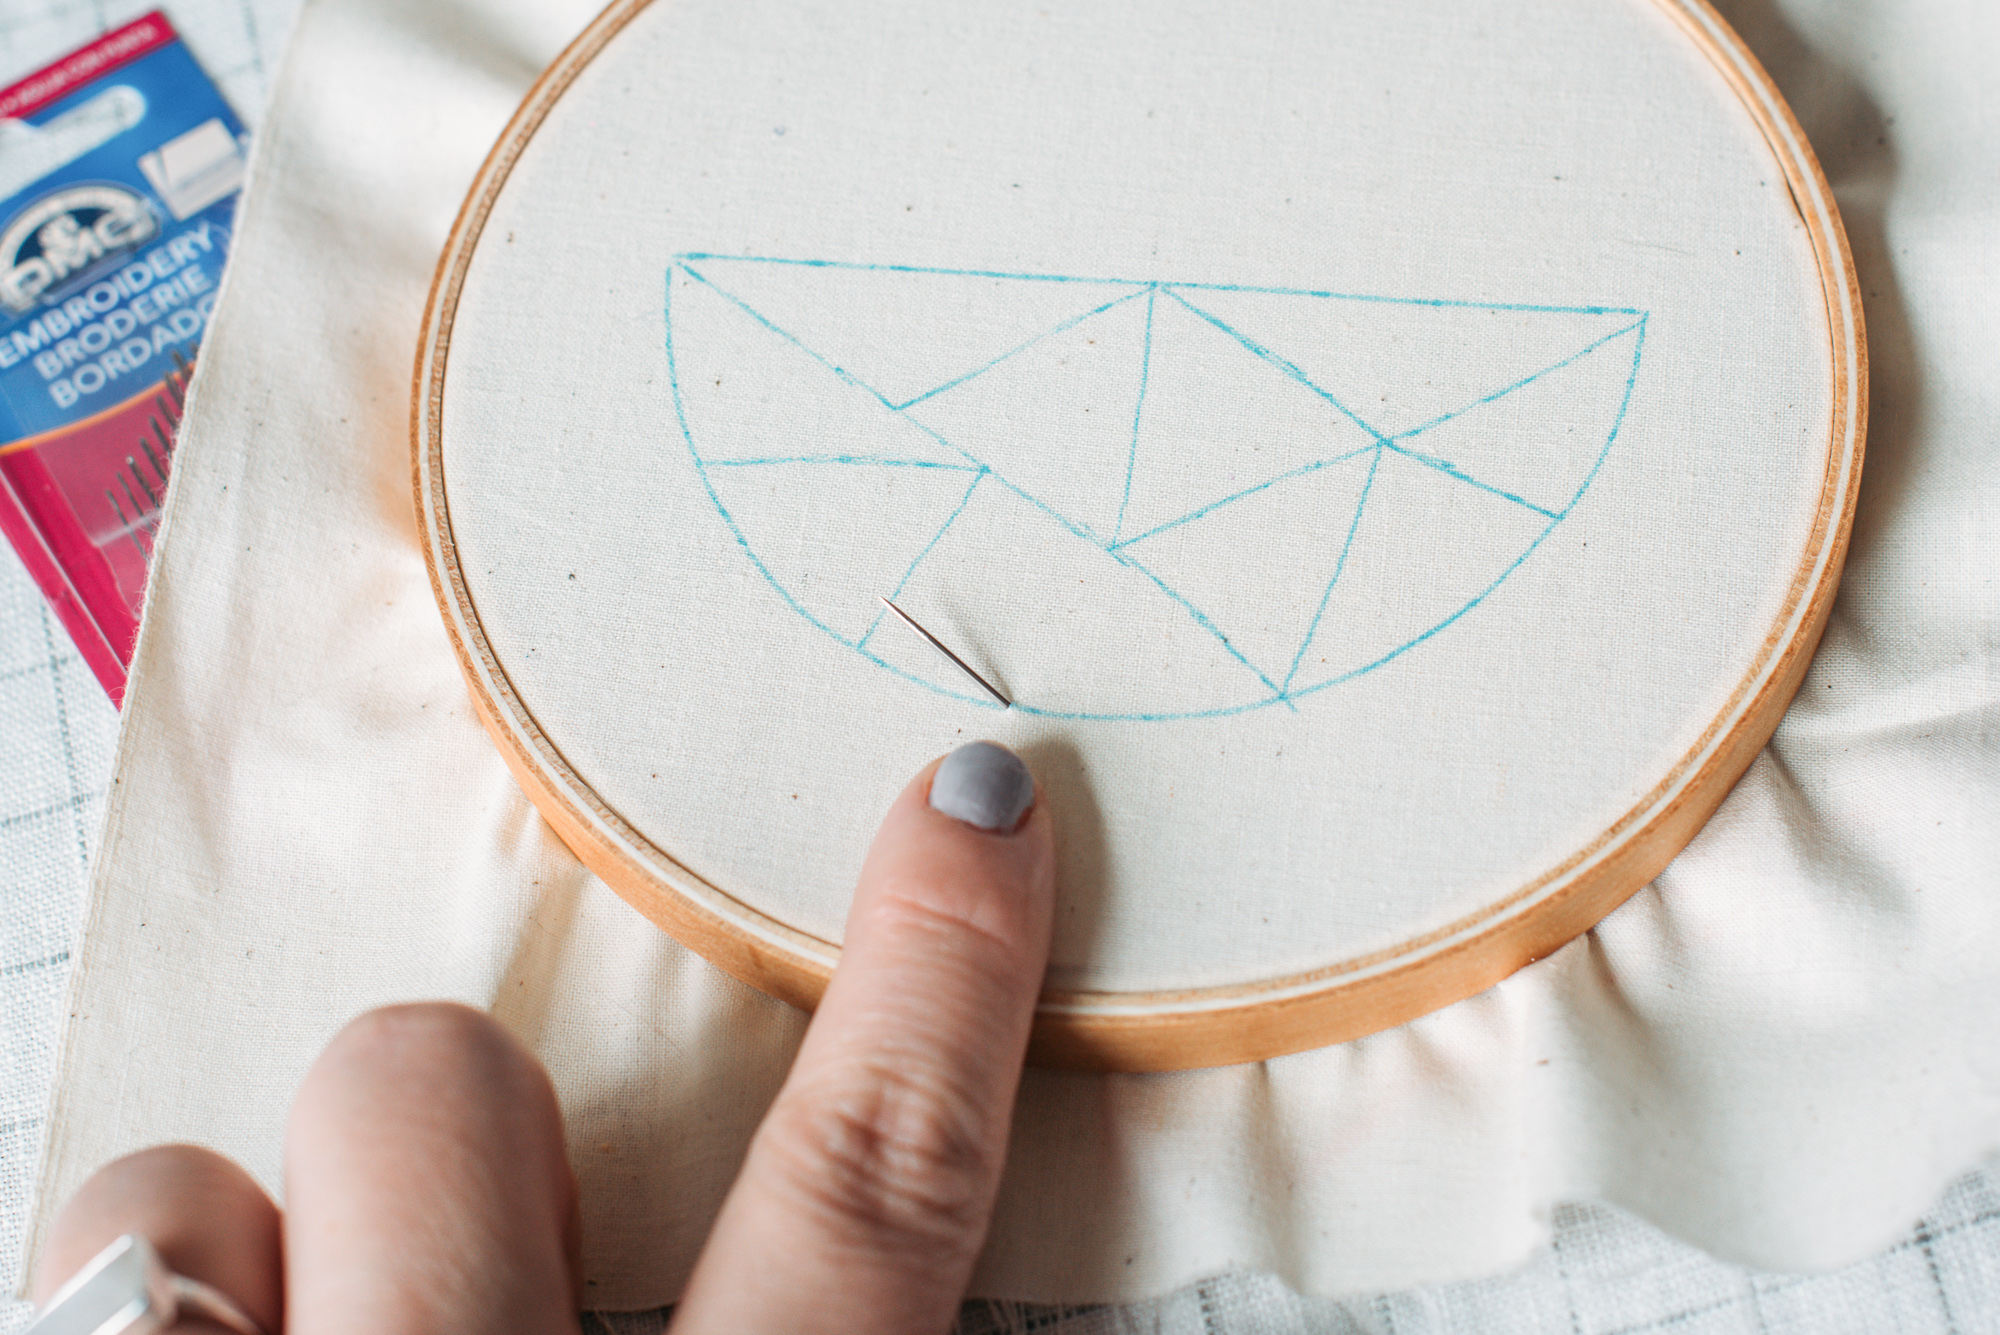
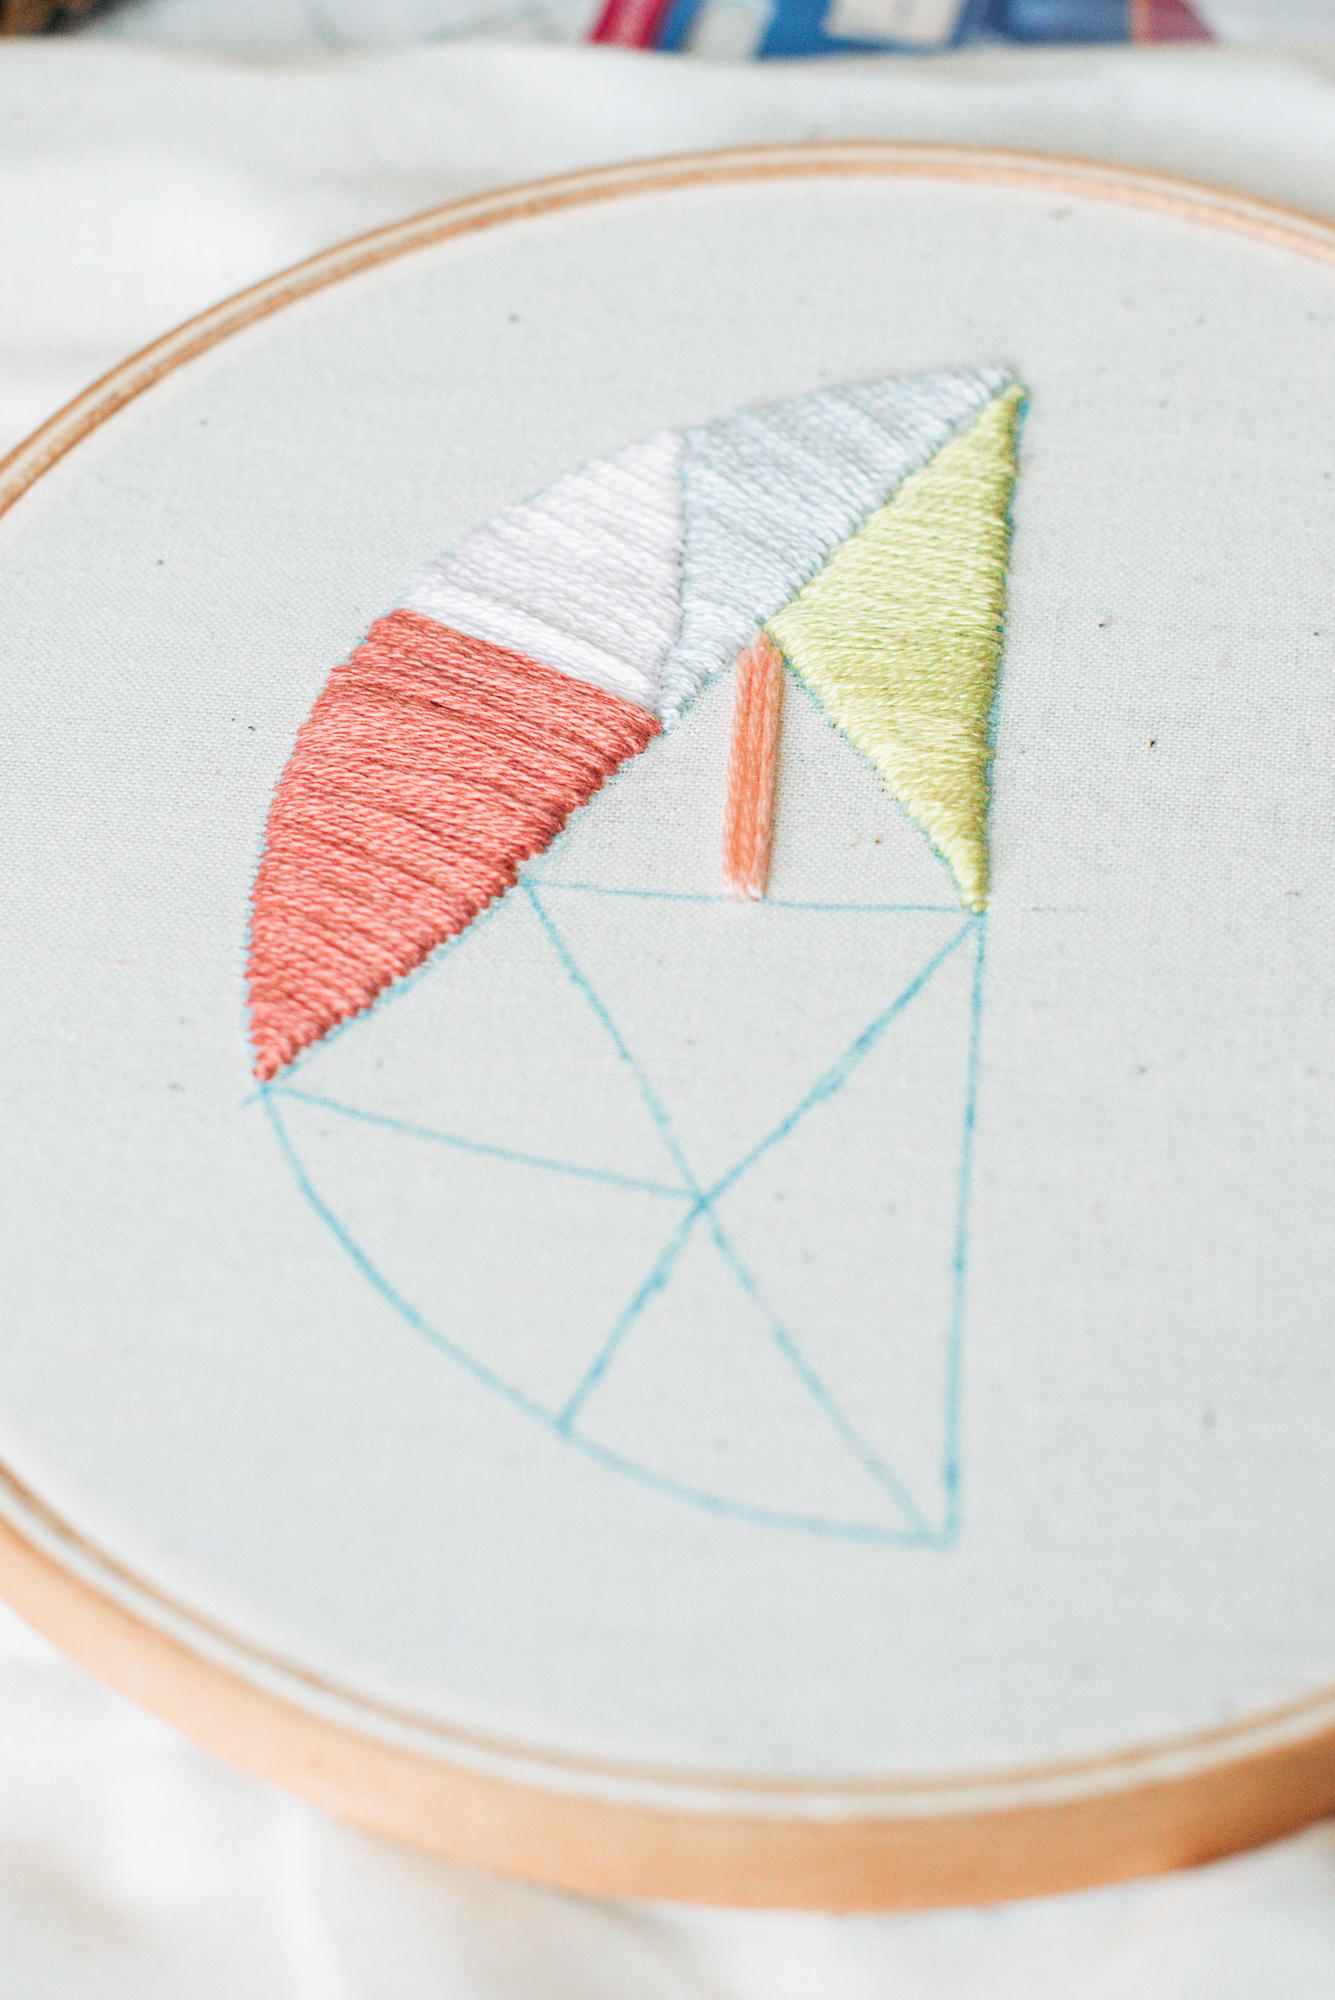
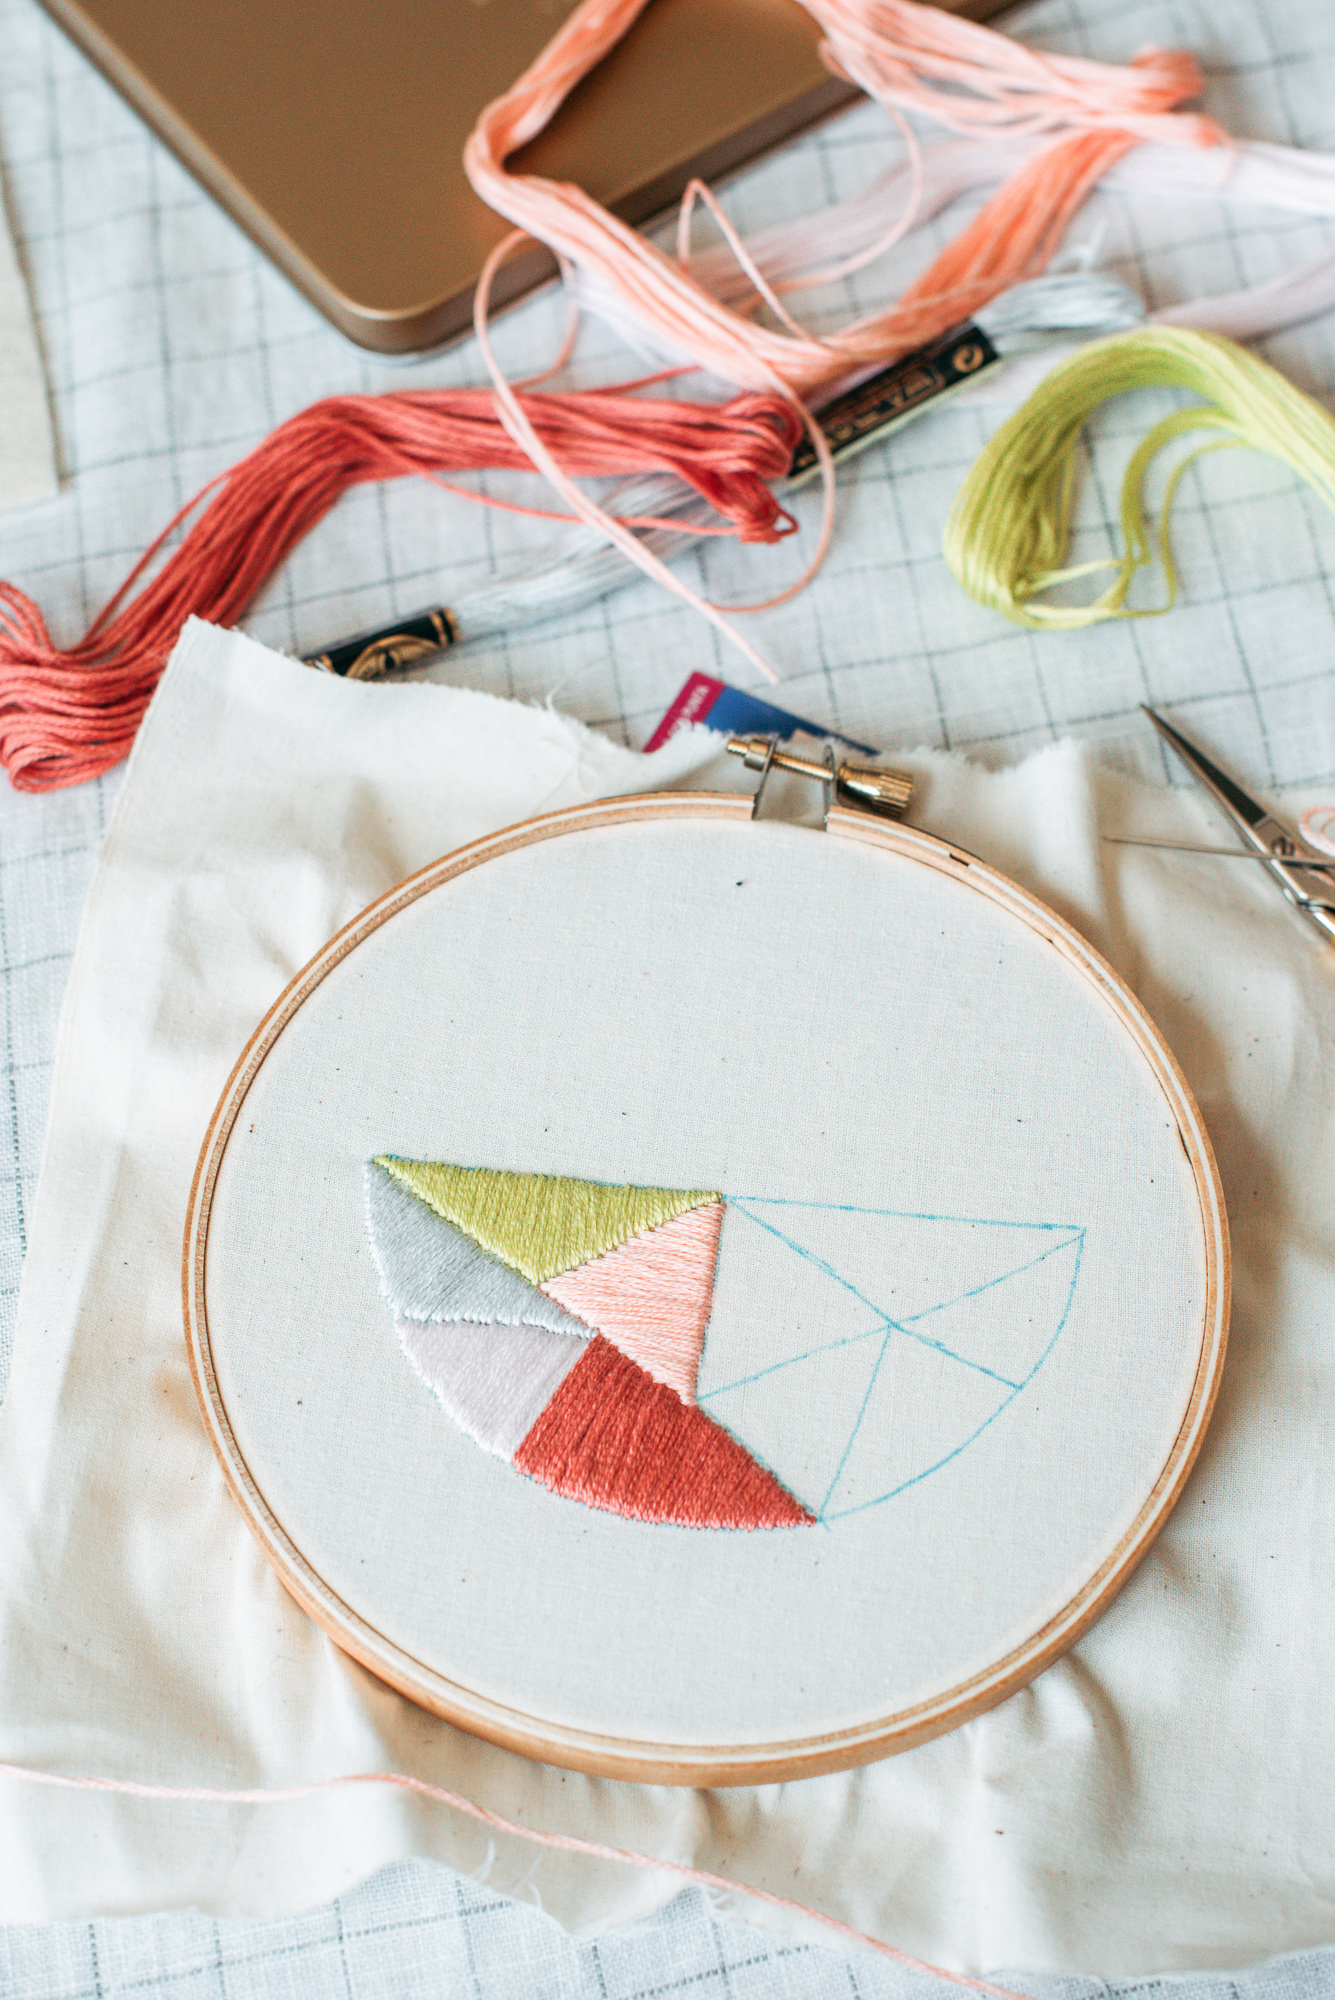
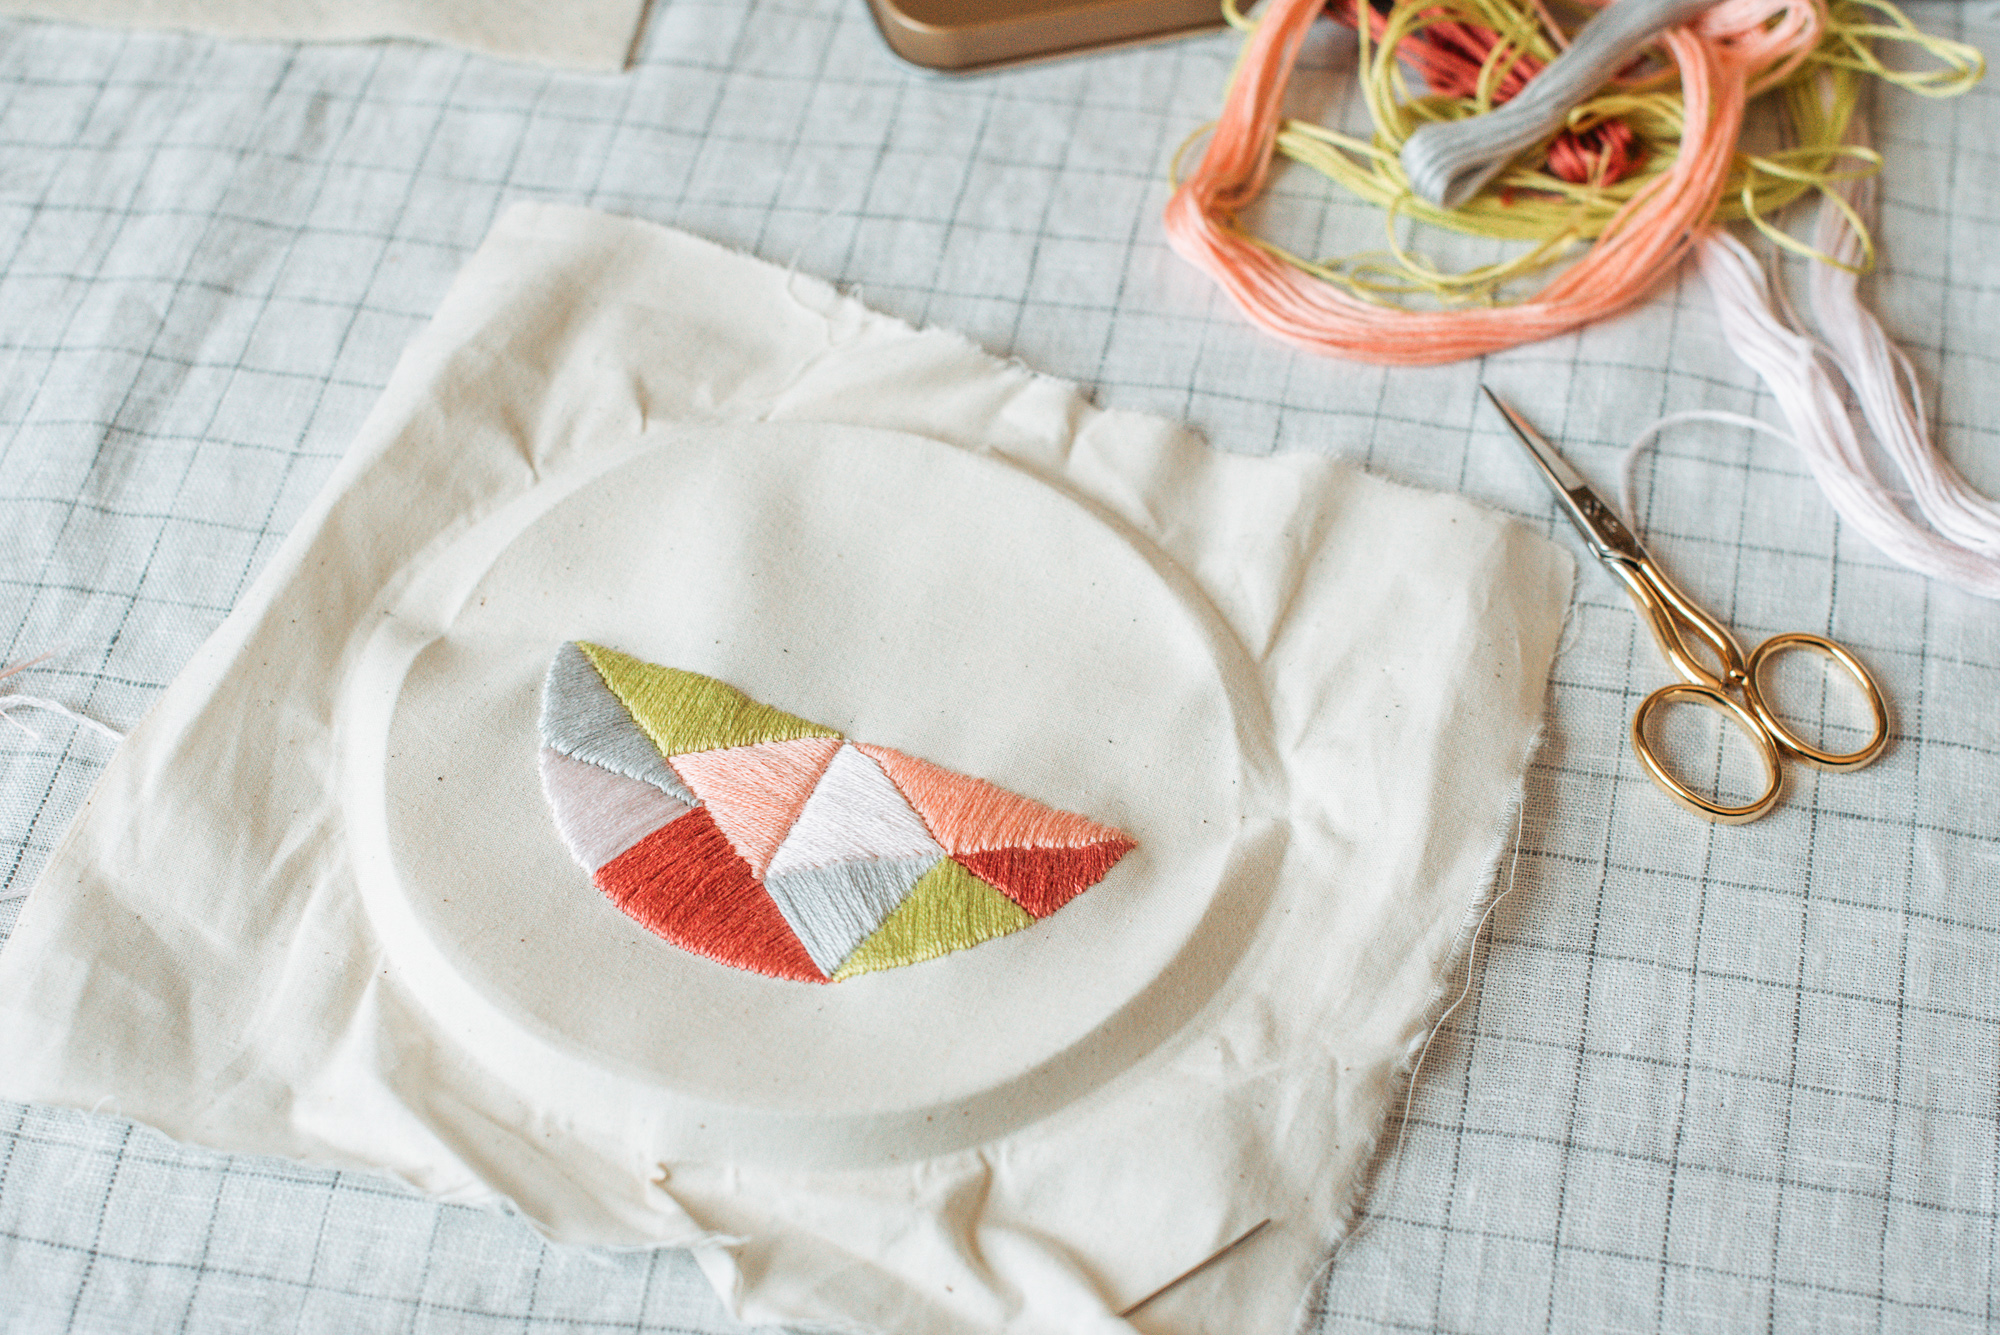
1. Decide on the shape you want your necklace to be, I went with a half circle, and cut the shape to size on a piece of cardstock/paper to use as your stencil. Center the stencil on your fabric using the hoop as a guide and trace the outline with the utensil you chose. Then decide how you want your necklace to look, I went with a random geometric patten and just freehanded it. Keep in mind that the satin stitch we are using works better when you use shorter stitch lengths, which is also why I chose to keep my areas smaller as I sectioned them off. Once you have your pattern finished on your fabric load your hoop up.
2. Choose your color palette, I chose five colors to work with since I had 10 sections to stitch and wanted to have two sections in each color, the options are endless here and you could also do this in all one color which would still look awesome! Thread your needle, knot one end of your floss, and try to keep your kitty off of your work. 😉
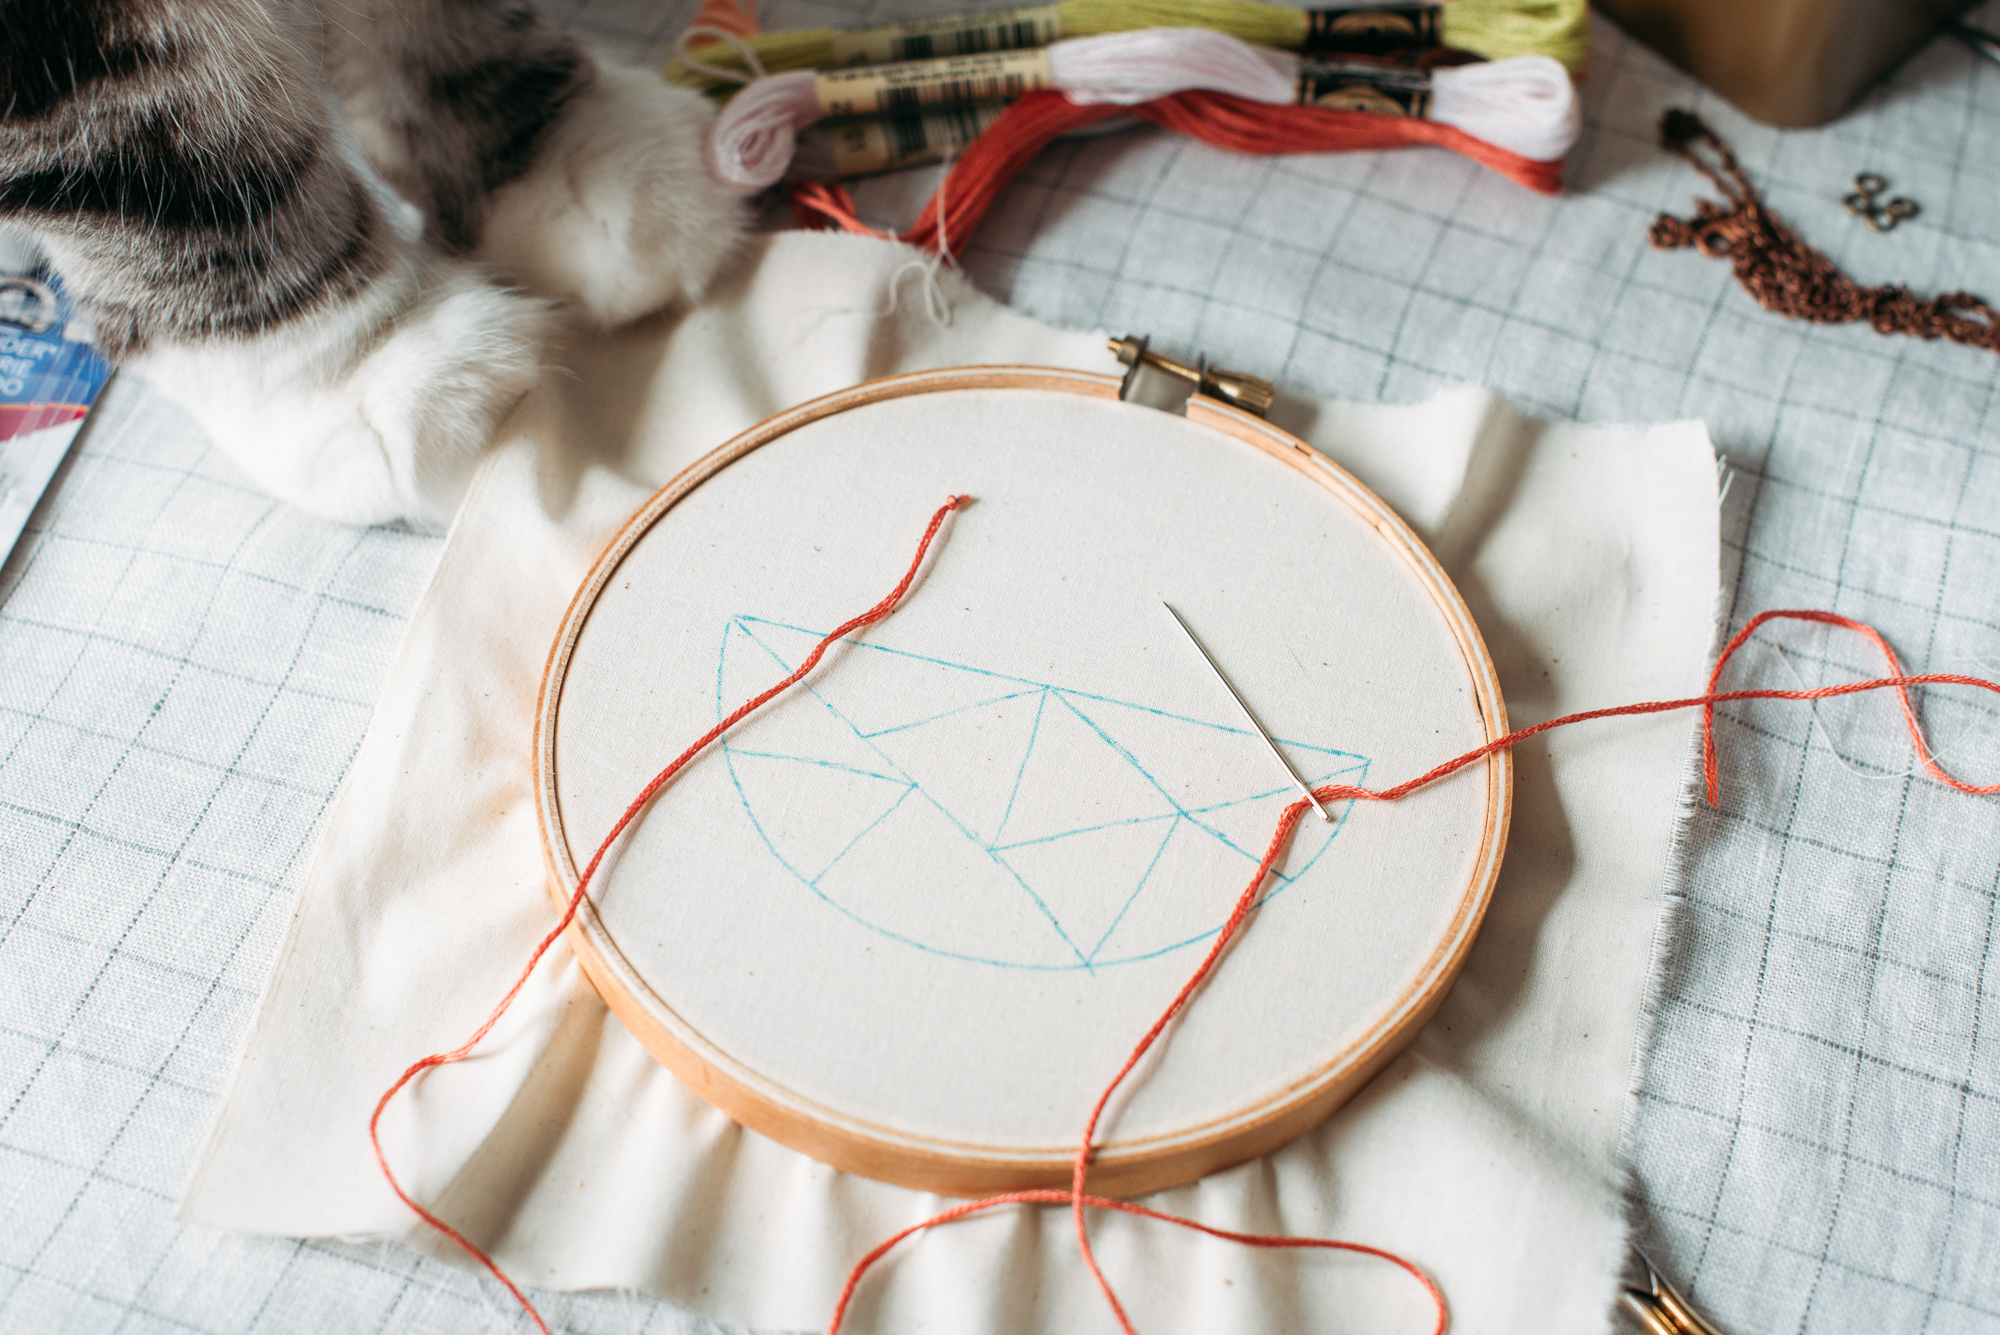
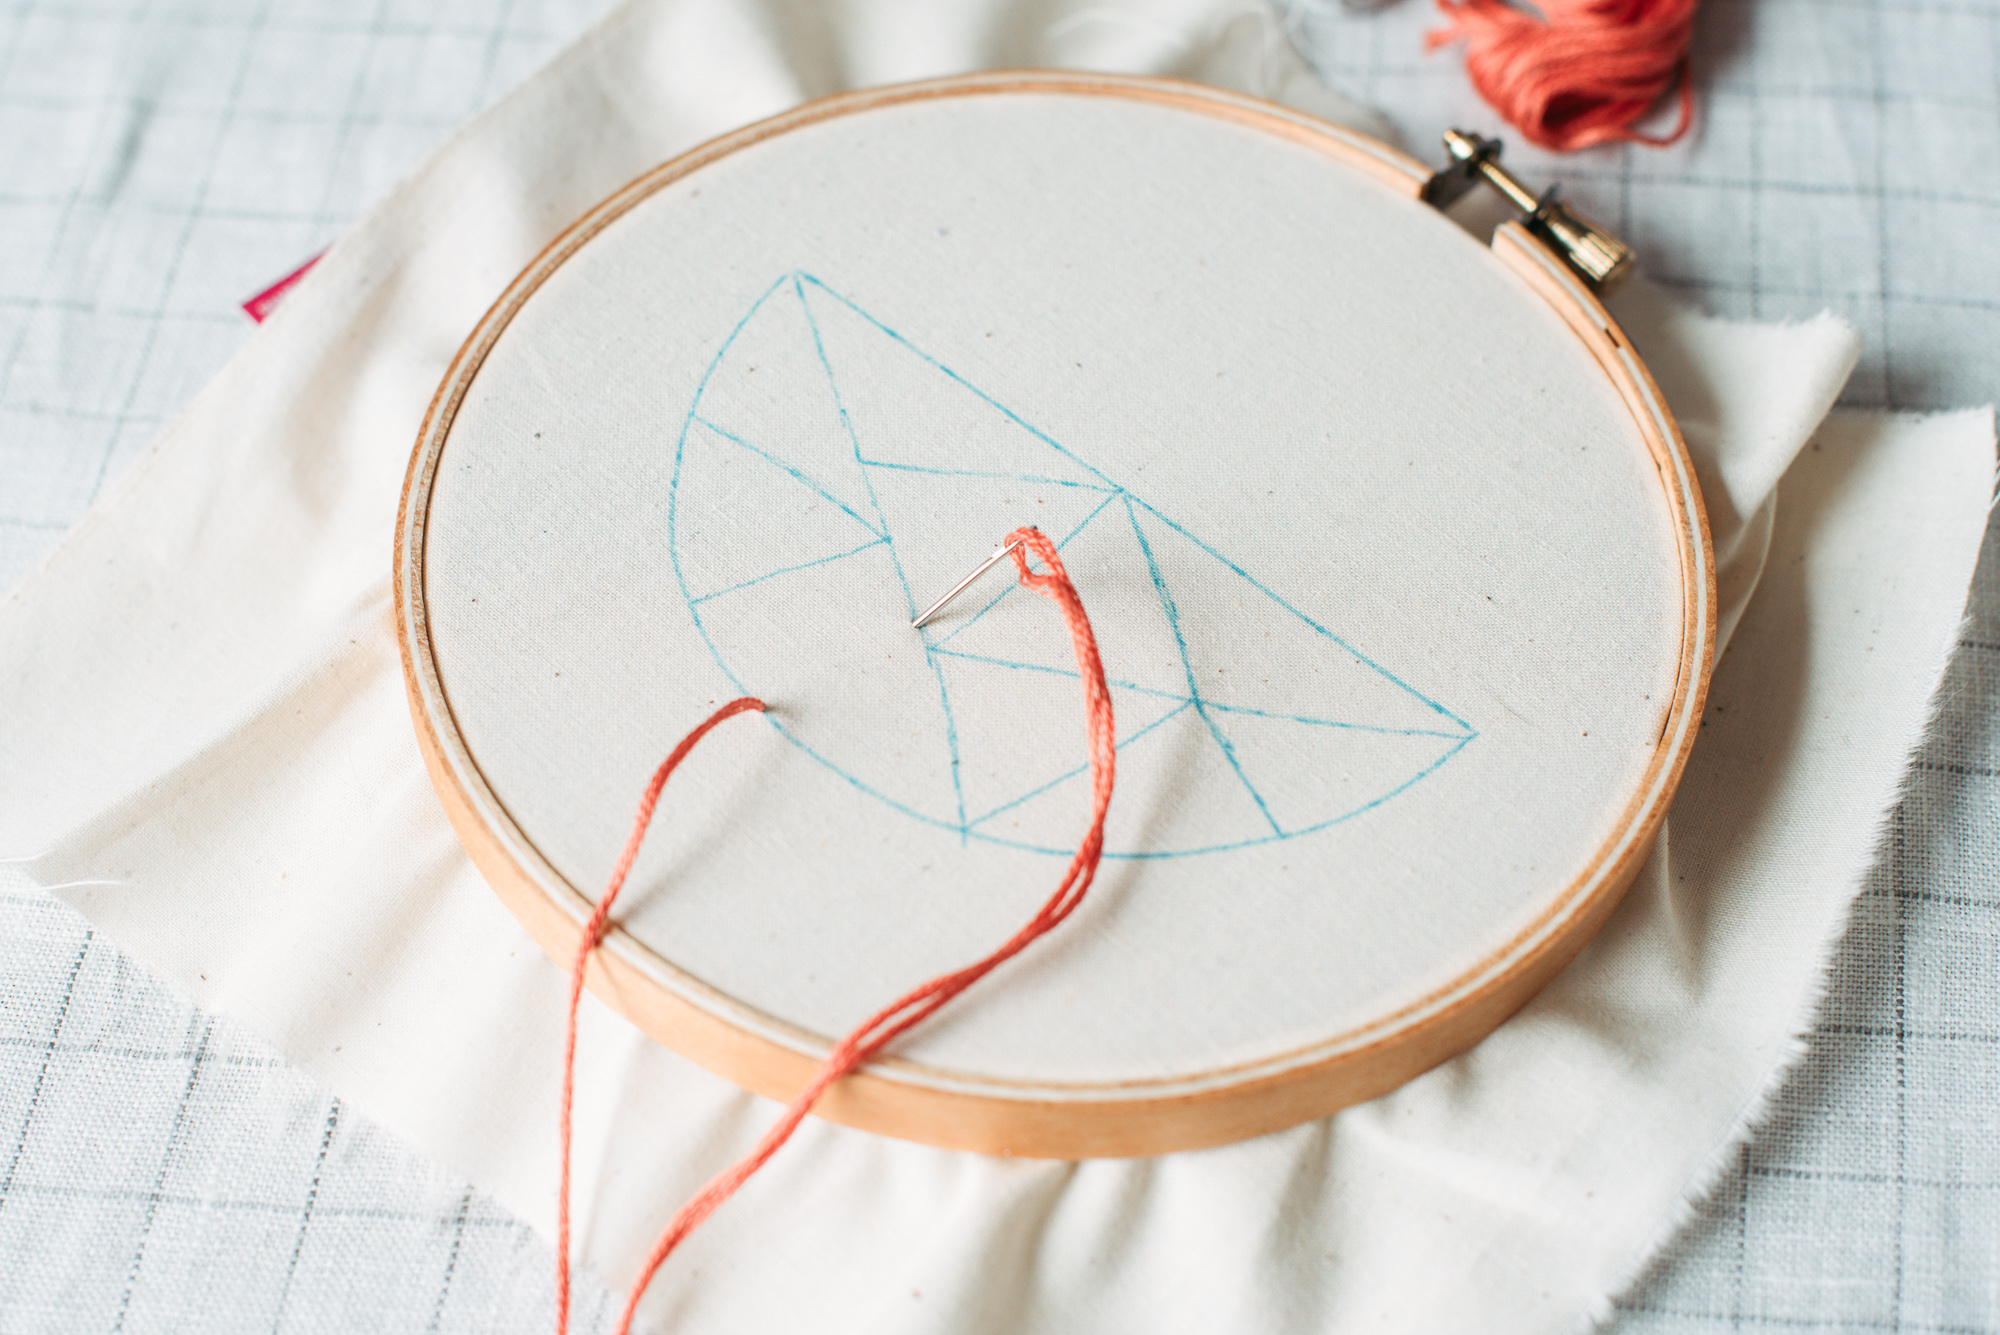
3. There are a few different ways to do the satin stitch, I’m going to show you the way I prefer, and what I think is the fastest and easiest way. (Google Satin Stitch and you will find TONS of different ways to do it). I like to start around the middle of where I will be filling in using the satin stitch. For these kinds of shapes, not straight lines, I like to start on the side that has the straighter of the lines or the longest side first. Bring the needle up at what we will call one, pull the floss all the way through till the knot is at the back, push the needle in on the line directly across from where you came up (two). Then bring up the needle right next to one and then down right next to two. Try to get the stitches as close together as you can without them sharing the same stitch hole. I like to fill in one side of the area and then move to the next half, working the same way. Also try to keep your thread as flat as you can without it twisting for smoother results. The back of your work should look similar to the front, that’s how you know you’re doing it right. 🙂
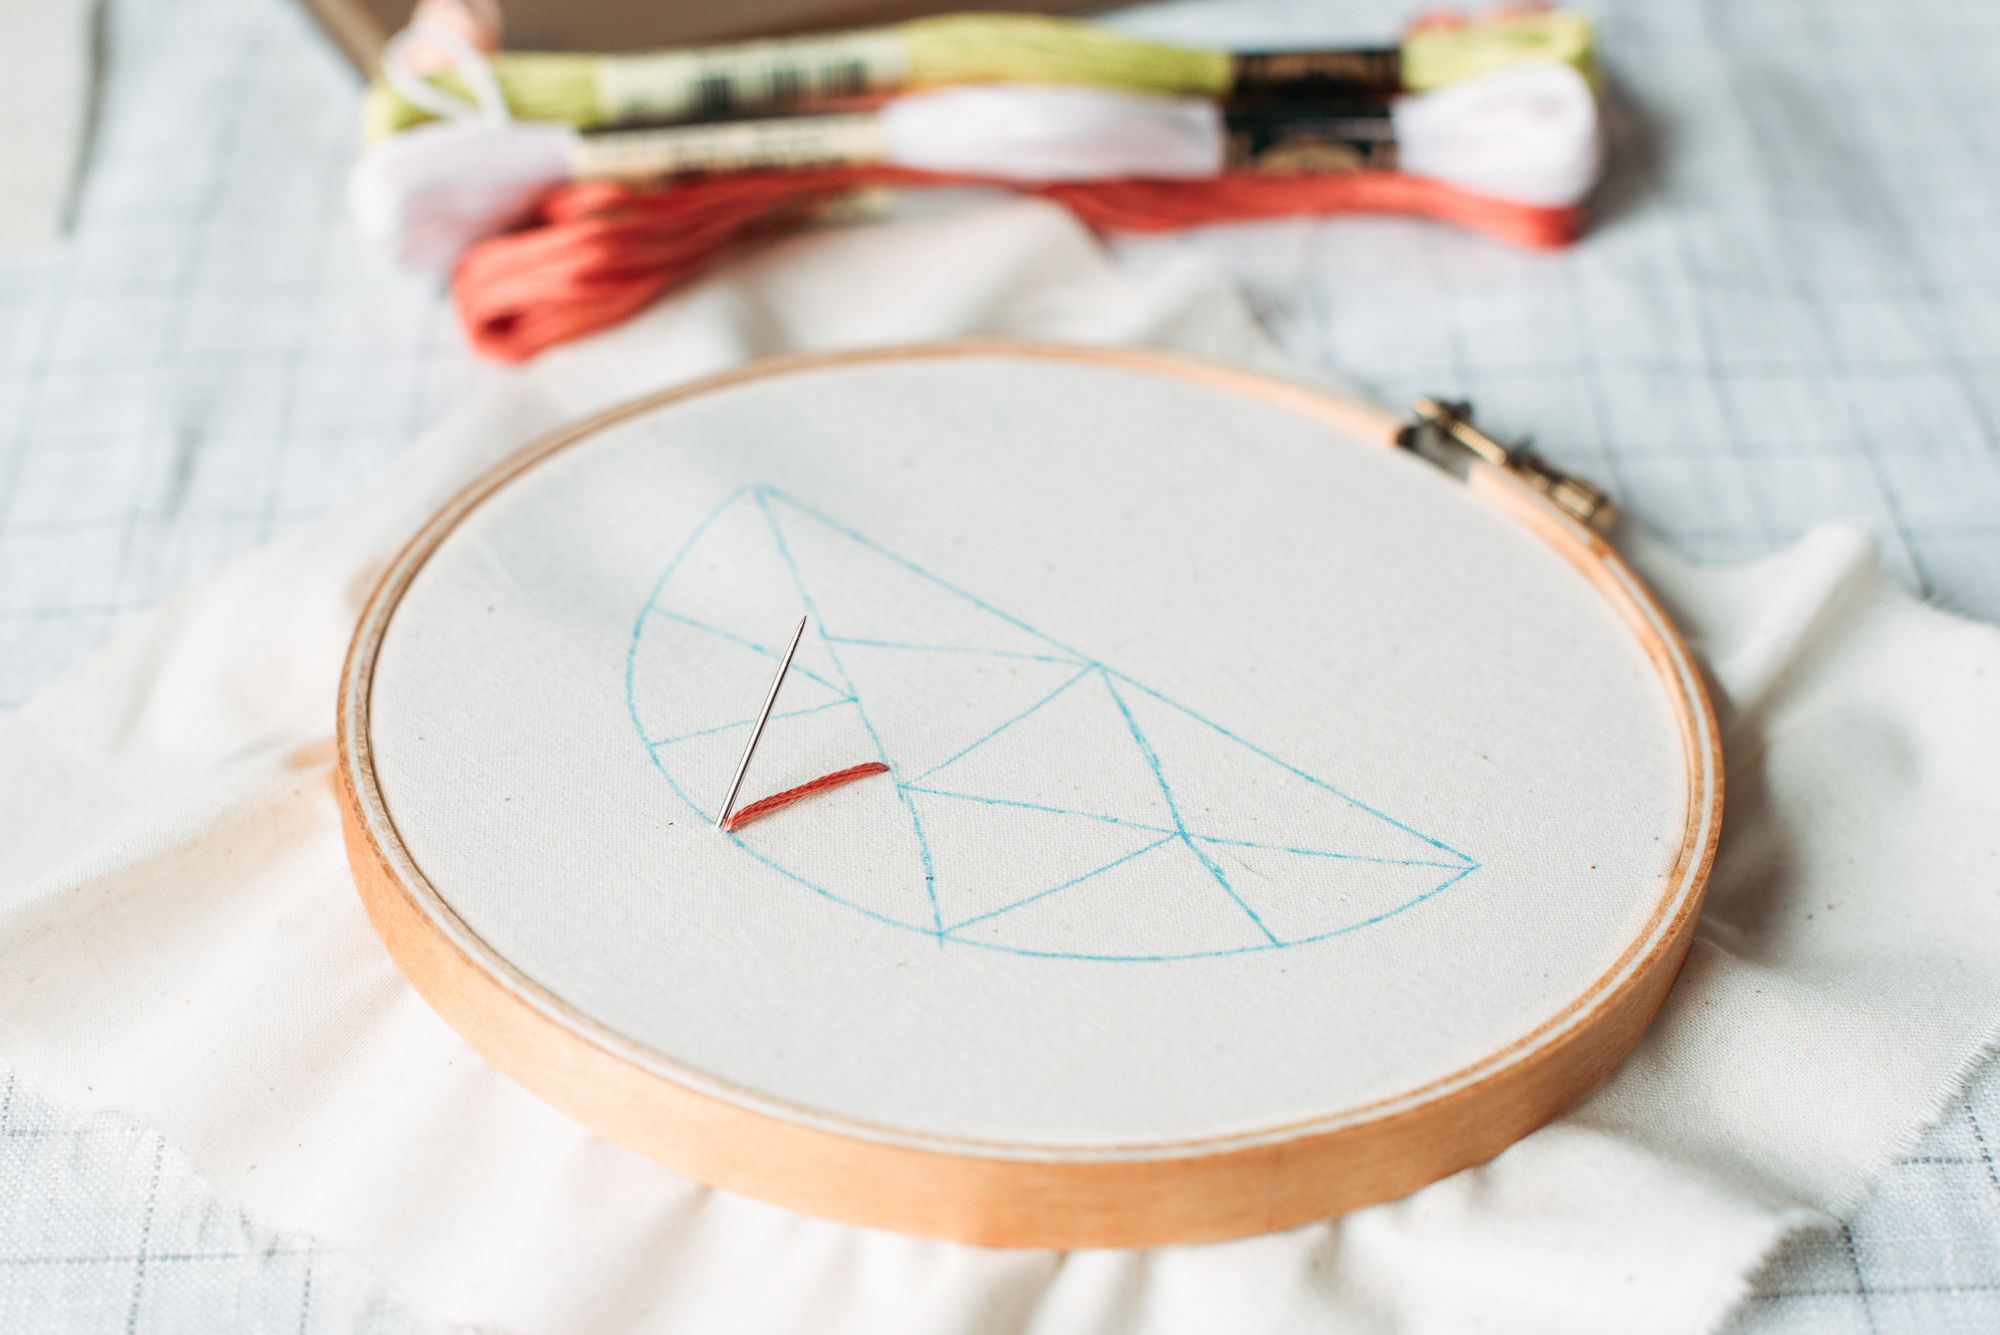
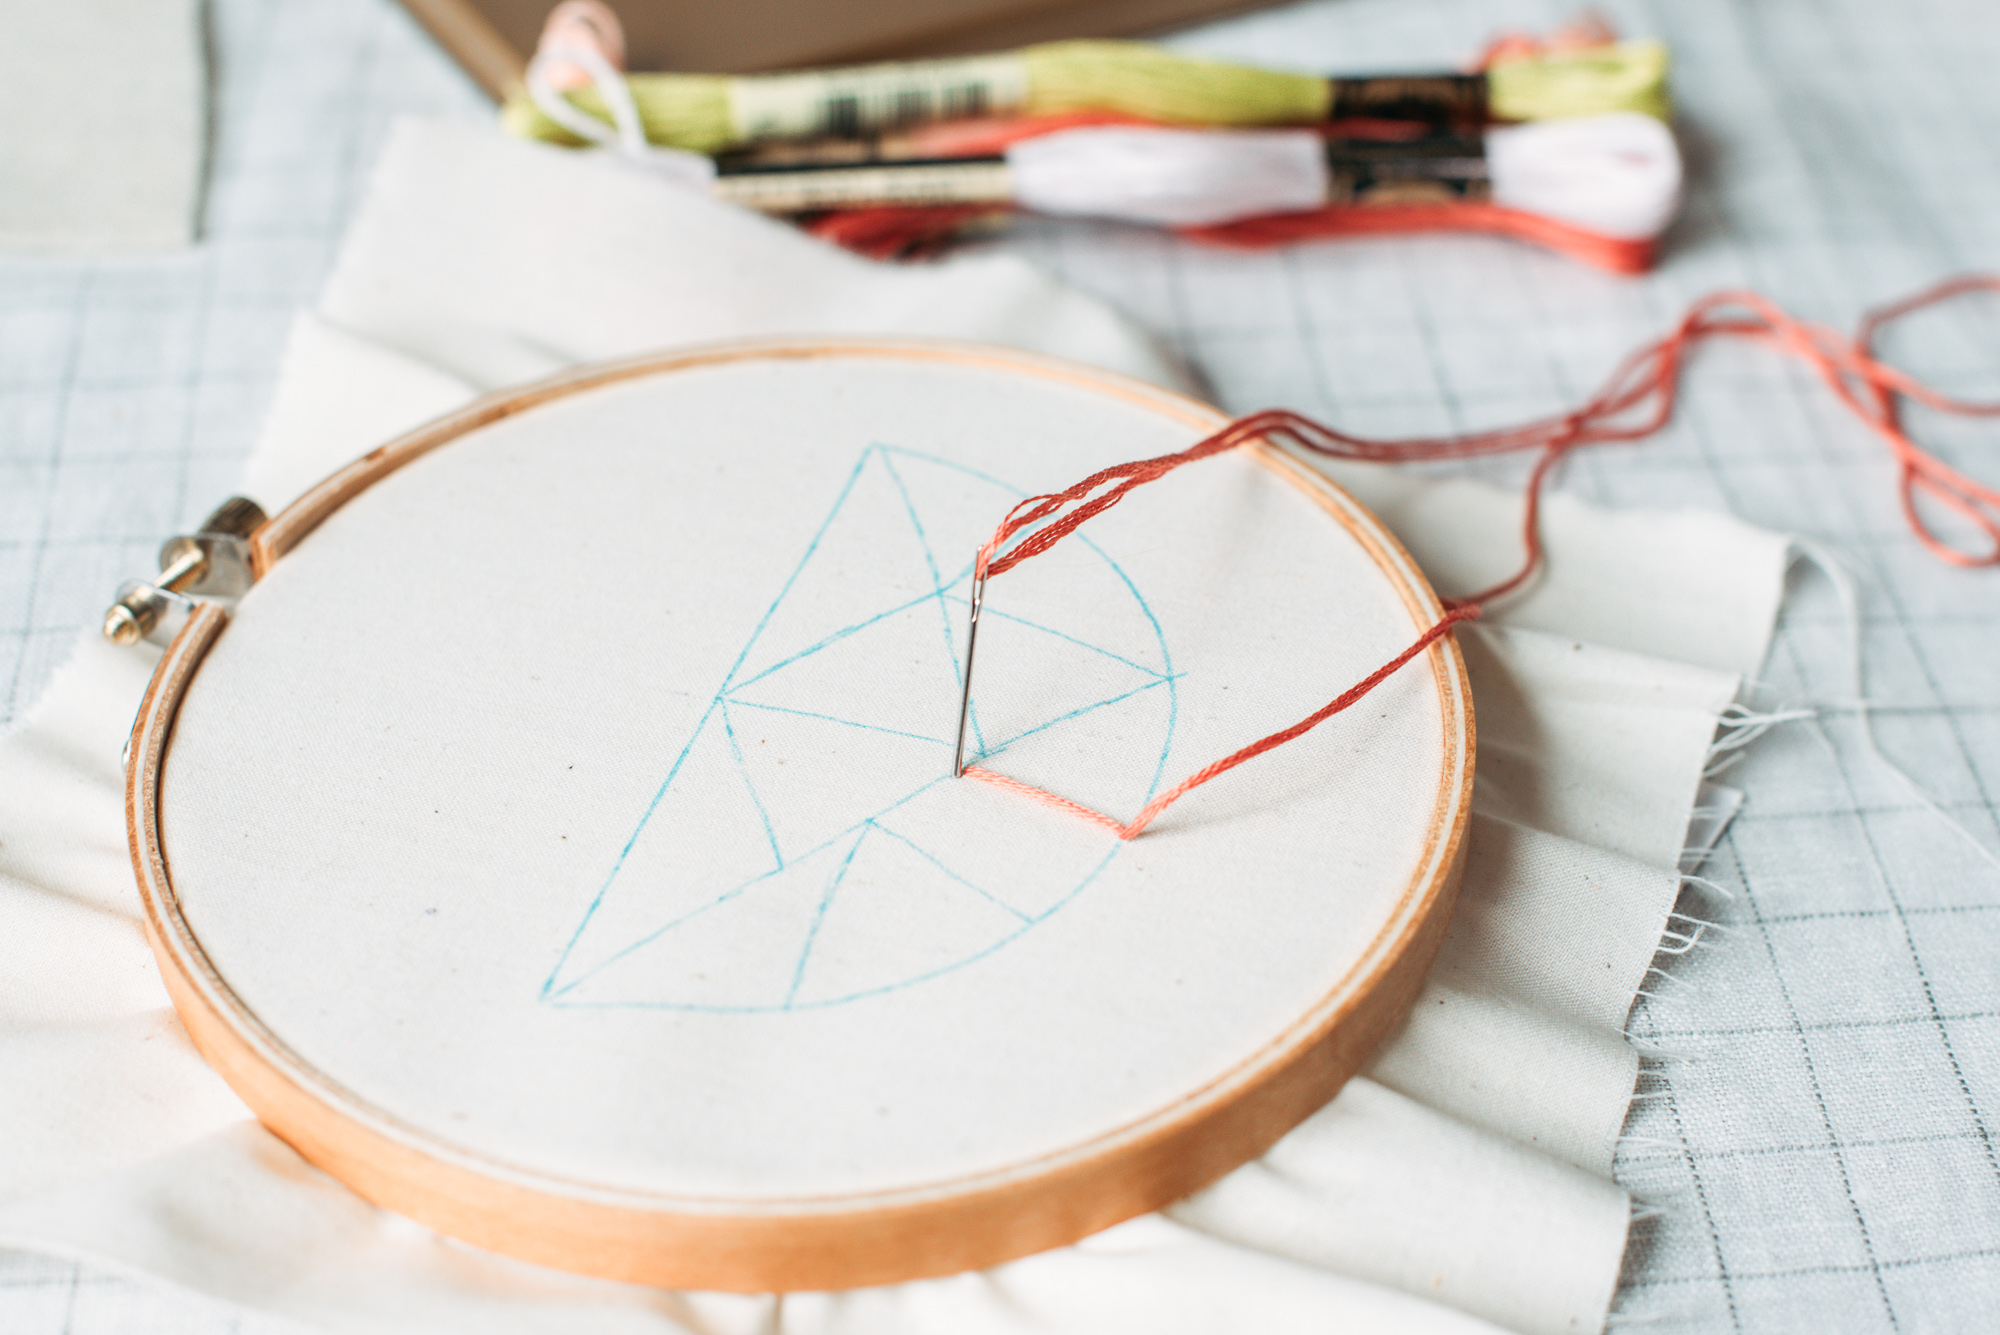
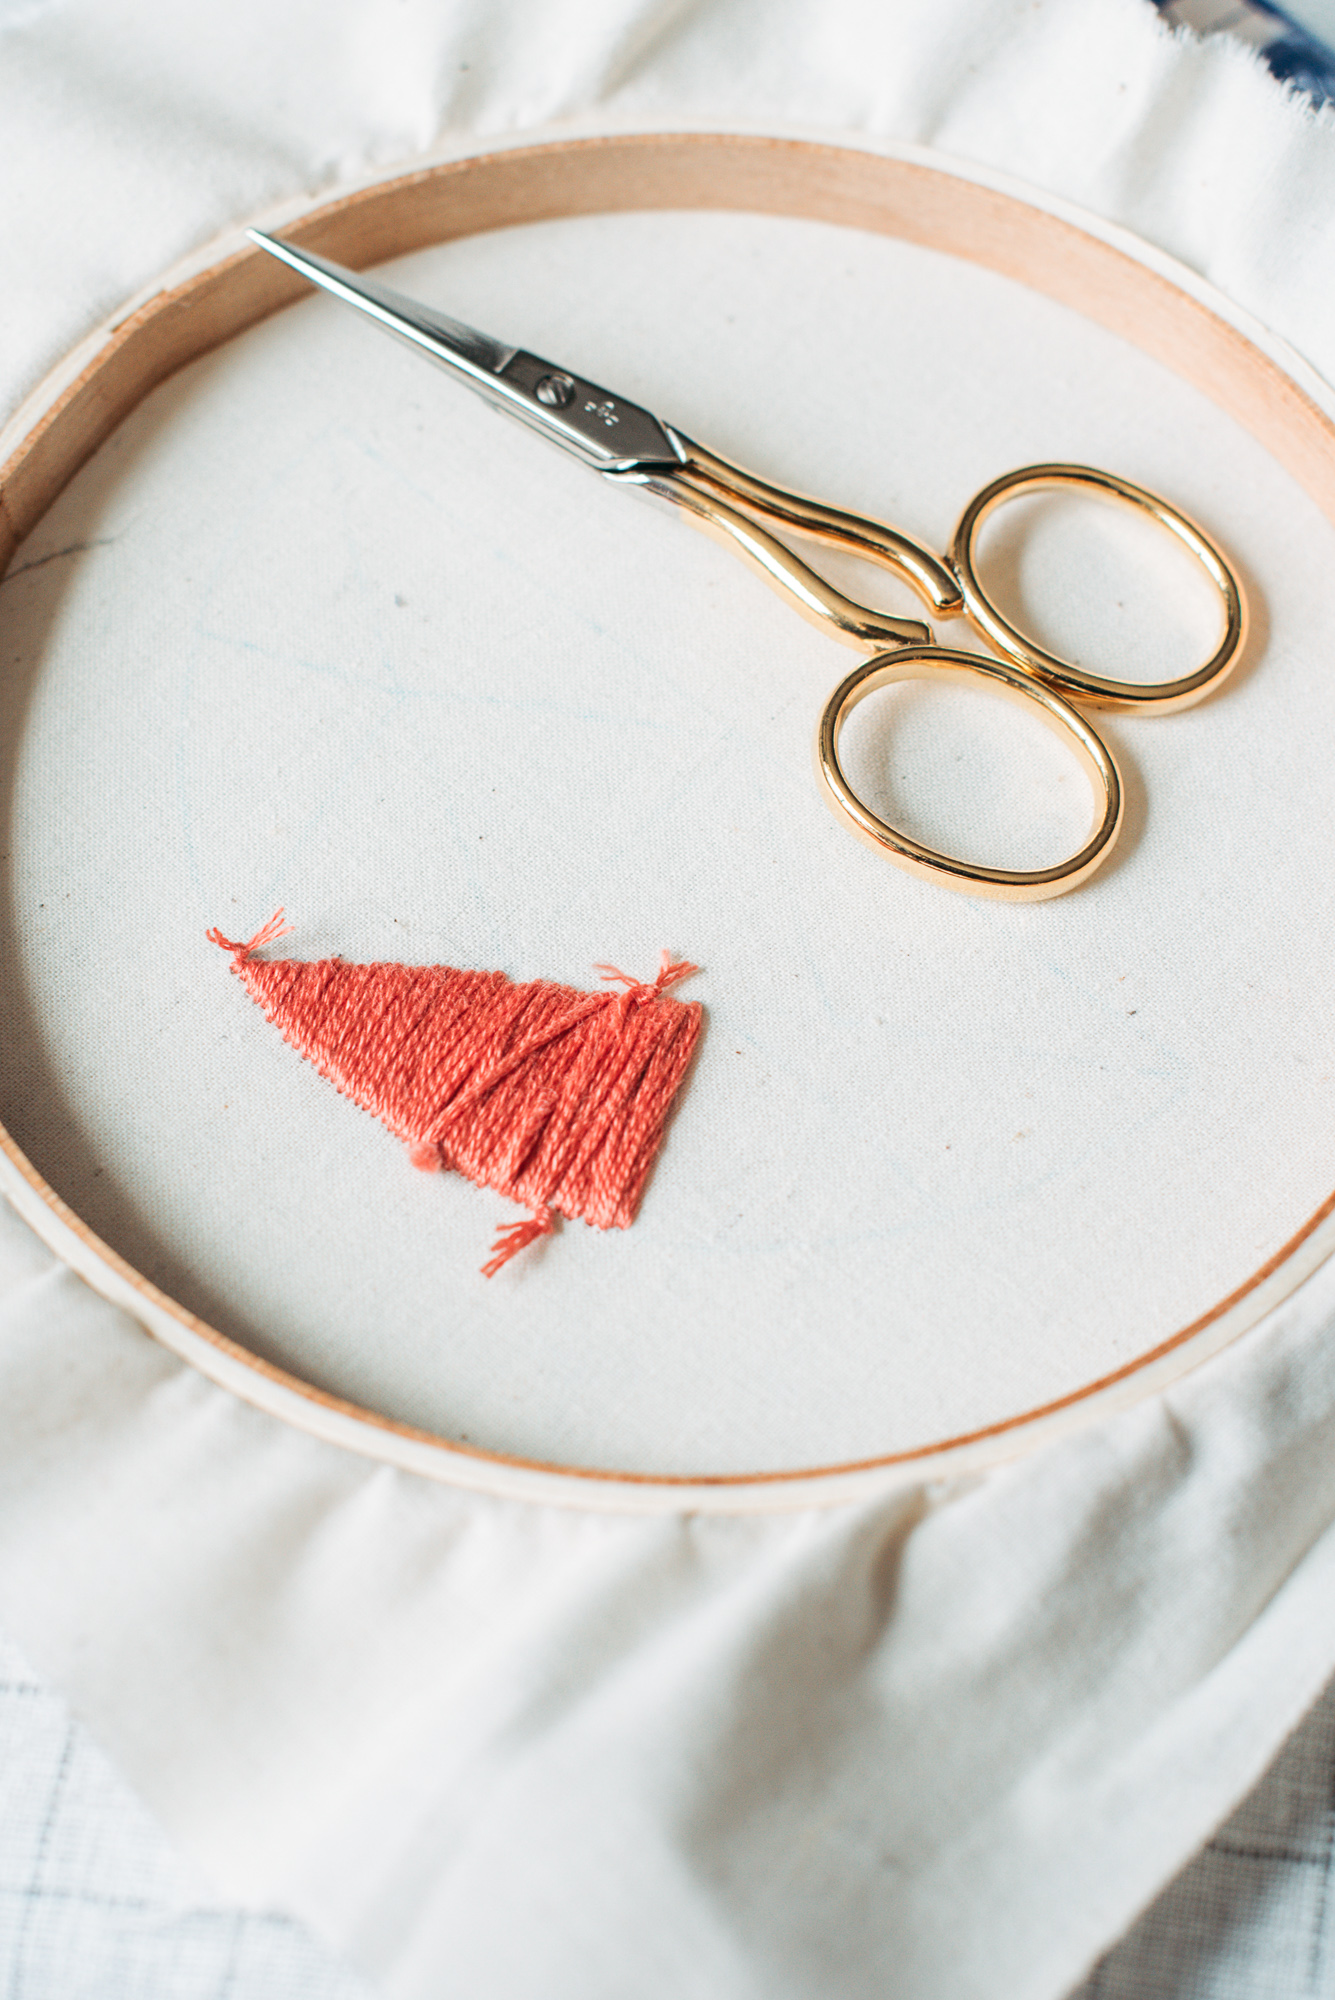
4. I like to work in a way that makes sense to me, to keep my stitches as short as possible, which can mean that my stitches aren’t all running the same way and I like that look better! This decision will be up to you, just keep in mind that the longer your stitches are, the more likely they are to shift or snag easily. Keep working the same way until your pattern has been filled in.
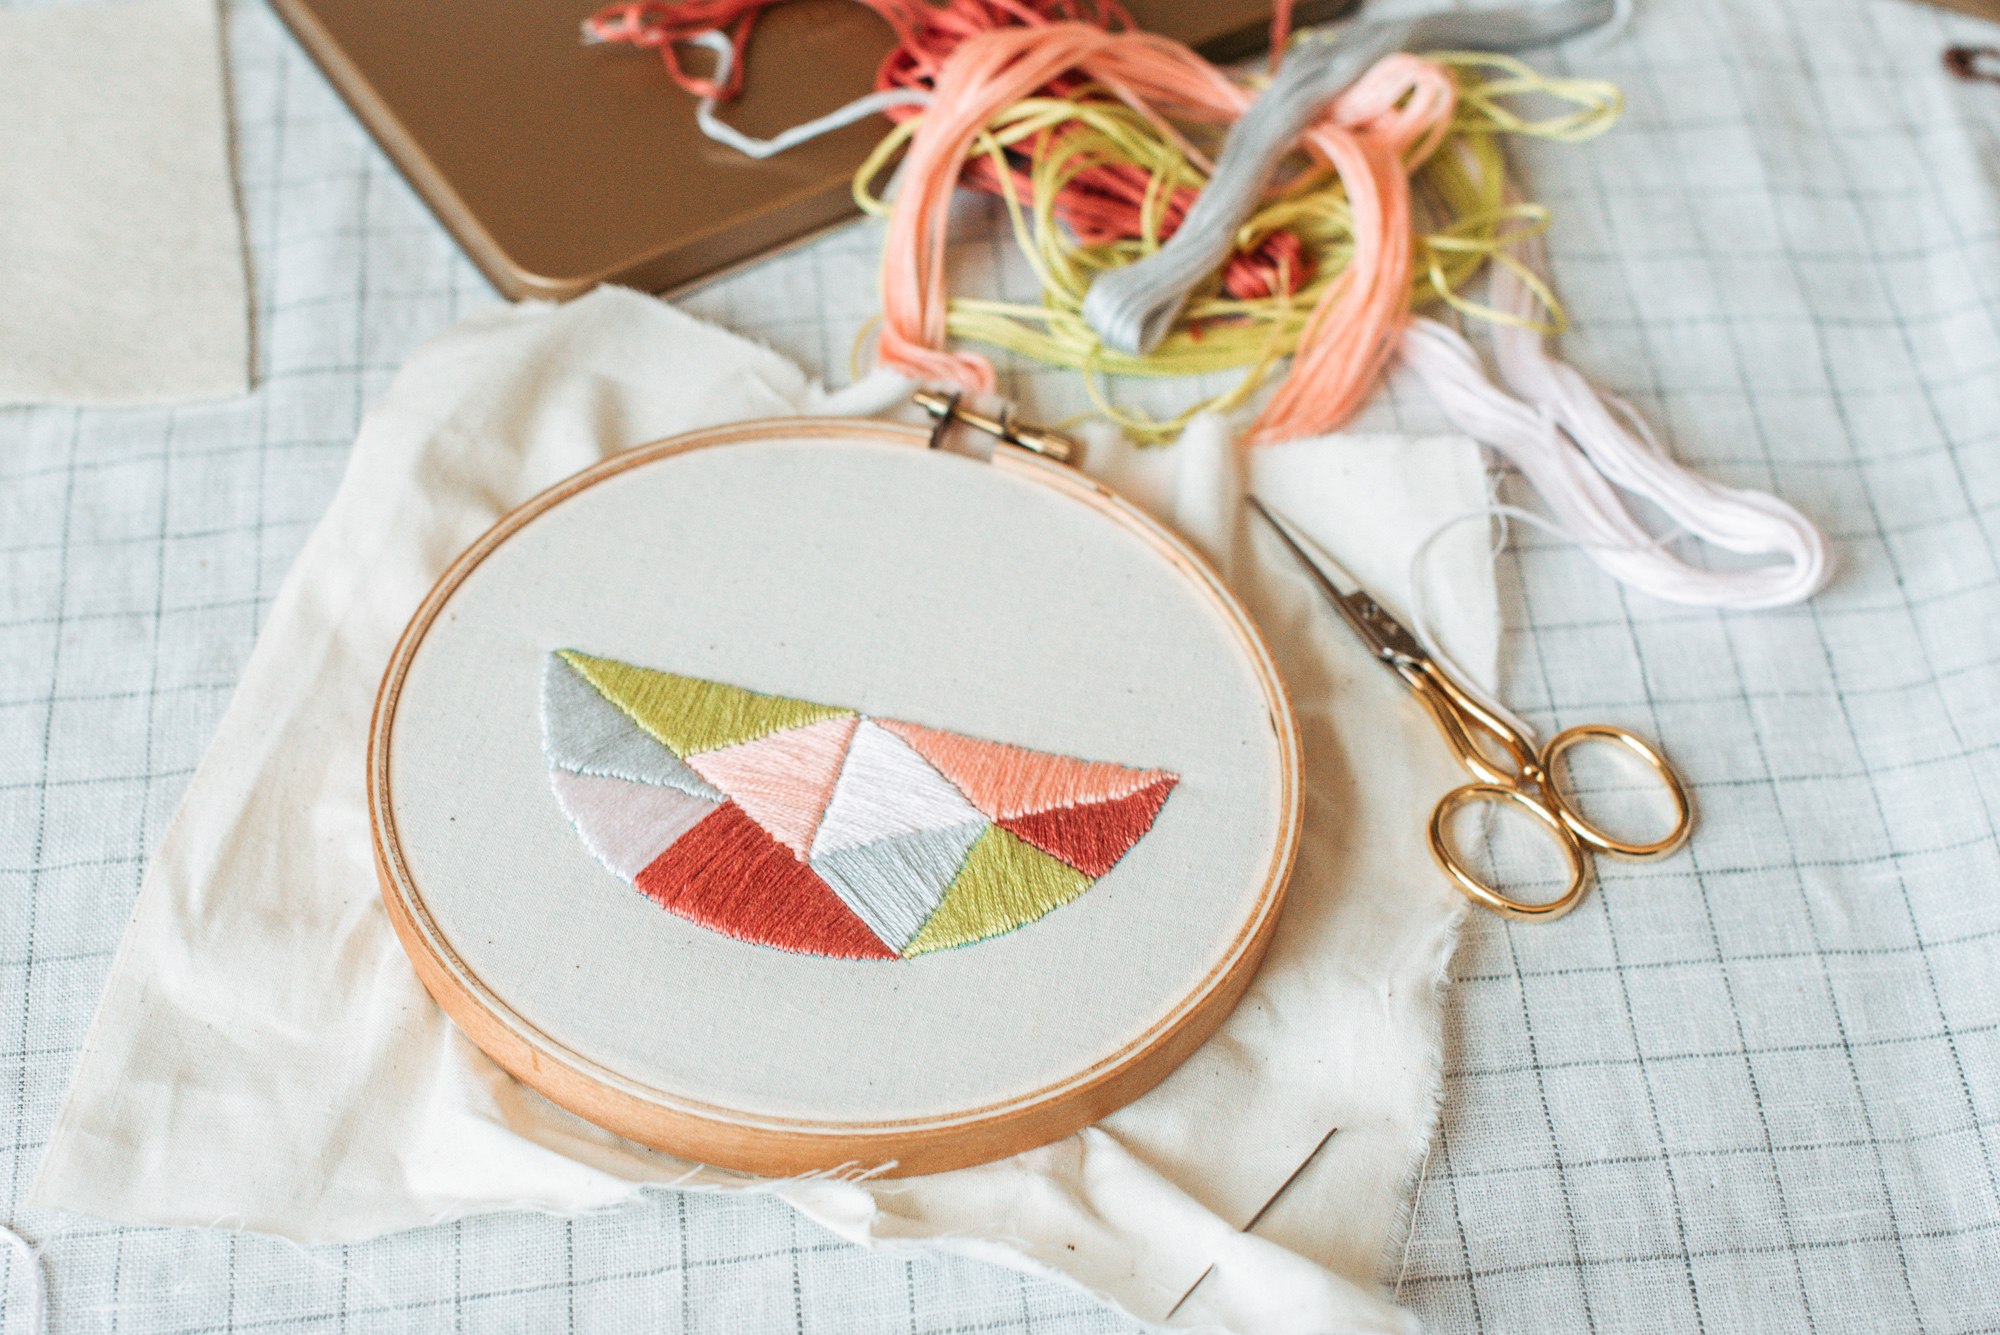
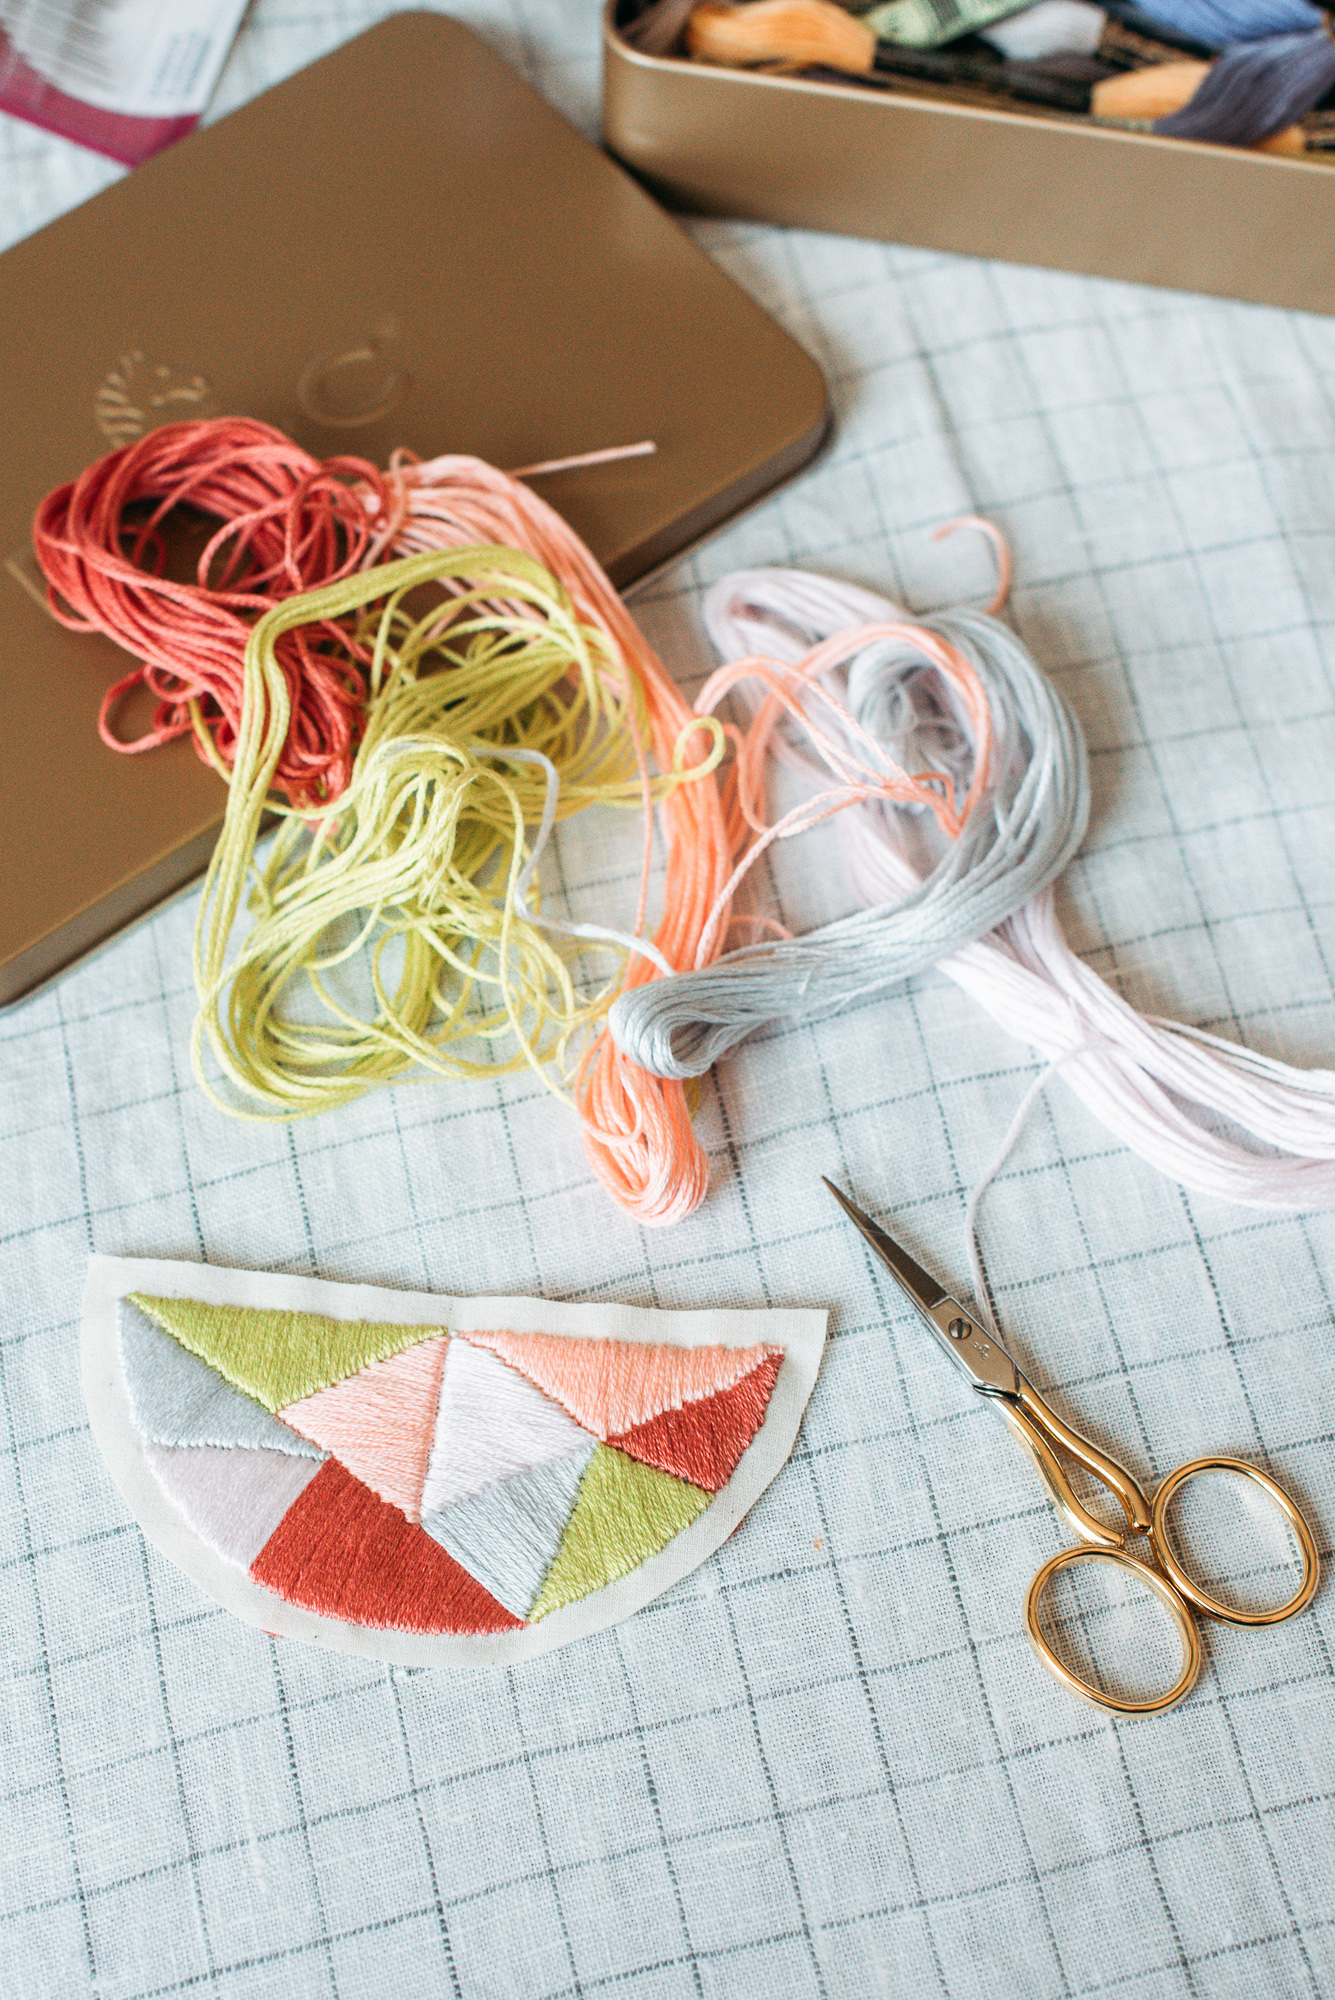
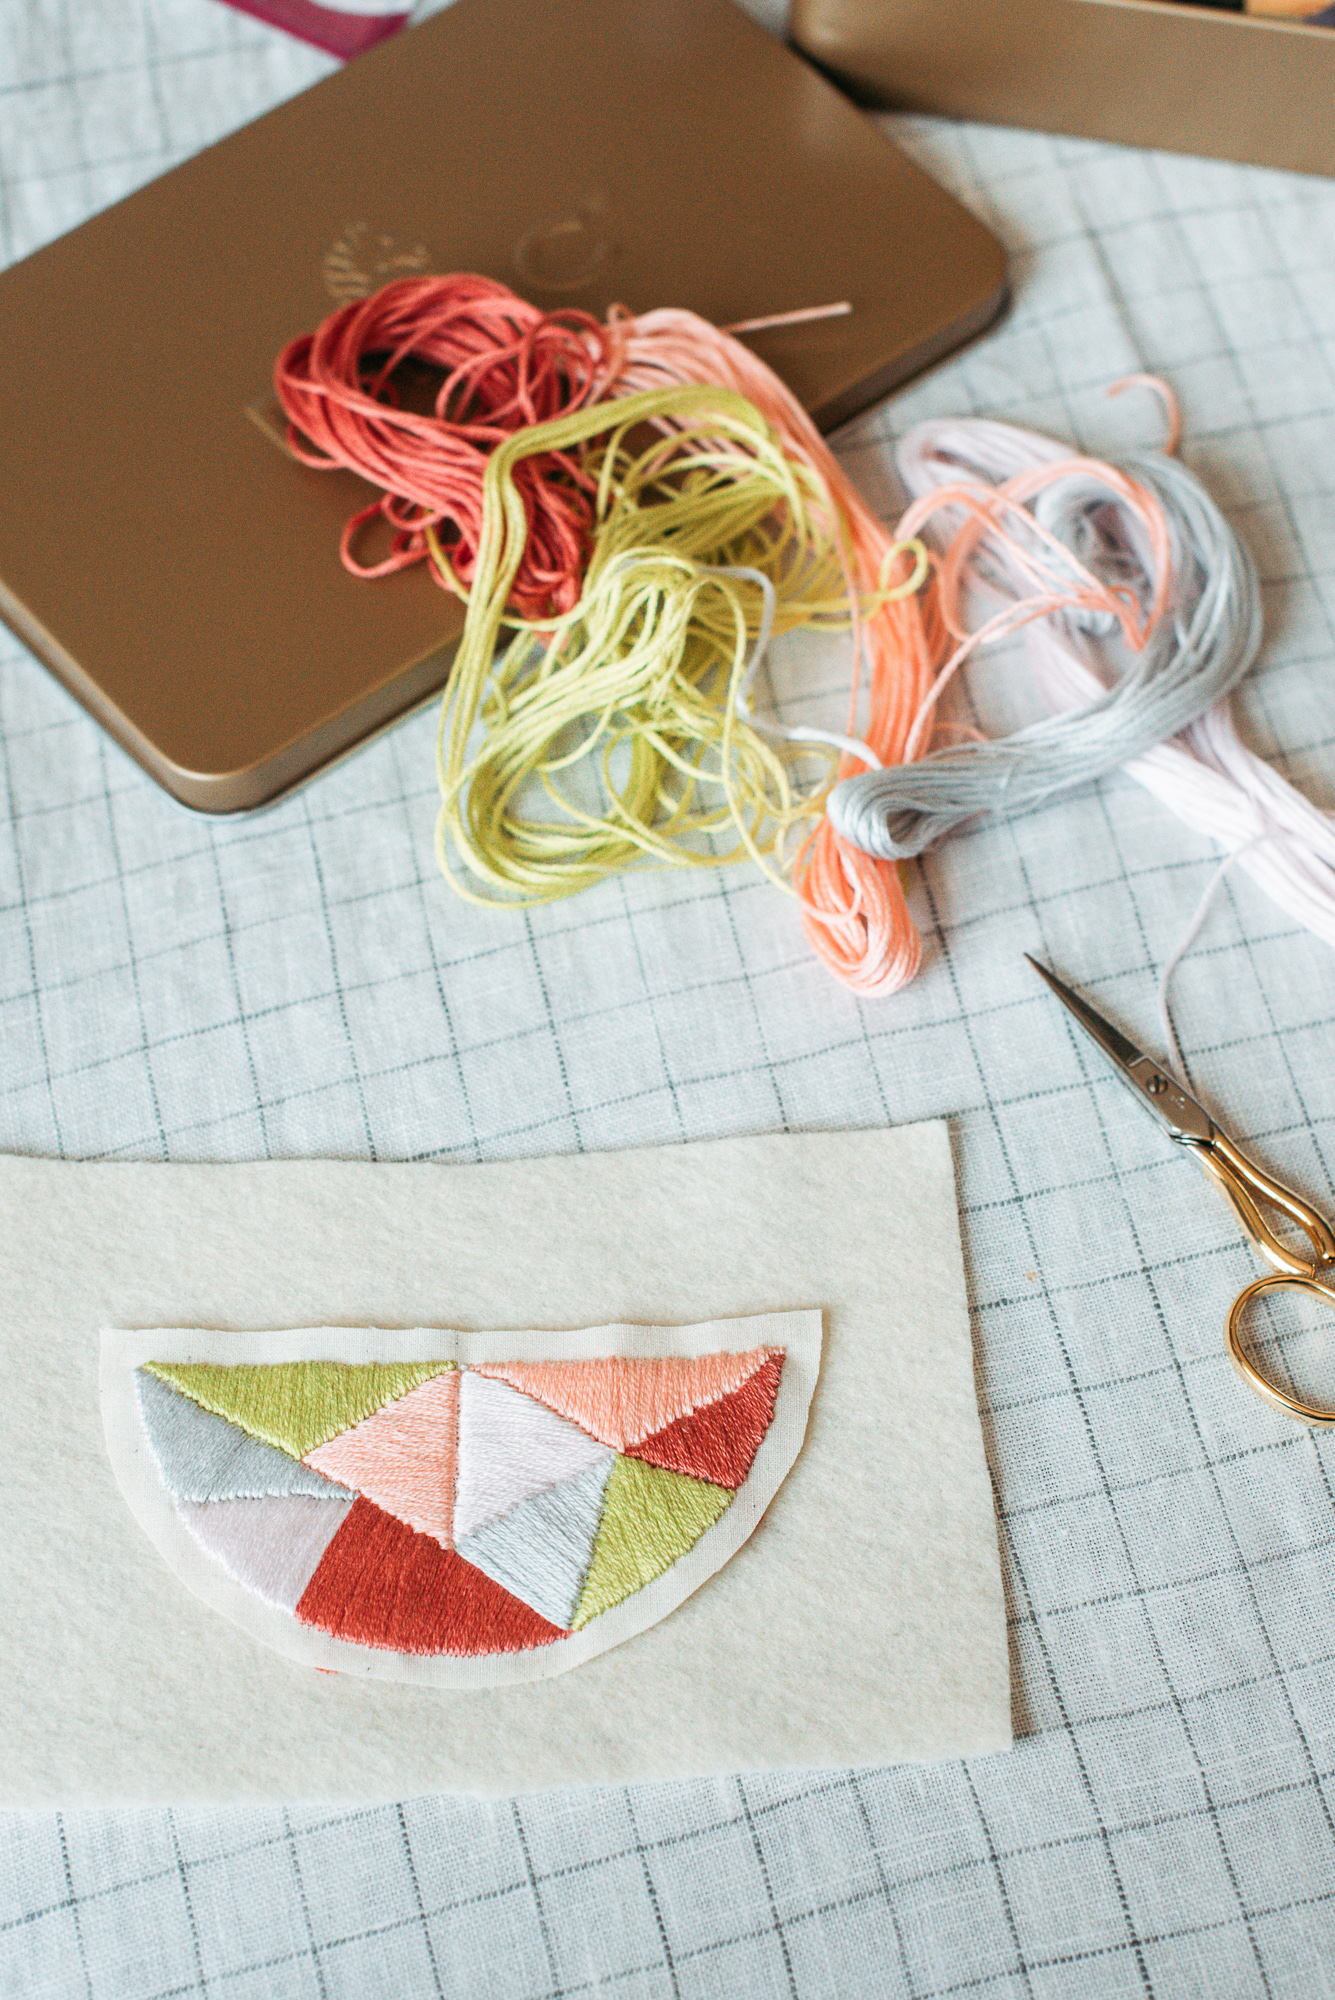
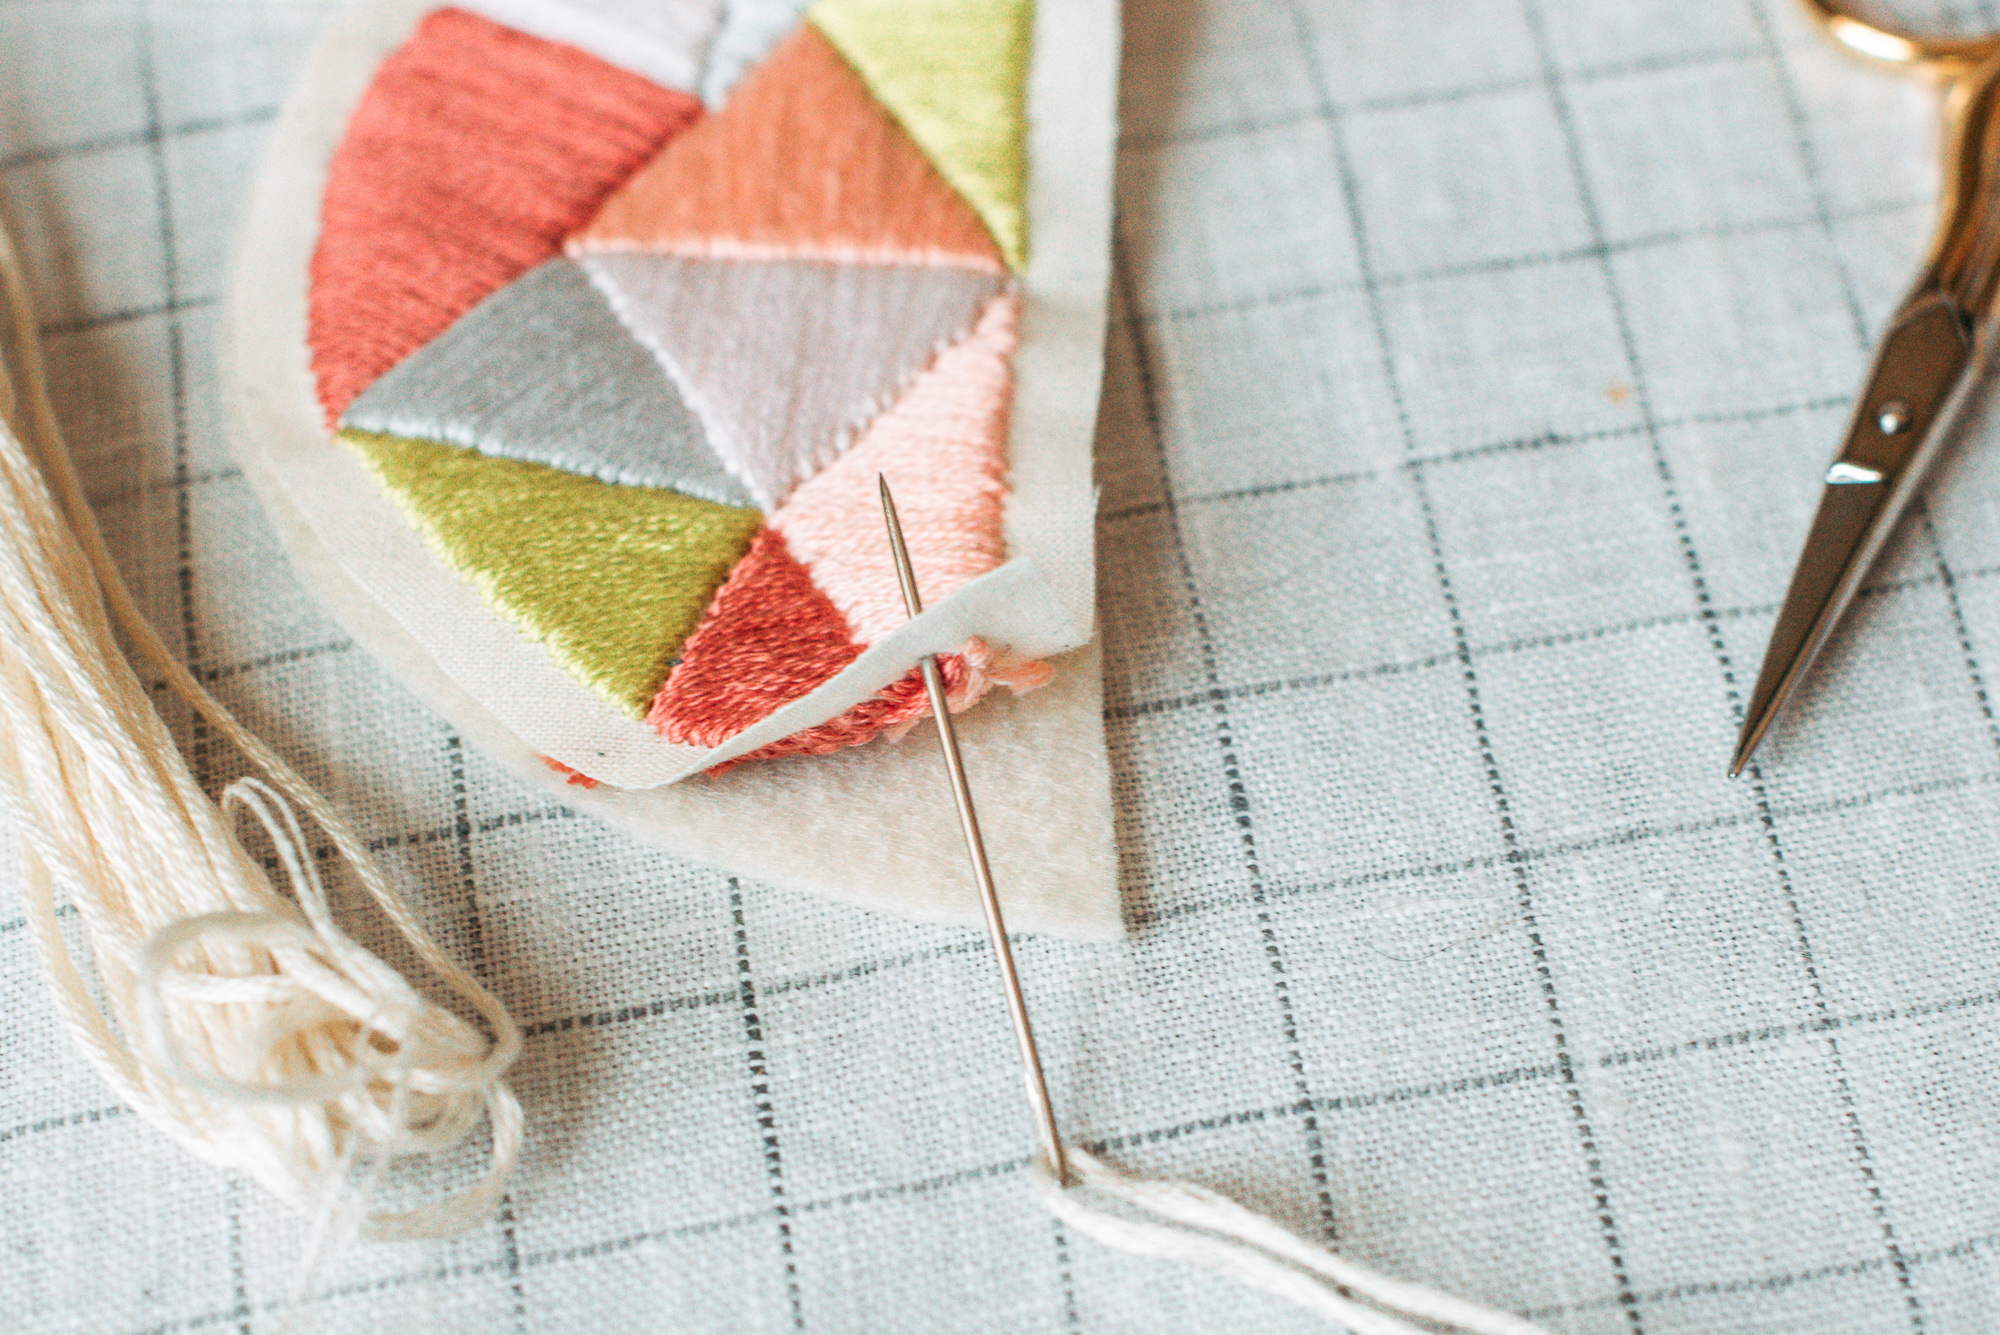
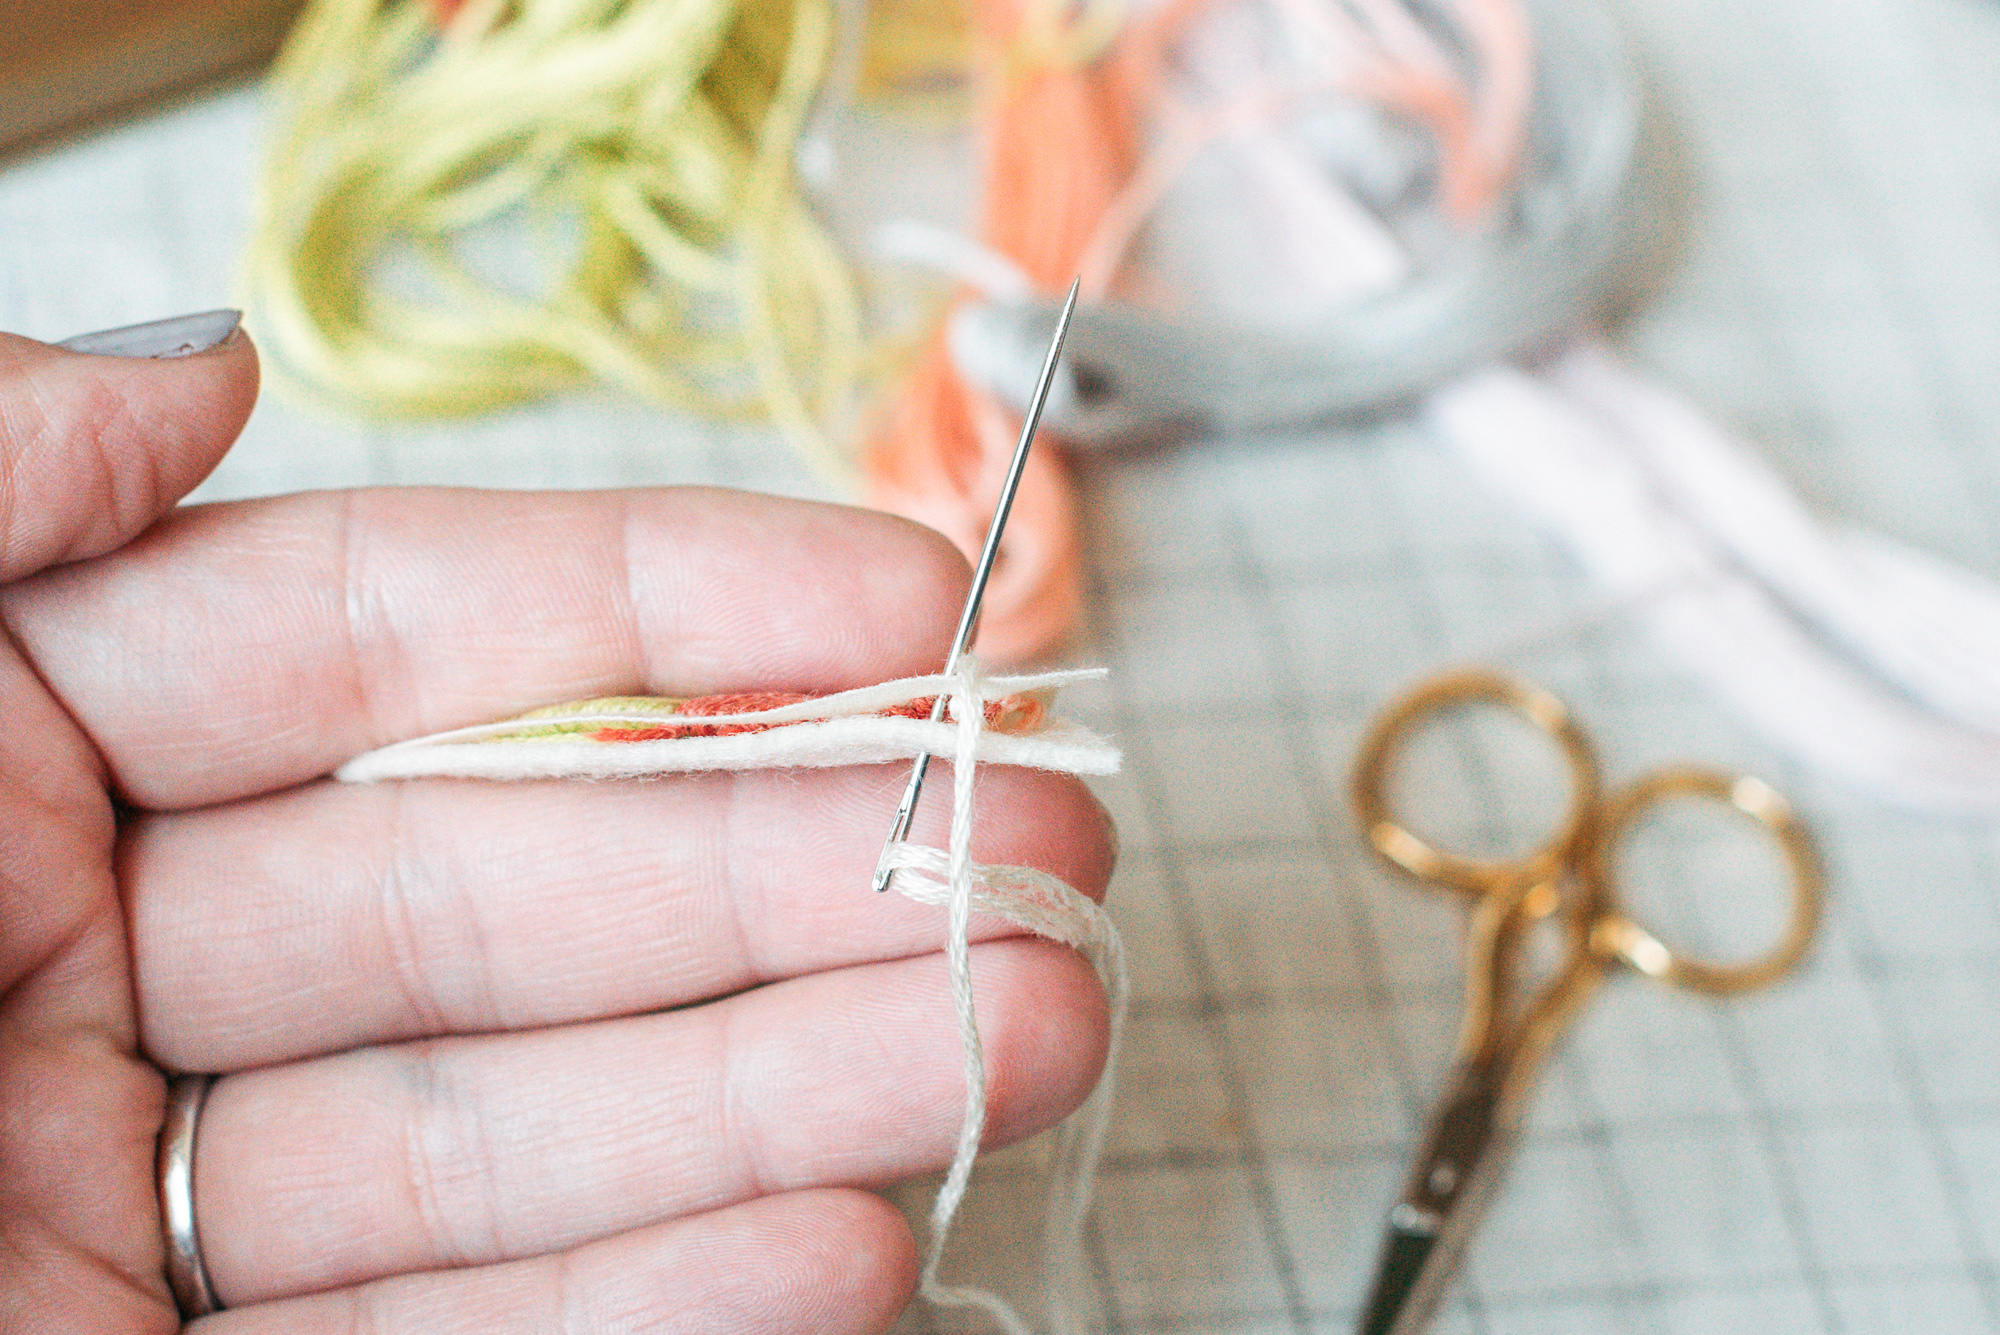
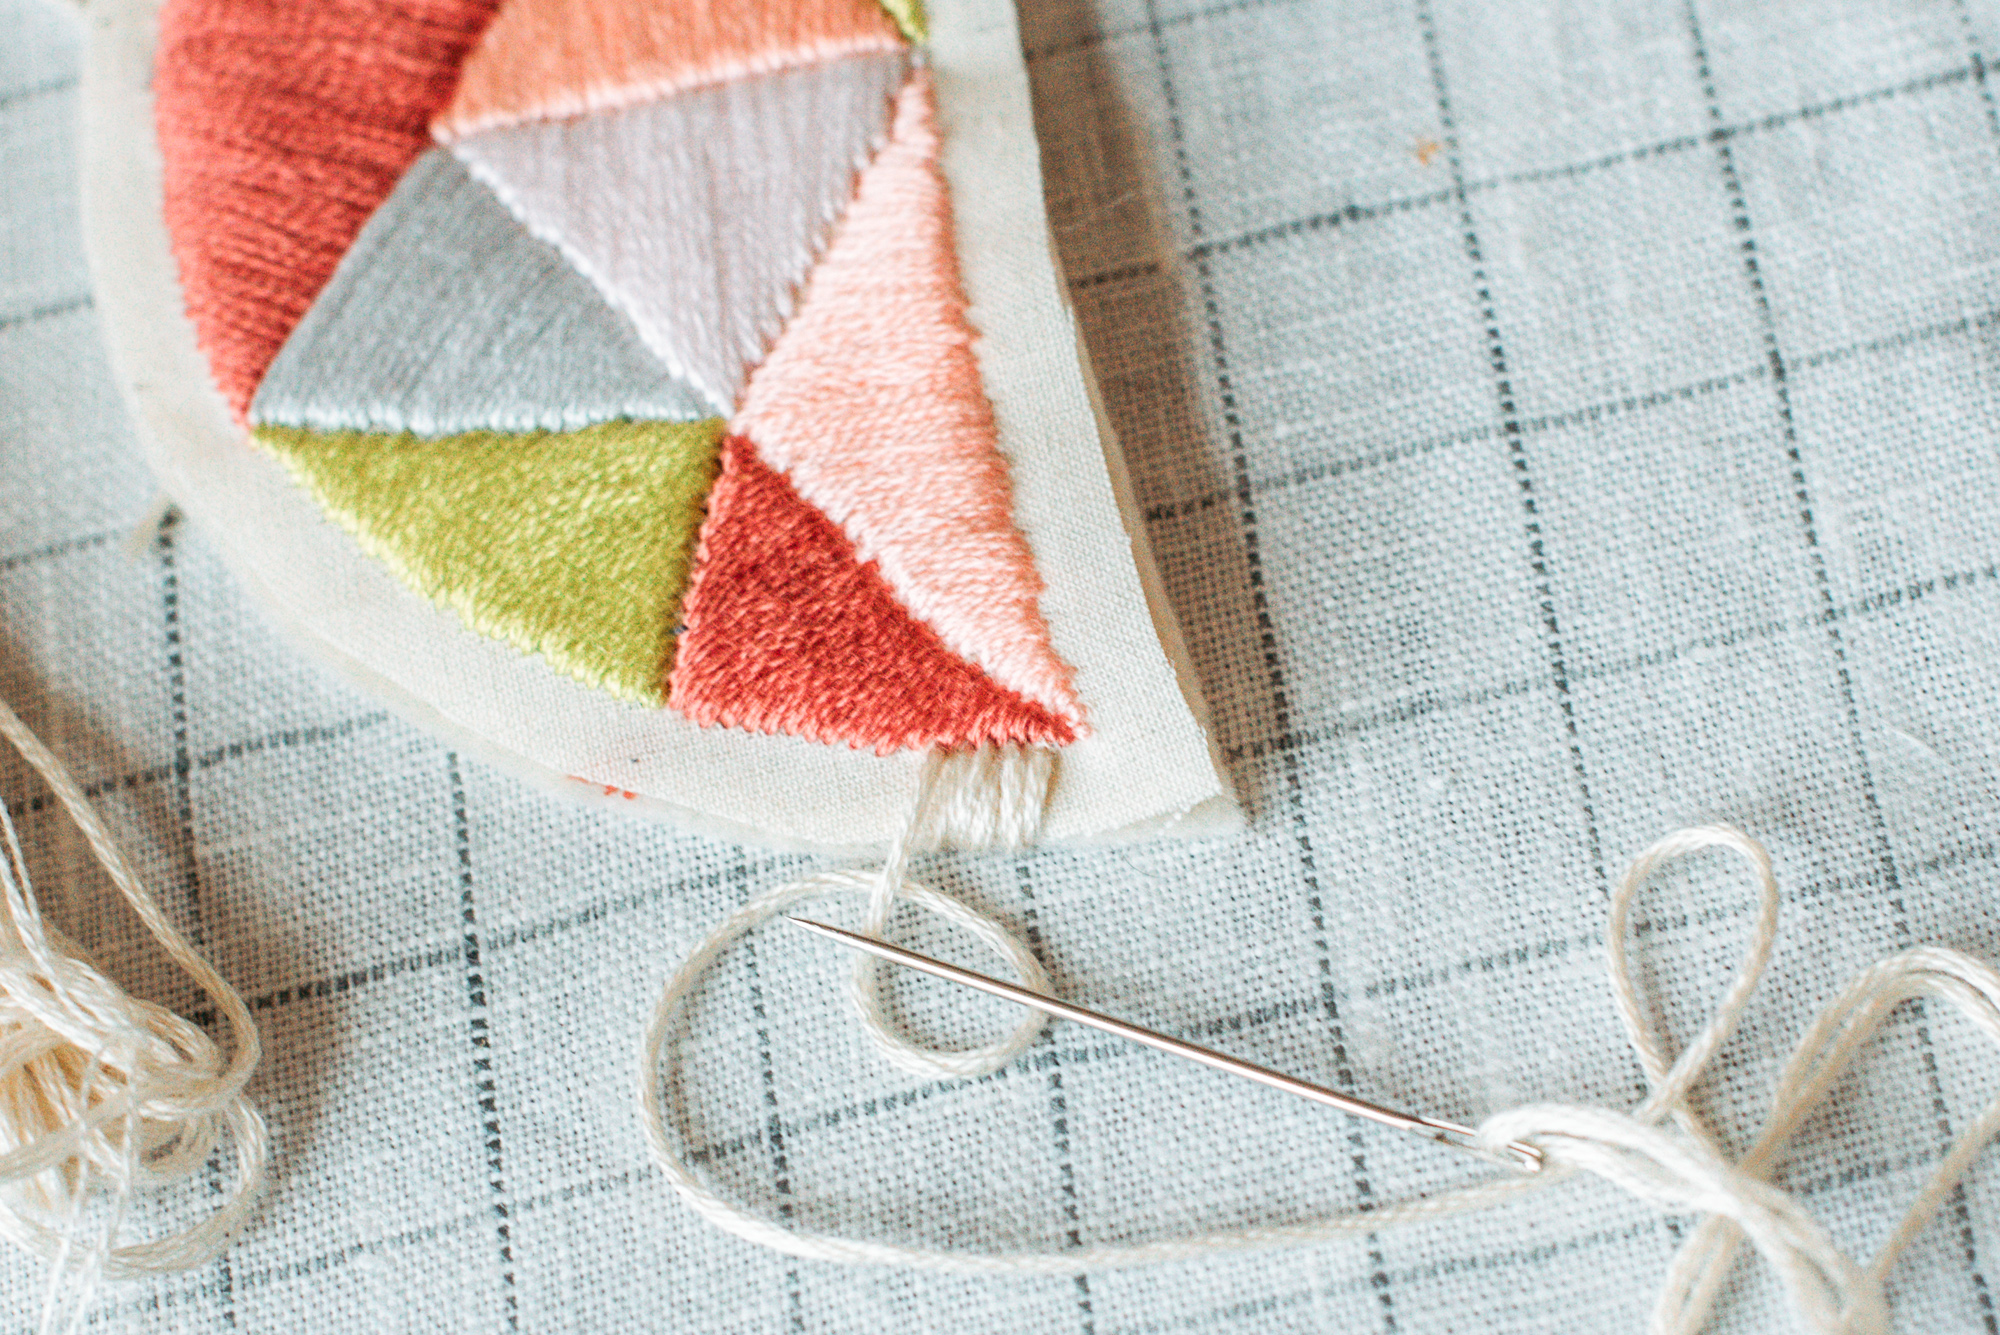
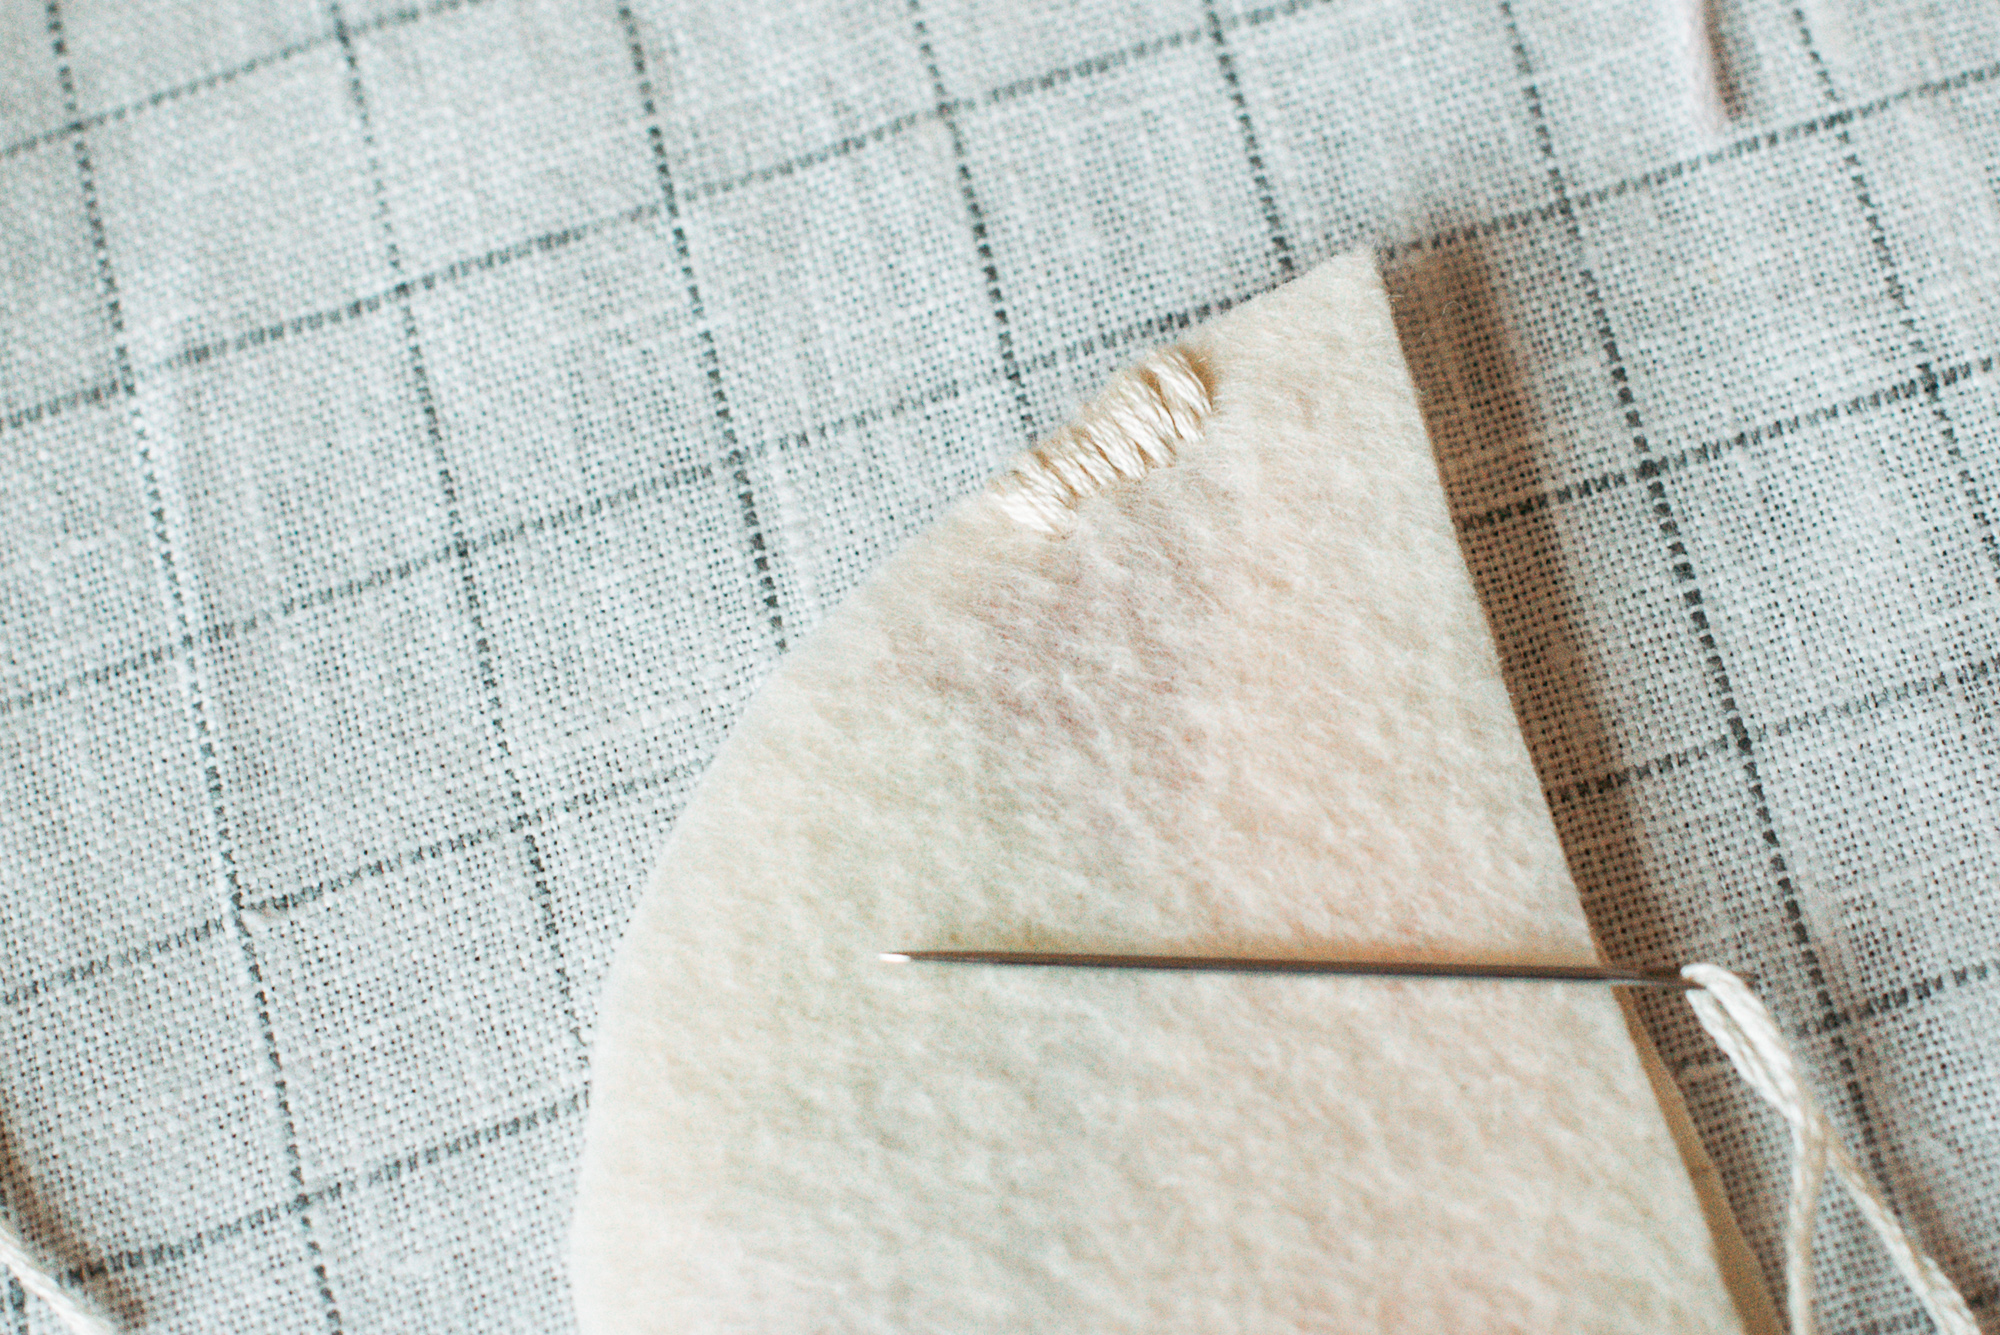
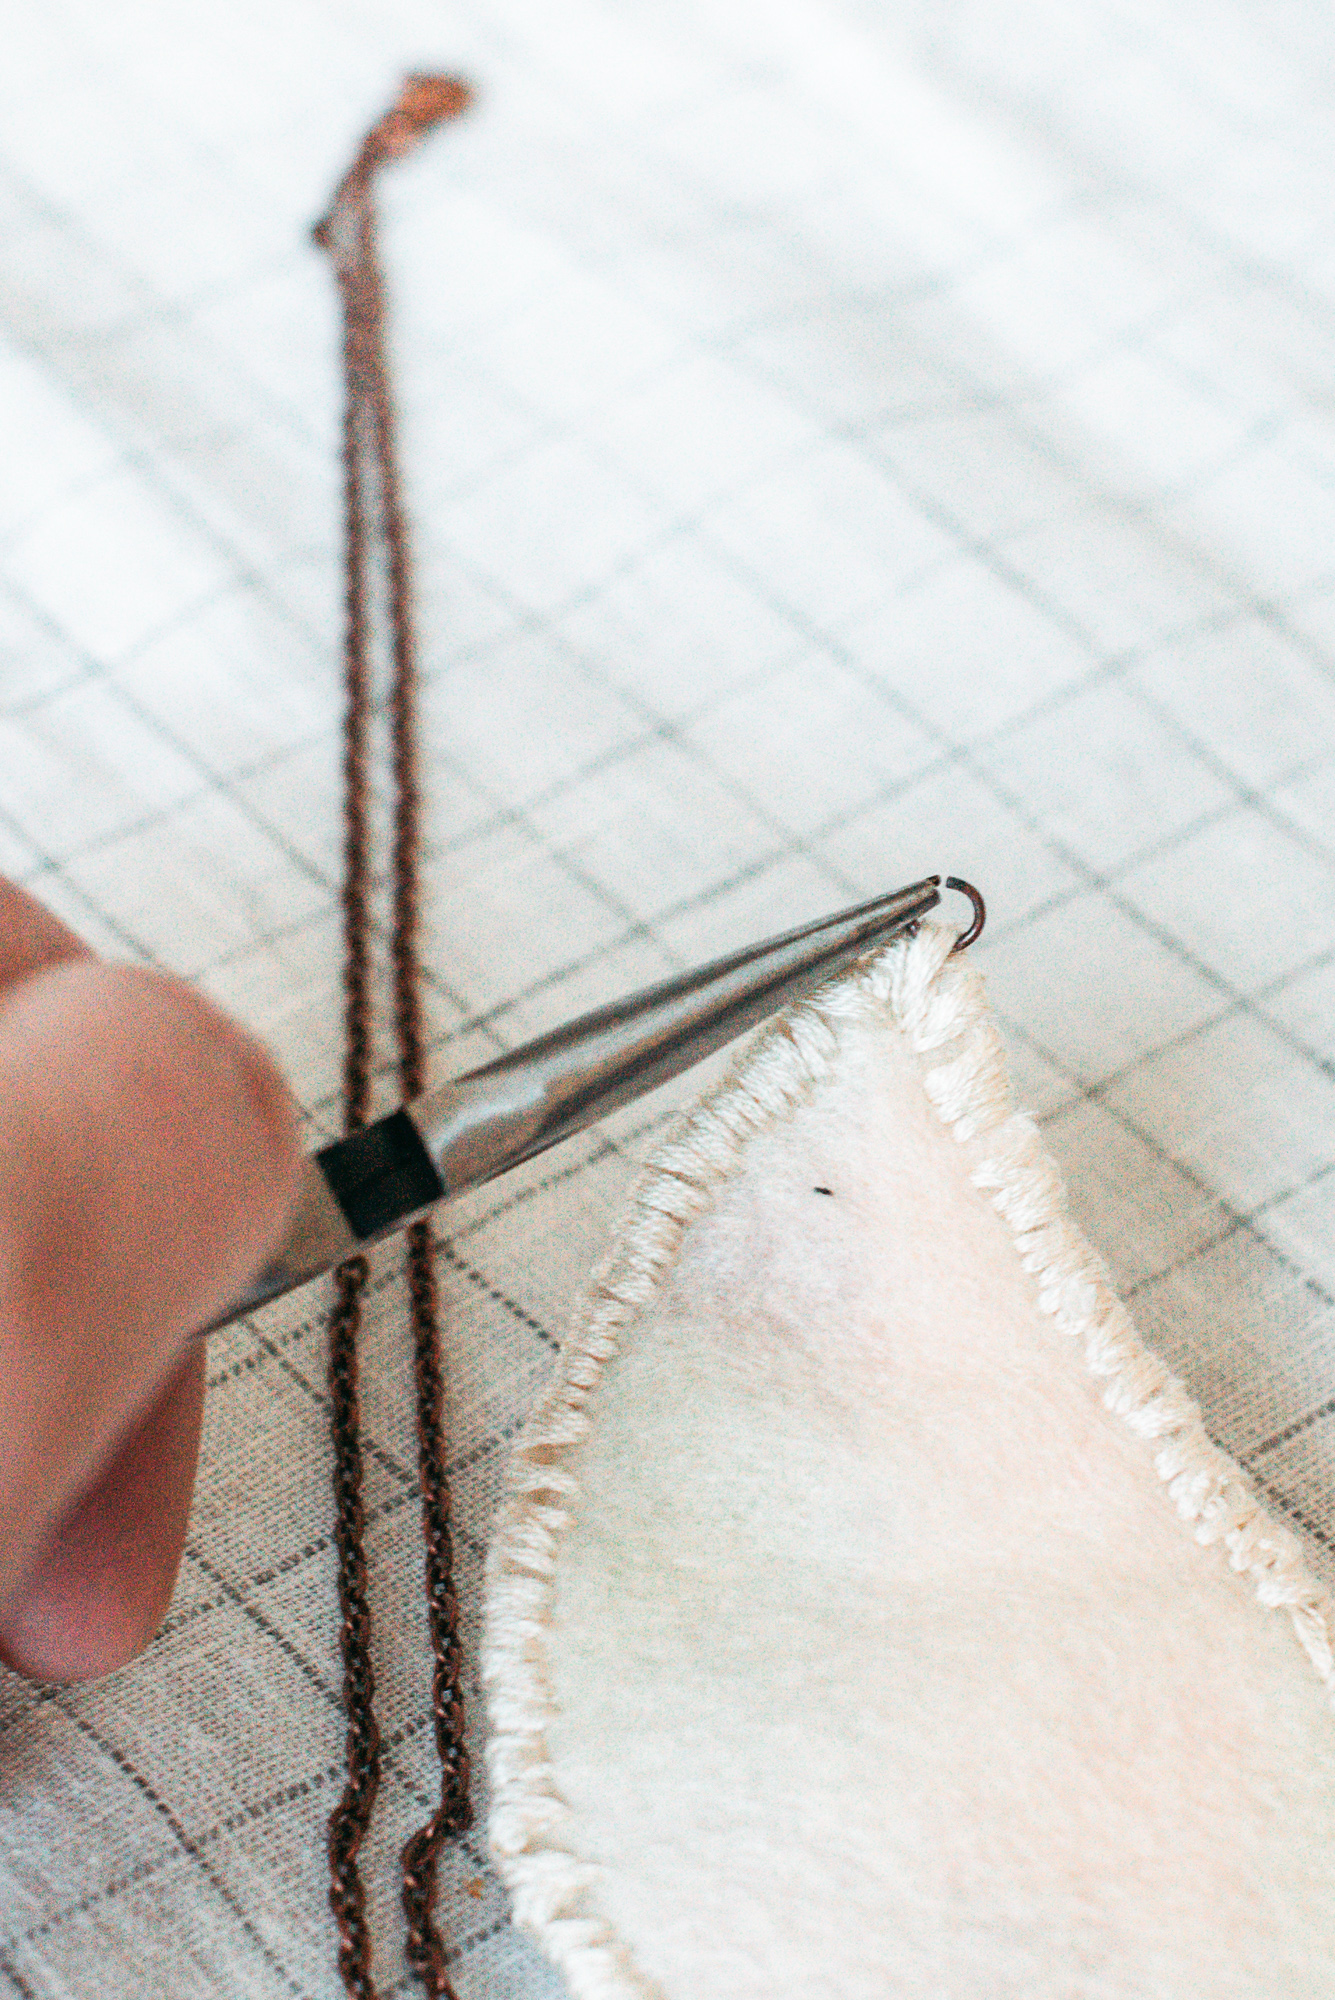
5. Unhoop your fabric, I like to press a hot iron onto the back of my finished piece to help straighten it out a bit if needed, however, this isn’t necessary. Carefully cut your piece out leaving about 1/4 inch of fabric around the piece, we will use this to stitch it to the felt. Using your cut out piece as a stencil, cut a out a piece of felt in the identical size/shape. I chose a neutral floss color to finish my piece but this could easily be a contrast color too, again whatever kind of design you are going for. To finish it, I used the whip stitch. Bring your needle up through your already stitched on fabric on one of the sides to start. Then sandwich the knot with your felt backing. From the back, coming up right next to your first hole, poke your needle through both layers of fabric and continue this until your piece is fully finished on the edges. I chose to keep my stitches tight and close together so that the fabric wouldn’t show through or unravel, but again, these design choices are up to you. *When you get to the top corners of where your shape will hang from, make a few extra stitches so you can attach your jump rings more securely.
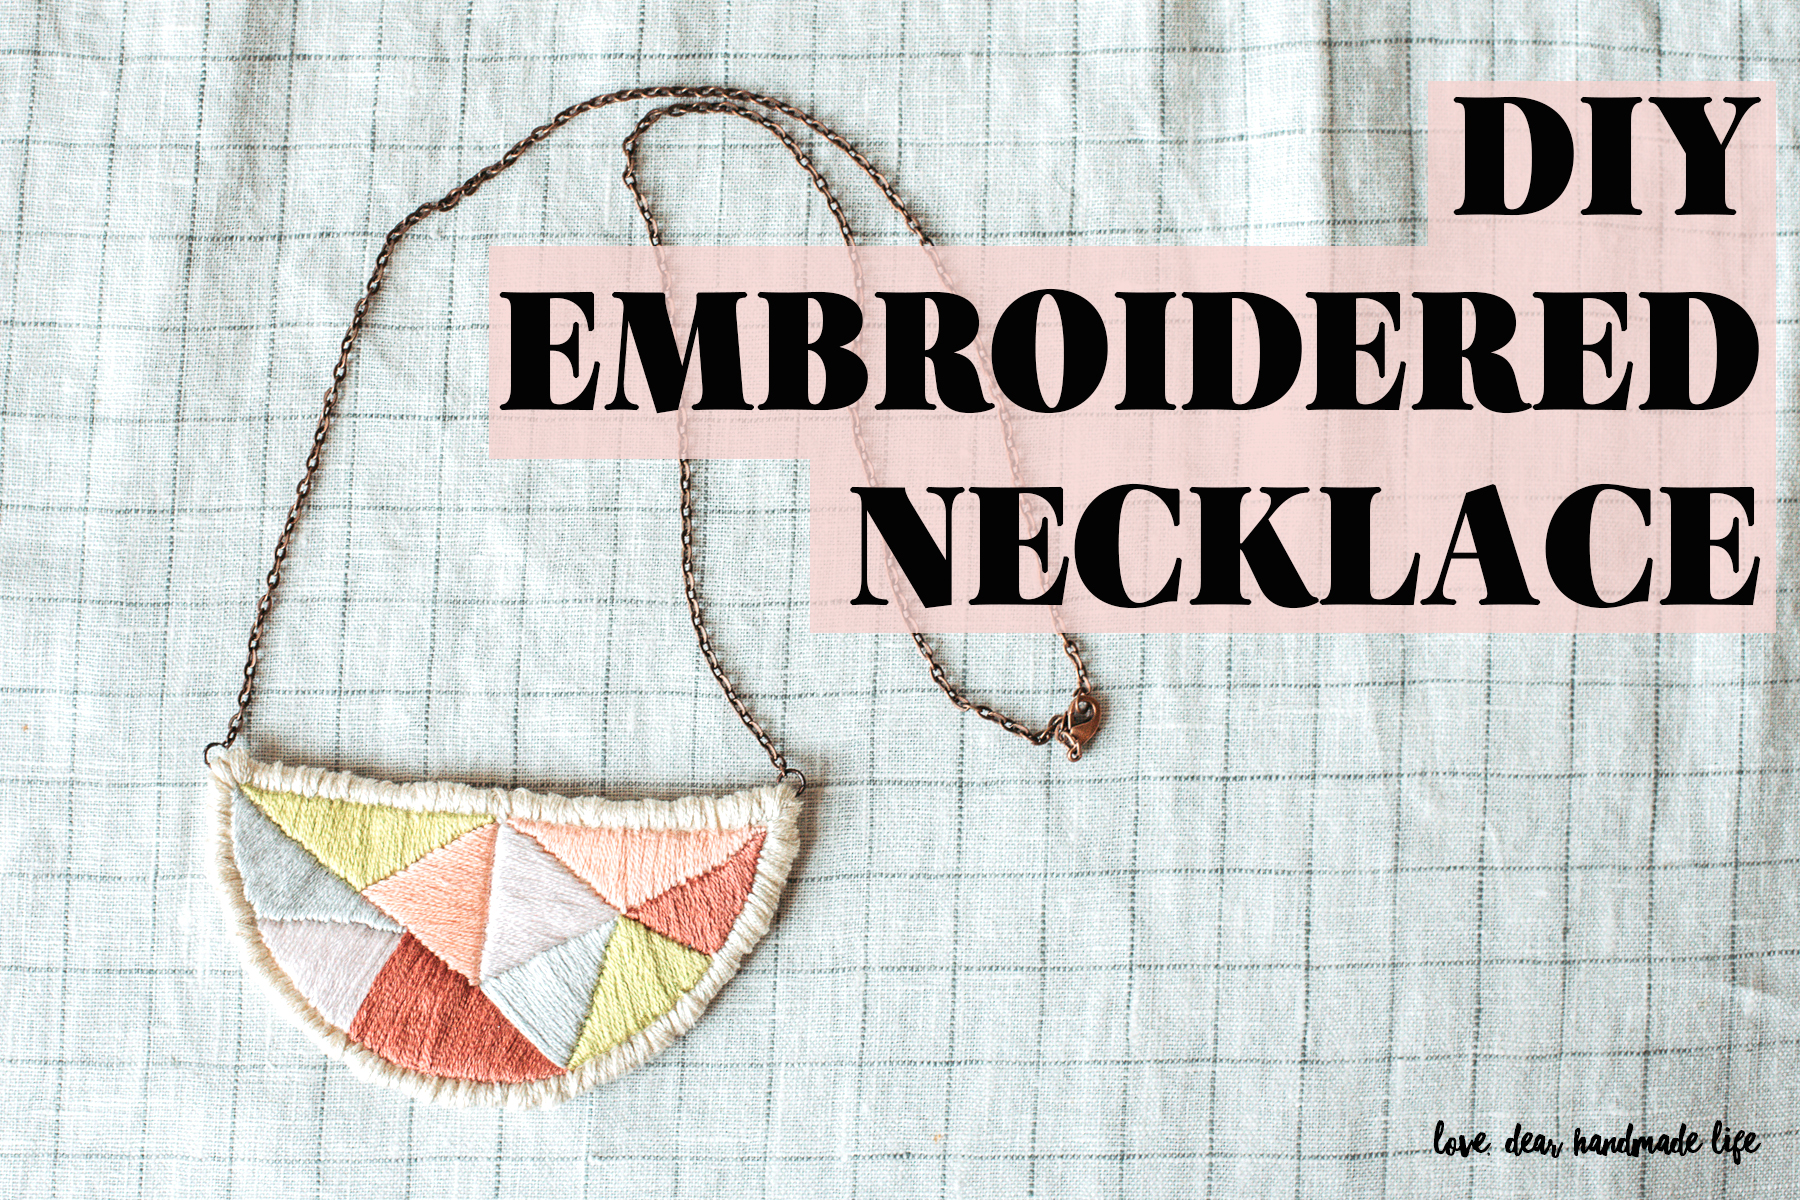
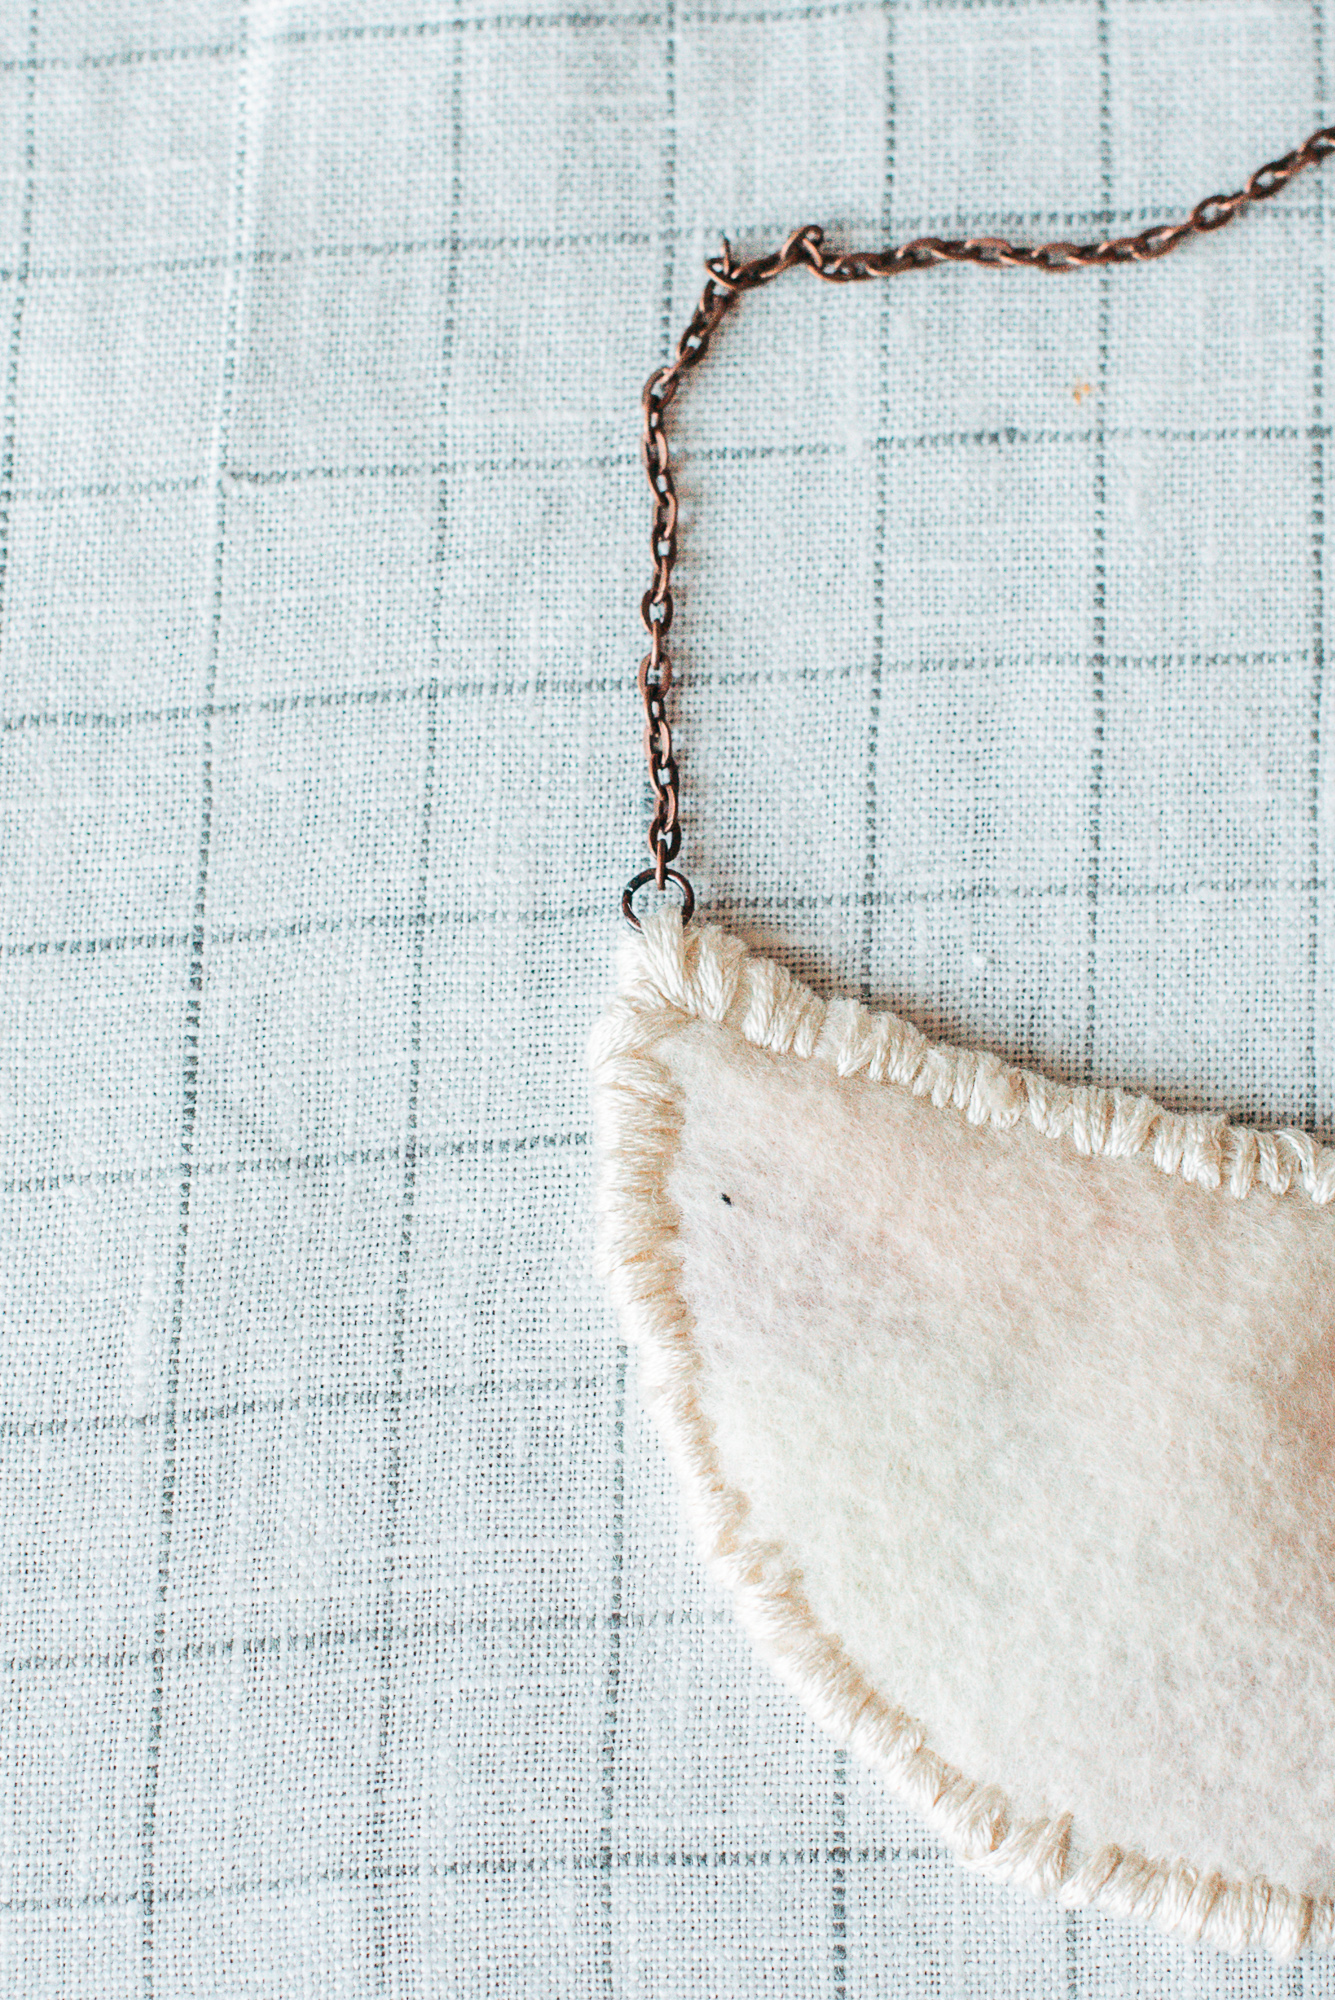
6. Find the middle of your necklace chain and snip it with your cutters to separate the chain into two equal pieces. Fit it around your neck to make sure its the length you want, if you want it shorter just snip a bit more chain off each side. Open one of the jump rings with the needle nose/round nose pliers and slide it under a few of the loops of floss on one of the side of your shape (this is where those extra stitches on the sides help). Slide one of the ends of the chain onto the same jump ring & close it up. Repeat on the other side and you’re done!
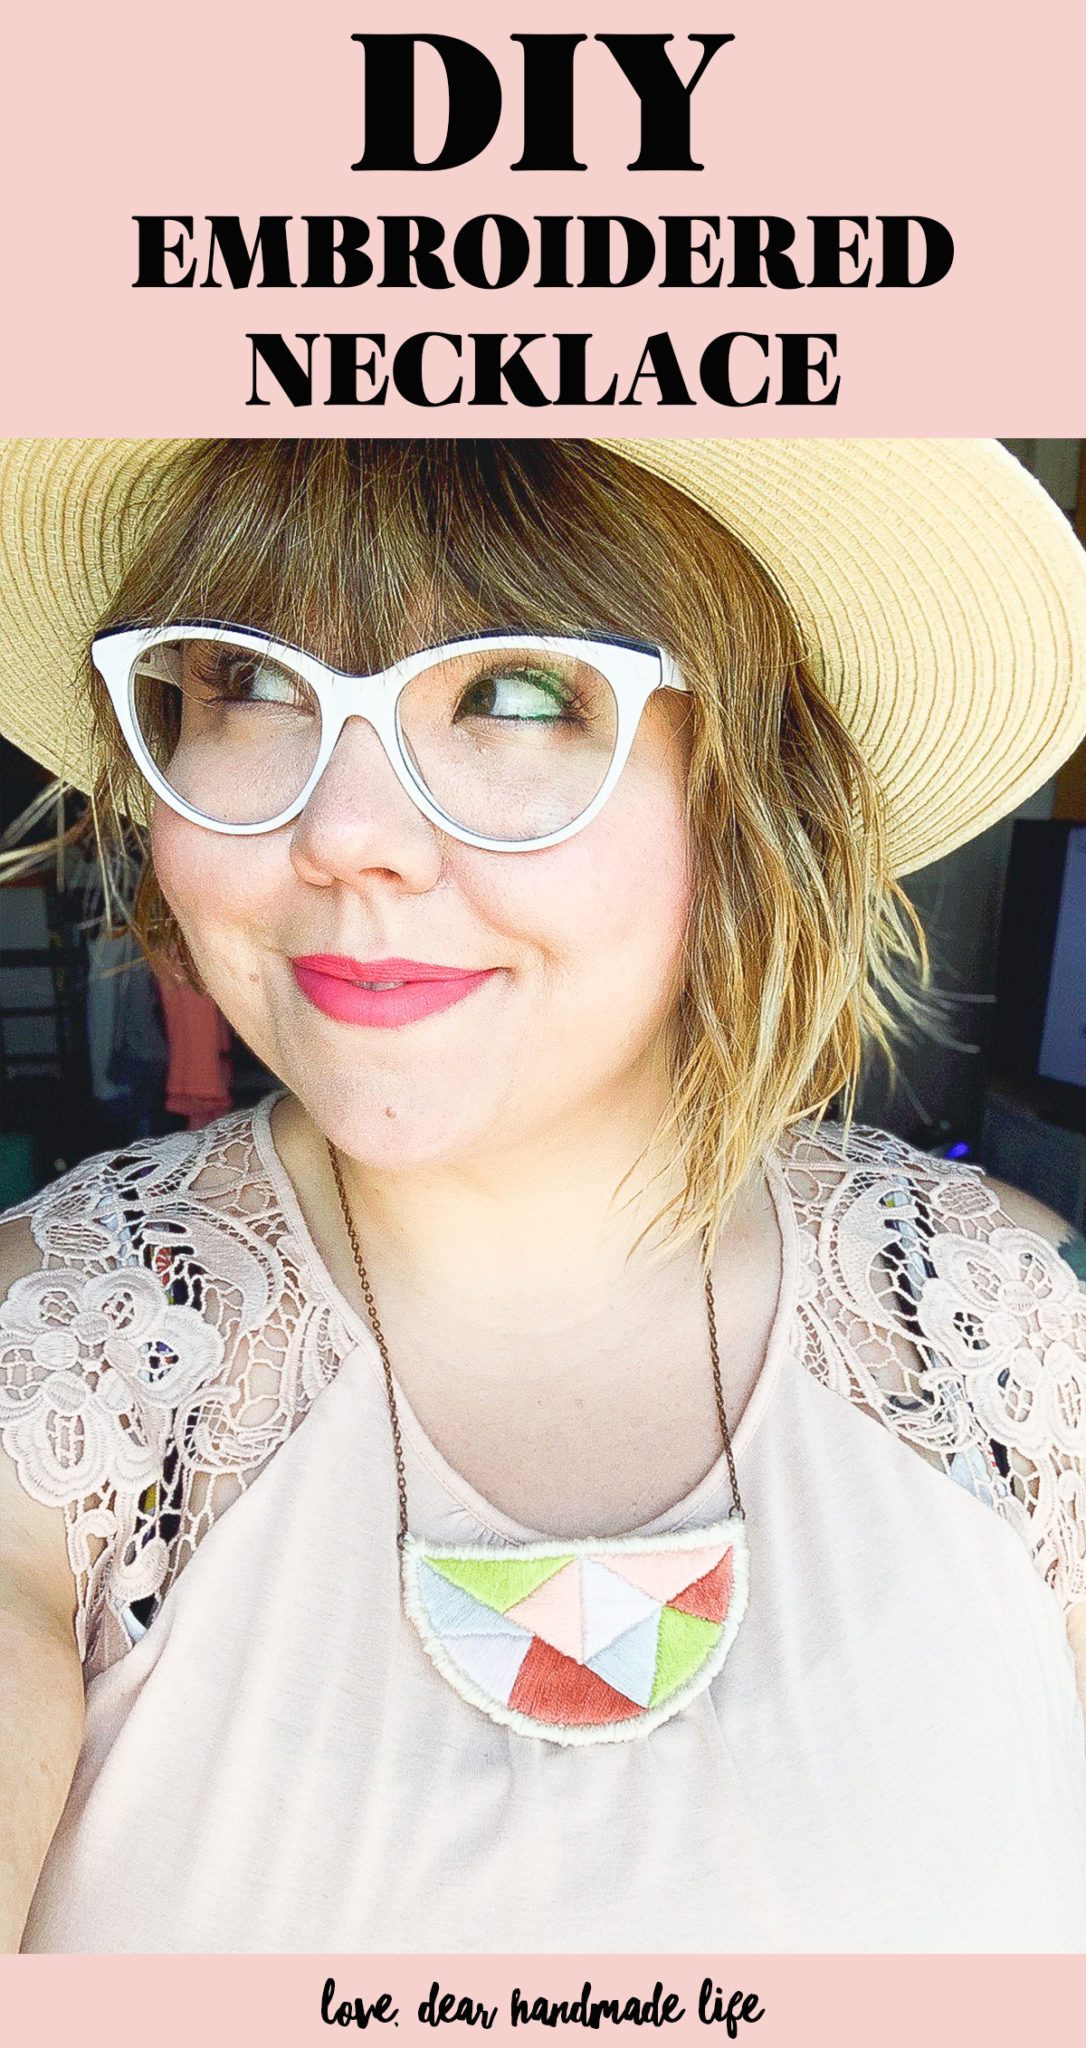
Now you have a truly handmade piece of art that you can display around your neck.

ABOUT NIK:
Nik is a maker, day dreamer & potty mouth who loves cats, coffee and craft beer. She is a self taught hand embroiderer and will DIY pretty much anything she can get her hands on. You can see her work on IG @wastingthyme & @nikvphotography. She lives in Long Beach with her husband and her three awesome cats (that she can’t shut up about).