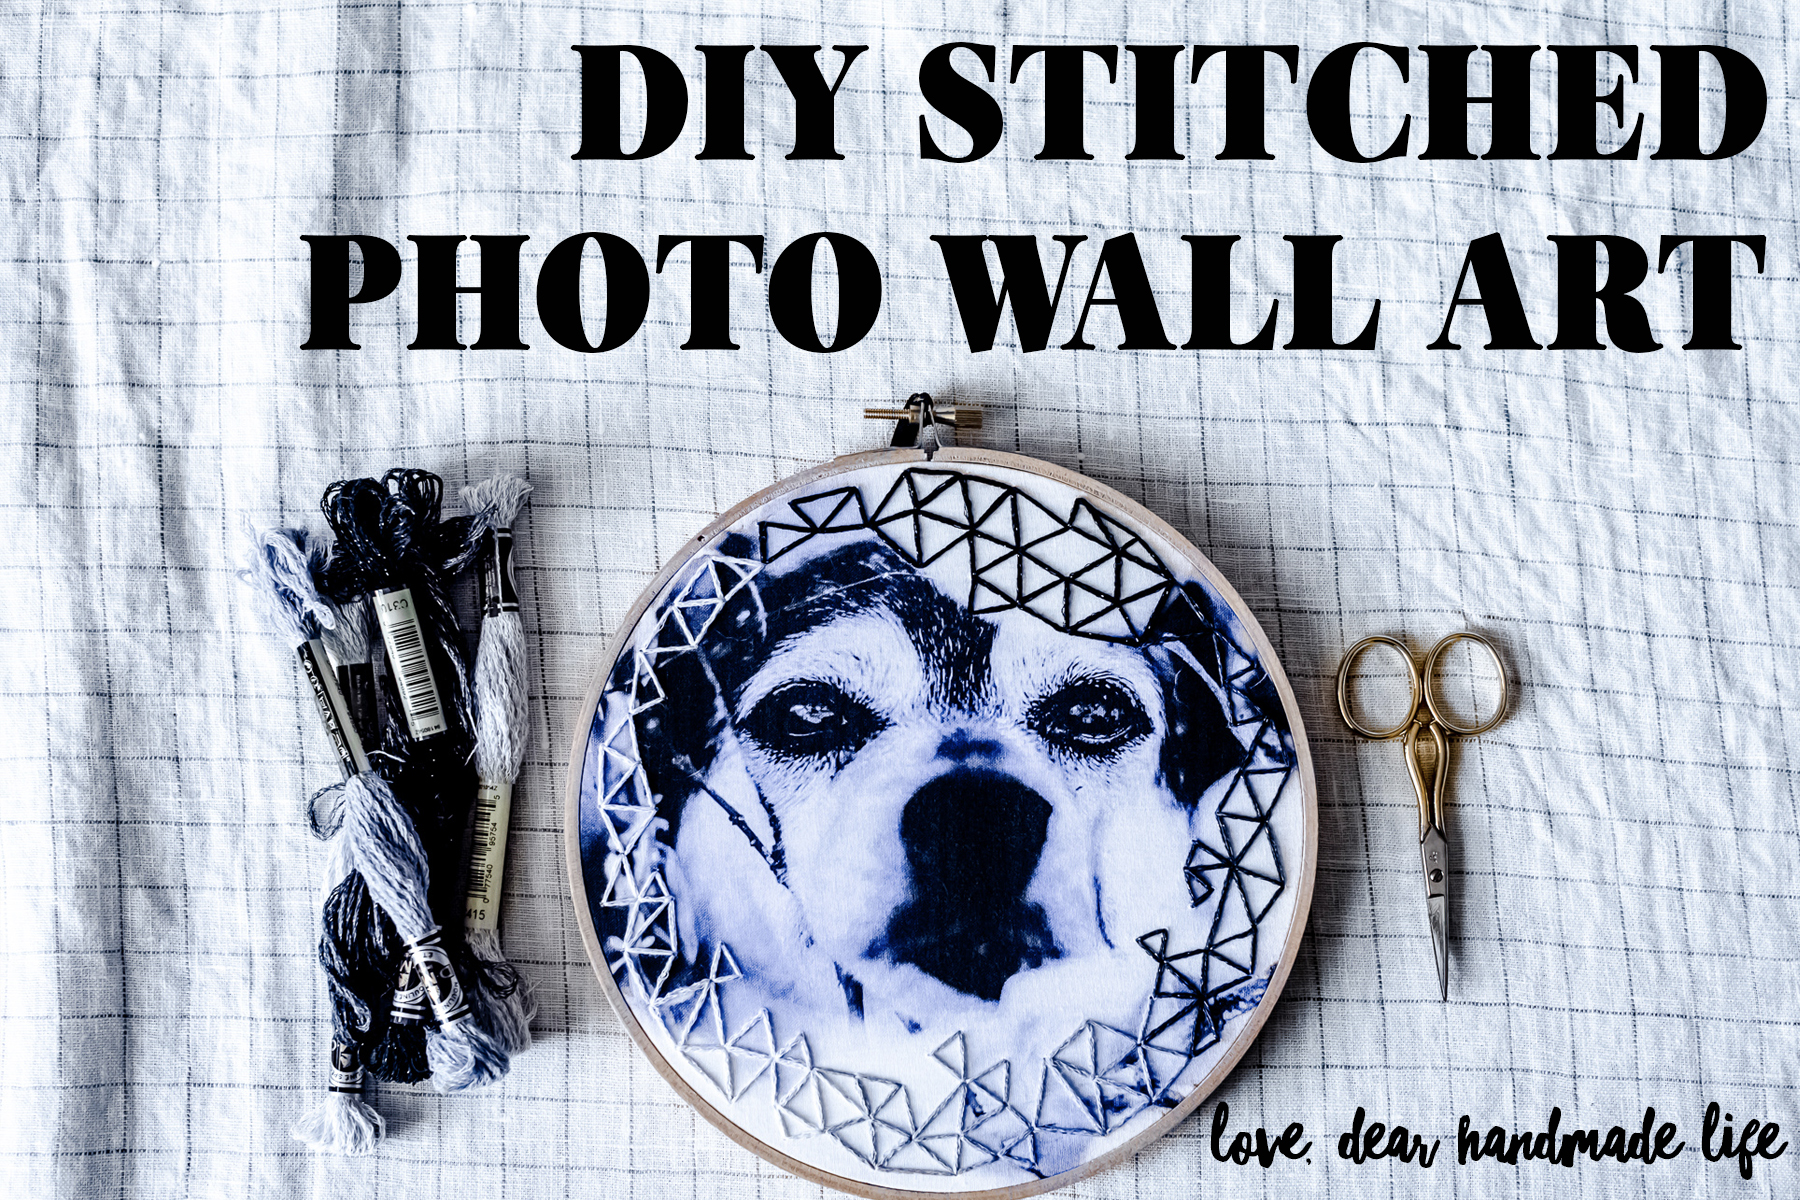
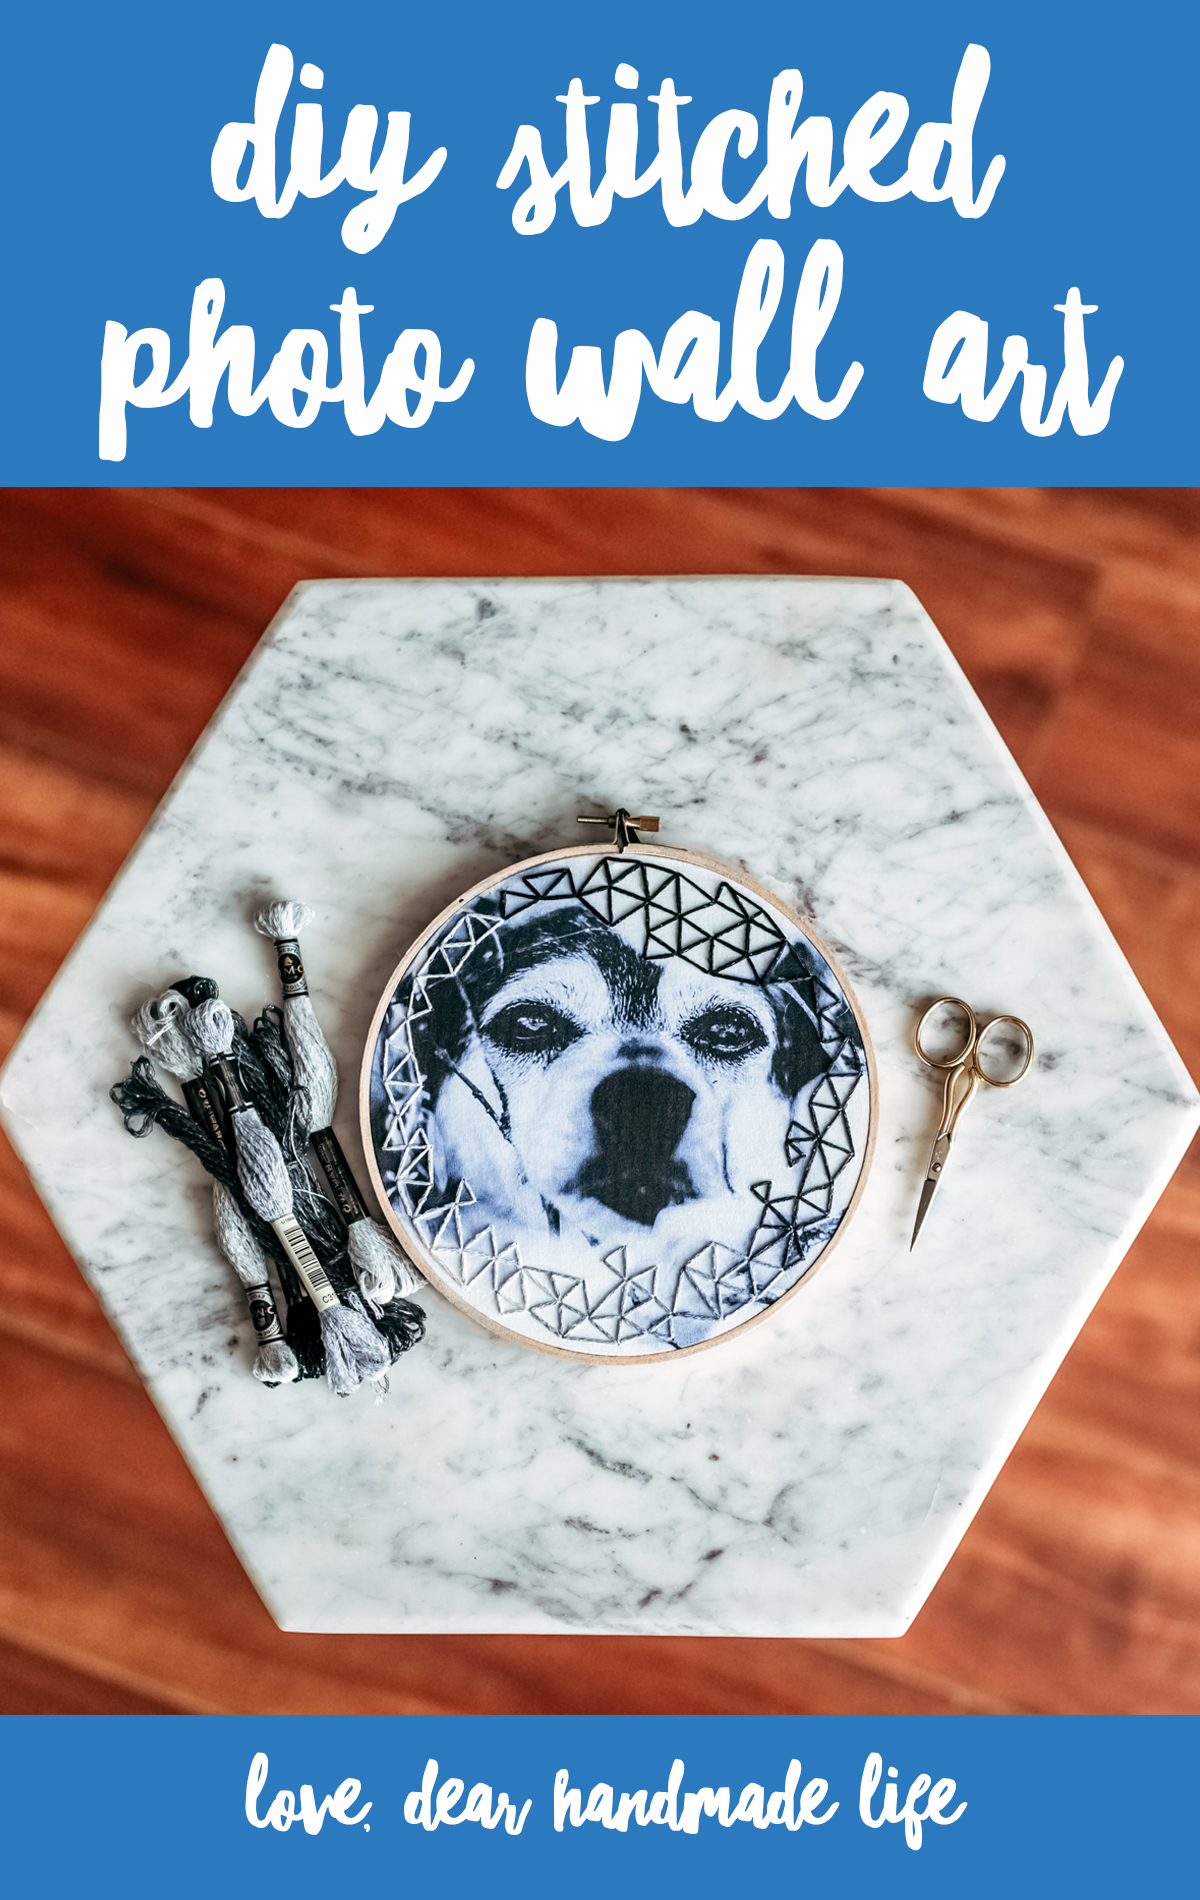
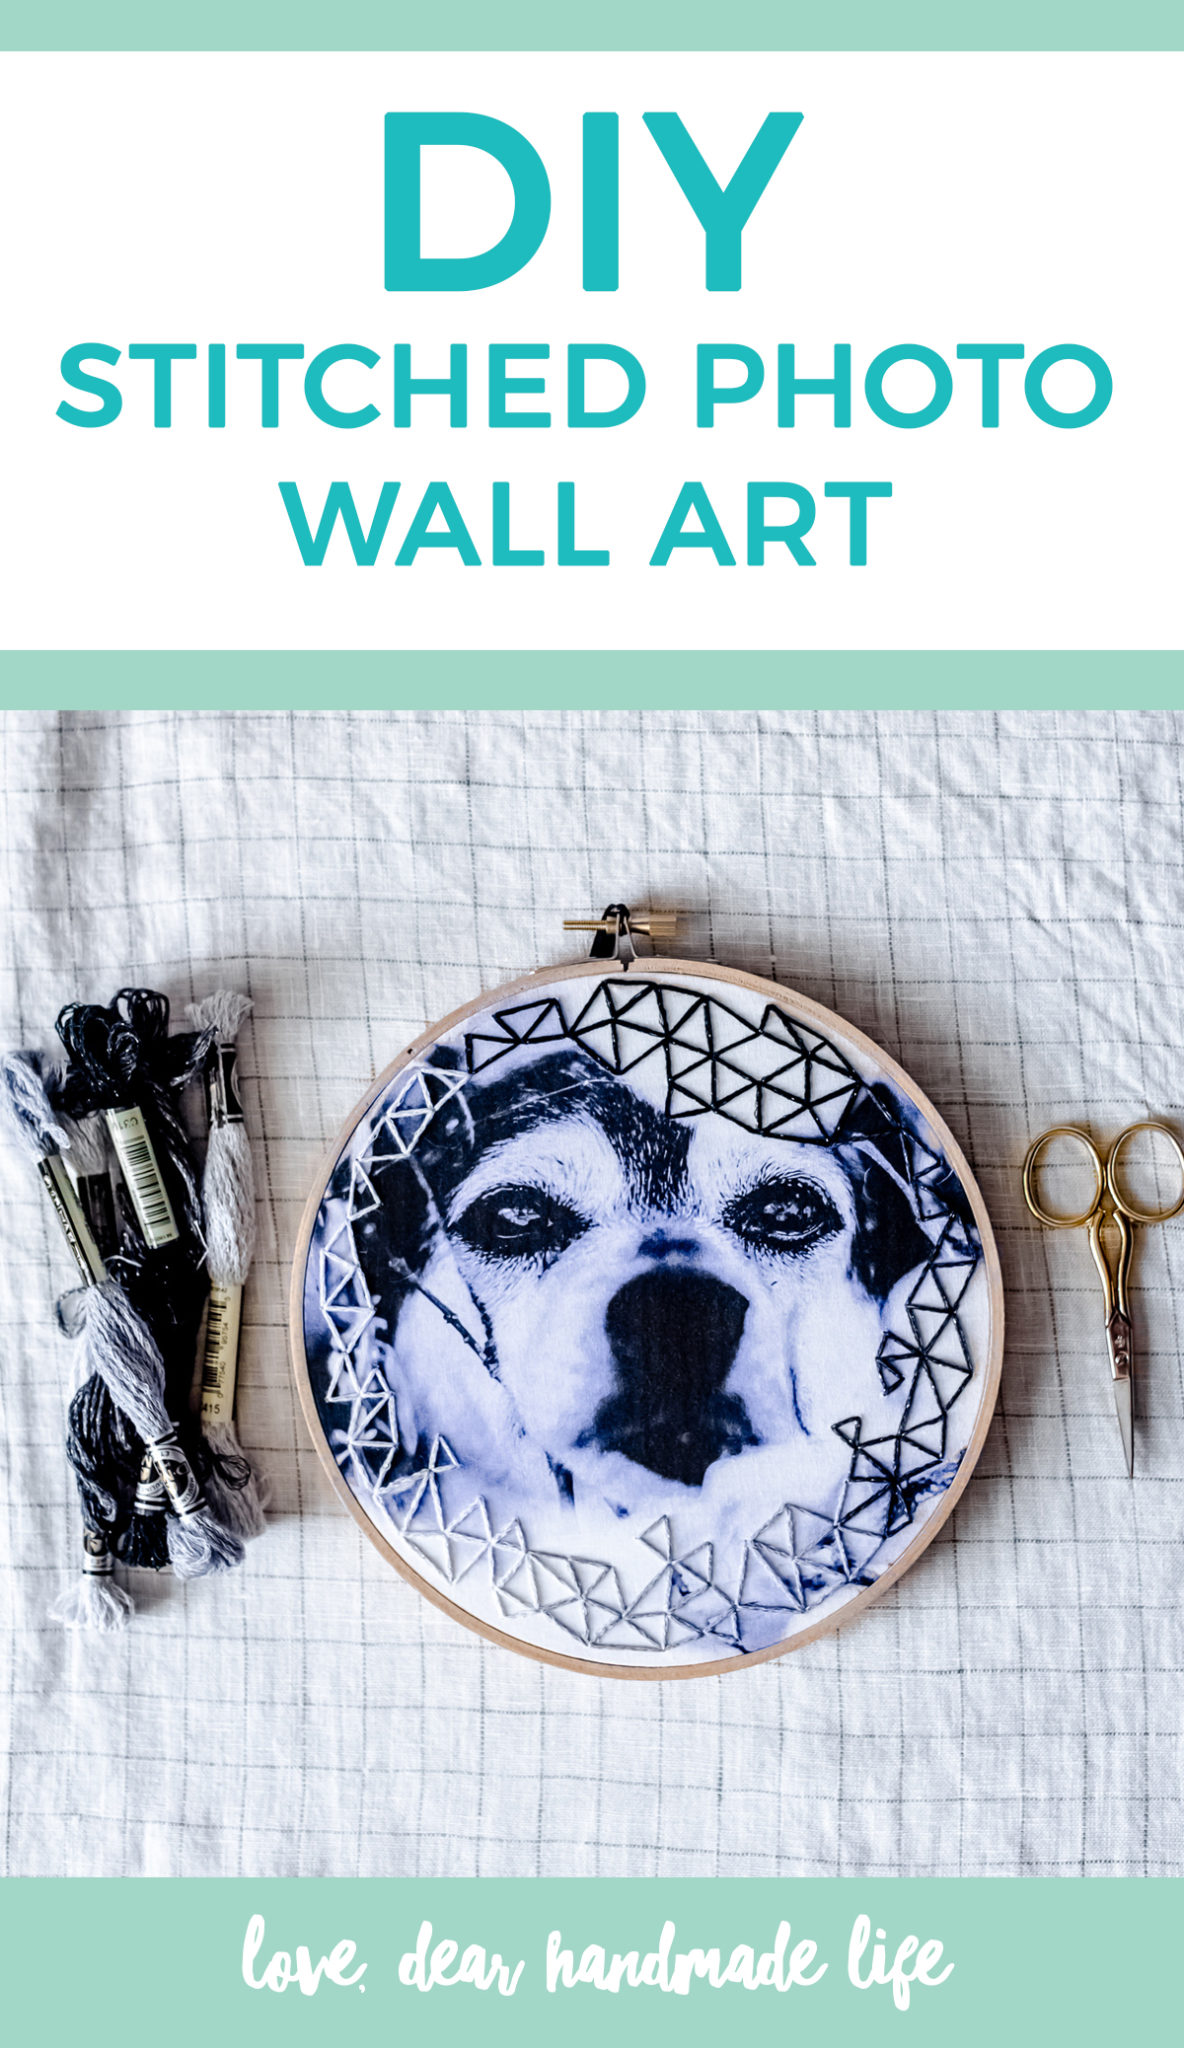
DIY Stitched Photo Wall Art
I don’t know about you but my love language is giving/receiving gifts, here’s a good description of that: “Don’t mistake this love language for materialism; the receiver of gifts thrives on the love, thoughtfulness, and effort behind the gift. If you speak this language, the perfect gift or gesture shows that you are known, you are cared for, and you are prized above whatever was sacrificed to bring the gift to you. A missed birthday, anniversary, or a hasty, thoughtless gift would be disastrous—so would the absence of everyday gestures.” –Five Love Languages
Needless to say when it comes to giving gifts I really like for it to be something that shows the person that I genuinely thought it through. This can be tough, especially for those who struggle with just not knowing what to get someone else and/or if they are really going to like or appreciate their gift plus there just never seems like enough time to really personalize something for someone. So I came up with a relatively quick and simple way to take a personalized, sentimental gift to the next level. Let me show you how!
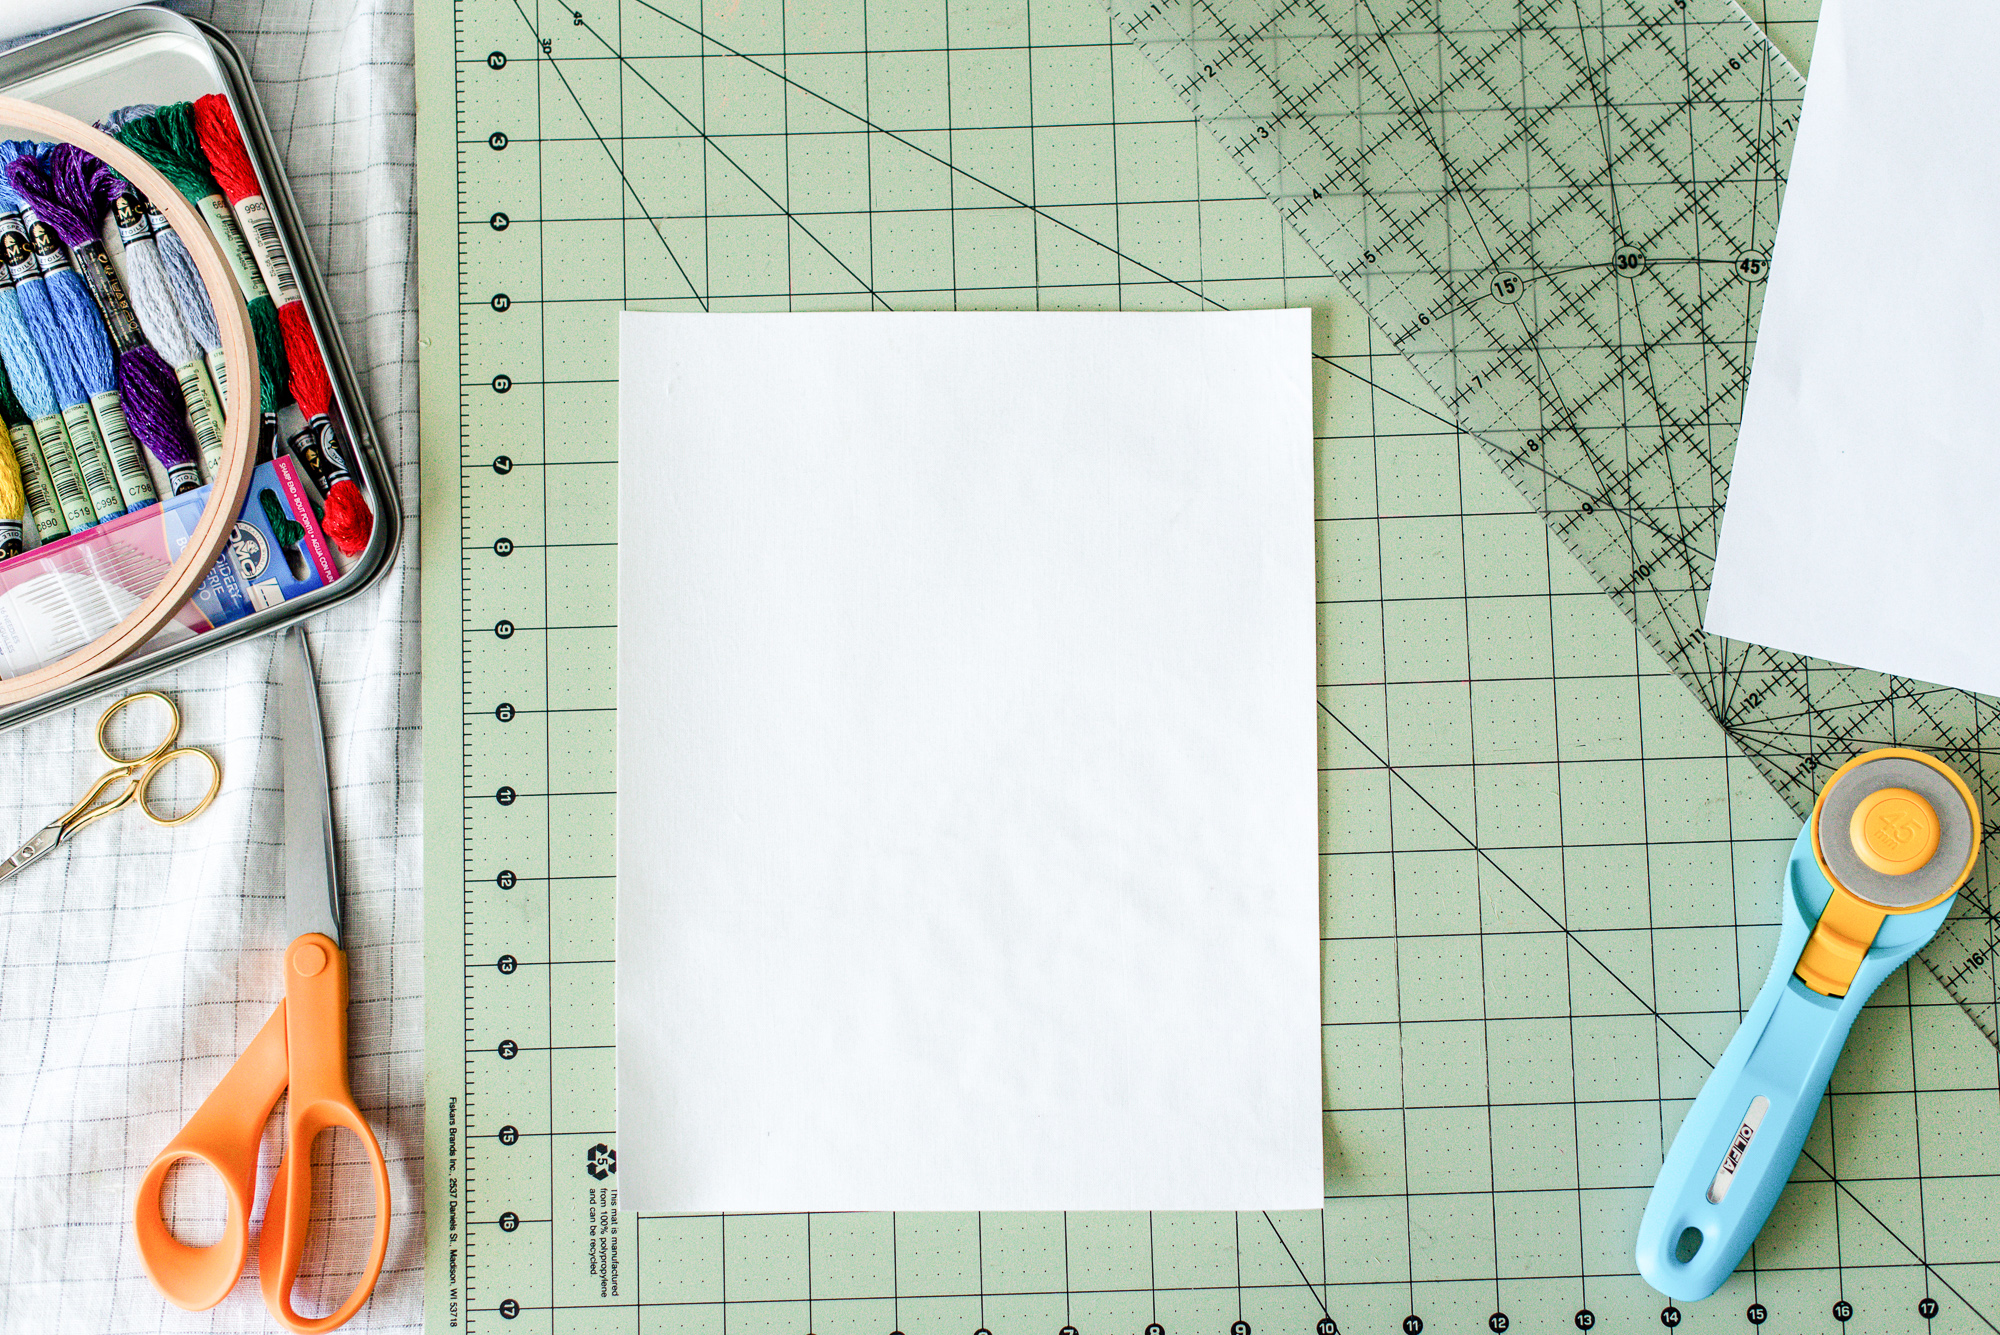
WHAT TO GET:
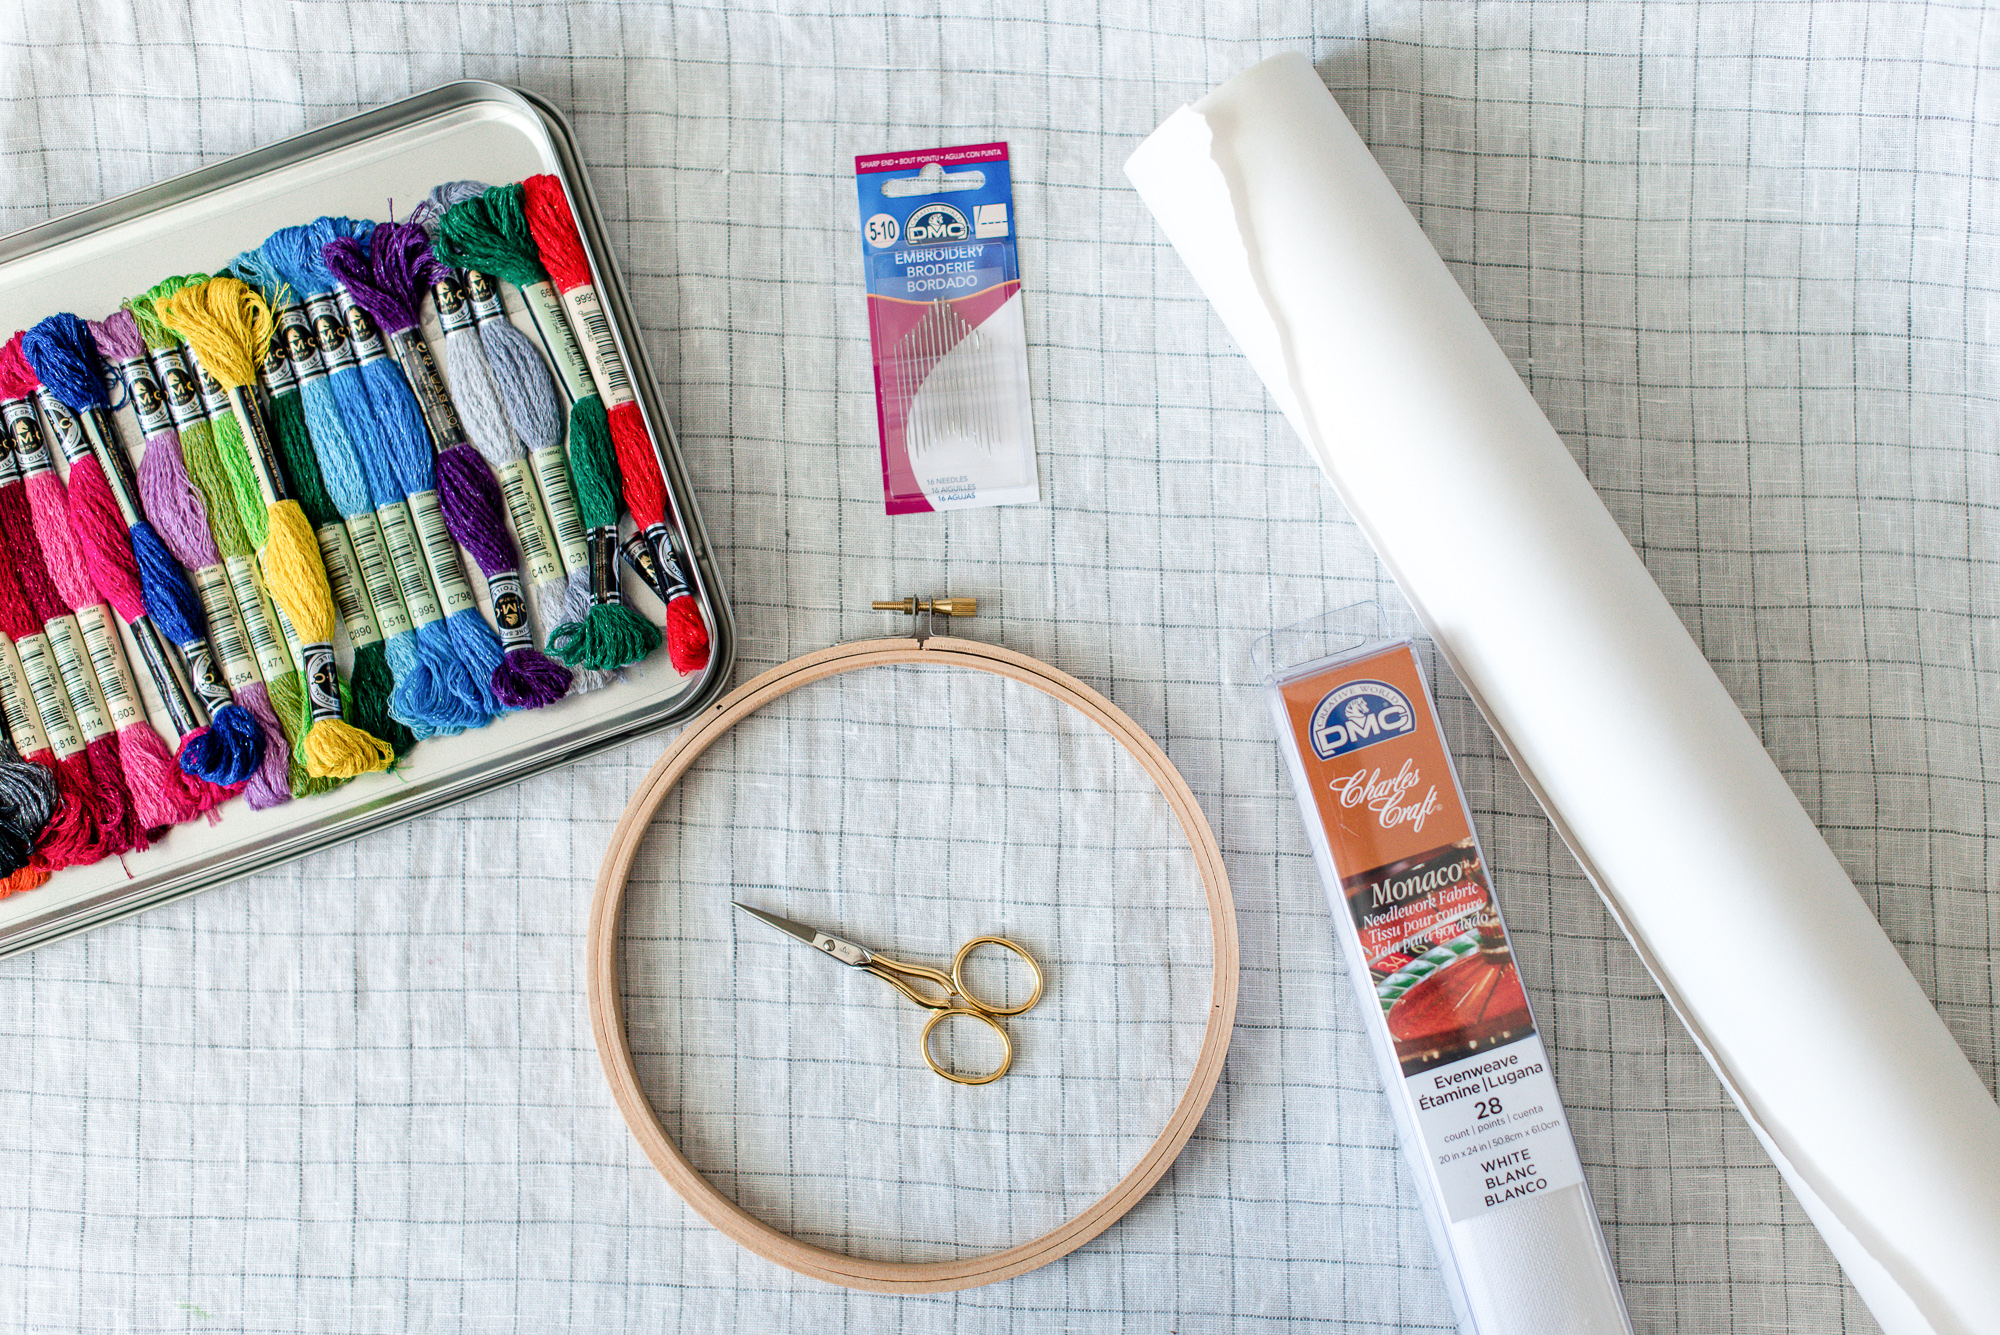
–Freezer Paper
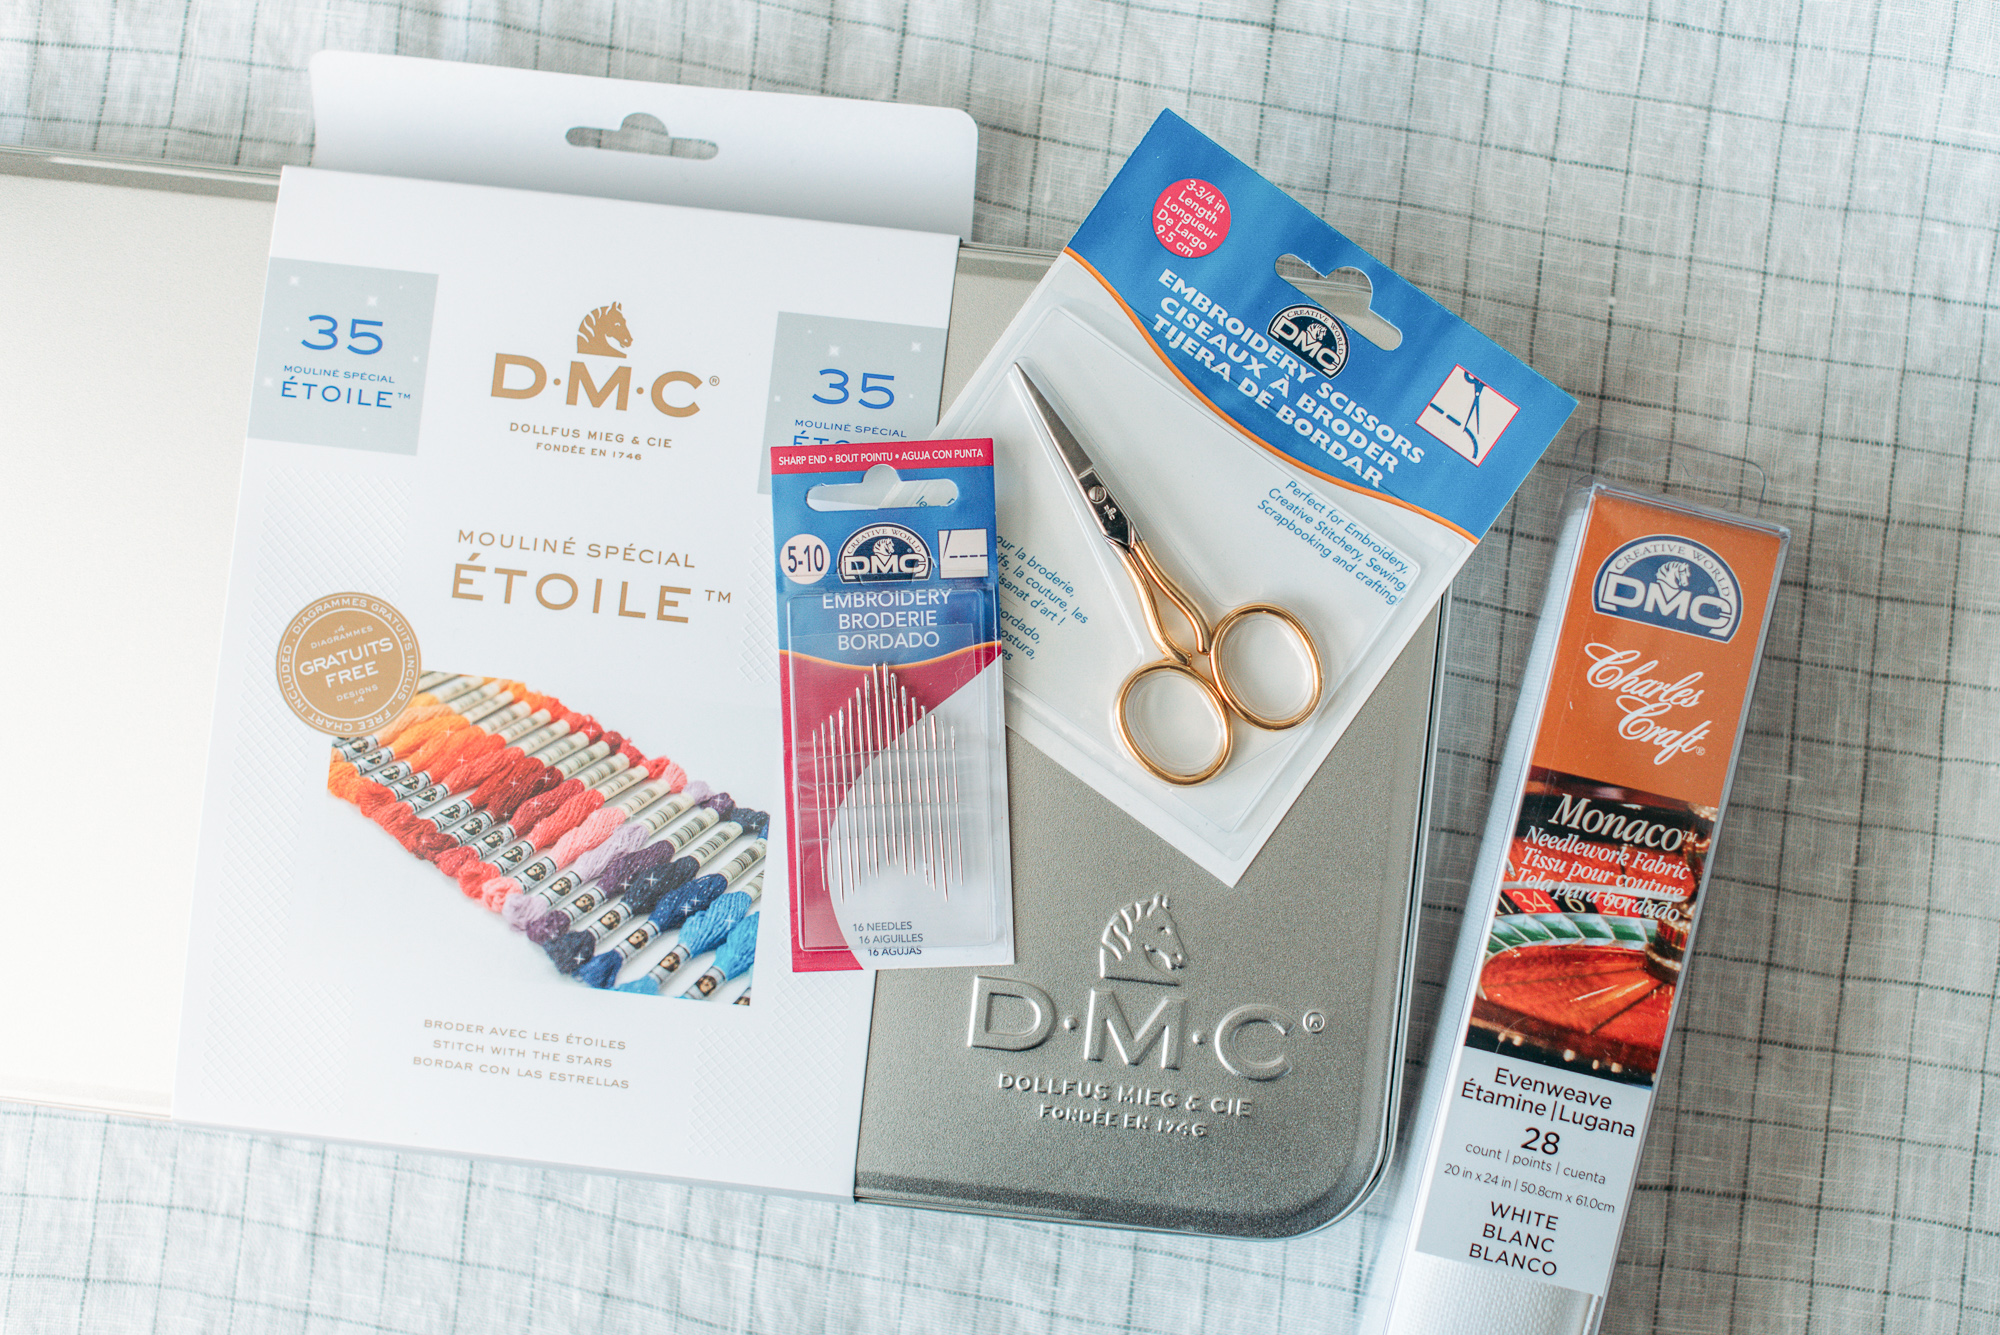
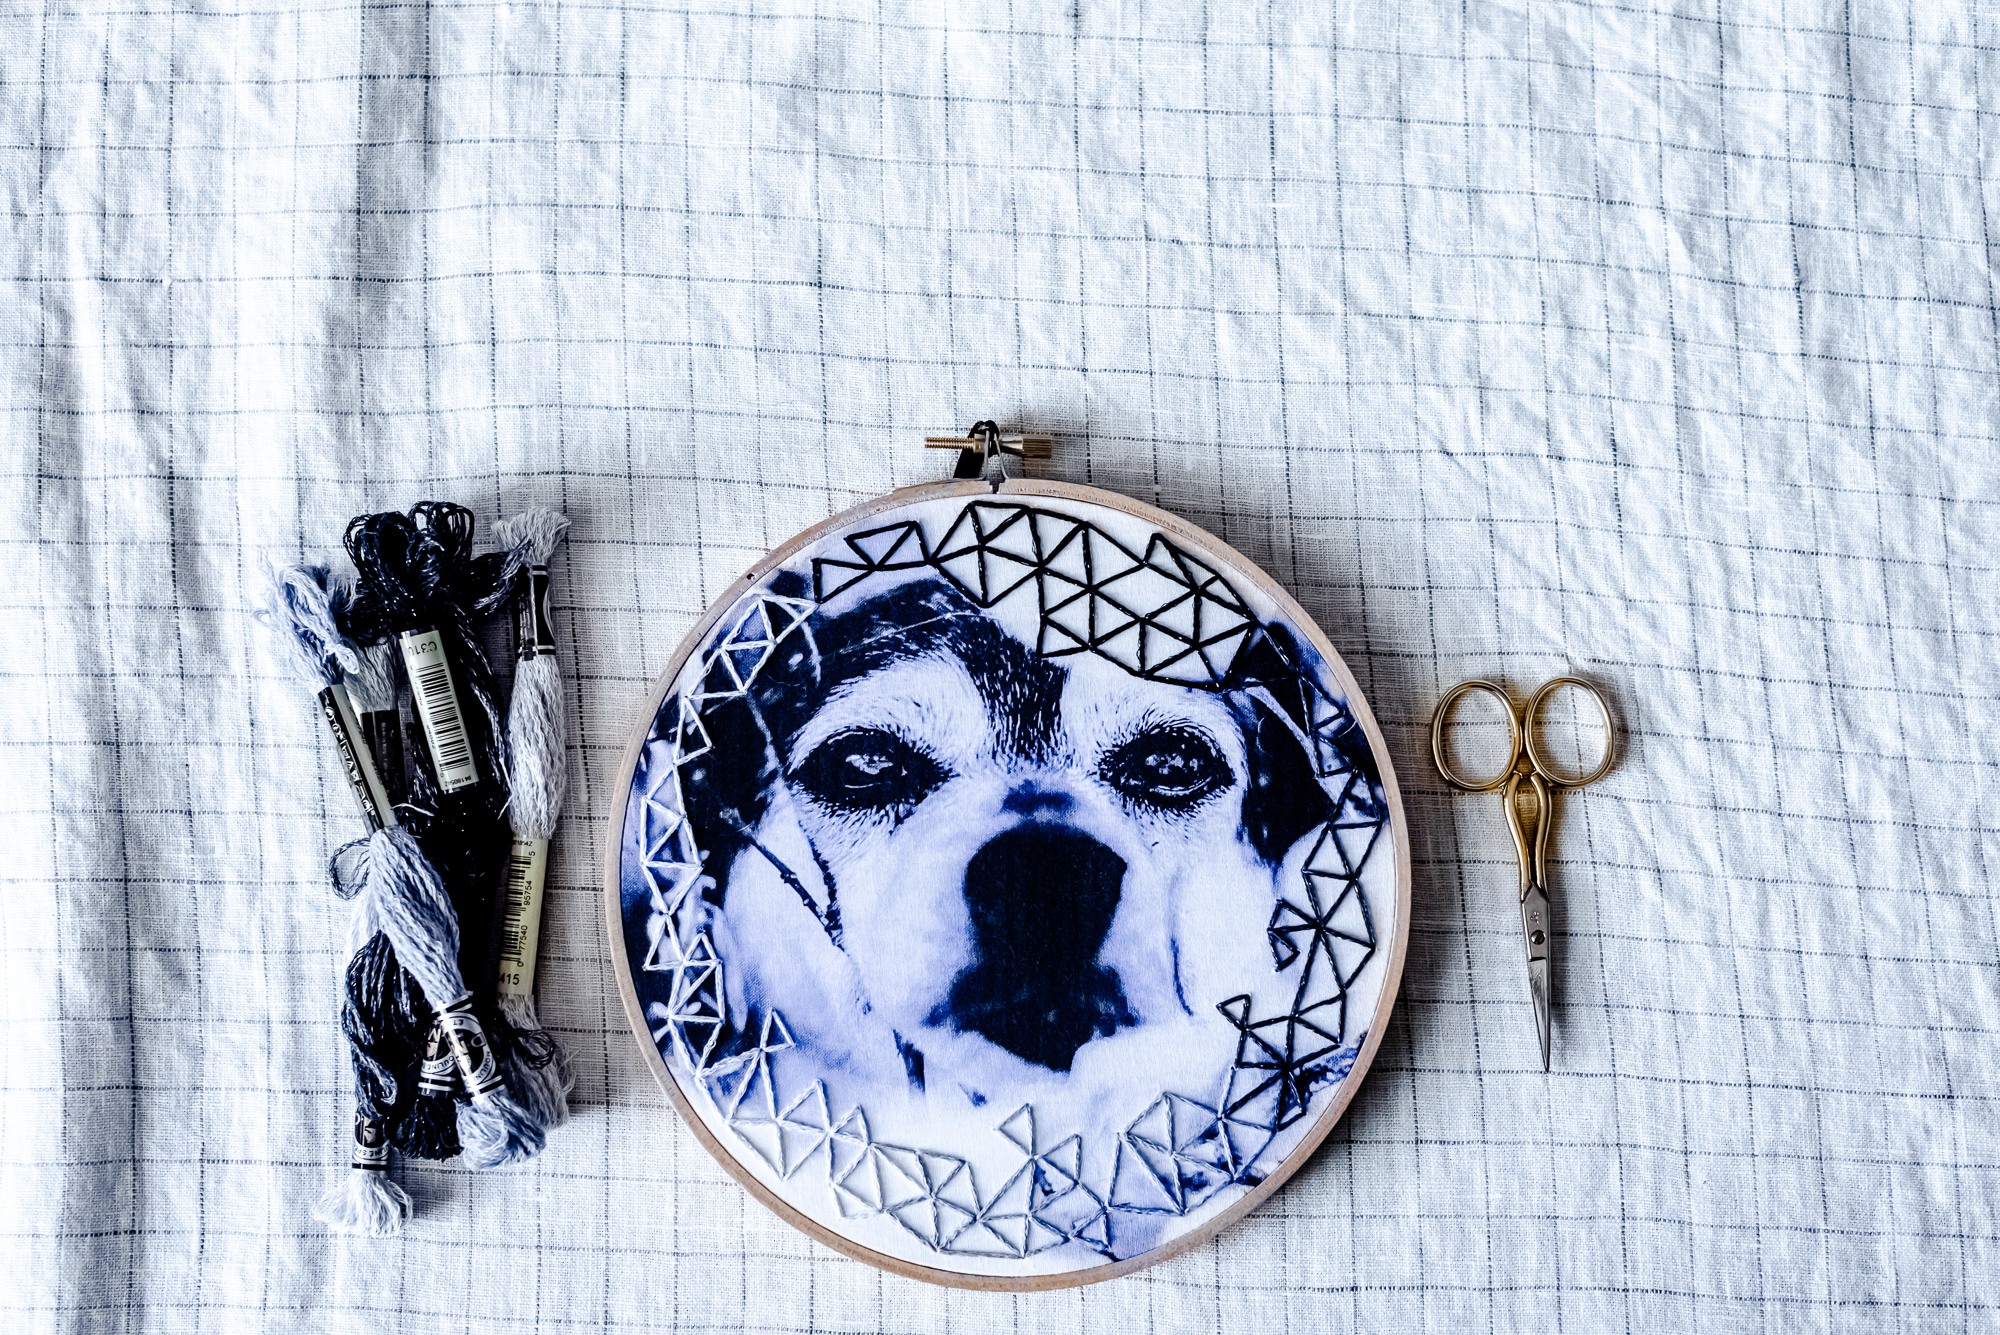
-Loose weave Cotton fabric- I used DMC’s Monaco needlework fabric
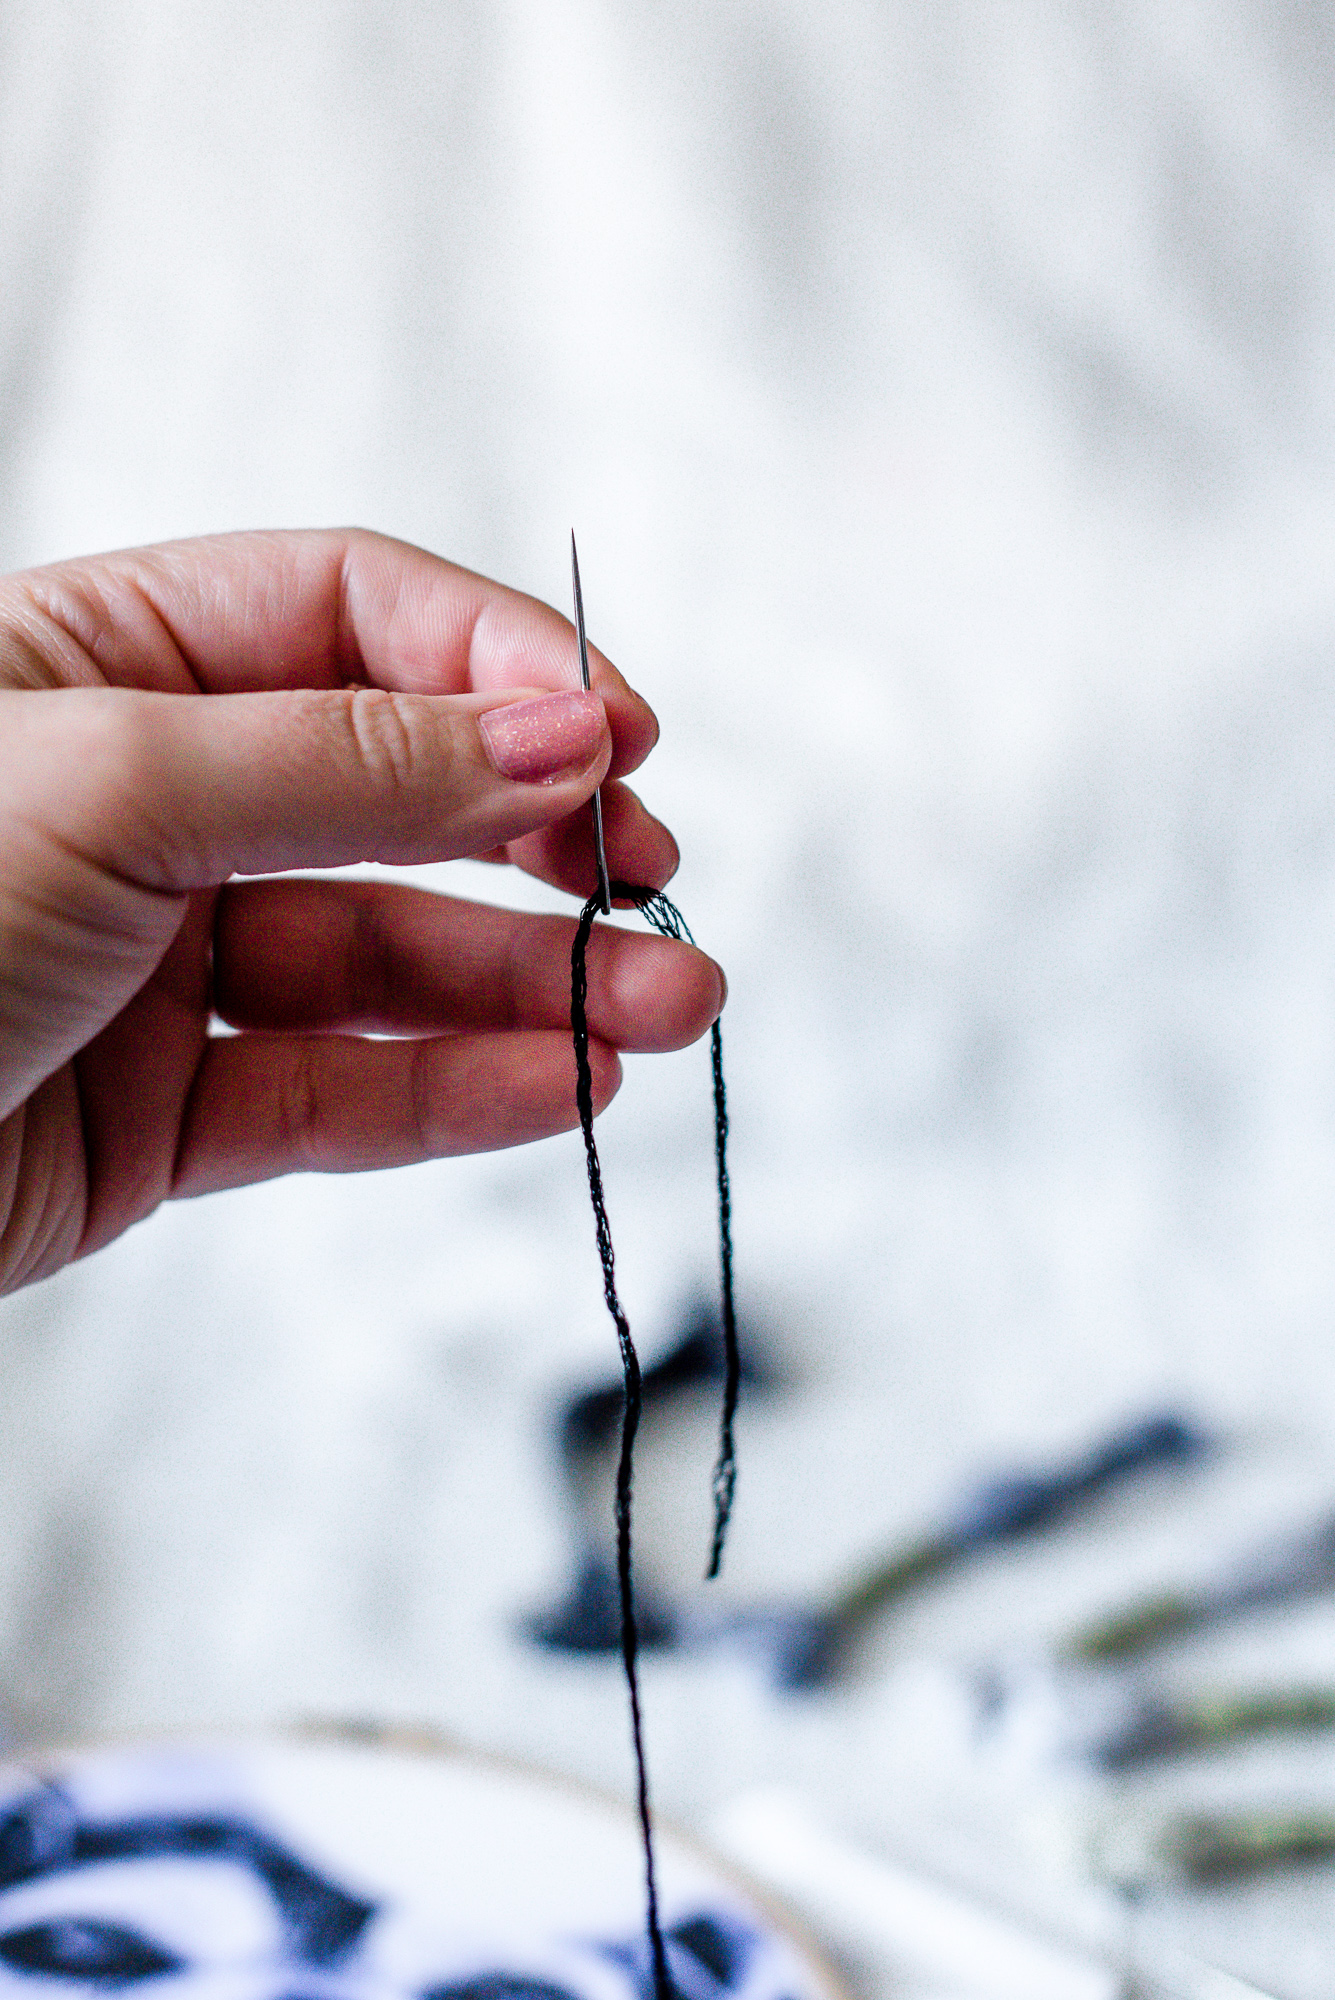
-Embroidery Floss- I used DMC’s new line of Etoile floss which has really pretty metallics laced in.
-Embroidery Scissors – I used these
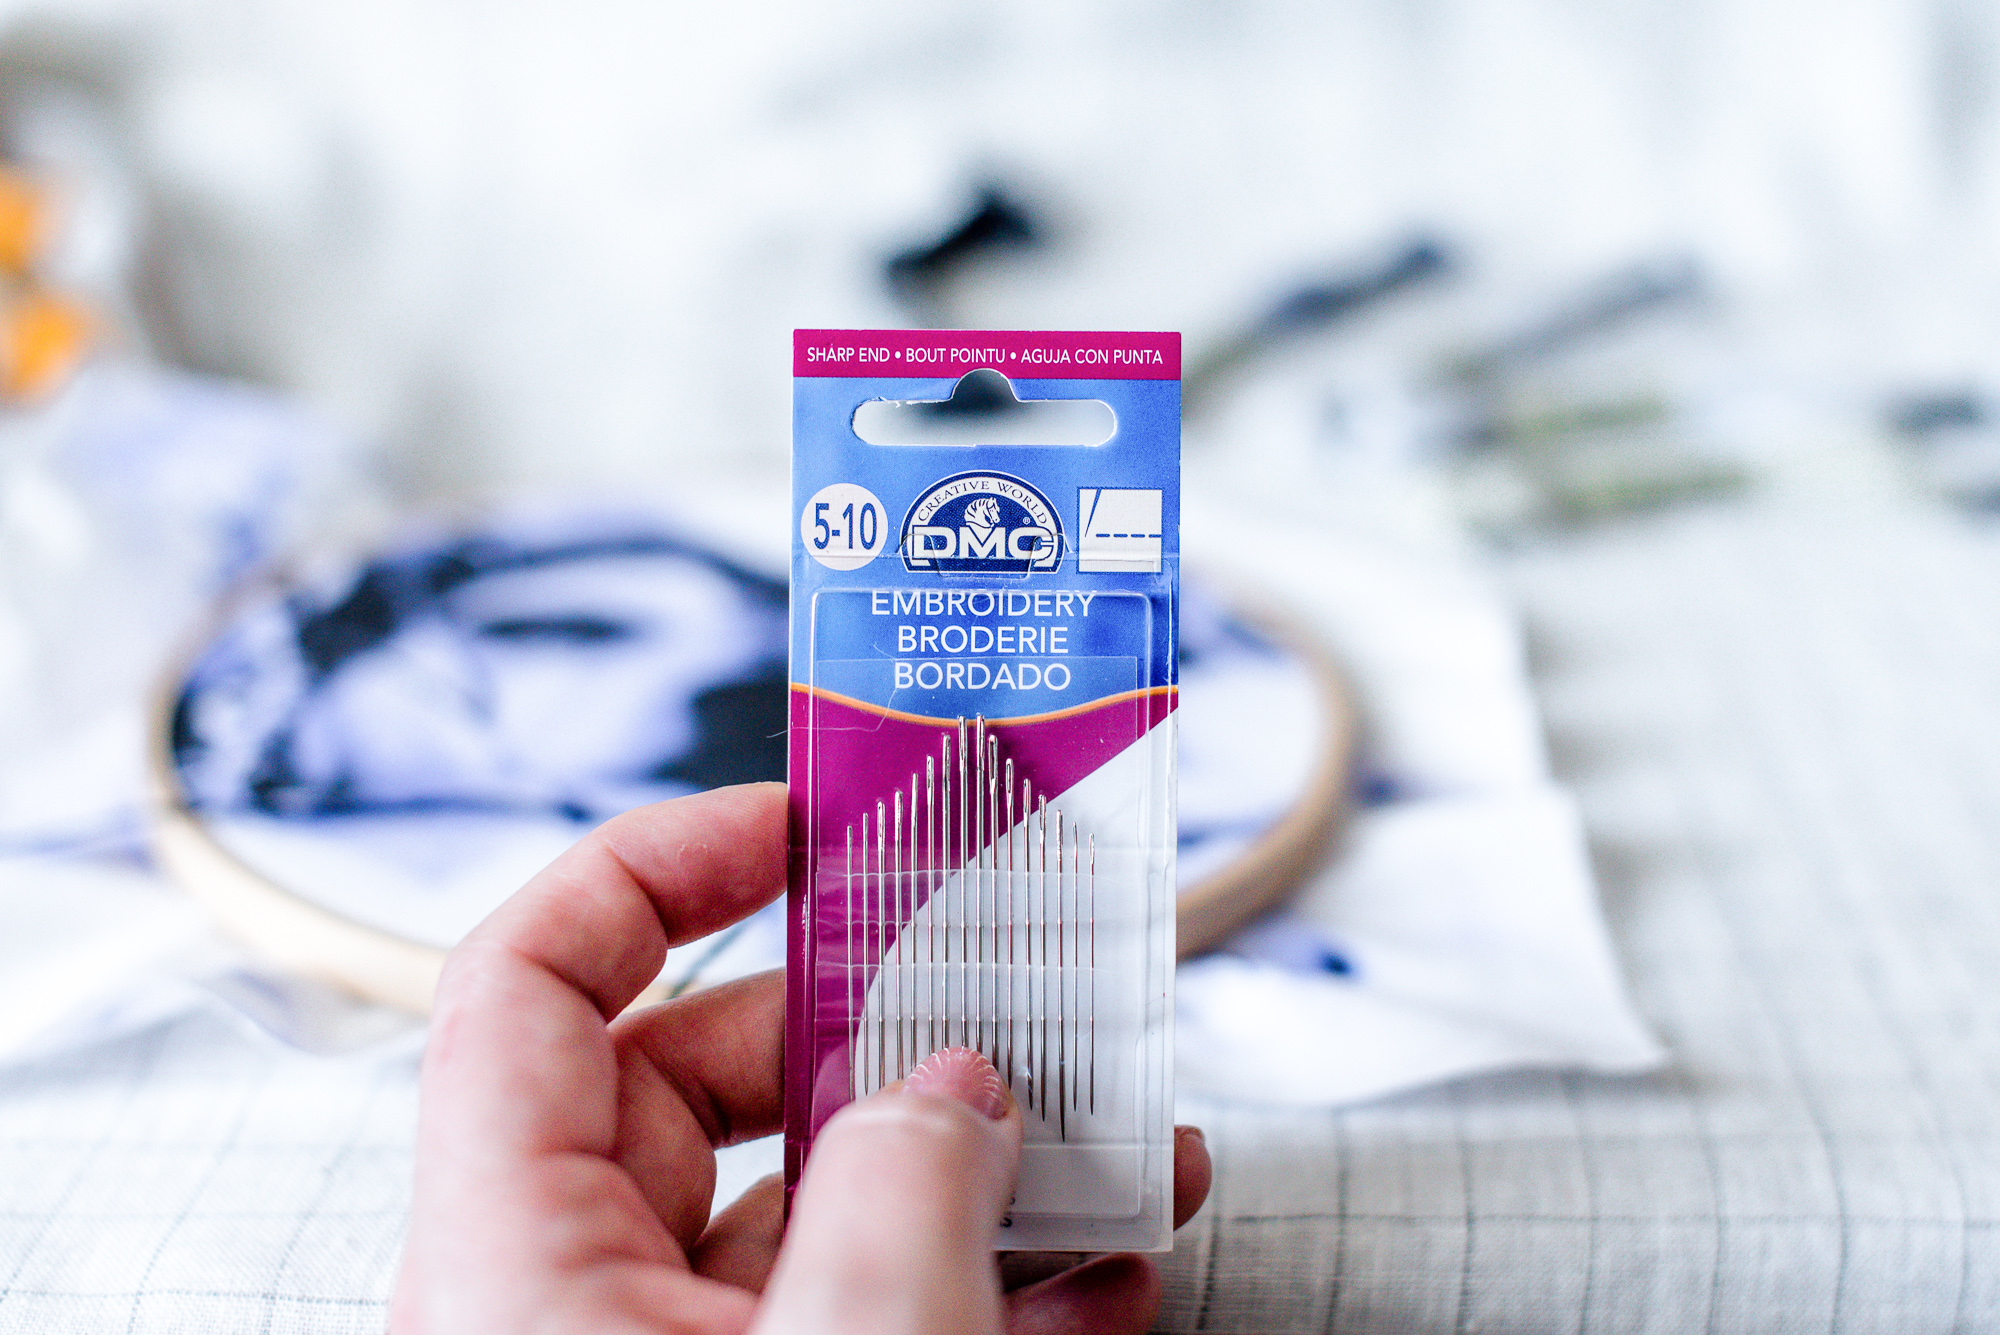
-Embroidery needles- I used these
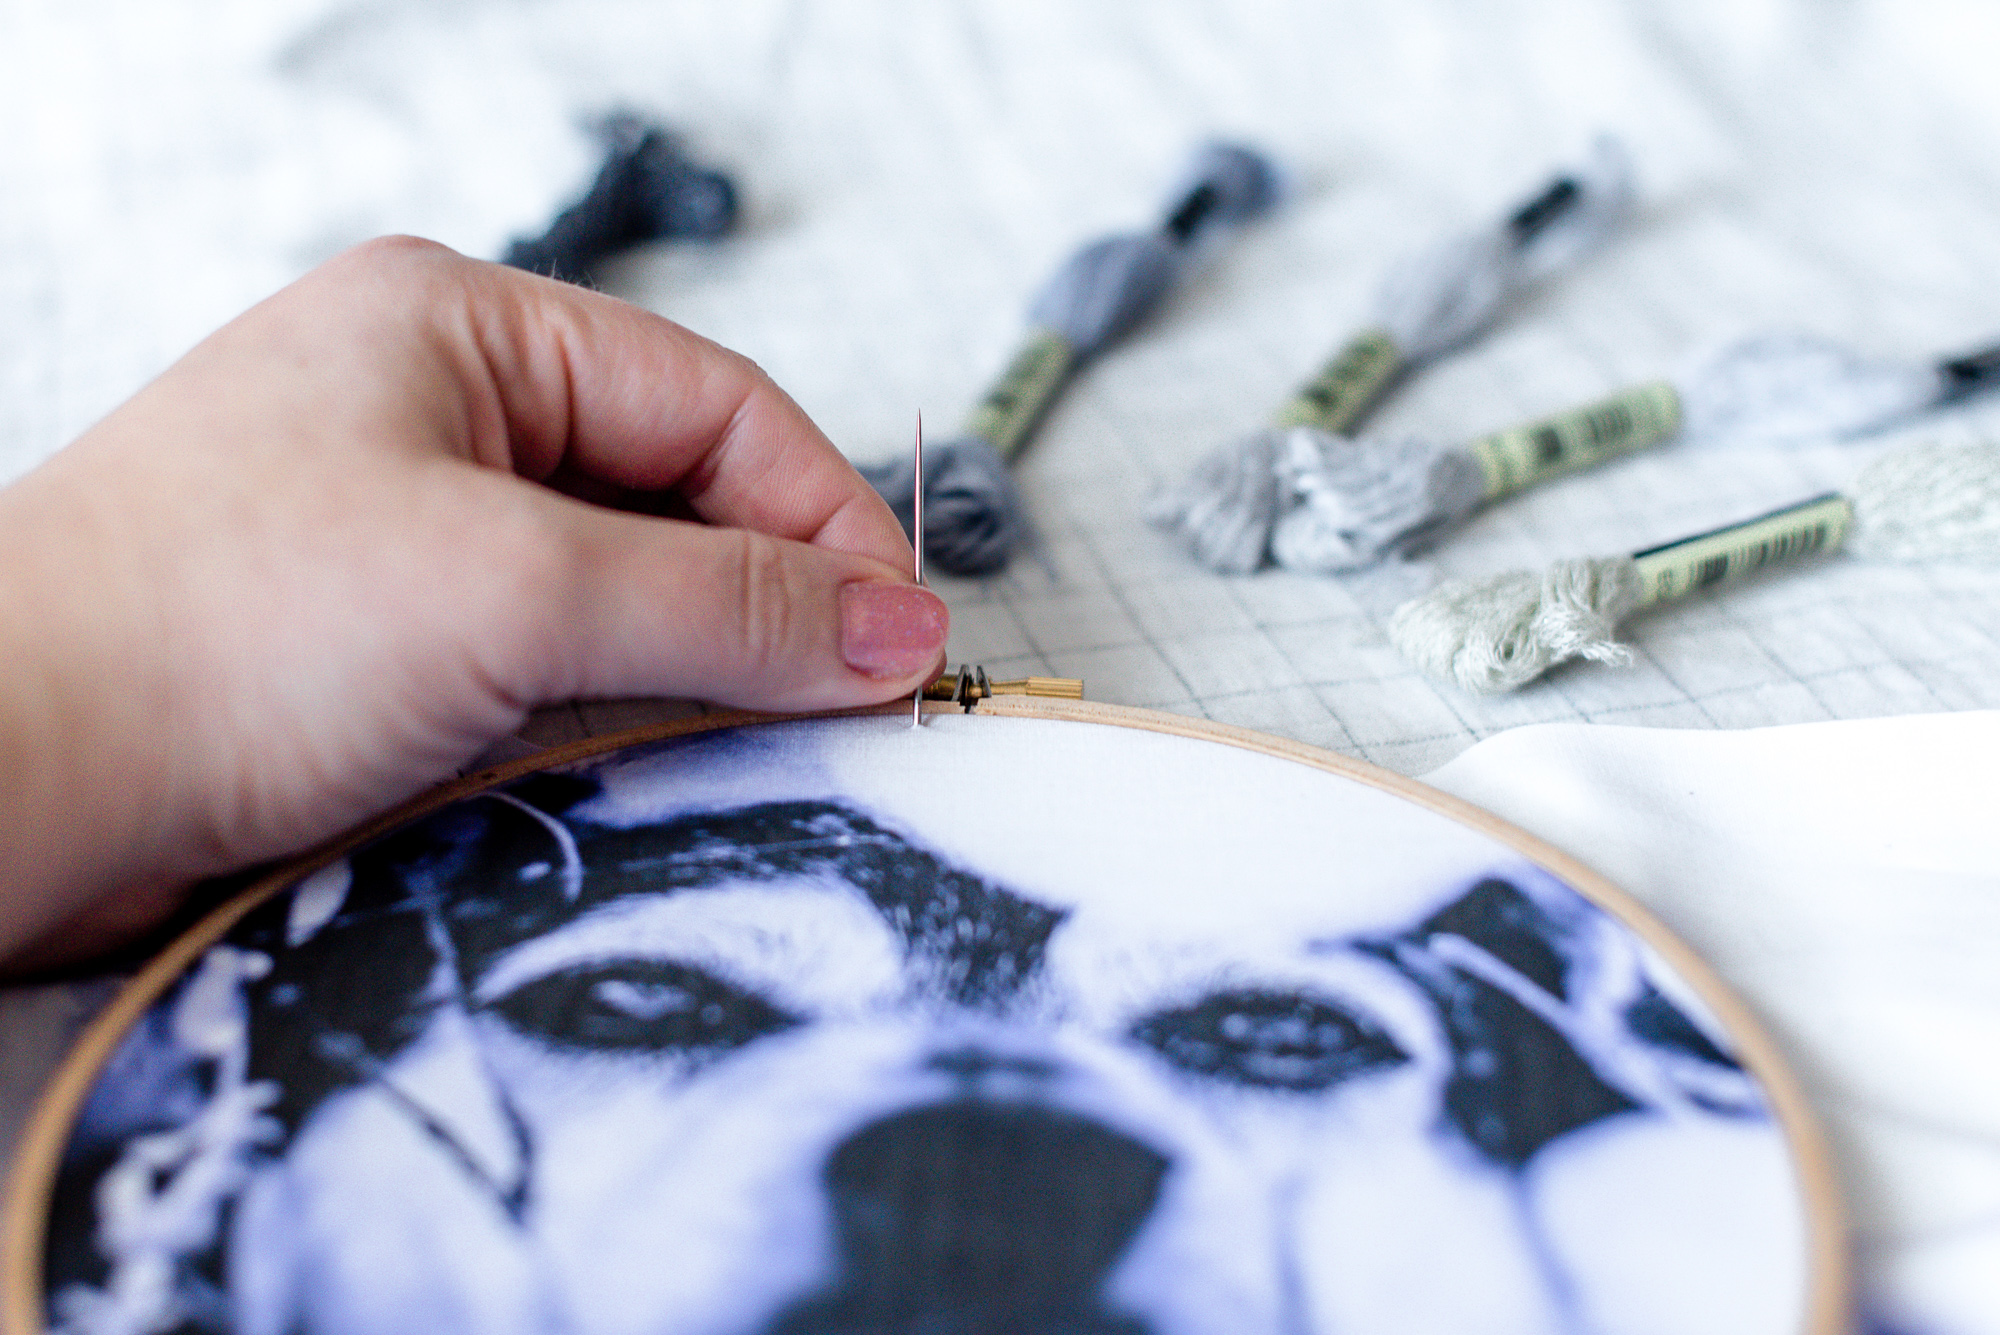
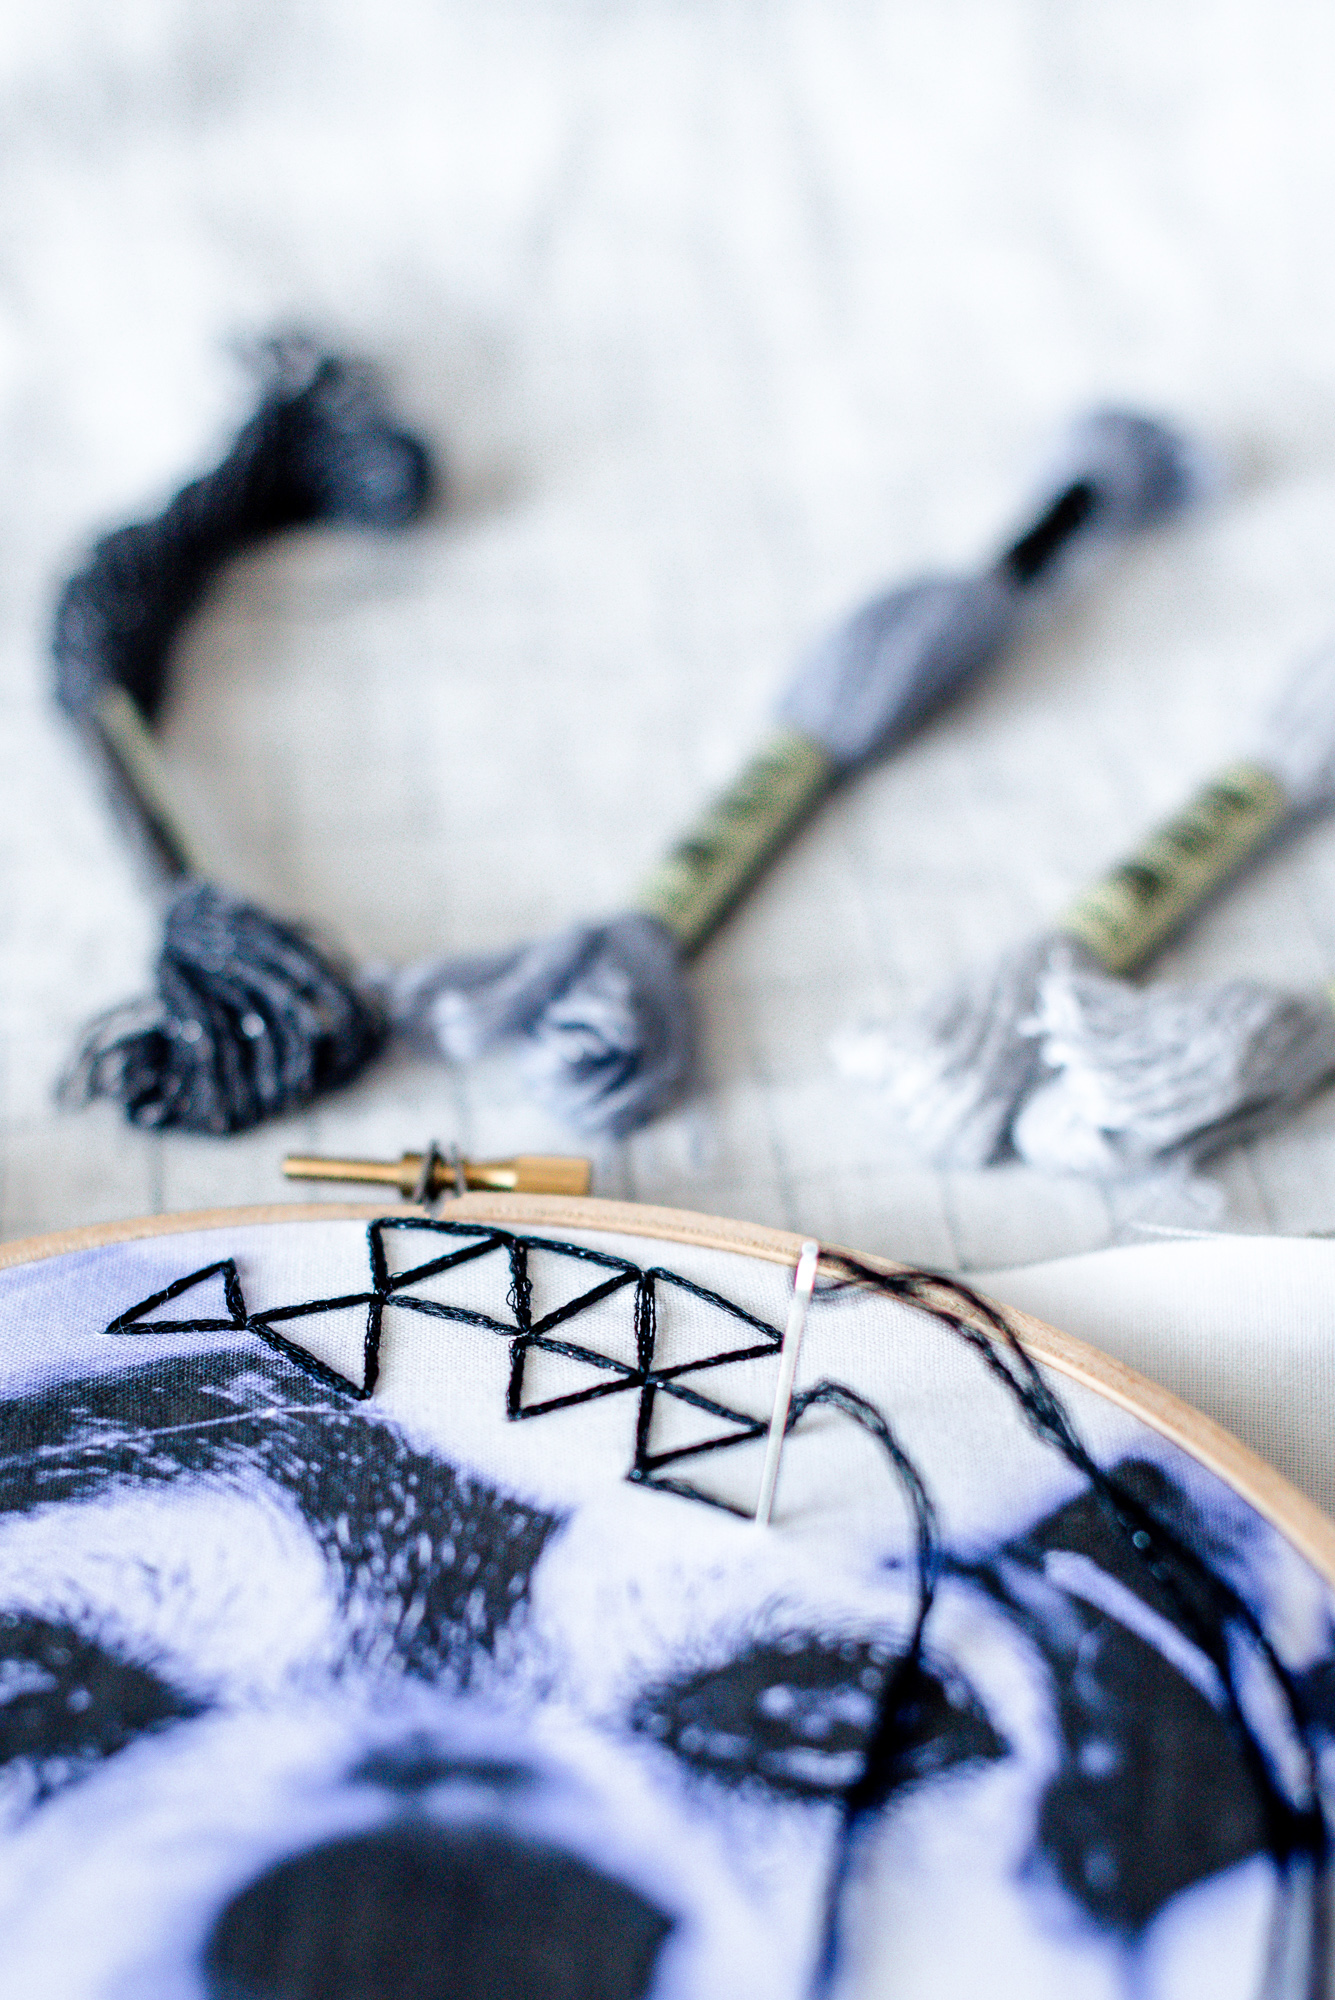
-Embroidery Hoop- Size will depend on how big you want your finished project to be, I used a 7 inch hoop like this one from Darice
*Not pictured:
-Iron
-home printer, preferably one with a feed in the back, to print selected image
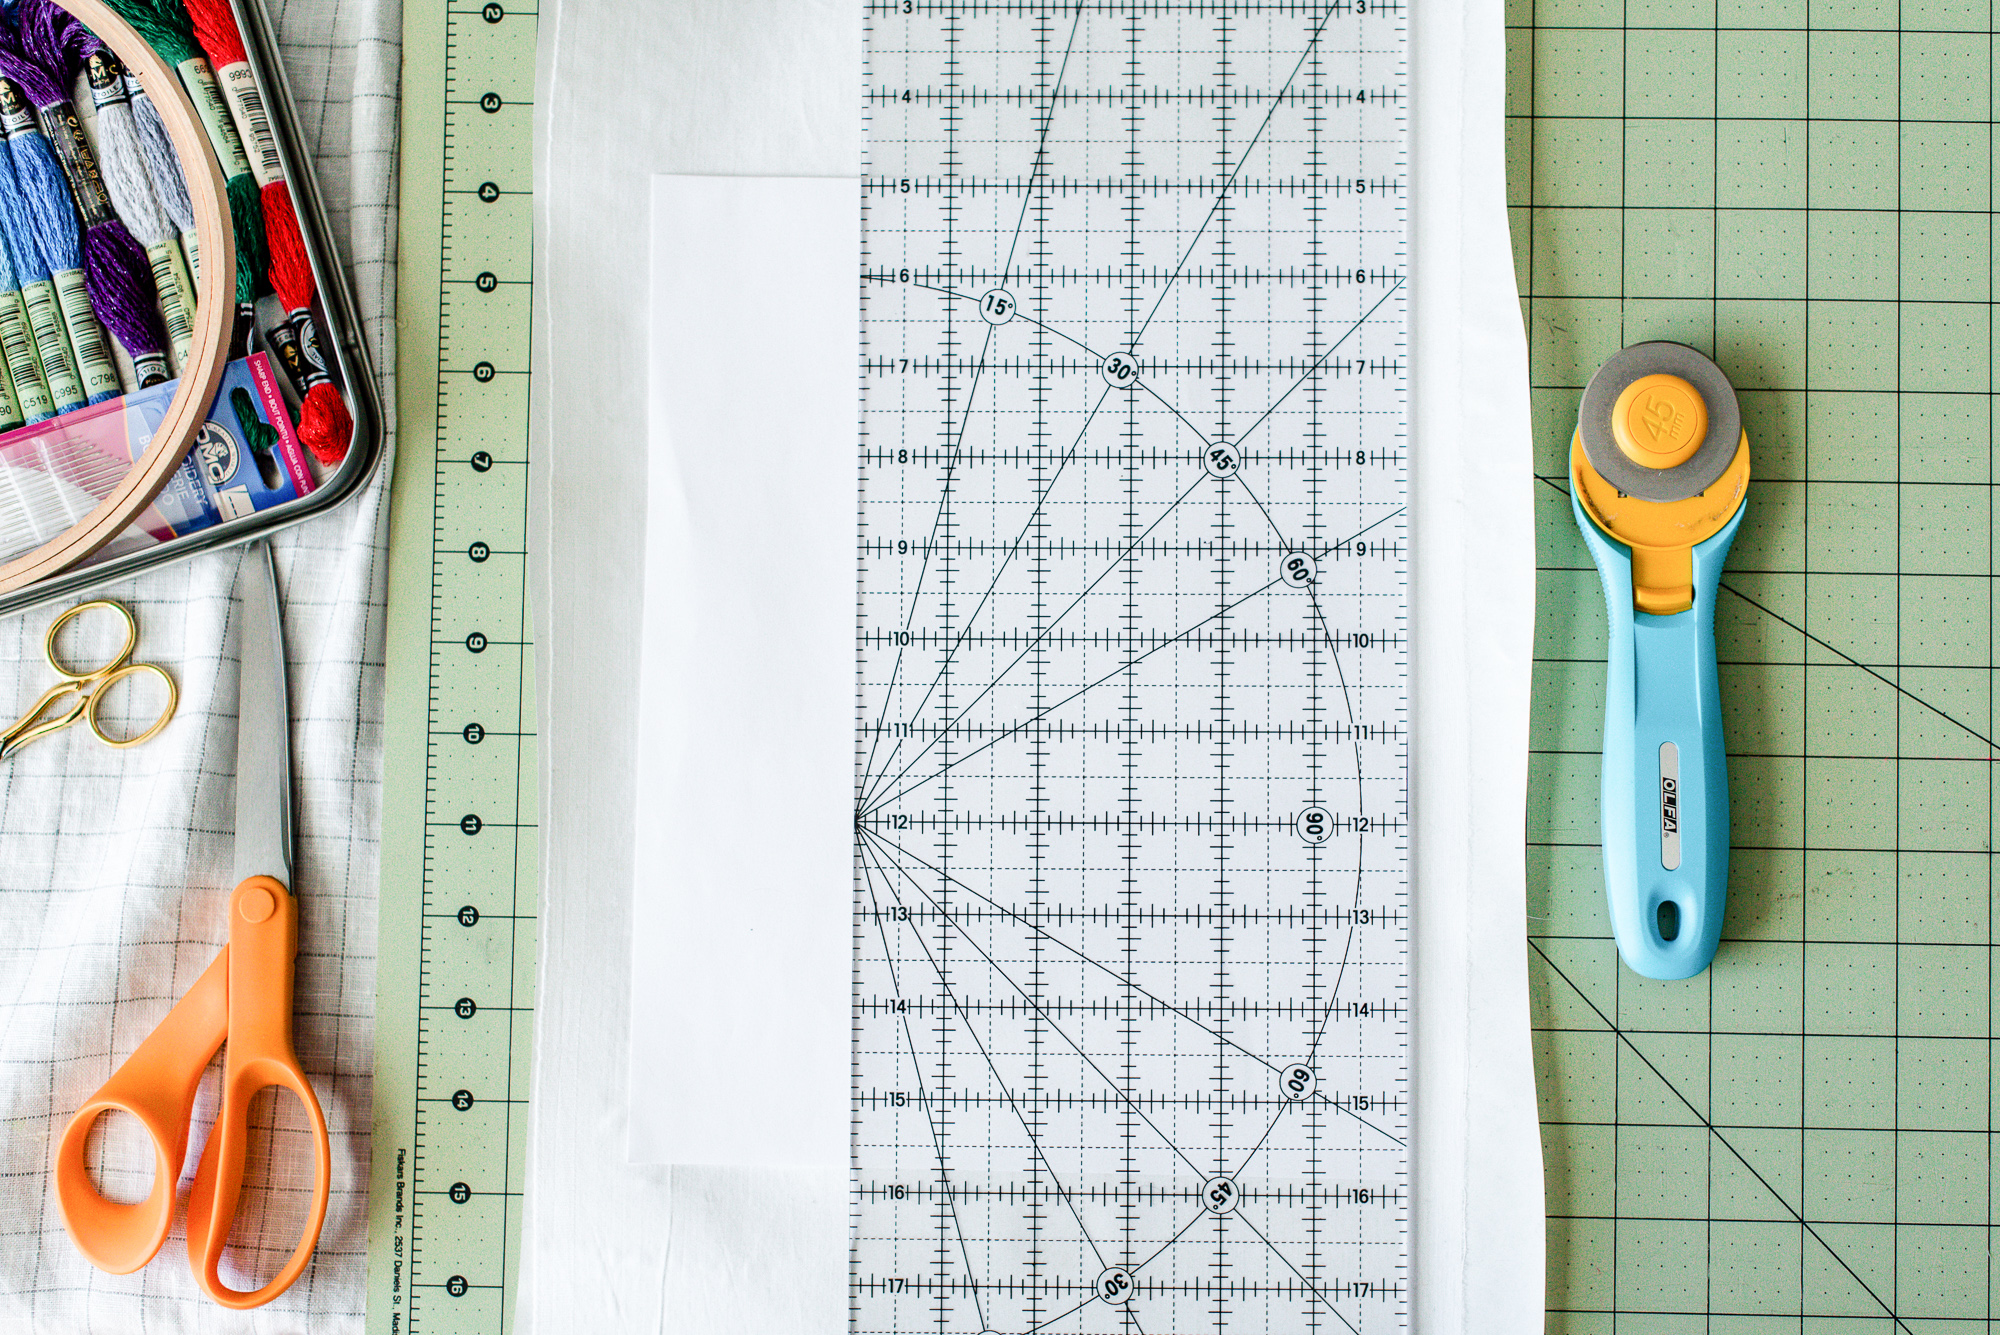
-Rotary cutter preferred but not necessary, you can also use regular scissors
-Cutting mat if using rotary cutter
-Plastic ruler if using rotary cutter
-Optional: Hot glue gun to finish hoop
WHAT TO DO:
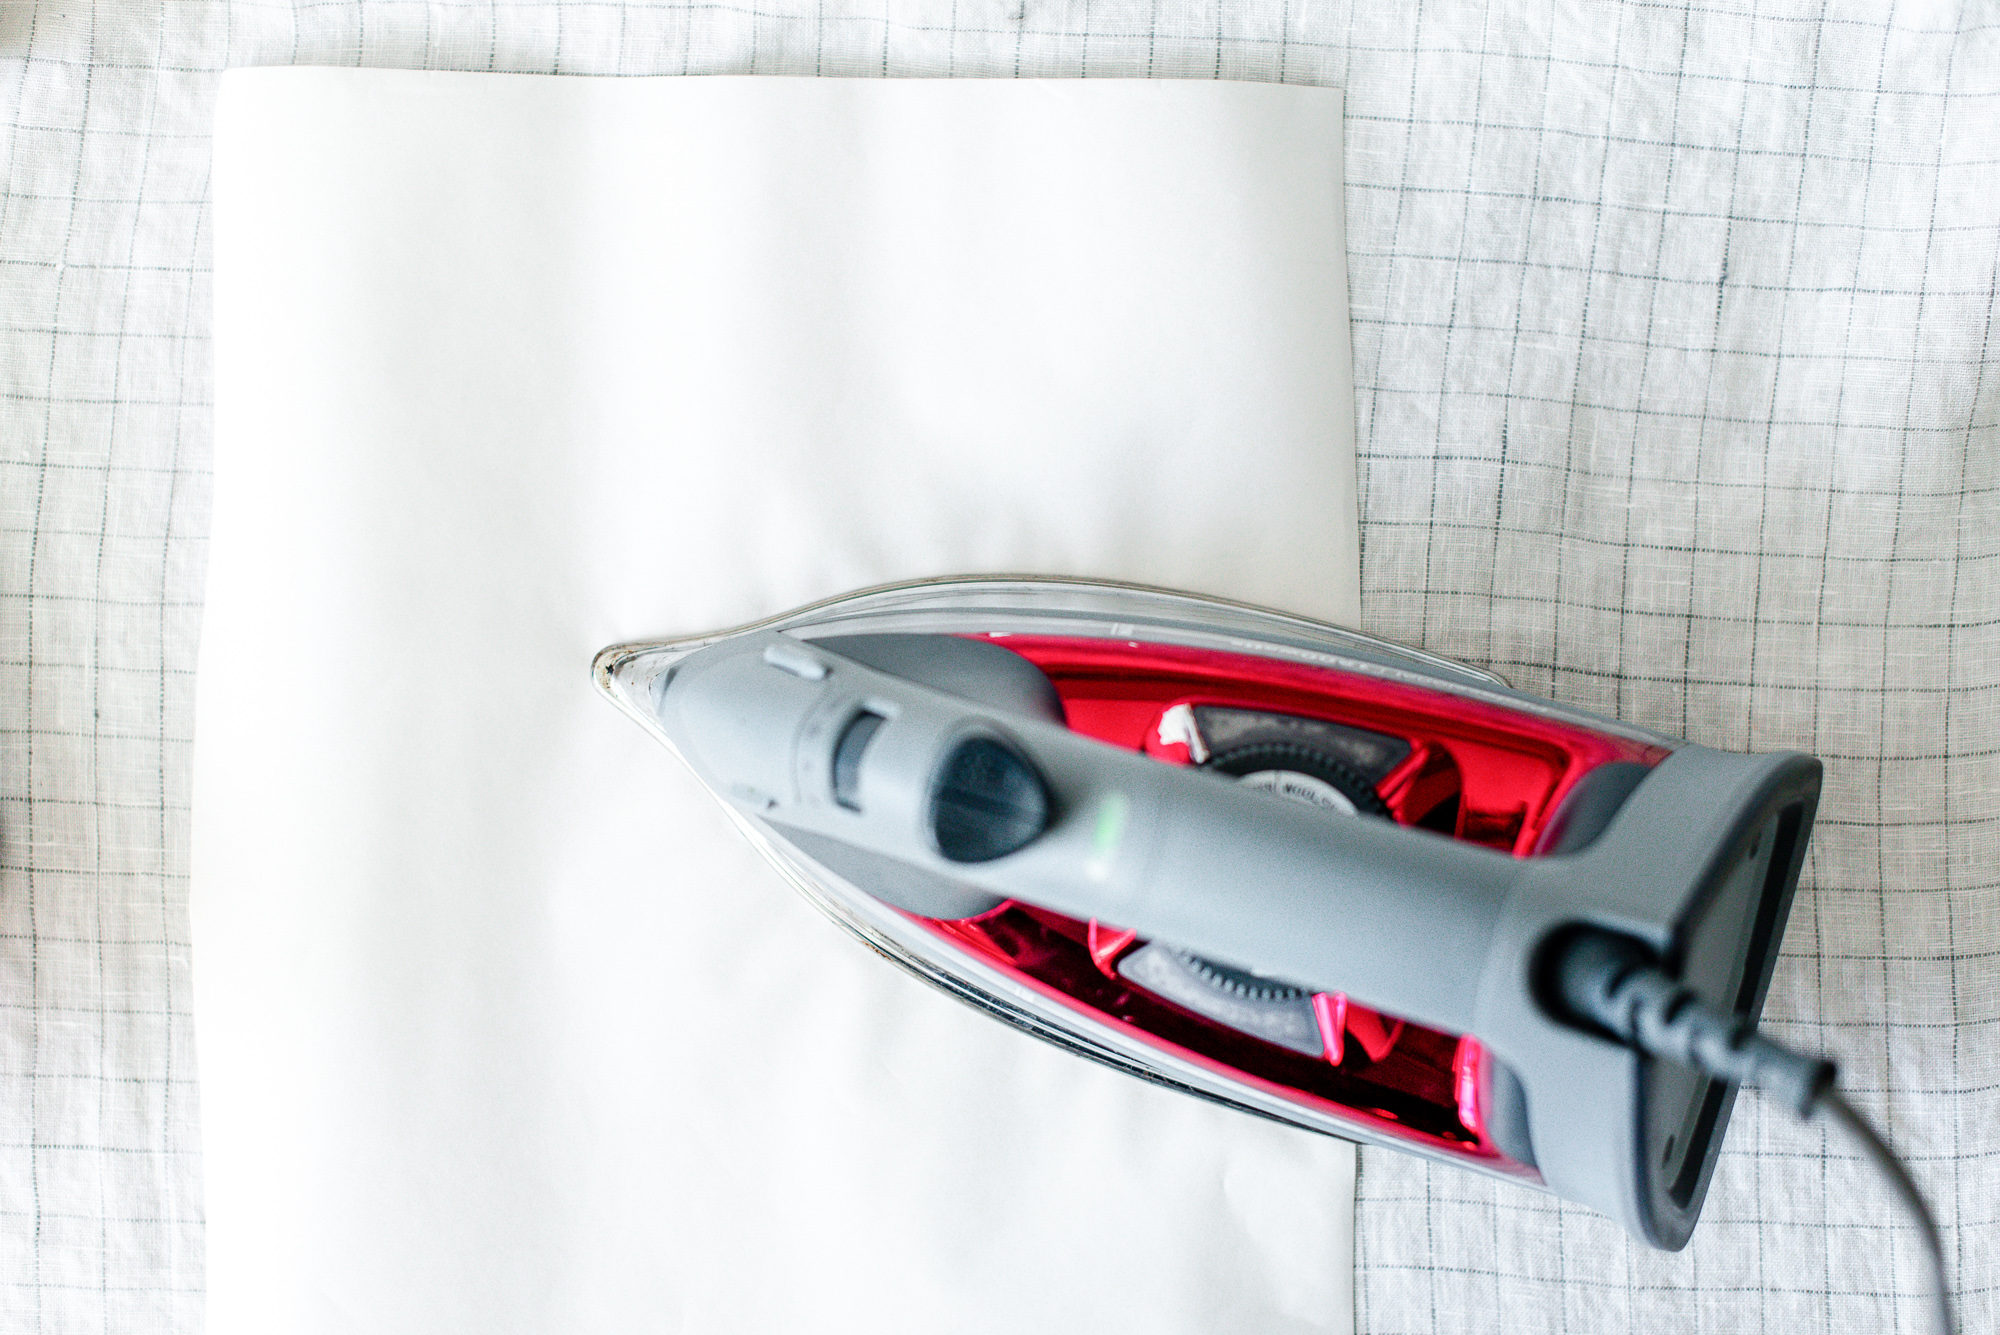
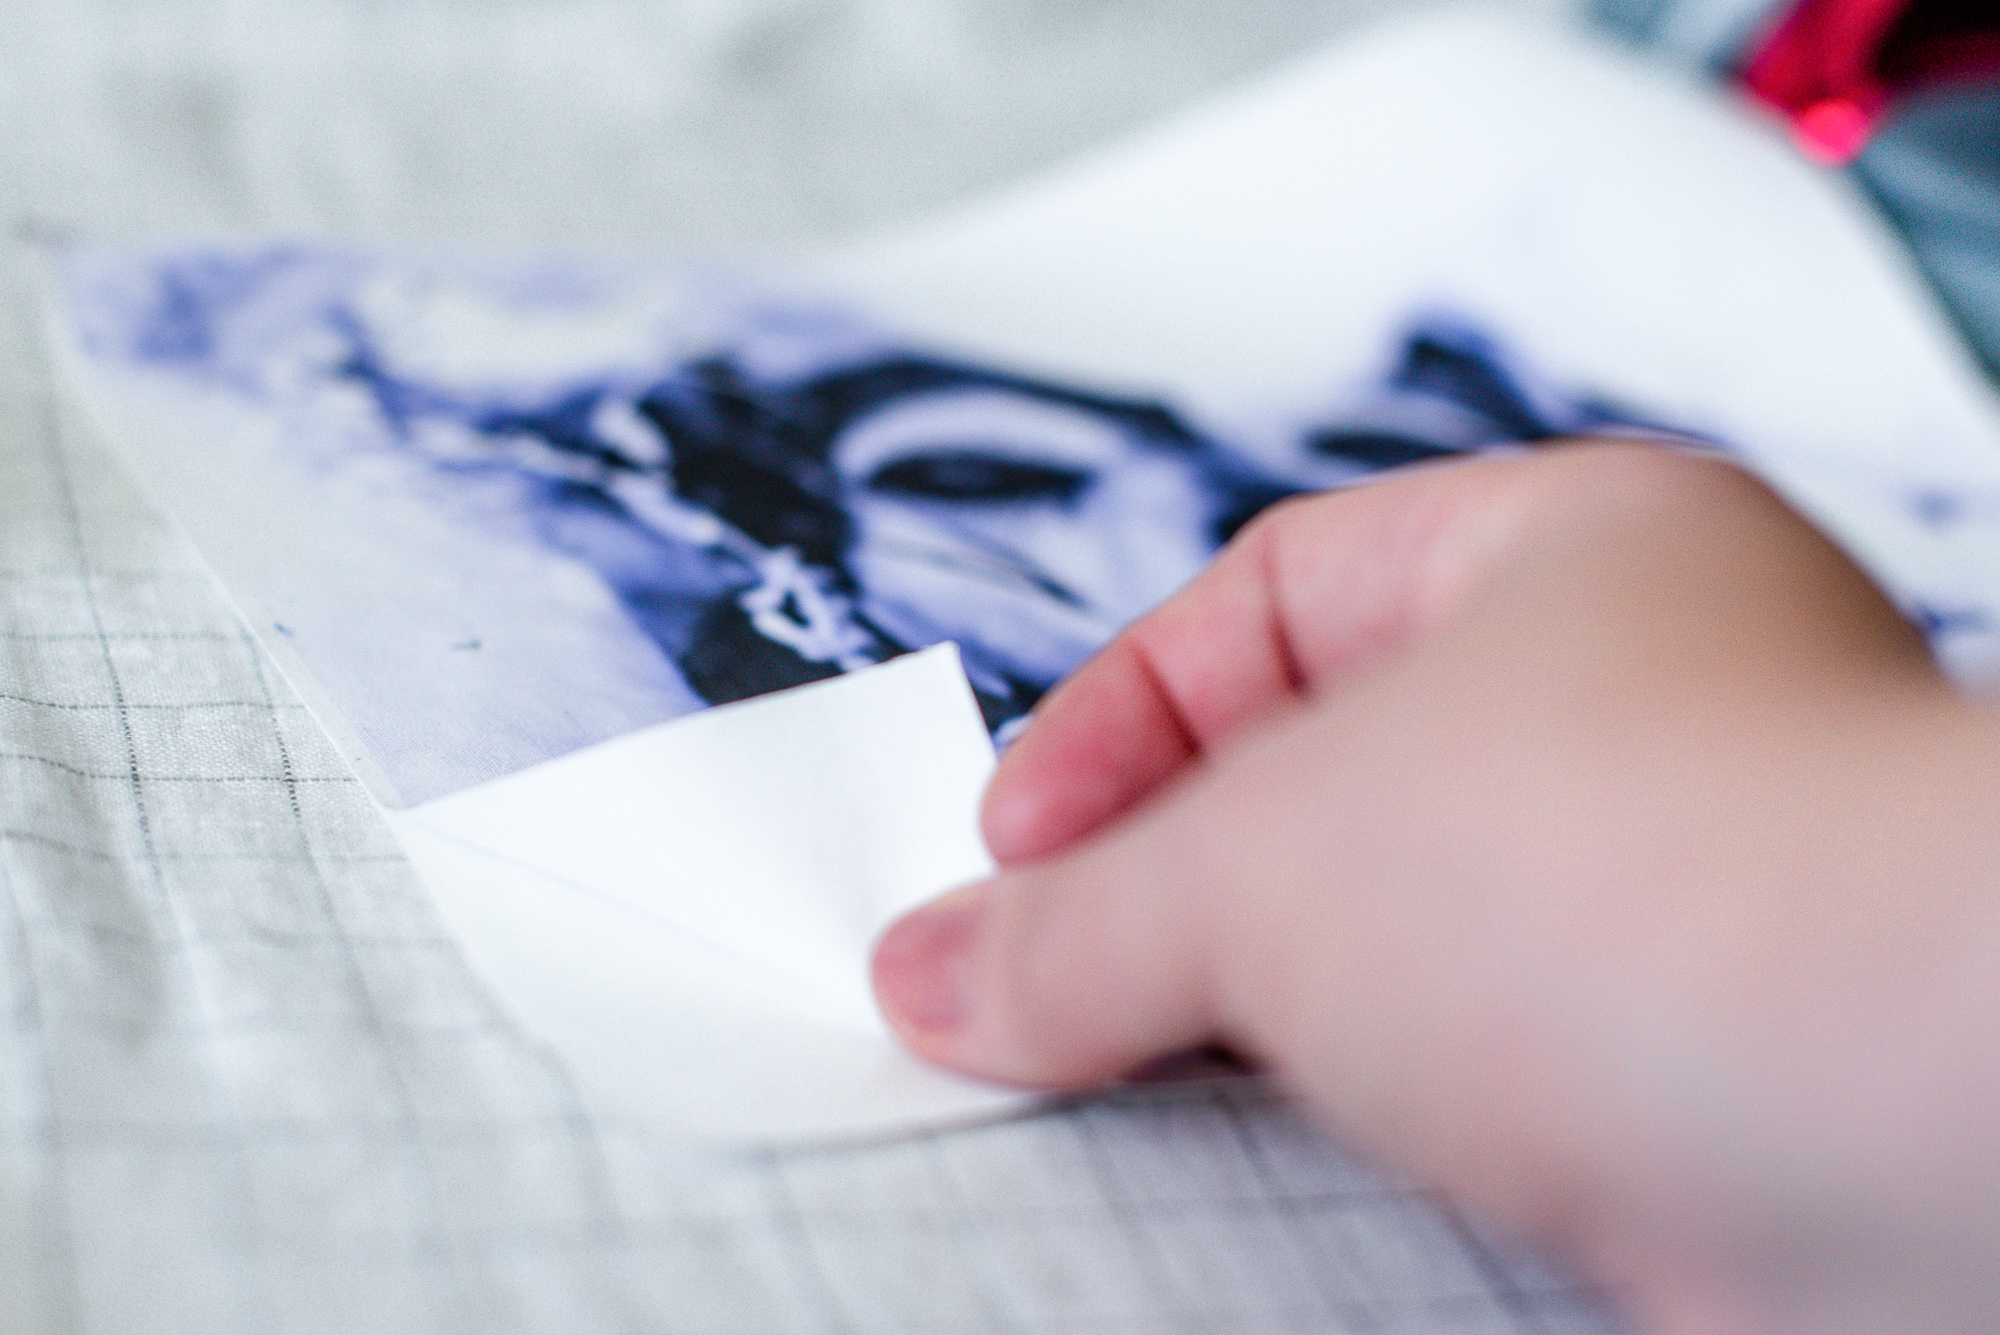
1. Cut a rectangle from both your fabric and the freezer paper a little bit larger than a sheet of standard printer paper (8.5×11). Using the side of the freezer paper that feels like wax paper, line up with your fabrics ‘wrong side’ if there is one, if not either side will work. Using an iron at a med-low temp iron the freezer paper to your fabric, this will give it the stiffness it needs to run through your printer but will peel away easily without damaging the fabric.
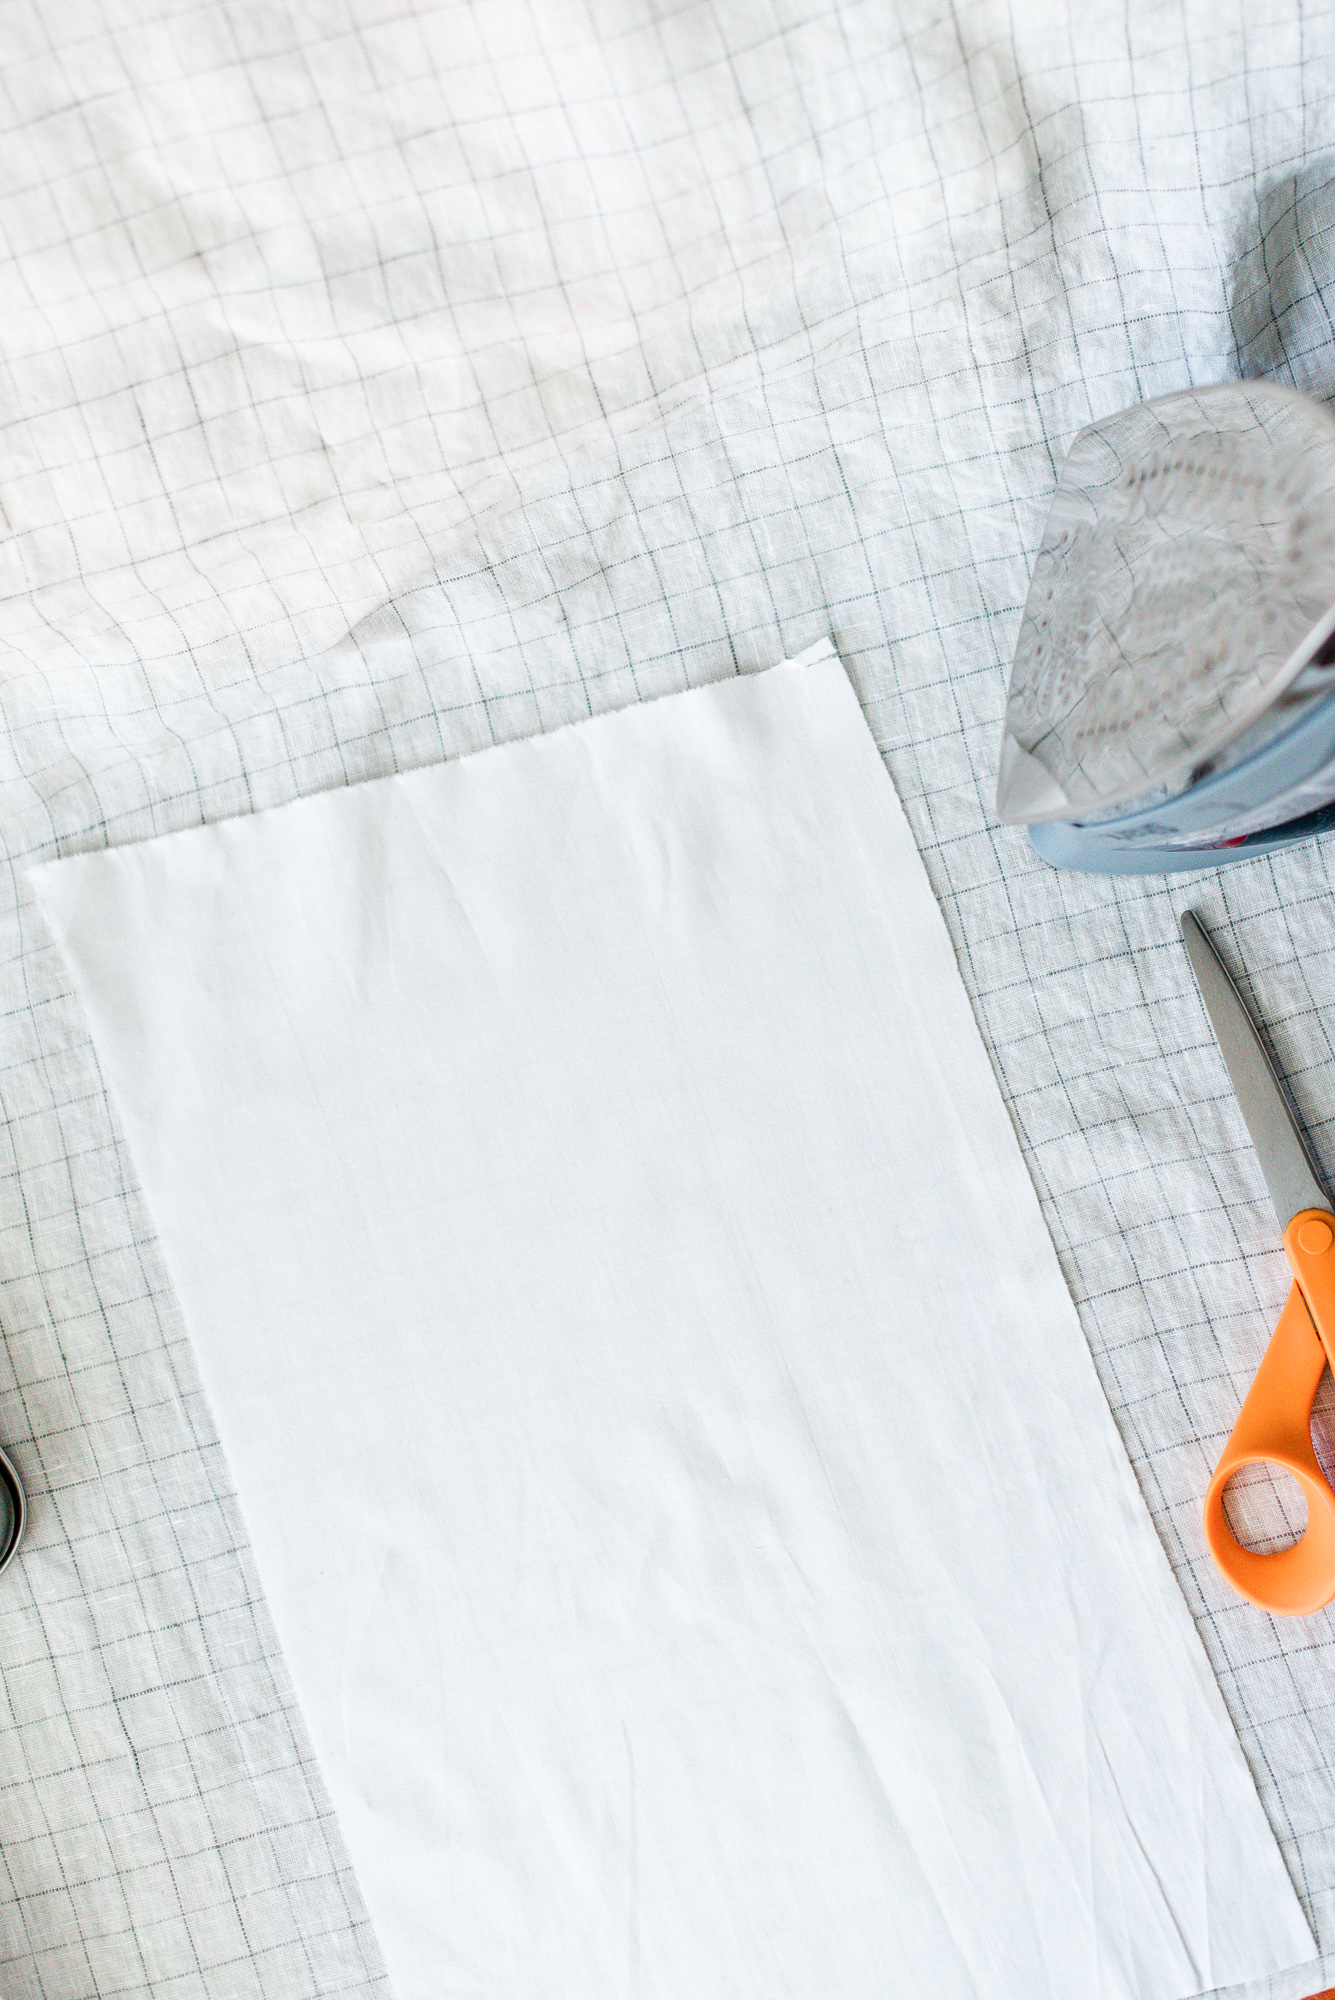
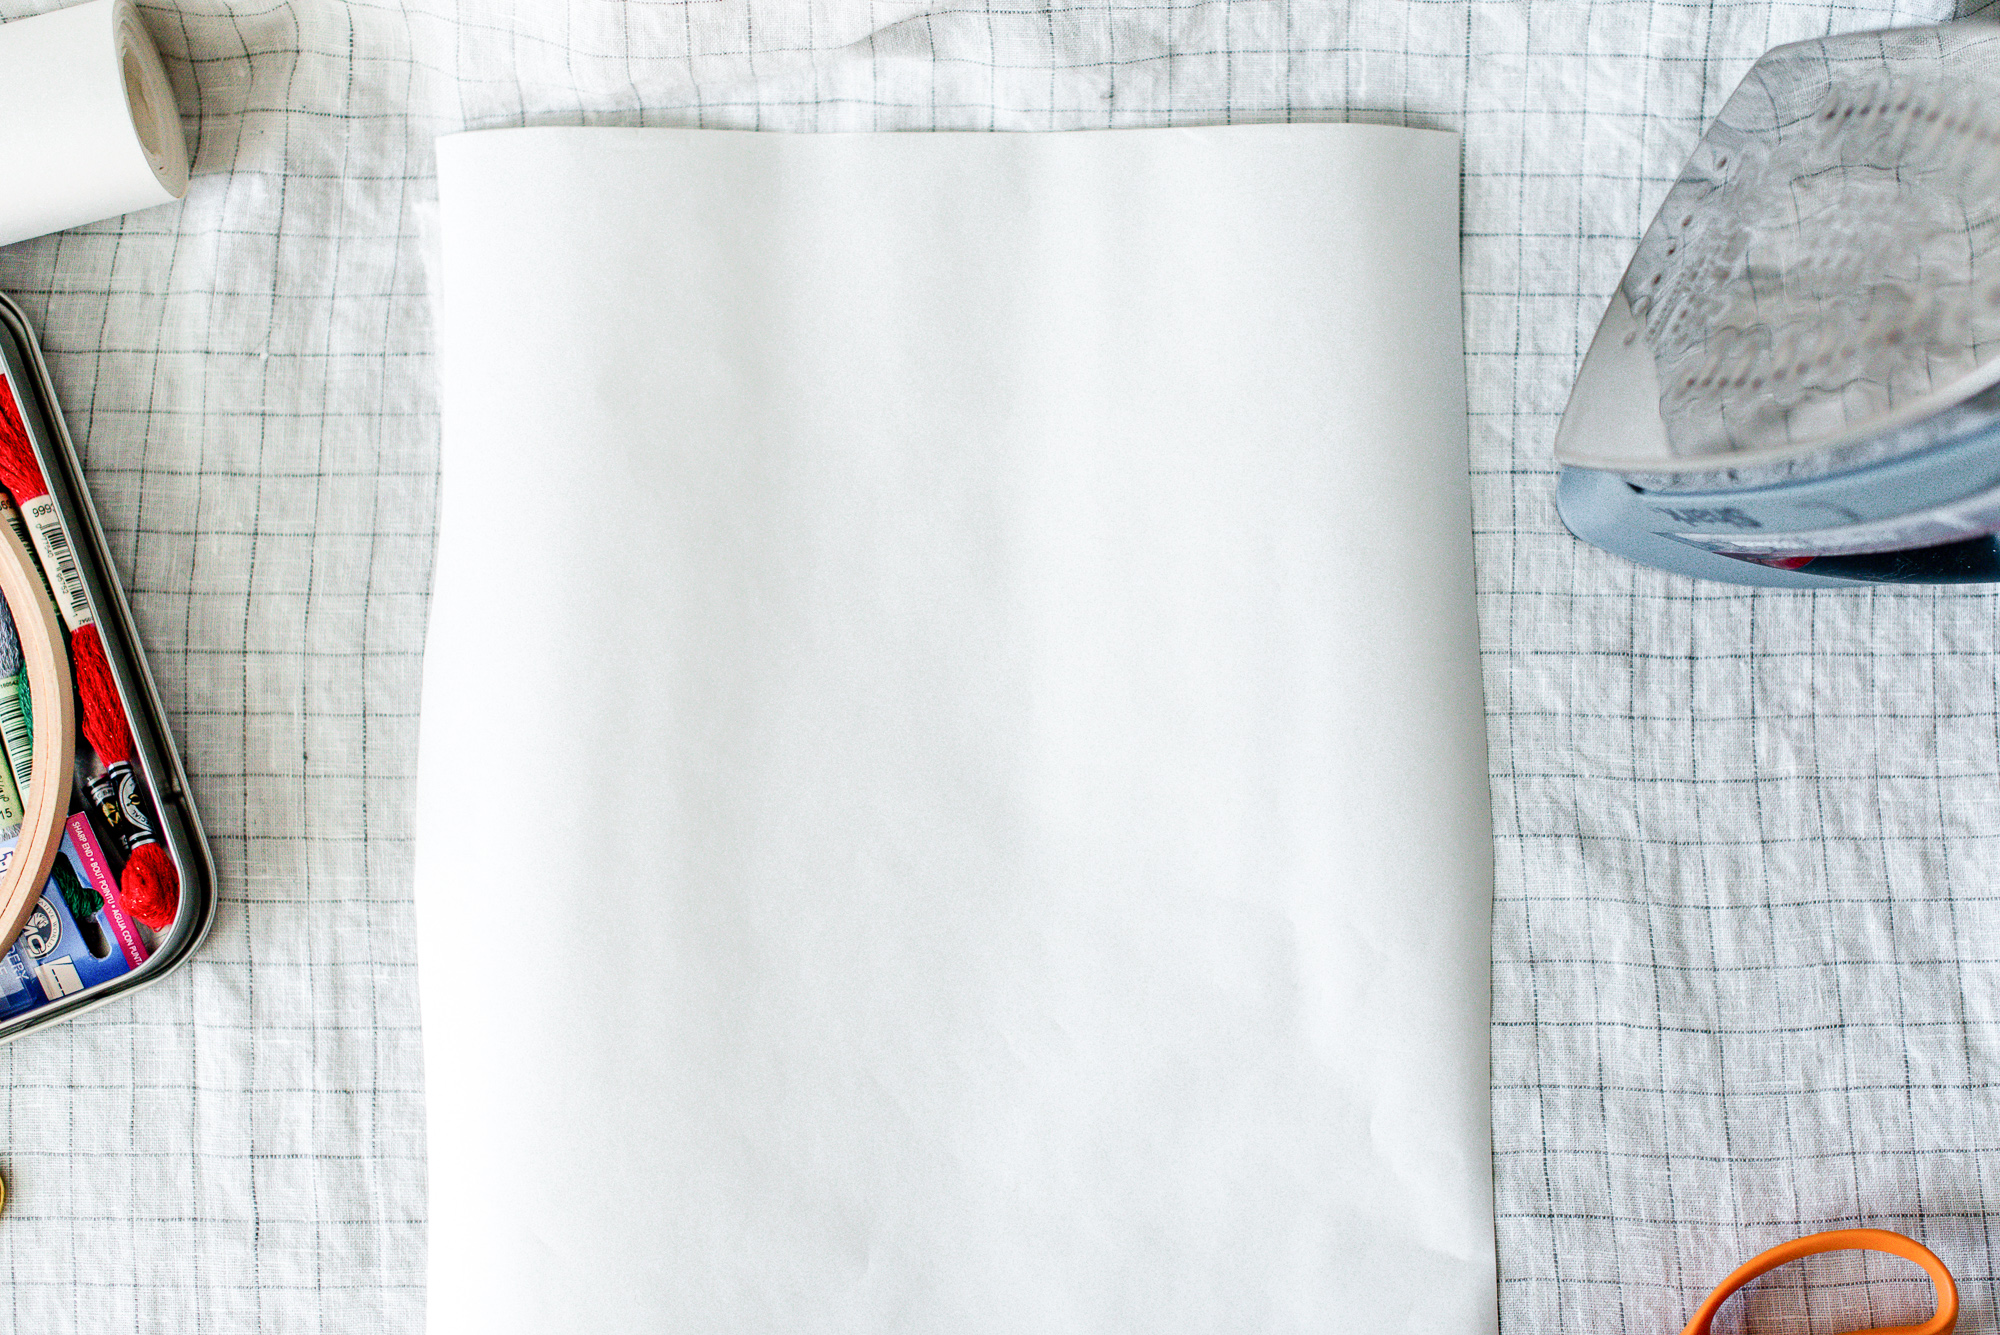
2. Using a piece of printer paper as your pattern, cut your bonded freezer paper/fabric to the same dimensions, this should be 8.5×11 inches.
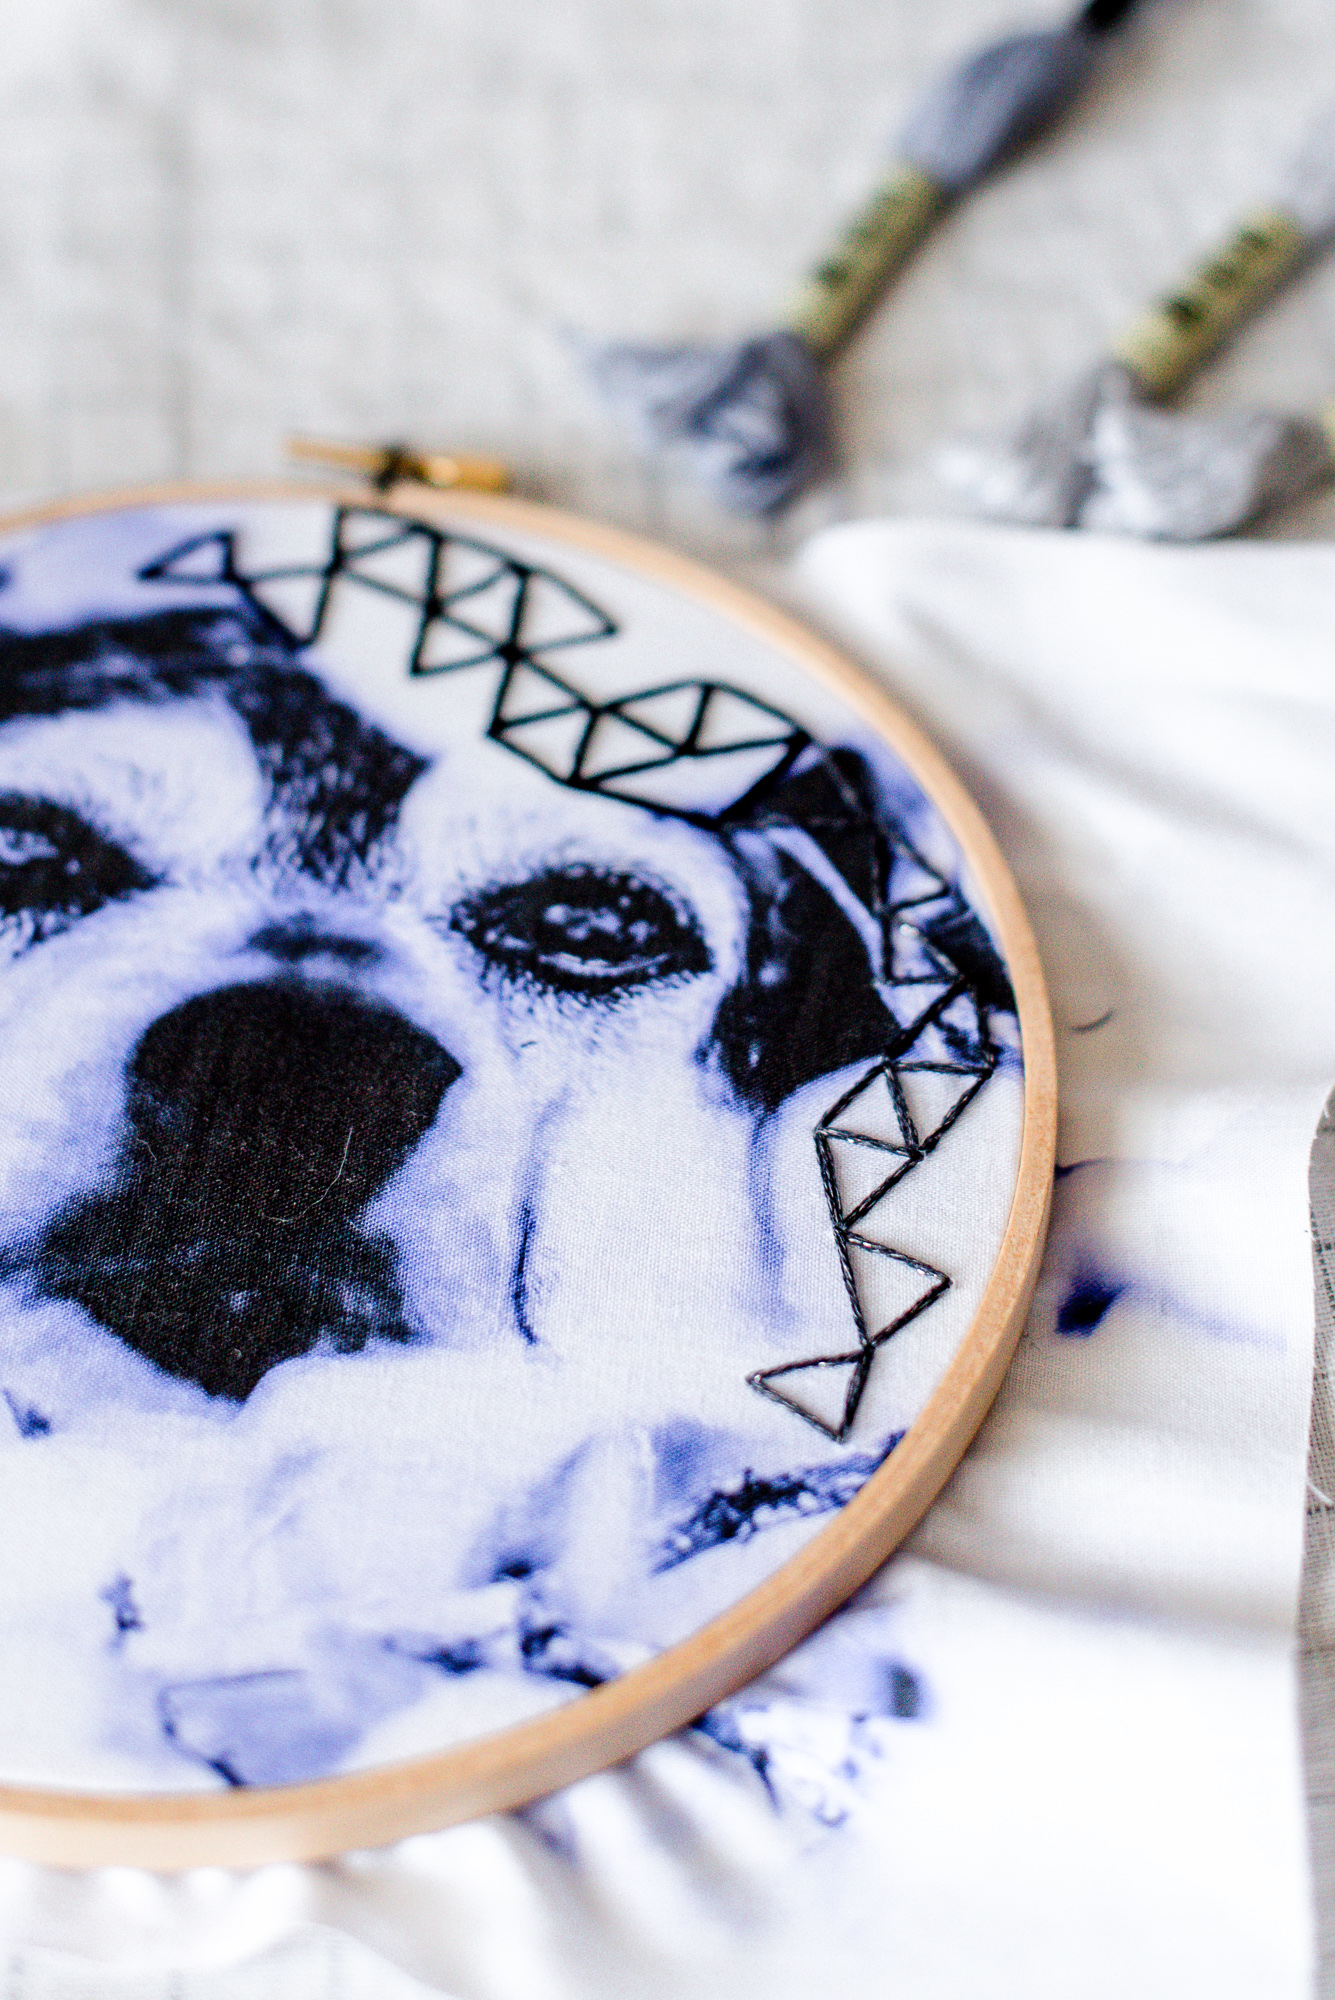
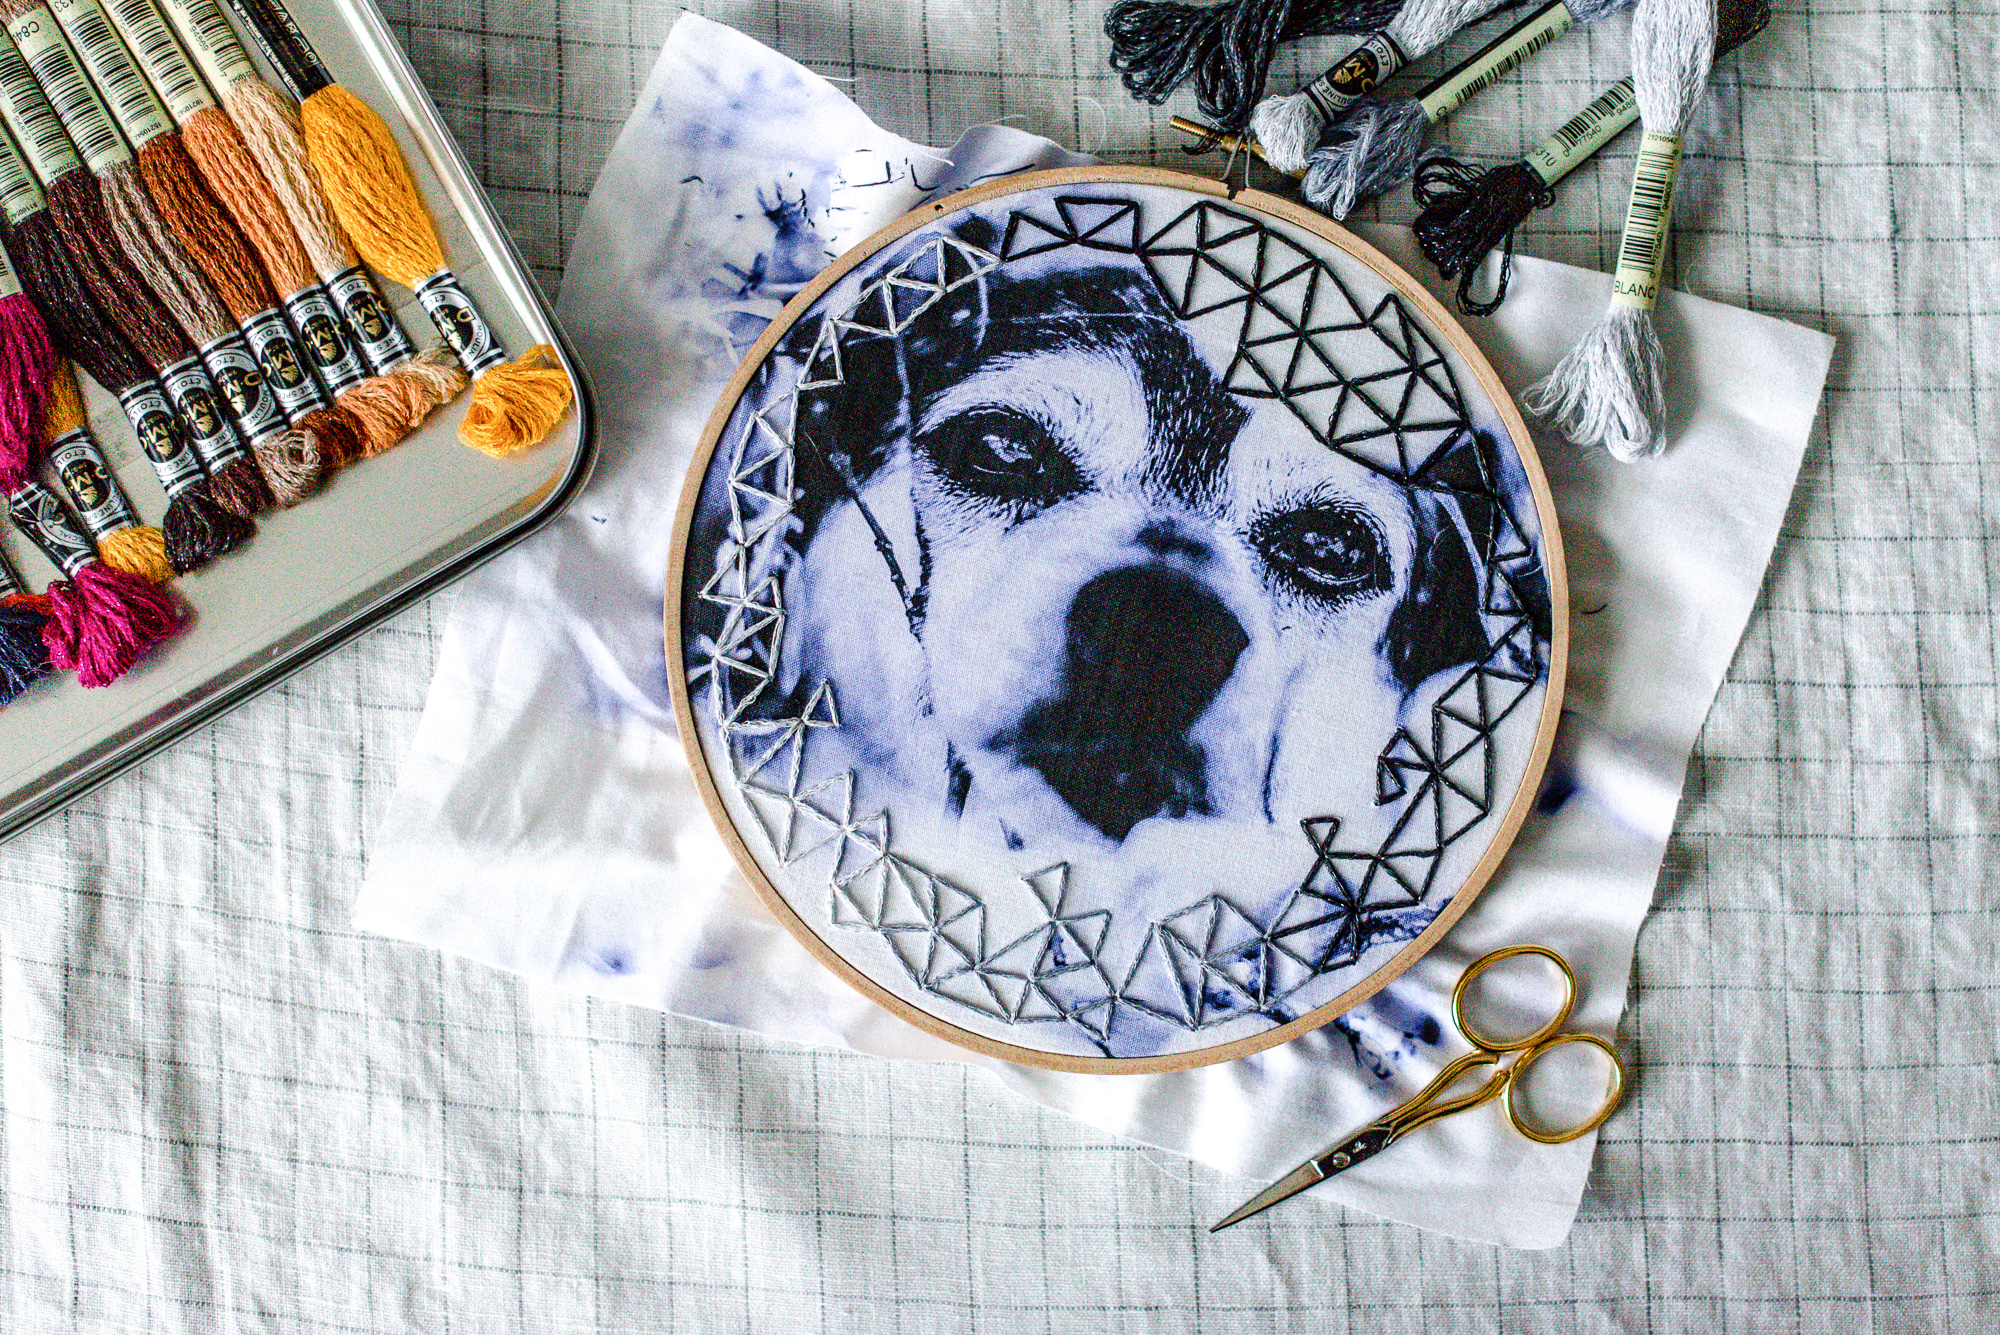
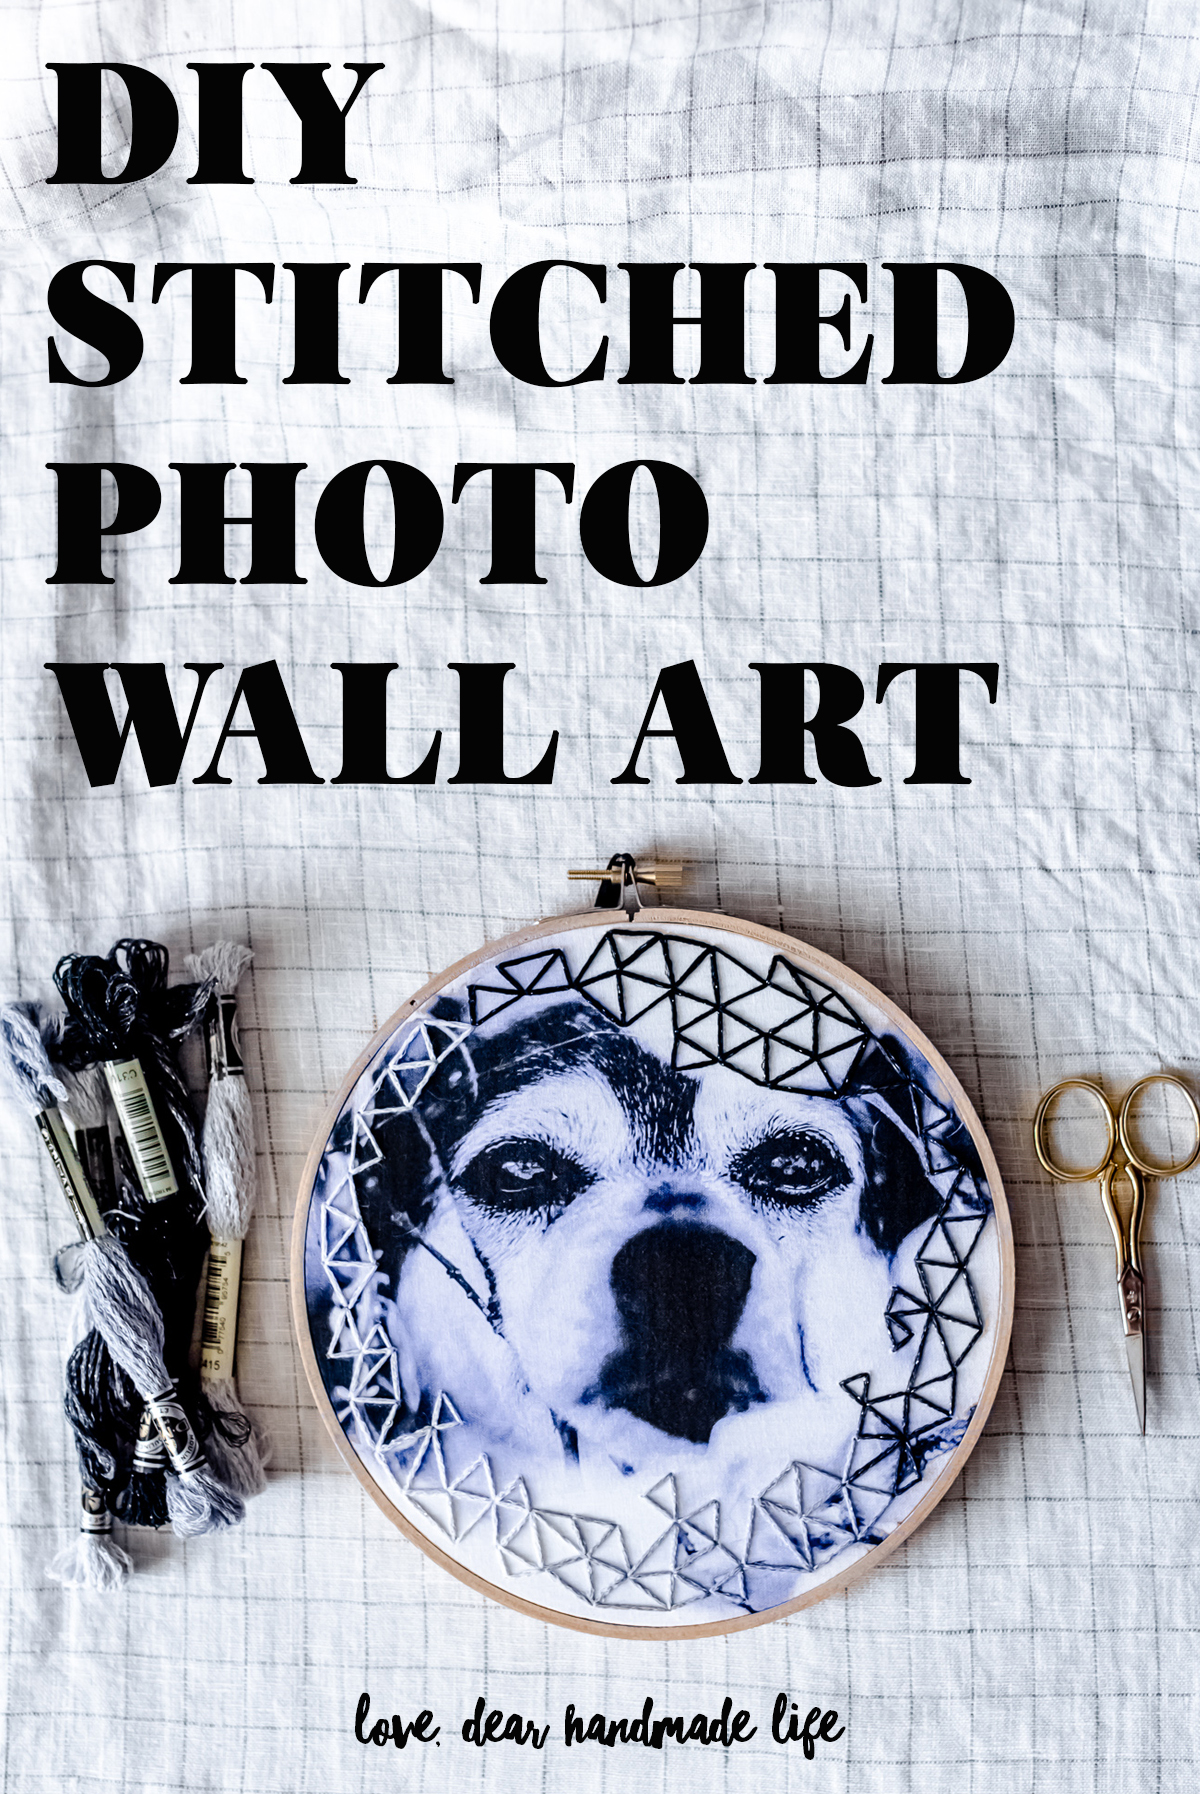
3. Not pictured: Cause really, who wants to see a picture of a printer? My printer, an Epson XP-7100, has a feed in the back (I think most do nowadays?) which made this process much easier! So unfortunately I can’t speak for other style printers, you would just have to try it out for yourself. I chose a photo I had taken of my friends beloved pup, chose the size I wanted and fed the paper so that the fabric was the side that it would print on (for my printer this meant fabric side up, for yours it could be different. Make sure you know which side your printer prints on before your final product) I printed mine in black and white & it came out with a lot of purple in it, I actually liked the way it looked so I kept it, but keep in mind that since we are ultimately printing onto fabric that the color you see on your screen may not be what you end up with.
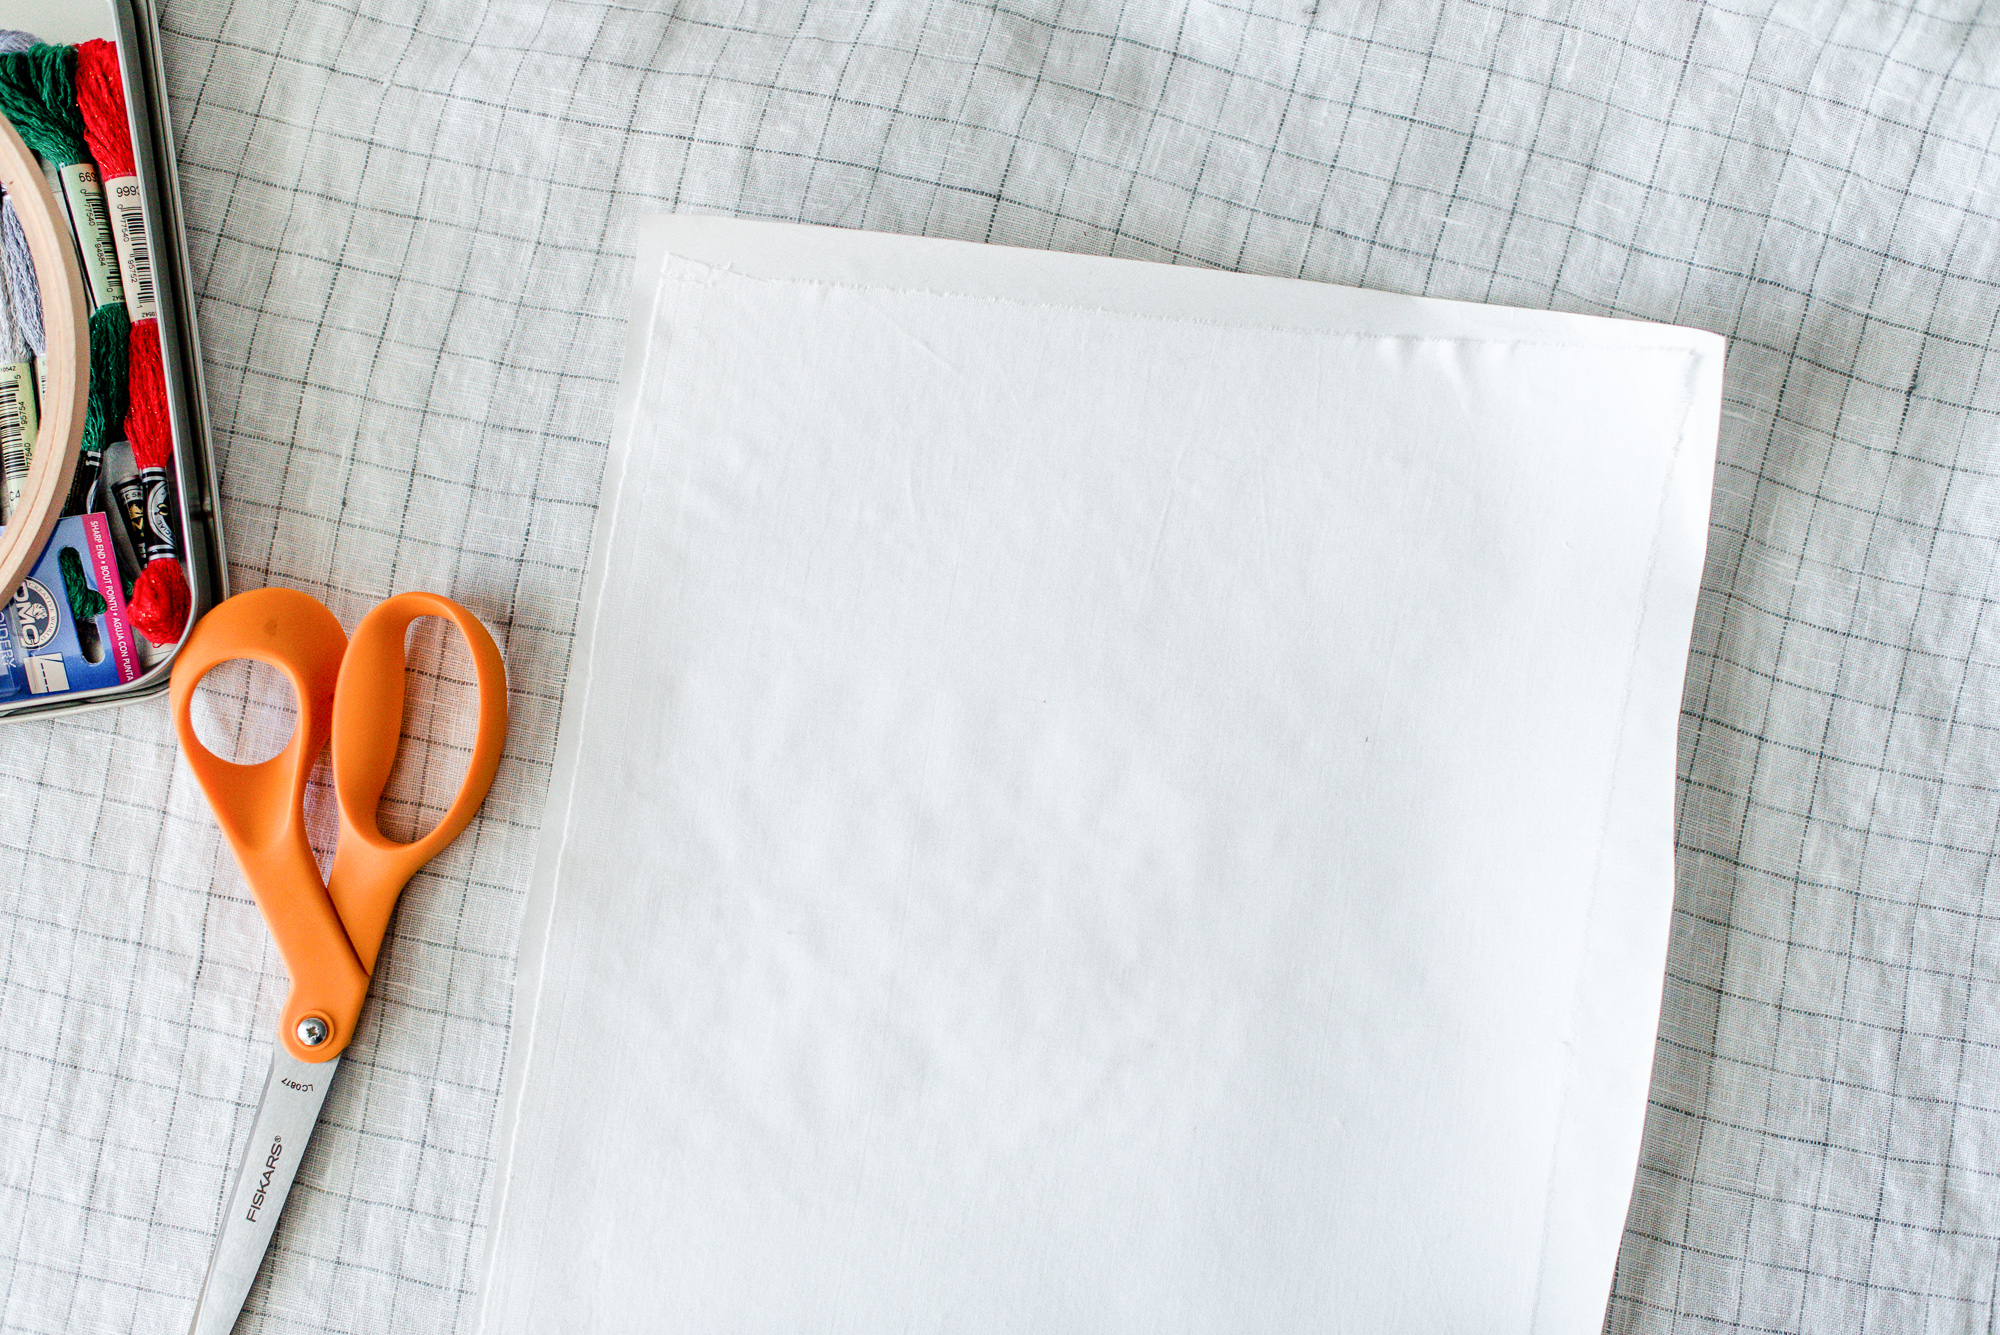
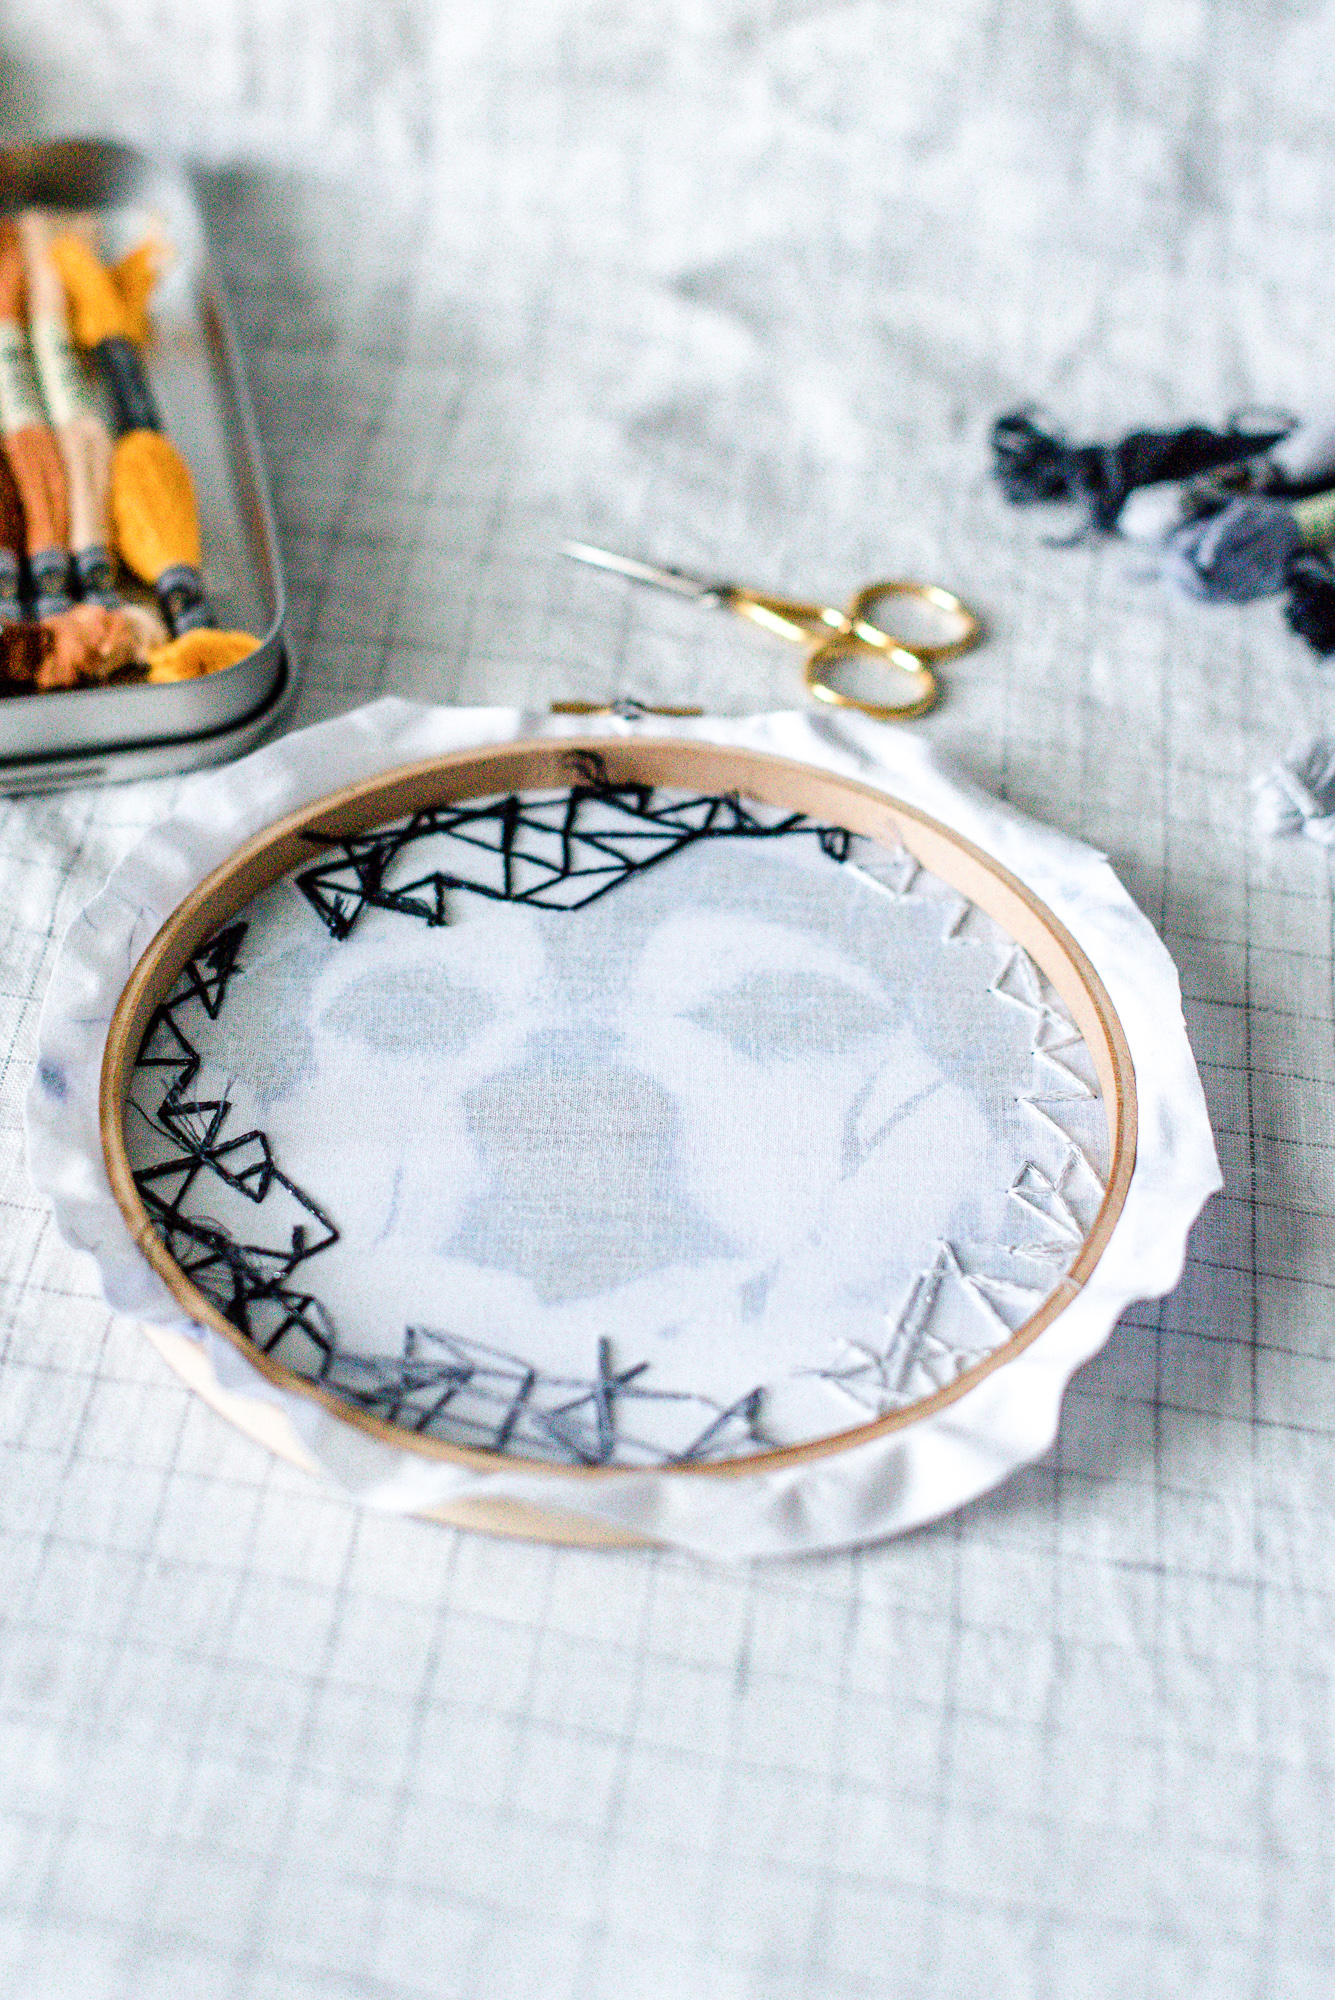
4. Let the fabric dry completely, this can take an hour or so or more, you want to give the ink time to dry so you aren’t smearing it or rubbing it off on anything else. Once it’s dry peel the freezer paper away from the fabric. I then heat-set the ink by ironing over the fabric and image a few times.

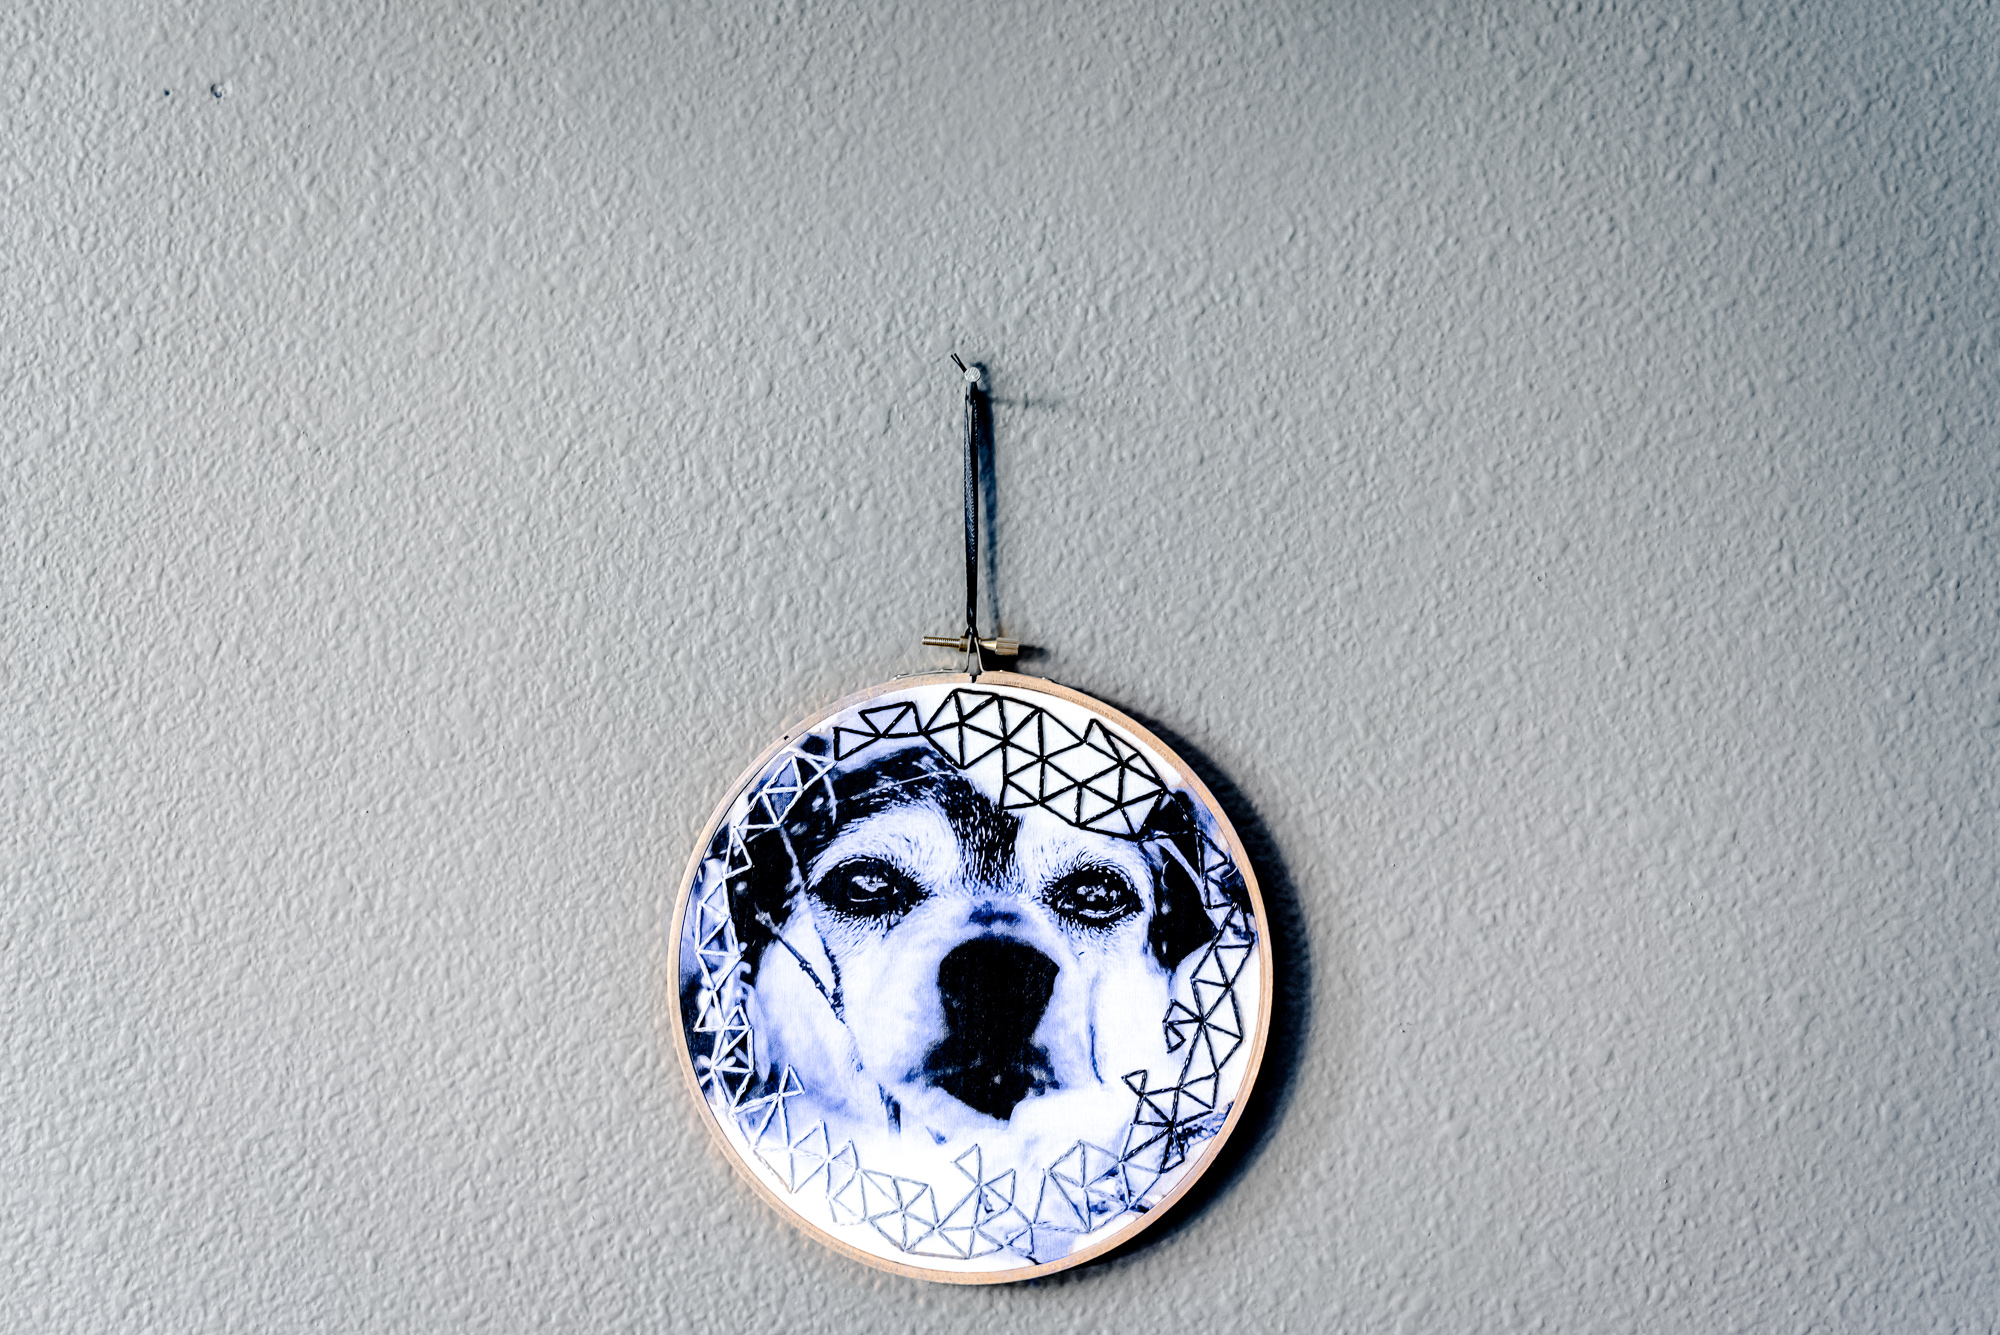
5. Load your fabric into your embroidery hoop, choose your colors, thread your needle & get to work! For this project I chose to stitch a random geometric design with no pattern. I stitched as I went, making little triangles & then branching off from there. The possibilities are really endless for what you can do with it though! You could add actual flourishes onto the image, words, a name, dates etc. For another one I stitched for a friend I simply added little cross stitches in random places, I wanted to keep these pieces simple, fun & modern!
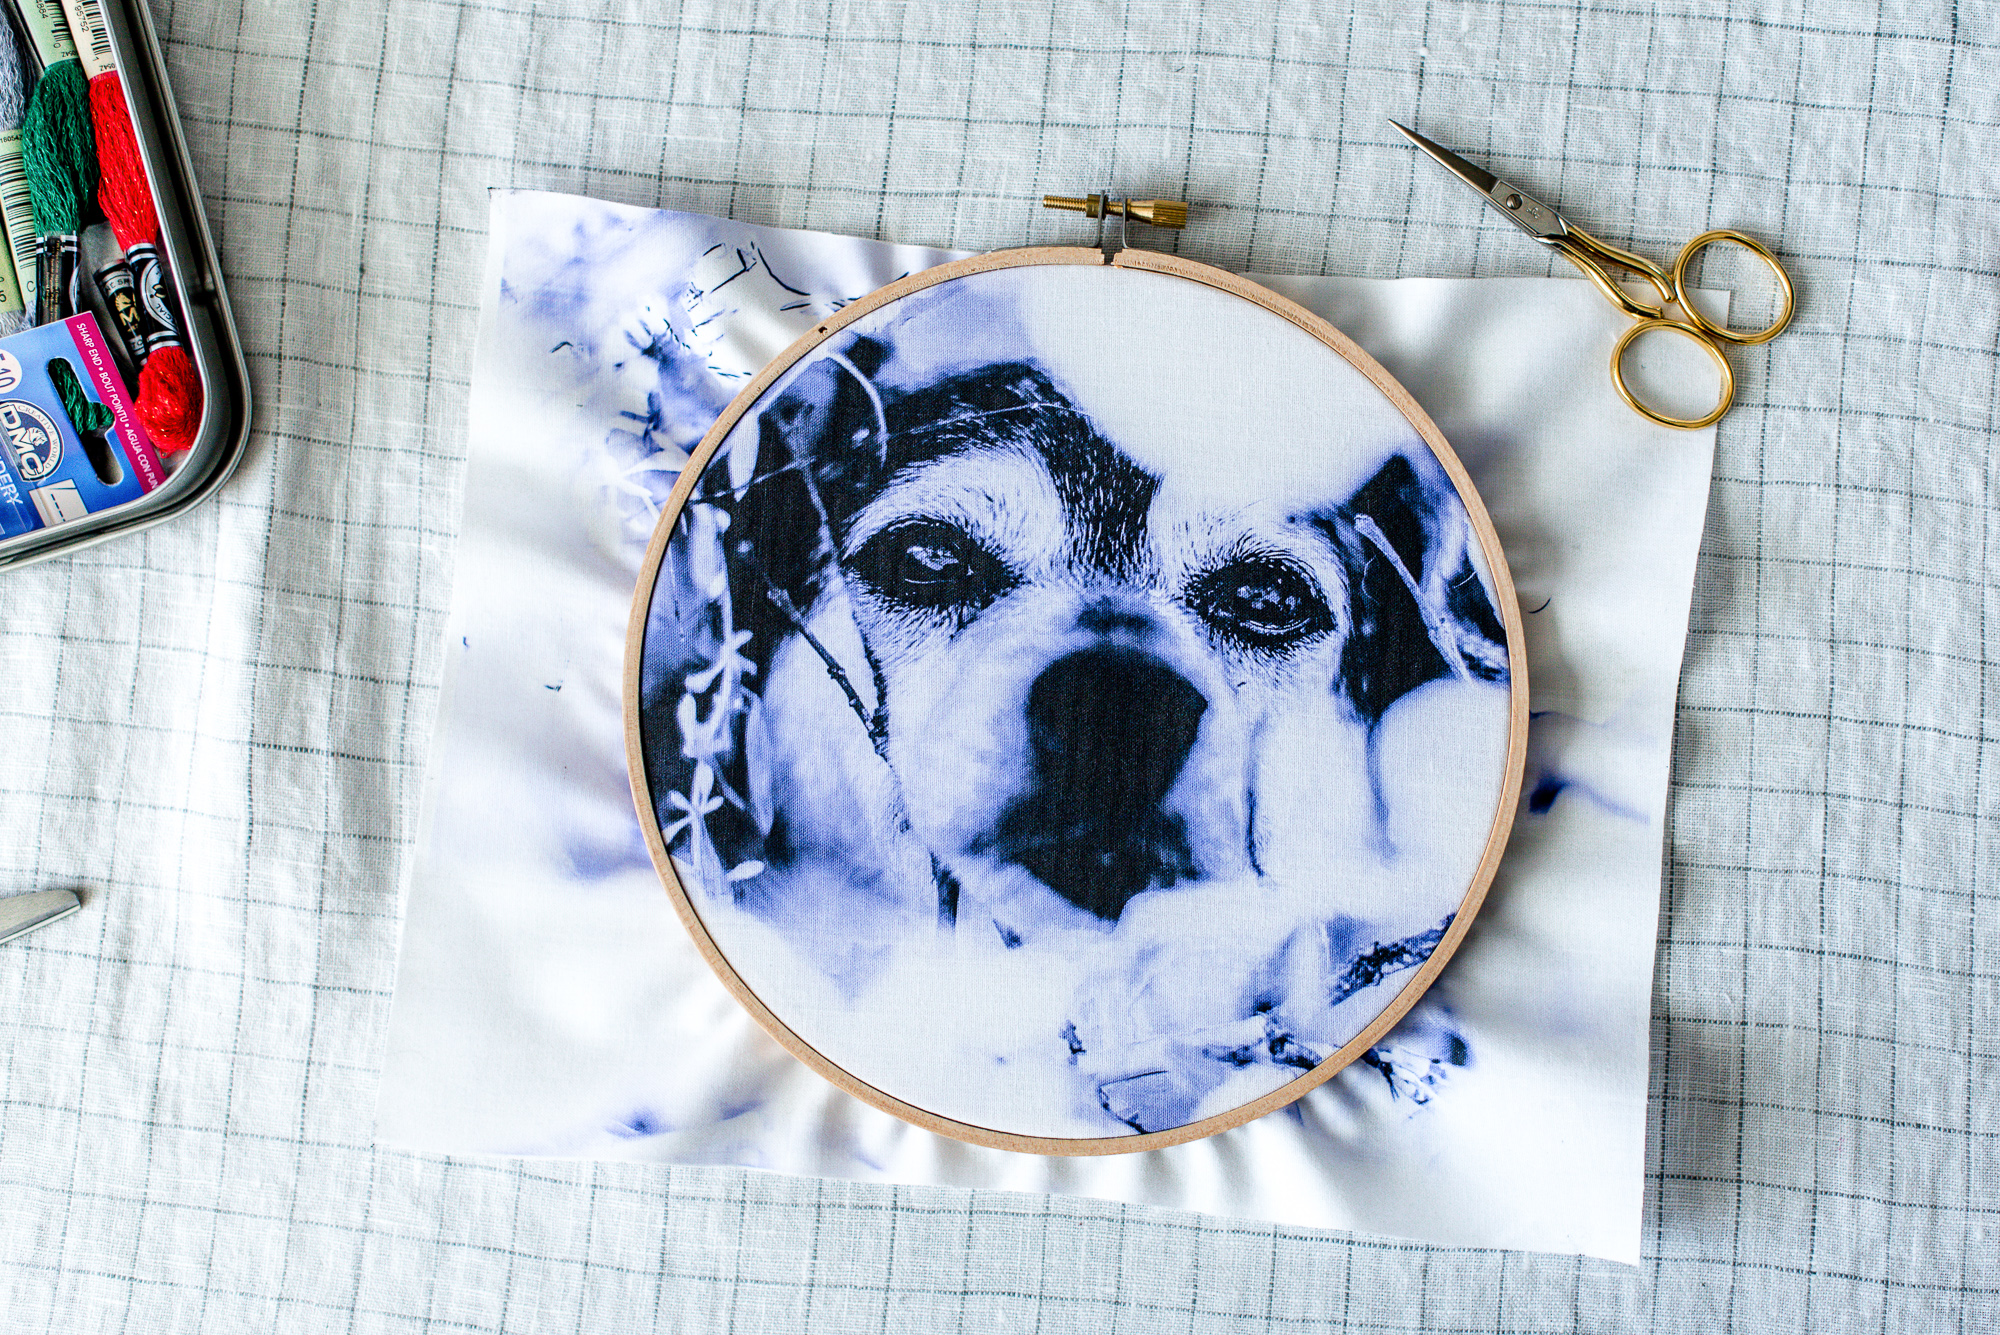


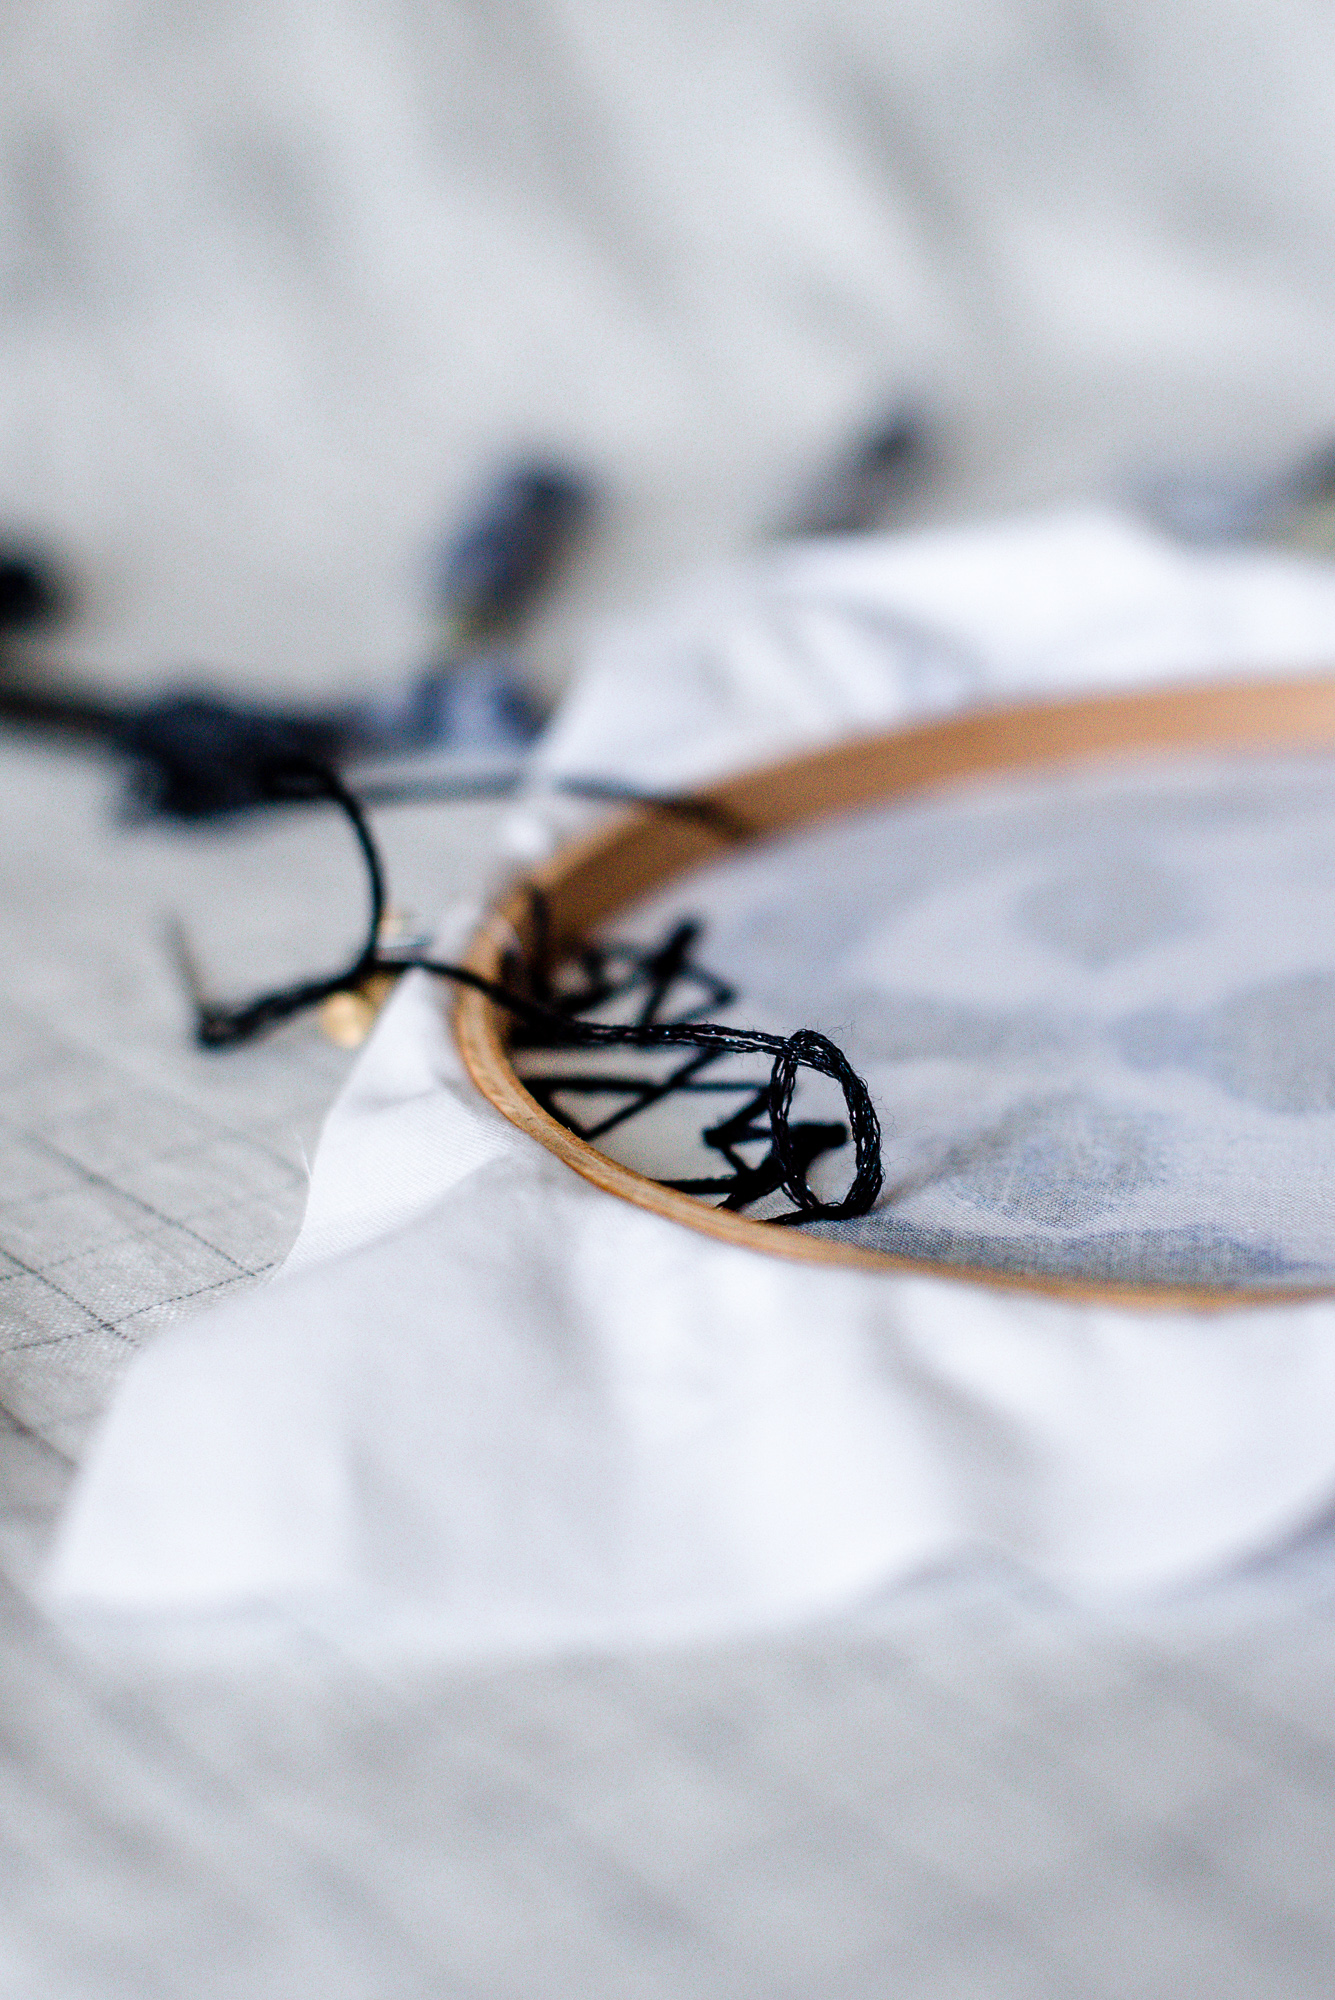
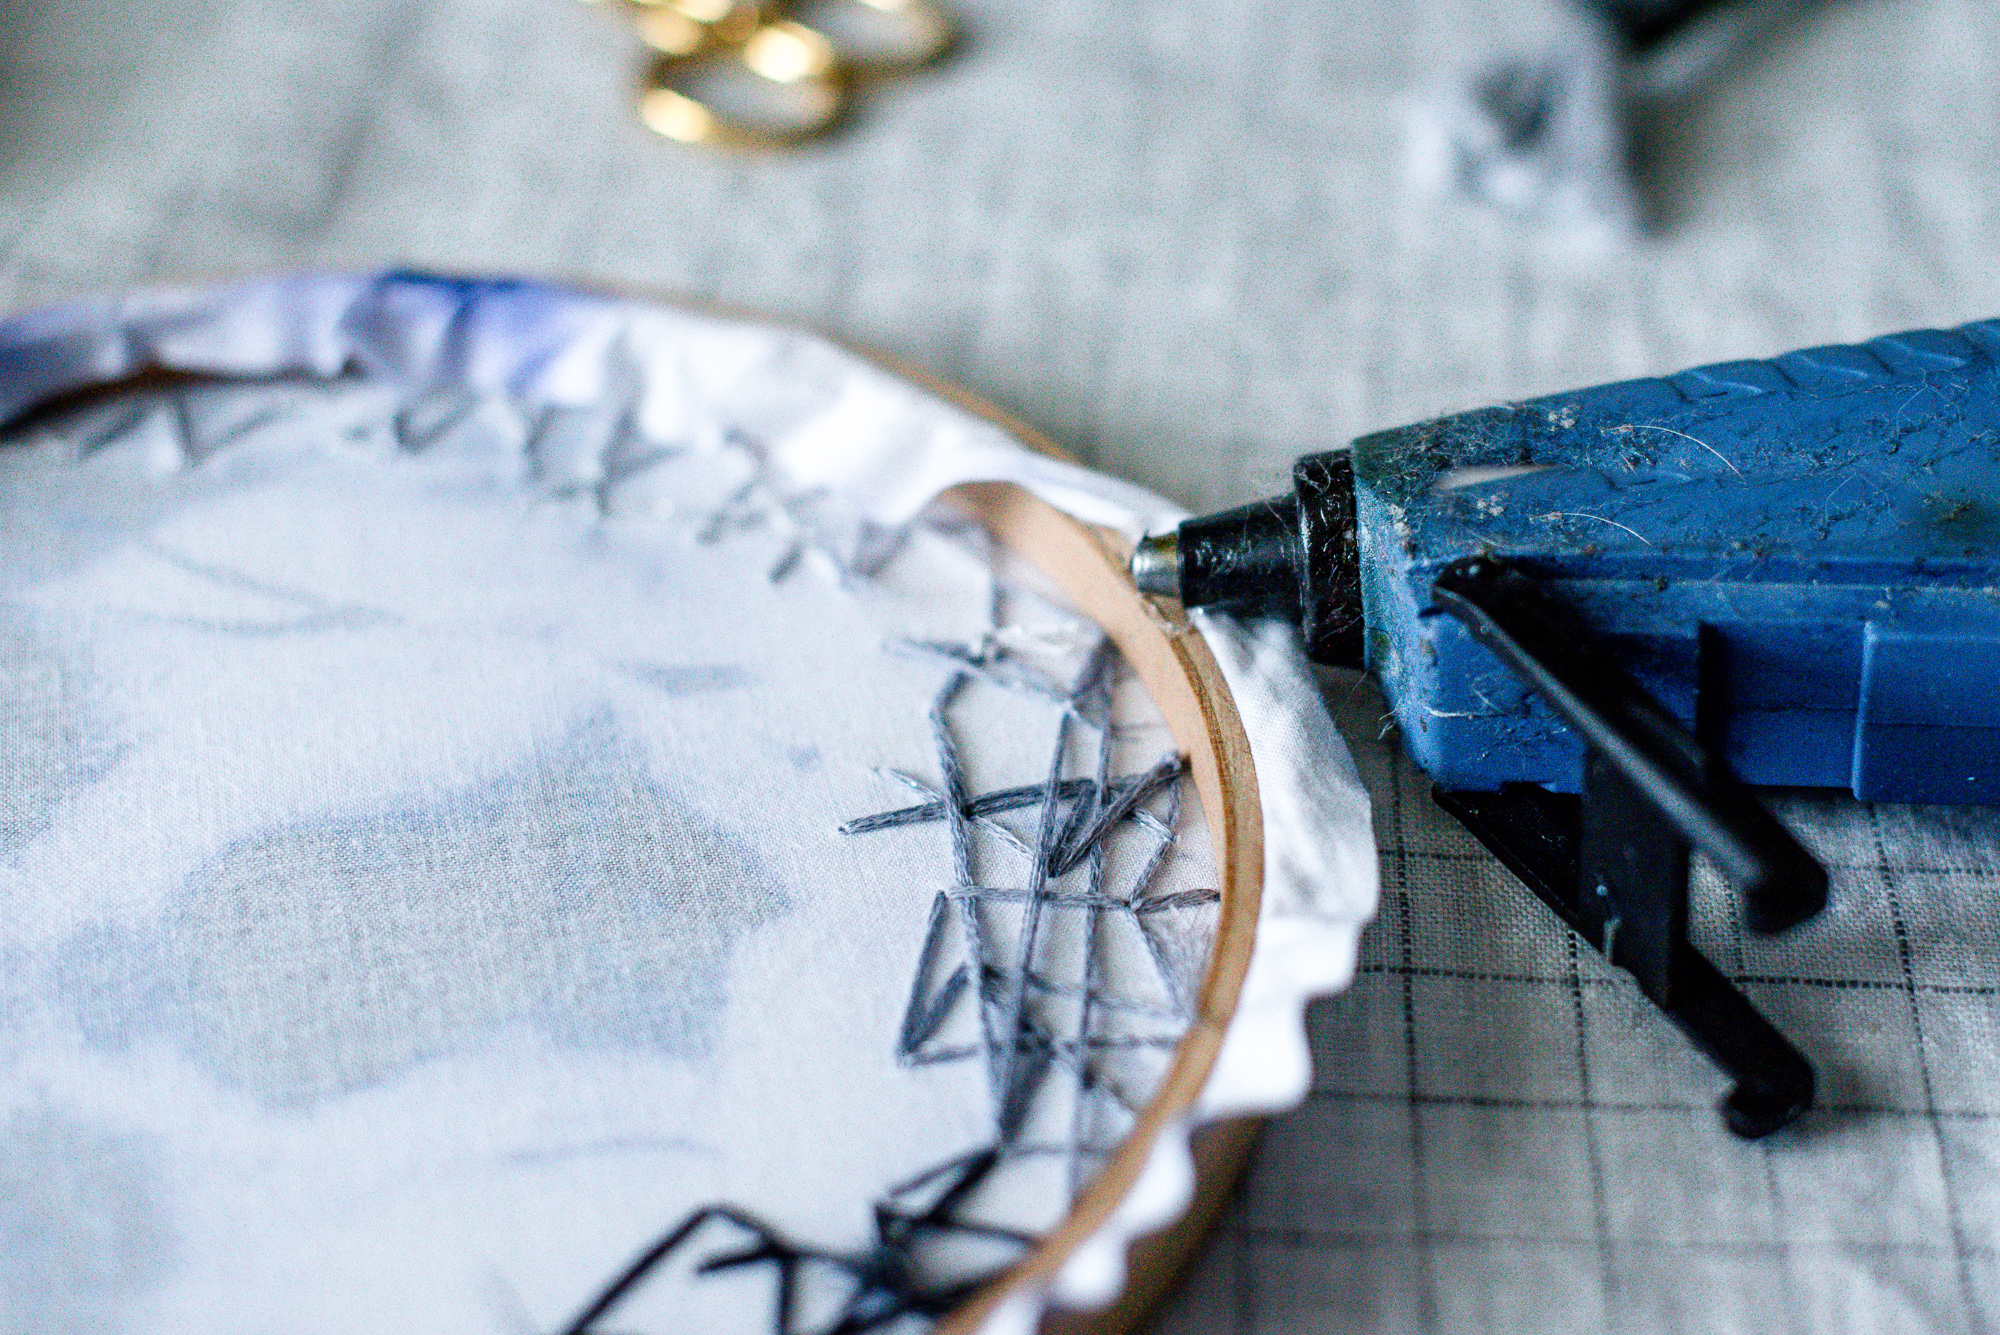
6. There are a few ways to finish your work in the back but my preferred method is to cut the excess fabric around the hoop & then hot glue it down in the back. You could also do a whipstitch through the excess fabric in the back to close it up as well, and I’m sure there are a few other methods out there too 🙂
And you’re done! Now you have no excuse the next time you need a thoughtful gift in a time crunch. 😉
-Nik Vandeventer
ABOUT NIK VANDEVENTER:
Nik is a maker, day dreamer & potty mouth who loves cats, coffee and craft beer. She is a self taught hand embroider and will DIY pretty much anything she can get her hands on. She is currently pursuing her passion for photography, you can see her work here www.nikvphotography.com . She lives in Long Beach with her husband and her three awesome cats (that she can’t shut up about).


Your home’s wall is the actually the best canvas on which you can showcase your artistic talent. Loved the DIY wall art article. very useful and keep them coming. If you are in India/south asia, you can showcase your own handmade wall art at https://www.tinkersale.com/create-shop