
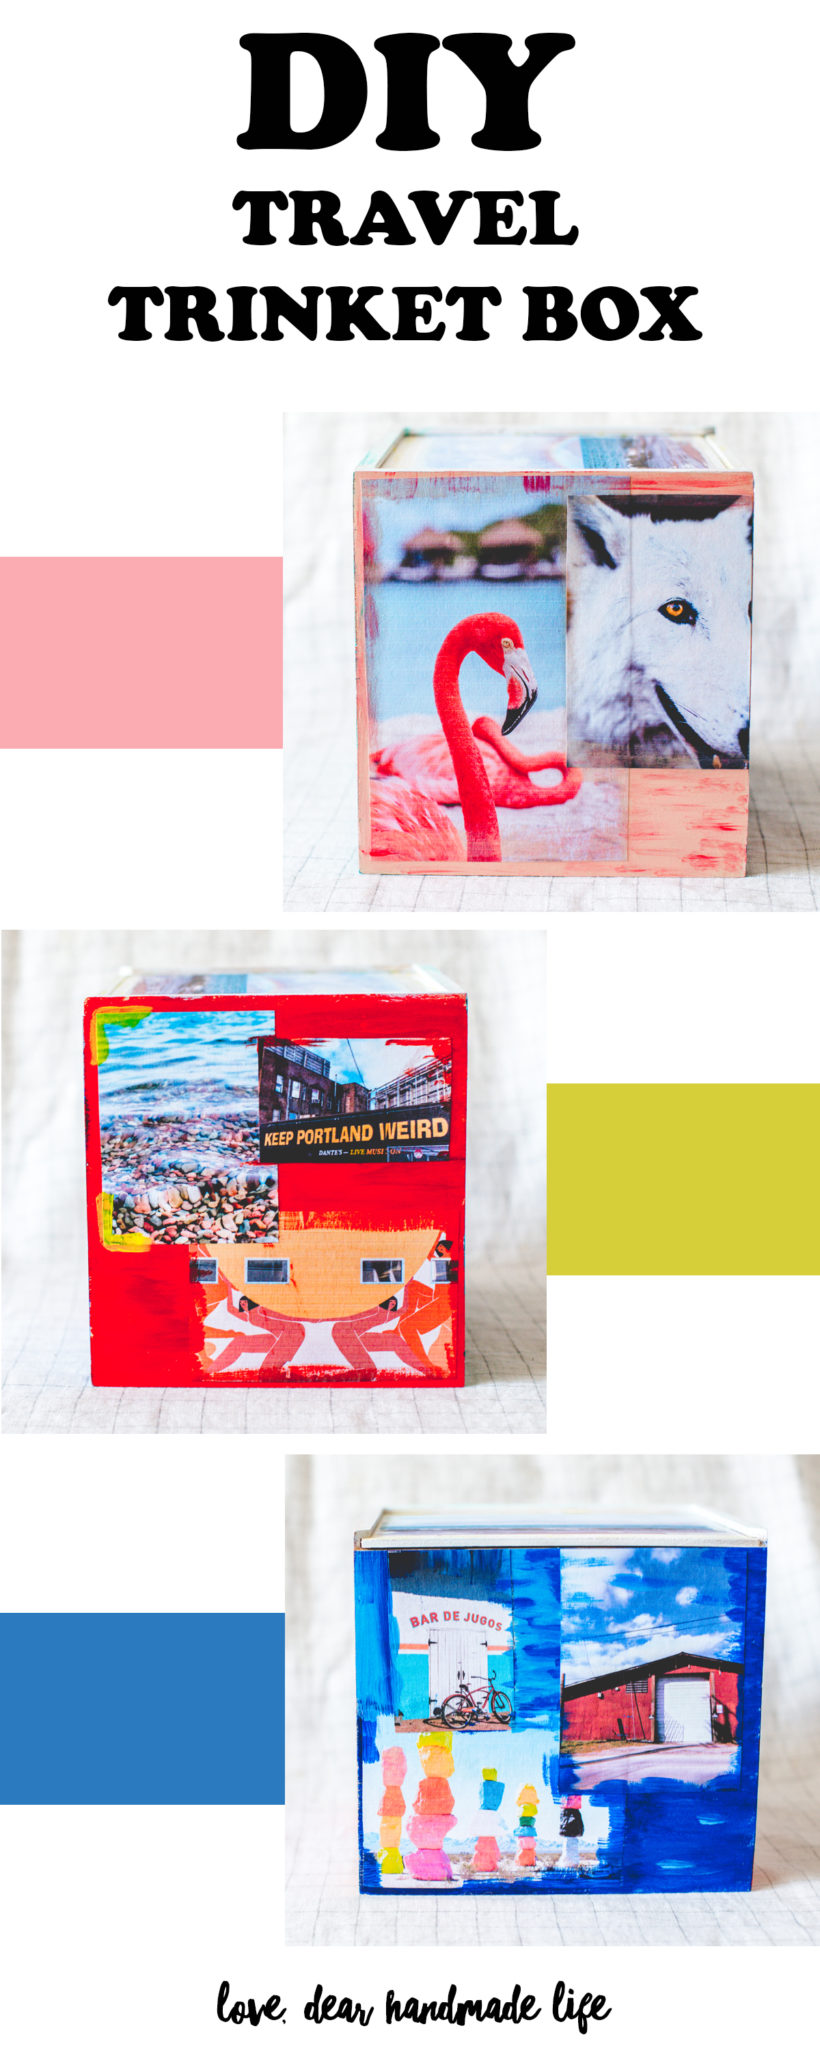
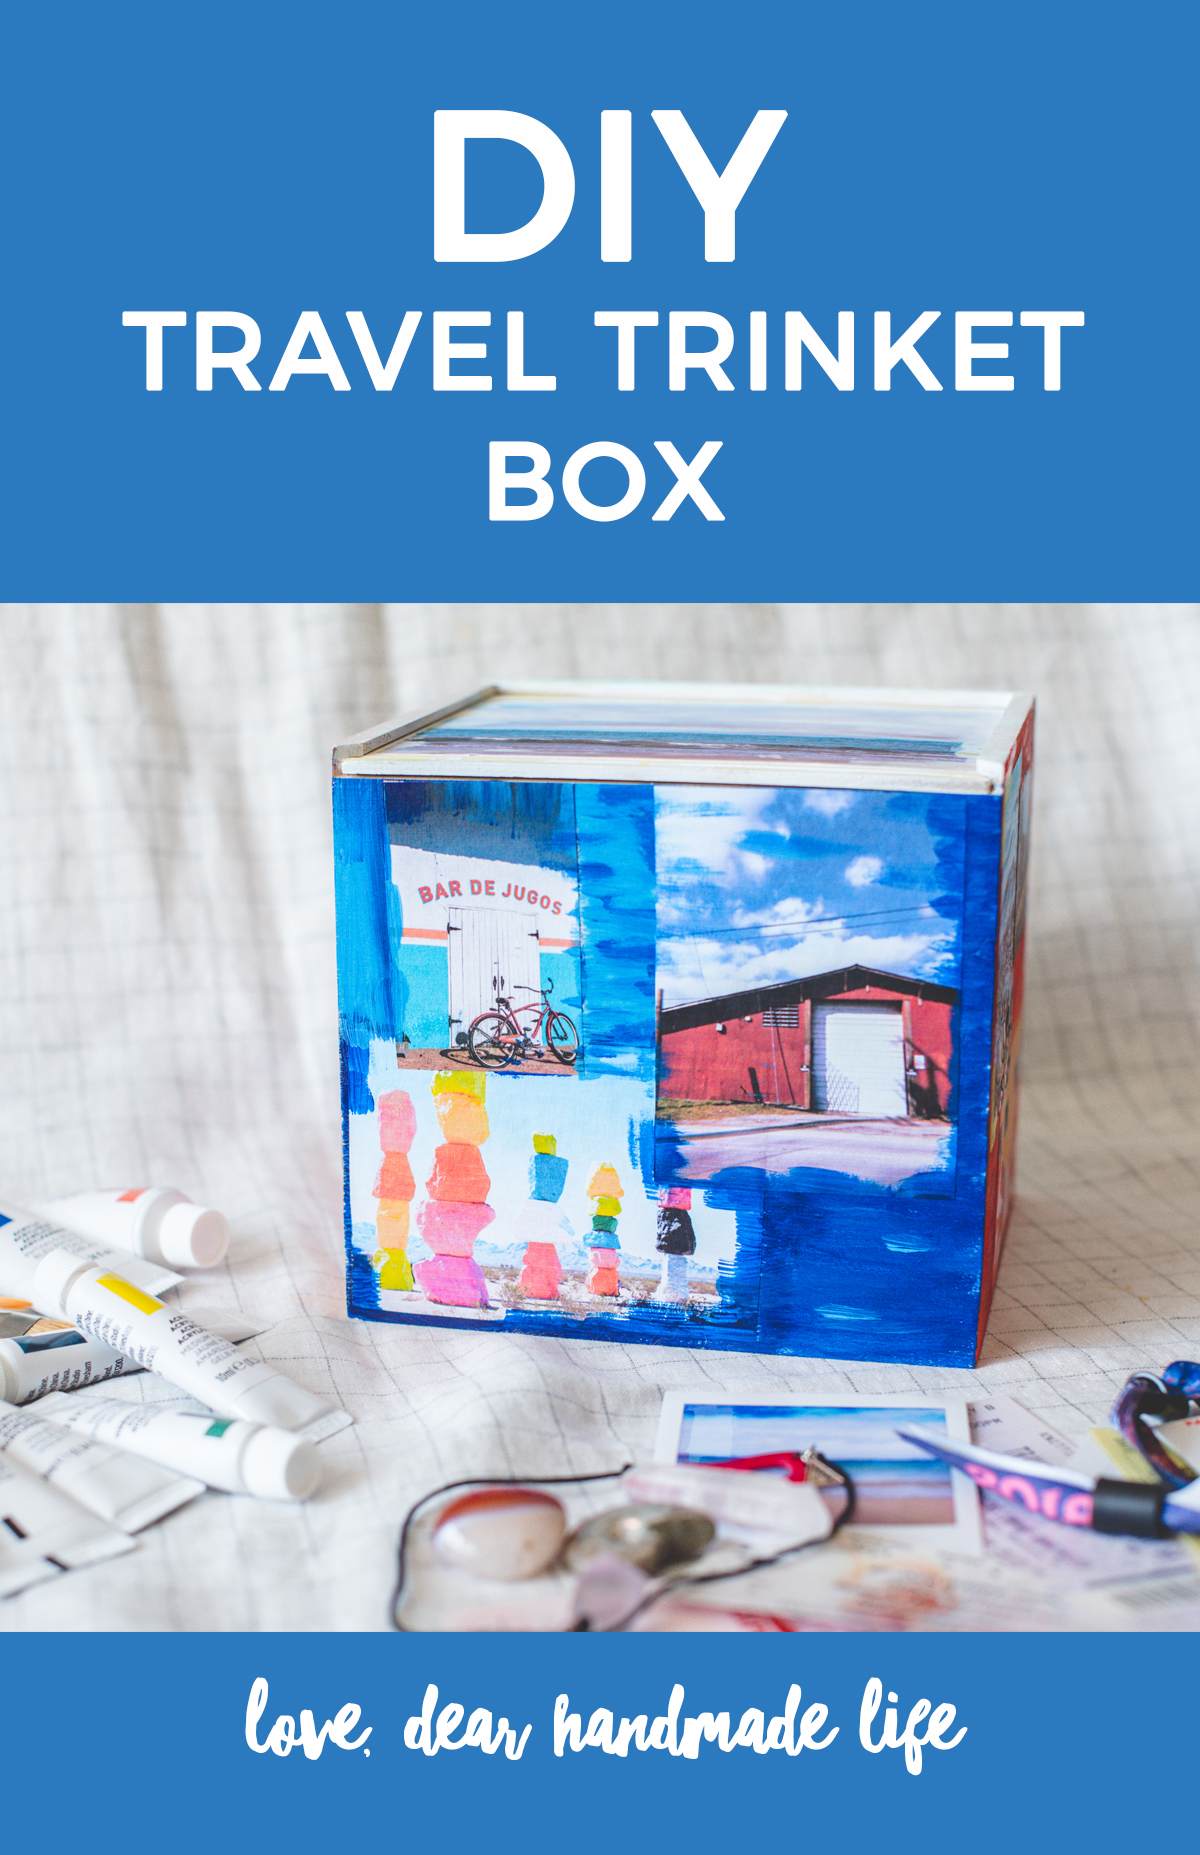
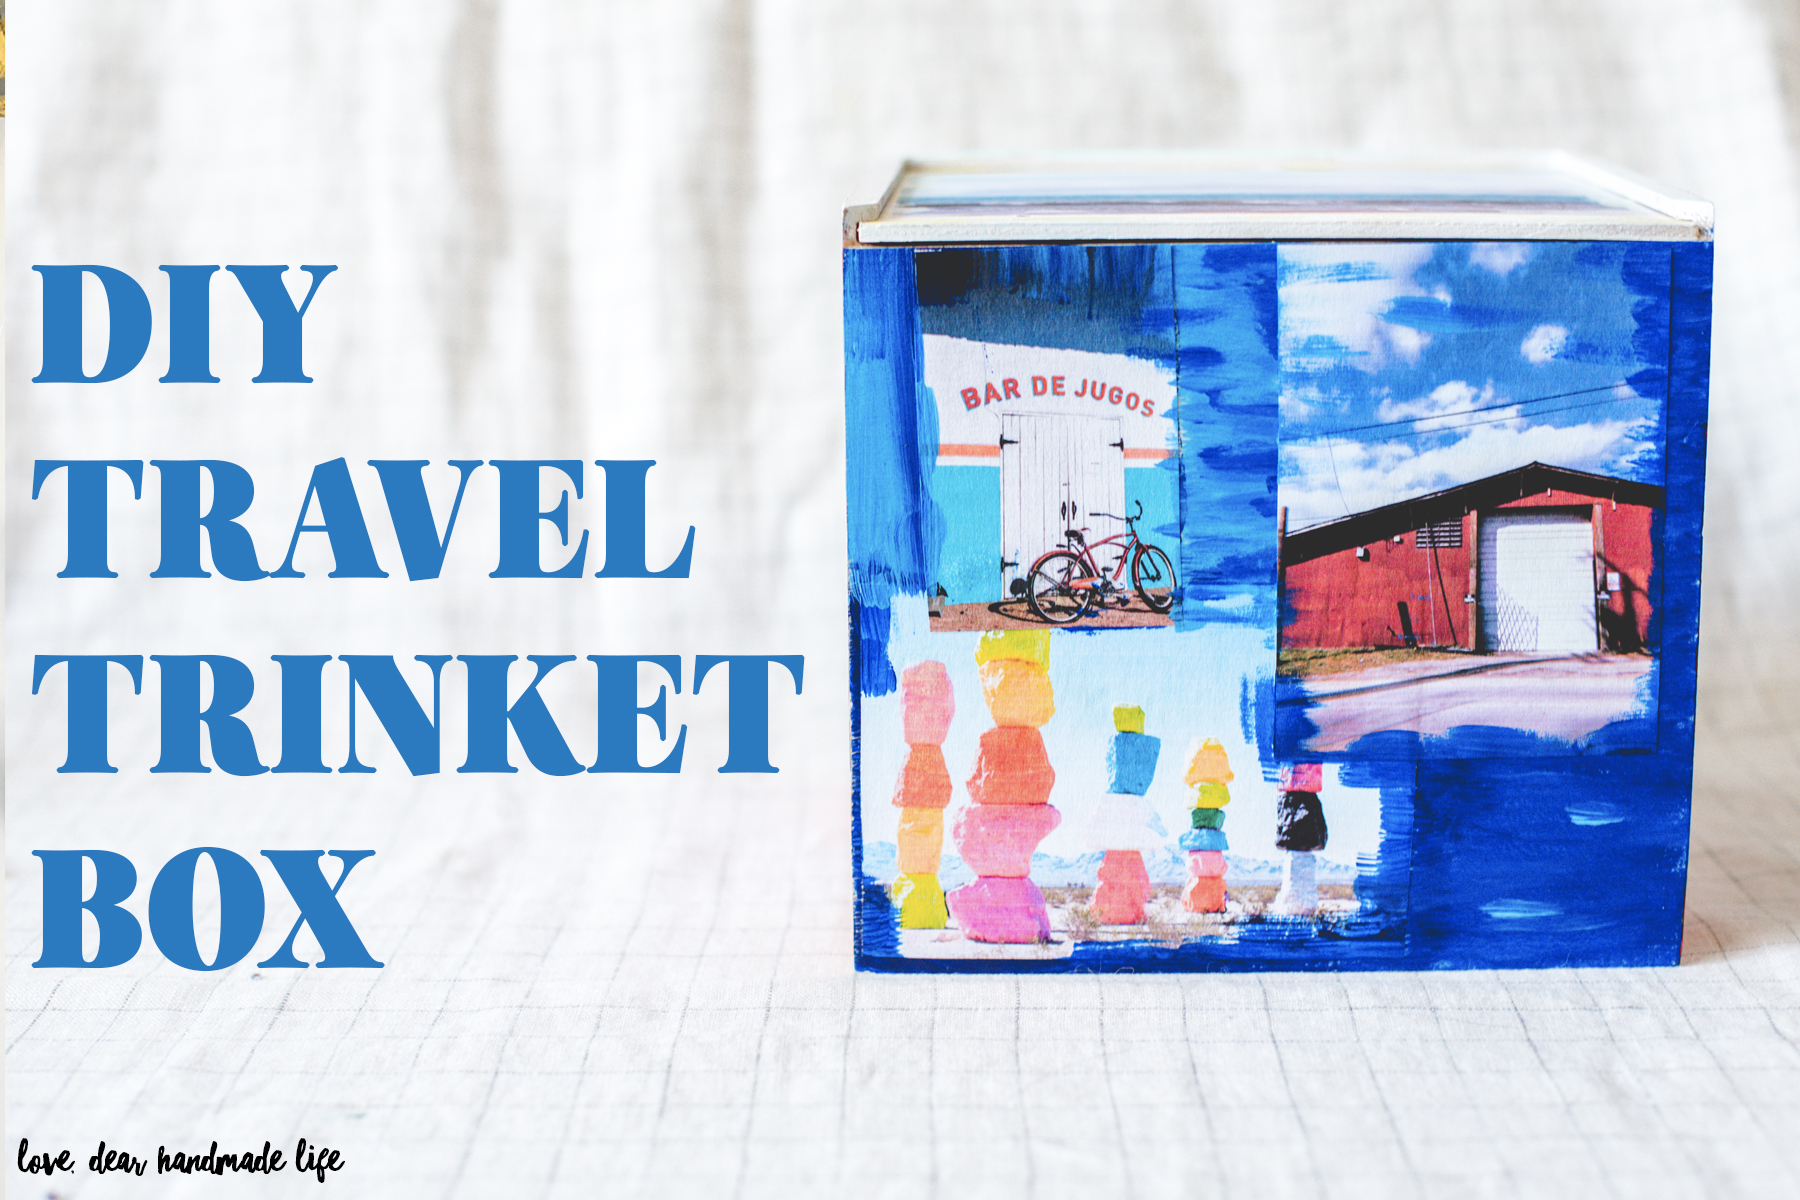
DIY Travel Trinket Box
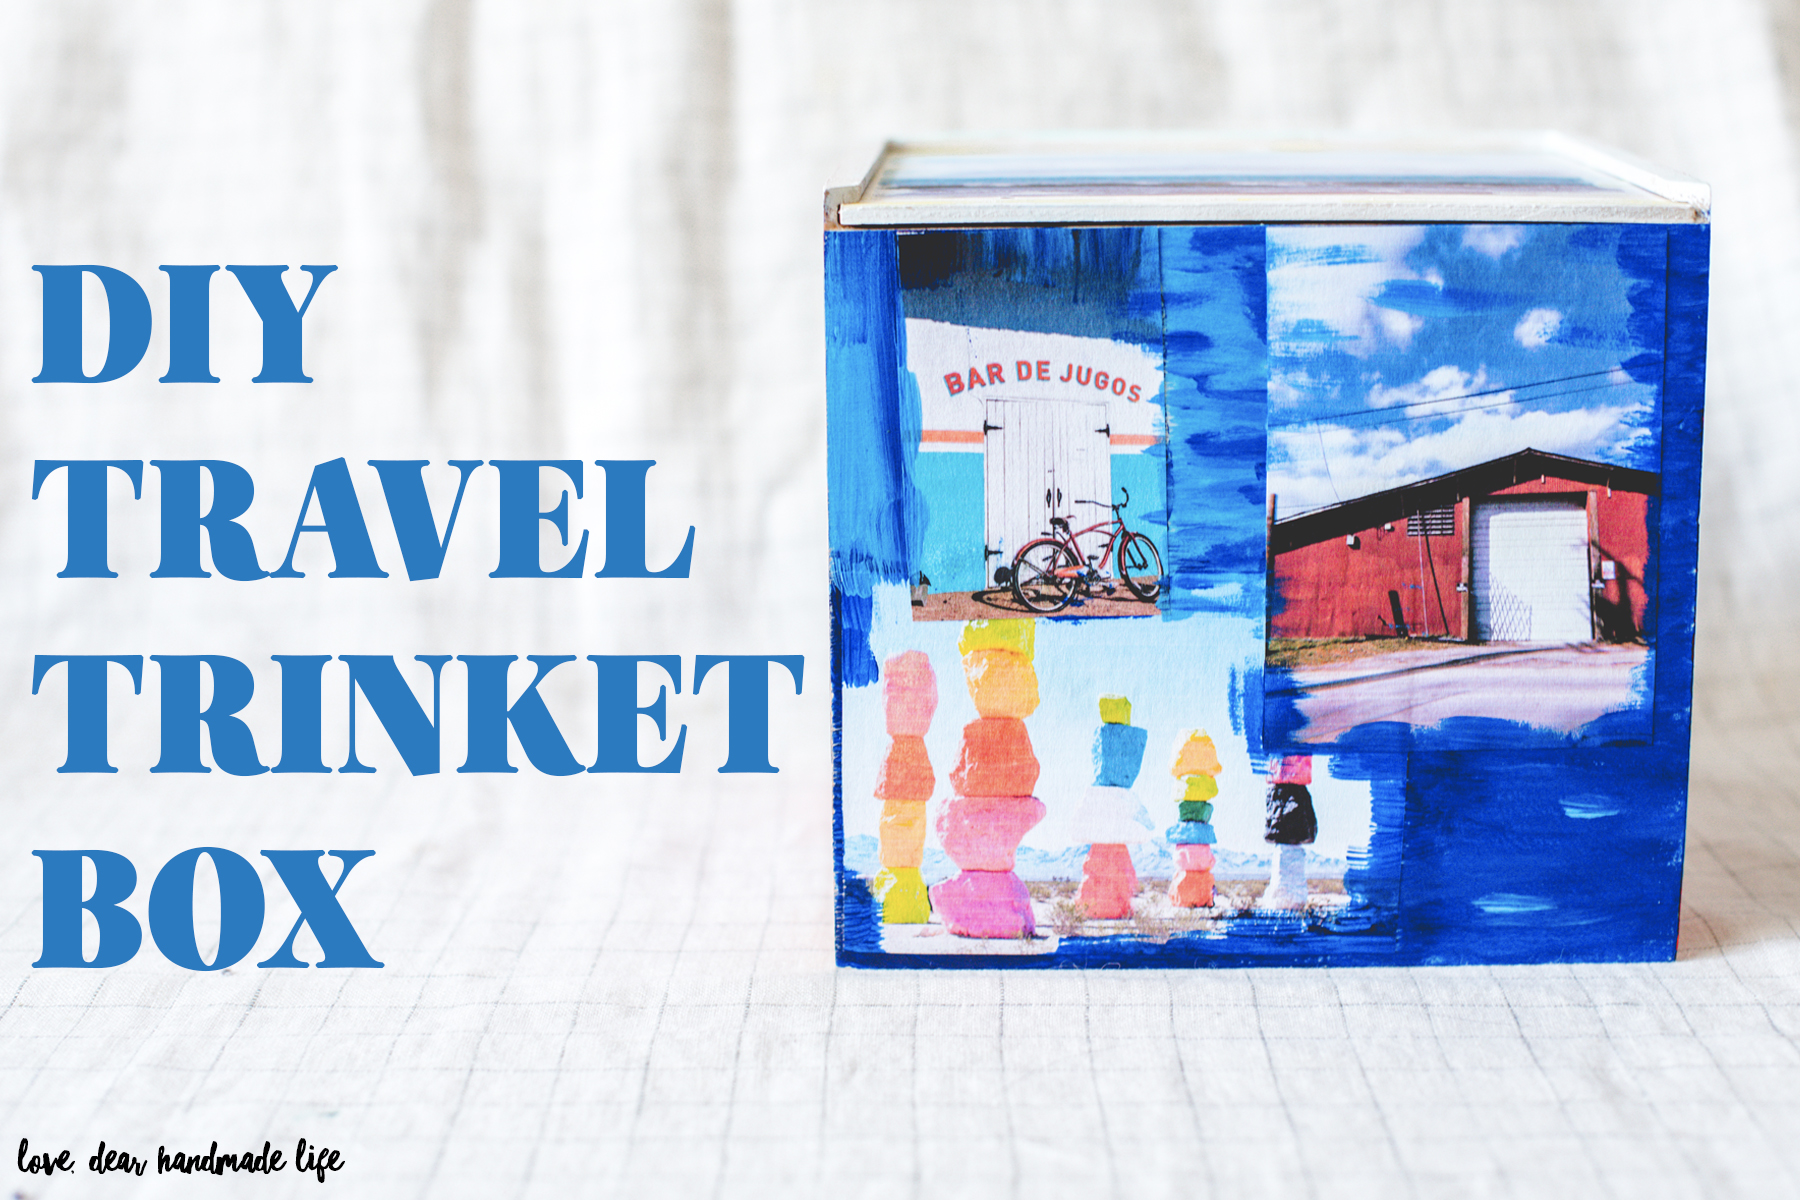
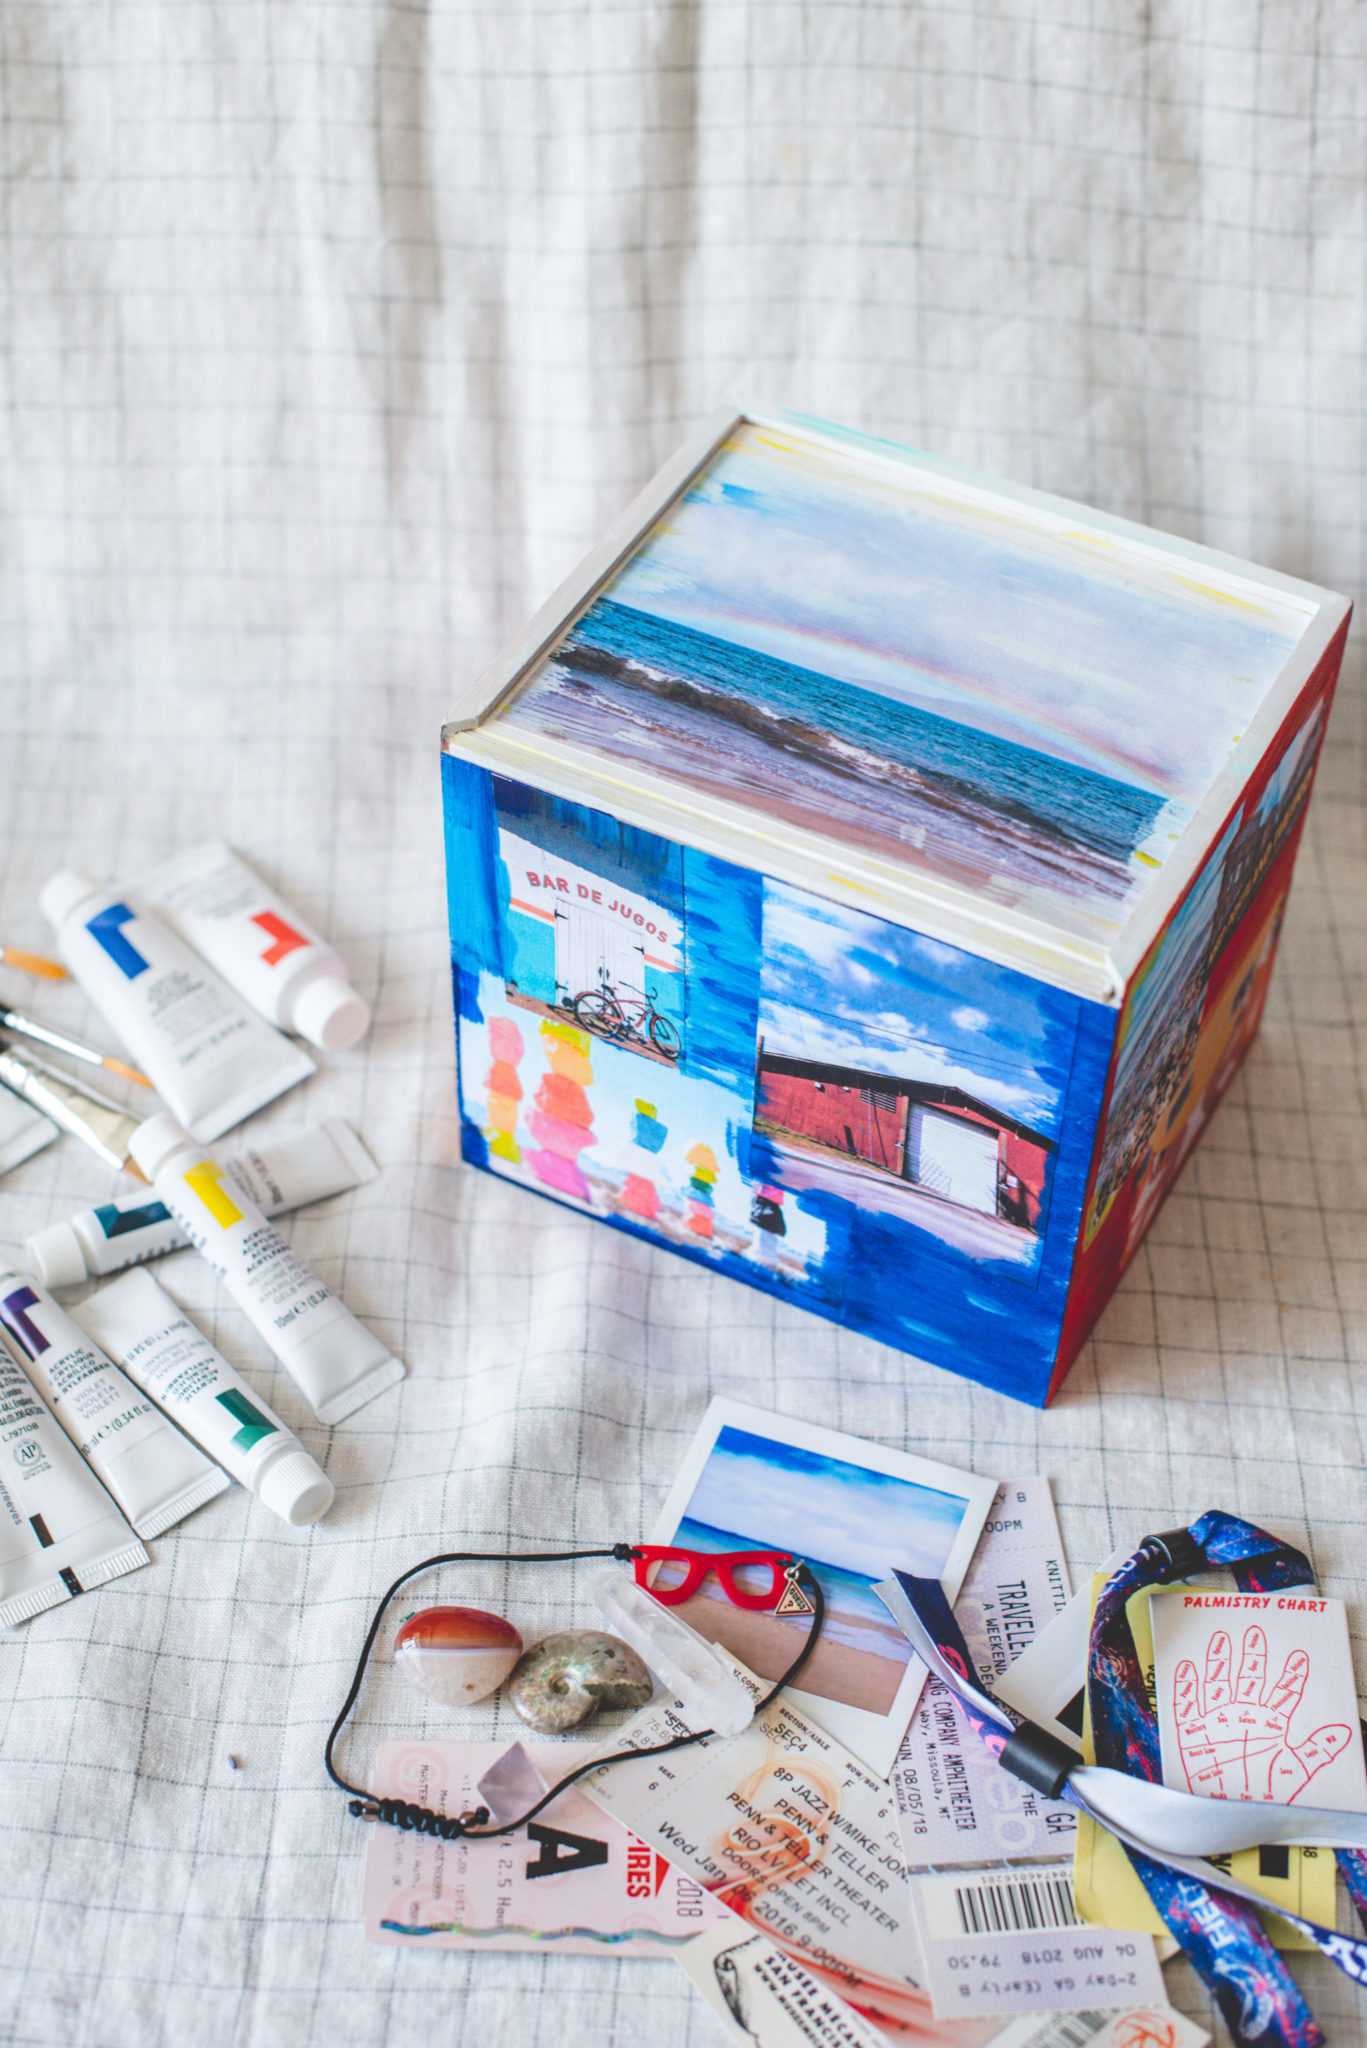
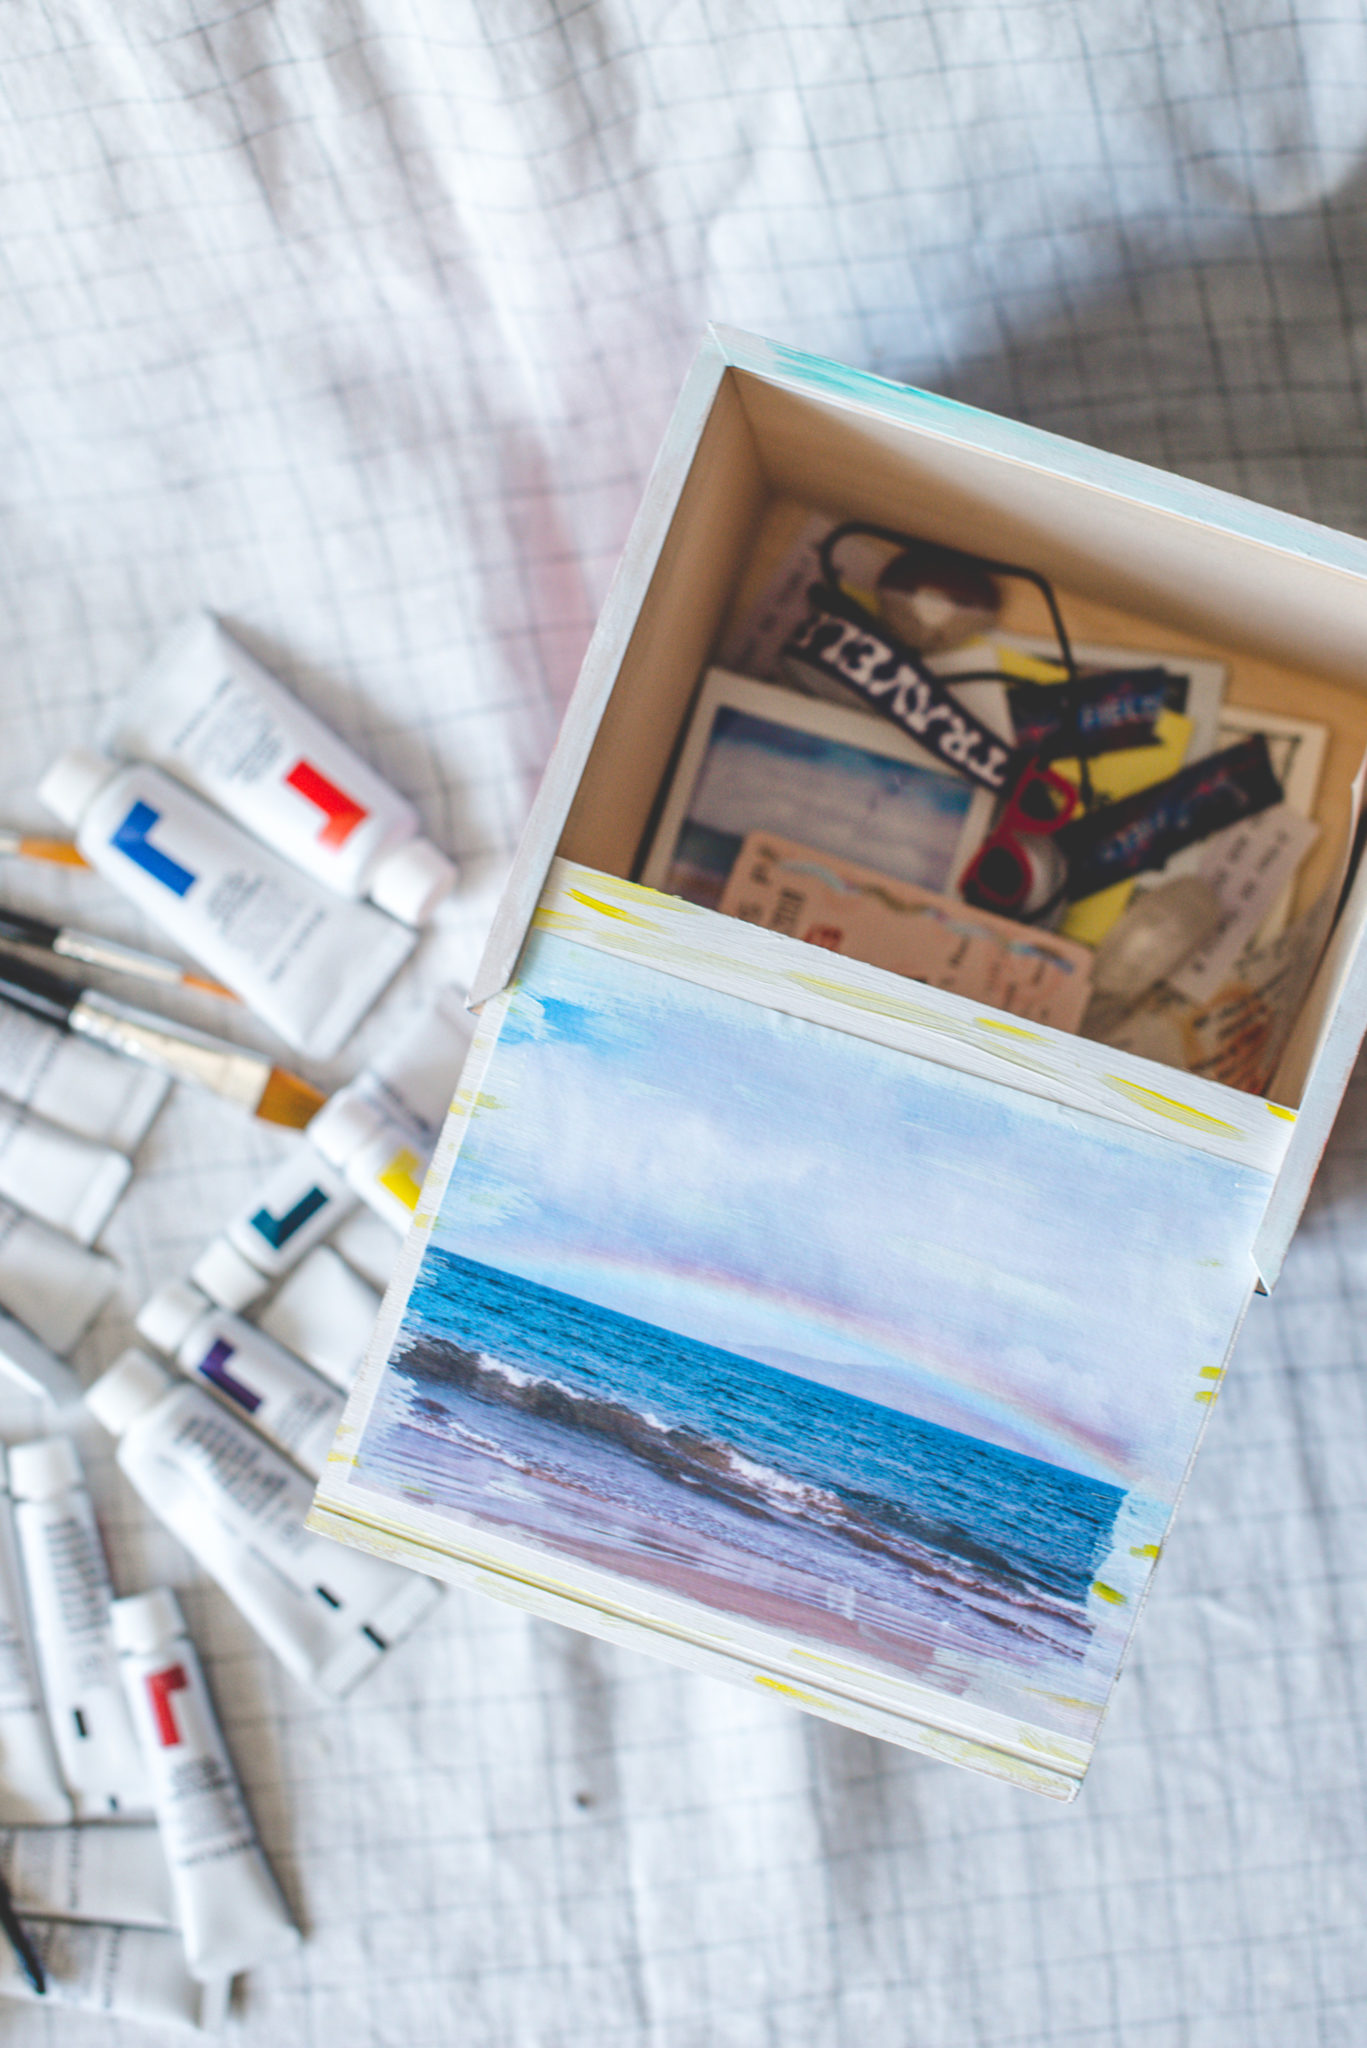
I love to travel and I also love to collect and keep little tokens from my travels, but I struggle with where to keep everything! I found the perfect box from Walnut Hollow. It’s technically a ‘Card Keeper’ box but I saw the potential in it and it was perfect for this project. I also wanted a way to incorporate some of my favorite photos from those trips too so let me show you what I came up with.
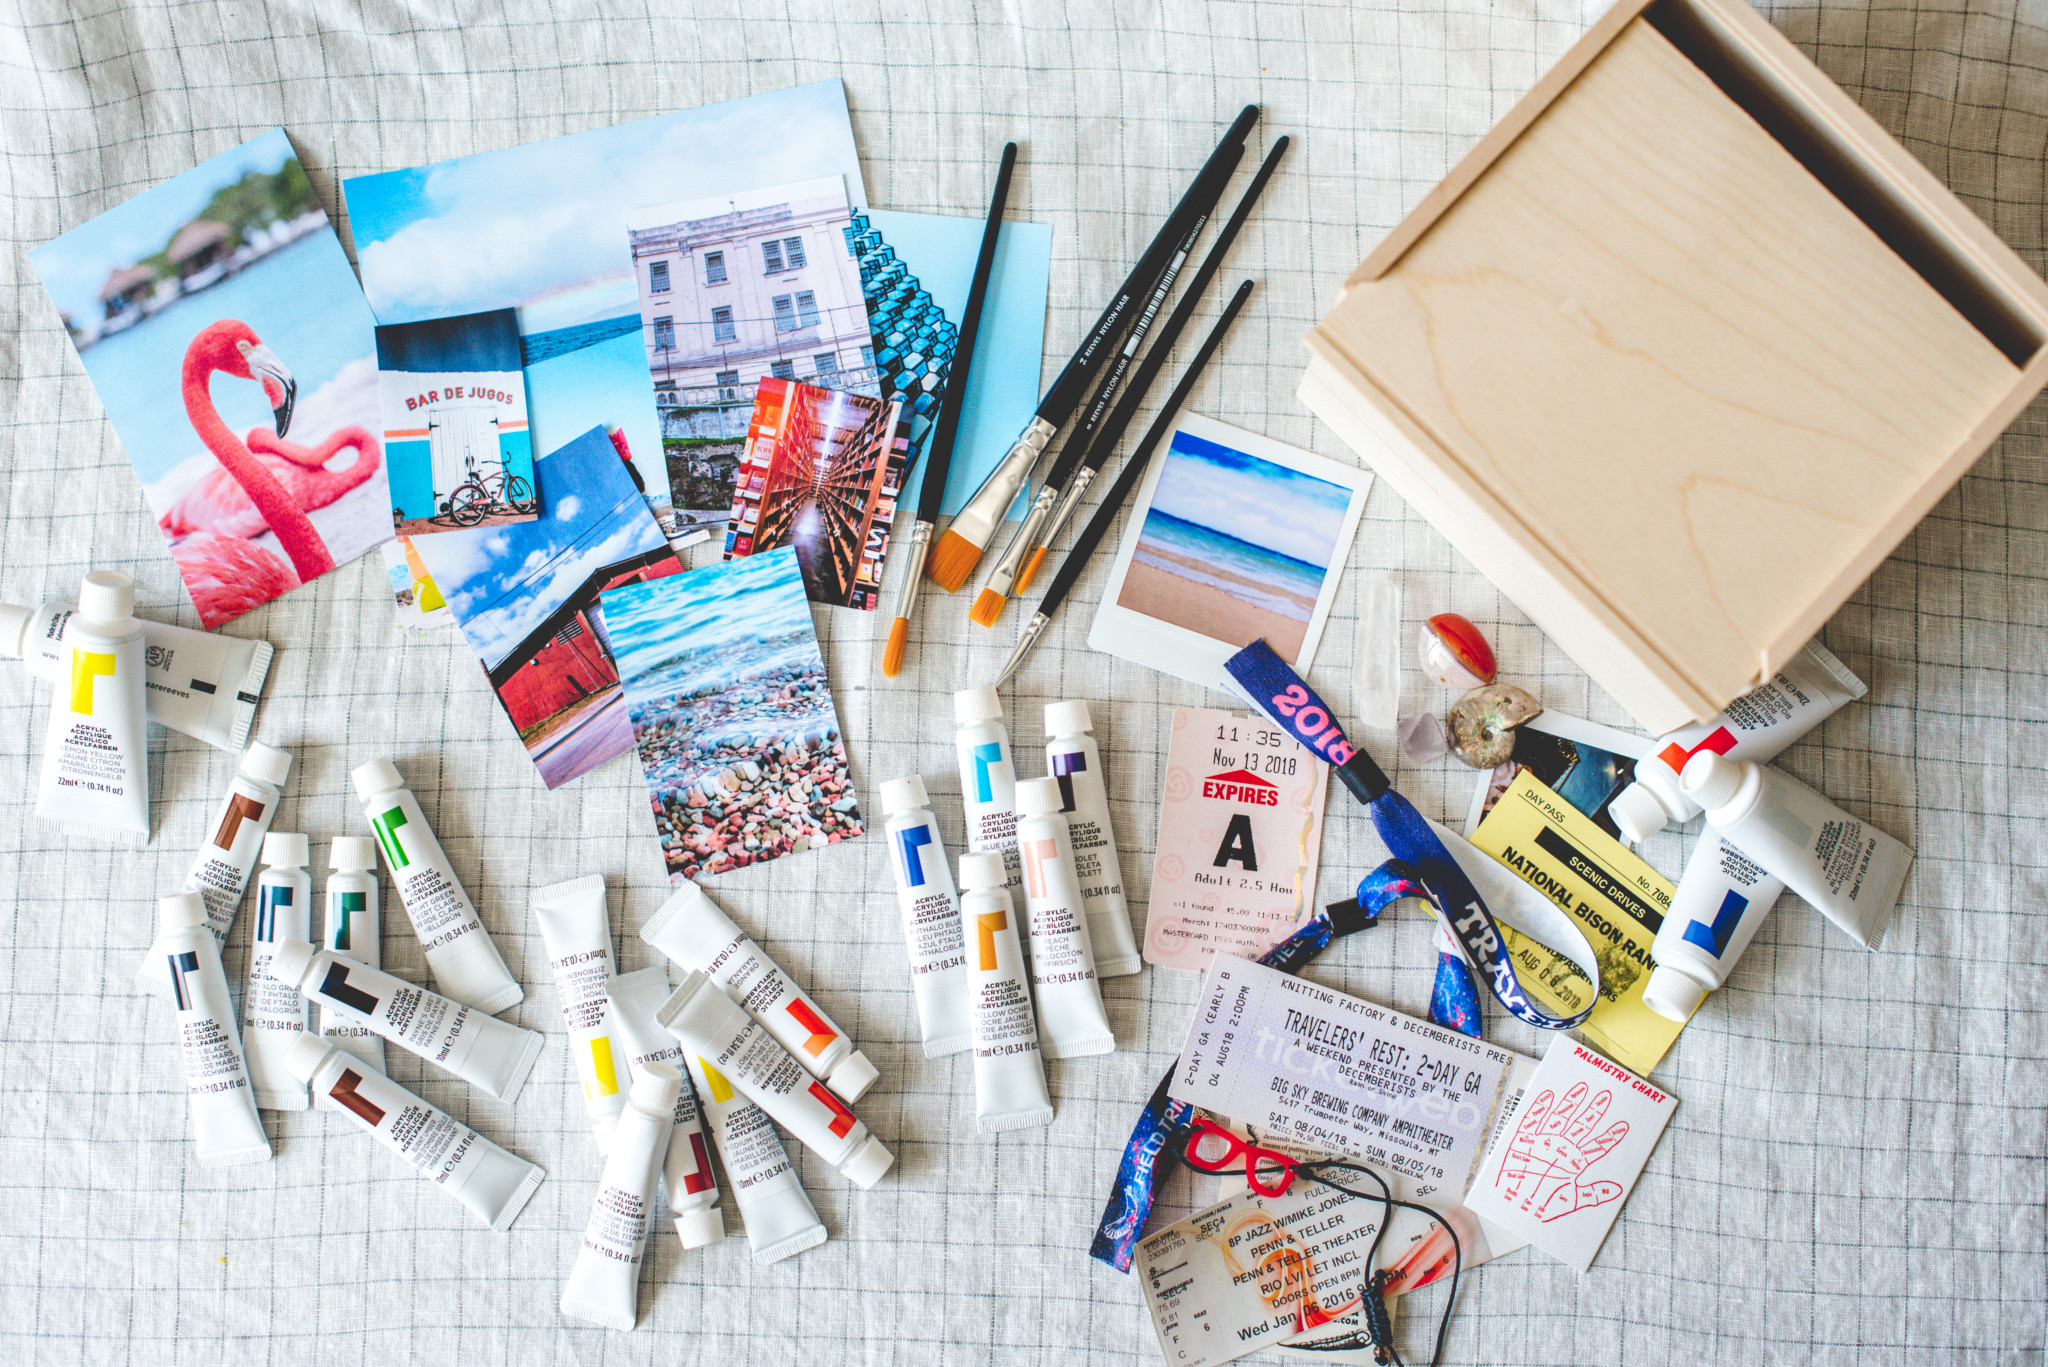
WHAT TO GET:
-Wooden box like this one
-Acrylic paint (I used this paint from Reeves)
-Paint brushes in different sizes like these
-Photos printed directly onto plain printer paper (I just used my basic Epson Printer and printed them at different scales so I would have some choices in placement)
–Mod Podge (optional)
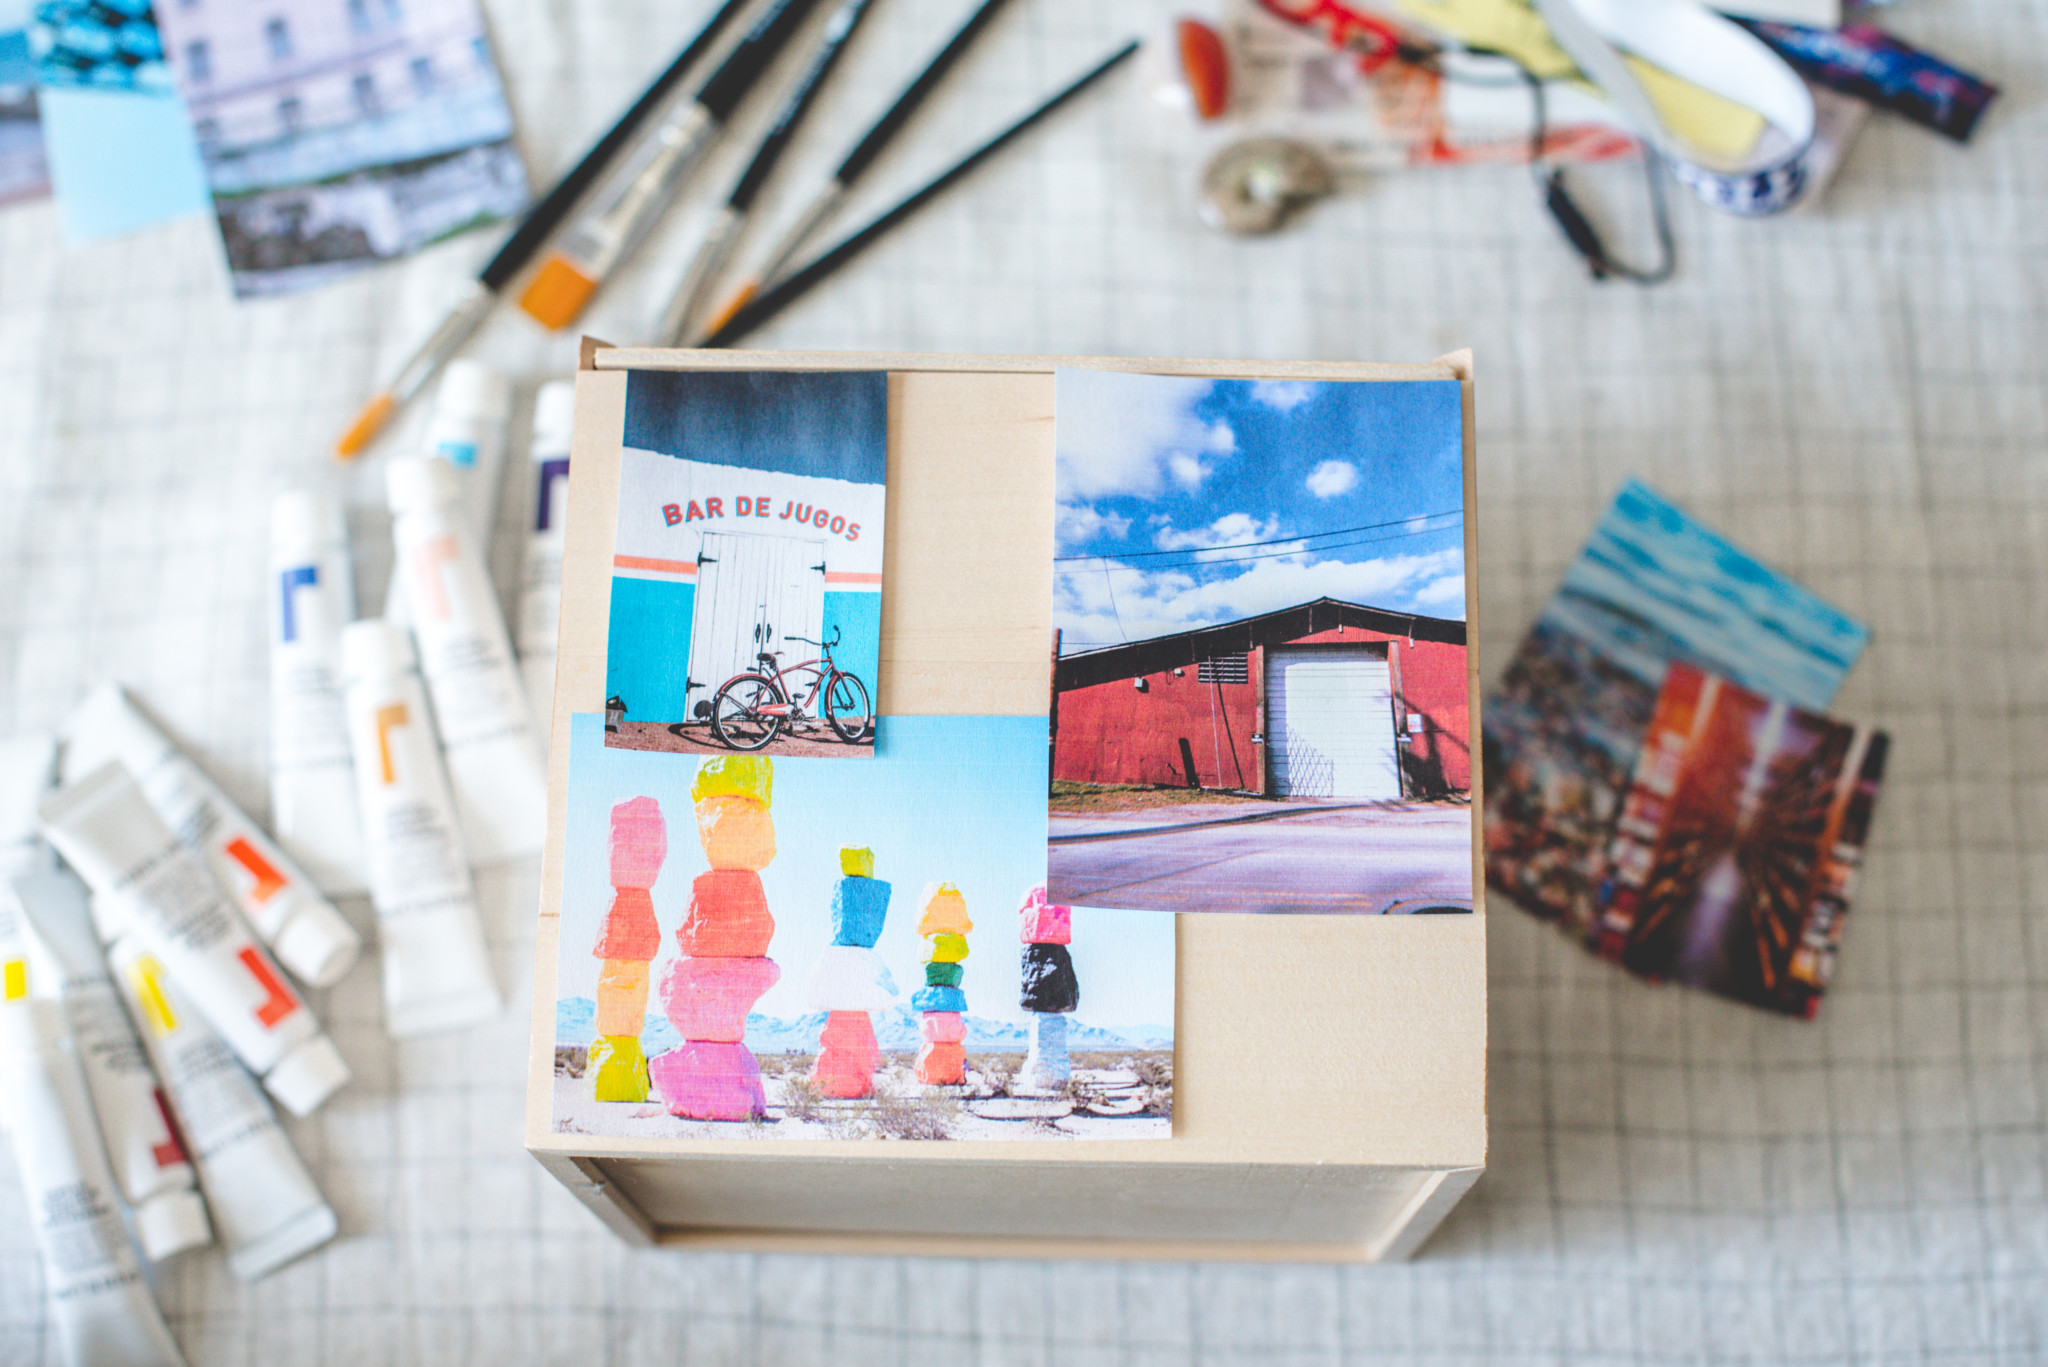
WHAT TO DO:
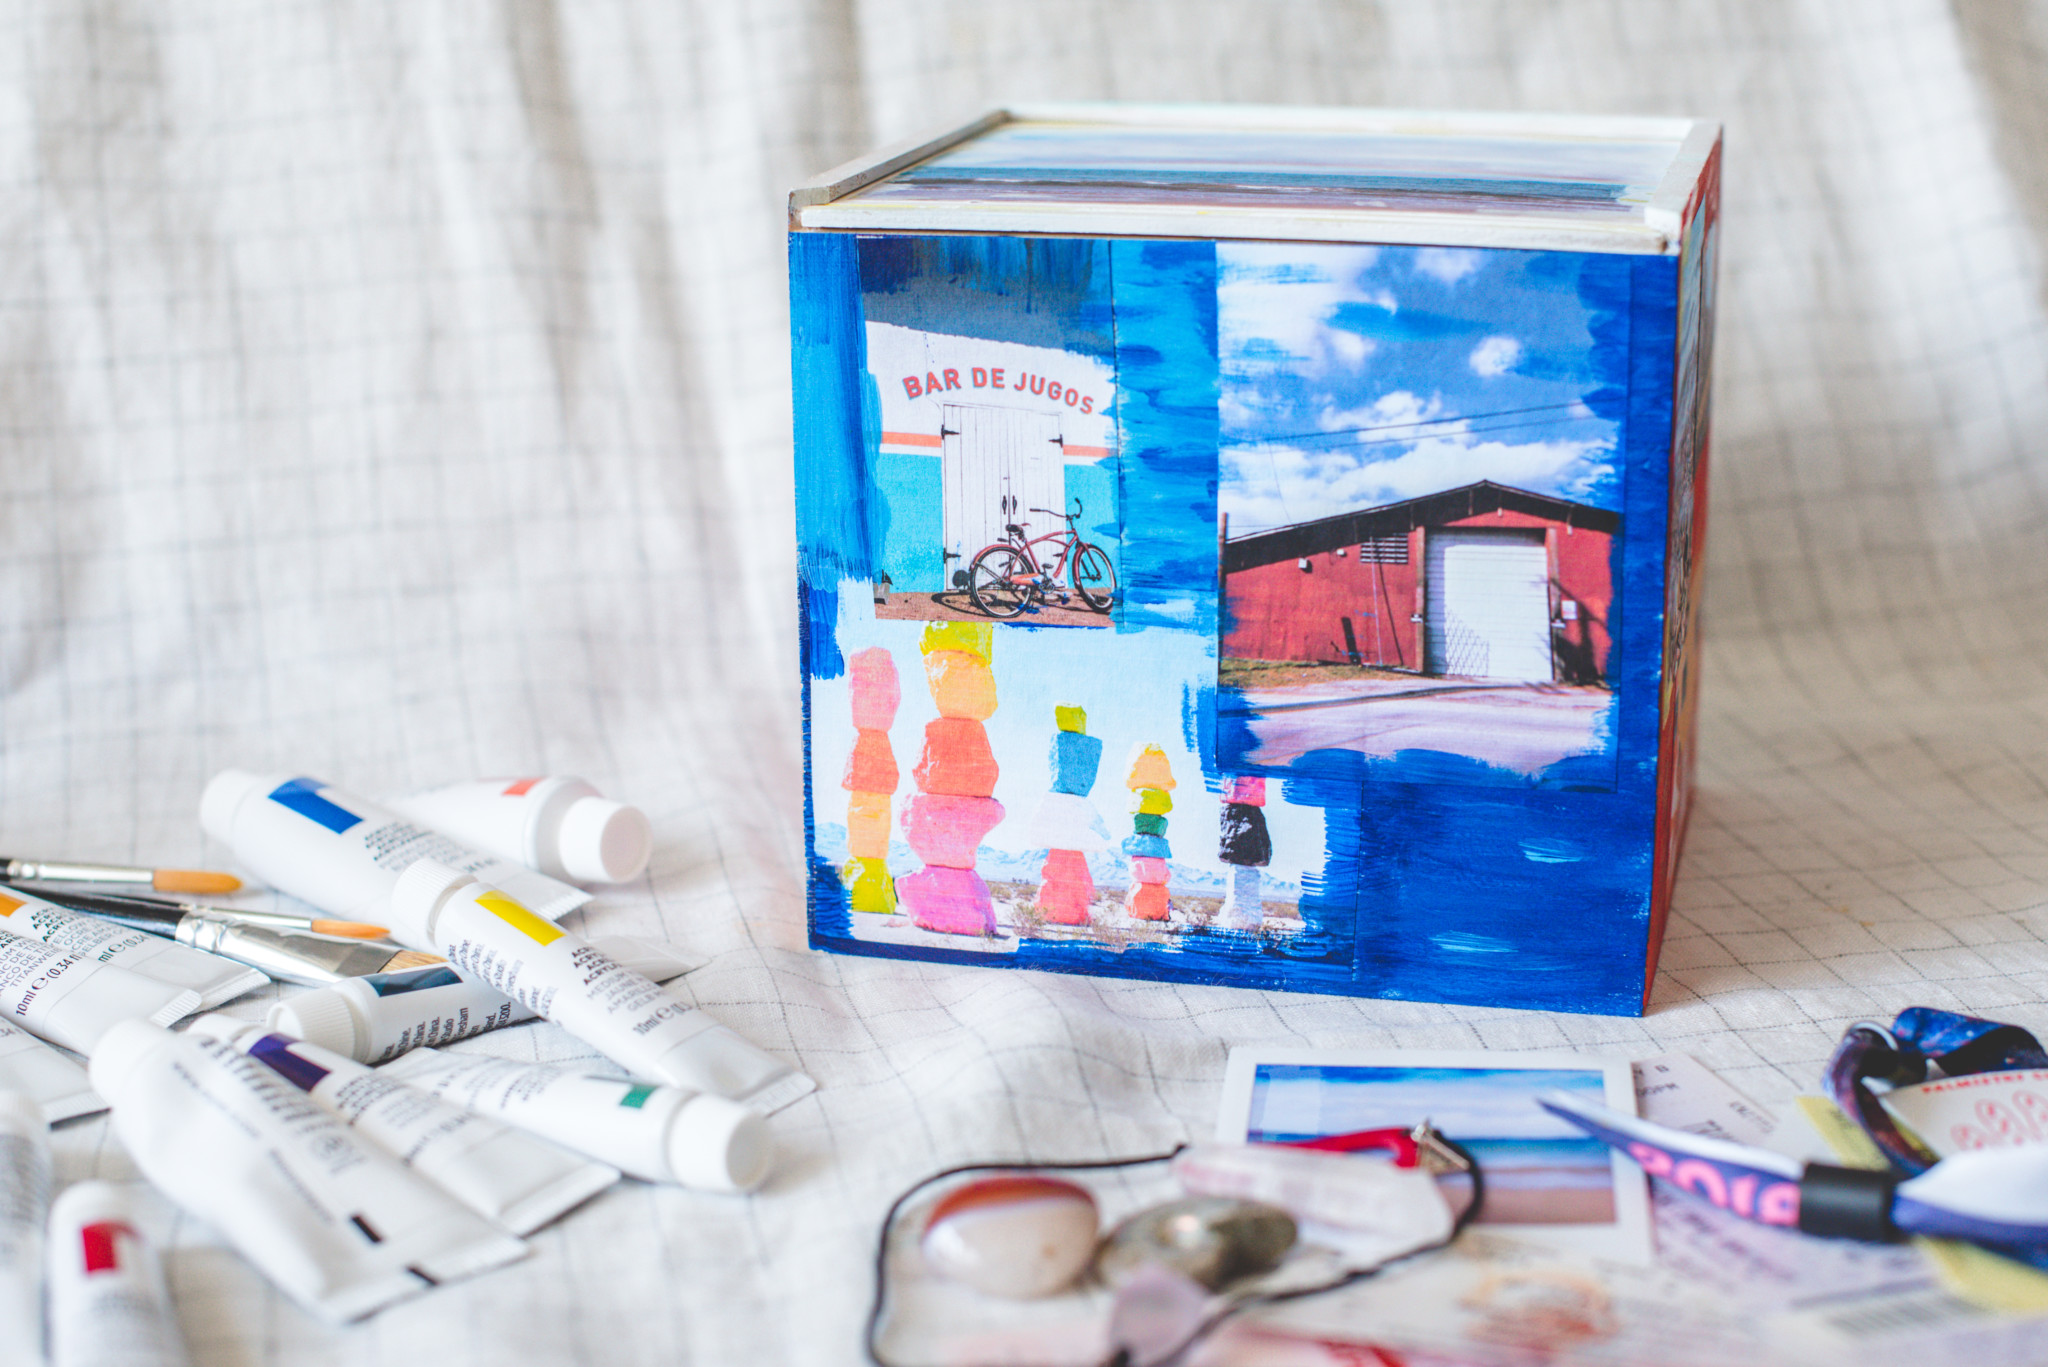
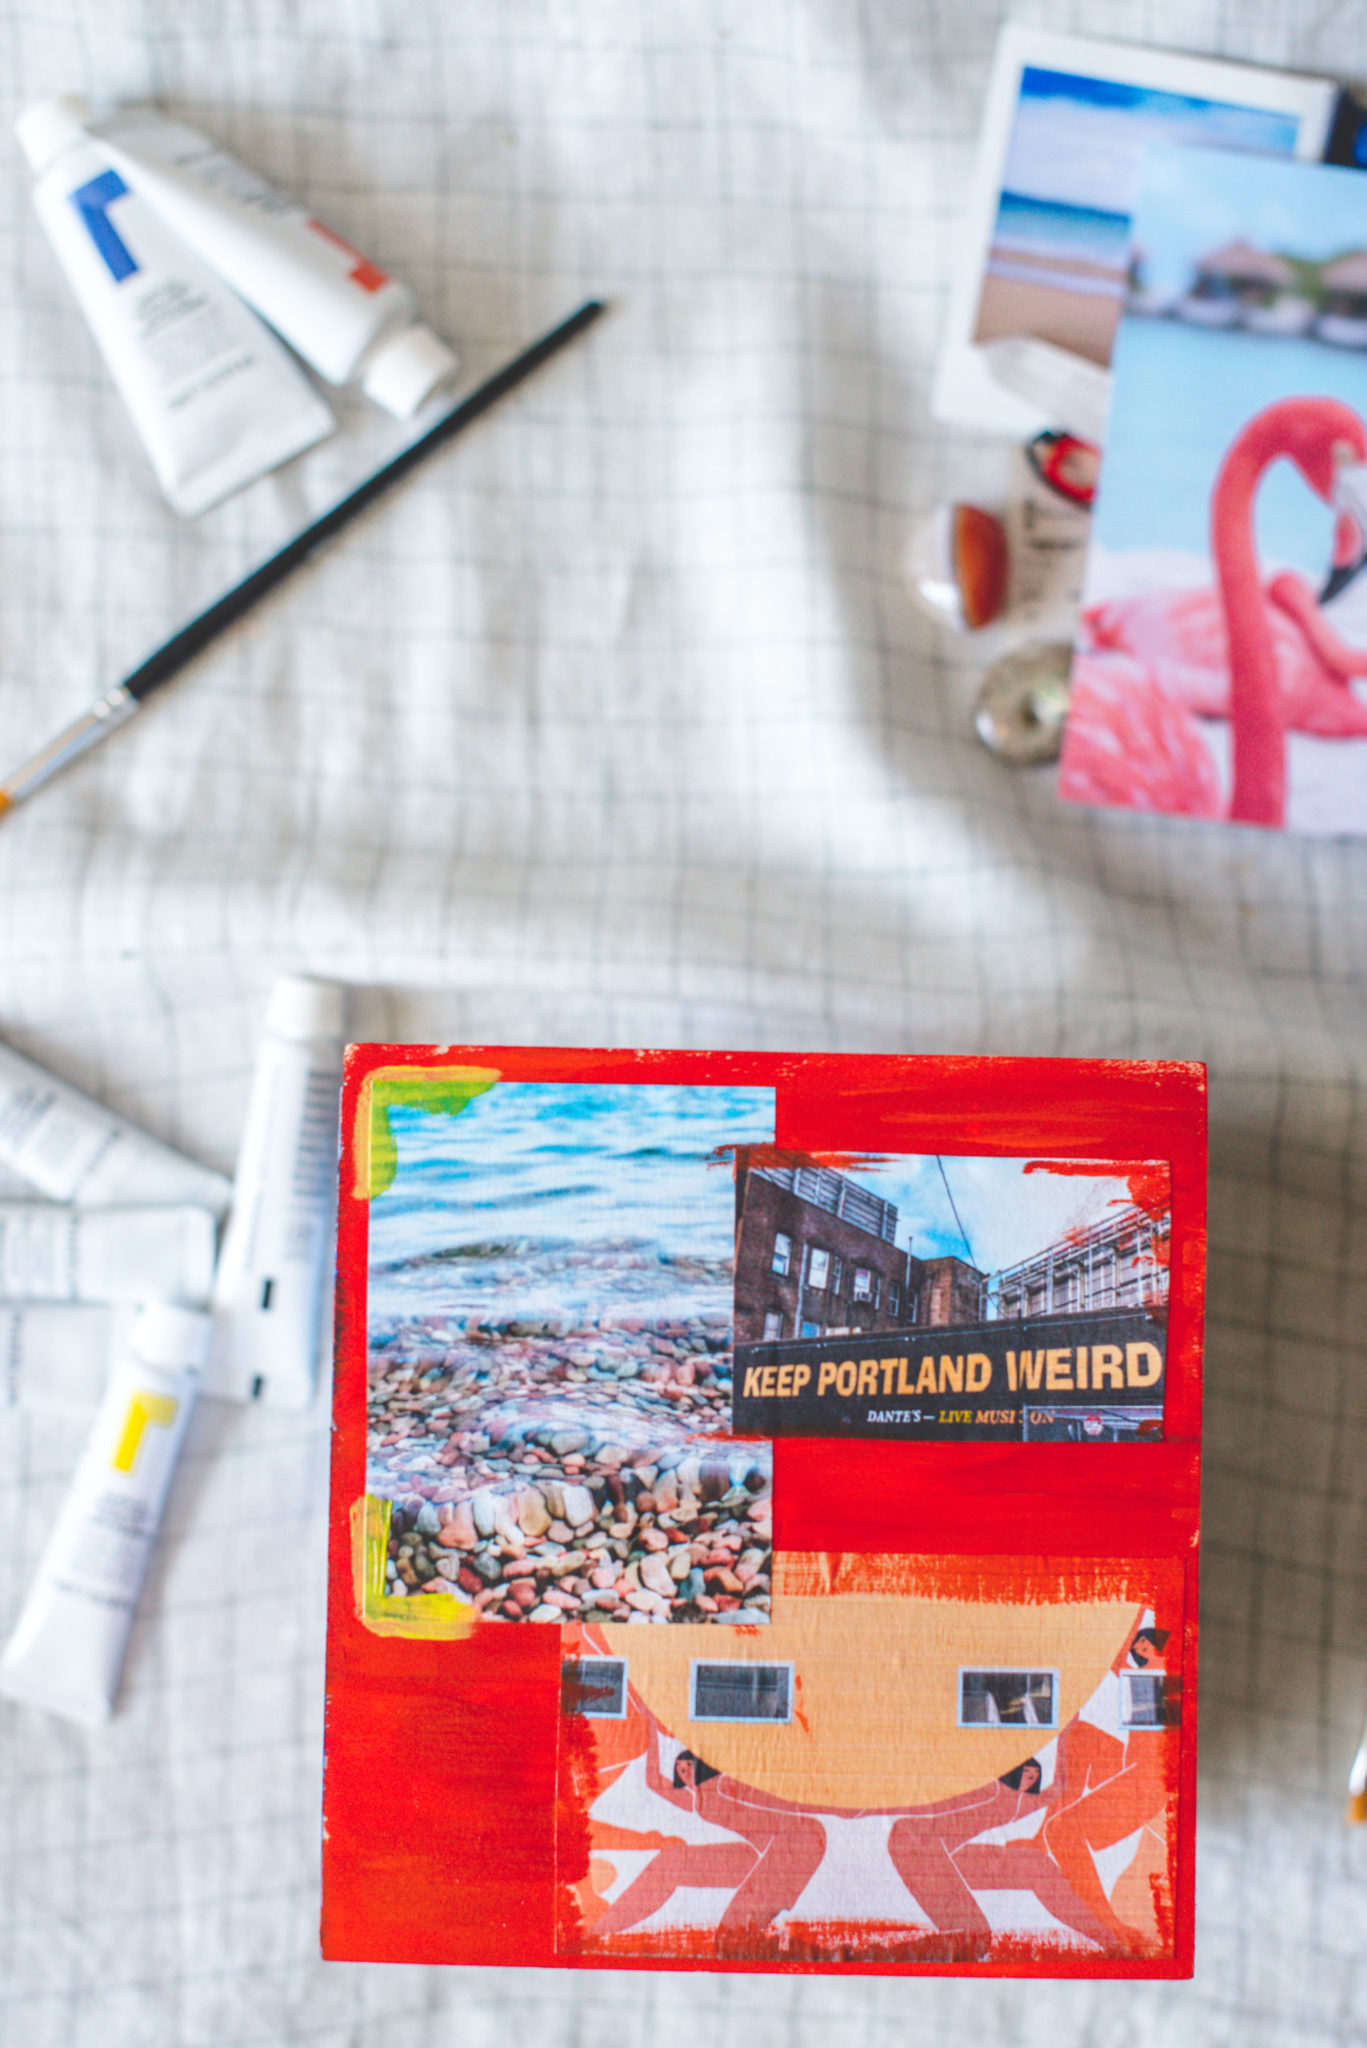
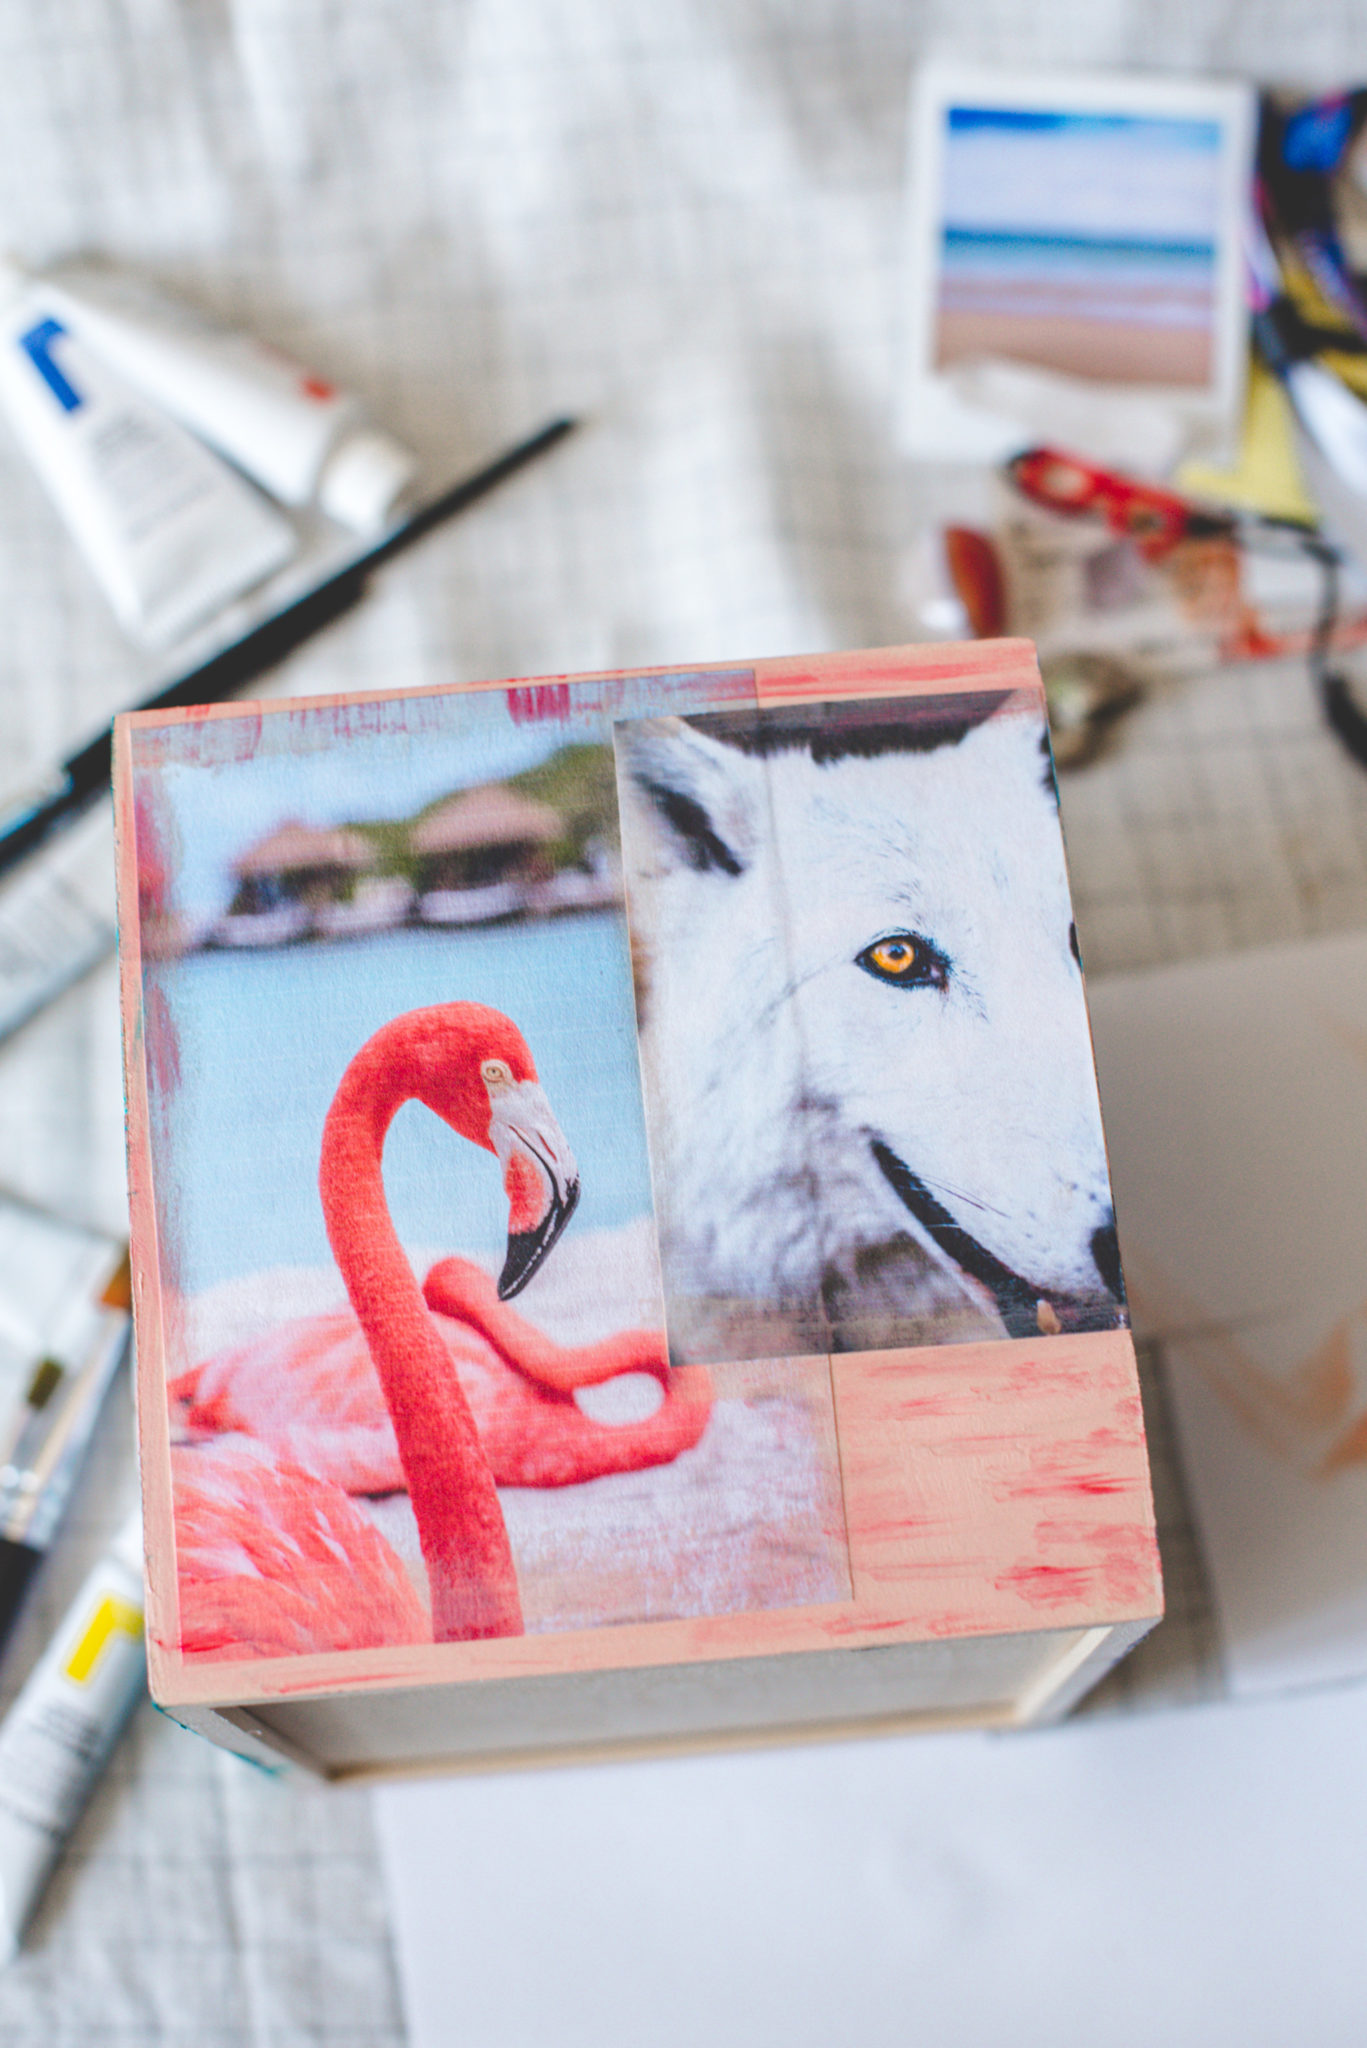
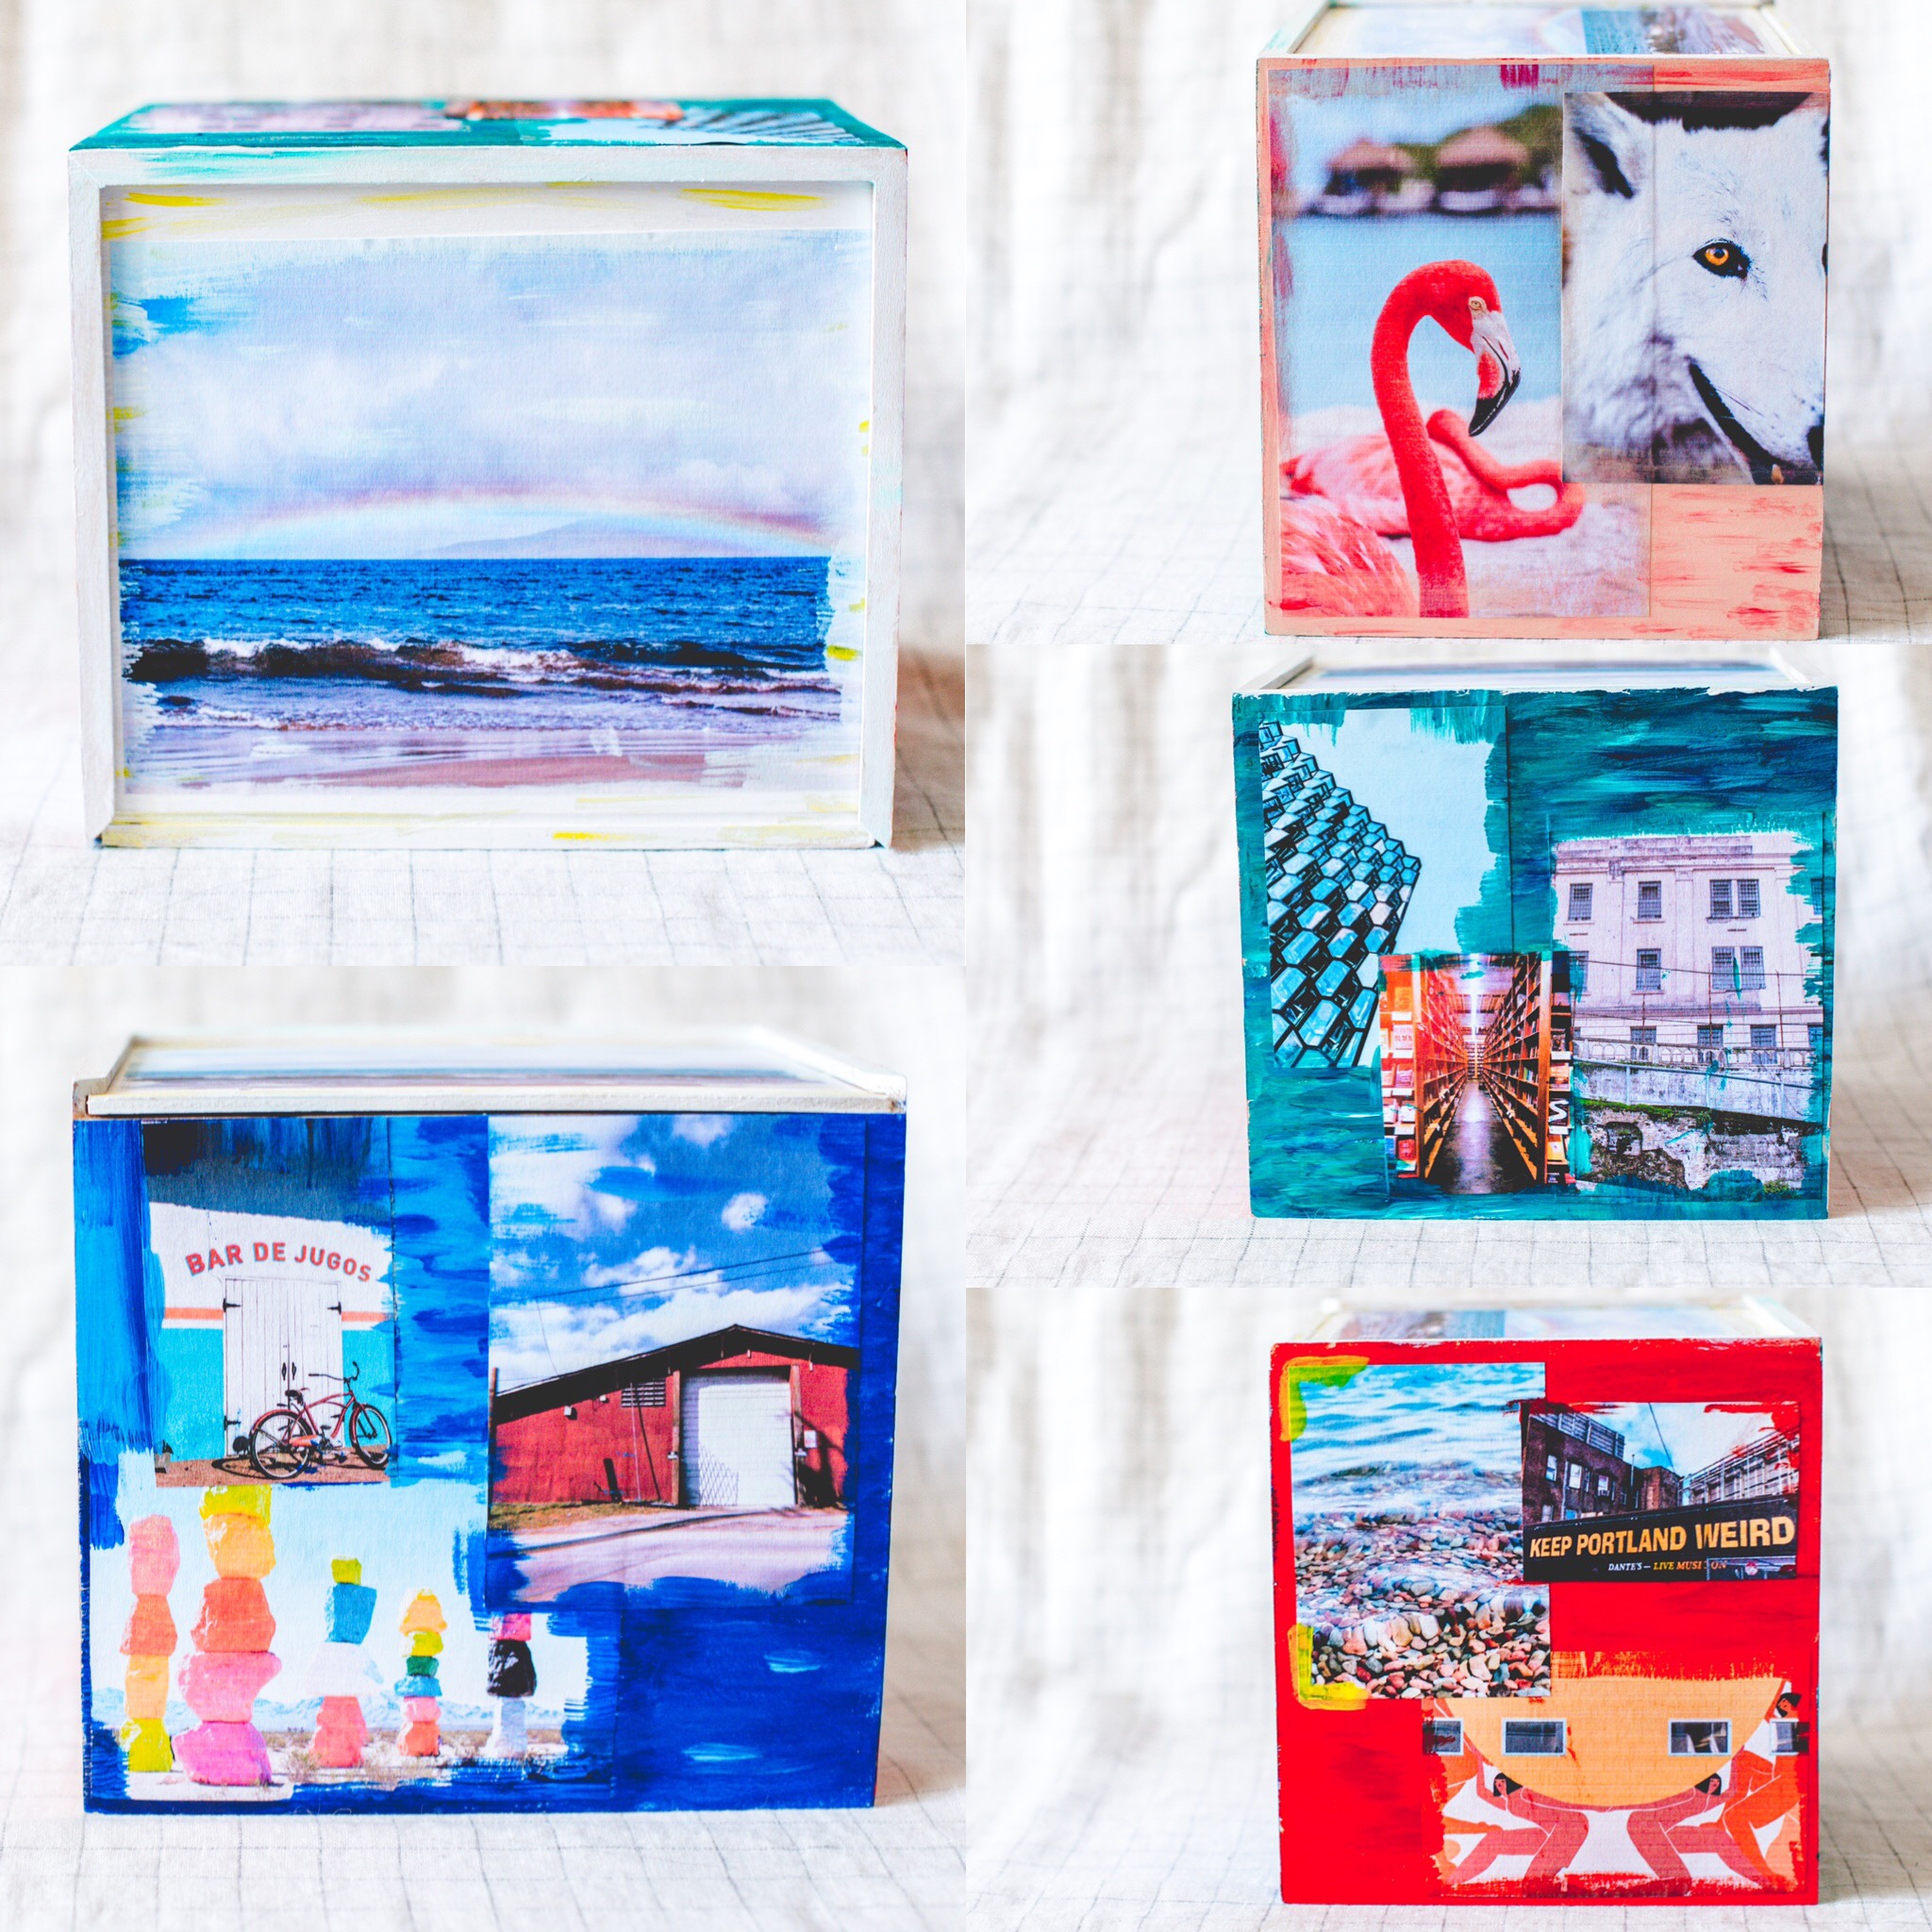
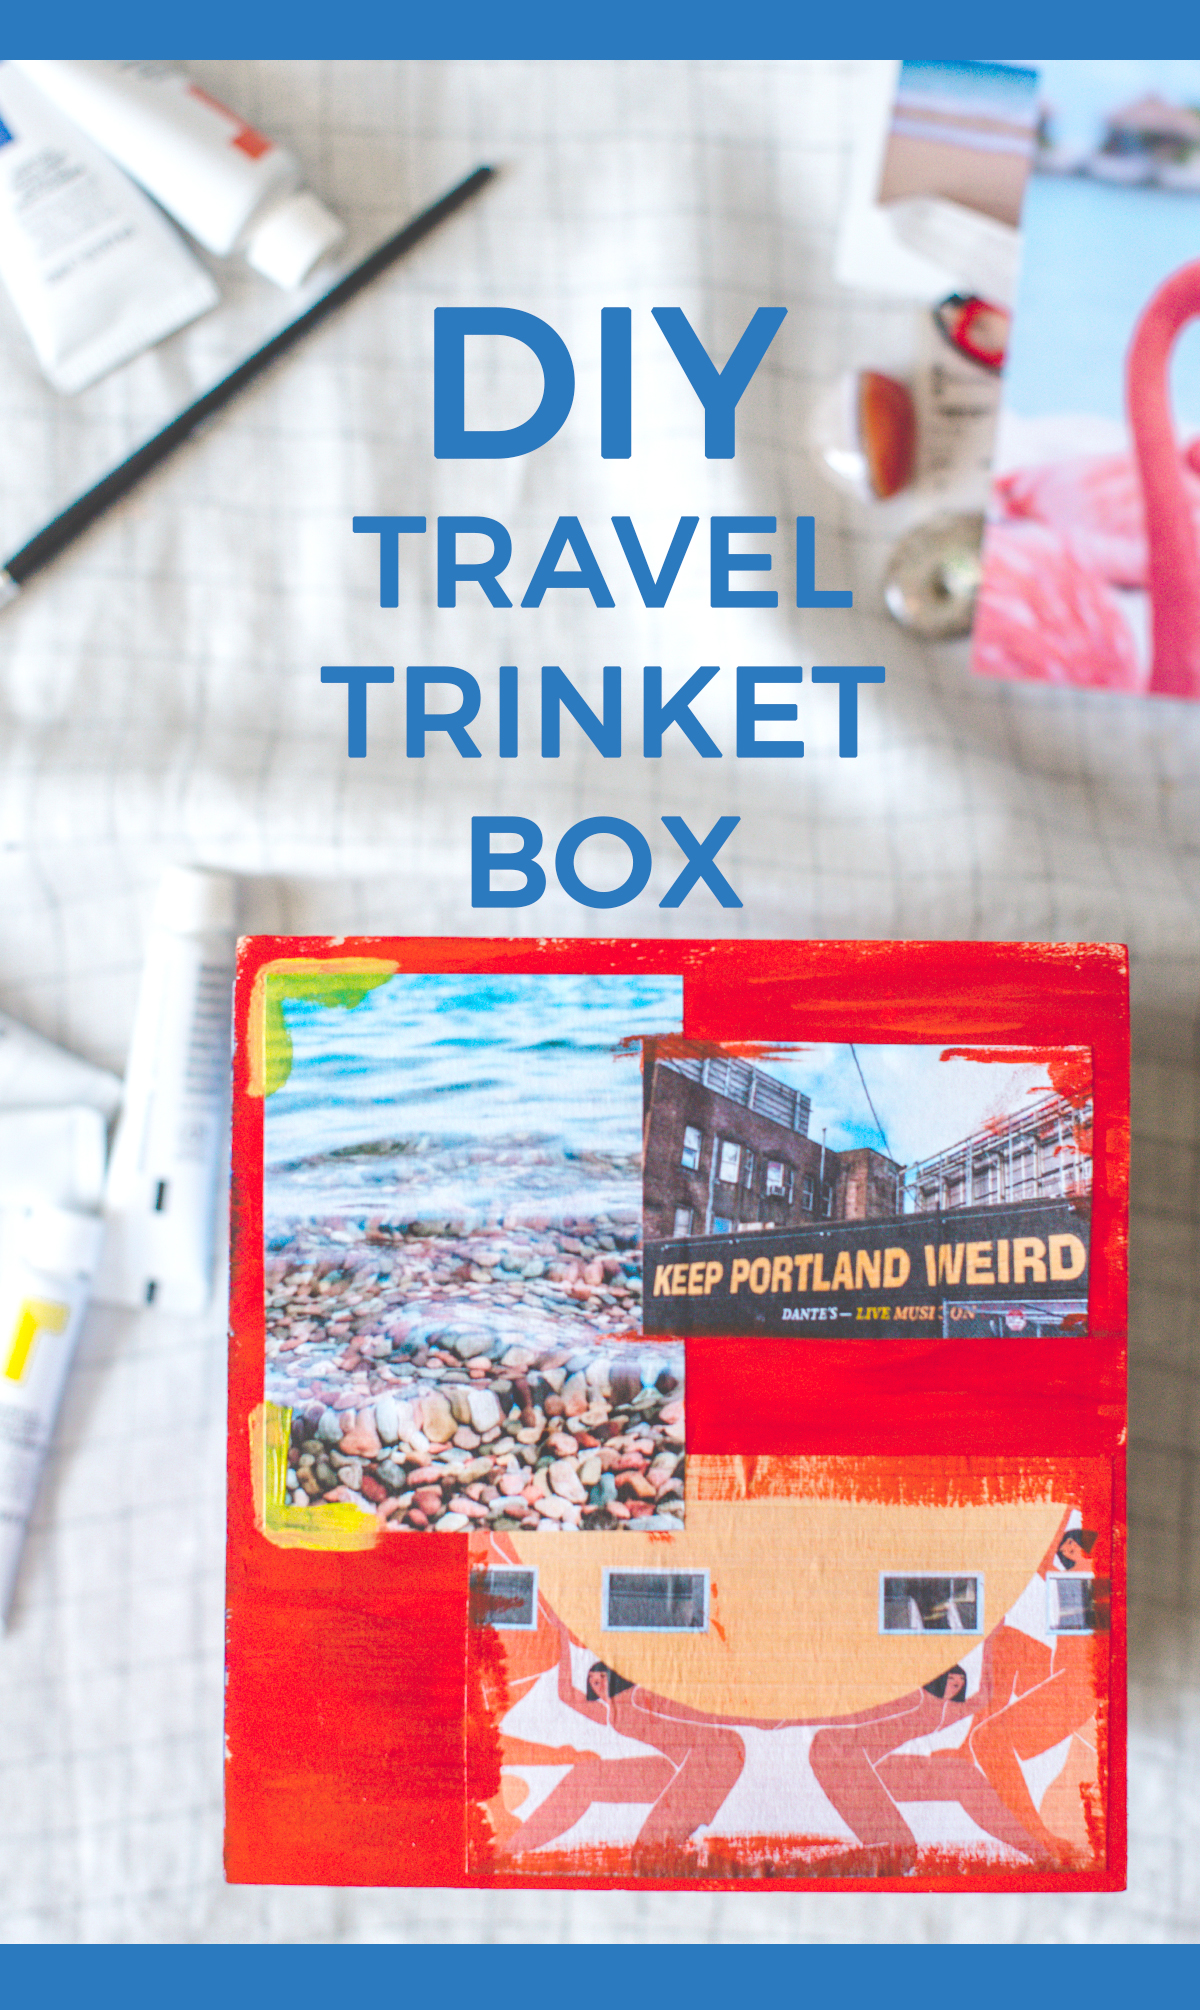
1. Start by figuring out the placement of where you want your photos on each side of the cube. Since I knew I wanted each side to be in the same color profile for the paint, I grouped photos together with similar colors. This was just a visual choice on my part, feel free to use as many colors or photos as you’d like!
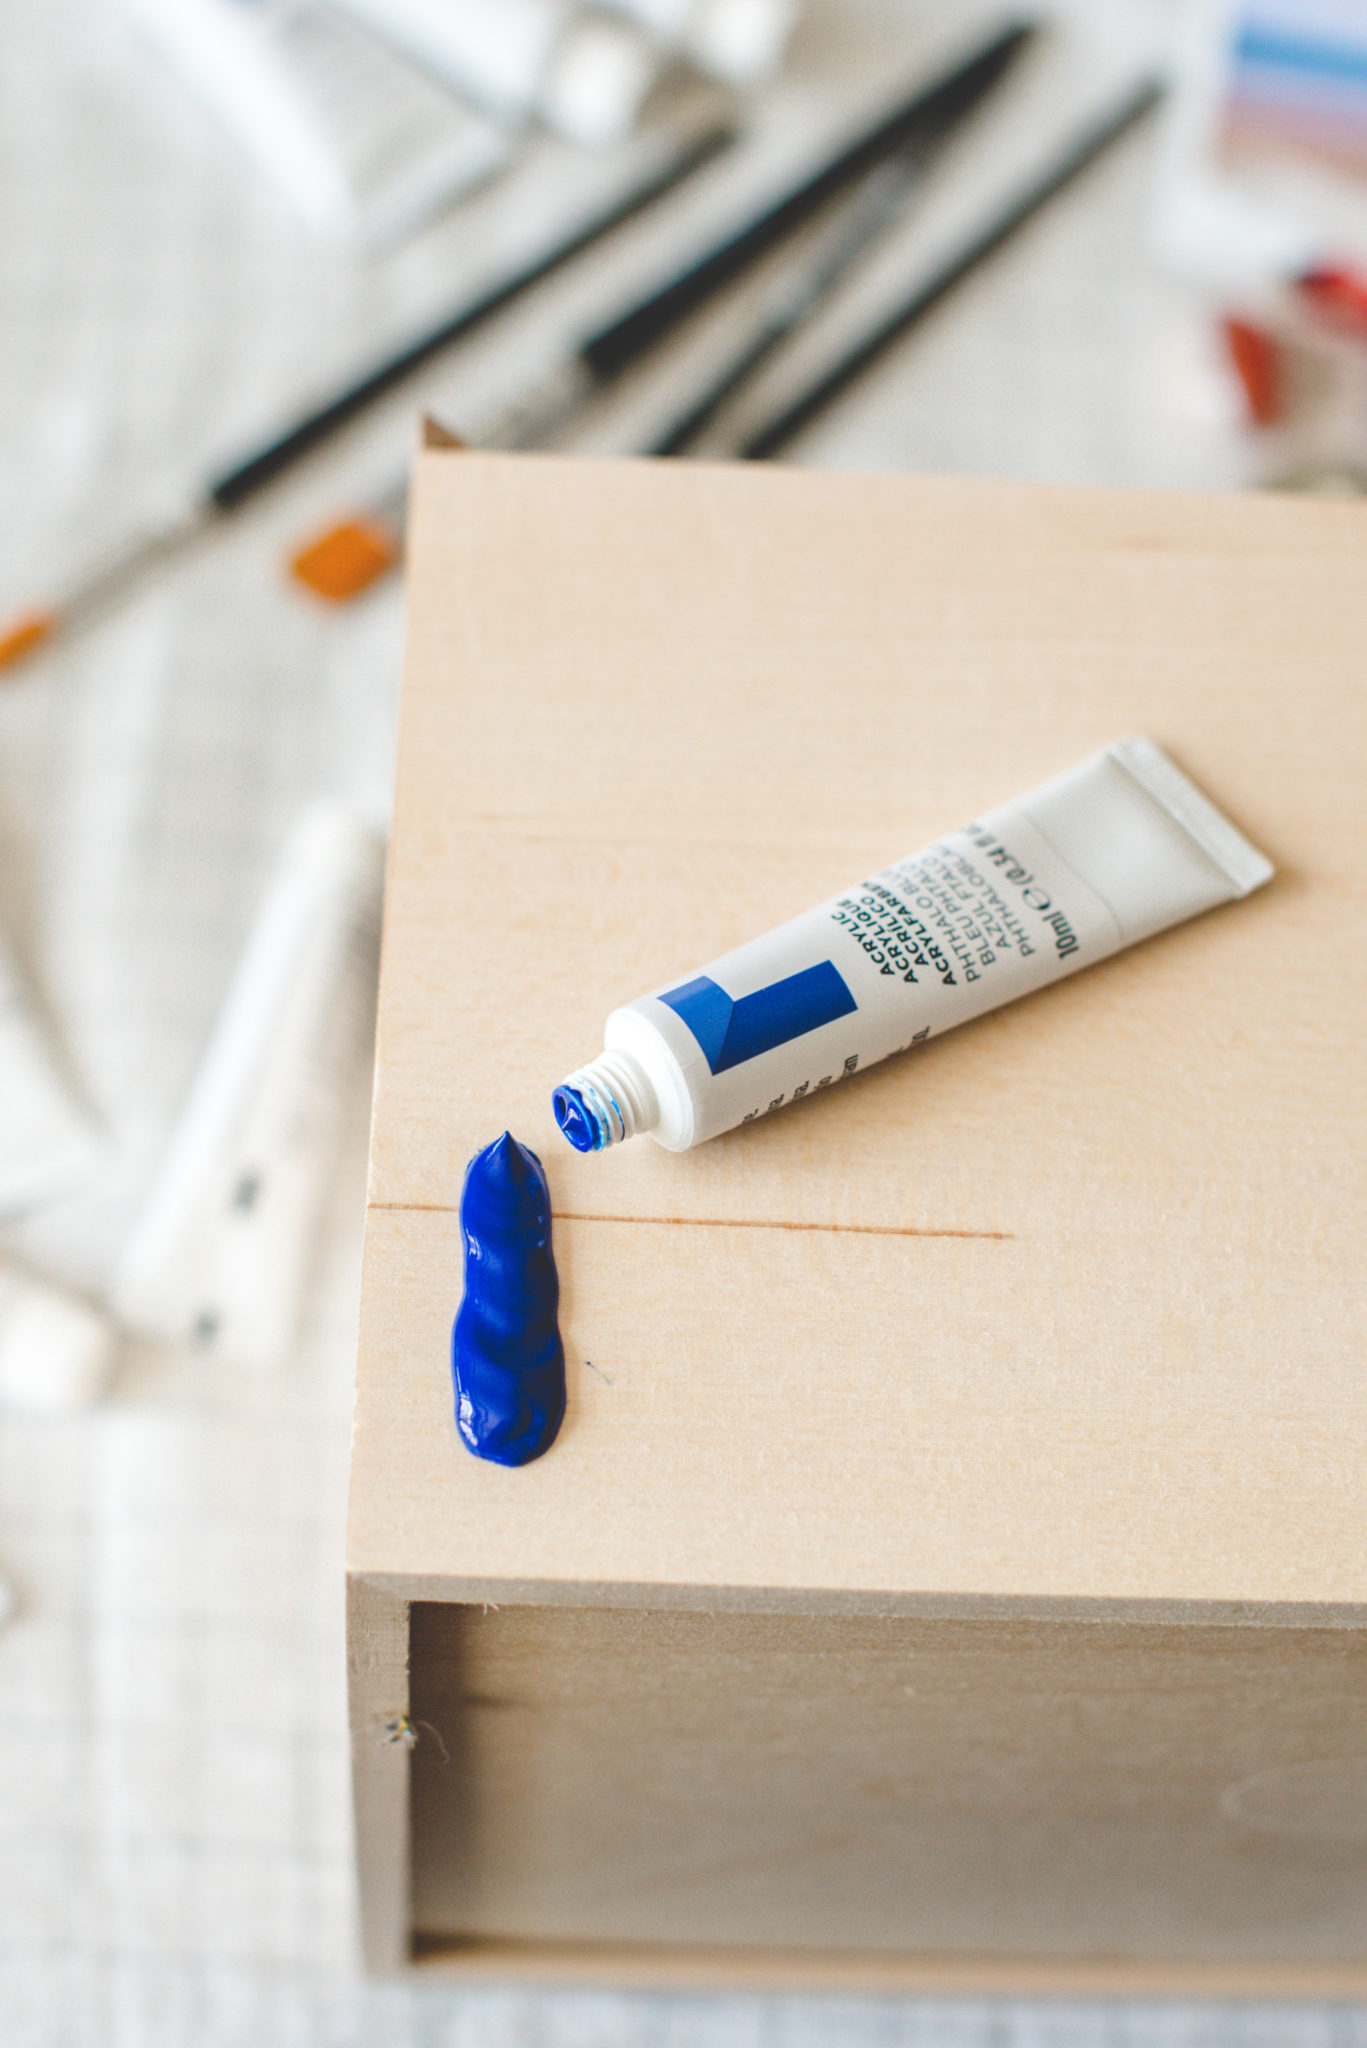
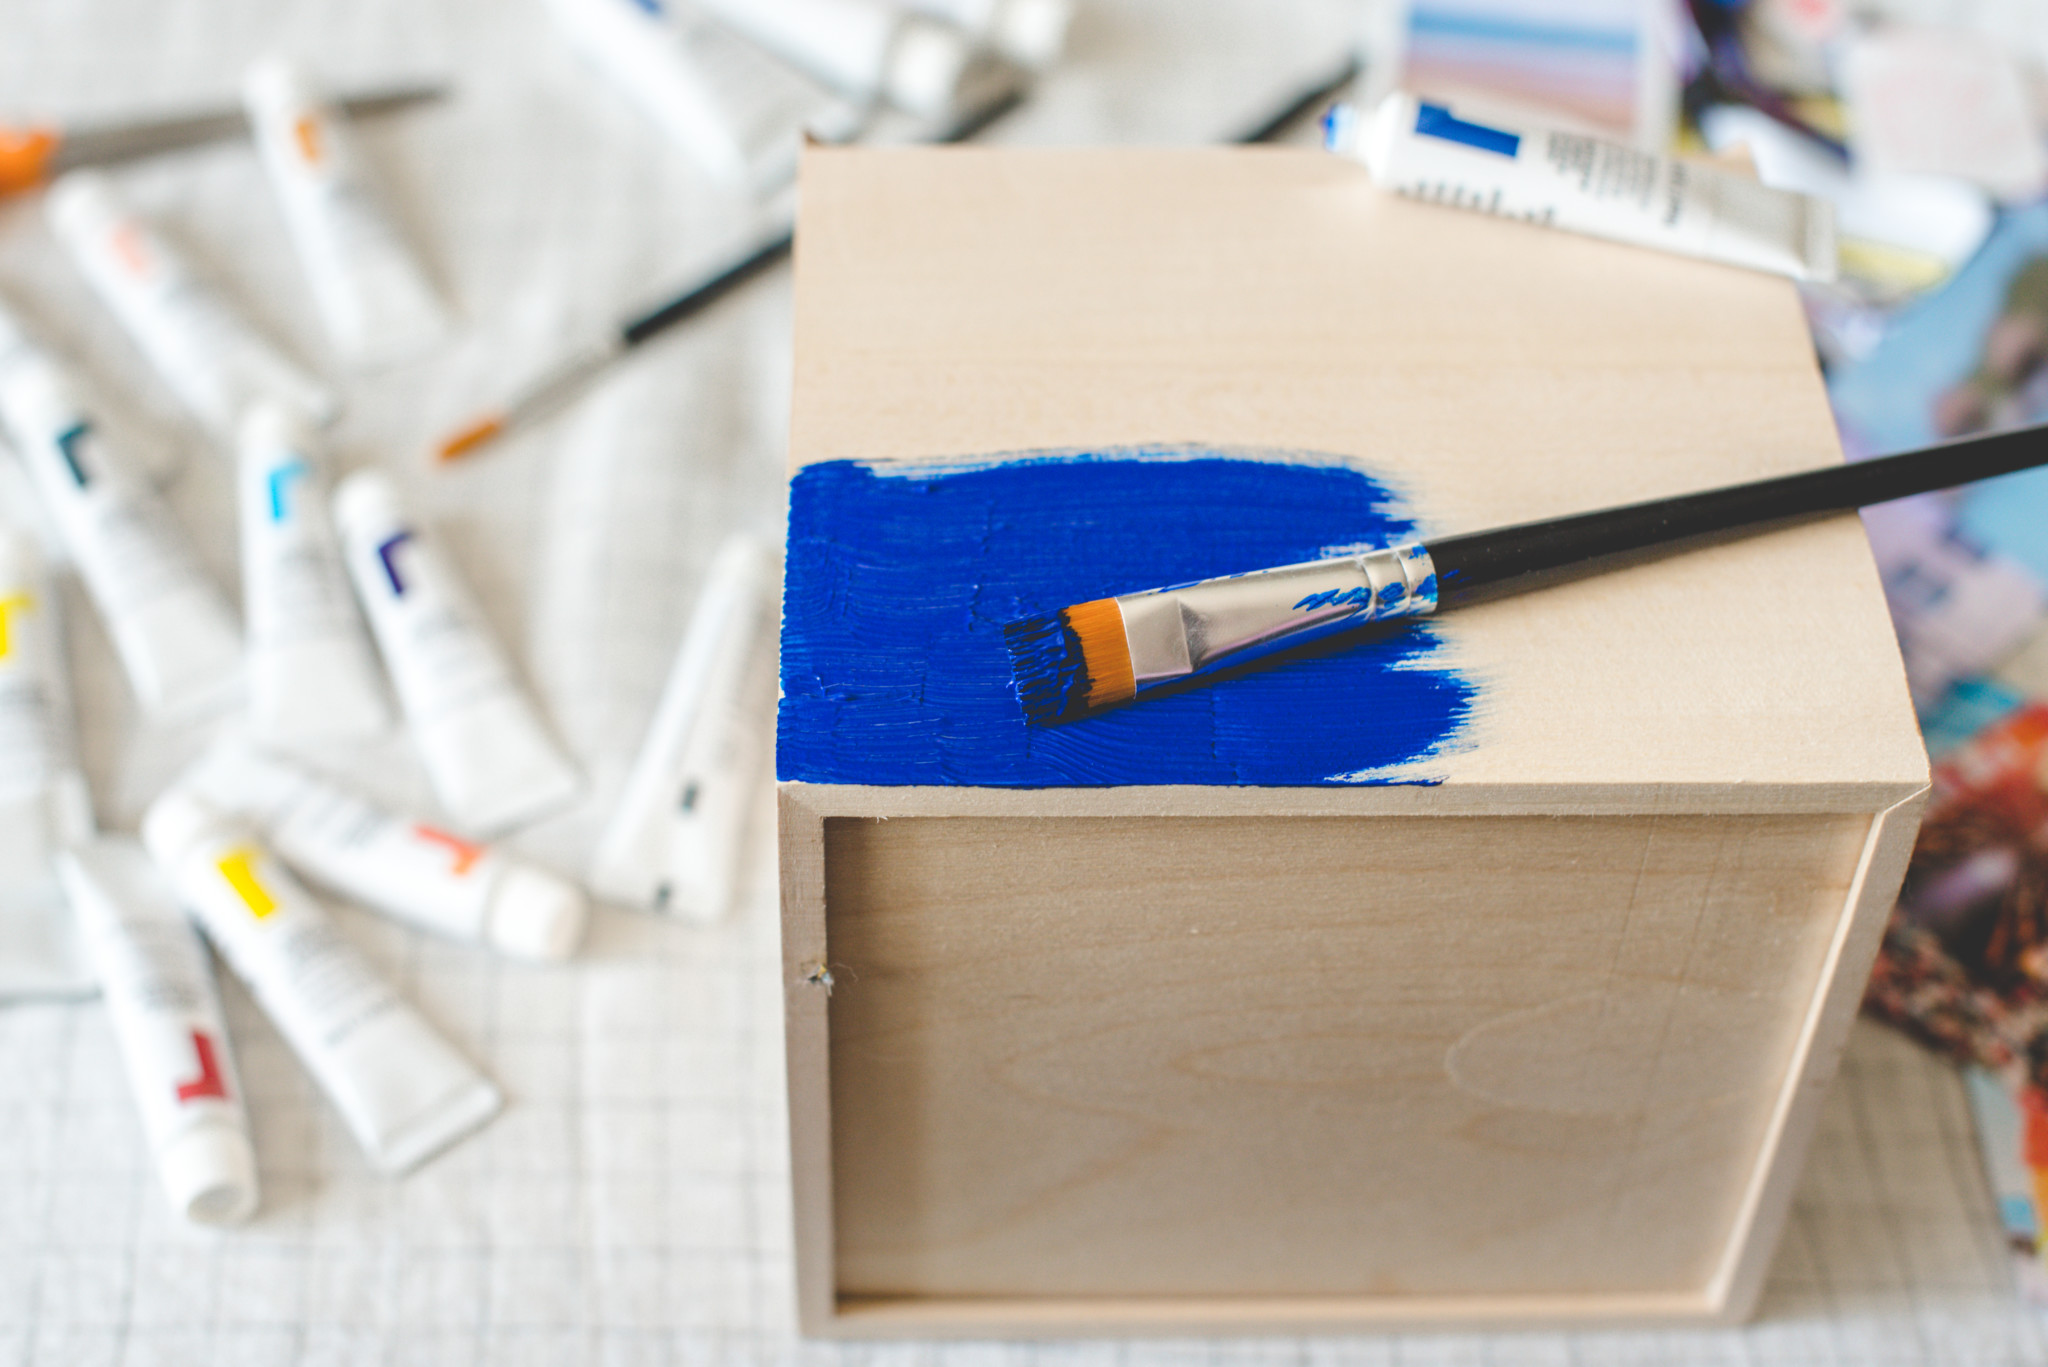
2. I used the acrylic paint as a glue for this project and it works perfectly, which is also why it’s best to print the photos directly onto plain paper since it’s lightweight enough to stick. Apply a thin layer of the acrylic paint with a wide flat brush for more coverage, be careful not to use too much as it will wrinkle the paper too much and cause bubbles. Apply your cut out photo directly to the wet paint and use your fingers to smooth it out and press it into the box. Repeat with the other photos. You can also apply paint directly to the back of the paper if you’d prefer.
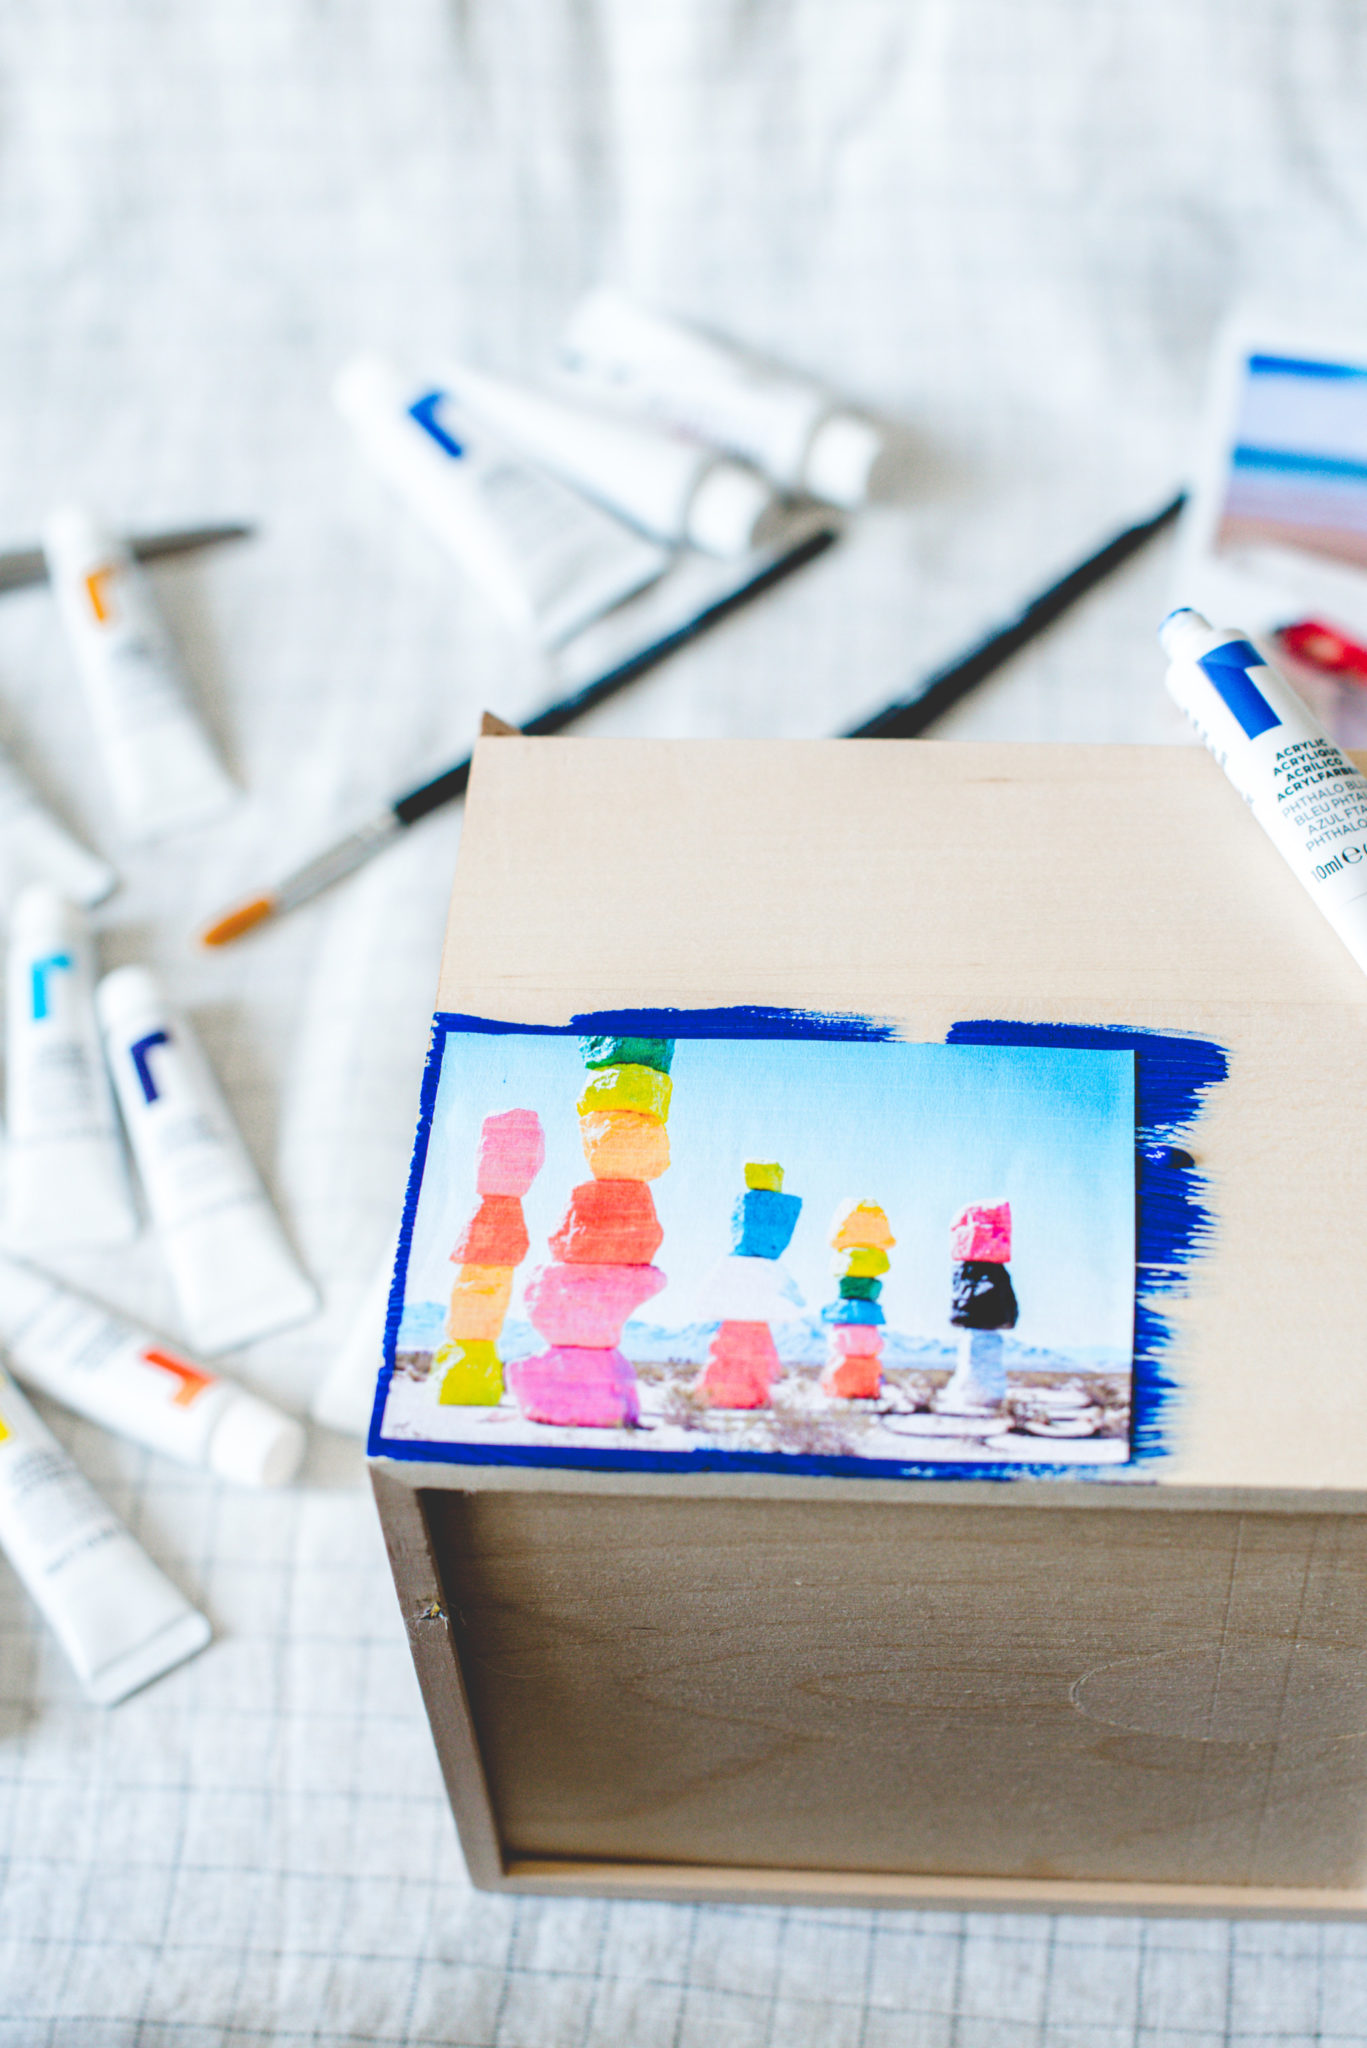
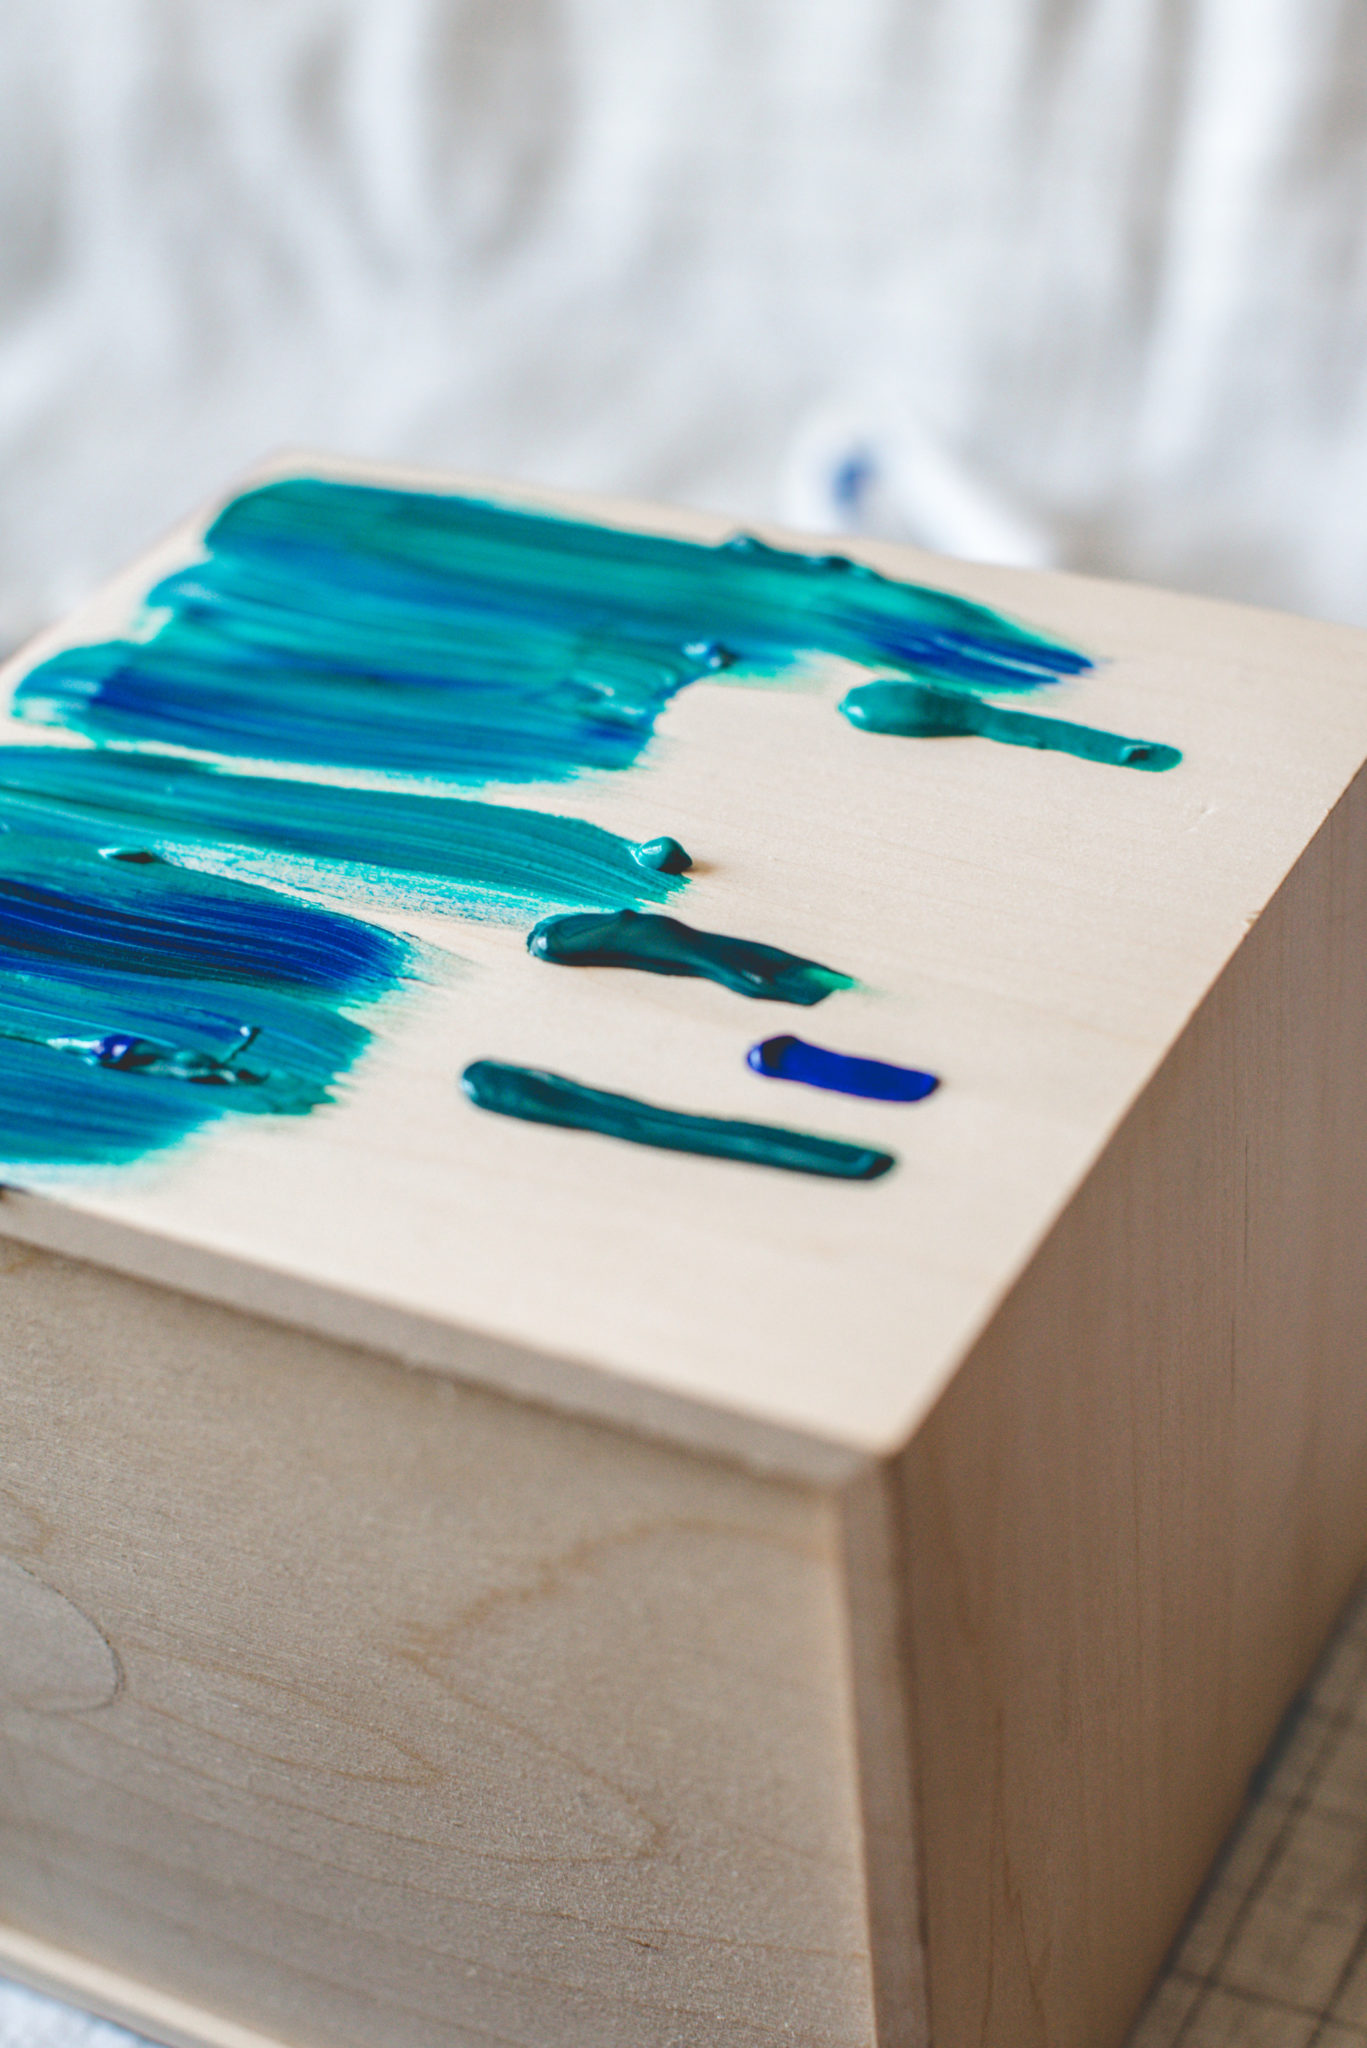
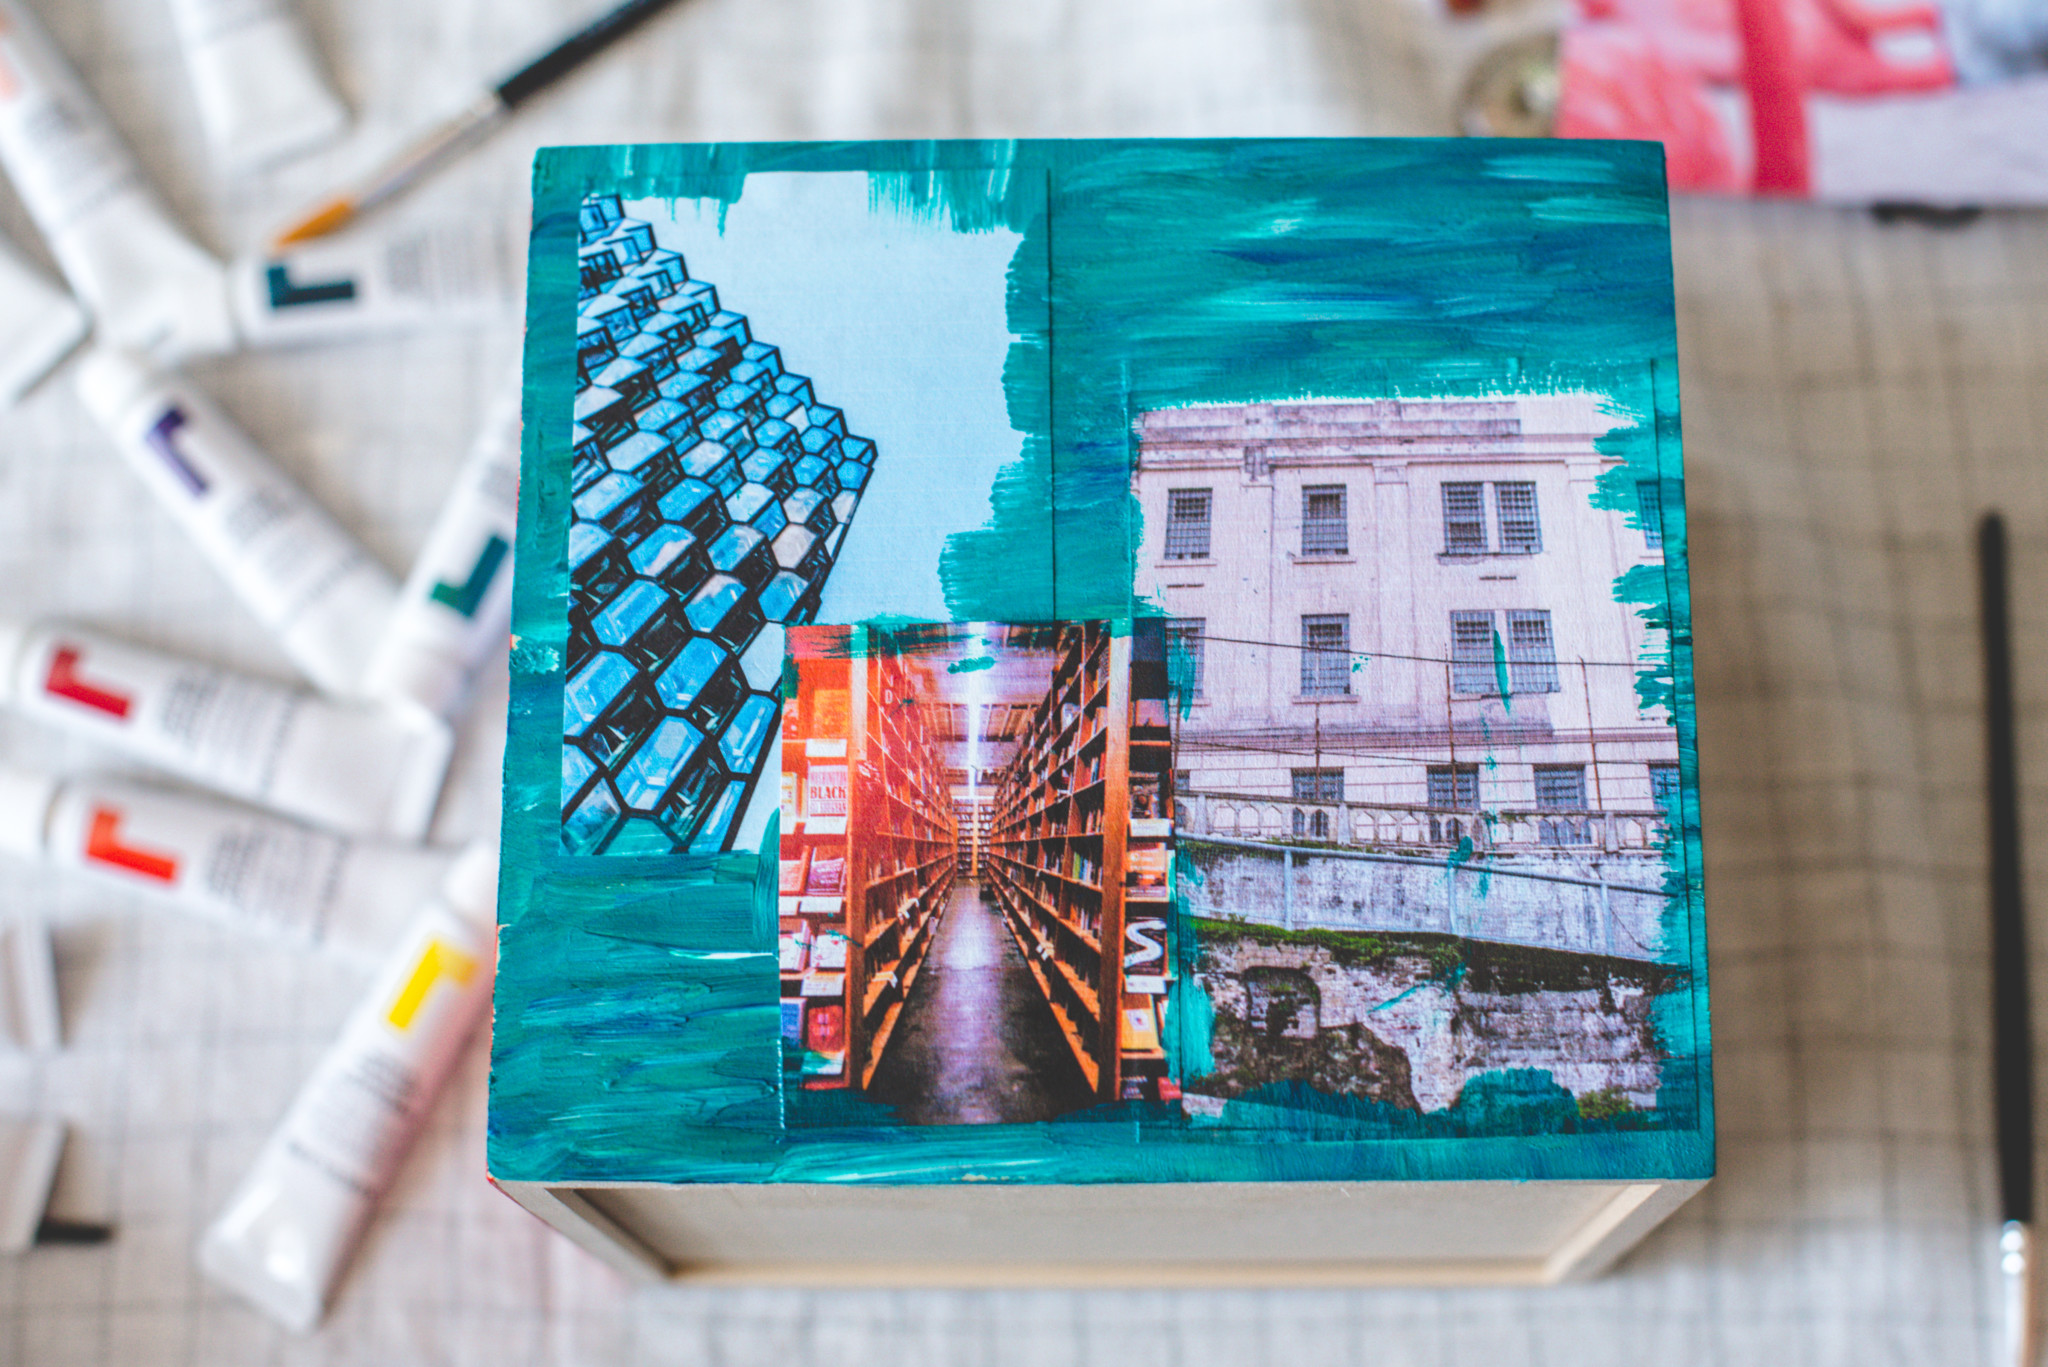
3. I used the paint to embellish the photos for a more creative/artistic look but for a cleaner look, you can skip this step. You can also use a few different colors to blend into a new color or just add some dimension. I went with what felt right to me and what I thought was visually appealing. Have fun with it! And repeat until you’ve covered each side of the box. 🙂
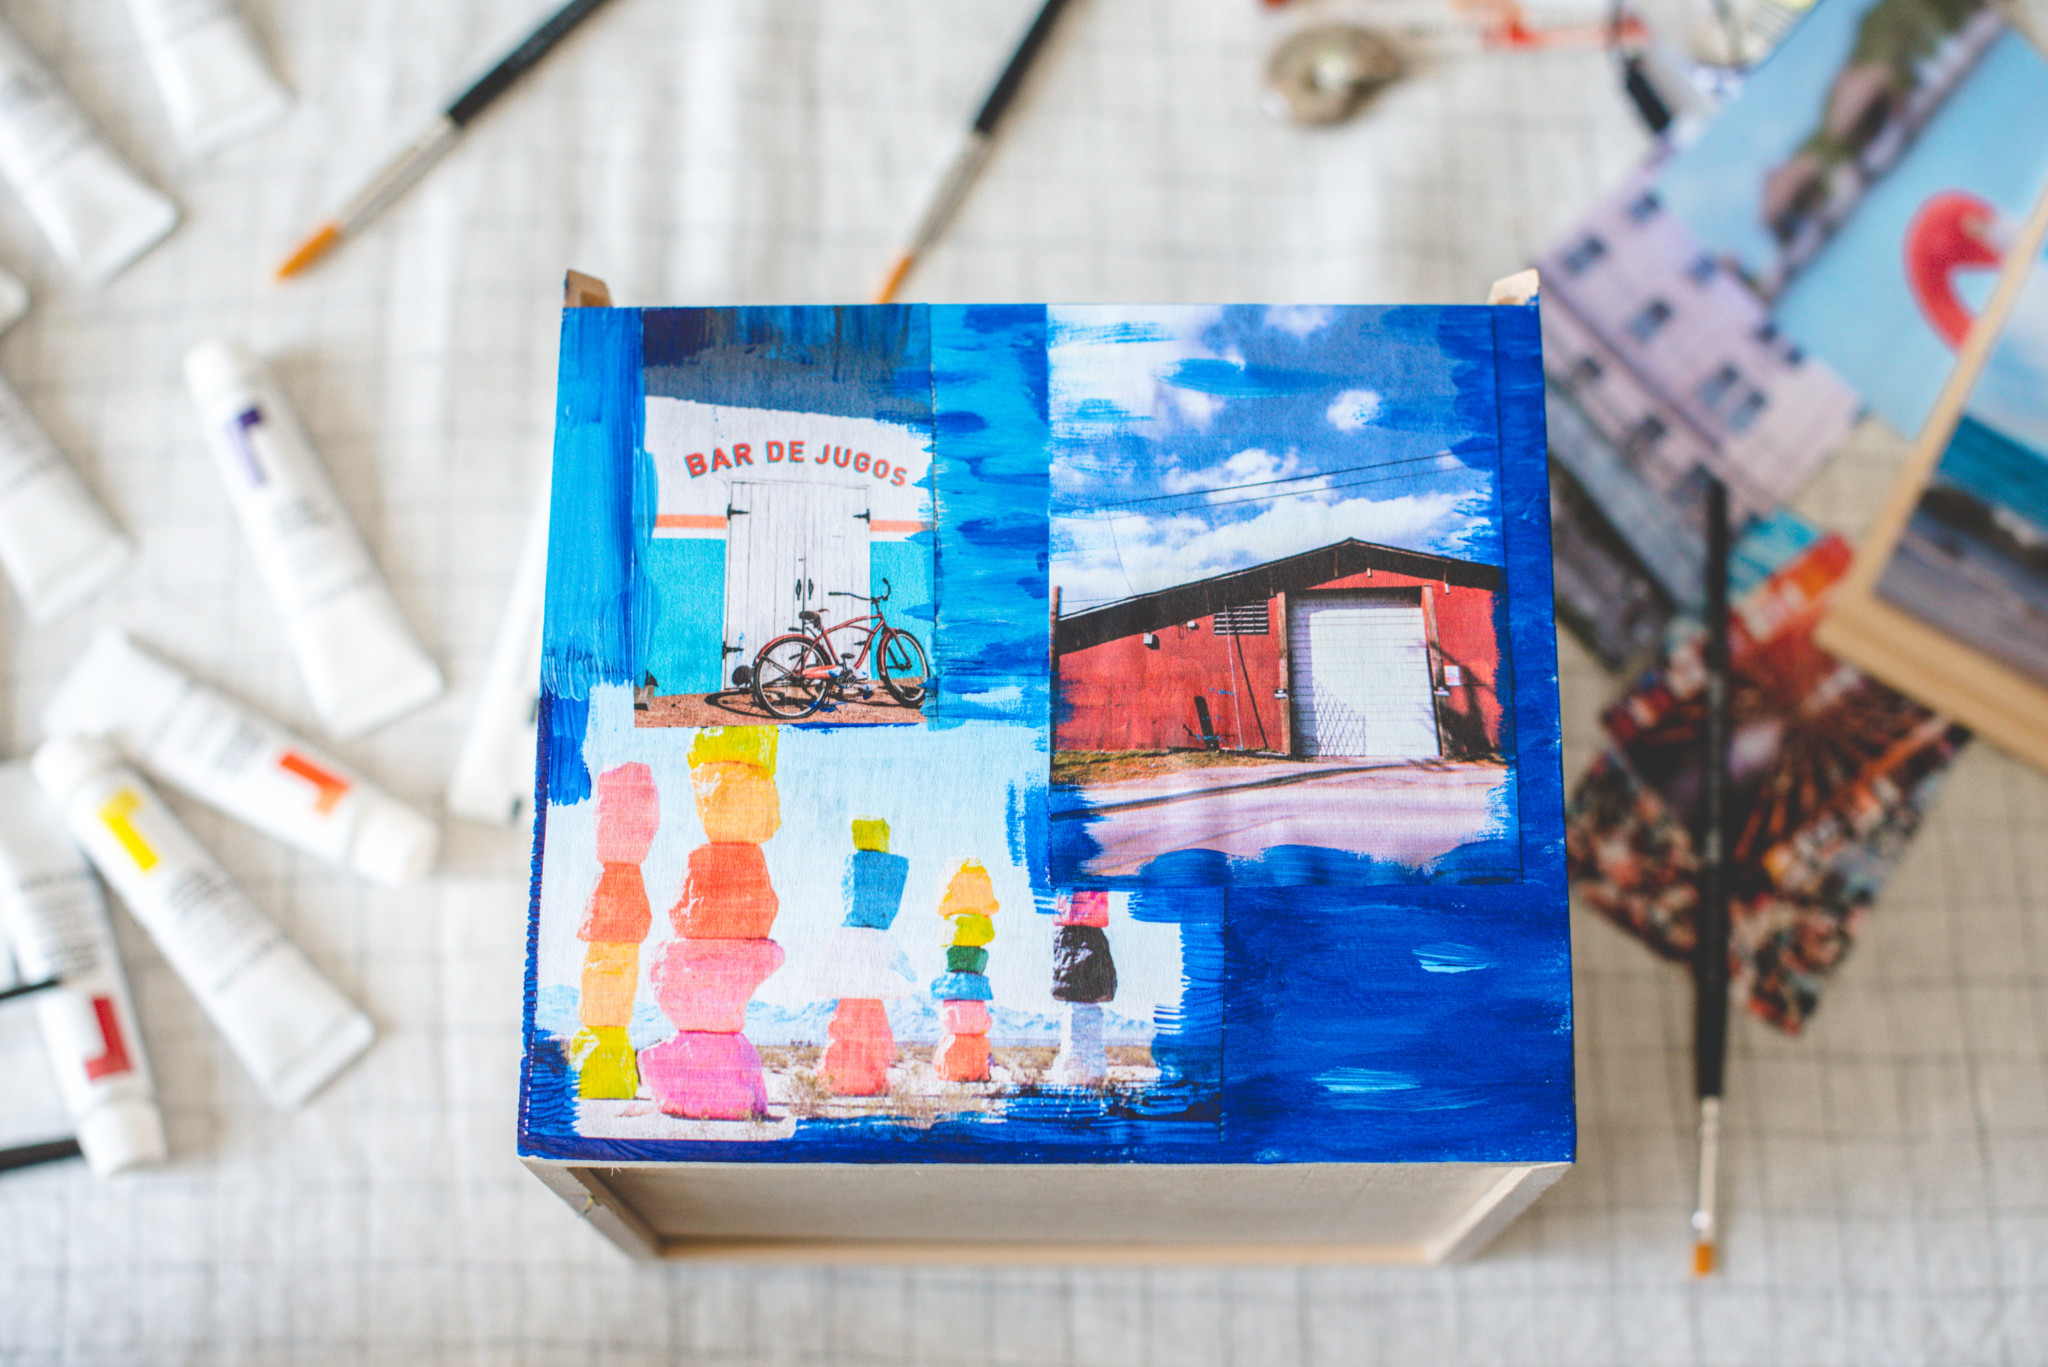
And you’re done! You could seal it with Mod Podge or a clear coat if you want but I preferred the matte look of it. Now you have a special personalized place to store all of those fun goodies you collect!
-Nik Vandeventer
ABOUT NIK VANDEVENTER:
Nik is a maker, day dreamer & potty mouth who loves cats, coffee and craft beer. She is a self taught hand embroiderer and will DIY pretty much anything she can get her hands on. You can see her work on IG @wastingthyme & @nikvphotography. She lives in Long Beach with her husband and her three awesome cats (that she can’t shut up about).

