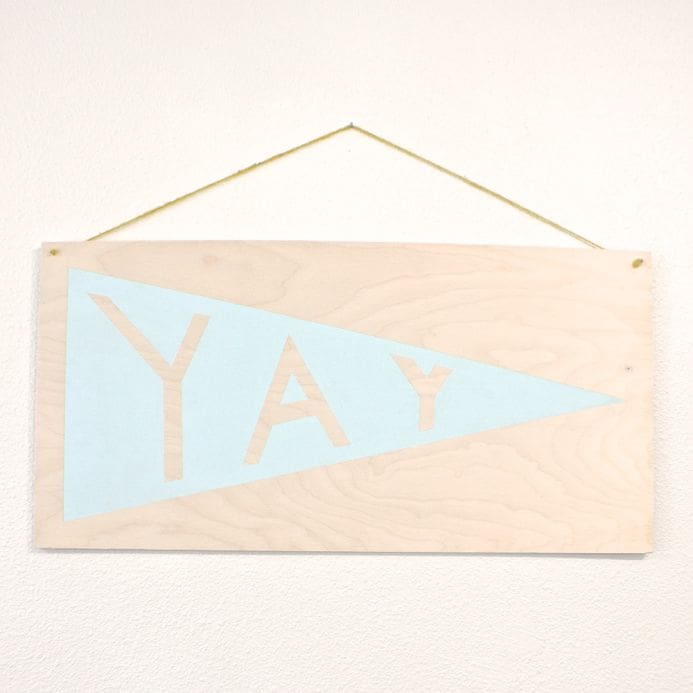
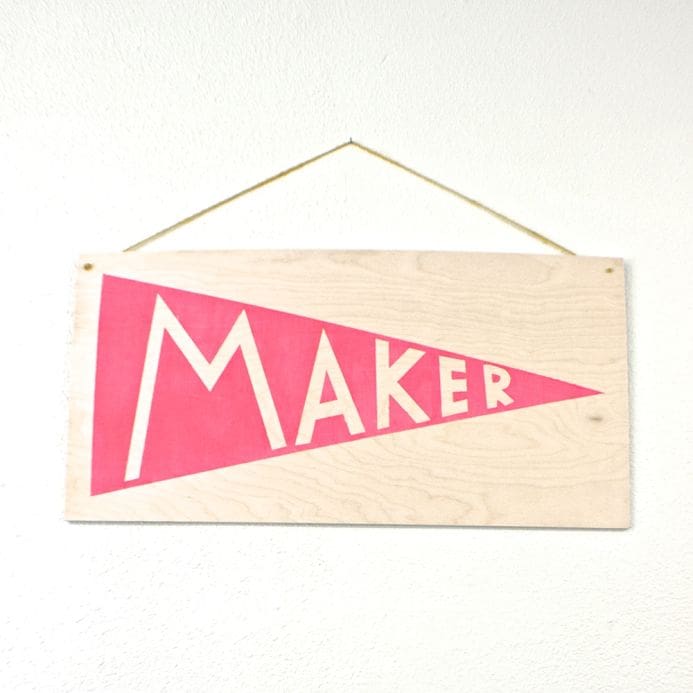
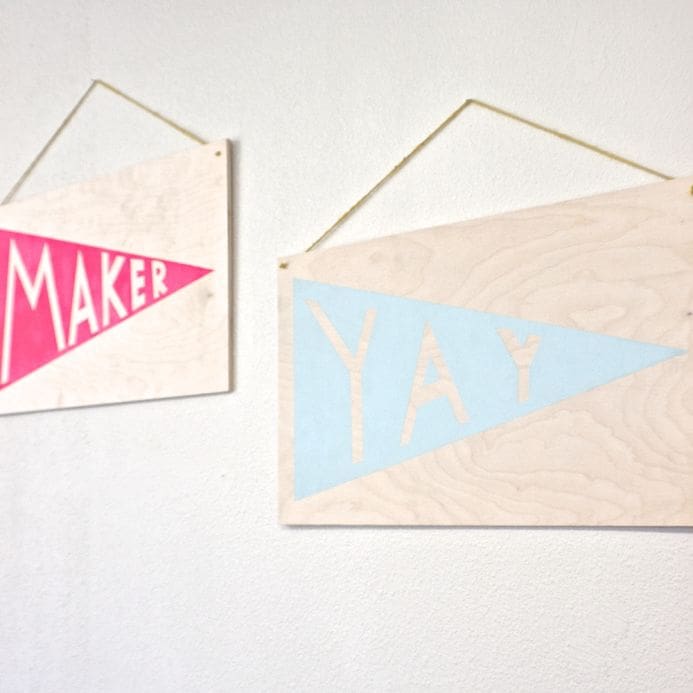
DIY Wood Pennant Print
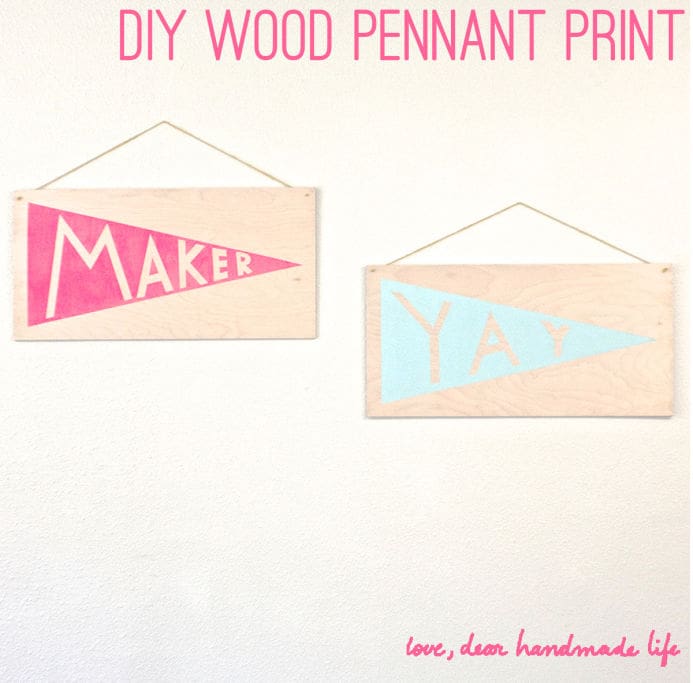 Freezer paper printing is most definitely one of the easiest and most accessible methods for DIY printing. It’s so simple to create a custom stencil and print on just about every type of natural fiber, plus it’s so gratifying to pull up the paper to reveal your printed design. But did you know that you could also use a freezer paper stencil on wood, too? It’s true, you can! For optimal results, you’ll want to make sure that your printing surface is smooth, even and completely flat.
This project marries two of my current favorite trends: plywood and pennant flags, and the results could not be cuter. So gather your supplies and get ready to freezer paper stencil all the things!
-Lisa Rios of The Makery
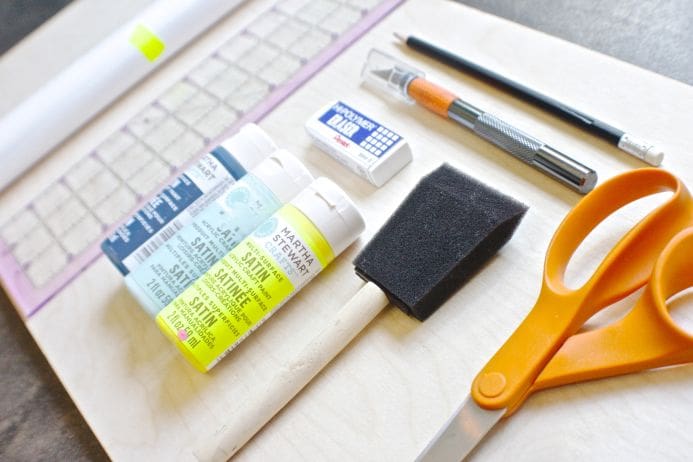 What to get:
-12”x24” piece of craft plywood
–Freezer paper (cut to the dimension of your plywood)
-Scissors
-Thick craft paint
-Foam paint brush
-Pencil
-Eraser
-Ruler
-Craft knife
-Self-healing mat
-Acrylic or metal ruler
-Iron
-Ironing board
-Washi Tape (not pictured)
-Tweezers (optional)
-Twine (optional)
 What to do:
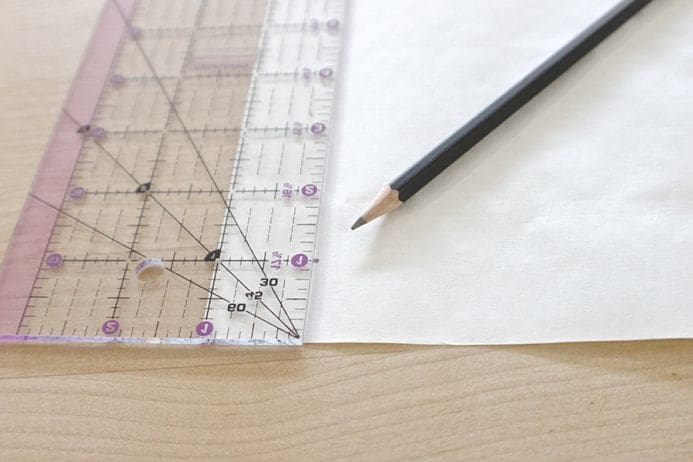
1. To start, make sure you’re working with the shiny side down. On the left side of your freezer paper, place a mark 1” in and 1” up from the bottom, and repeat on the top (1” in and 1” down from the top). On the right side of your freezer paper, place a mark 1” in and 6” up from the bottom.
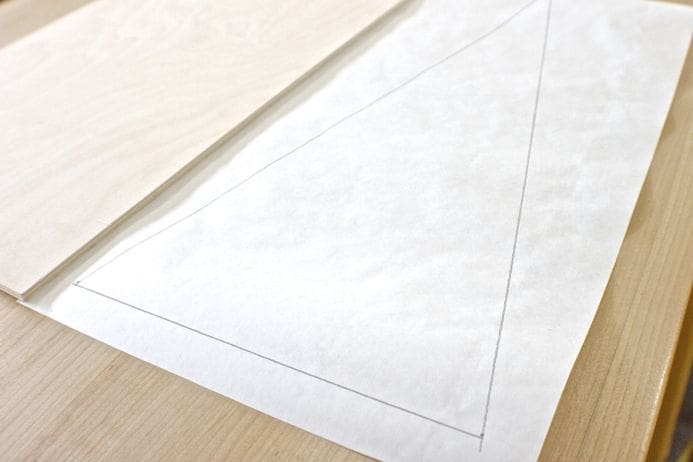 2. Connect the dots to draw a triangle.
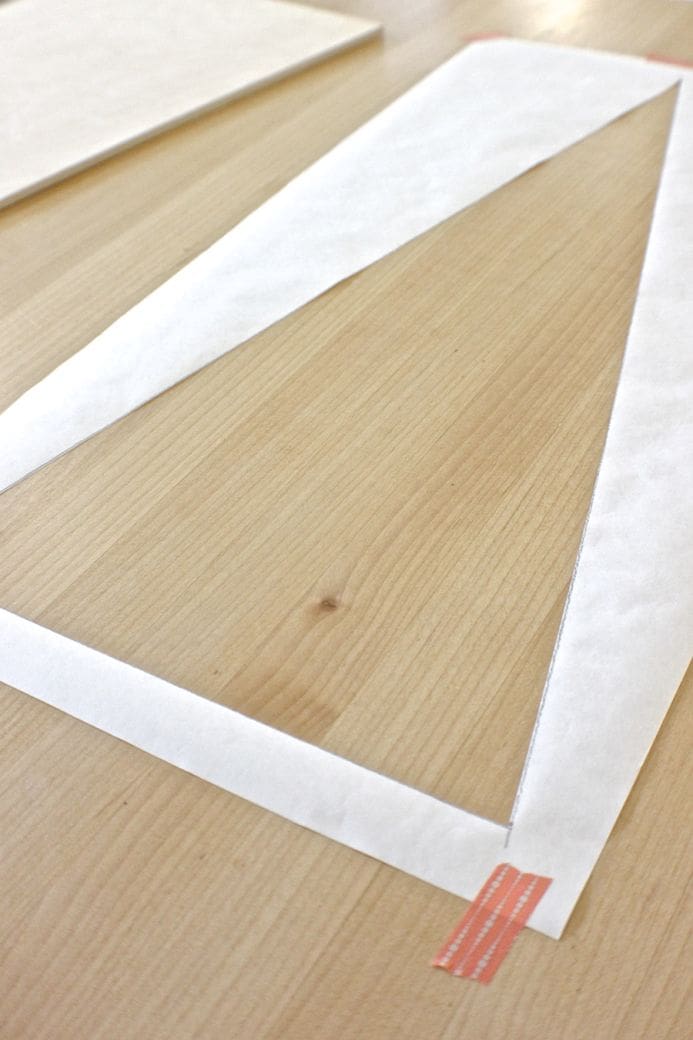 3. Cut out with your craft knife, self-healing mat and ruler. Take care to only cut on the pencil lines you’ve drawn to keep the stencil in tact. Set your larger piece aside (I used washi to tape my stencils to my work surface to prevent it from curling).
4. Use your ruler to create a ½” margin inside the triangle.
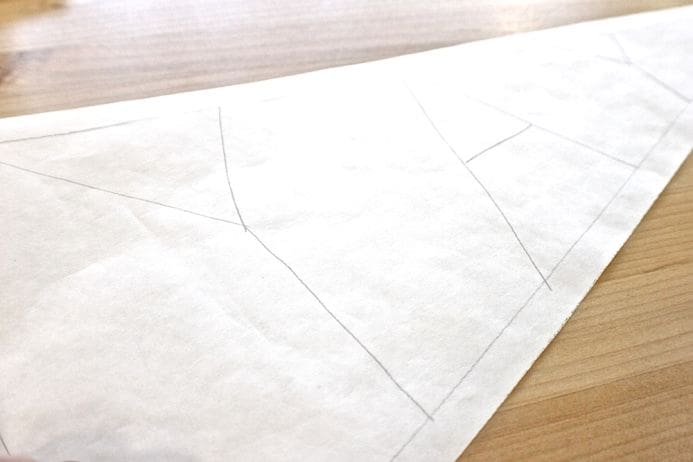 5. Choose a short word and draw the simple letters (the bones) inside of the margin.
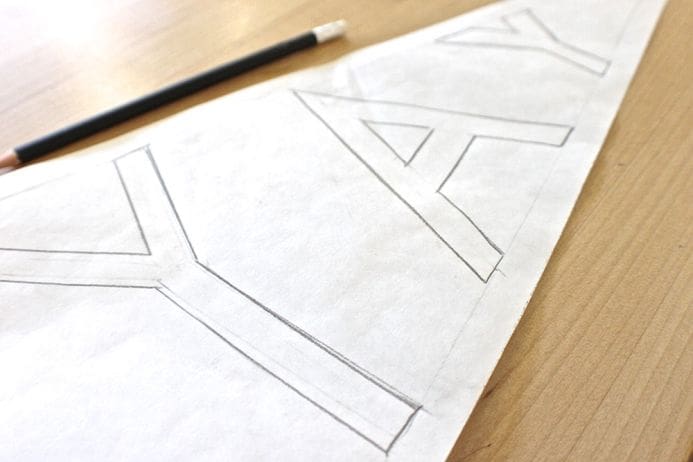 6. Use your ruler to “beef up” your letters. In my opinion, this was the trickiest part of the whole project, but I got through it and I promise you will, too 🙂
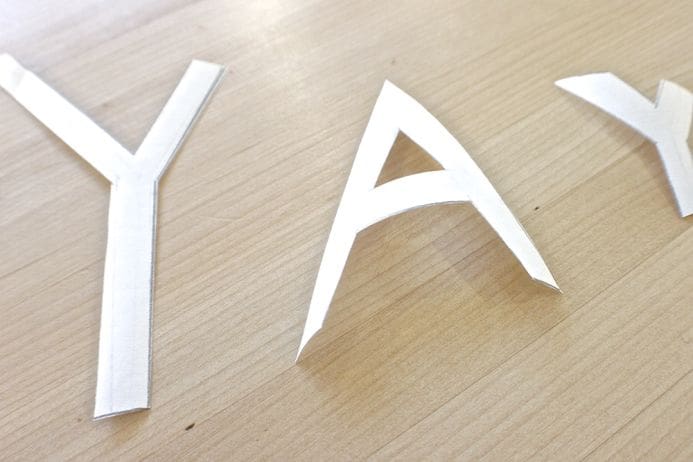 7. Cut out your letters with your craft knife, self-healing mat and ruler. Again, take care to cut
 8. Lay out your stencil pieces on your plywood (shiny side down) and press in to place with your iron.
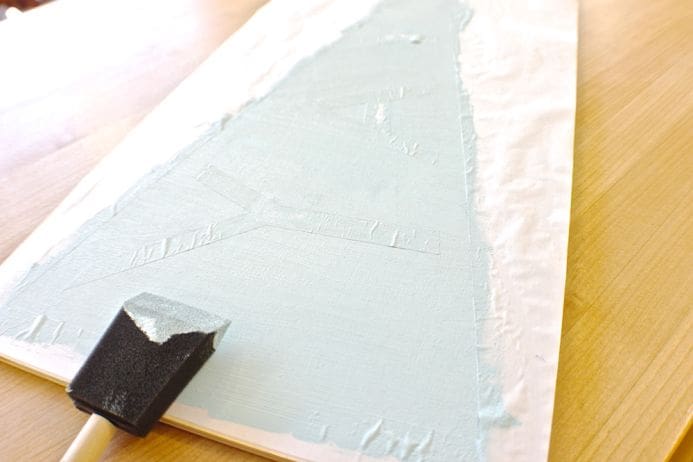 9. Apply paint using a foam brush. It’s best if you apply paint by gently dabbing up and down to prevent paint from getting underneath your stencil.
10. Once dry, remove your freezer paper stencil. The freezer paper might not come completely off your board, but you can pick at the pieces left behind with a pair of craft tweezers pretty easily.
11. To display, you can drill a hole in each of the top two corners and string with twine (as pictured), or you can also simply lean against a mantel or bookshelf. Wouldn’t this also be adorable as custom party decor?
“If you had asked my 12-year-old self what I wanted to be when I grow up, I probably would have had a perfectly sensible answer. Like a circus trapeze artist or an outer space explorer. Never in my wildest dreams could I have imagined that I would craft for a living. But fast-forward 20 years and I’m the owner of The Makery, a walk-in craft studio located in Anaheim. In addition to teaching and organizing local creative workshops, planning craft parties and designing handmade craft kits, I also design for Whimsy and Ink, the handmade biz I share with my rad hubby. My work has been featured in Real Simple, Brides Magazine, Bust, The Huffington Post, Orange Coast Magazine, Sunset Magazine, in Etsy’s Featured Sellers series, and in my mom’s emails to Grandma.”

