FRIENDSHIP BRACELETS WITH CLOVER BRACELET MAKER

Remember going to summer camp when you were a kid? No? Ok well me neither haha. BUT! I do remember going to a day camp activity with my school when I was younger & that’s where I learned how to make Friendship bracelets! I can’t even tell you how many I made that year but I do remember how much I loved making them.
Now that my niece is about the same age as I was when I learned how to make them, I thought this would be such a fun summer project for us to do together. And now that Clover has come up with their own Bracelet Maker, it’s made it easier than ever.
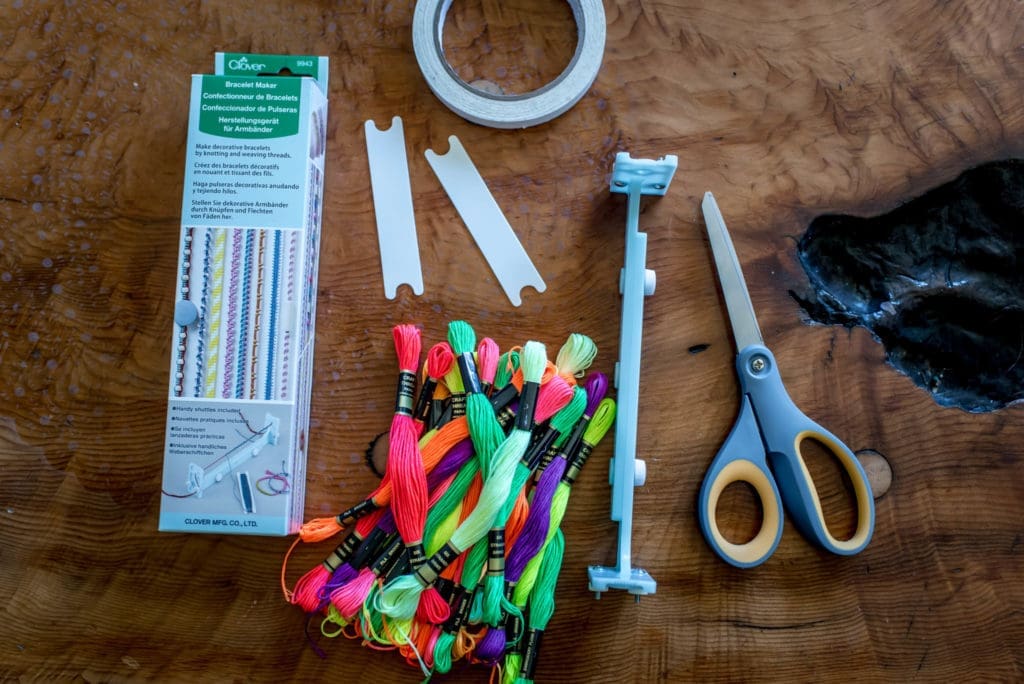
supply list:
- Clover’s Bracelet Maker
- Embroidery Floss or a mix of different thin yarns and threads
- Scissors
- Tape- washi or painters tape is best
Clover has some great Tutorials on their Tool School website on how to use the Bracelet Maker. You can see a more detailed video on that HERE and learn how to make one using jelly yarn HERE. You can also find some great videos showing you how many different types of bracelets you can make, HERE!

step one:
Decide what type of bracelet you would like to make, there are lots of different options to choose from. HERE you can find some great videos showing you how many different types of bracelets you can make! I chose the basic weaving style bracelet, you can see a great tutorial video for that one HERE. My best friend chose the Alternating Larks Hitch knot style and you can see how to make that style HERE. My niece chose the Spiral Knot style and you can see how to make that HERE.
STEP TWO:
Load the bracelet maker how it corresponds to the bracelet you chose to make. Since I was making the weaving style, I loaded the maker with 5 strands of embroidery floss as my Warp. For this style, it’s easiest to start with an odd number of warp threads.
Load your shuttle with more thread, I chose to use a different color here but you could also use the same colors. You will only need 1 shuttle for this style and it’s easiest to tape down the start of the thread so it doesn’t just slip off the shuttle.
Tie a knot with your shuttle thread about and inch away from one end of the bracelet maker, on the outside warp thread.
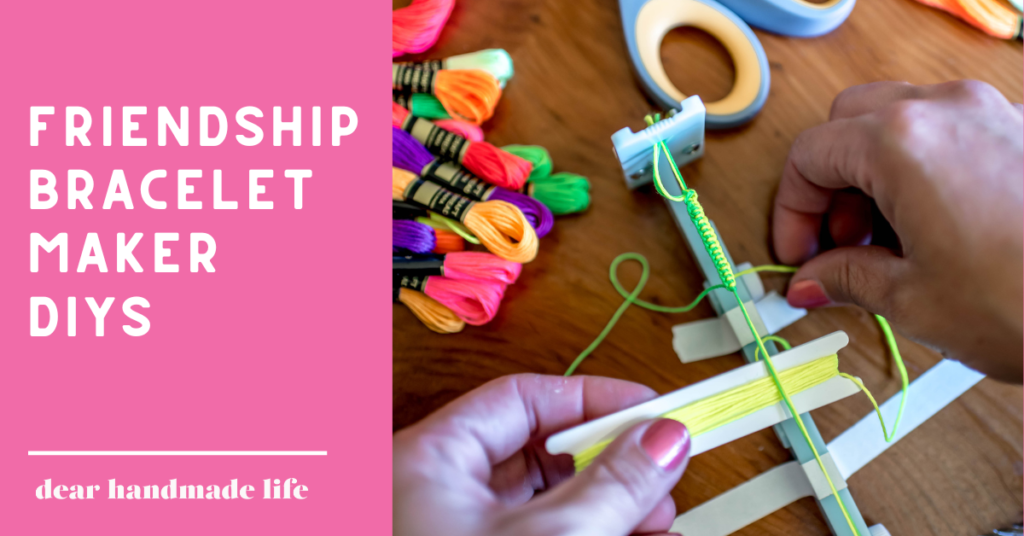
Start weaving! I started with going over-under-over-under, until I was under 2 strands of my warp thread, and you pull it through to the other side. Coming back I went under-over so that the shuttle was going under 3 strands of the warp thread this time. As you continue to weave the same way, make sure you are pulling the thread taut and then pushing the threads together as you go.
Continue weaving until the bracelet is the length you’d like it to be. Keep in mind that you will use the warp threads to tie off the ends of the bracelet. Once mine was the length I wanted it, I tied a knot off with my weaving thread, just like I had to start it, but on the opposite end.
I took all of the warp threads off of the maker and then braided them together and tied a knot at each end to secure all the threads together. Cut off any excess threads, and you’re done!
This was such a fun activity for all of us to do together while we ate snacks and watched a scary movie, perfect summer activities 🙂

ABOUT NIK
Nik is a maker, day dreamer & potty mouth who loves cats, coffee and craft beer. She is a self taught hand embroiderer and will DIY pretty much anything she can get her hands on. You can see her work on Instagram @wastingthyme & @nikvphotography. She lives in Long Beach with her husband and her three awesome cats (that she can’t shut up about).


