How to Make a Spooky DIY Halloween yard
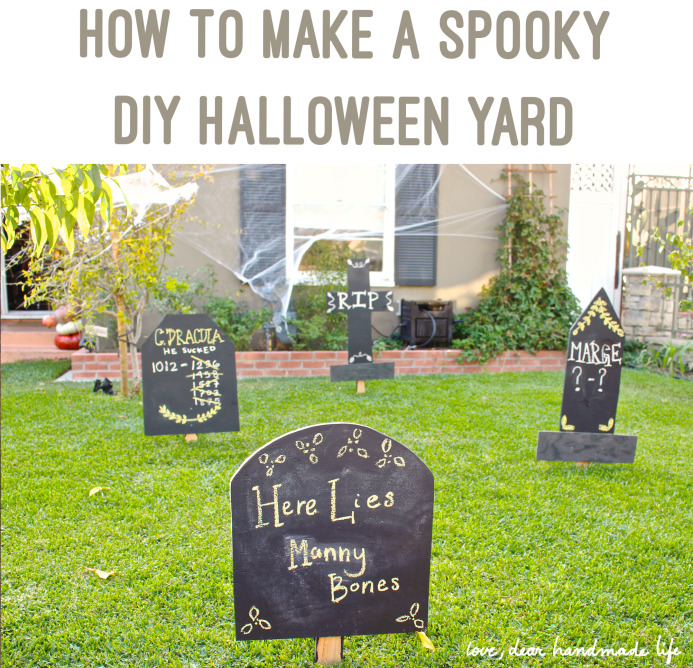 When I was young, I loved Halloween. Who doesn’t like to dress up in costumes and walk around the neighborhood getting sweets! I remember roaming around with friends for hours, gathering goodies. At the end of the evening we’d spill our loot onto the floor and bask in our new found wealth.
The hit of the evening was that one house (or two if we were lucky) that really went over the top with scary music, tons of “cobwebs” and colored lights. Sometimes there was something that looked like a scarecrow but wasn’t. The ‘scarecrow’ would jump out to scare you. I always had to run fast past them! Even though it was scary, I really loved those houses. They put lots of effort into the holiday and we were delighted that it was just a little more than expected.
Before we moved into the house we have now, we’d only have five or so kids trick or treat at our place. I would put out candles and make a little attempt to do something, but again we are talking about only a handful of kids who would see it. In our current house things are very different. We learned that the hard way on our first Halloween when we ran out of candy in the first 30 minutes! Now coming up to our third Halloween in the new house, I really wanted to step it up and try to do something extra special, like those homes I used to love as a kid.
What’s great about this project is that it costs very little (especially considering you can reuse the decor year after year) and it is quick (the whole project only takes two to three hours). Plus you can change what is on the tombstones every year to mix it up a little. Also, this is not a contest so you don’t have to get your cuts exact or if they are not straight that is fine. People will be seeing this in the dark or from far away so don’t try to be a perfectionist. It’s supposed to be fun!
-Delilah Snell
What to Get:
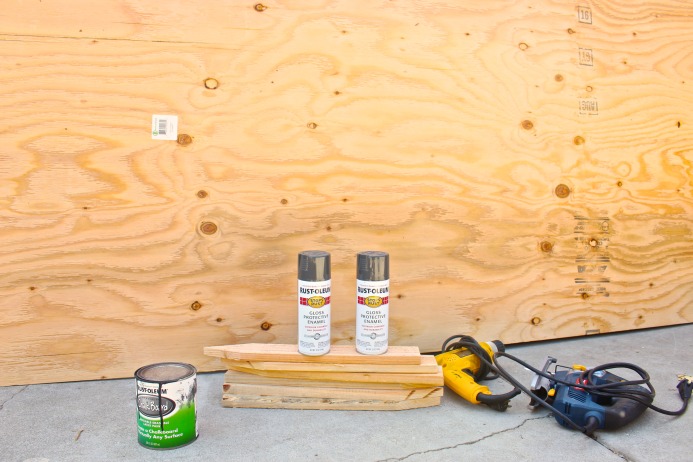 One sheet of plywood that is ¼ inch thick and 4 x 8 feet
Two beams that are 2 inches x 2 inches x 8 feet
One pint of black chalkboard paint
Paint roller/tray for chalk paint
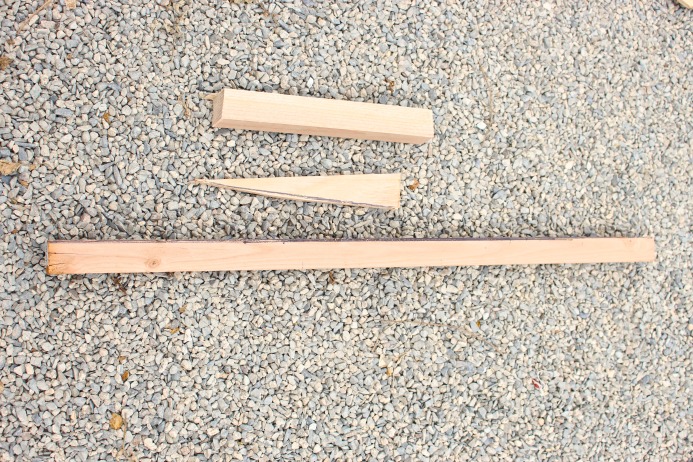
Six plus stakes that are 2 inches x 1 foot x 6 inches
Screws or nails that are 1 inch long (I used nails because they were already in the house)
Grey spray paint
Tools: jig saw, screwdriver (if you’re using screws), hammer (if you’re using nails), protective eye ware for using the saw, marker (for measuring/marking), measuring tape and yardstick
Chalk
Sand paper or sander (optional)
What to Do:
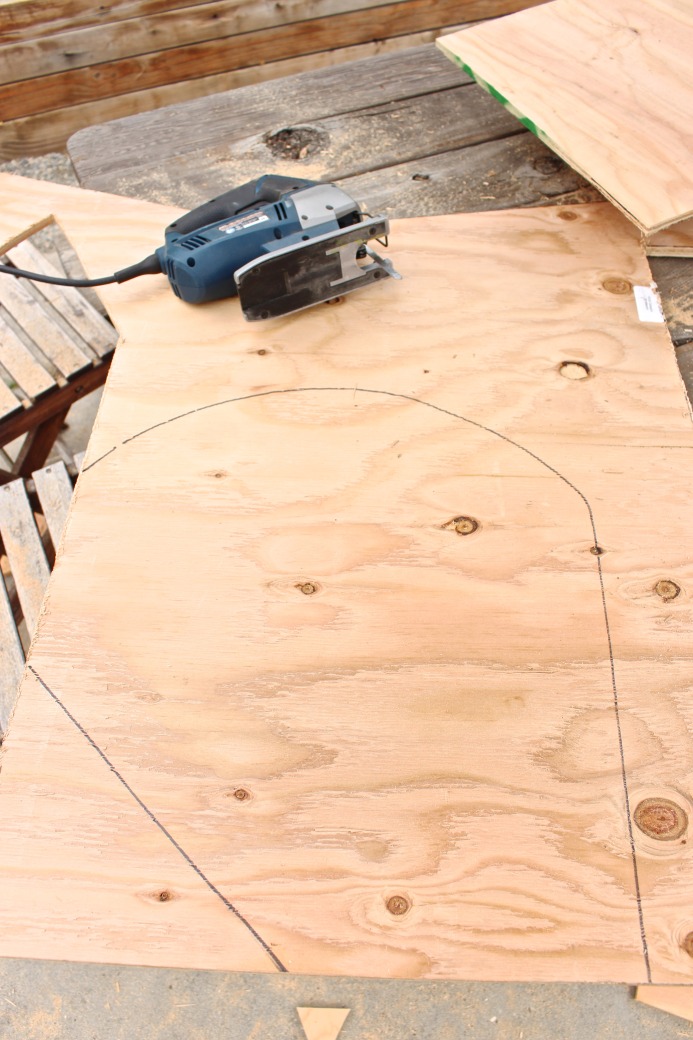
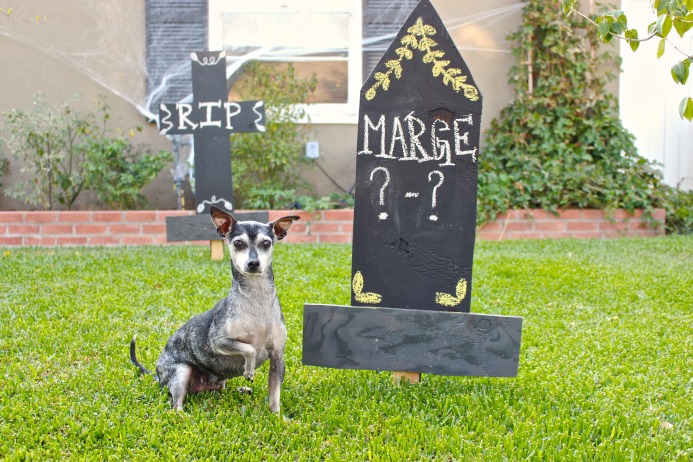
1. Lay the plywood on the ground. With the yardstick and a marker, lay out your tombstone designs. Use the ones I did in the pictures below or look online for ideas. Try to mark your items as close as possible to make the most of your wood. For my sheet of wood I was able to do six tombstones and 1 coffin.
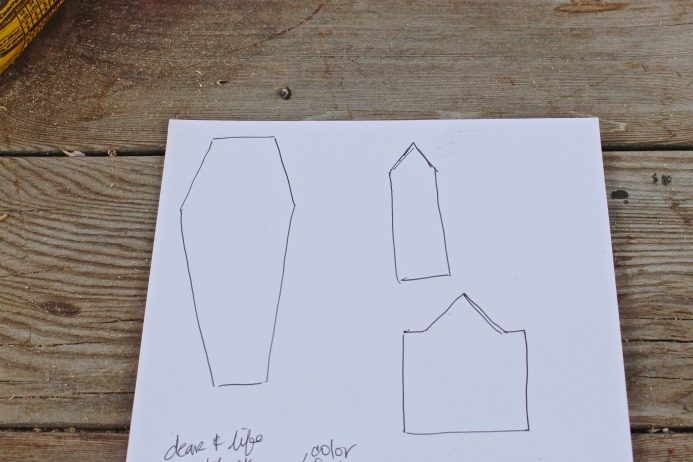
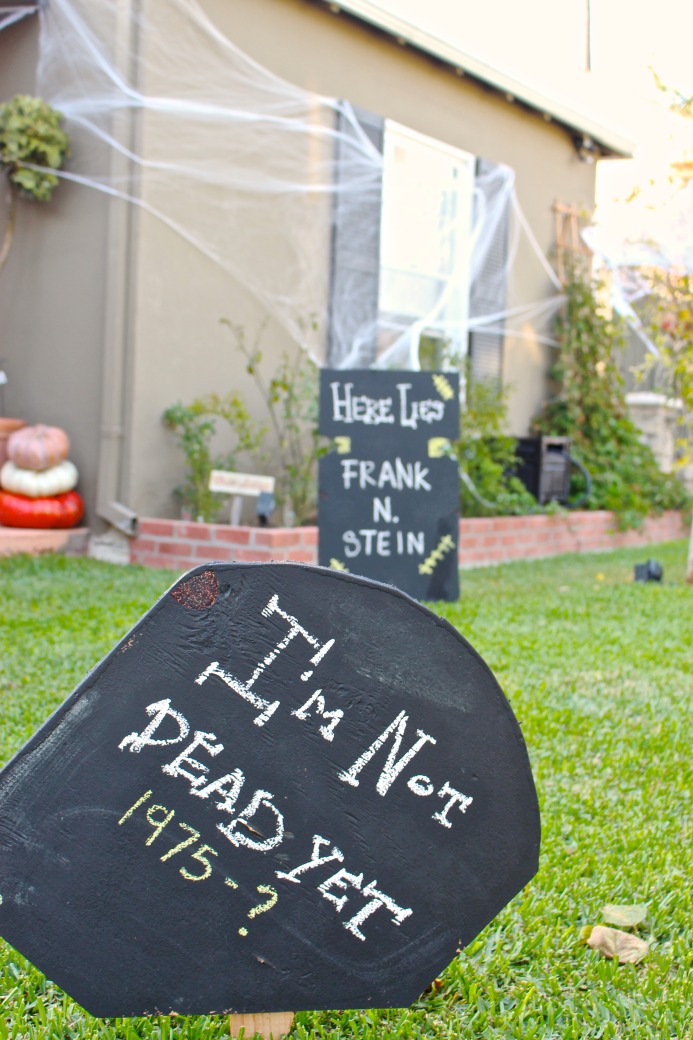
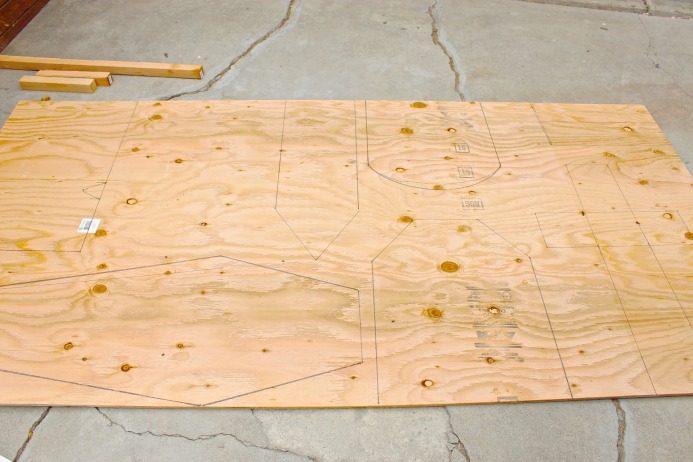 2. Tilted tombstone: I traced one of my cut tombstones (the smaller, curved topped one) and made a diagonal cut on the lower bottom corner.
3. General measurements: My tombstones are no taller than 2 feet x 6 inches and no wider than 1 foot x 6 inches. My coffin was 4 feet 2 inches x 1 foot 6 inches.
4. Cut the wood along the lines, wear something to protect your eyes from the sawdust.
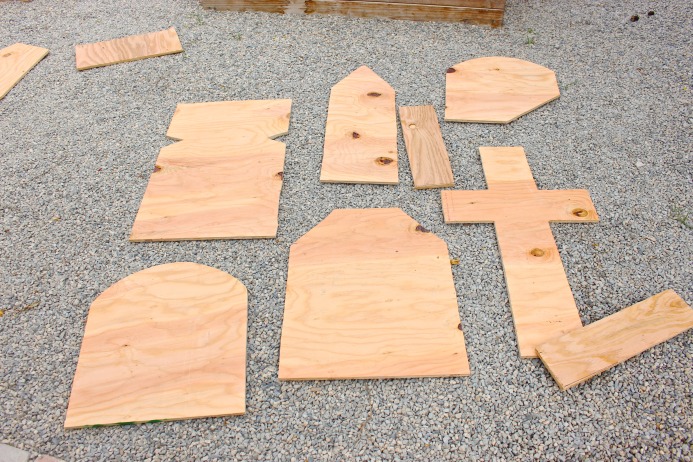 5. Sand edges (optional): I didn’t because I was the only one touching them and the paint softened the edges a little. People are NOT supposed to touch them. They are for display only. It’s your call if you want to take the extra time to sand them.
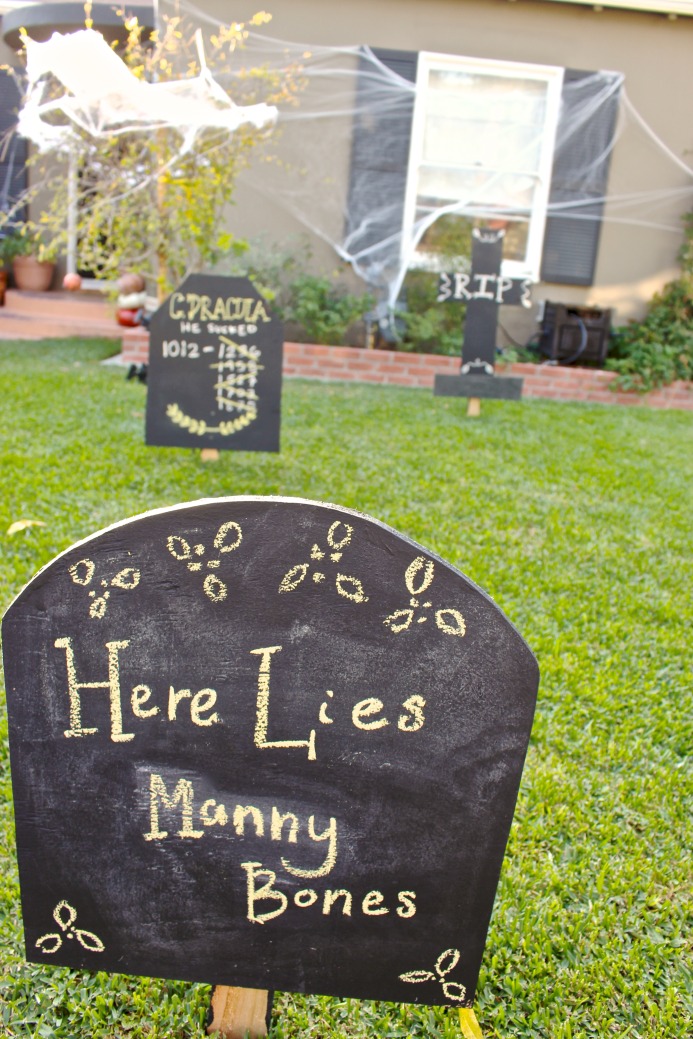
6. TOMBSTONES: Paint the front, back and sides of the tombstones with chalkboard paint. Paint the stakes as well. Allow them to dry. On the front of the tombstone, attach the stakes with nails/screws. Paint over with chalkboard paint if needed. Use the chalk to put a message on tombstone. NOTE: Chalk marks from erasing make the tombstone look old which is good!!
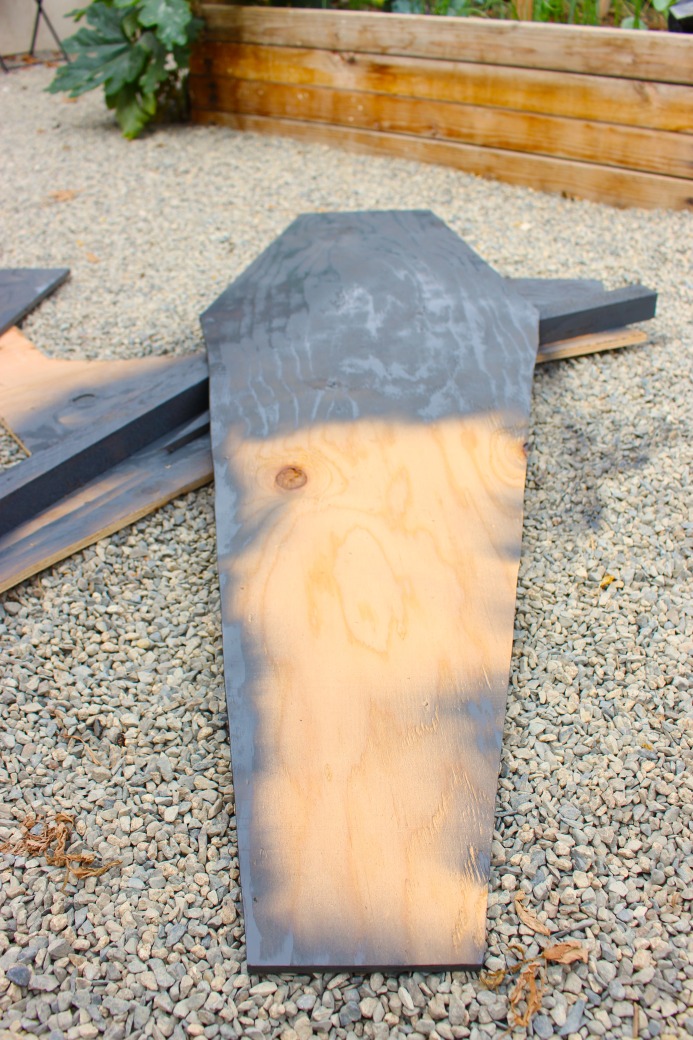
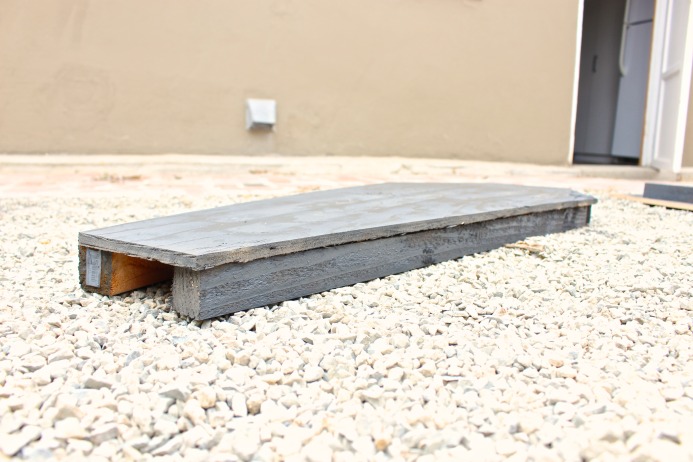
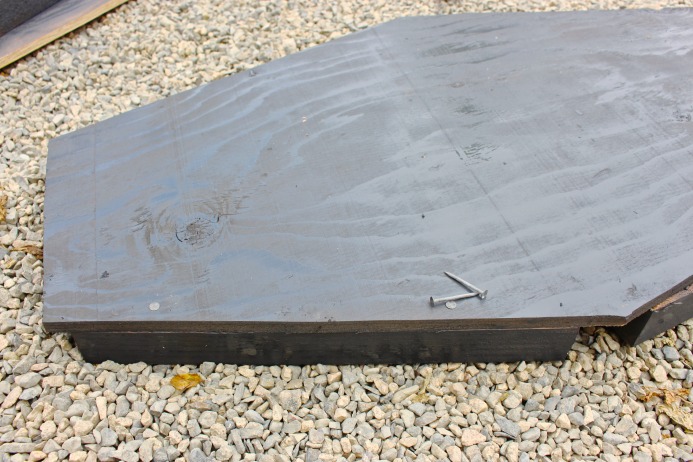
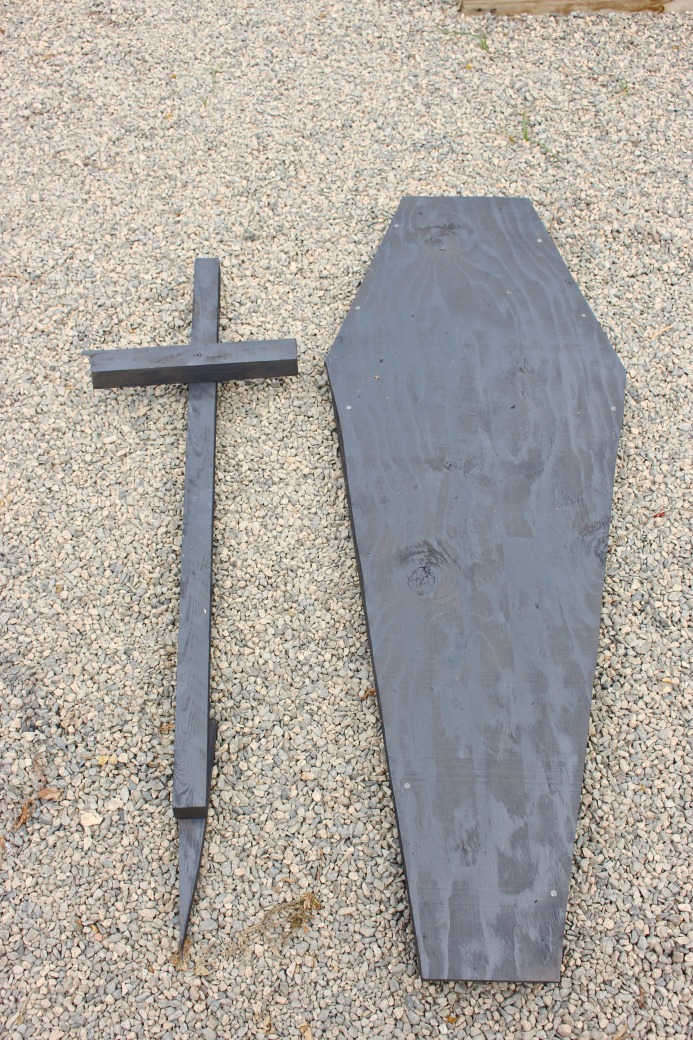
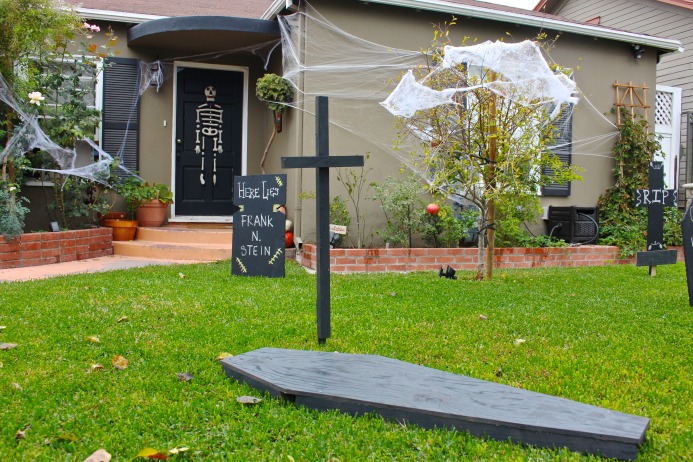
7. COFFIN: Spray paint the sides and top of the coffin. Cut the 2 inch x 2 inch posts into pieces that are about 1-2 inches shorter than the lengths of the coffin. Spray the sides of the posts that will be facing outside. Nail or screw from the top of the coffin into the post.
8. EXTRA PIECE: I had some extra post pieces that I used to make a cross which I painted with the grey spray paint. I used an extra sharp piece leftover from cutting the tombstones as a stake and attached it to the cross. It was SUPER simple and turned out great!
 9. Stick in front yard!! We are going to add dry ice for a spookier effect on the big day!
I can’t wait to see what the neighborhood thinks of our front yard graveyard!


One Comment