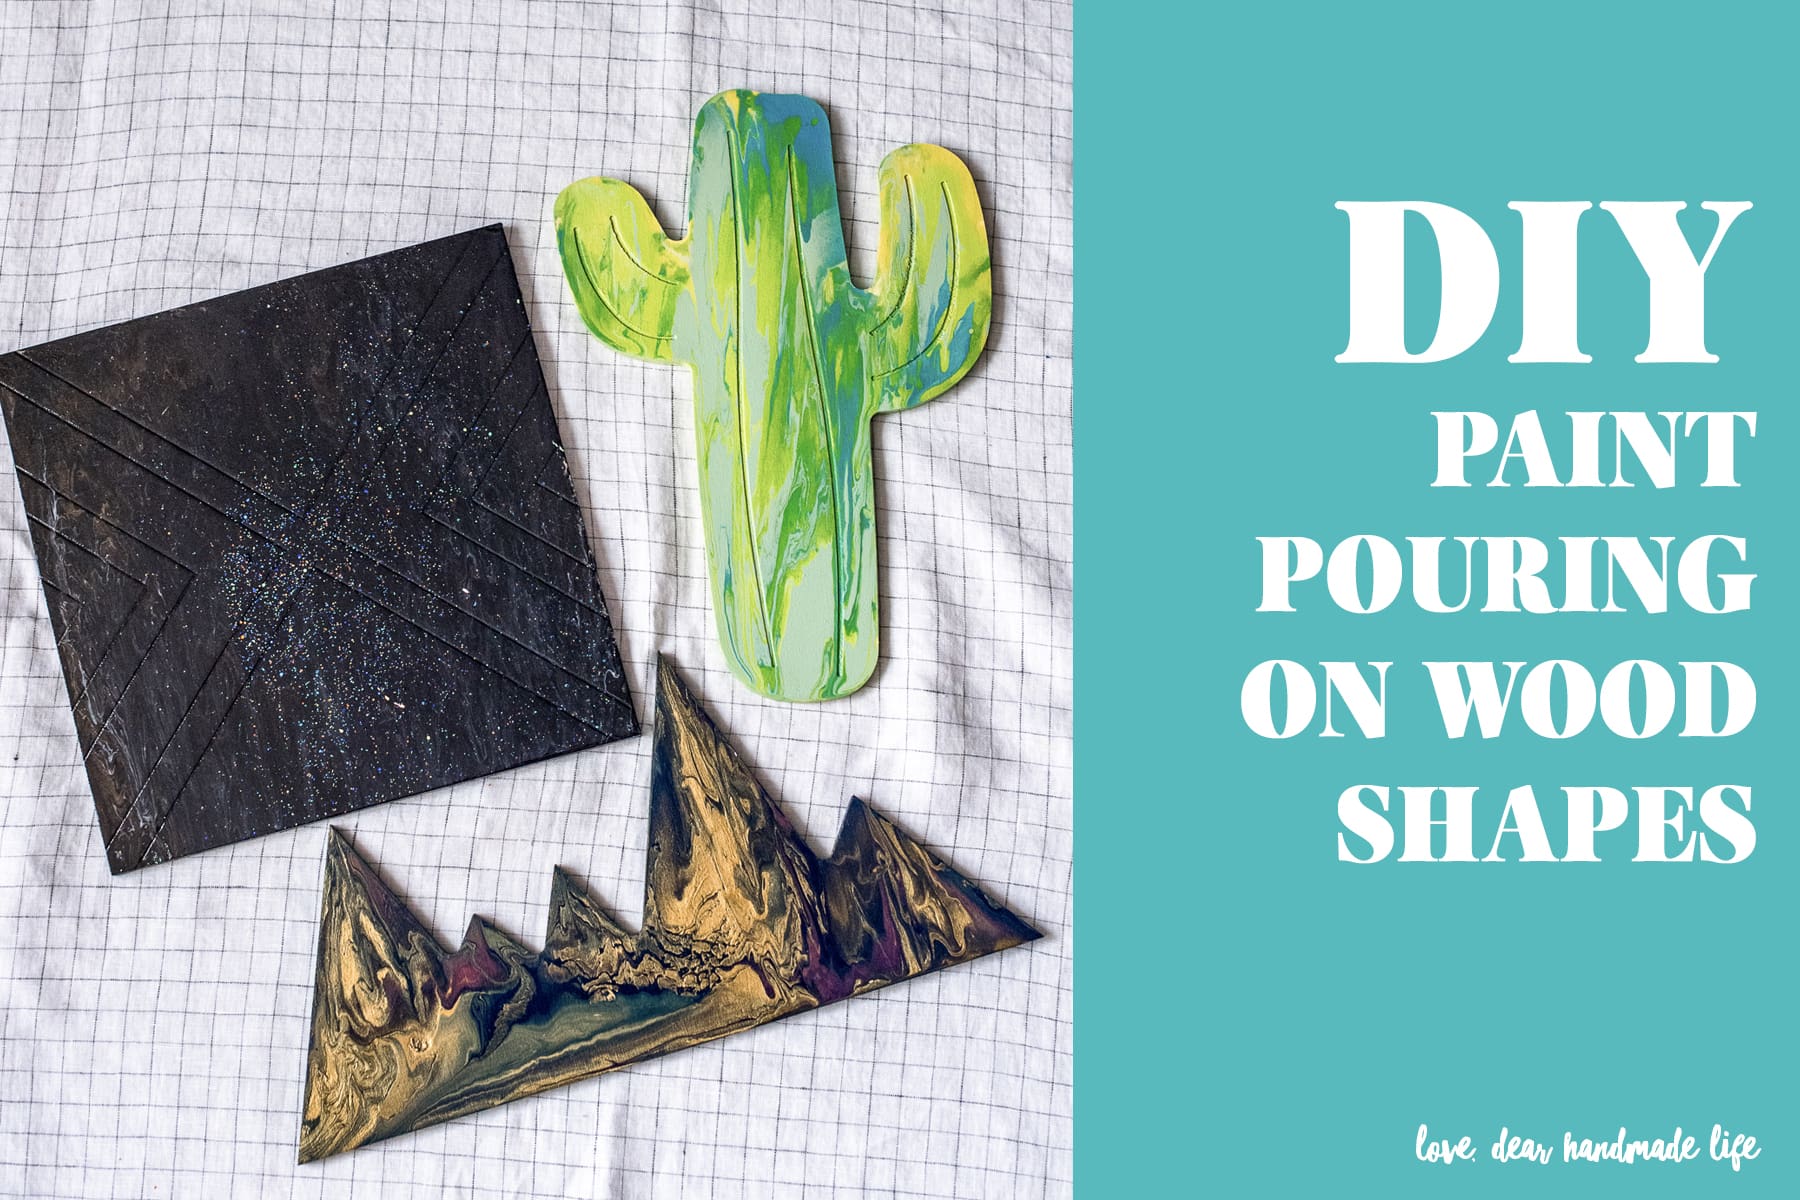
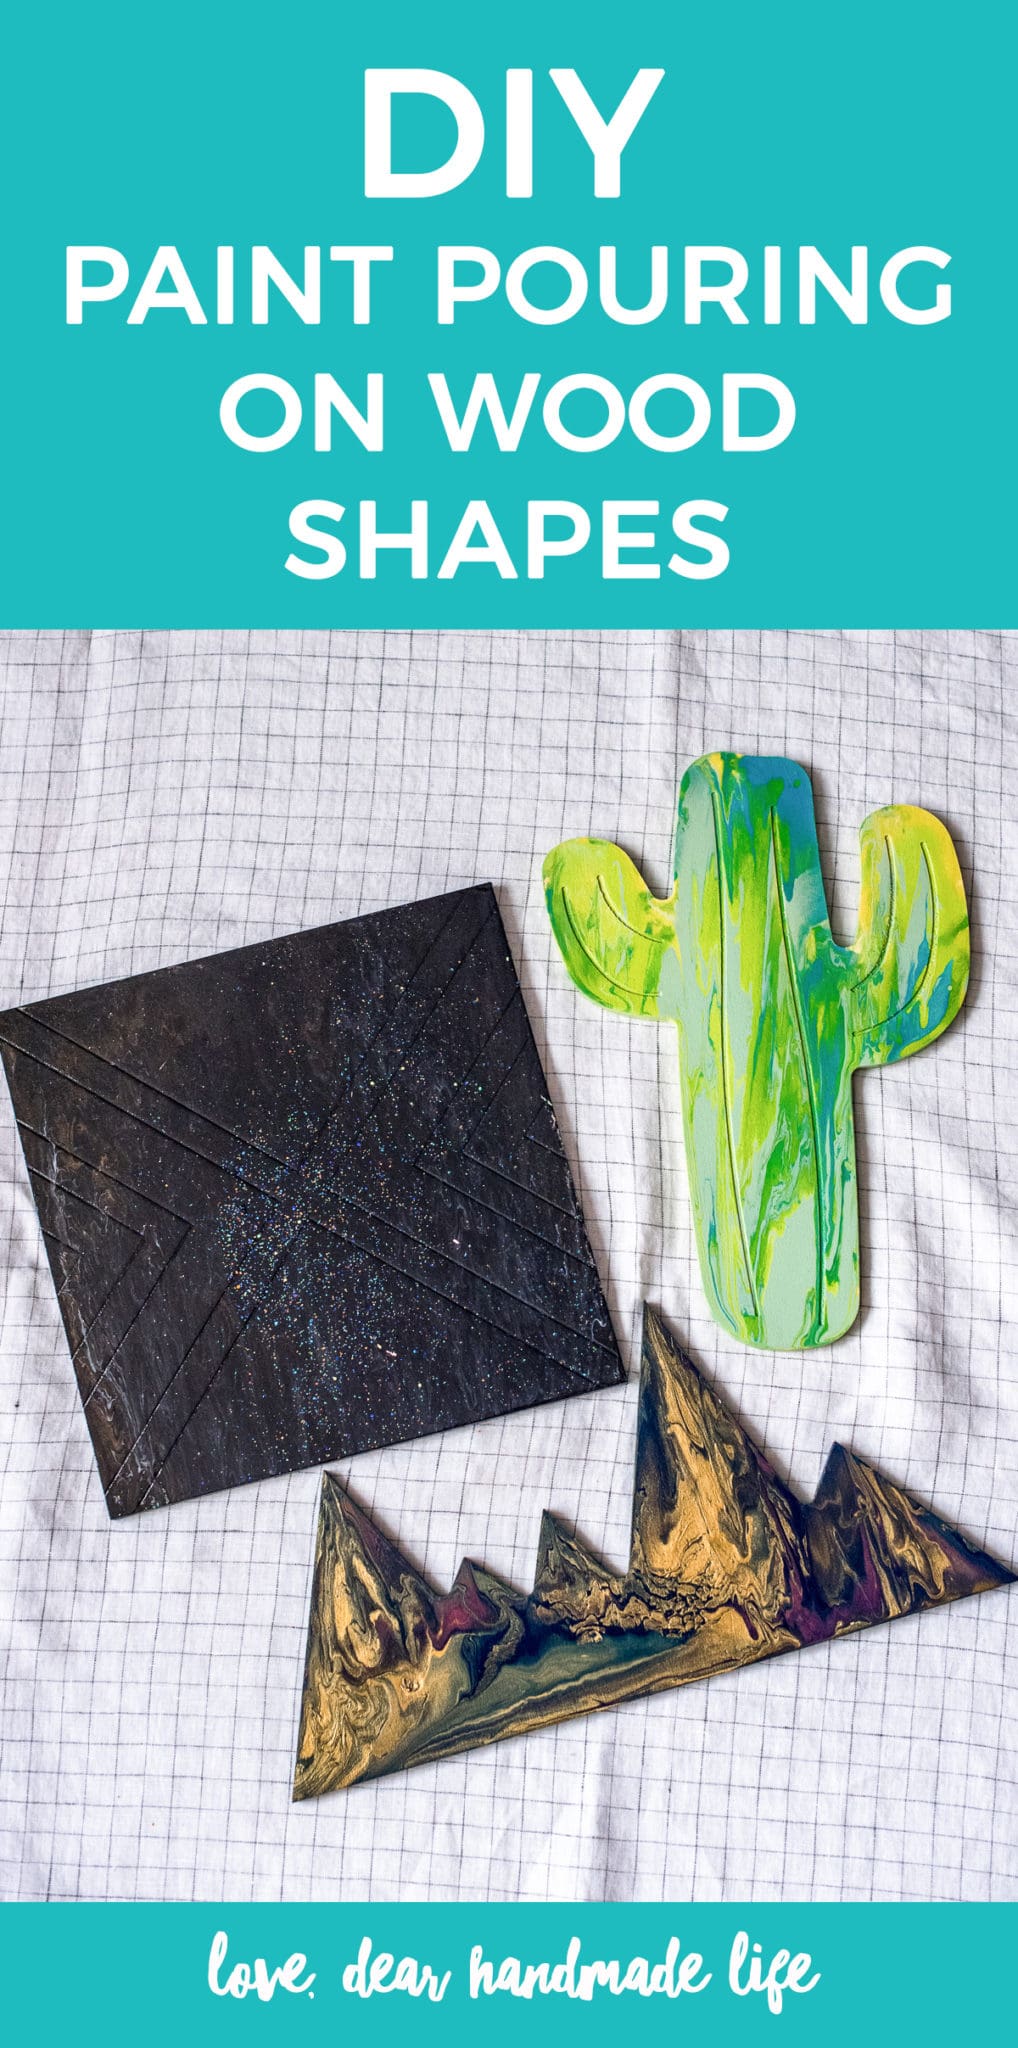
Paint Pouring on Wooden Shapes
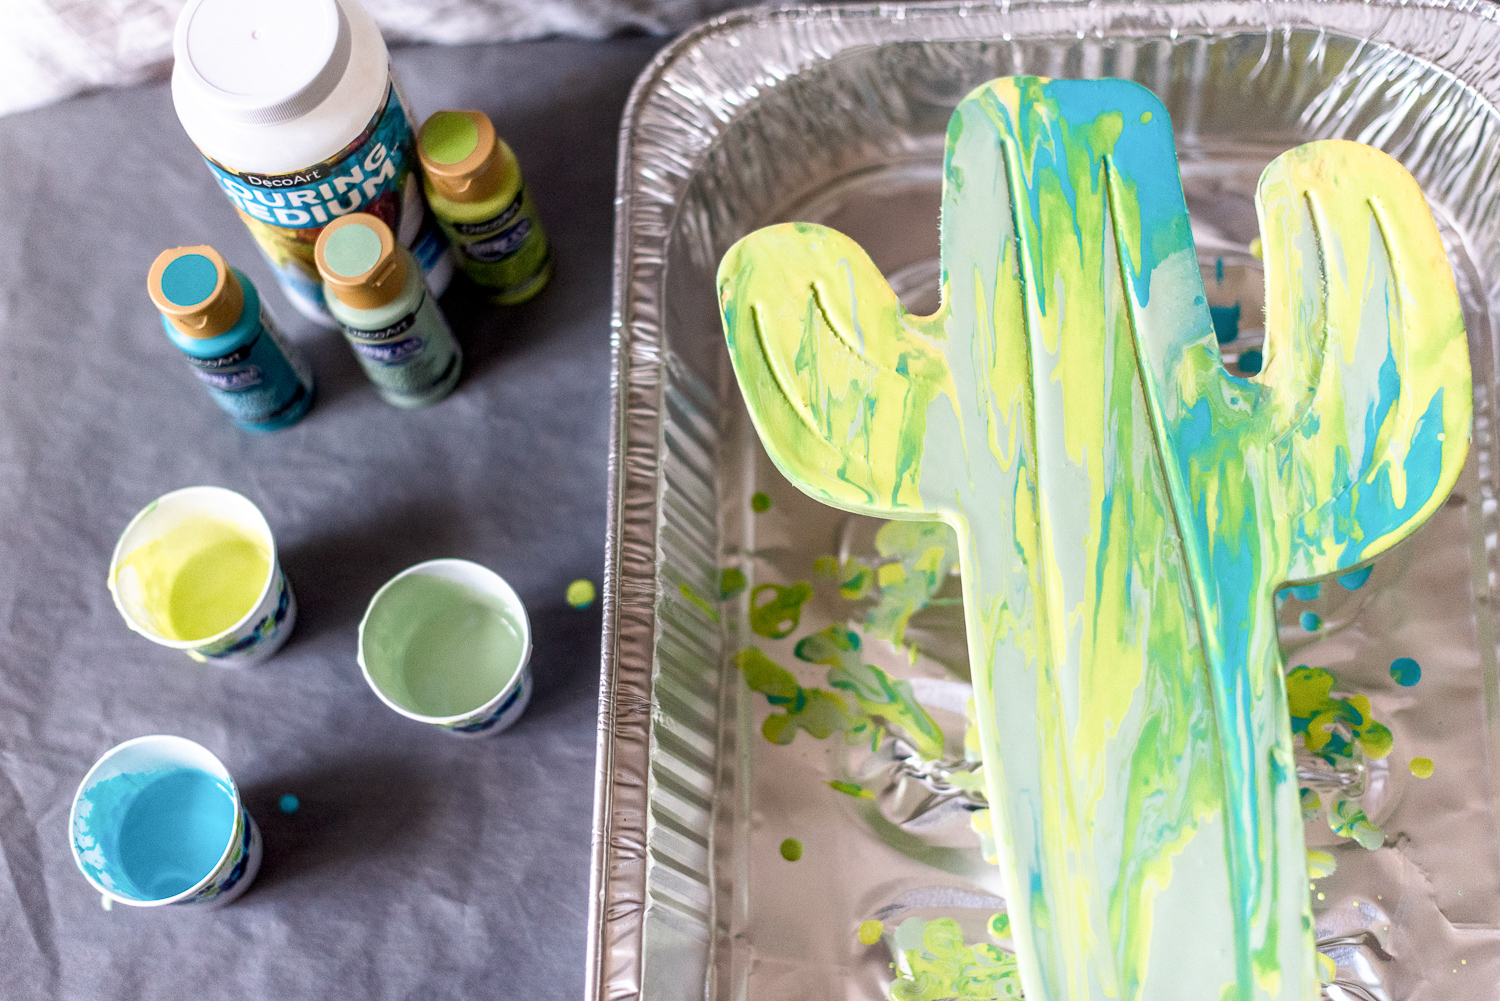
I know I’ve mentioned it before but I love to DIY pretty much anything I can get my hands on! I also love trying new crafts and when I saw how popular paint pouring has become I knew I wanted to try my hand at it. There are several surfaces you can do this on but I think canvas is the most used. I wanted to try something a little different and once I saw how many adorable wooden shapes Walnut Hollow has to offer, I knew that’s what I would go with. I also used DecoArt Paint Pouring Medium, DecoArt Clear Pour Top Coat and a variety of DecoArt Americana Acrylic Craft paint.
Let me show you a few of the techniques I tried.
WHAT TO GET:
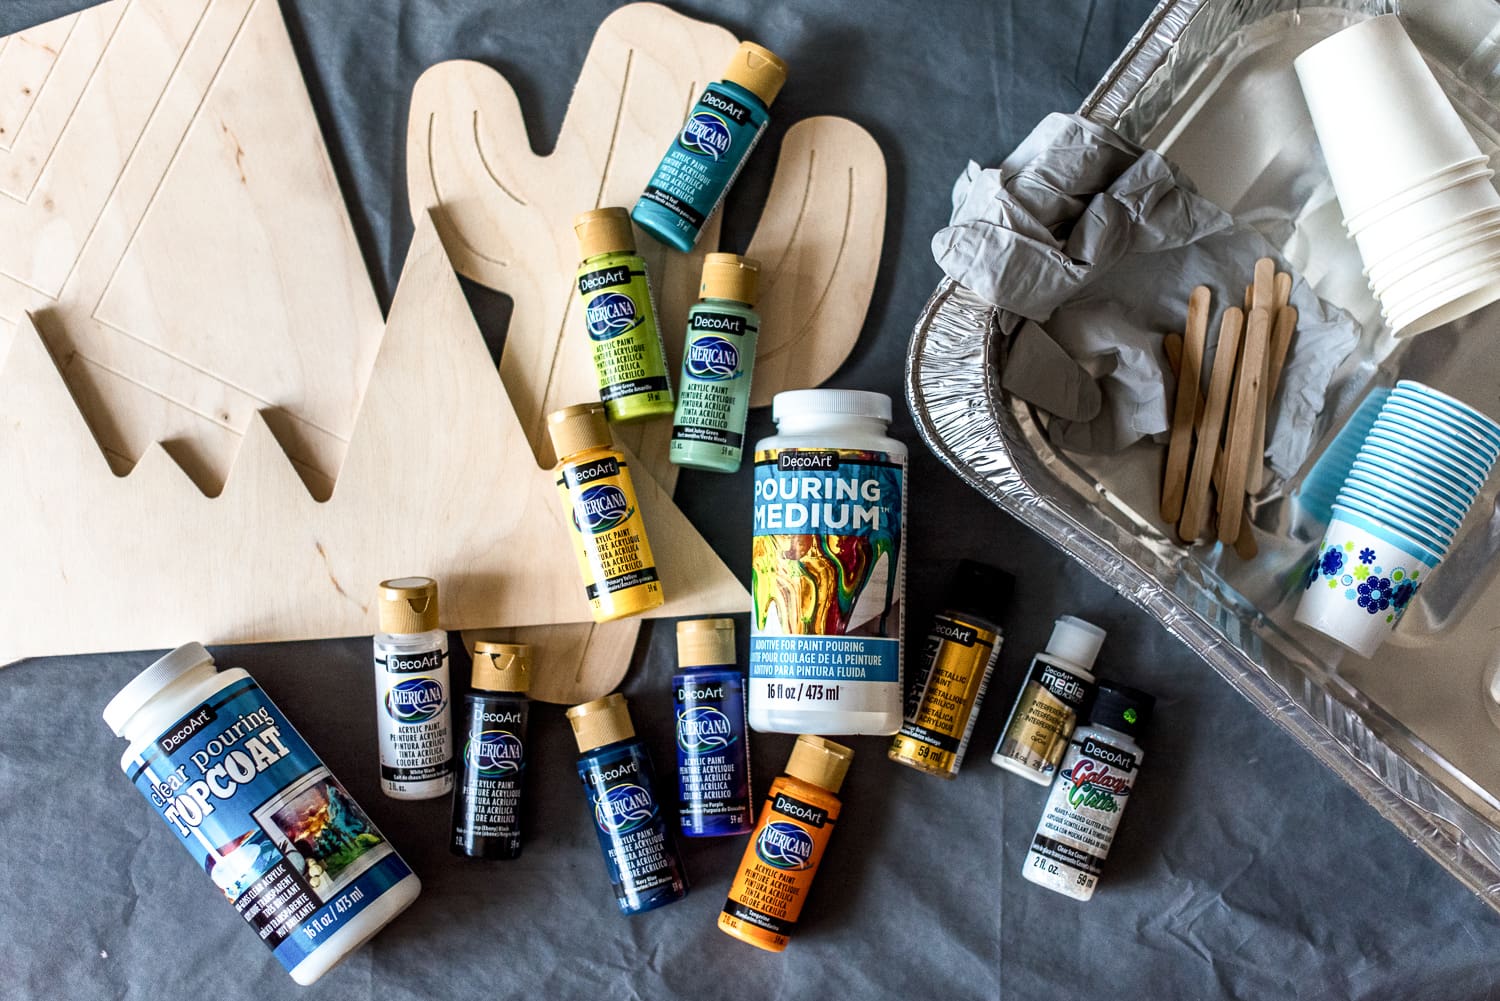
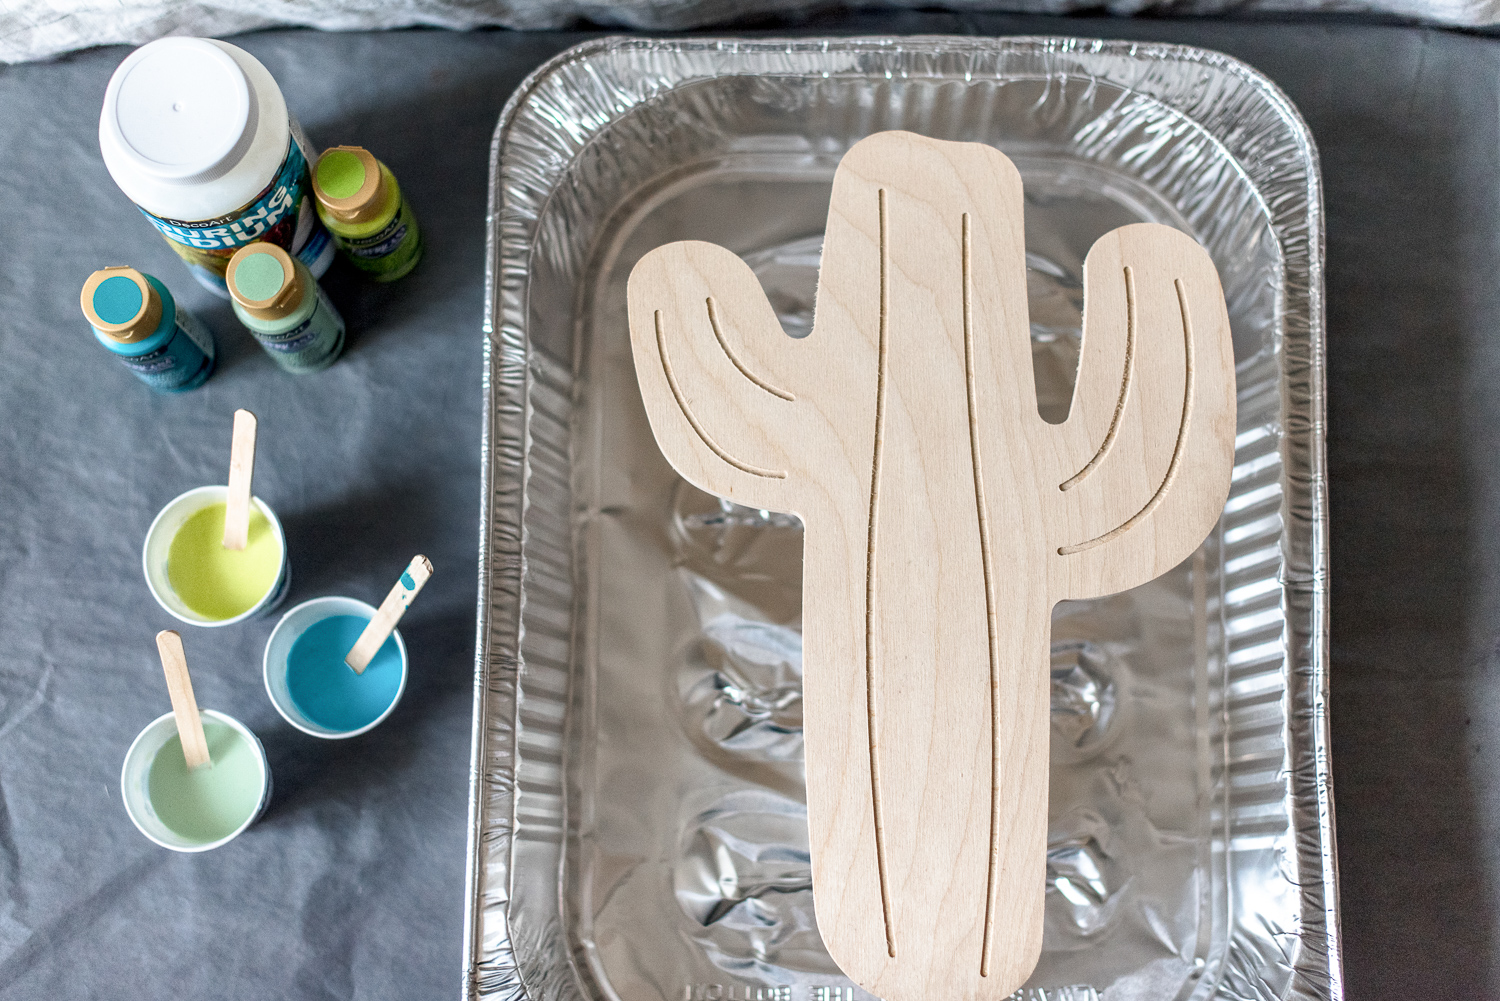
-Wooden Shapes from Walnut Hollow. I used these fun ones: cactus, mountain range and chevron triangle
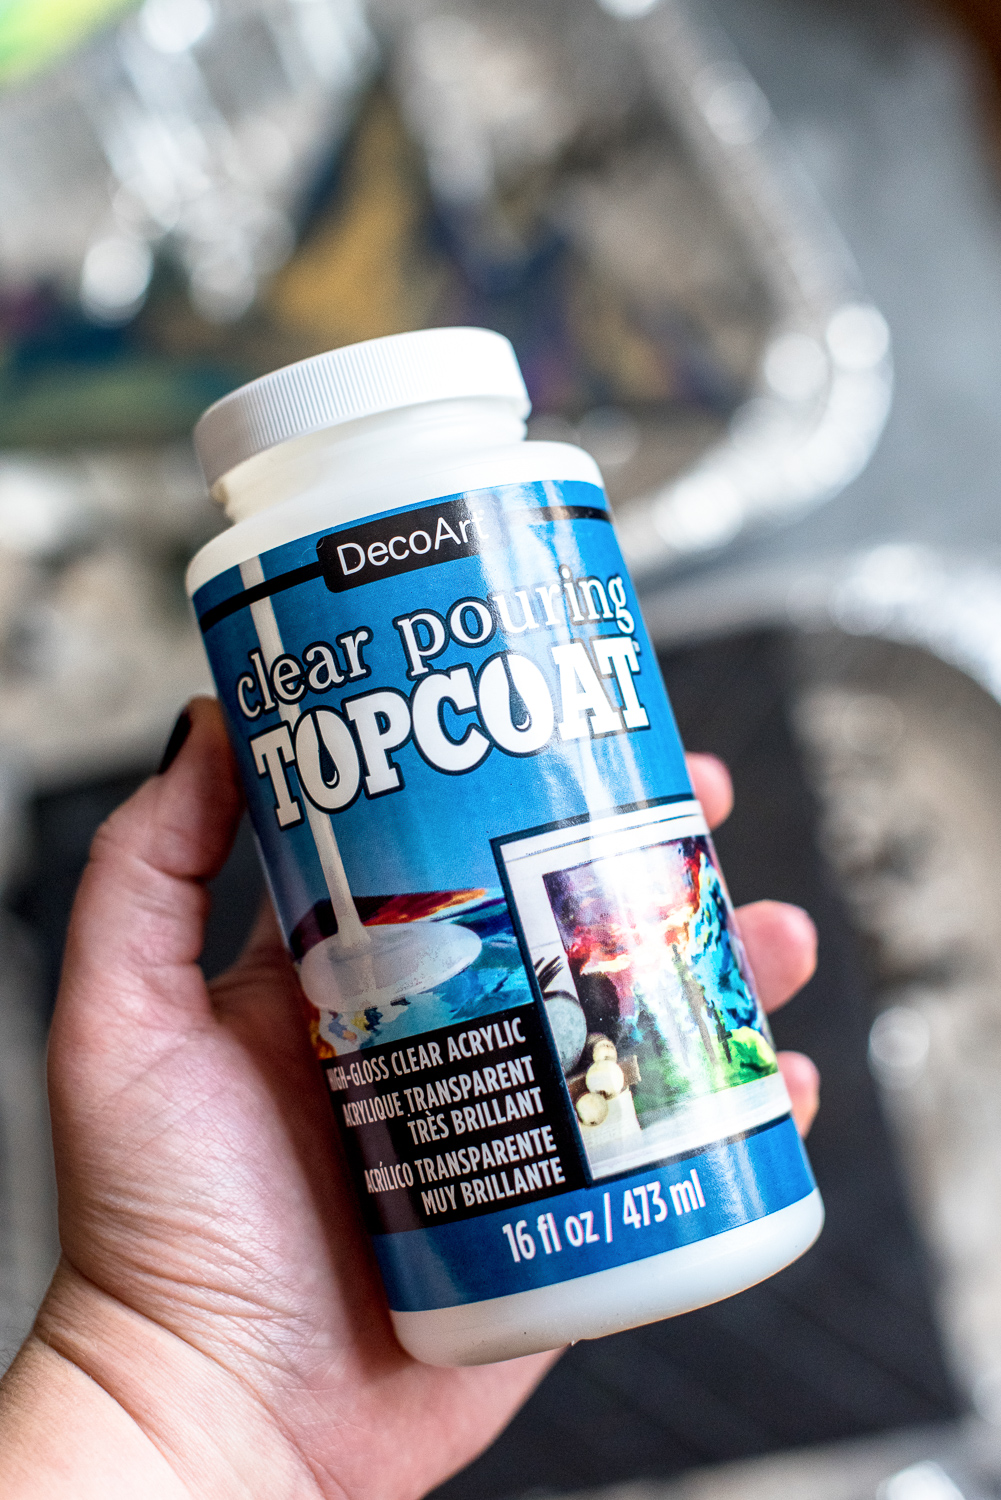
–DecoArt Clear Pour Top Coat (Optional)
-DecoArt Americana Acrylic Craft paint in various colors. This is a great variety pack. (I also used a metallic sheen, Galaxy Glitter and Interference fluid acrylic)
-Plastic Tablecloth or surface you don’t mind getting messy
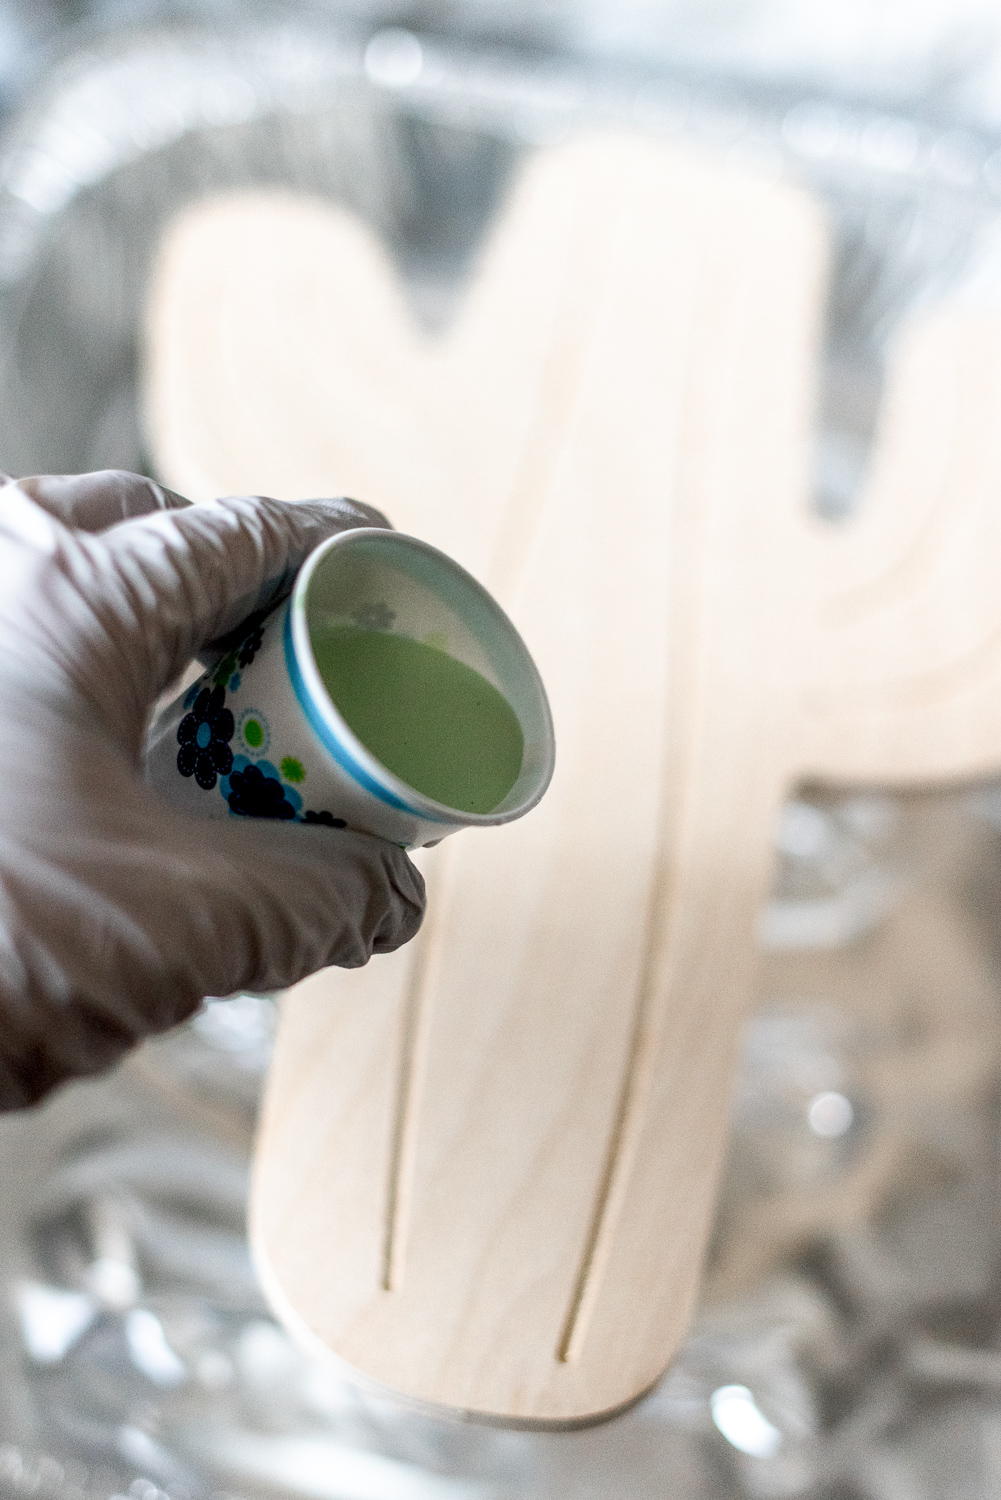
-Disposable Gloves
-Foil Roasting Pans or some kind of large vessel for the paint to drip into (You can find these at the dollar store)
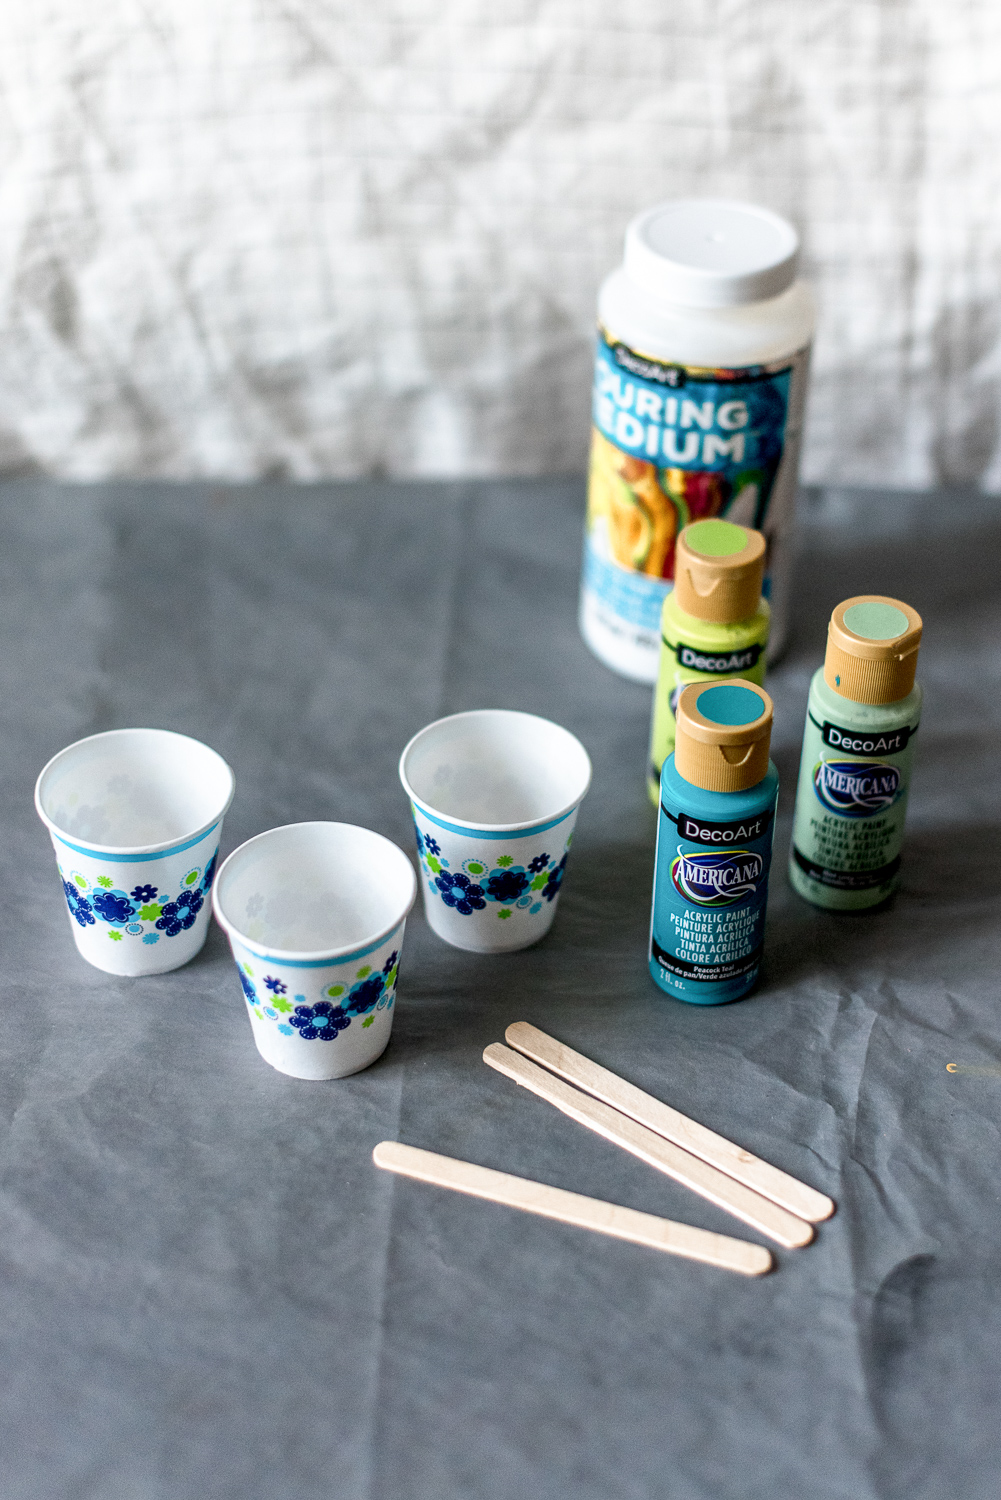
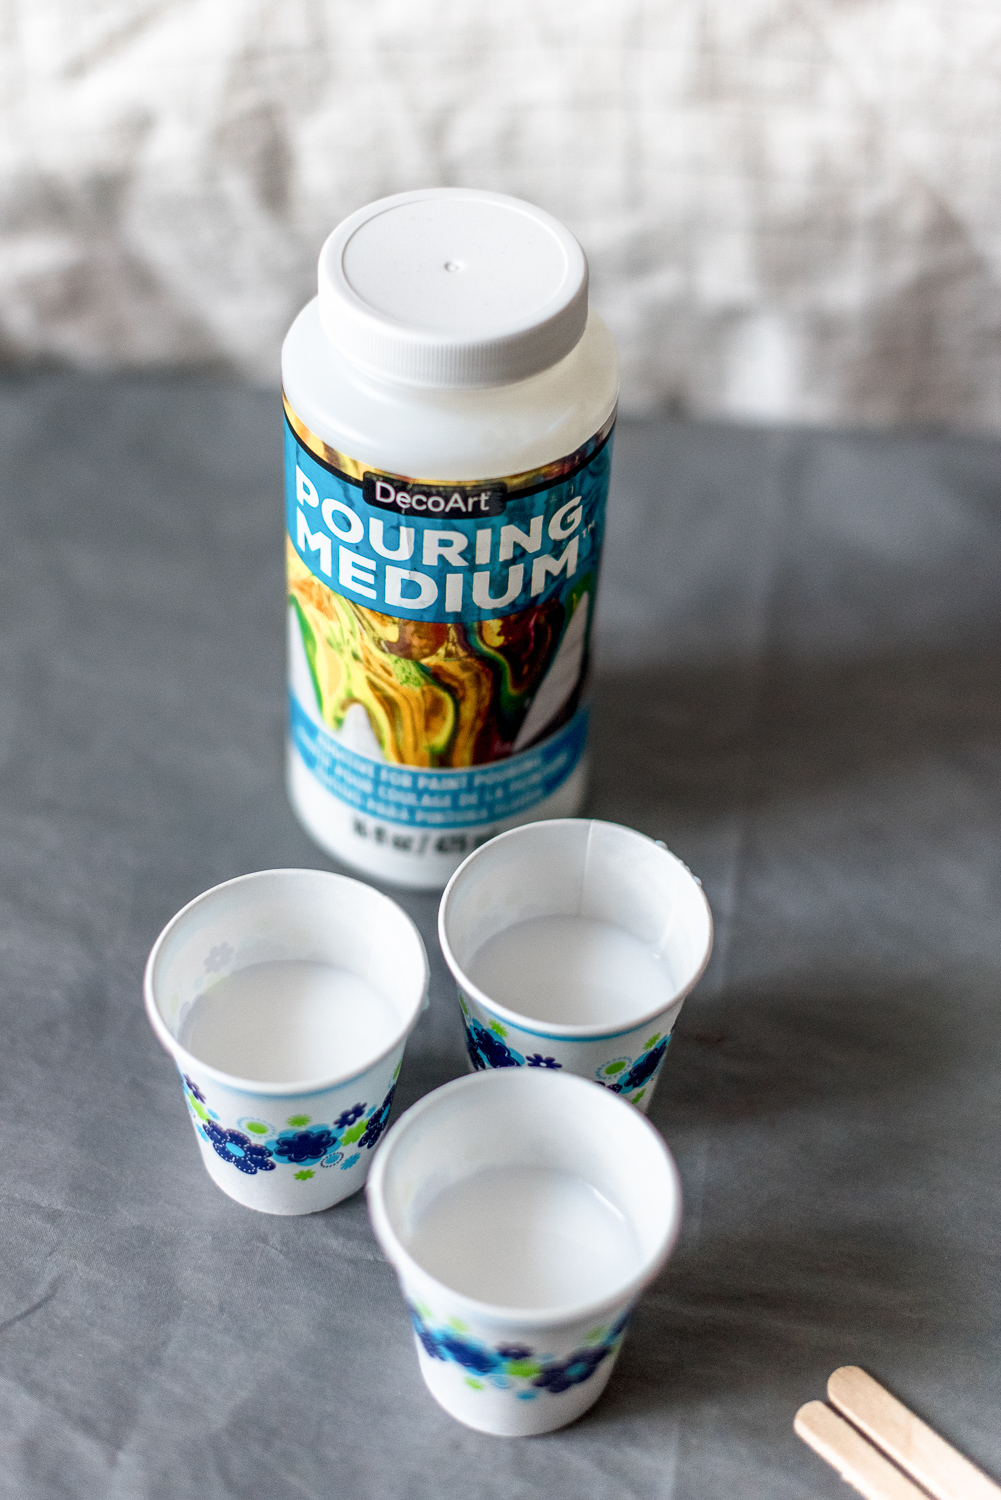
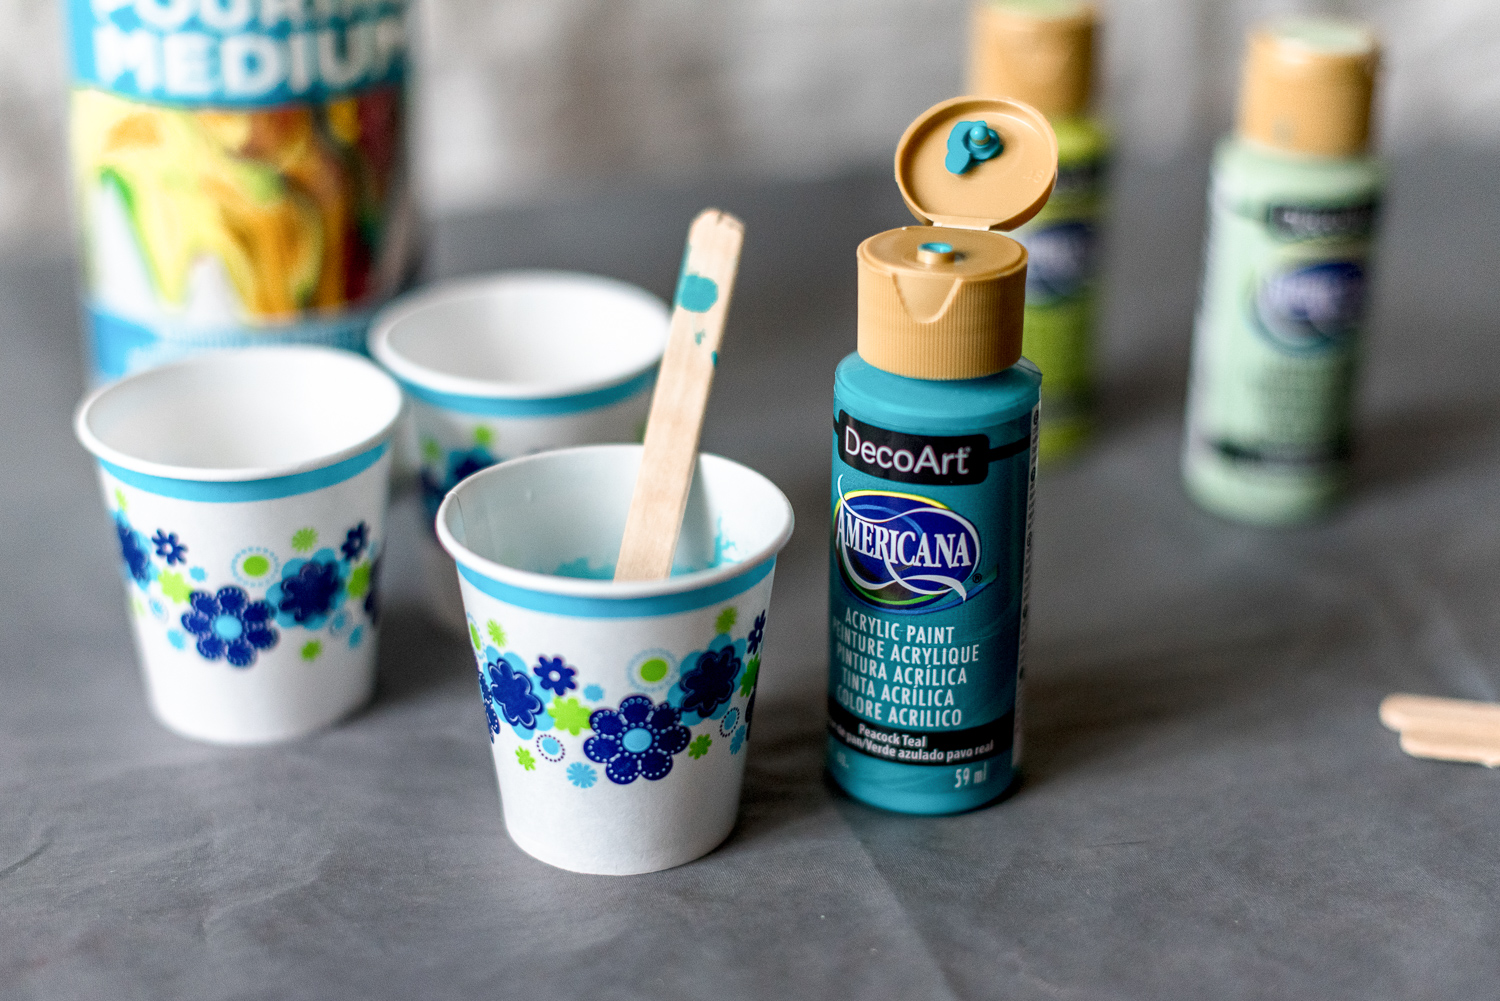
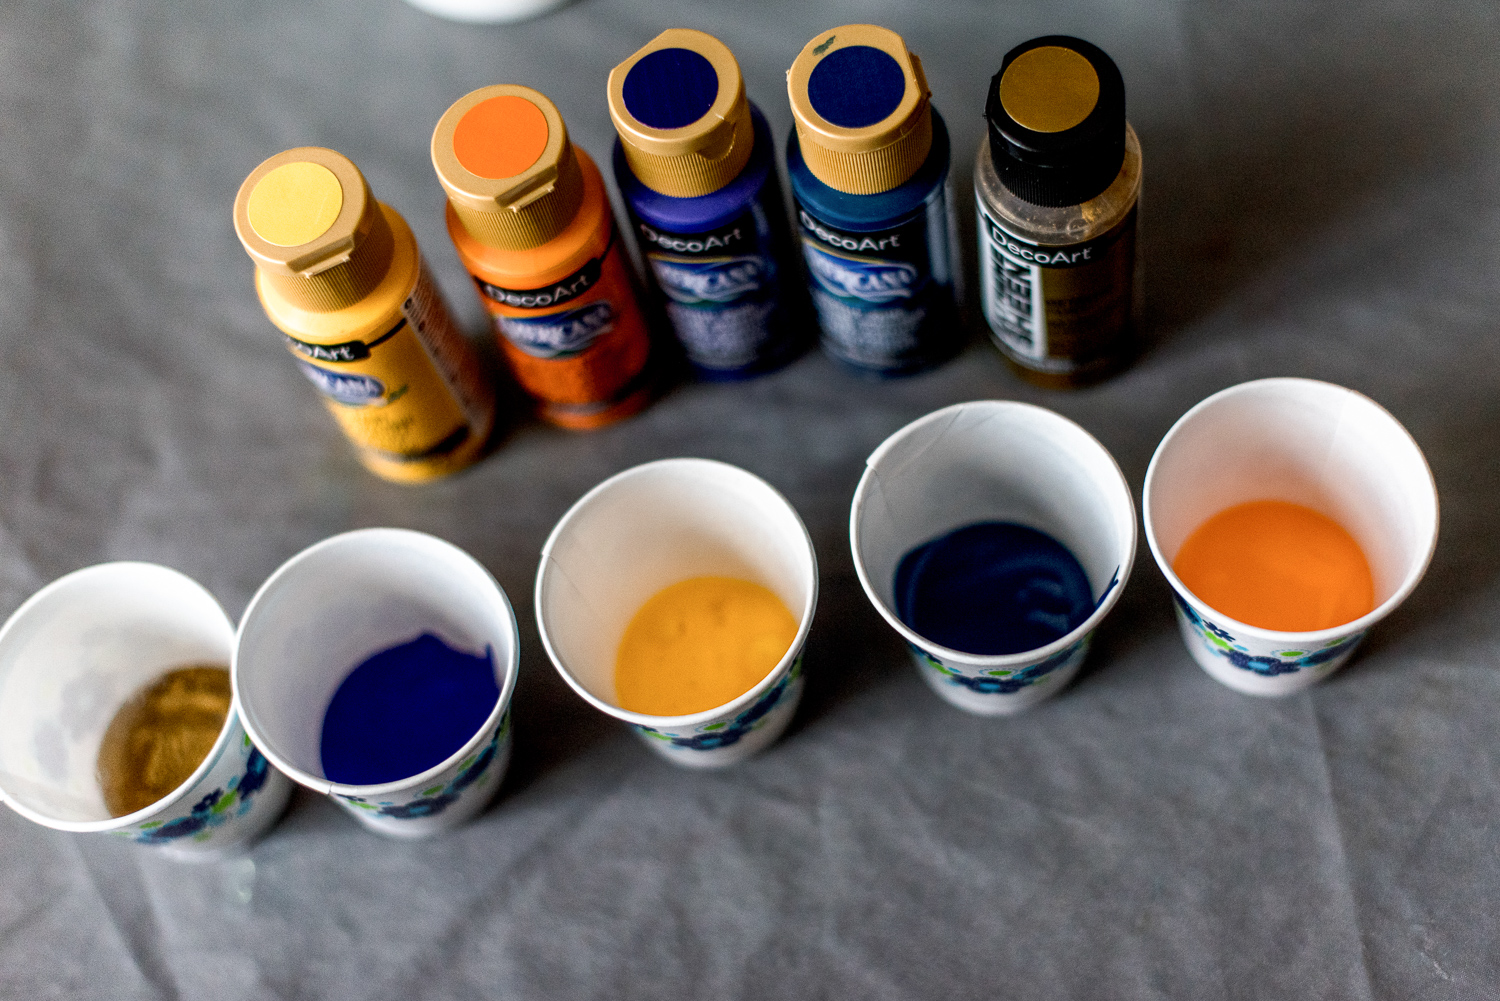
-Little paper cups to mix paint in
-Popsicle or wooden craft sticks to stir the paint
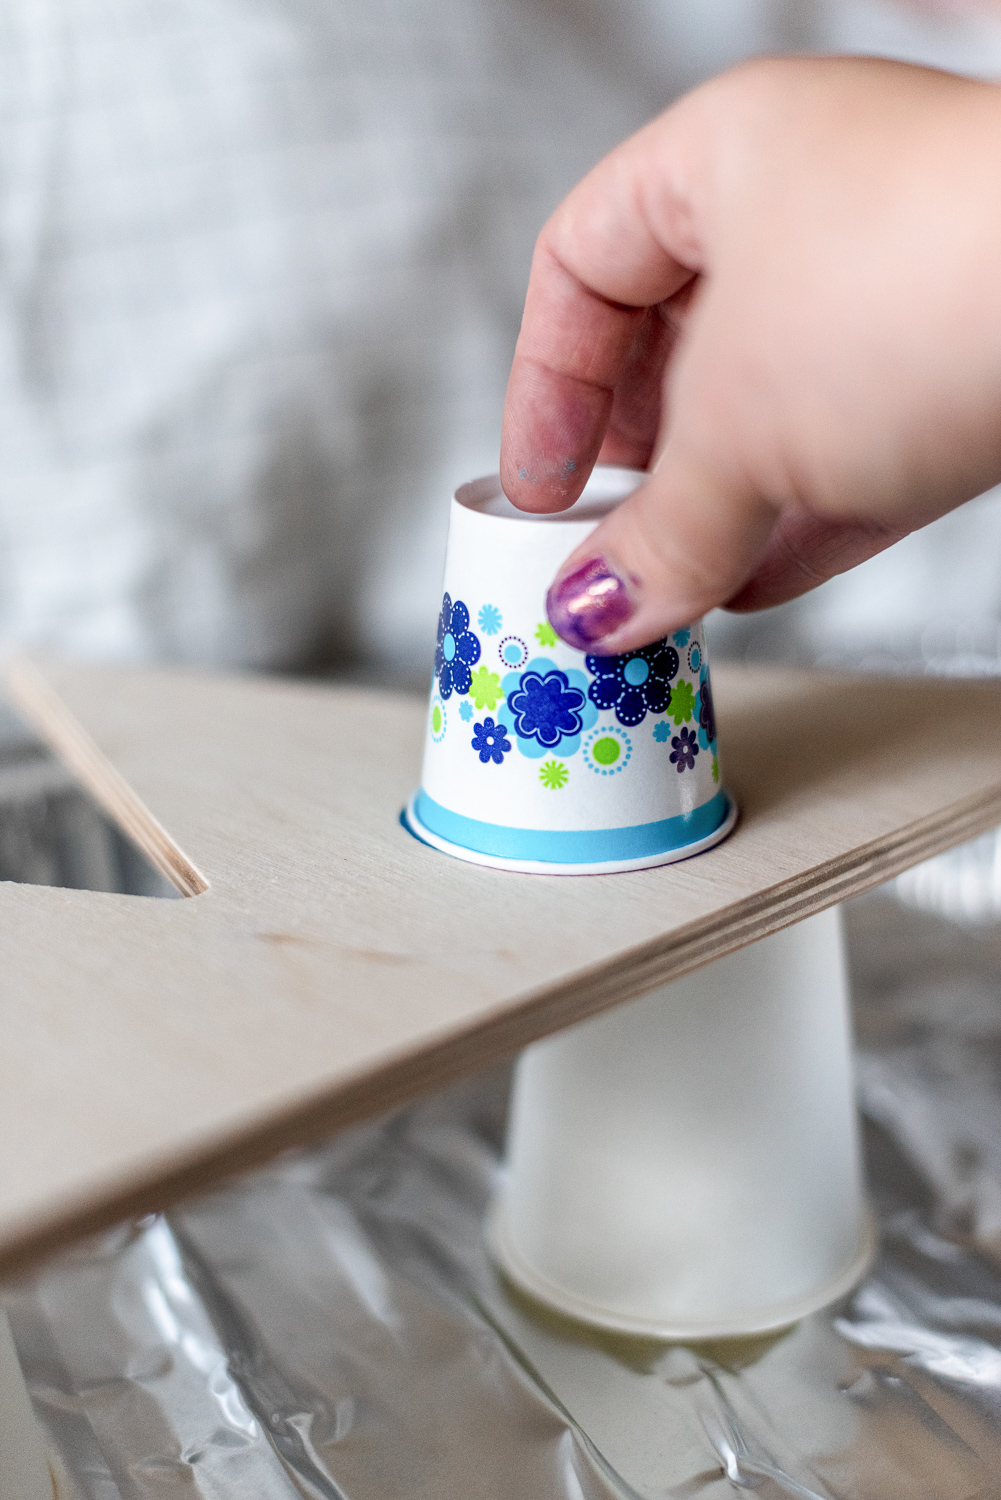
-Something to prop up your piece to let drip. I used larger paper cups, you’ll want them to be the same size. You could also use old tin cans or anything you don’t mind getting paint on.
WHAT TO DO:
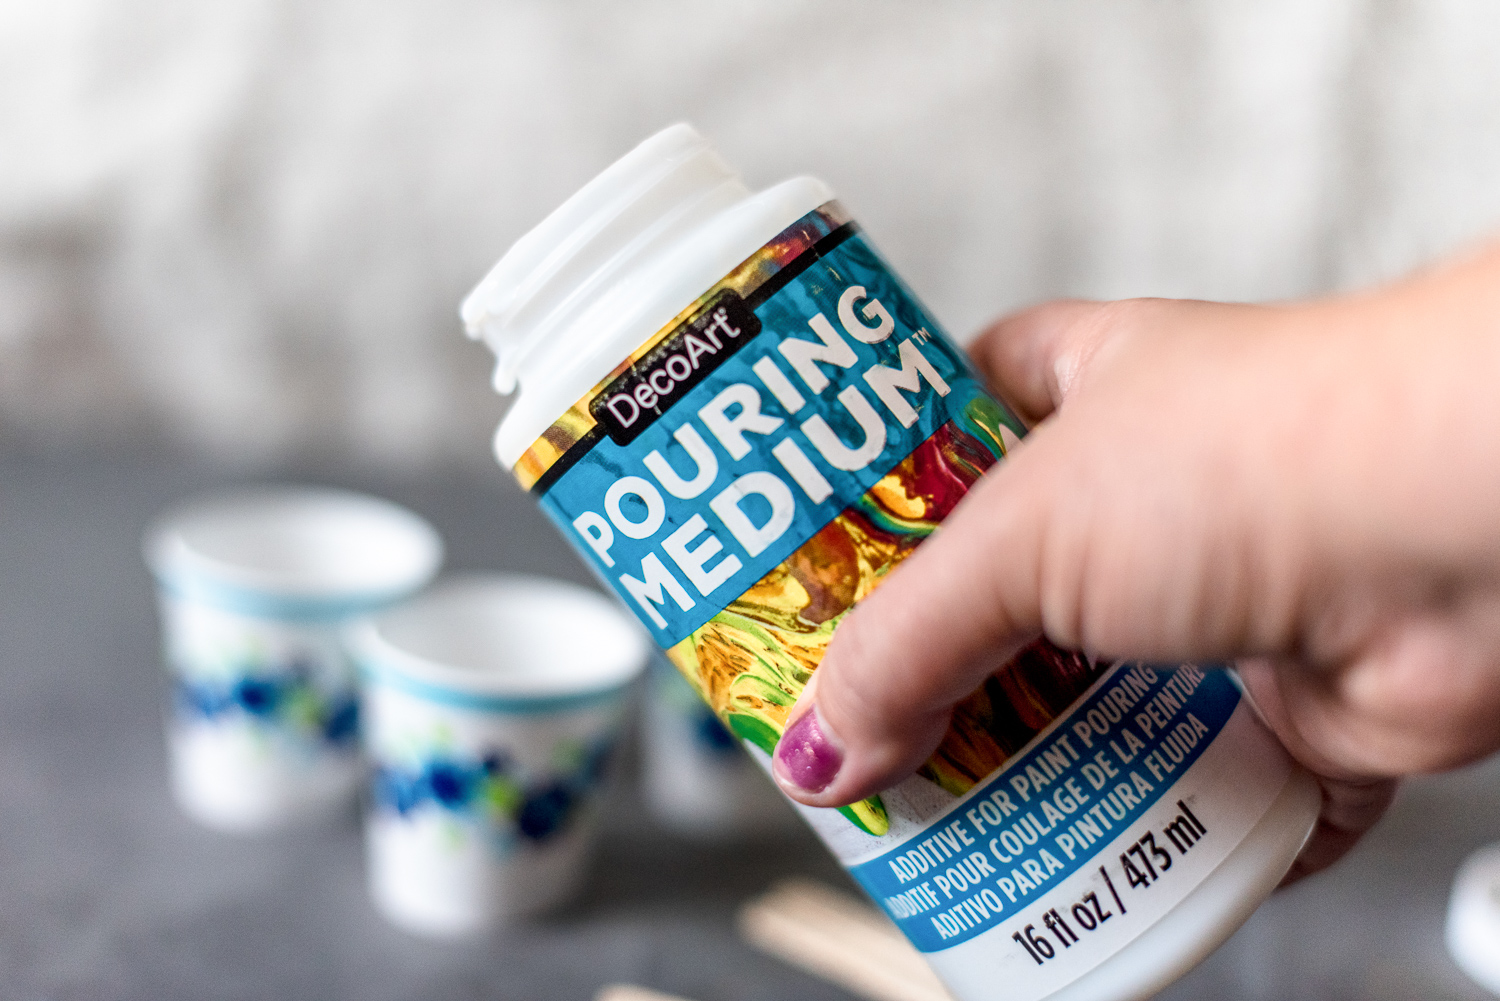
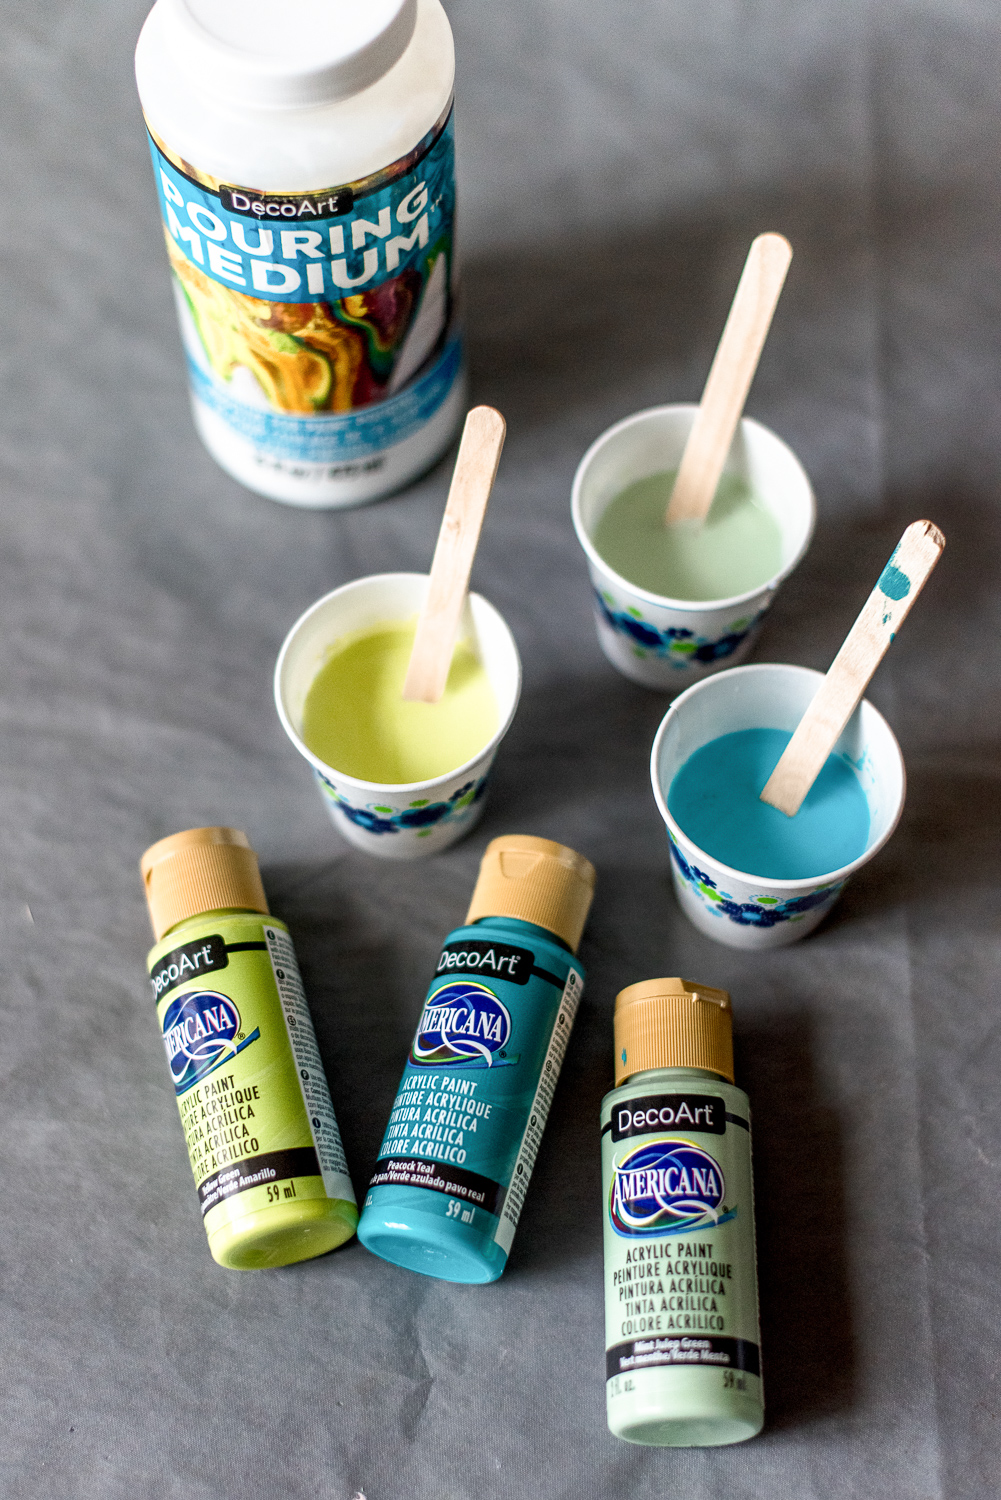
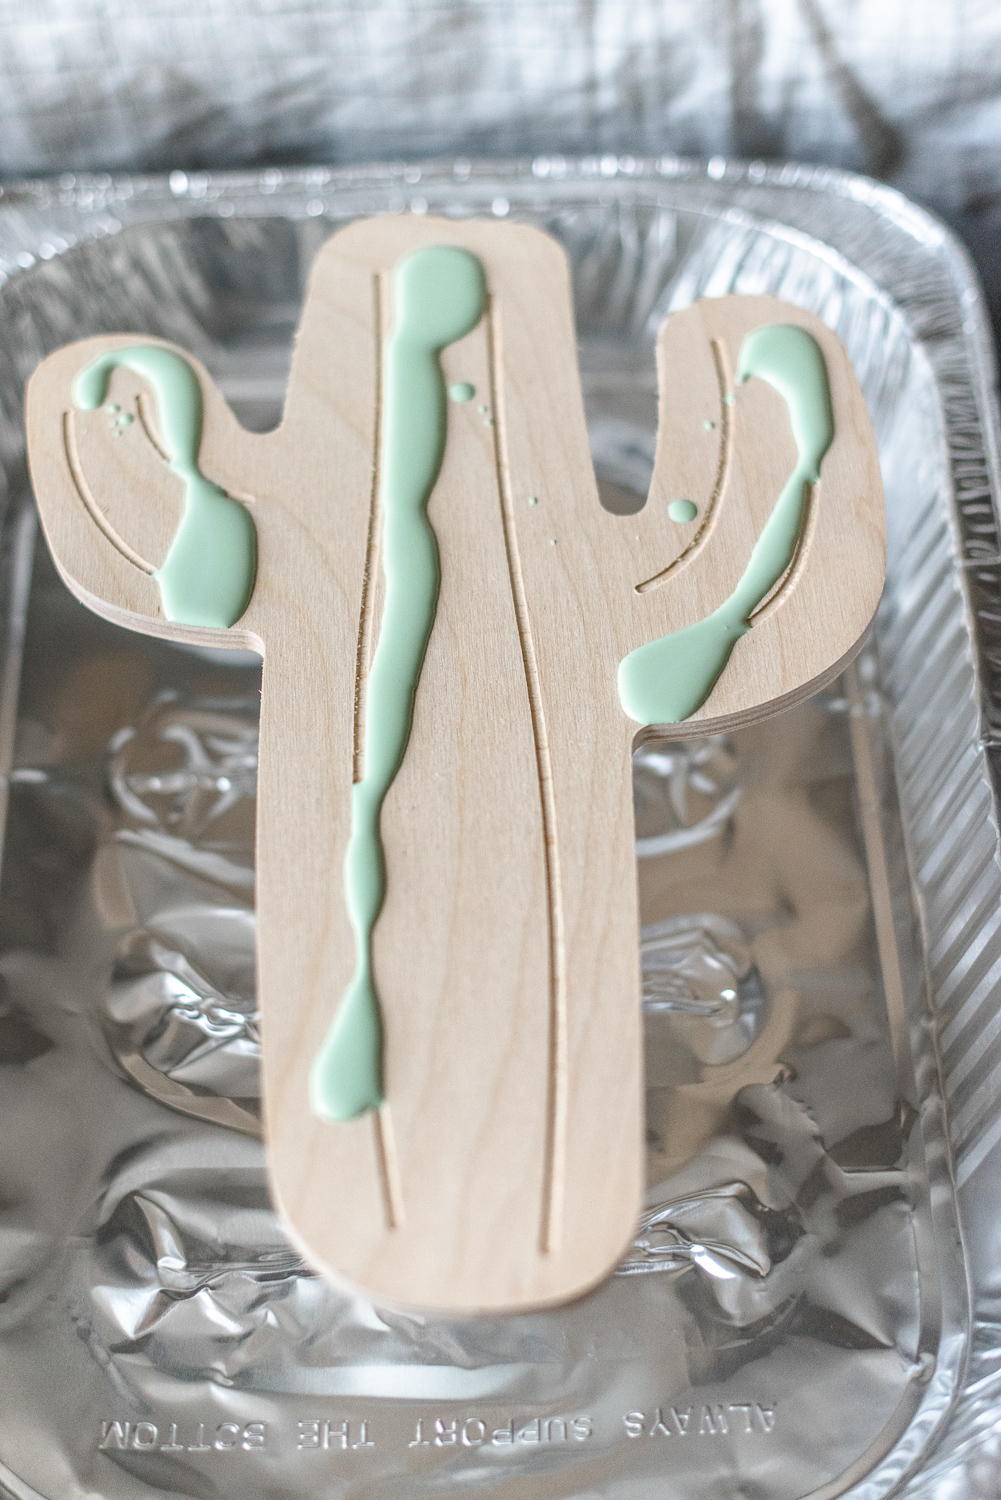
1. Choose the colors you’re planning to use and prep your area. It’s better to stick with only a few colors to avoid your piece becoming muddy once they start mixing together. For these craft acrylics the general ratio is 2:1 Pouring Medium to Acrylic, this is just general (you can play around with it to get the effect you want). Keep in mind that more medium is going to make the paint more fluid. You can measure it, but I just eyeballed it. For the first one, I poured the medium first. I would recommend pouring the paint first because if you pour the medium first, it’s harder to see how much paint is actually going in unless you measure it. Mix the medium with the acrylic using your craft stick and go slowly to help prevent air bubbles and give you a smoother finished product.
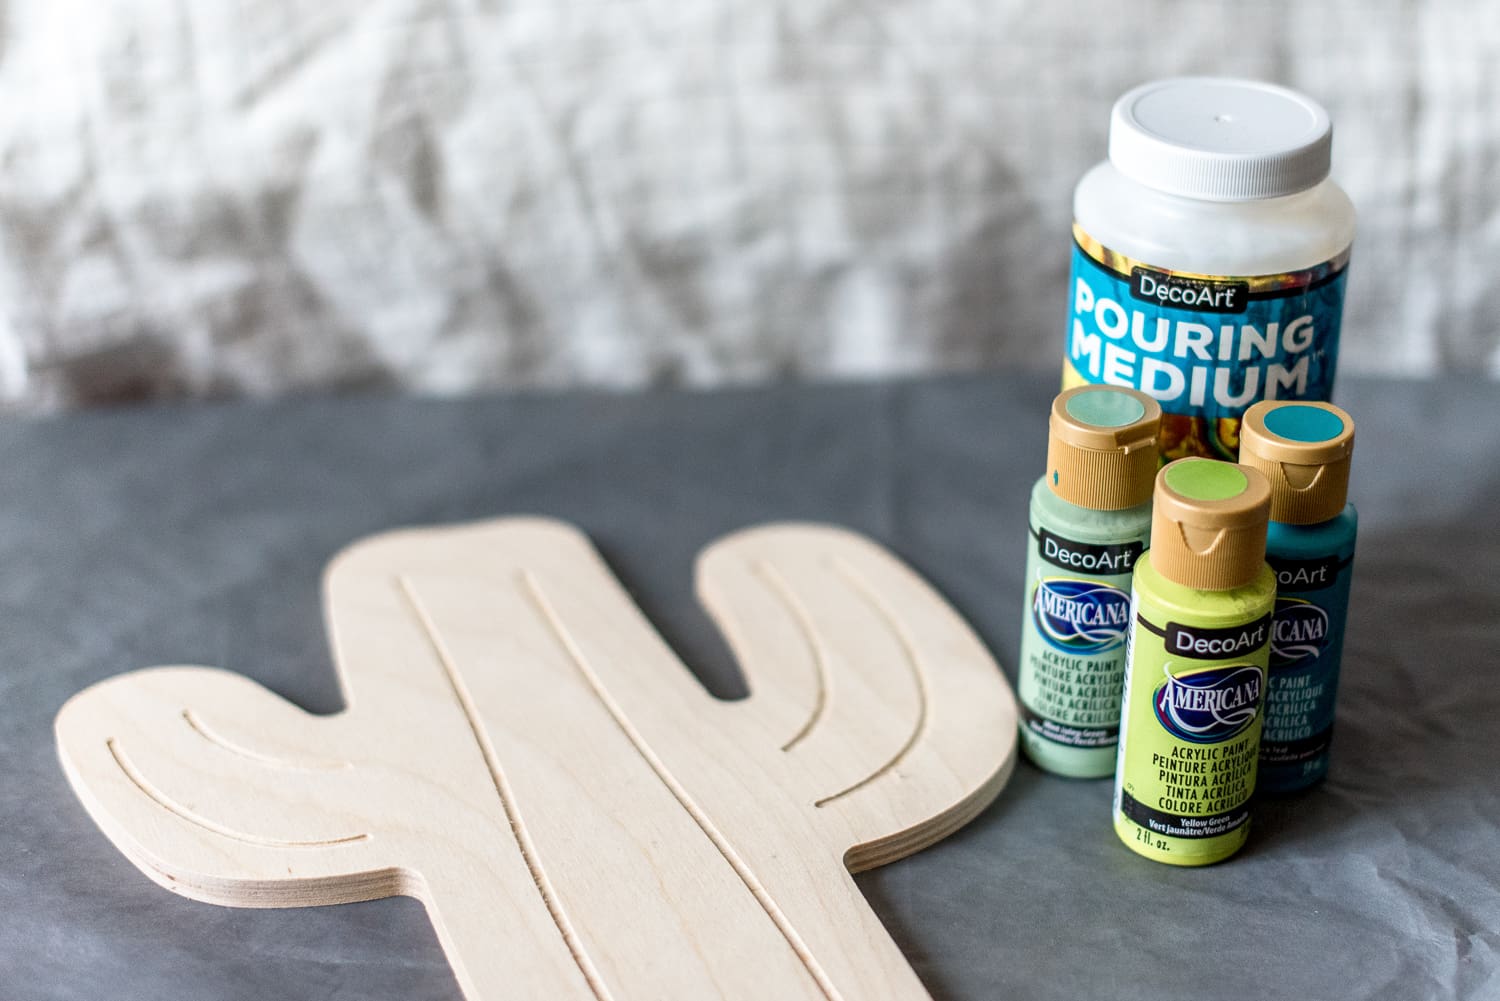
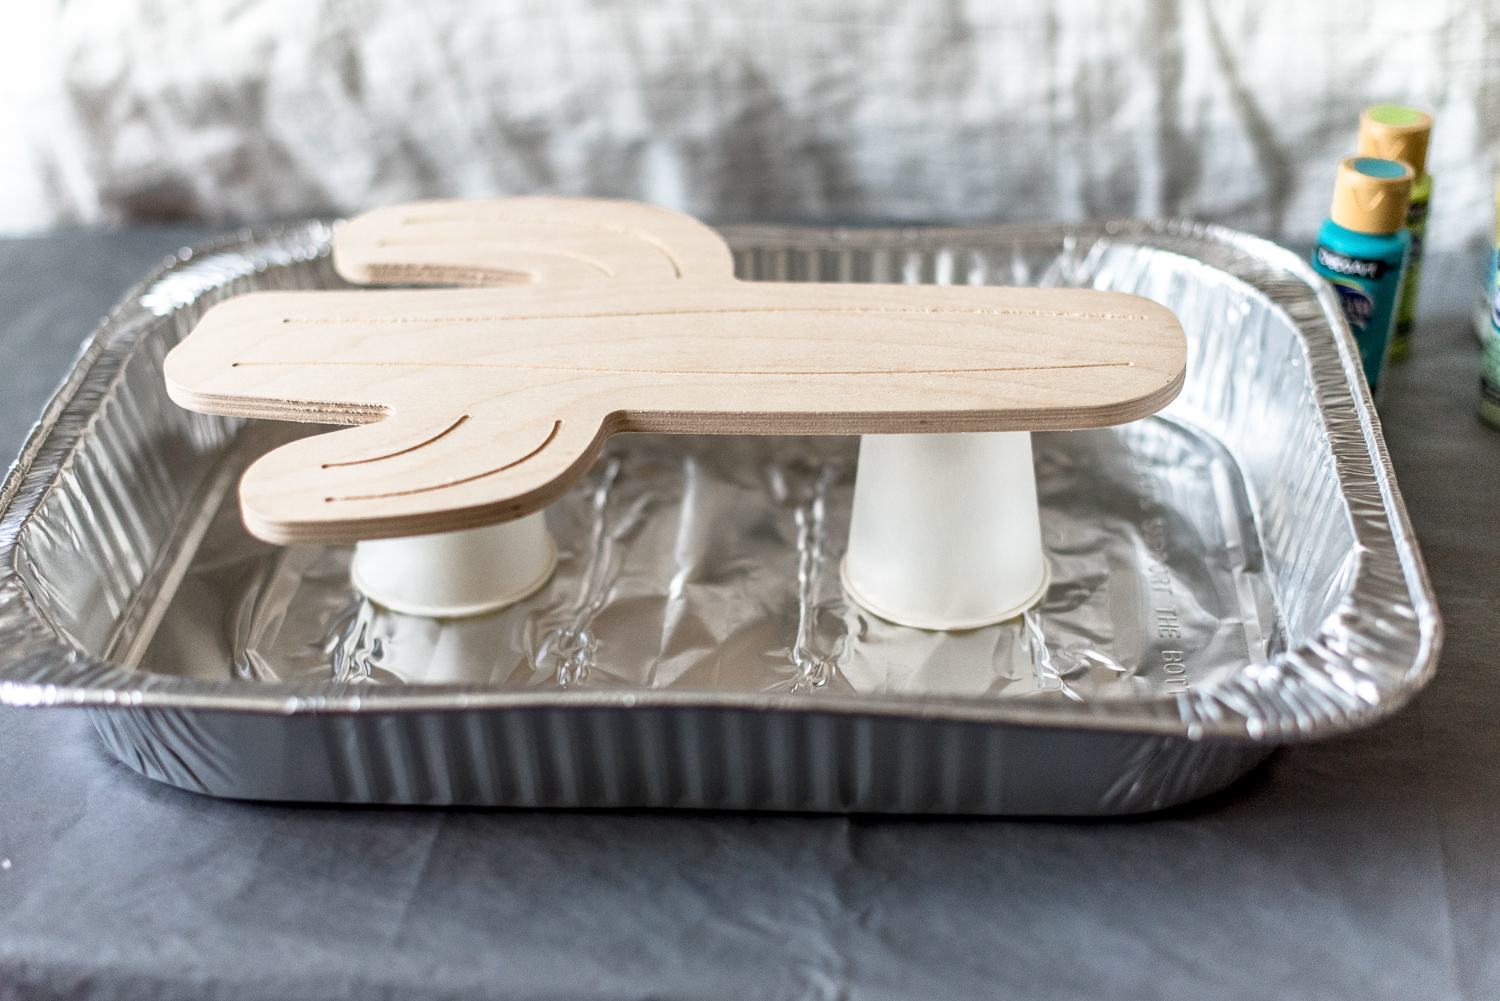
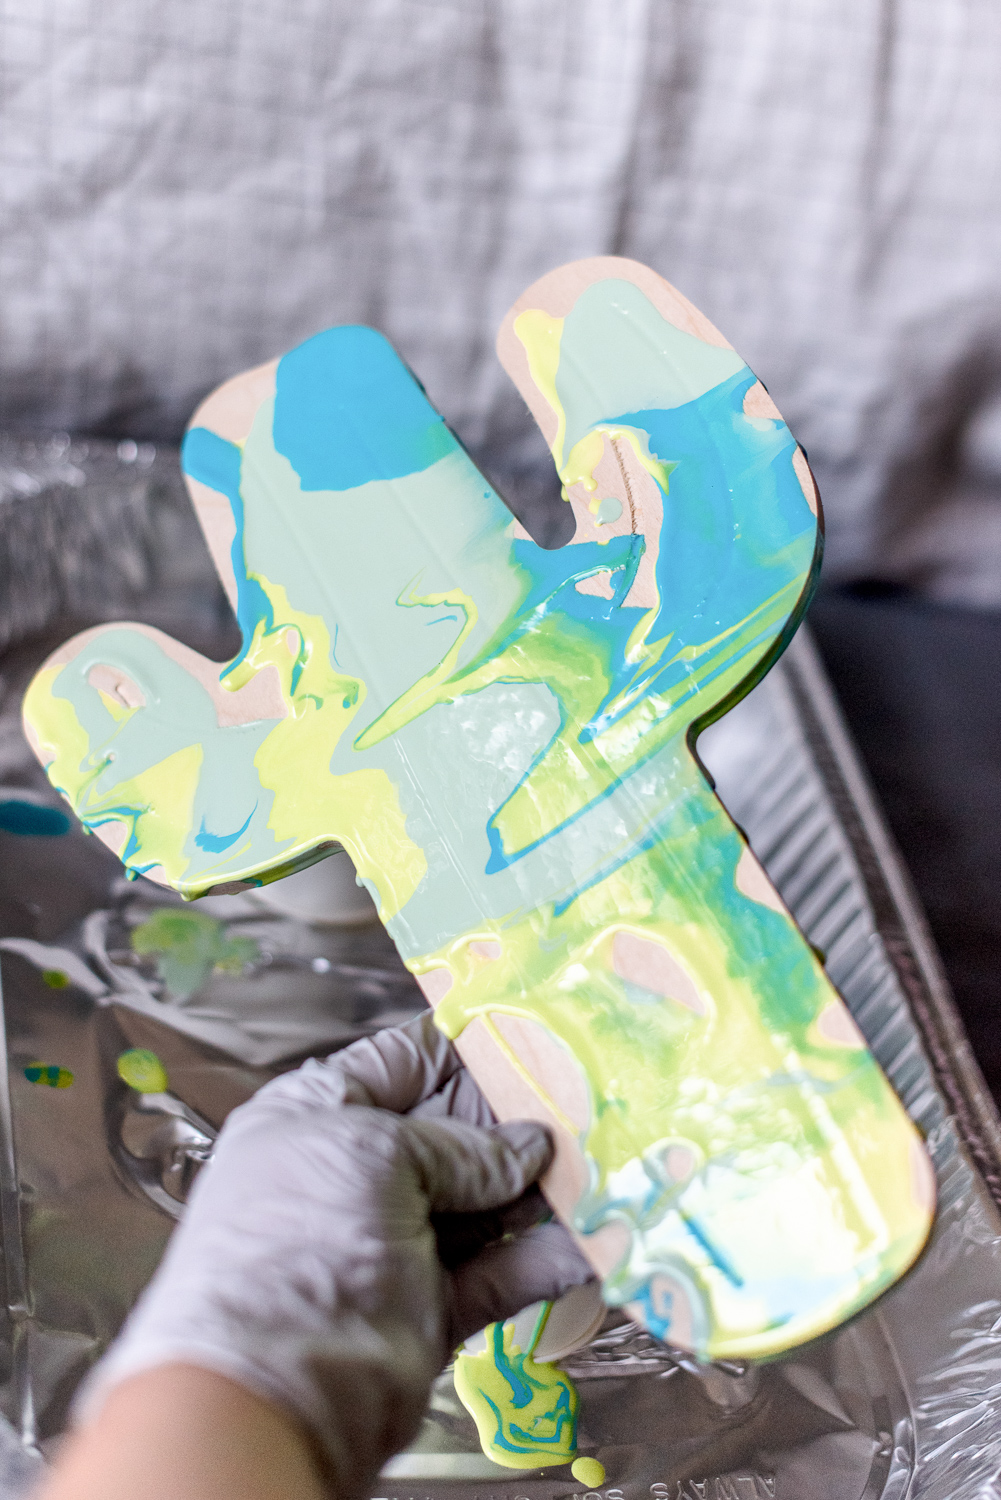
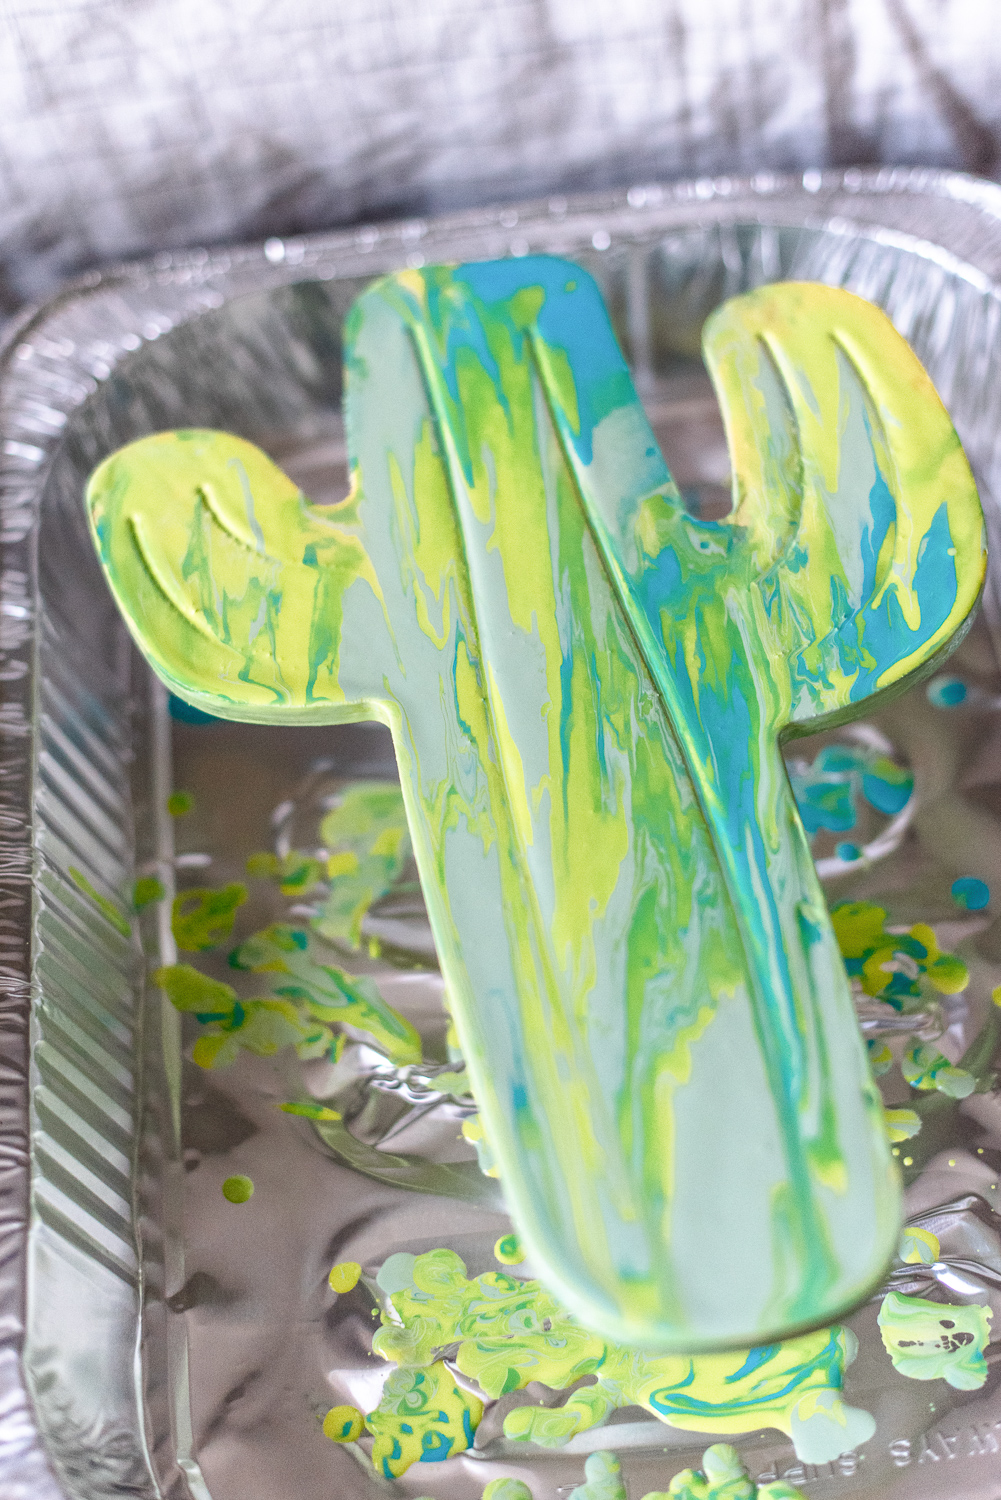
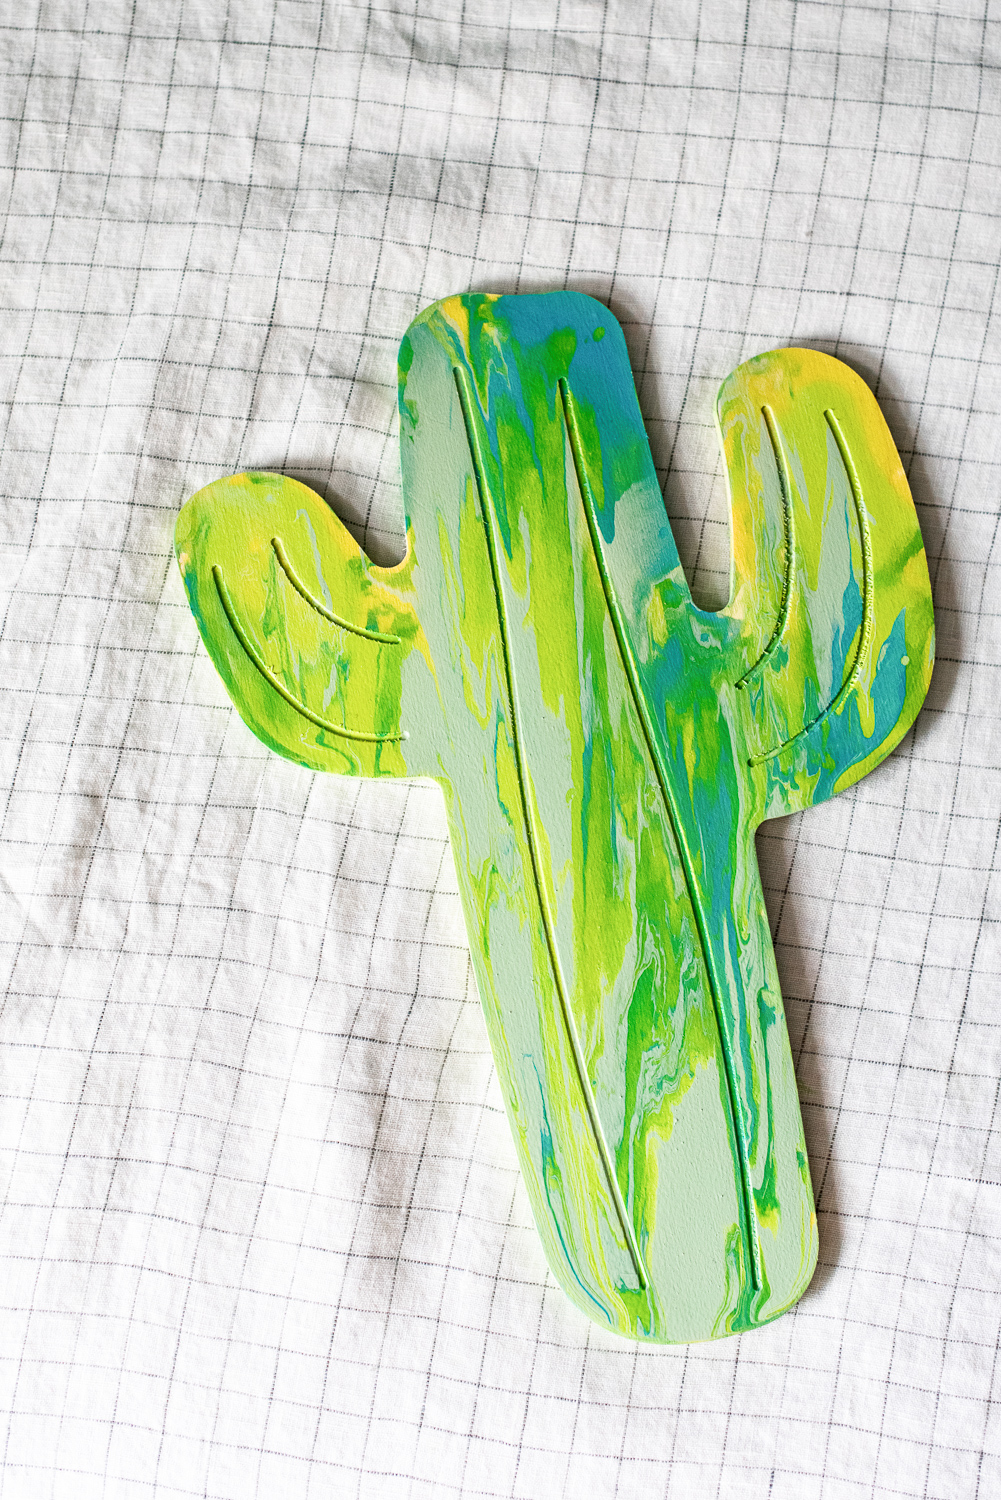
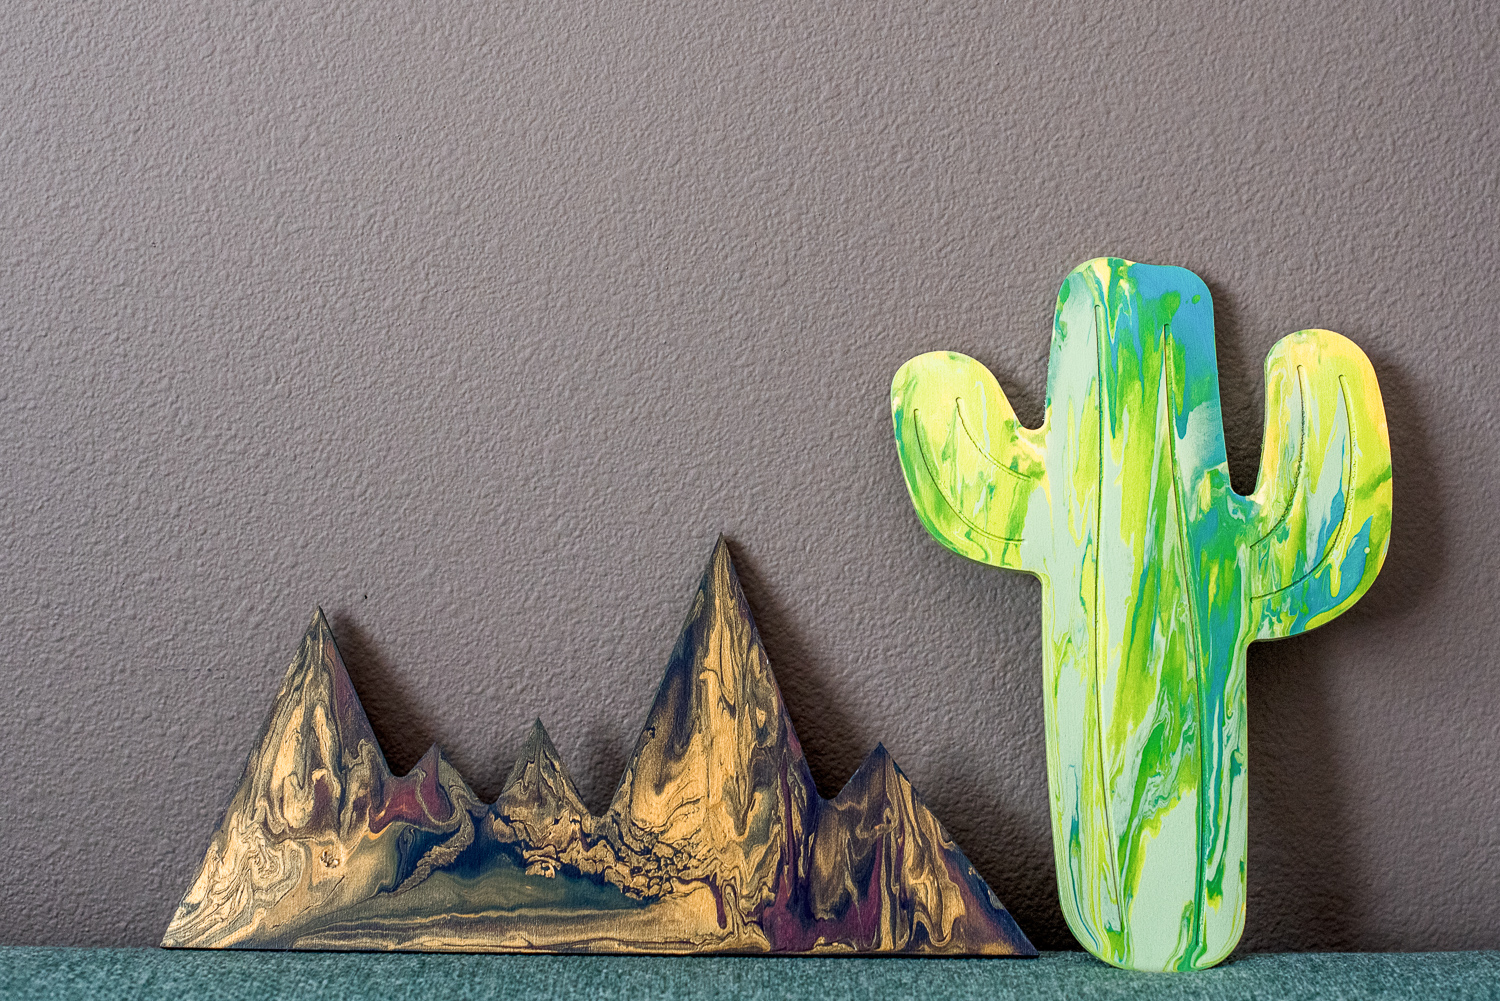
2. For this first project, the cactus, the technique I went with is just a direct pour. I mixed my three colors separately and then poured them separately. You will end up using more paint that you think you should, so that you can cover your entire piece. You can go back and add more as you go too, so don’t worry about that. Once I had all three colors on the wood piece, I used my gloved hands to tilt it until the paint completely covered the shape, from there you can tilt it in whatever way to create any kind of pattern you’re looking for. Once you’re happy with the design and most of the excess paint has run off, lay it flat on the items you’re using to prop it up and let it dry completely, most likely overnight.

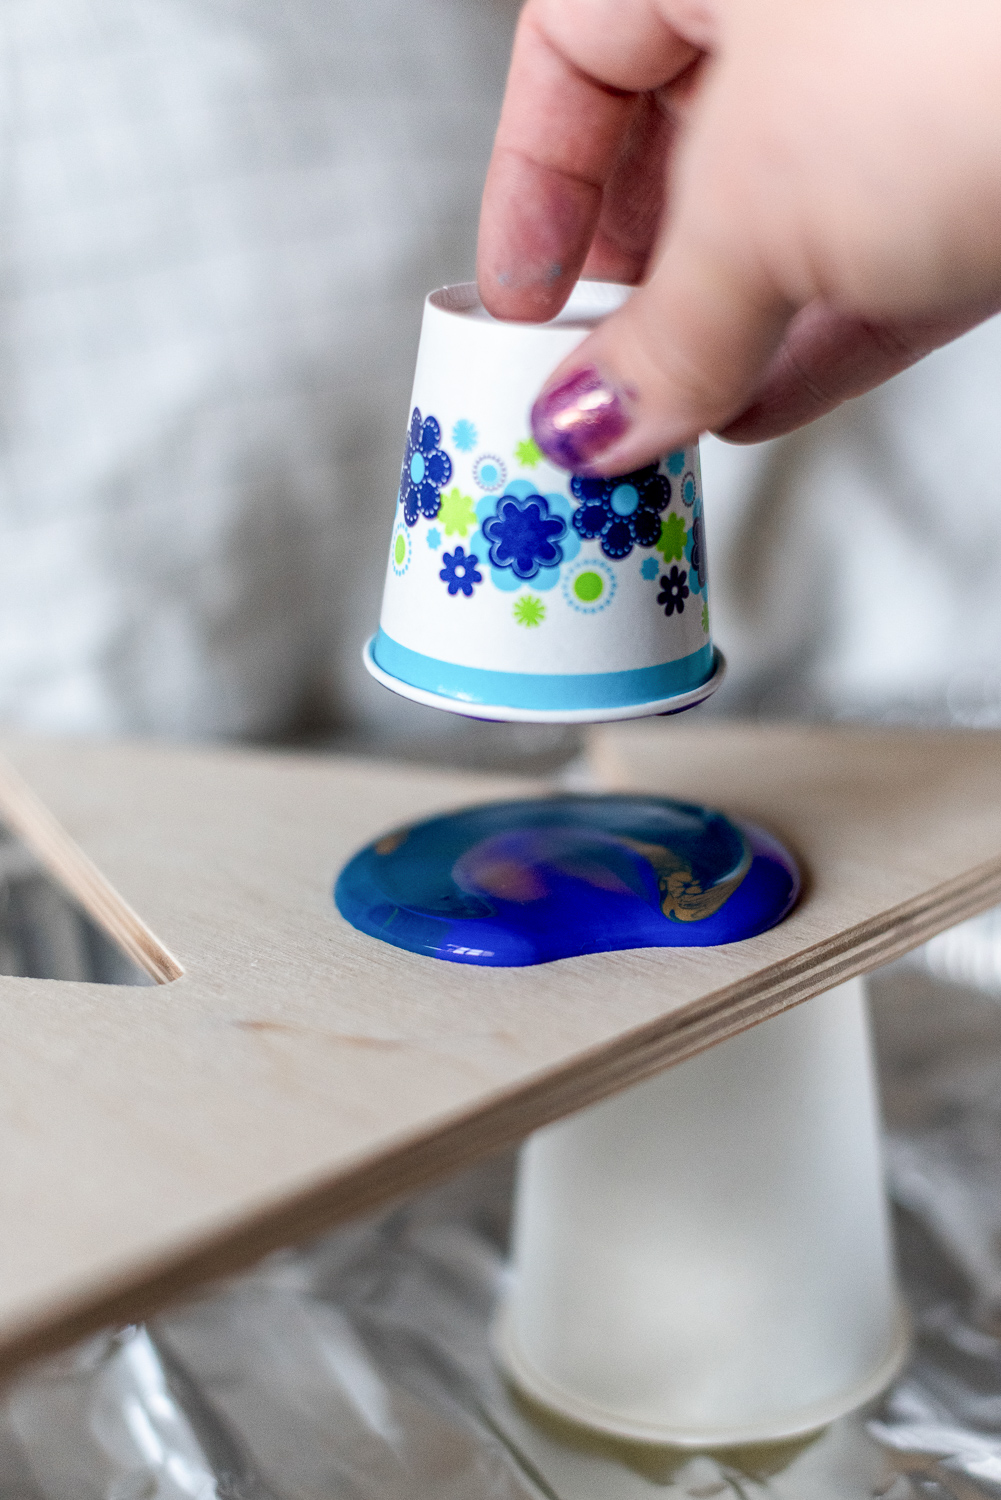
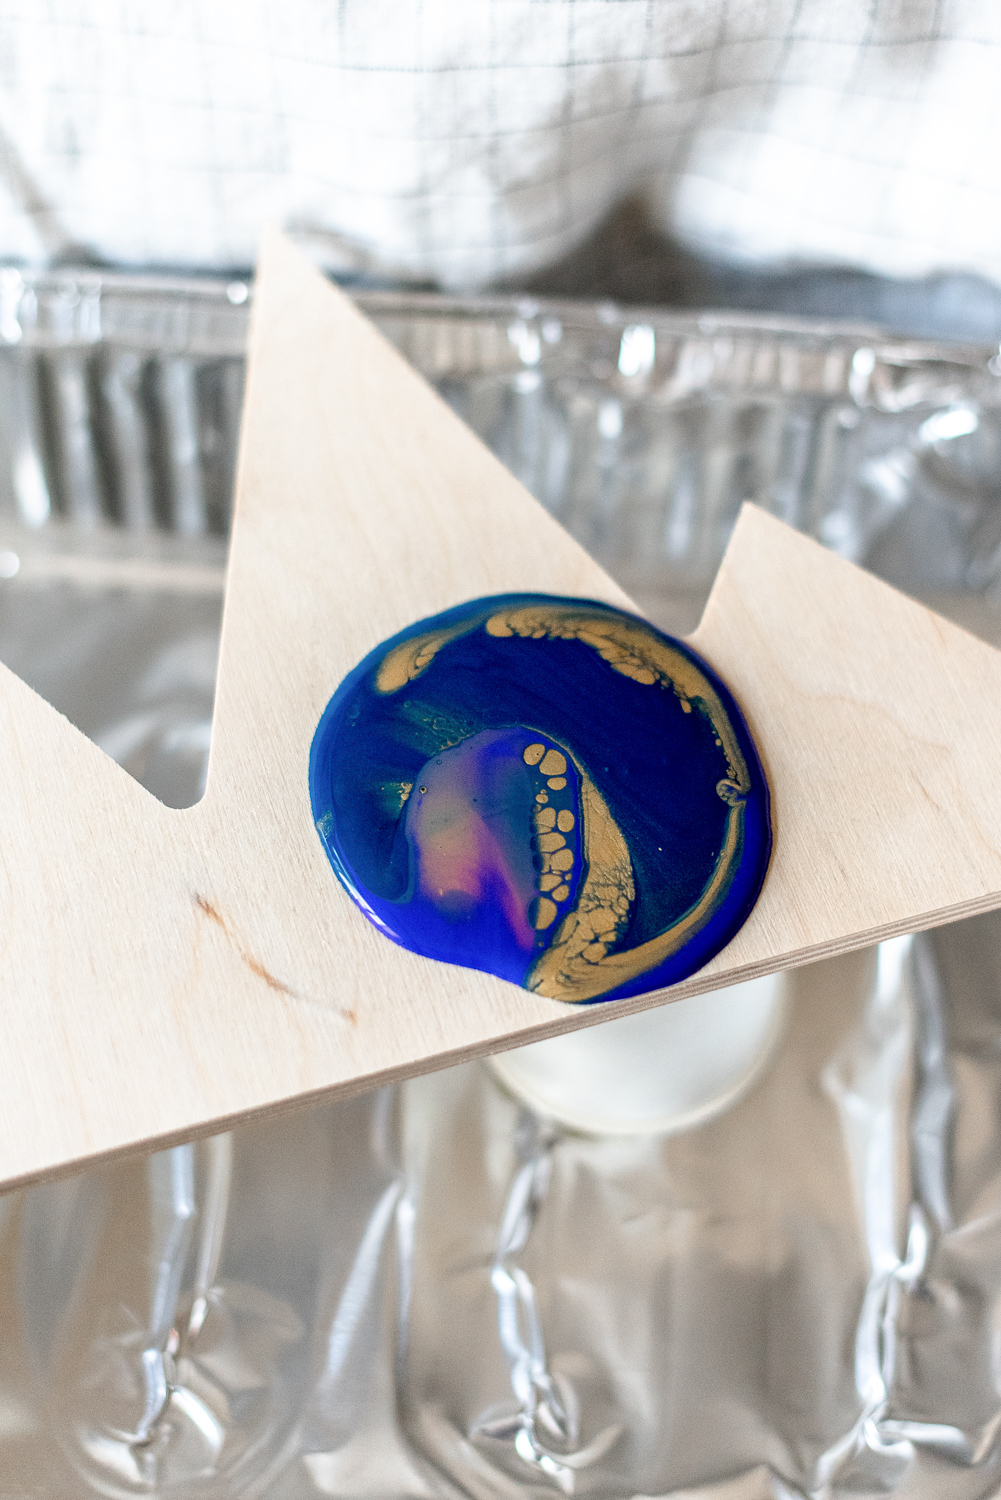
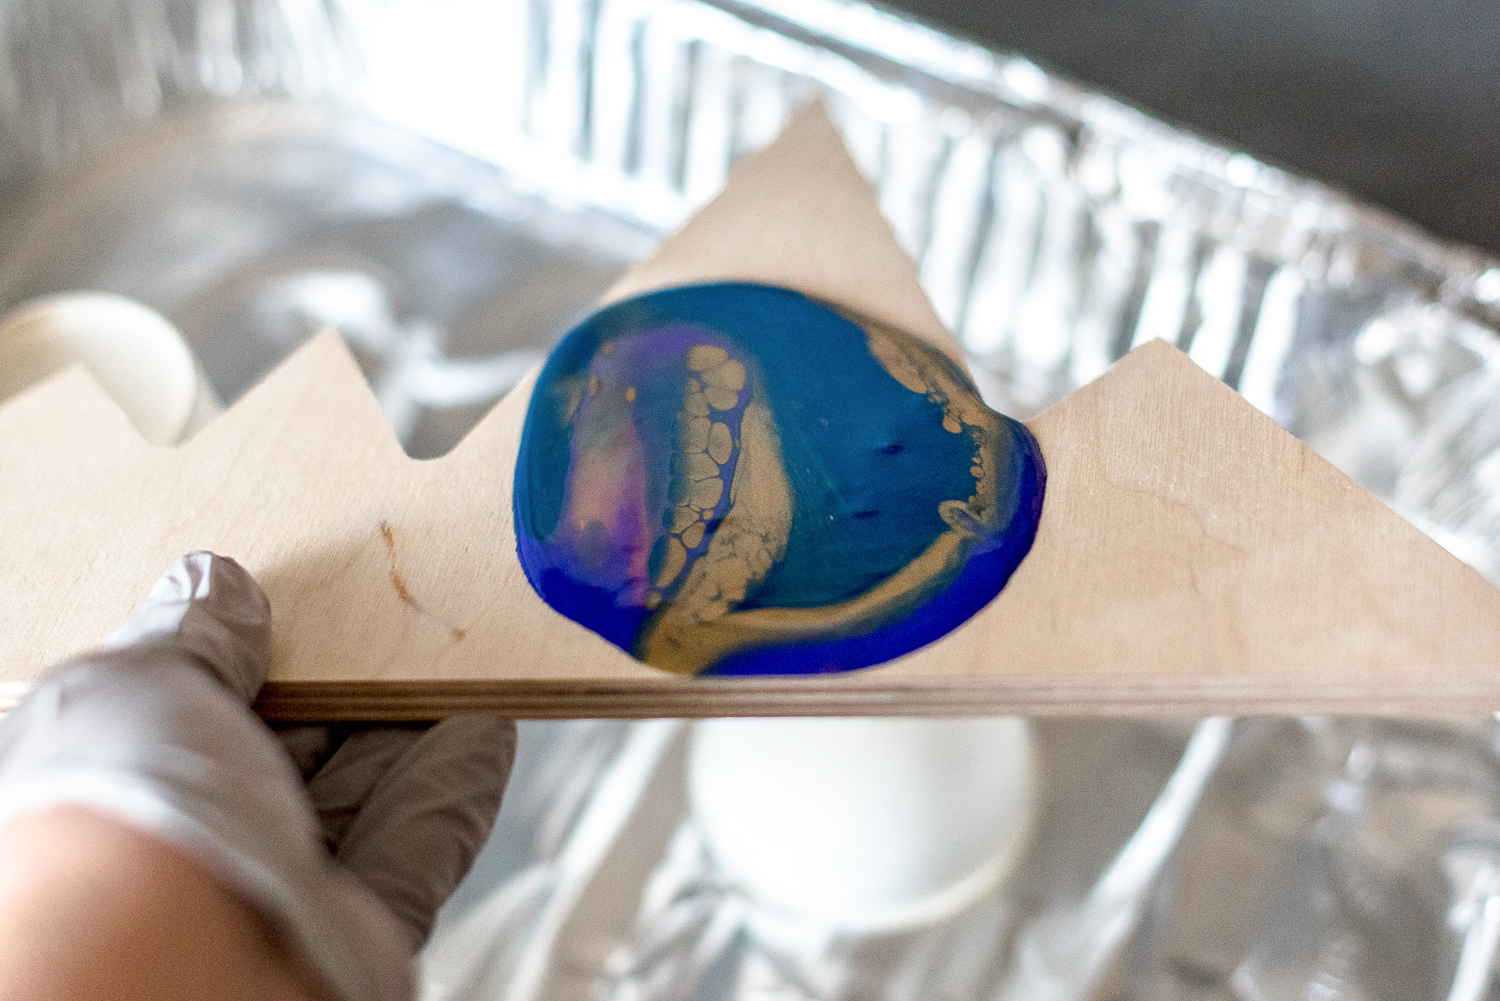
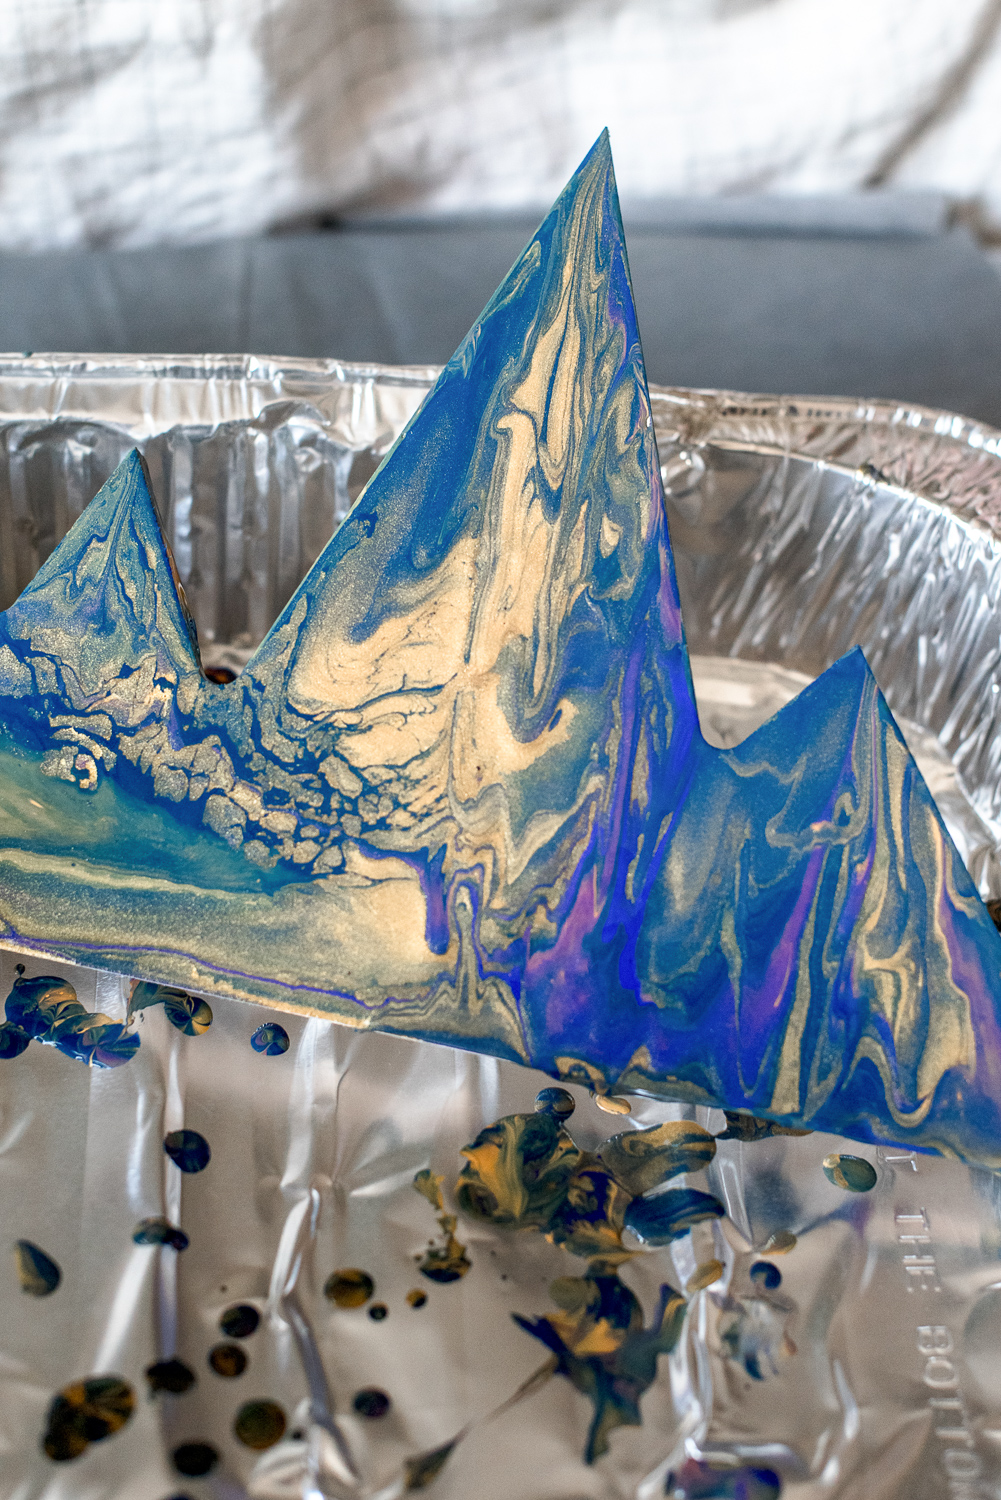
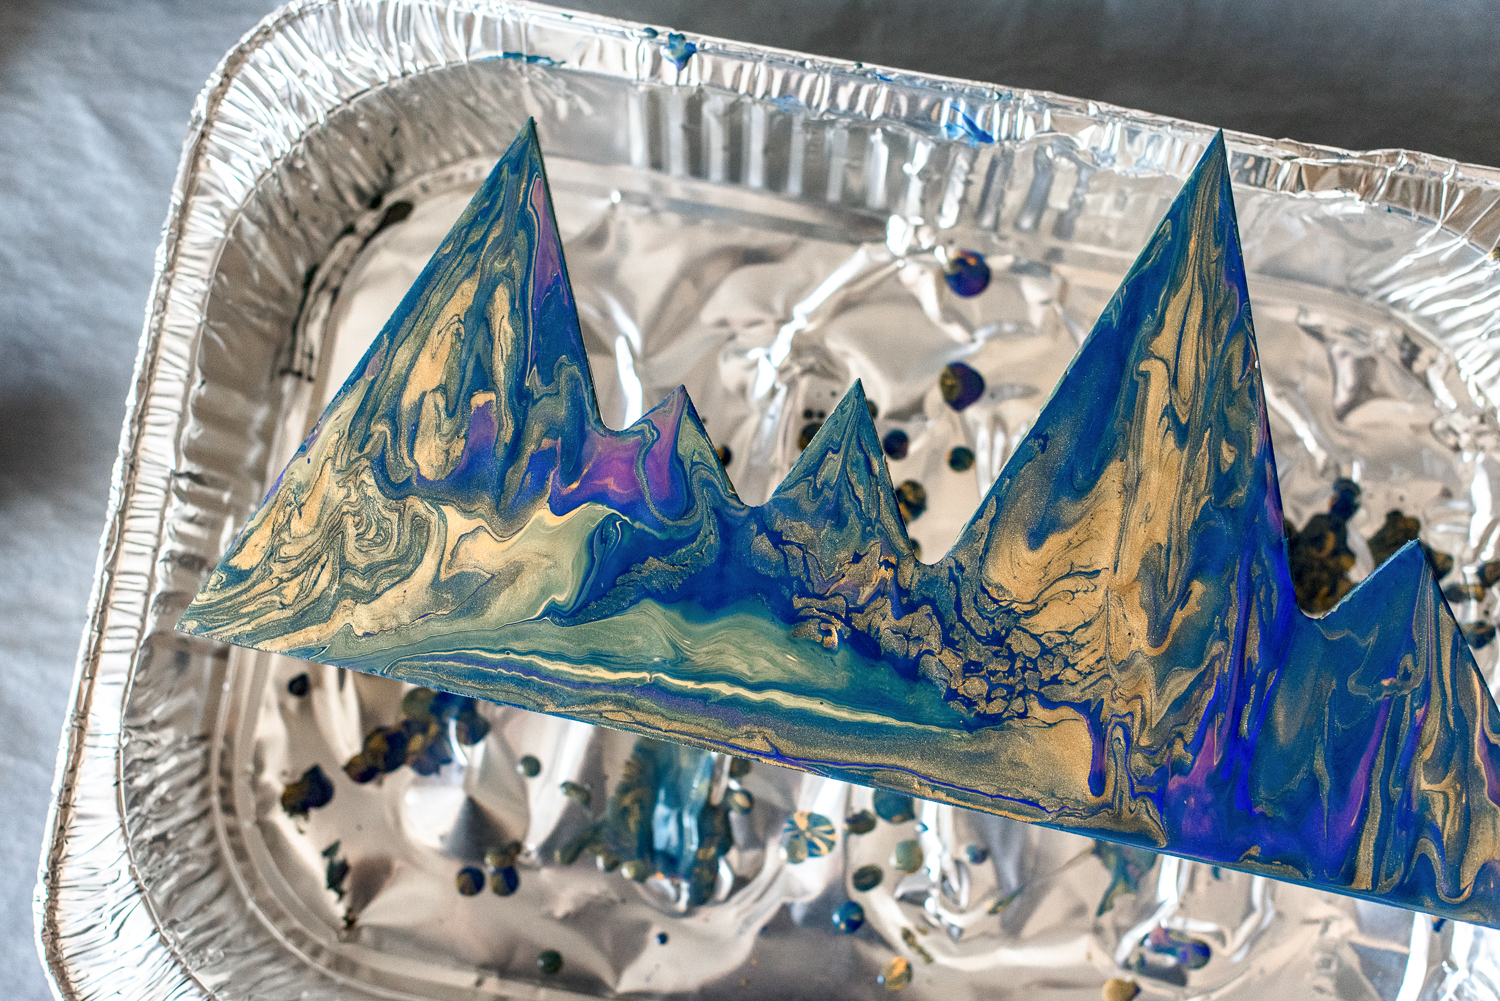
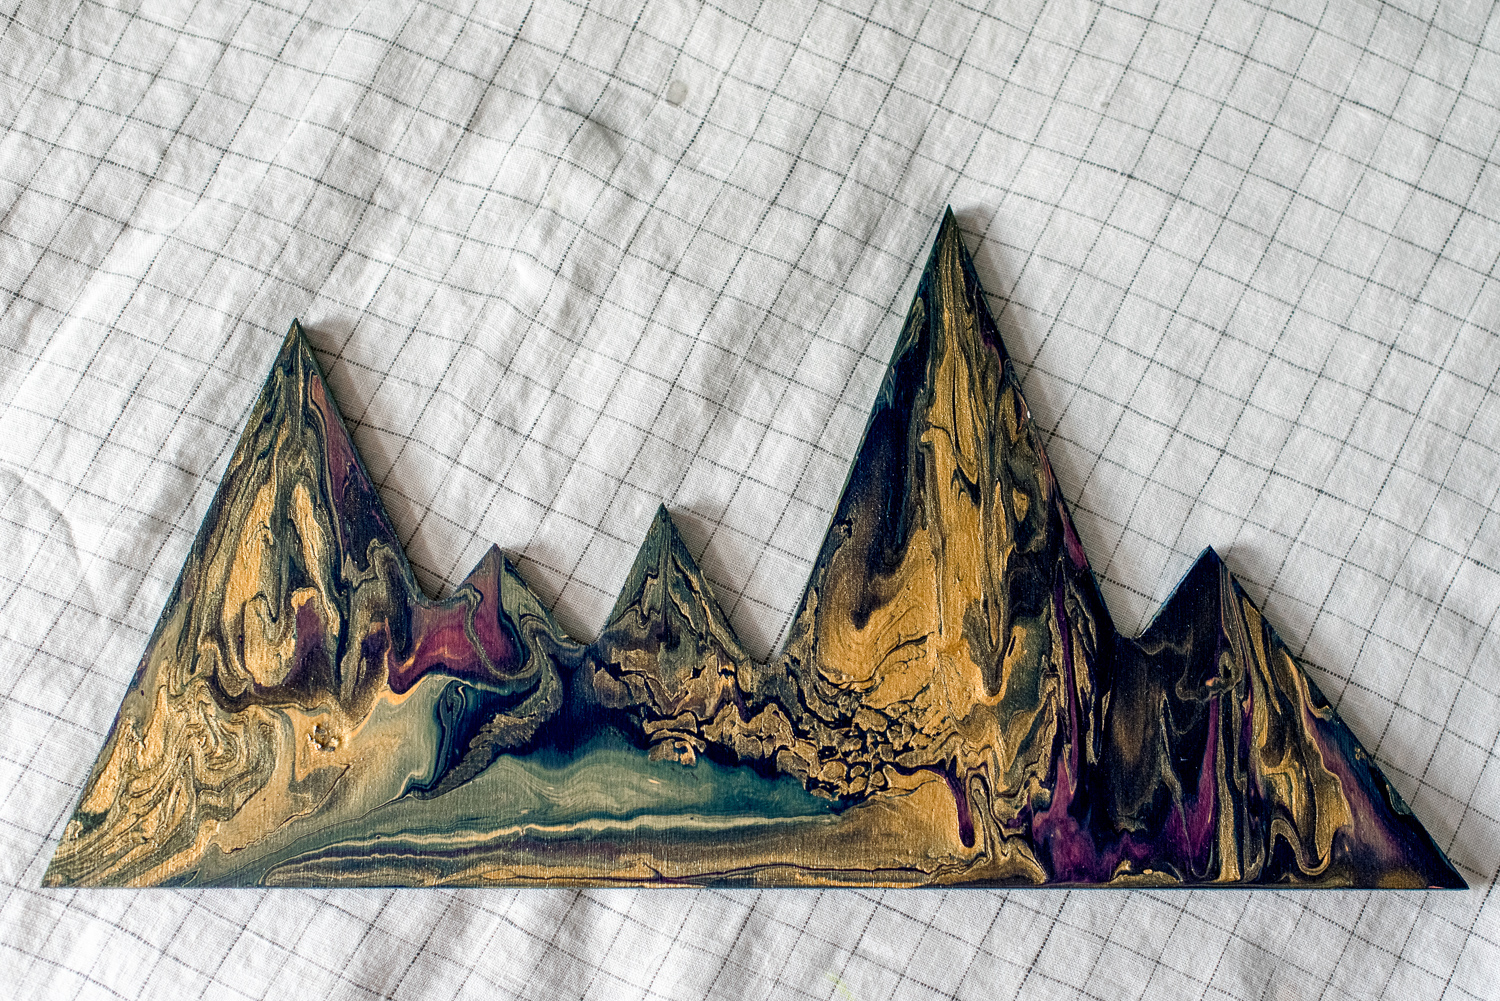
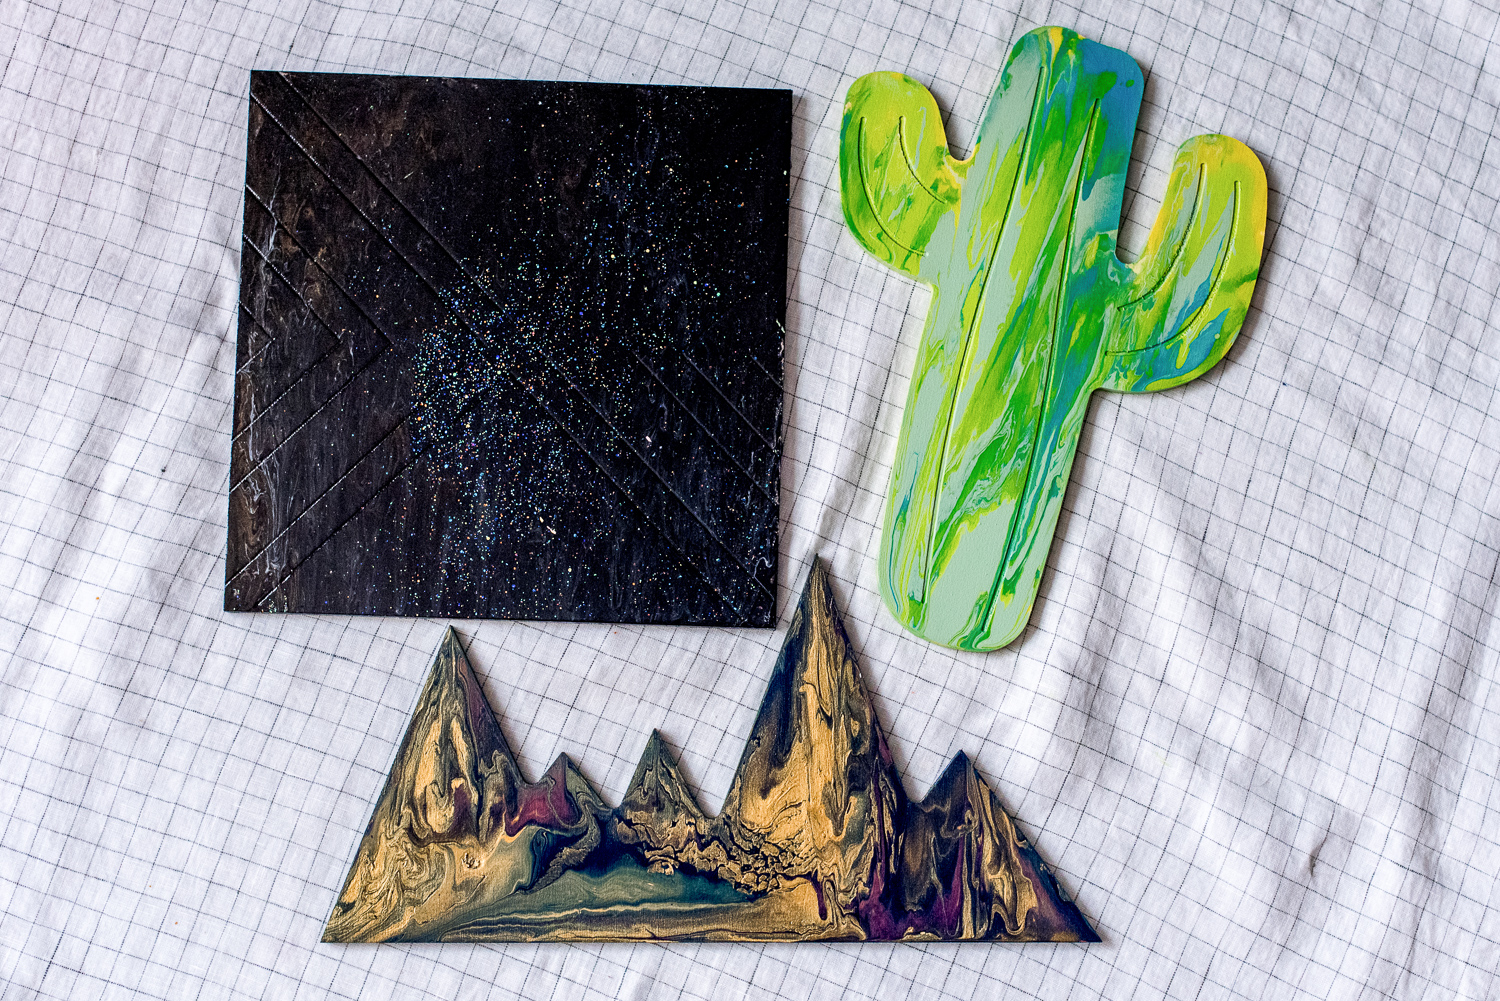
3. For this second technique on the mountain range shape I decided to go with what’s called a dirty pour. I mixed up the colors I wanted to use here, including a gold metallic sheen, and then poured some of each color into one cup (I forgot to get a picture of it all in one cup 🙁 ). I then placed the shape front side onto the top of the cup, holding it tightly, flipped the shape over onto my foil pan/props, until I was ready and then lifted the paint filled cup off of the shape. Then I did the same as the first, tilted it around until I was happy with the design. For this one I let it sit at a 90 degree angle for a few minutes so that the effect would look like it was dripping down to the bottom of the mountain range. It will all come down to the effect you want to achieve so play around with it! Again, once you’re satisfied, lay it flat and let dry.

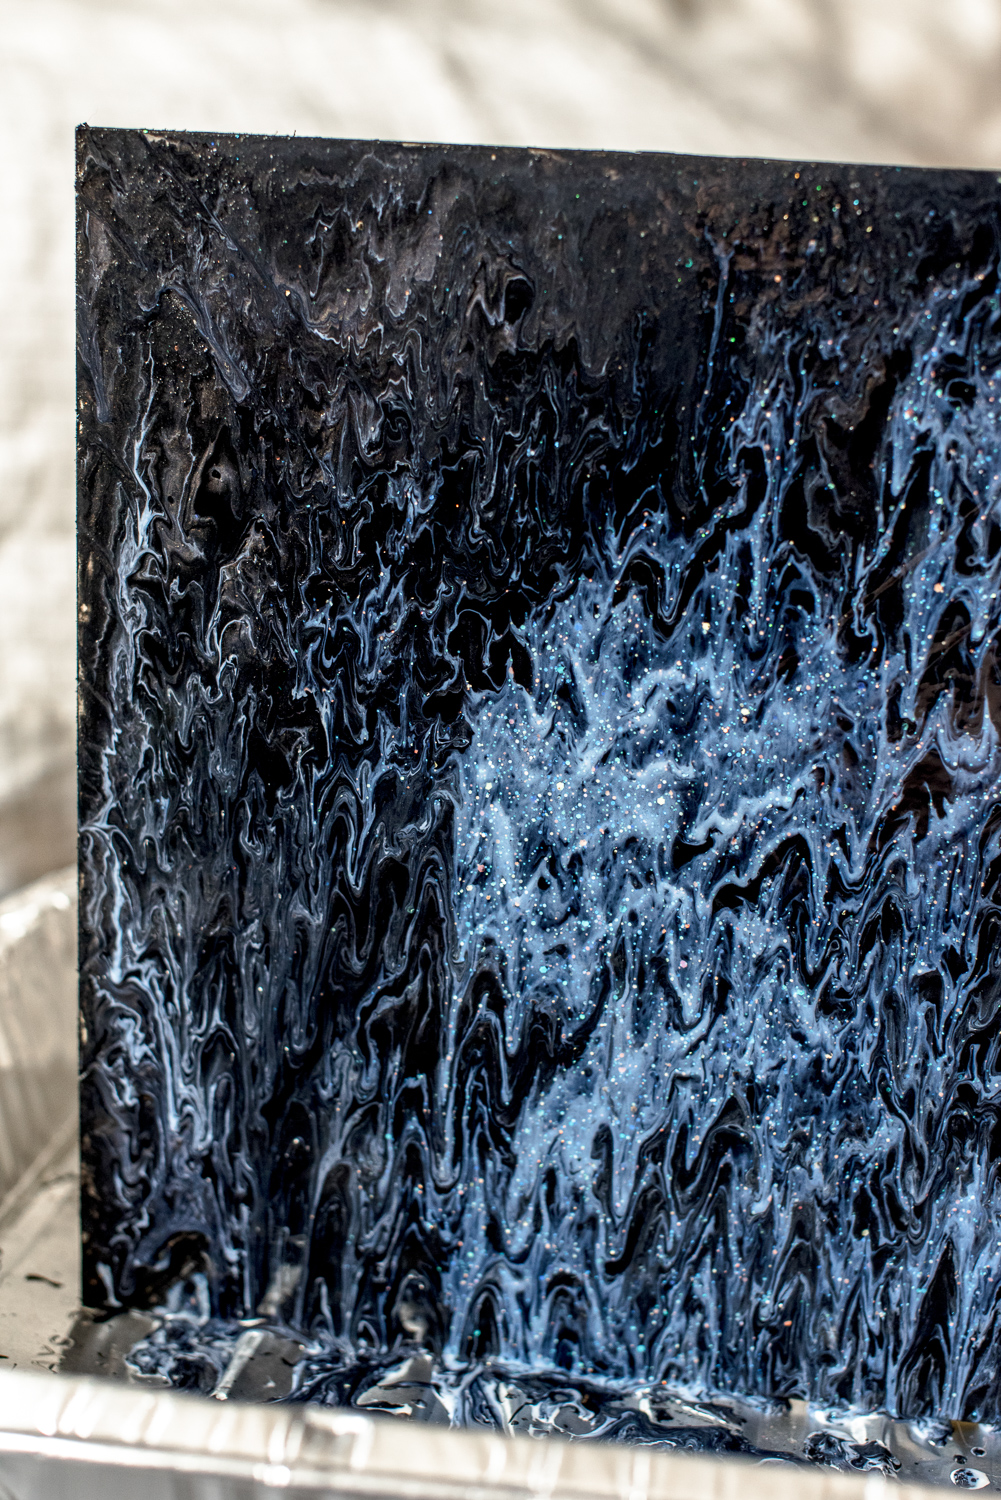
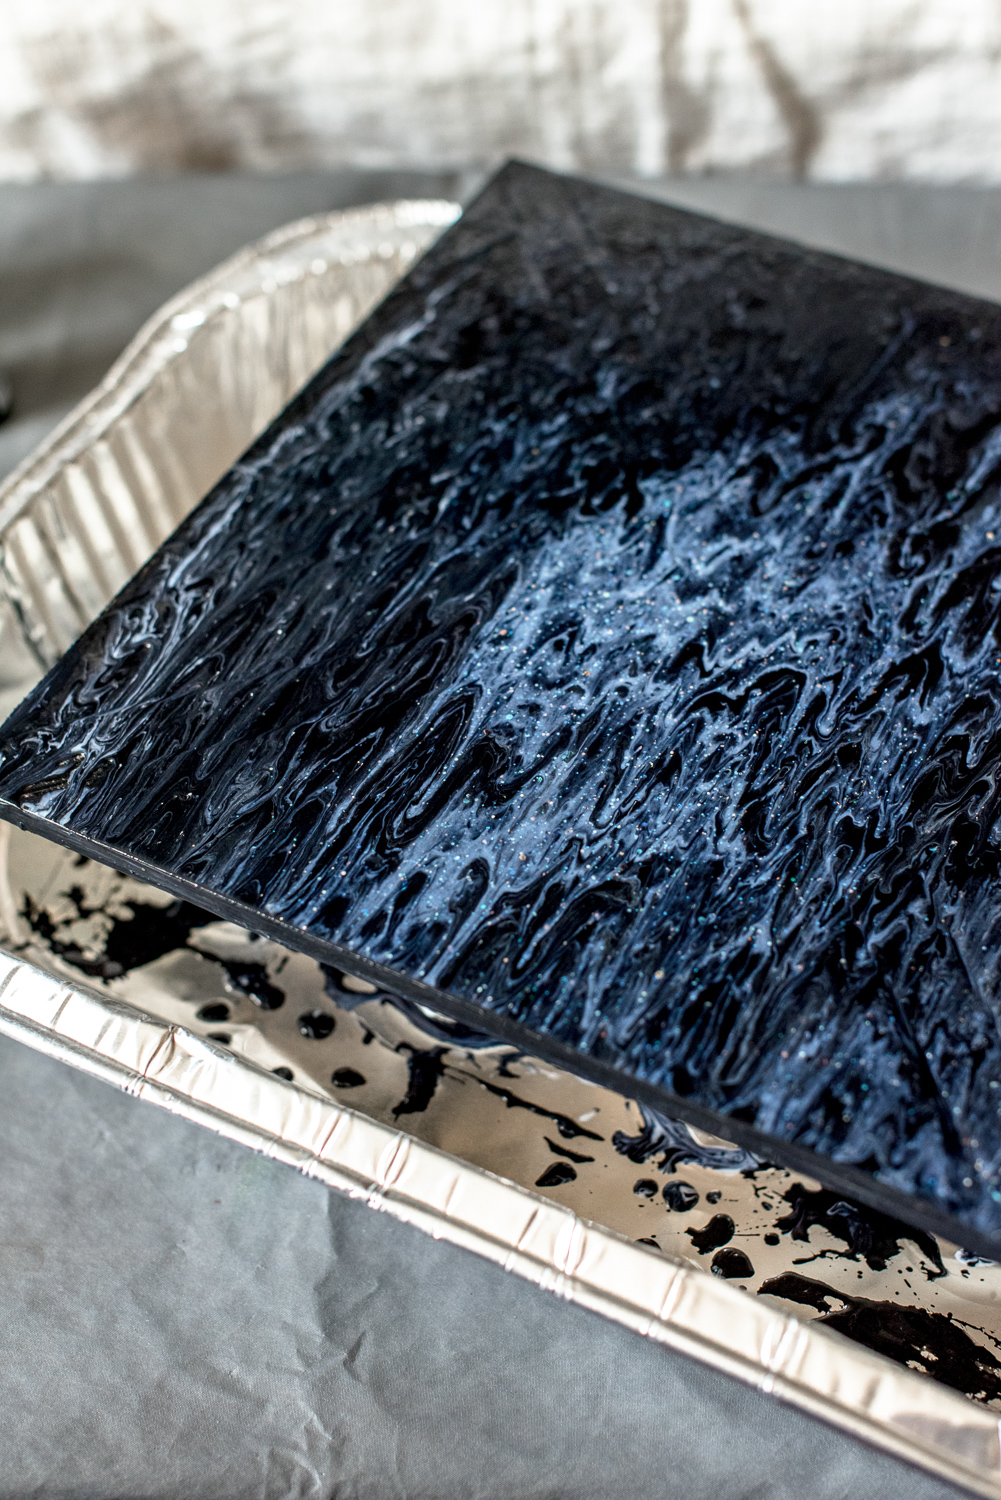
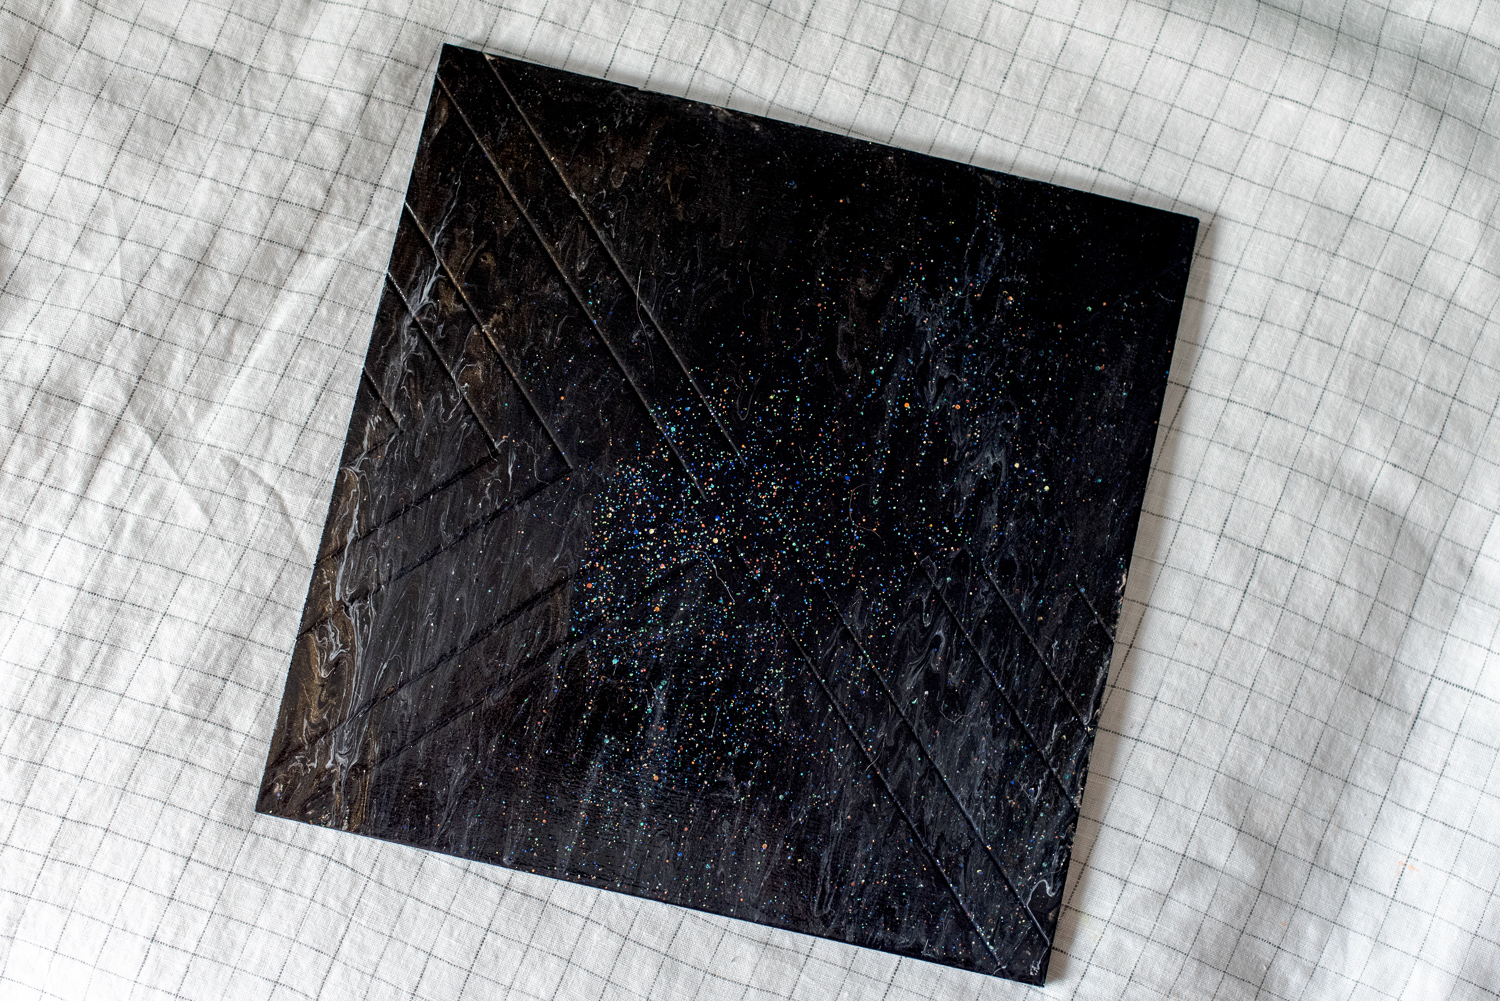
4. For the third technique, I tried a ‘puddle pour’. I chose black and white with a galaxy glitter and gold interference fluid acrylic. (NOTE: While I’m happy with the outcome, the white is not noticeable in this piece and the black kind of took over everything, something to keep in mind when choosing colors). I started in the middle and poured some of the black, then the white, then the glitter and gold, all in the same puddle. Just as before, I tilted the piece until I was happy with it, and also kept this one at a 90 degree angle so the paint would all drip down in one direction. Lay it flat and let it dry.


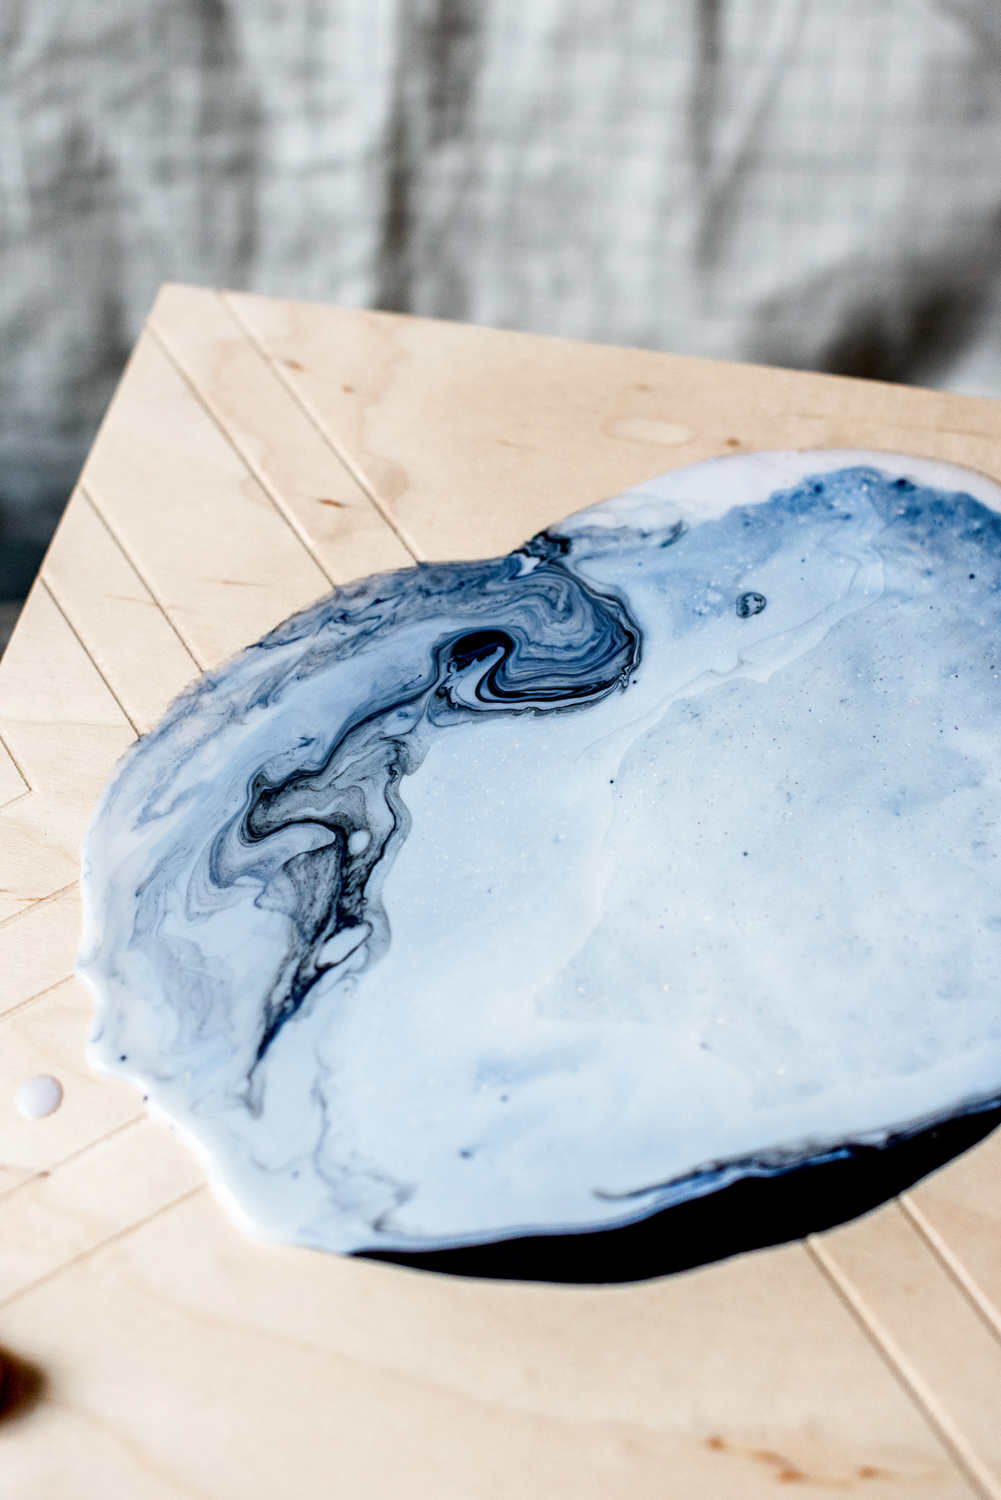
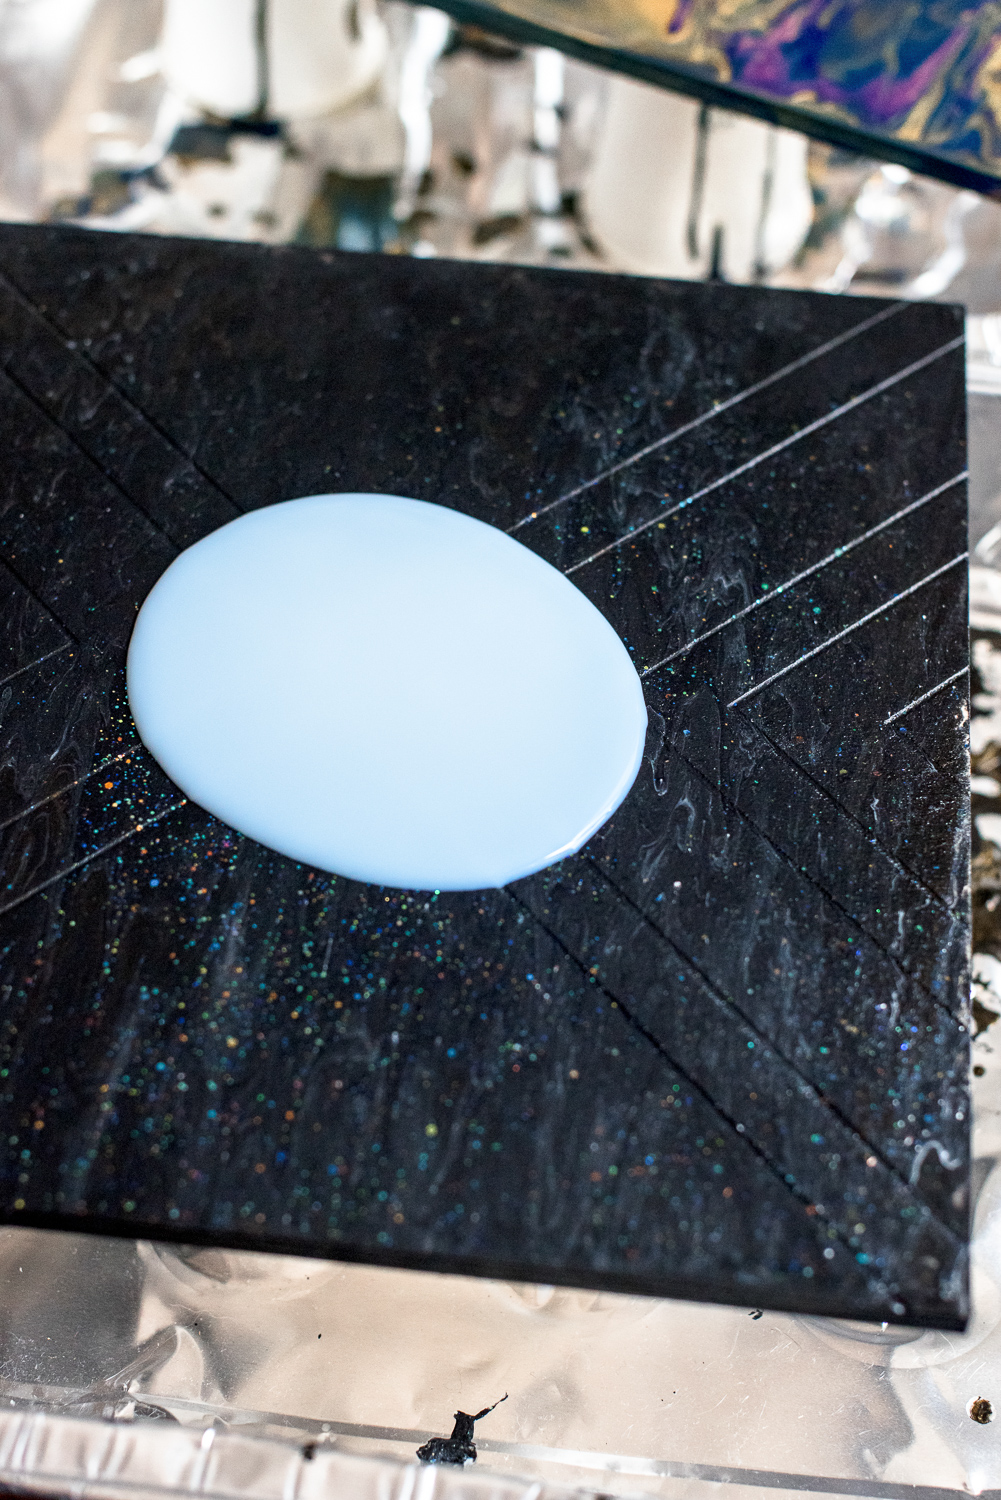
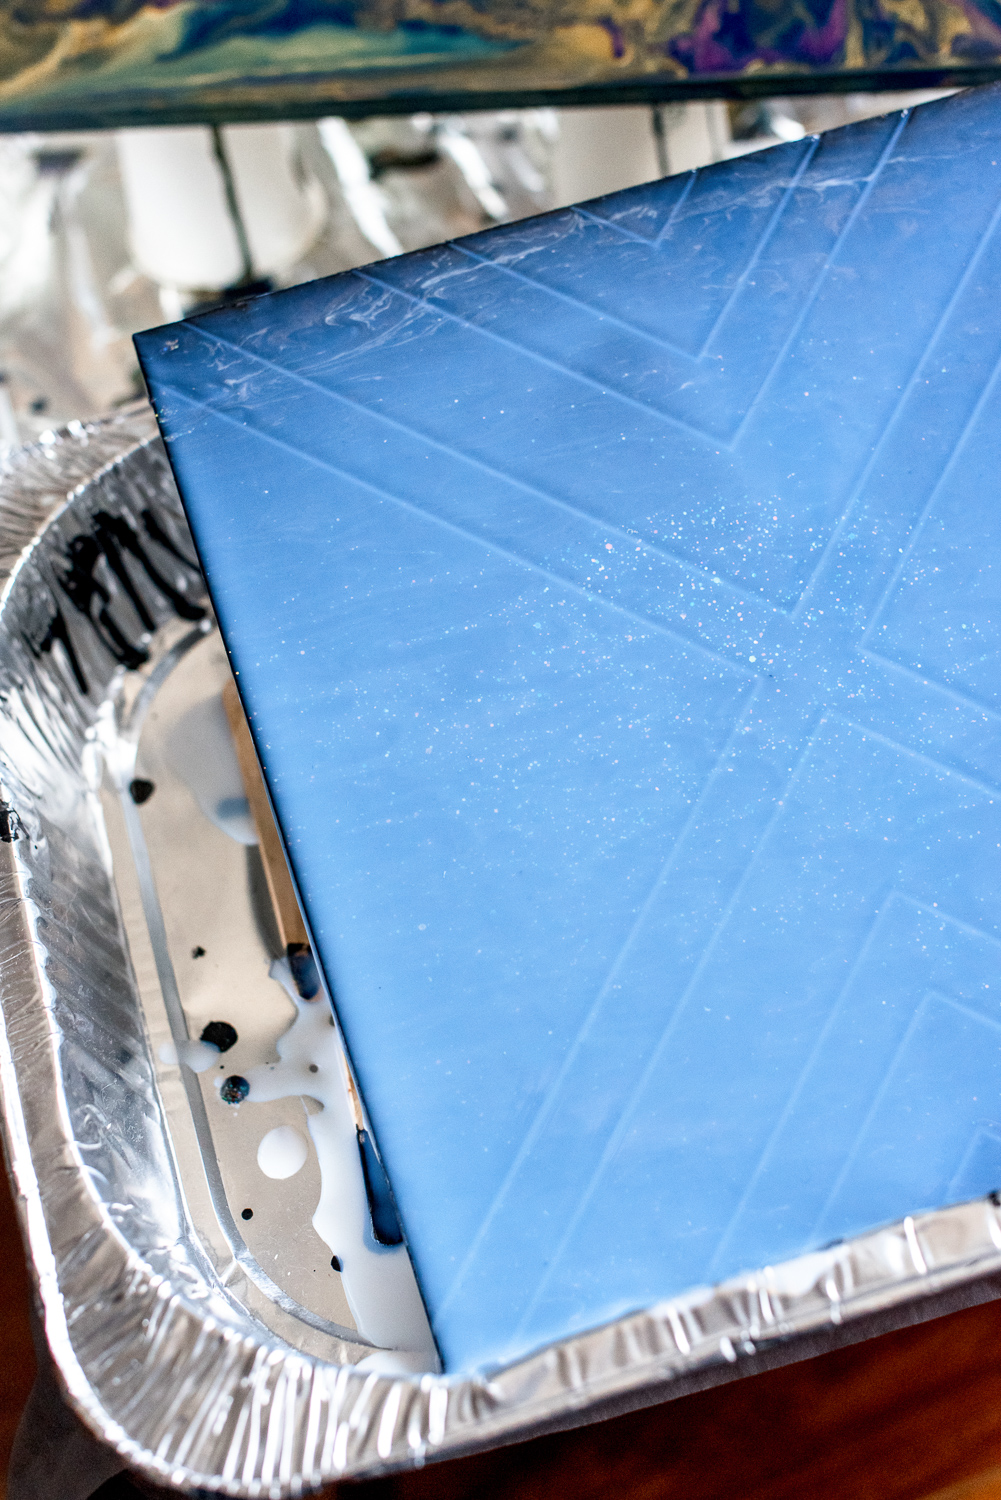
5. Adding an optional clear coat. I only tried this for one of the pieces, because I was happy with the look of the other two. There are directions on the bottle but it’s basically the same as the rest of the pouring. Pour it directly onto your piece, tilt it around until it’s covered, let the excess fall off and lay flat and let dry completely.
These are all just starting points, have fun with it, experiment! Change the ratios, play with different colors, textures and even surfaces.
ABOUT NIK:
Nik is a maker, day dreamer & potty mouth who loves cats, coffee and craft beer. She is a self taught hand embroiderer and will DIY pretty much anything she can get her hands on. You can see her work on Instagram @wastingthyme & @nikvphotography. She lives in Long Beach with her husband and her three awesome cats (that she can’t shut up about).