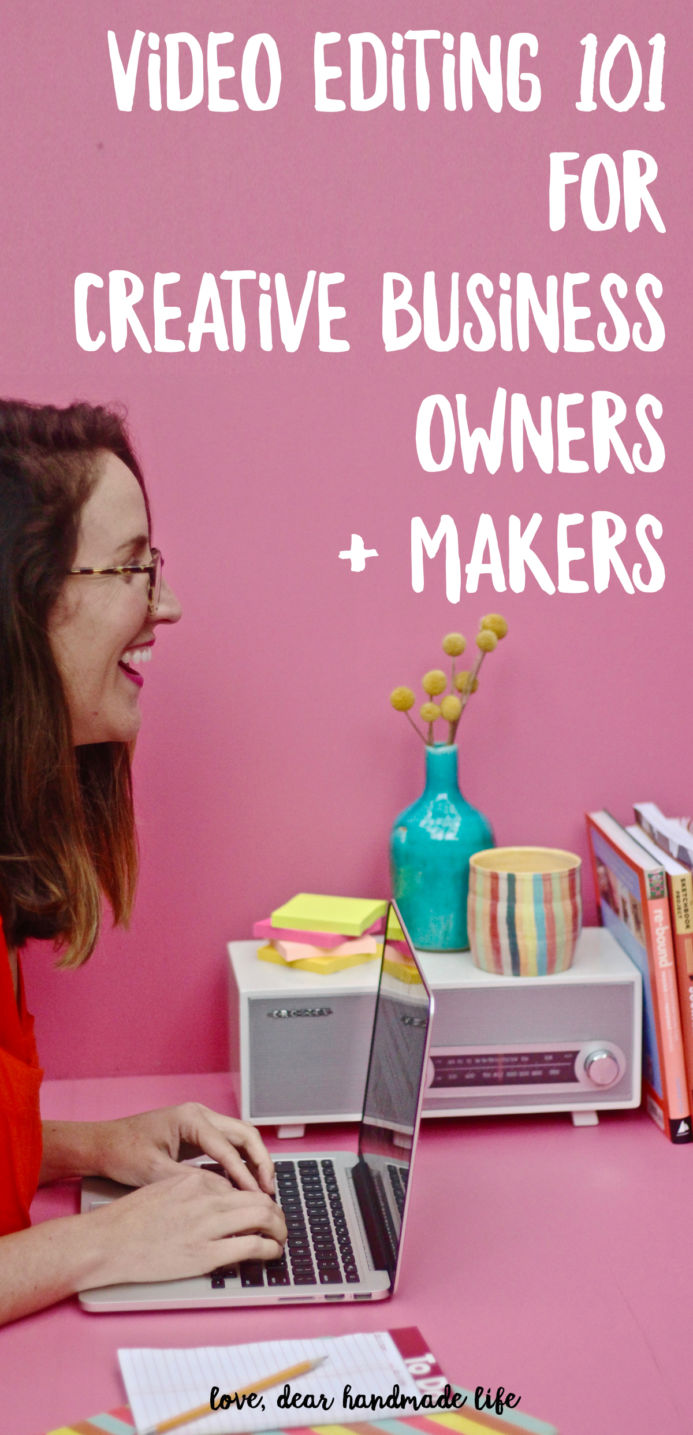
Video editing 101 for creative business owners + makers
Editor’s Note: It’s no secret that more and more brands are using video as a part of their business and marketing strategy. Social media algorithms are loving video and technology has made it (fairly) simple to shoot and edit your own videos. It can feel a bit daunting if you’ve never done it but our friend Joan Goodspeed from Break + Remake is here to help! Check out her first post: How to get started with video for your creative business. *A quick note about the equipment I use to make videos (like this one for our Photo Styling online workshop): I use this DSLR camera and for shots with depth of field (blurry background) I switch to this 50mm lens (it’s reasonably priced and makes a HUGE difference). A tripod like this one with a lateral arm comes in really handy for overhead shots. This $10 wireless camera remote has been a life-saver.
-Nicole S.
If you are just starting to create DIY videos (or are ready to take the leap), this post will help you get started with the editing process. Let’s start with what editing means exactly: editing is loading your raw footage into your editing software and cutting your video down. By doing this your aim is to remove the excess footage or “air” as it’s called to make a strong story or tutorial.
GOOD EDITING STARTS BEFORE YOU FILM
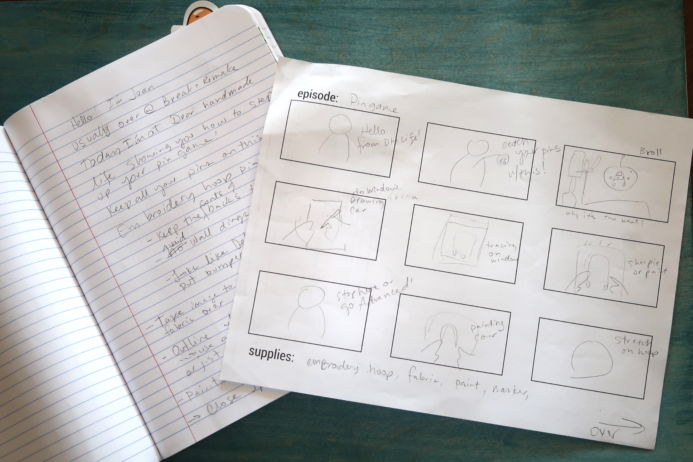
When I go to shoot videos for Break + Remake I make sure I have a script, which is just a series of bullet points and my shots listed on a storyboard. Both my script and storyboard are extremely rough; they are guidelines to help my editing process go faster. Laying out your ideas first will help you after the filming is done. If you create a script and storyboard you already know how the video should look. Having that knowledge will make chopping up your raw footage into a clean video easier. And by using your script you’ll know, before you clean up from filming, if you got all the shots you need and the necessary information said on camera.
*If you write a script and make a storyboard, they don’t have to look fancy. Mine (see below) looks like it was written while riding the hot mess express!
KNOW WHAT TO SAY AND HOW TO SAY IT
Know before going into the video what parts will get voice over. I don’t use voice overs in my videos because I like the way I sound “off the cuff”, and my voice-overs tend to be stiff. However, voice overs work great if you keep a few points in mind. What actions need clarification for your audience to understand what’s happening? If there are techniques that need more than the image to be explained, think about text overlay or voice over. Speak clearly and slowly when doing voice over so your audience can follow along. If you are posting a video to Facebook, most people are watching with the sound off, so use text overlay instead of voice over. For a good example of voice over, check out SeaLemon.
KEEP YOUR TARGET AUDIENCE IN MIND
Are they young? If so, it’s best to have lots of cuts in the flow of the video and to zoom in tighter on your face. Older audiences can tolerate a longer section of unedited video, but footage still has to be meaningful and move the tutorial along. If I were editing for a younger audience, I would use the editing software to zoom in on my face to emphasize certain words. Of course, there are exceptions to the rule about what different age groups tend to gravitate towards and I’m just generalizing here. Also, when I edit, I usually finish one thought or script sentence and cut to the next idea, trimming away my inhales and “um’s”. This is “removing the air” from your videos. Check out Strawburry17 to see how she uses lots lots of zoomies and jumps to cater towards her specific audience.
CHOOSE THE RIGHT EDITING SOFTWARE
You can edit on your computer, phone or right in YouTube. If you have an Apple computer, use iMovie. Adobe Premiere is great if you are more advanced or already familiar with Adobe products (I find their shortcuts seem to be the same across the programs). I personally use iMovie: it does everything I want it to do and until I grow out of it and have to learn something else, I’ll keep using it. There are some great video editors for your phone! iMovie or Splice are great for iPhone + Filmorago or Quik Video Editor are great for Android.
PICK THE RIGHT MUSIC
If you are just starting out, you can pick some free license music from the YouTube library. If you modify how fast a song is played you can make it more upbeat, so pick the genre and sound you like, and modify it in editing. I purchased a song through my friend who is a composer, so I’ve never bought songs online. If you have, let us know in the comments! Here’s a link to an article on where to find music for your videos.
HAVE A “SCREENING”
When I started editing Break + Remake, I had a friend sit down and critique my edited footage. Her lessons were extremely helpful, she told me about “air” and how to keep my video moving. Find someone in your circle that you trust and will give you helpful feedback watch your videos and tell you how to make them better.
EDIT FOR YOUR FORMAT
On YouTube, you can have a speech heavy video. People are on YouTube to watch AND listen to videos. On the other hand, Facebook and Instagram users generally have to turn the sound to hear your video. If you chop your video to a Facebook-friendly version, it should have easy to follow actions rather than speech explaining the process. On Instagram, the video should be fairly short, because you want to catch people’s’ interest right away. I keep my videos for Instagram around 15-20 seconds. Sarah Hearts, who has a strong video following on Facebook only posts still pictures on Instagram. Experiment and find out which works for you. When I post my videos to Facebook, I usually do it a week after they’ve been published on YouTube, and I post the whole video. This works for me, but see what works for you!
I love how Sarah Hearts defines editing: “Editing is the continual process of reviewing your work from start to finish with a fine tooth comb.” -Sarah Hearts
And this great tip she offers: “Take the time to learn the keyboard shortcuts for tools/functions you use all the time. This is a serious game changer because it will make your workflow faster!” -Sarah Hearts
Here are some resources for more tips and tricks: 10 tips for editing video and for those of you that more advanced: Professional video editing tips and techniques.
-Joan Goodspeed
About Joan:
Joan Goodspeed is the host of Break + Remake, a sustainable craft show. When dreaming up projects, she considers the creative challenge and the impact craft materials have on the planet. Using thrifted, upcycled and vintage supplies, Joan teaches crafters to be more sustainably mindful. Joan Goodspeed has an MFA in Costume Design from CSU, Long Beach with experience as a professional dyer and costume shop manager. Her training has paid off because she was awarded the Silver Medal in the made-up Craft Olympics for Fabric Folding by Amber from Damask Love. Click here to subscribe to Break + Remake.