
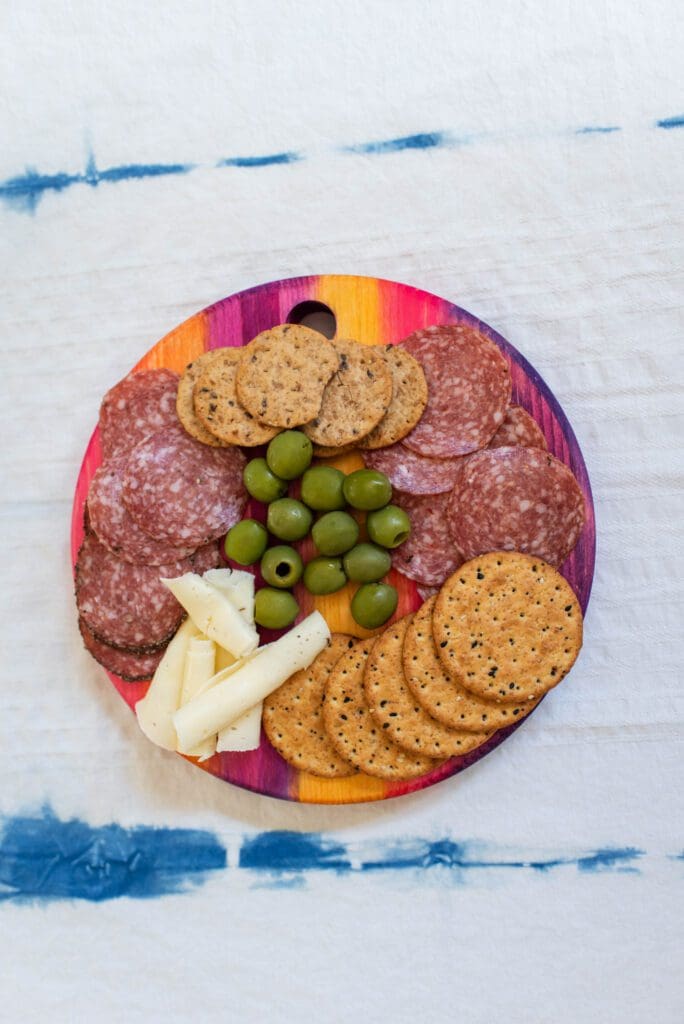
Charcuterie boards have become SO popular. Especially among my Generation (Millennial), I blame it on growing up on Lunchables. Everytime I host a get-together the charcuterie board is the center of attention. As much as we are all there for the snacks obviously, I also like to have a pretty presentation. I wanted to take the idea of dyeing wood and make it food safe, so I used food coloring for this! I loved how these turned out. This is the perfect project where you can make one for yourself and then make more to give as gifts! And it’s SO easy, let me show you what I did.

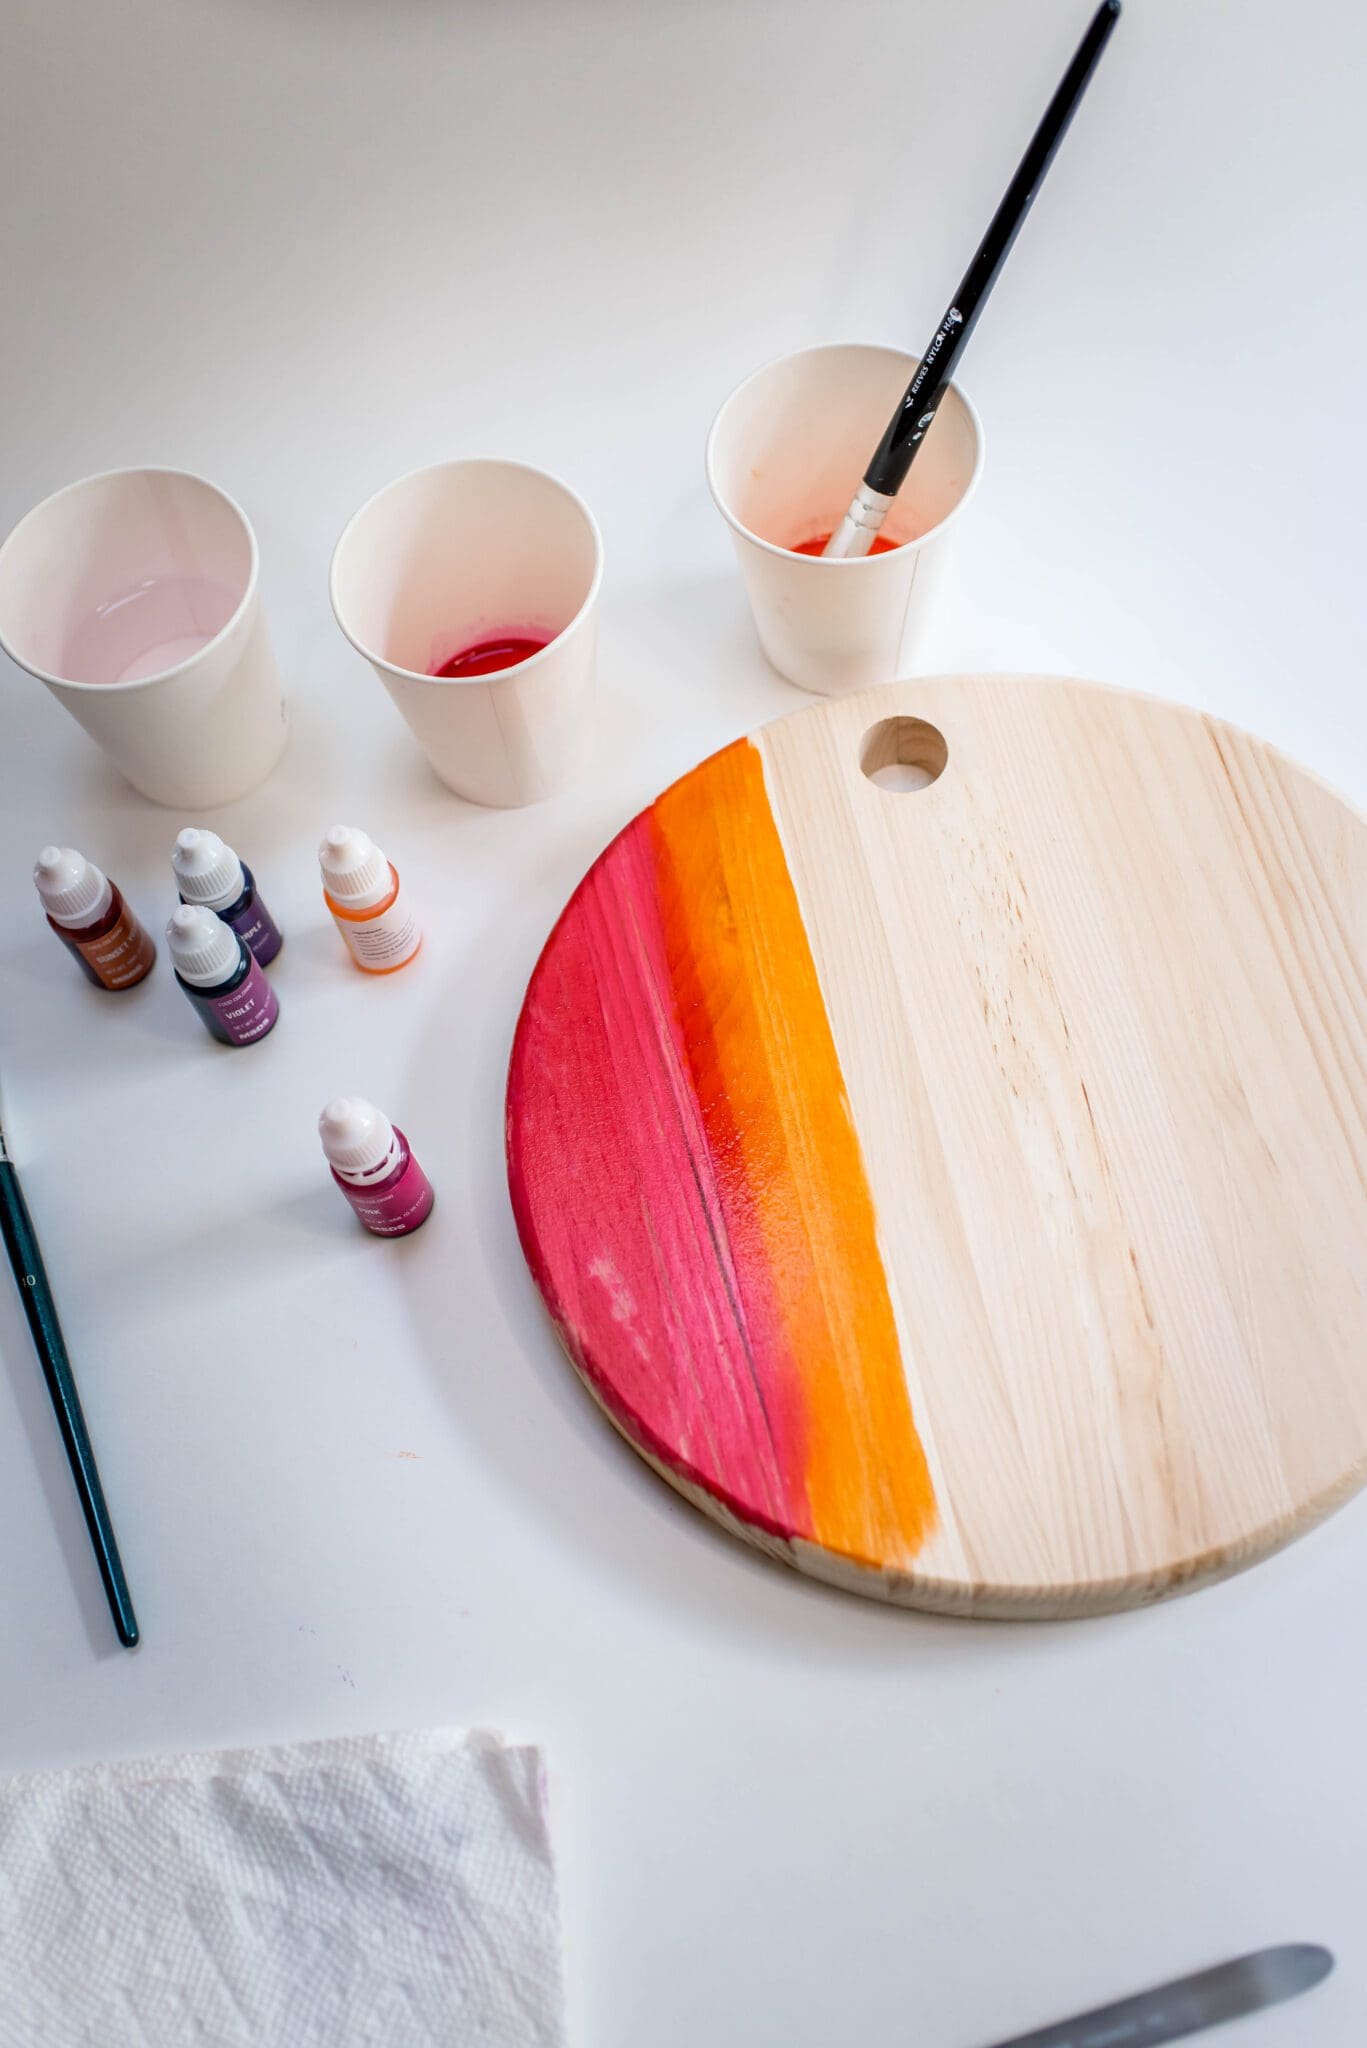
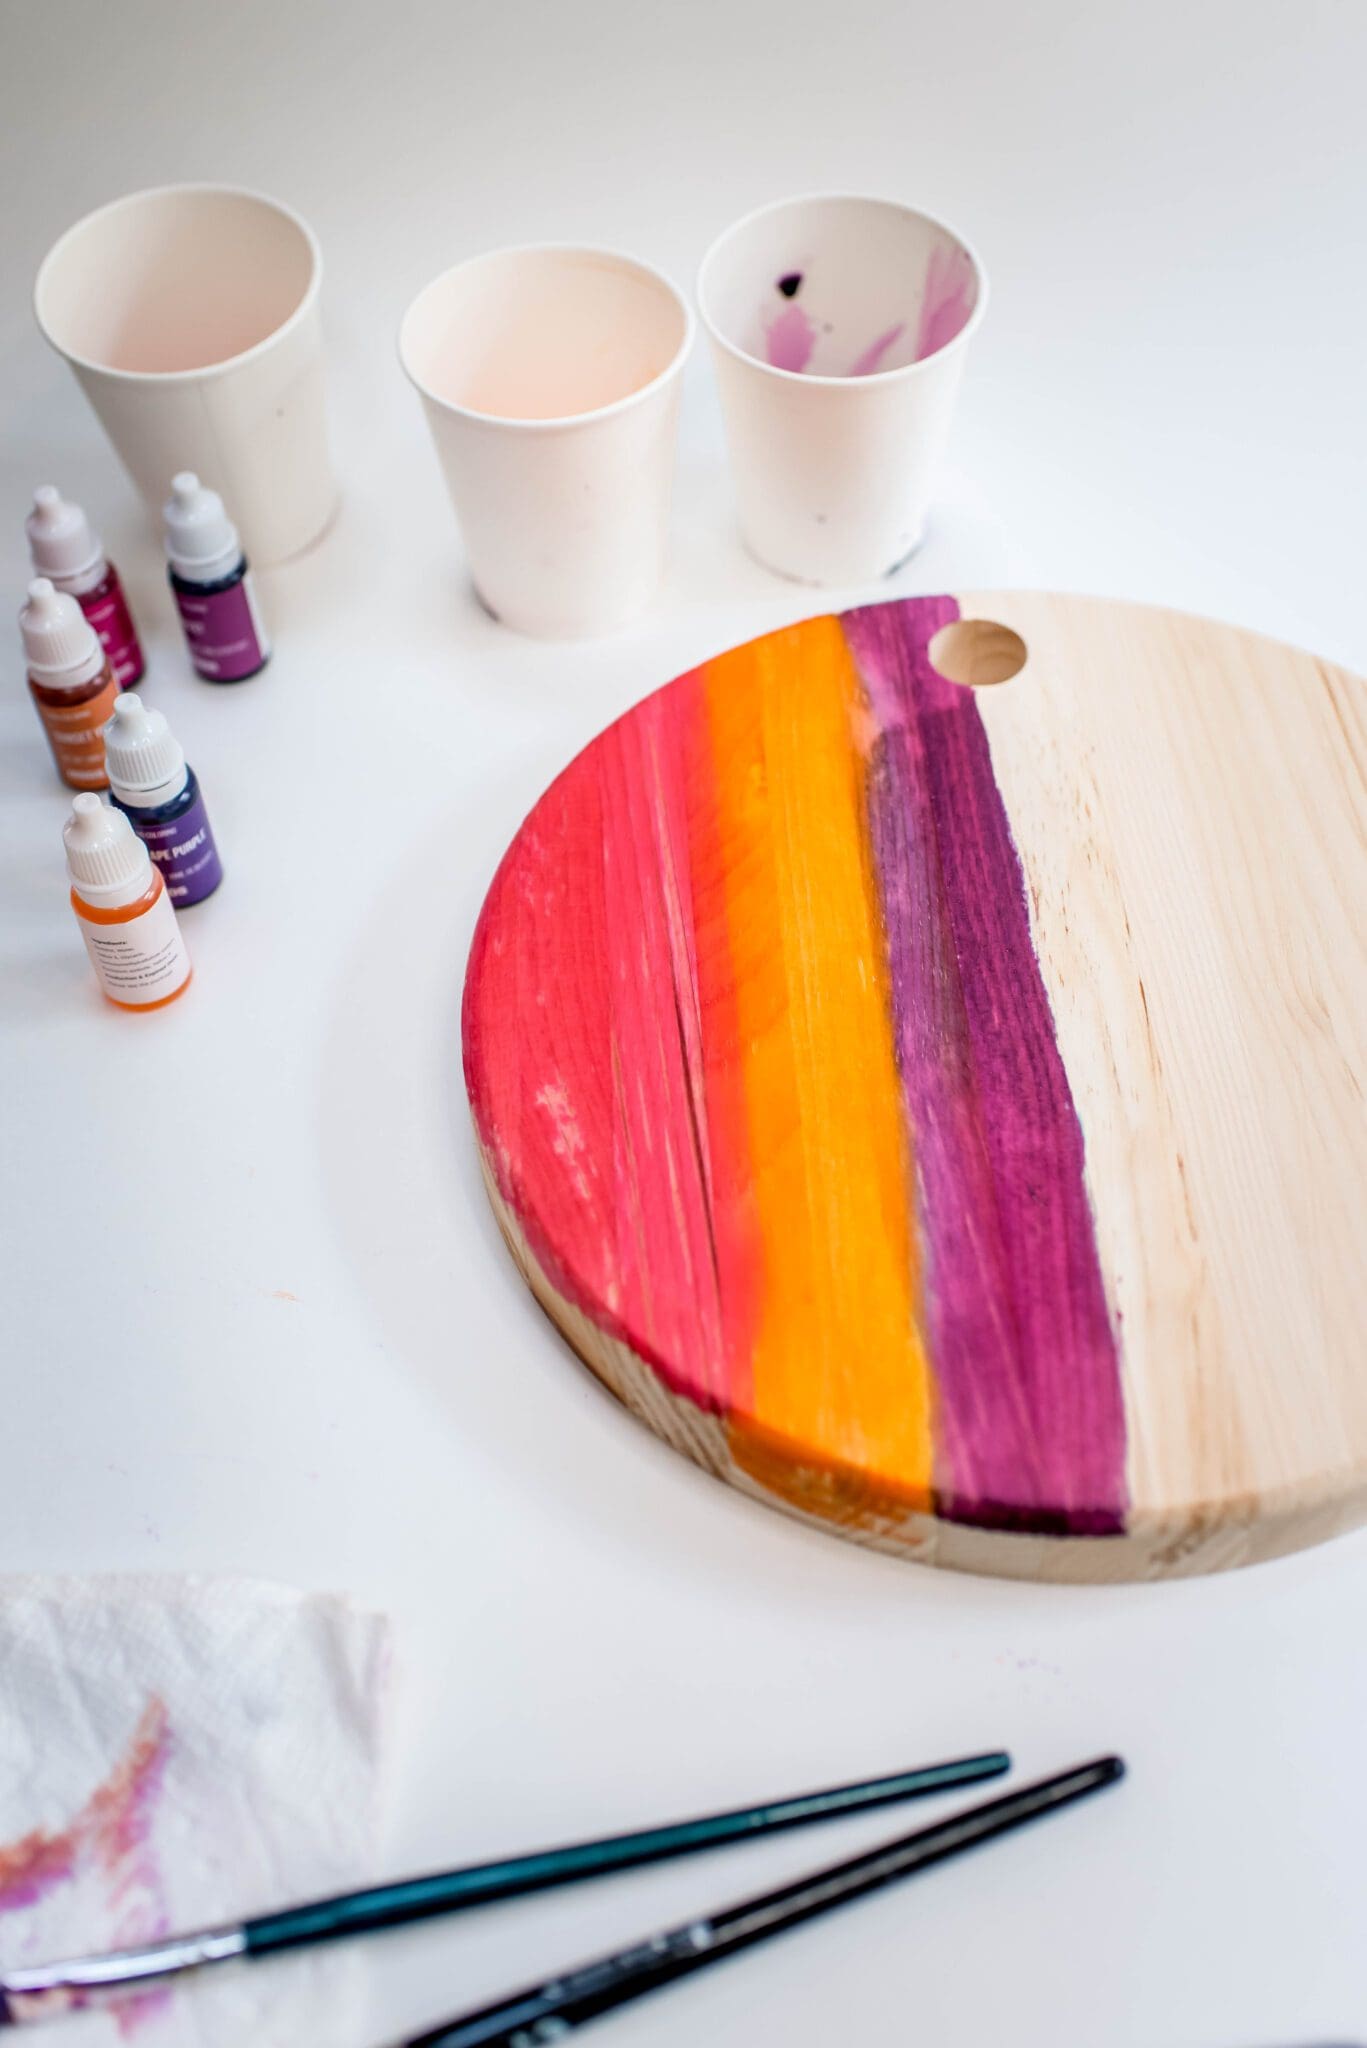
STEP ONE:
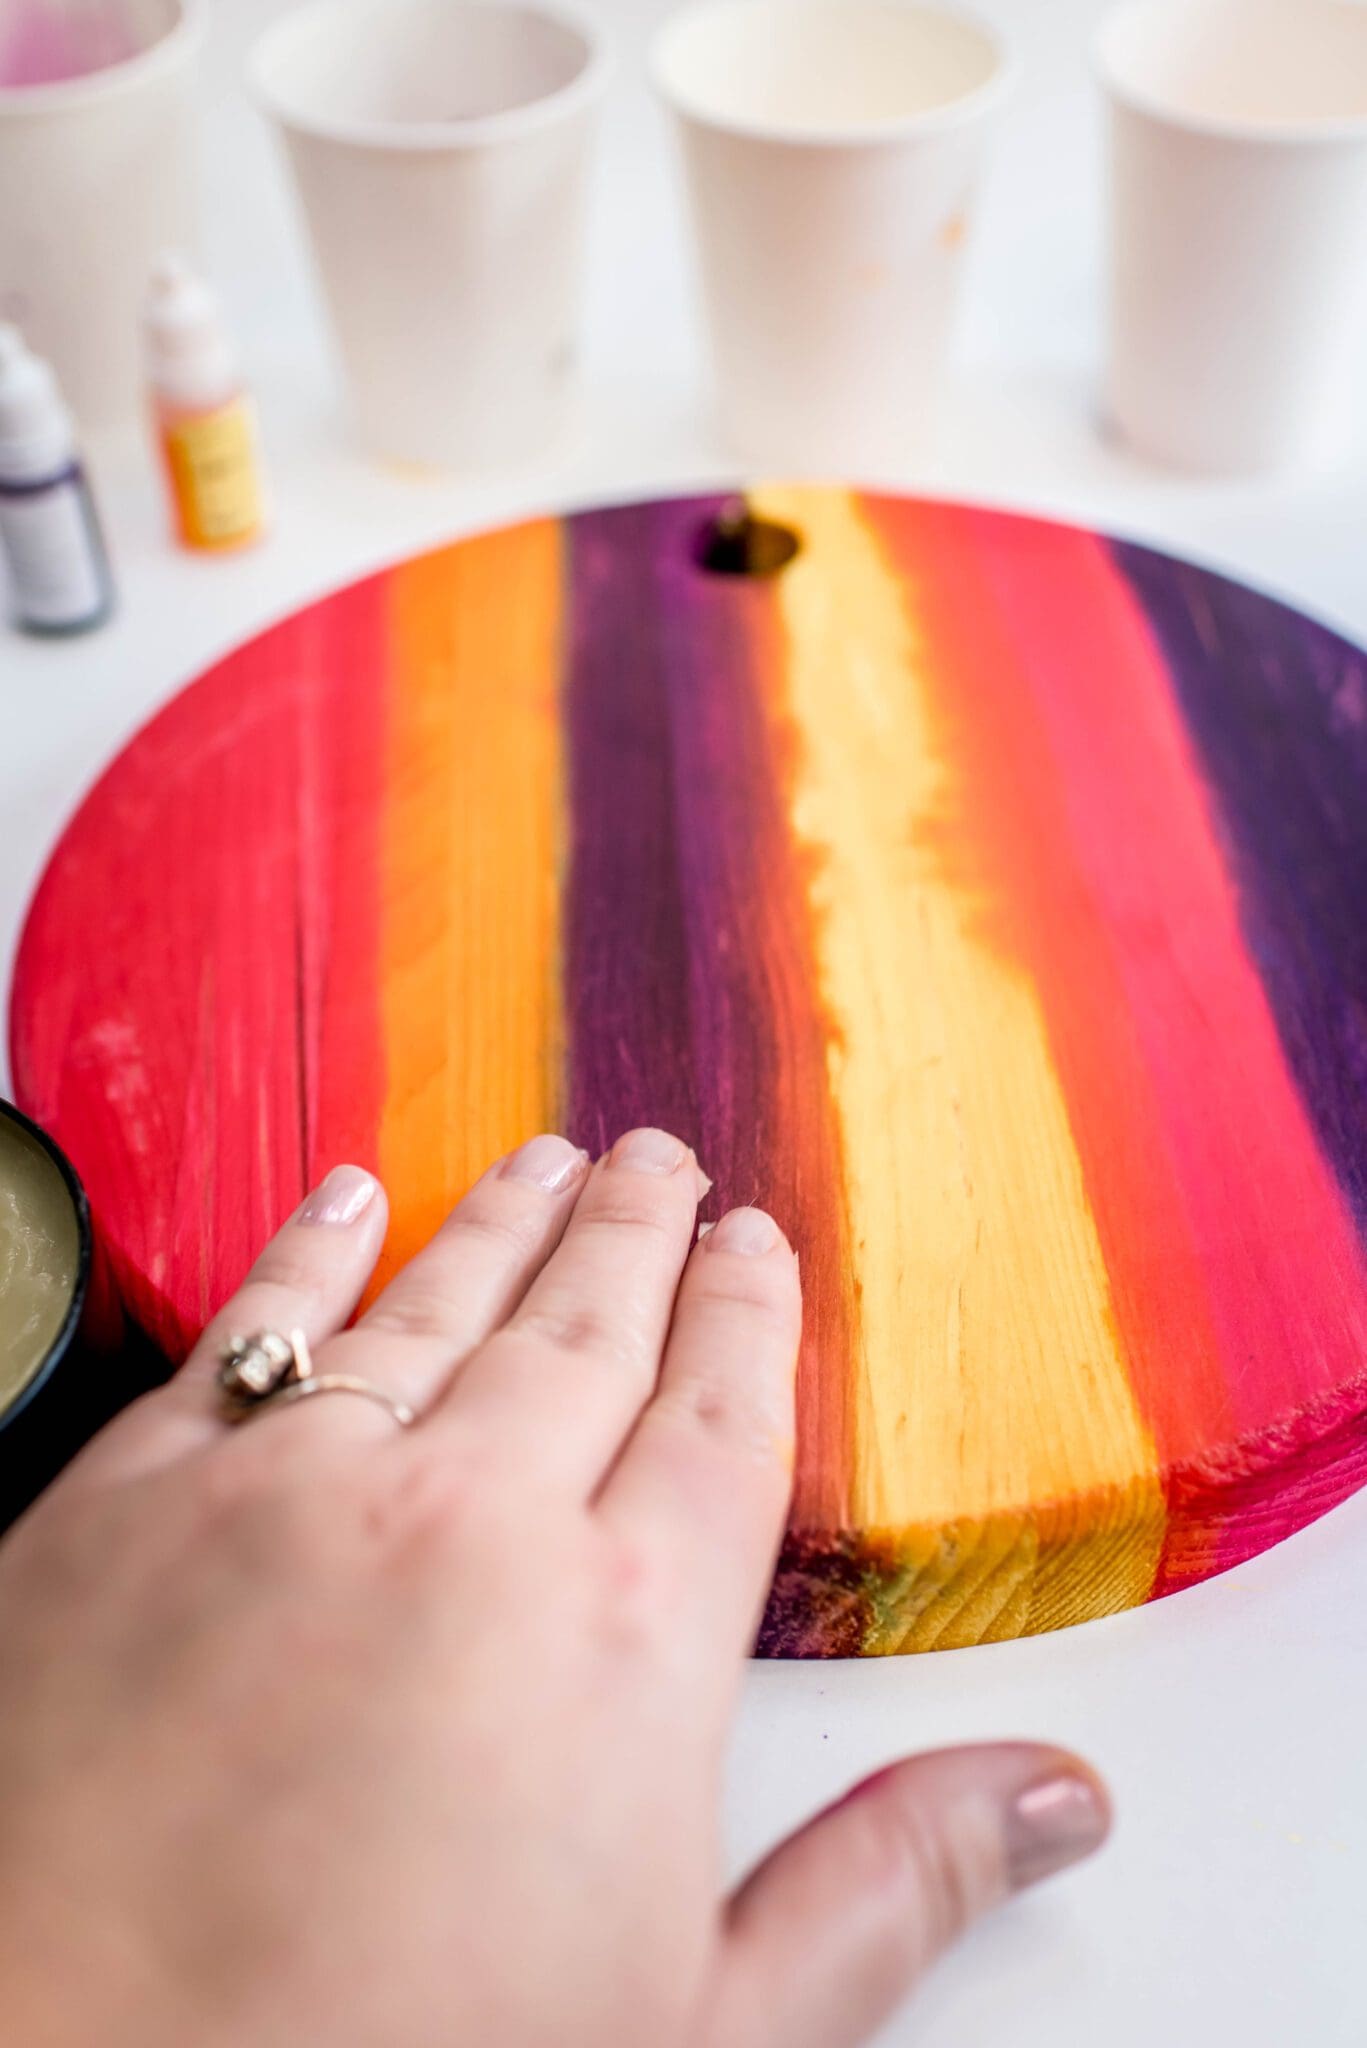
STEP TWO:
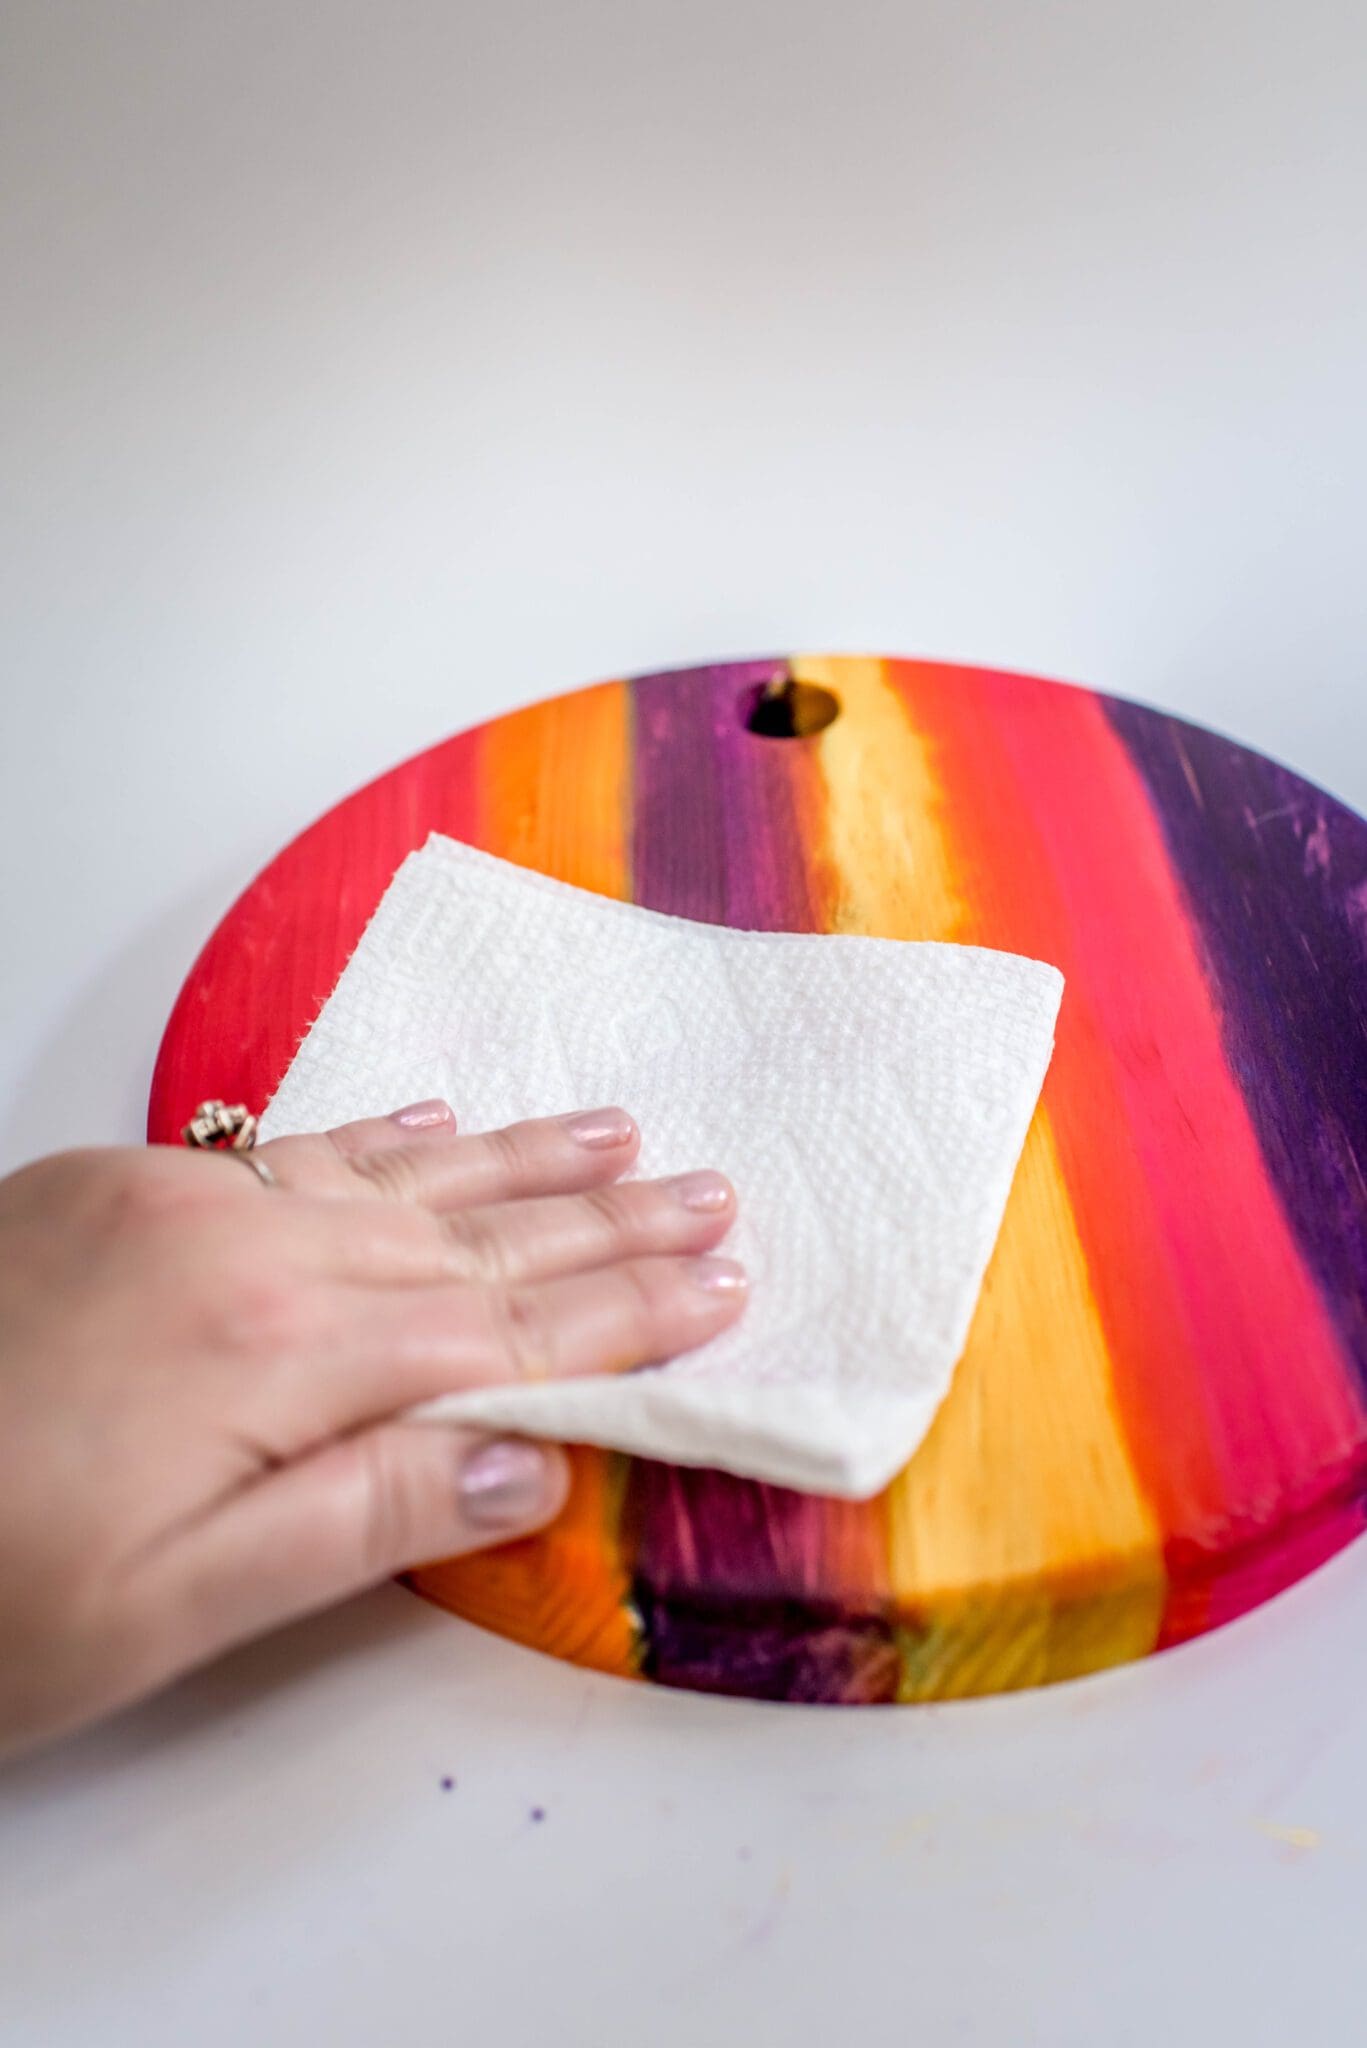
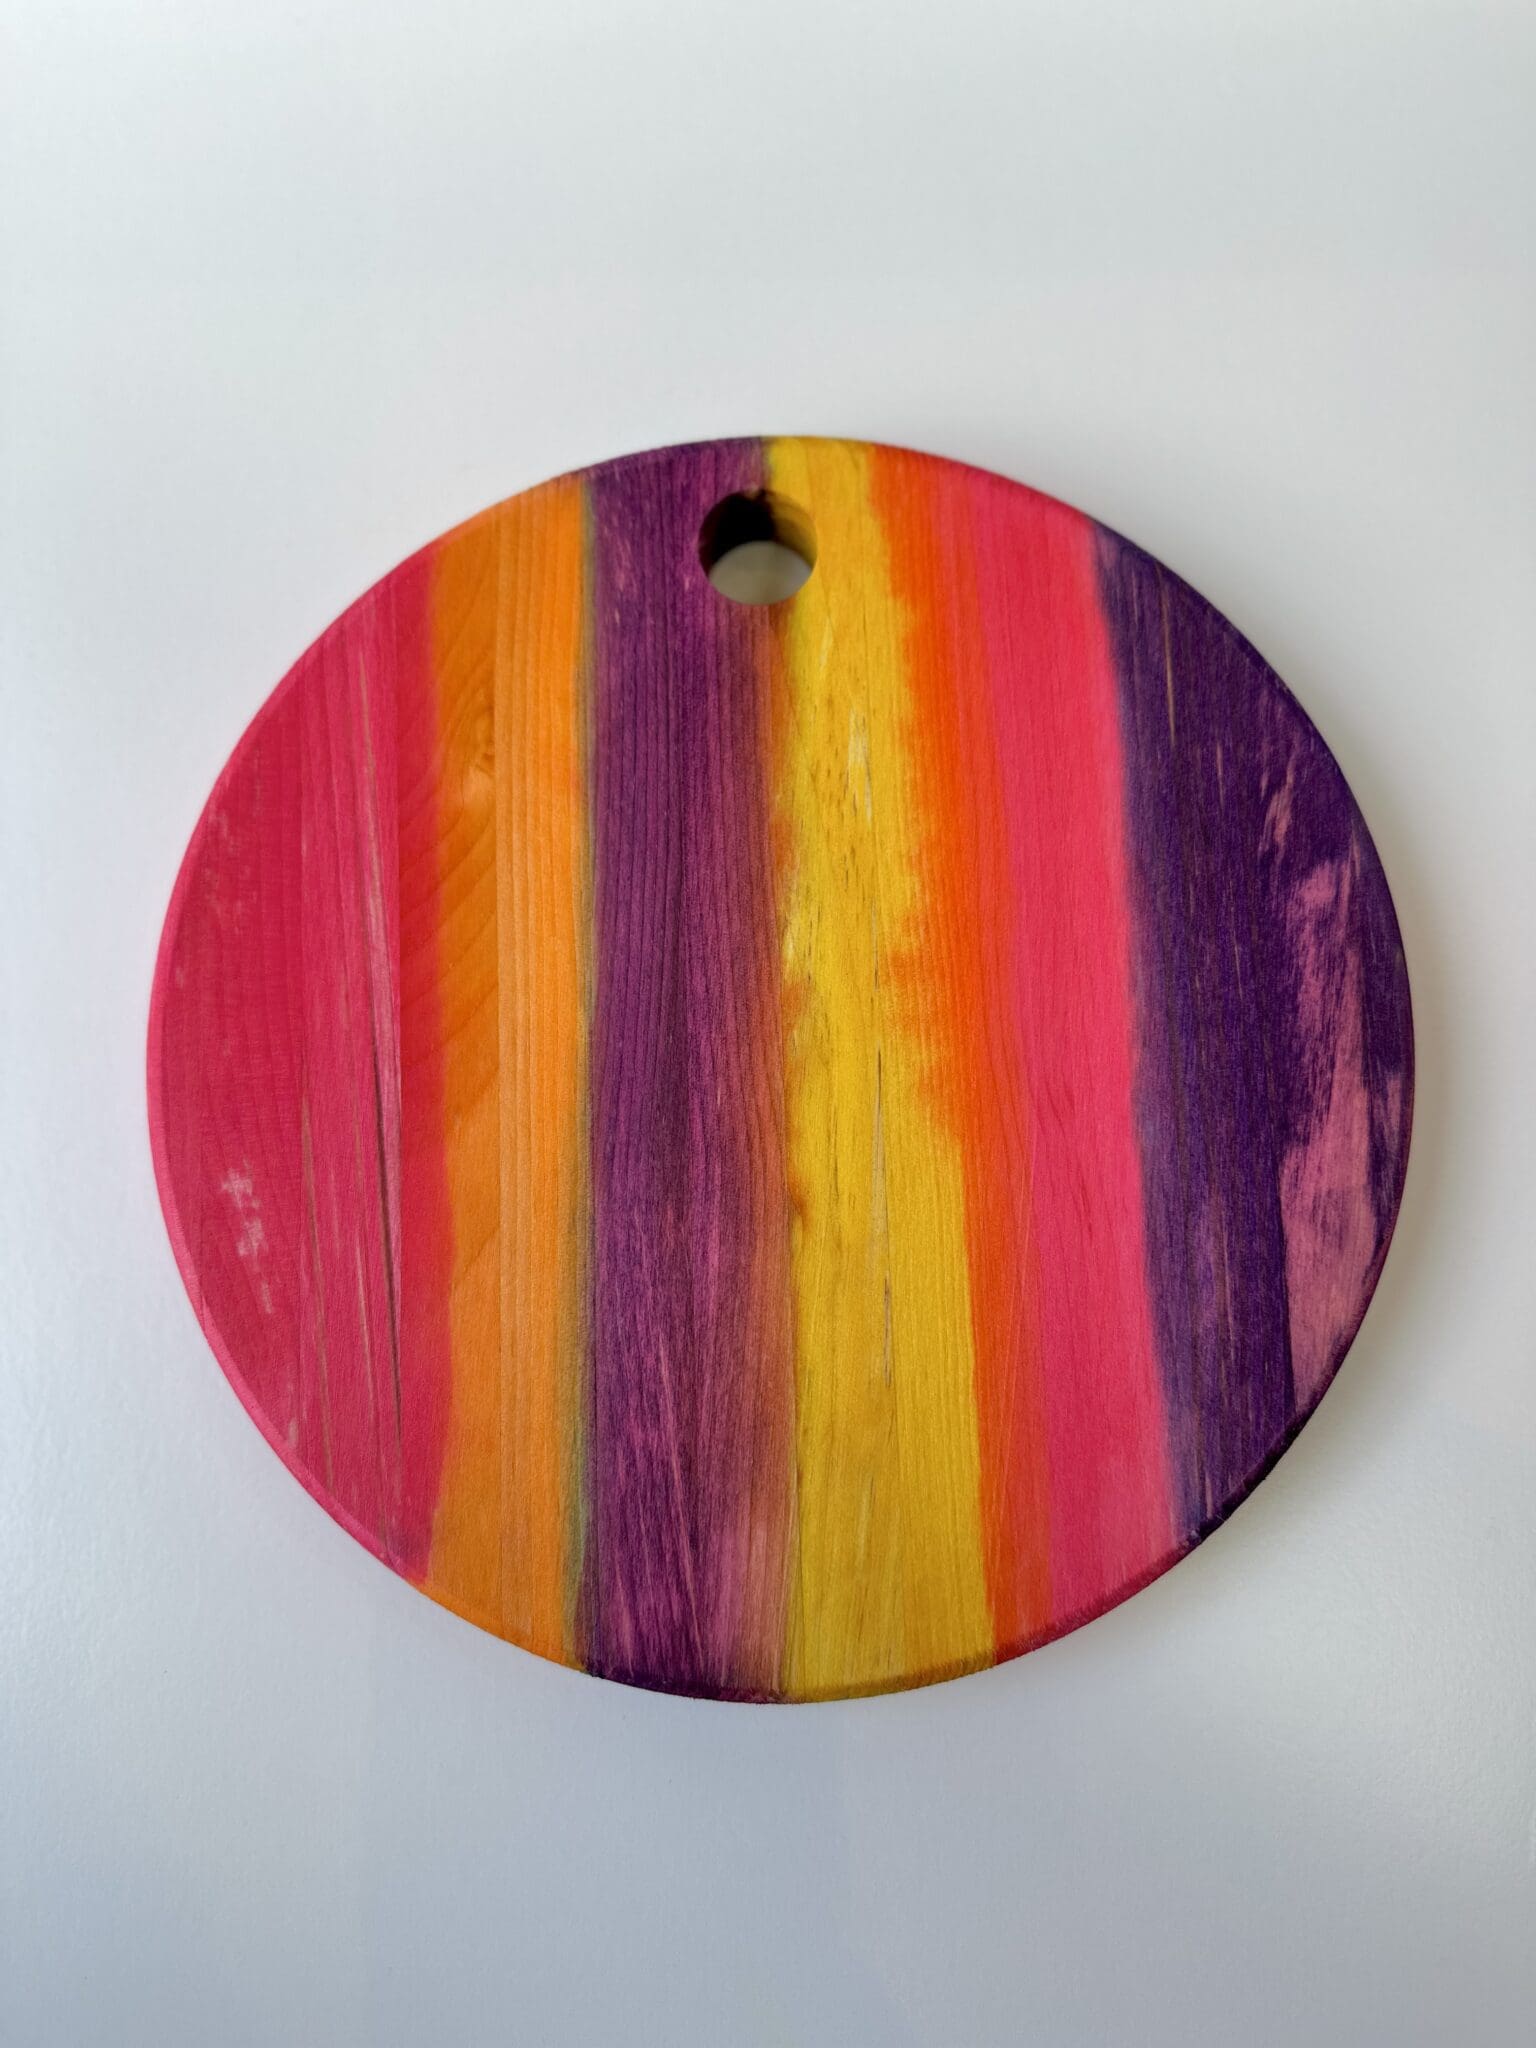
Let the board completely dry, I gave it 24 hours. Once it is dry, apply your sealer and let that dry/soak in for another 24 hours. Make sure to wipe away all of the sealer, you can even give your board a wash here. Again, keeping in mind that some of the color will wash away. The last picture shows was it looks like after sealing it and then a quick wash with soap and water.
STEP THREE:
Nik is a maker, day dreamer & potty mouth who loves cats, coffee and craft beer. She is a self taught hand embroiderer and will DIY pretty much anything she can get her hands on. You can see her work on Instagram @wastingthyme & @nikvphotography. She lives in Long Beach with her husband and her three awesome cats (that she can’t shut up about).
© DEAR HANDMADE LIFE 2020. ALL RIGHTS RESERVED. THIS SITE USES AFFILIATE LINKS. WE DISCLOSE ALL SPONSORED POSTS BY NAMING THE SPONSOR IN THE POST.
Get our mostly monthly emails featuring event updates, secret deals, pep talks and inspiration to make every day awesome.


