
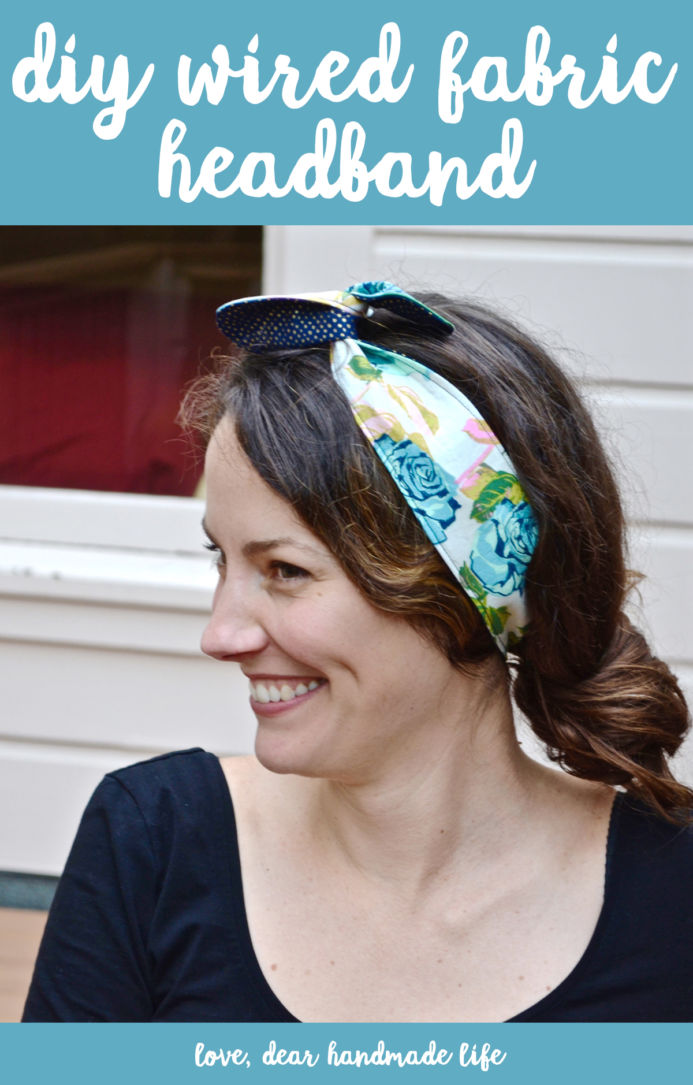
DIY headband with wire
I have mixed feelings about hair accessories. In high school, I once had the most extravagant up-do “done” to my head for a dance, that I spent the entire post-dance slumber party ripping something like 50 bobby pins from my scalp. It was a painful sleep that night, every individual hair still stuck in its bent up and twisted position. I have stayed away from bobby pins ever since.
Also, like most freewheeling “Madonna-told-me-to-express-myself” women of my generation, I have gone through many iterations of hair. Fourth grade: the Dorothy Hamill; Fifth grade: The PERMED Dorothy Hamill, bangs included; Middle School: Growing out the permed Dorothy Hamill; High school: Long, no bangs, the opposite of the Dorothy Hamill.
But it was in my twenties was really when I hit my stride. I went long and curly, au naturale, except with excess amounts of Herbal Essences gel. Then came the unfortunate Spanish “lady mullet” that was all the rage, similar to “the Rachel,” which every hairdresser would create– no matter how hard one tried to re-direct. This then lead me to cut it all off into a pixie cut, which, as is usually the case, I liked for about three days. And when growing that out became tedious, I dyed it with streaks of blonde and red, because THAT made it less noticeable. Then one weekend, fueled by girlfriends and wine, I dyed it all blue-black, just in case my pale complexion didn’t already stand out enough.
I moved to California with a very dried-out and confused head of hair.
Needless to say, finding the right hairstyle (and hair stylist for that matter) became almost– almost– as tumultuous as finding the right partner. And, just like many things in life, hair, and love, the older you get, the more clear things become. Now I know more what works for me, and what doesn’t, and I have finally found a stylist who gets me (shout out to J.R.!) That doesn’t mean I rule anything out, of course. I still have several streaks of blonde in my hair, and I am absolutely not ruling out a full-on Marilyn makeover someday.
So instead of acting impulsively, how revolutionary would it be to try out something new with what you’ve already got? Here’s my suggestion. Have a conversation with your hair, and ask, “We’ve grown a lot together already, I was wondering if you’d like to try this new thing out?”
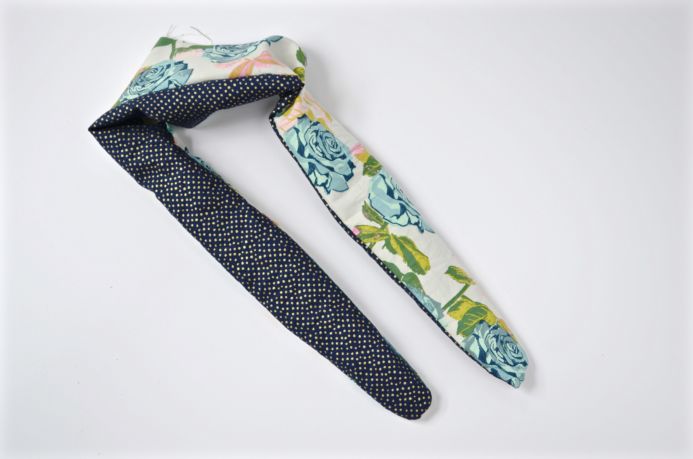
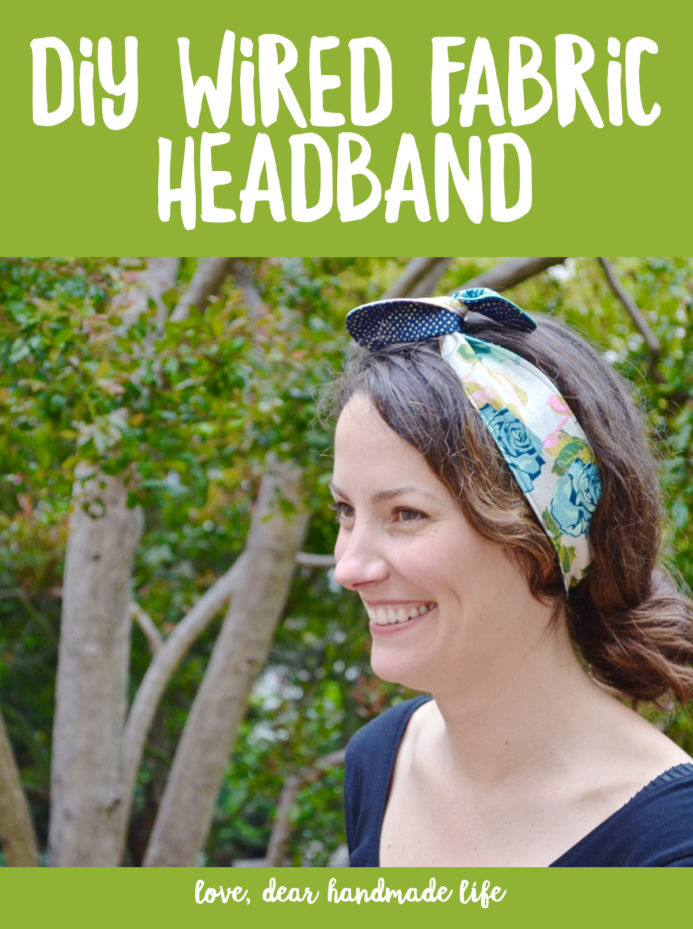
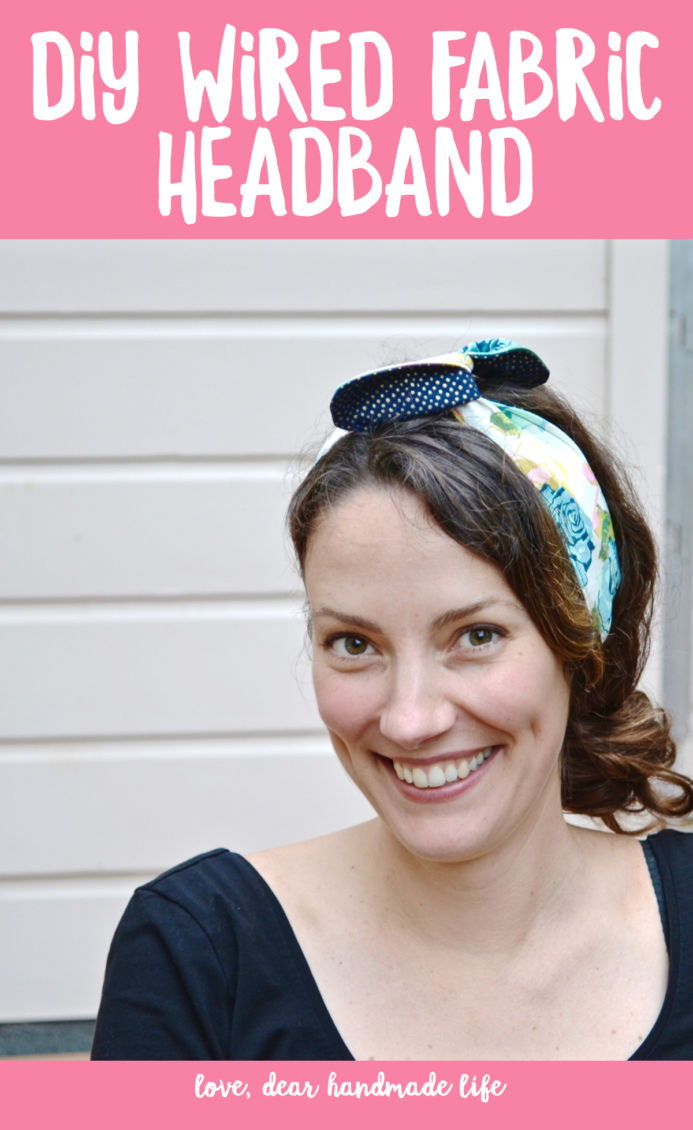
It’s a little bit Rosie the Riveter, a little bit Tupac. It’s your new favorite hair accessory! I especially recommend this headband for Day Three (or Four!) of your hair washing cycle, you know, for when you really have to hide the grease. Plus, the wire makes it super easy to cinch together, and you can make it reversible.
What are you waiting for, get out there and spice it up! Get your headband on! It might just be the best thing that’s ever happened to your head.
Love,
Ashley
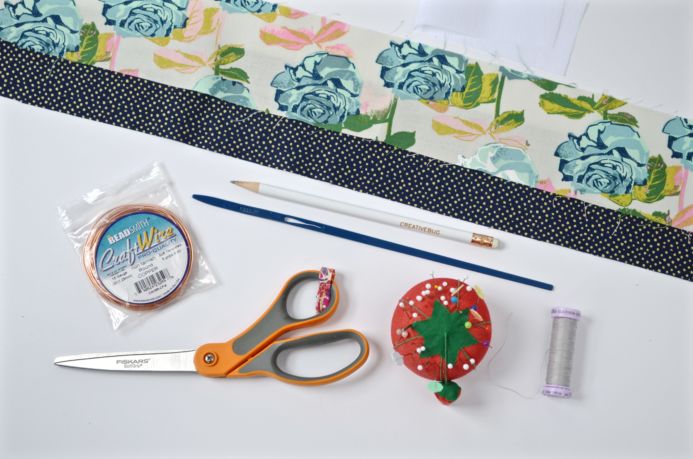
What to get:
- 2- 32” x 3” strips of fabric
- 4 strips of interfacing about 2 ½” x 10”
- 30” of wire (I used beading wire, 16 gauge)
- Loop turner
- Pencil
- Iron
- Basic sewing supplies: thread, pins, scissors
- Sewing machine
What to do:
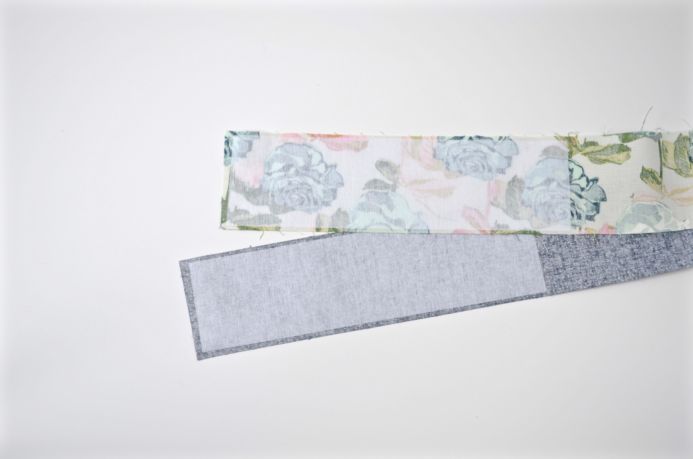
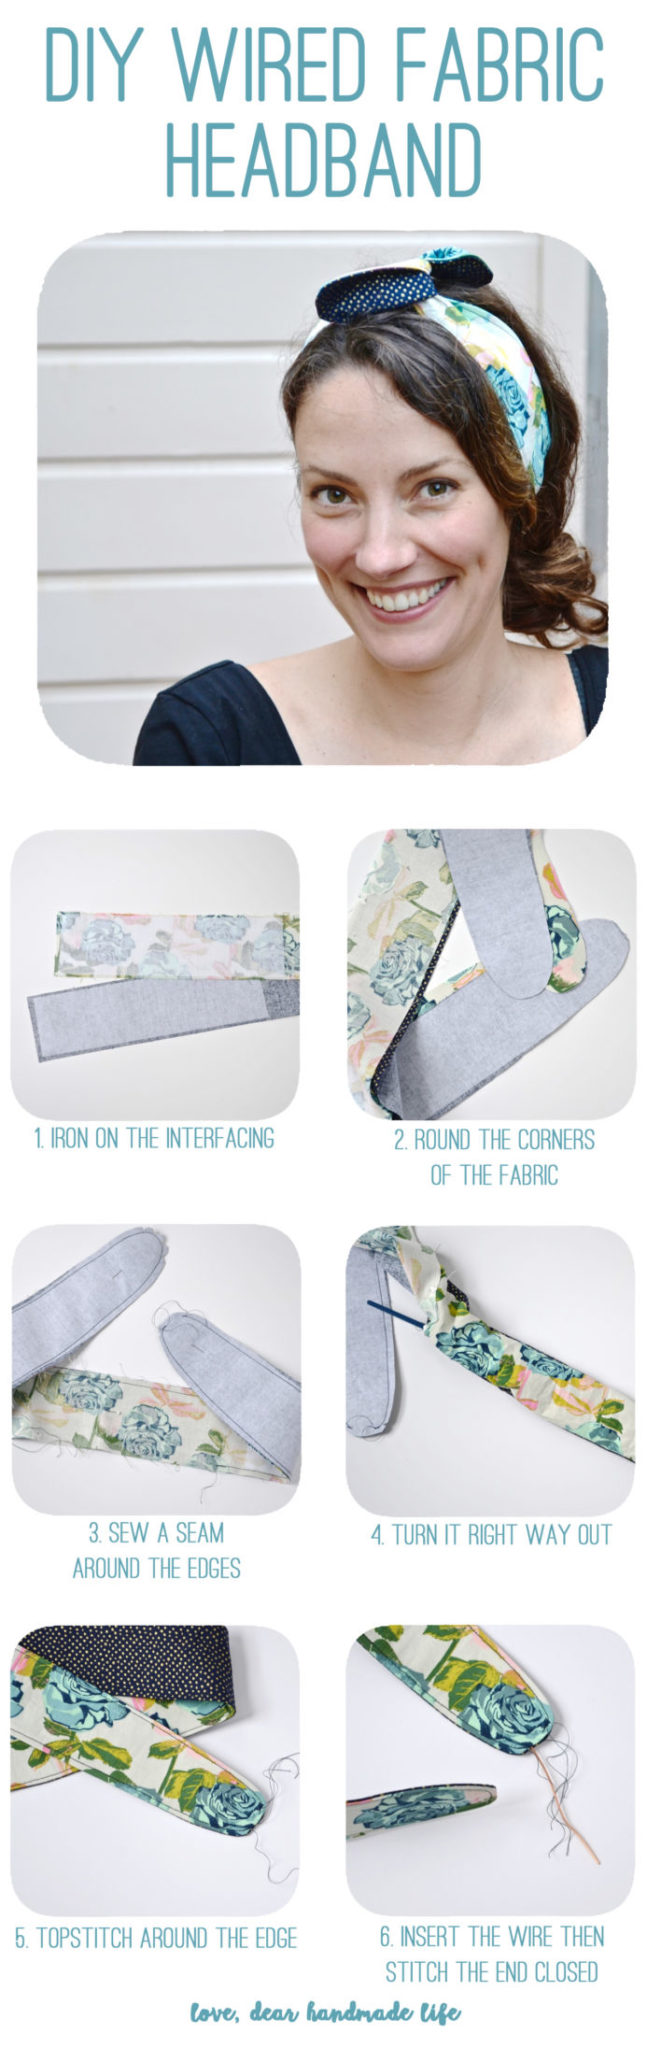
1. Following the manufacturer’s instructions, iron the interfacing to the ends of the strips of fabric.
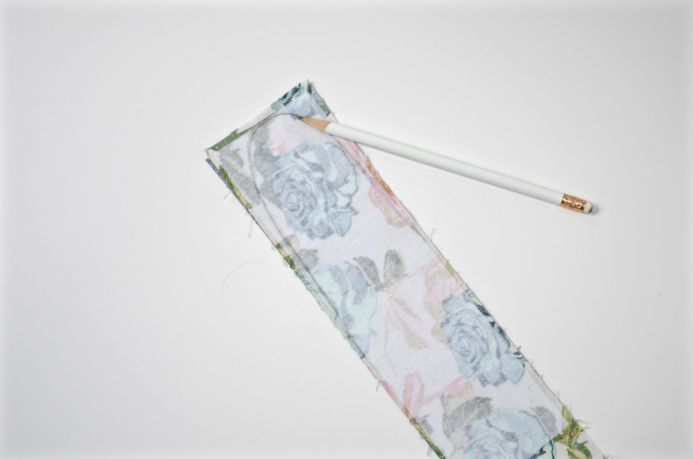
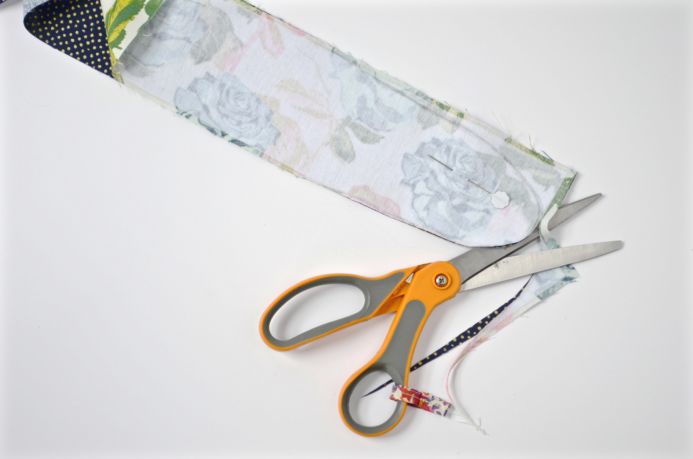
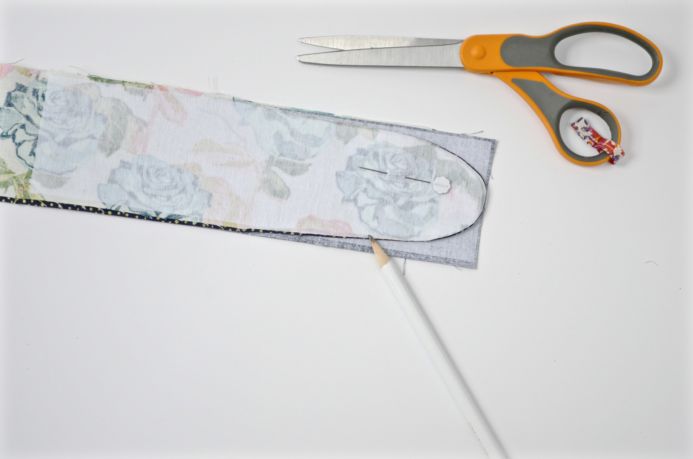
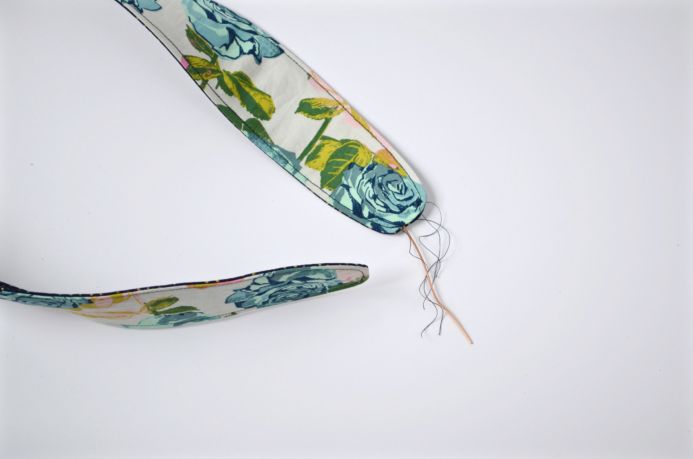
2. Using a pencil, draw a curved line on one of the ends. Cut away the excess fabric. Repeat on all ends.

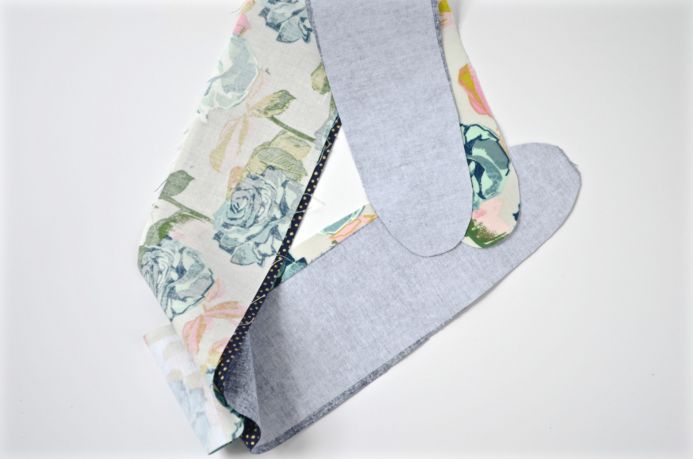
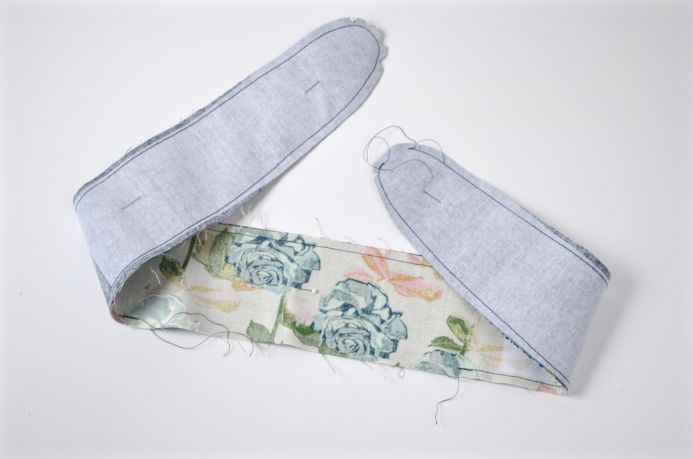
3. Pin, right sides together. Sew a ¼” seam around the perimeter, leaving TWO GAPS. The first gap is about a 5” opening on one of the long sides. The second is a small, ⅓” gap at one of the ends for inserting wire.
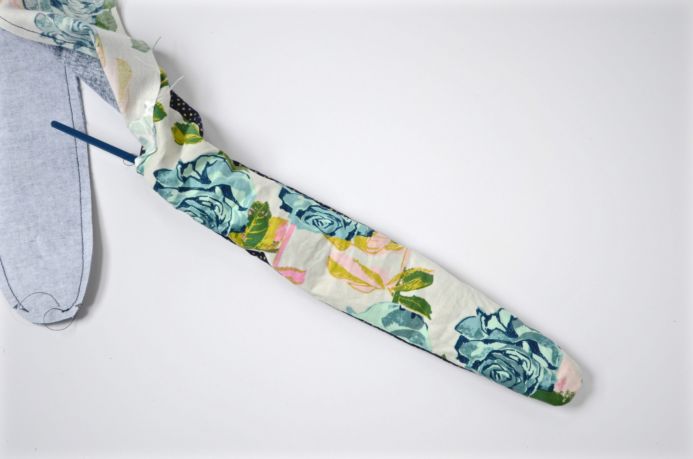
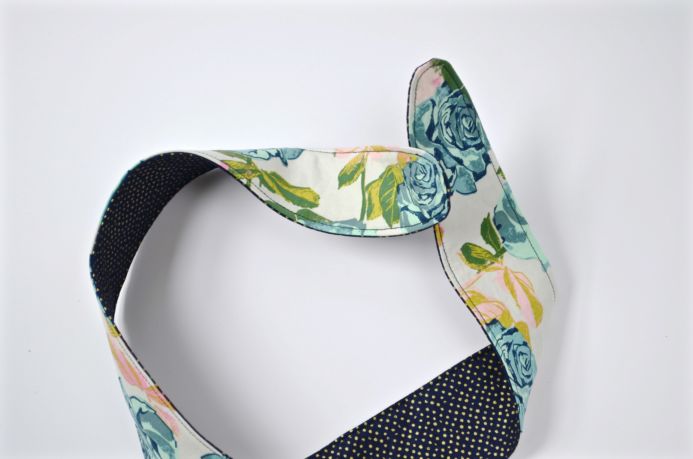
4. Use loop turner to poke ends out. Iron flat, hiding the 5” gap using a pin if necessary.
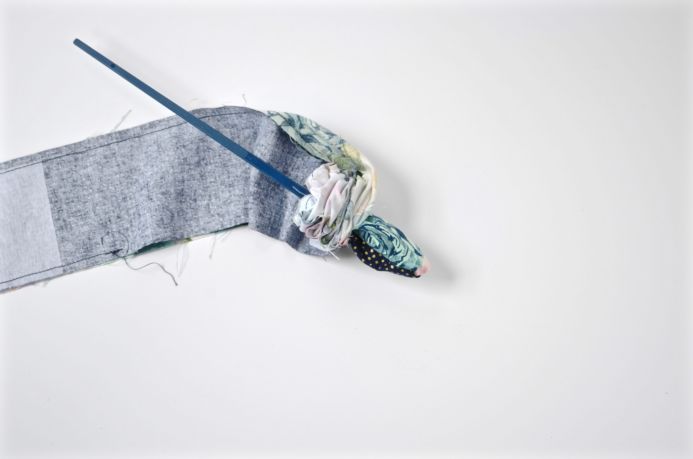

5. Top stitch, closing the 5” gap but leaving the opening at one end. Cut a piece of wire an inch shorter than the length of the headband. Insert (Note: Depending on your wire, you may need to use sandpaper to smooth the end of the wire, as it can get caught on the interfacing!)

6. Close the opening by finishing the topstitching. Violà!
About Ashley:
Ashley Nickels is a quilter, crafter, and teacher in the San Francisco Bay Area. She grew up surrounded by quilters—making her first nine-patch at age eight—and was designing handbags by high school. Ashley spent the first ten years of her career as a classroom teacher in Spain and San Francisco, all the while making quilts and bags and ripping out countless seams. If she could choose a superpower, it would be the ability to rip out a seam with the swipe of a finger! Ashley now works full time in the creative community, teaching in-person and online sewing and quilting classes, running her small handmade business, Alphabet Summer, and constantly looking to connect with other creatives. Ashley’s classes can be found on Creativebug.com, CreativeLive.com, and discover more on her website, www.alphabetsummer.com.

I must make this! But, I’m confused….is the wire being inserted into the channel around the edge created by the topstitching? Or is it just in the center?