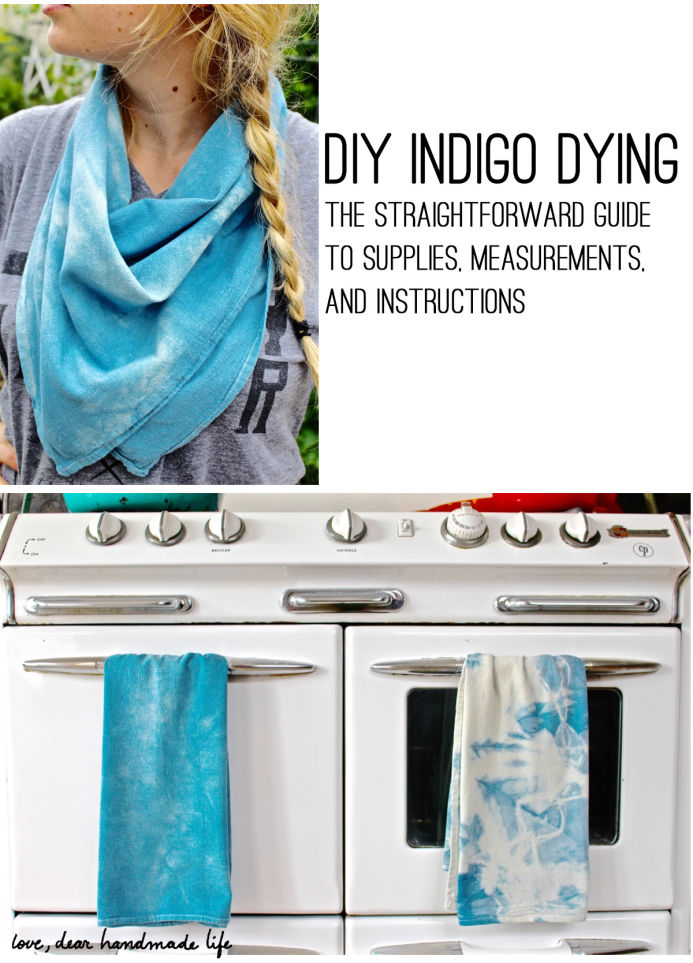
DIY Indigo Dying: The Straightforward Guide to Supplies, Measurements, and Instructions
Indigo is probably the most fun dye to work with, partly because it’s a living dye, making it feel like a science experiment, and partly because the color is breathtaking. It also requires no particular skills or know-how to do. There’s no wrong way to indigo dye something – pretty much any style looks great.
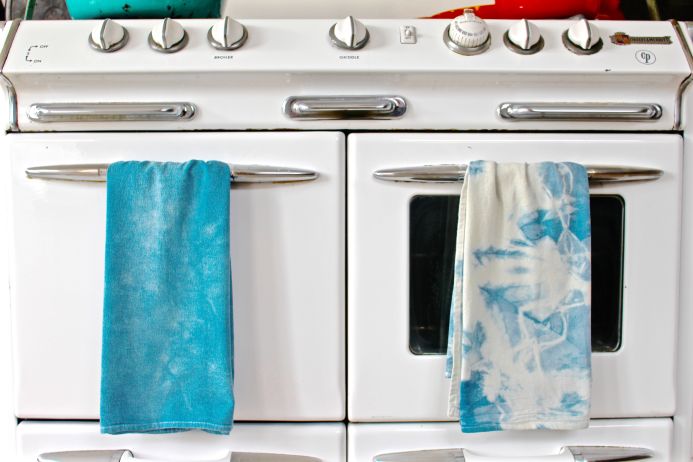
In this blog post we’ll teach the shibori dying technique – one of the most popular ways to dye with indigo. It originated in Japan and is similar to tie dying in that you create patterns by tying, clipping, and folding the fabric so part of the dye doesn’t reach it.
Even though indigo dying is easy it is incredibly time consuming and you should set aside a whole afternoon or day to do it. Everything must be done very SLOWLY. This is not a project to rush through, and doing so can ruin your dye job or worse, your whole vat of indigo. So, get on some comfy clothes that can get messy, put on some music, grab a cocktail and few friends and just enjoy the process of DIY indigo dying.
WHAT TO GET:
DYE:
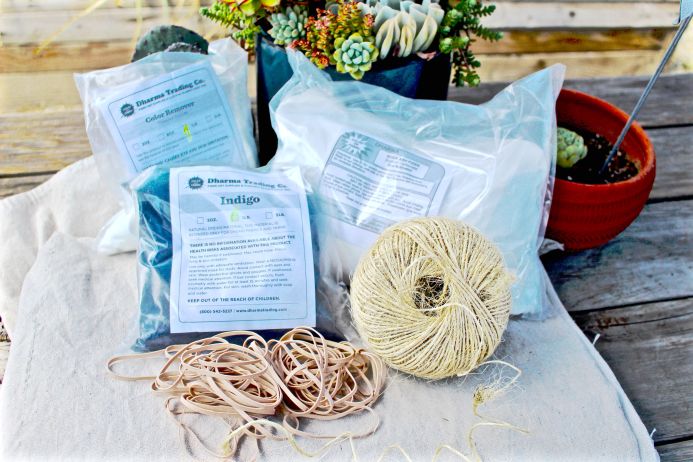
Indigo Dye (Powder Form)
Soda Ash
Color Remover
You can purchase all of these on www.dharmatrading.com. To make the dye, you will use these three powder ingredients in a 1:1 ratio, with a ½ oz. of each per 2 gallons of water for 1 lb. of fabric. For example, if you wanted to dye 5 lbs. of fabric, you would use 10 gallons of water and 8 ½ oz. of indigo dye, 8 ½ oz. of soda ash, and 8 ½ oz. of color remover.
TOOLS:
Prewashed fabric to dye (Natural fabrics like cotton or wool work best, they must be prewashed and dried to fully absorb dye)
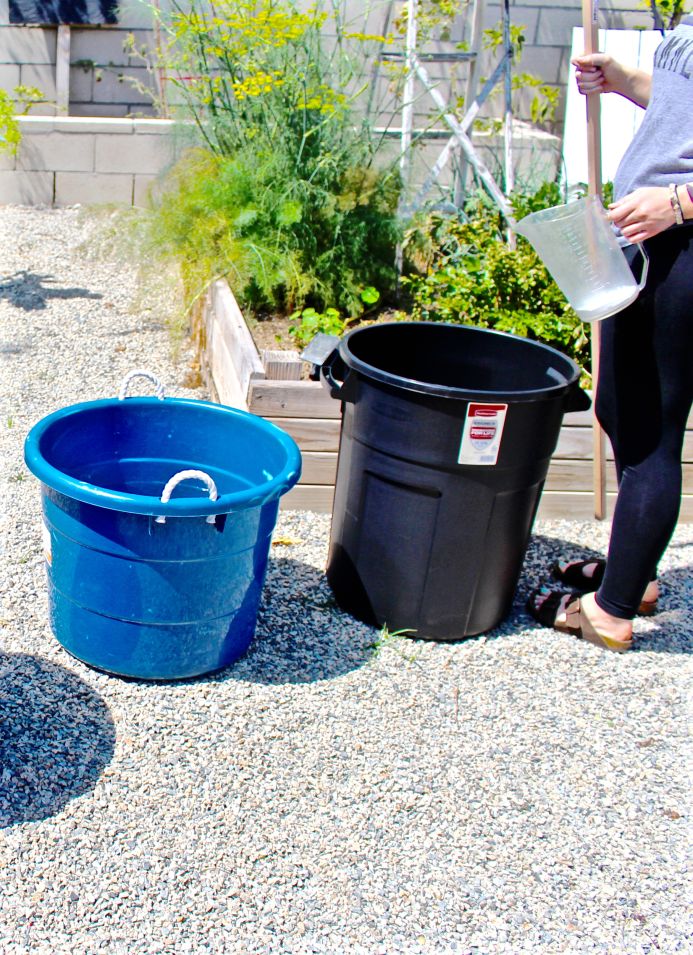
2 Buckets or Tubs (You can use 5 a gallon paint bucket or a plastic trashcan)
Twine
Rubber Bands
Binder Clips
Clothes Line
Drop Cloth
Long Wooden Stick
Rubber Gloves
Face Mask
What to do:
PREPPING:
1. Heat Water: To make the dye, you must use warm or hot water. 120 degrees is the optimal temperature, but not all of us have a way to accurately heat the tub to this degree. So, if you boil your water, let it cool for 20 minutes before mixing in the other ingredients.
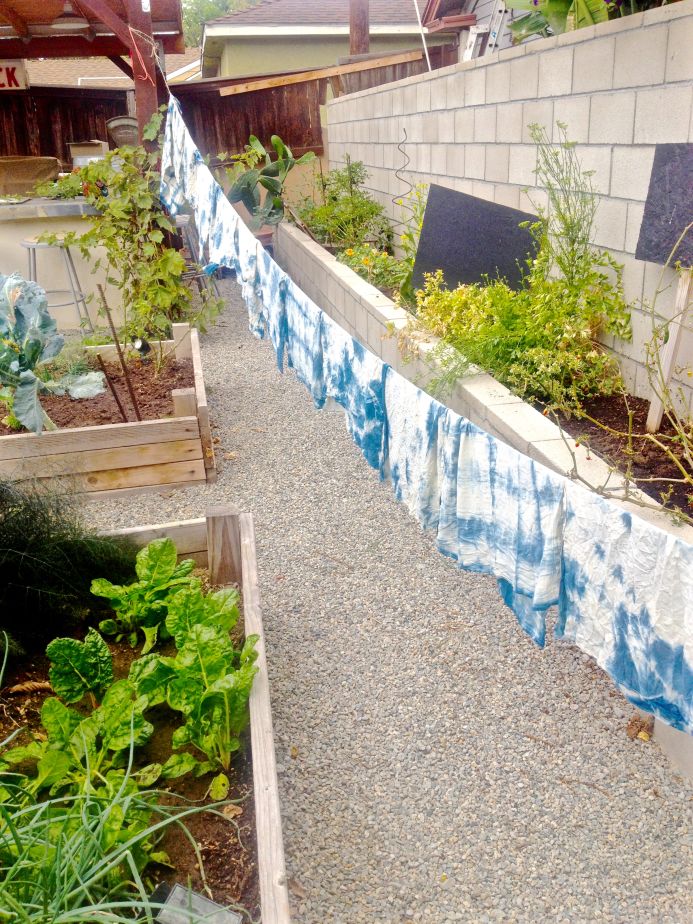
2. Set Up Area: Find a sunny area outside and lay down your drop cloth and set up a drying area where fabric can hang on a clothesline. Indigo is messy and stains. It’s a good idea to keep your dying vat on the drop cloth, and the drying area right next to it. You’ll also need to fill that second tub with clean water next to the dying vat.
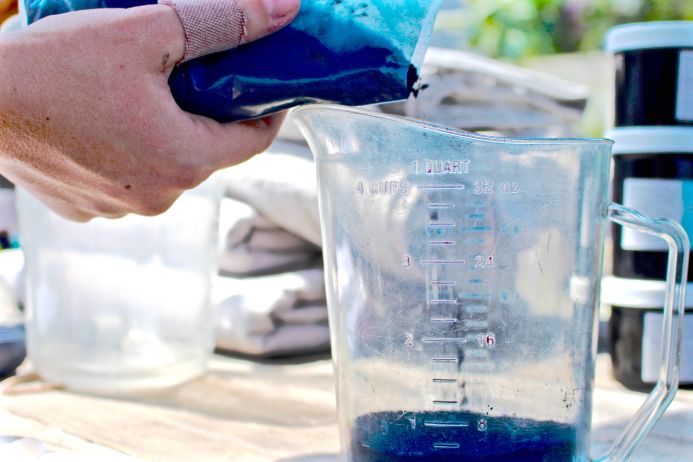
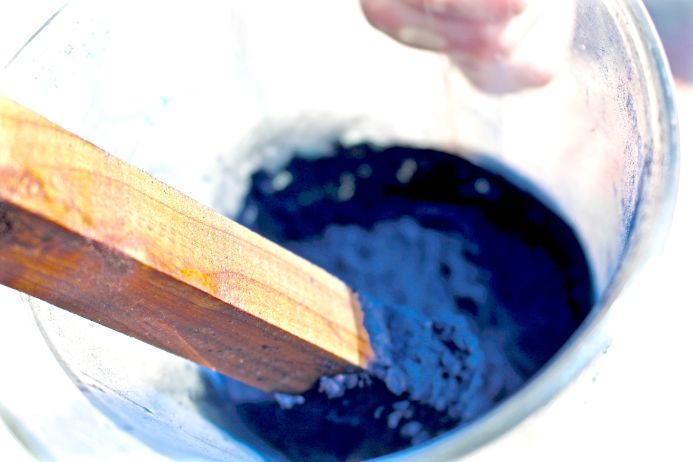
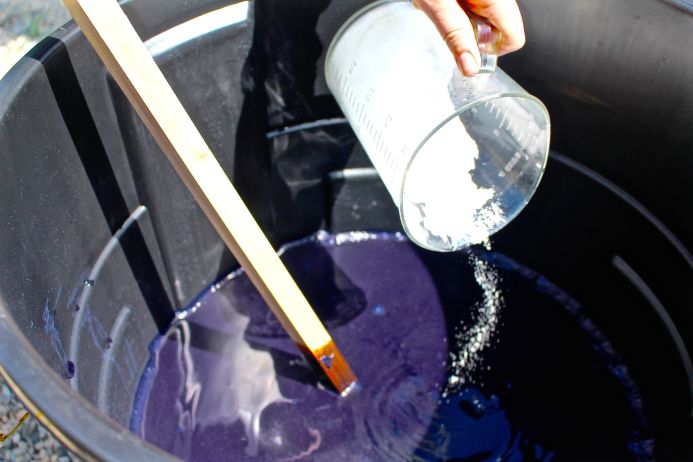
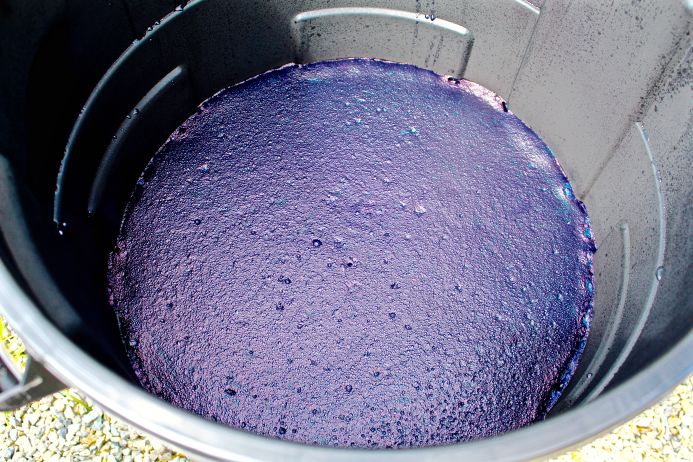
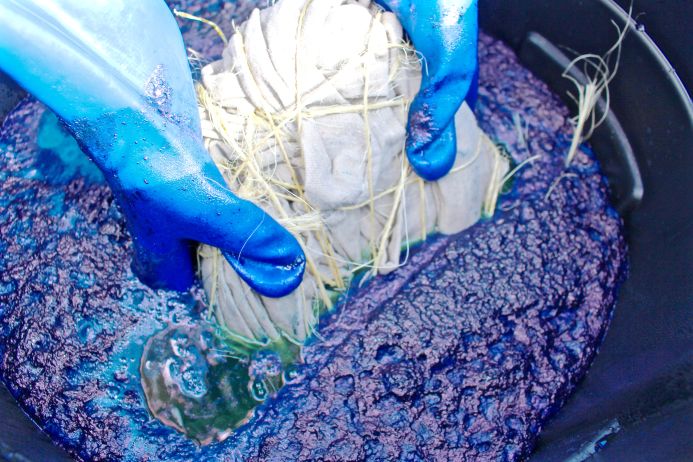
3. Mix Ingredients: Pour warm water into your dying tub. Add indigo dye and SLOWLY stir in with your long wooden stick. Then add soda ash and SLOWLY stir in. Last, add color remover and SLOWLY stir in. To make a prime vat of dye, the oxygen must be removed from the water. Adding the color remover helps to take out all of the oxygen but if you stir too vigorously you’ll create bubbles and reintroduce oxygen. It’s important to wear your facemask during this time, as the dye is bad for your lungs.
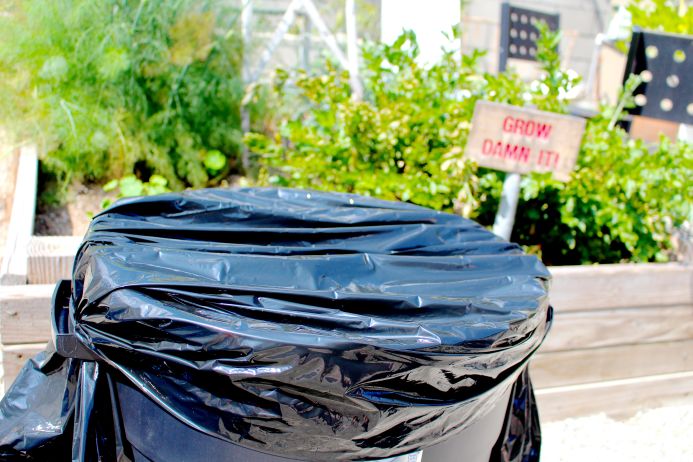
4. Cover and Sit: Cover the vat and let it sit in the sun for one hour. The indigo dye will work its magic.
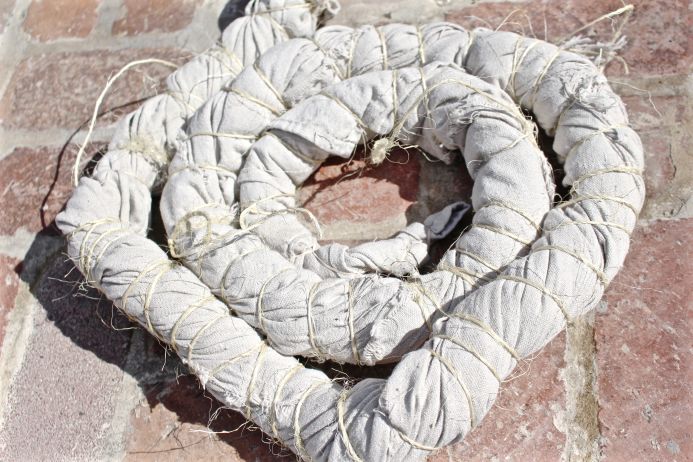
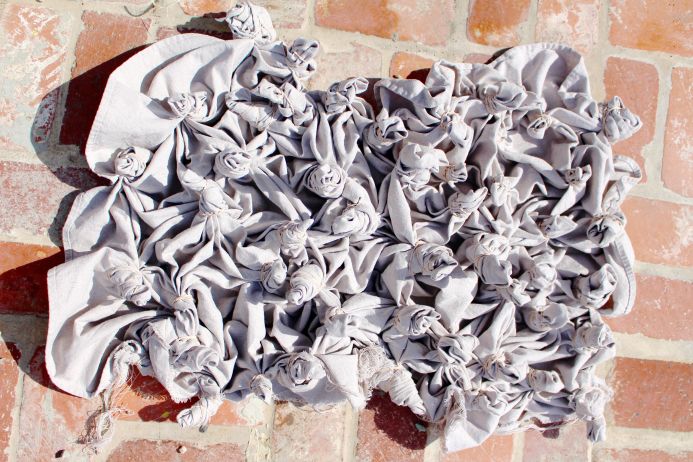
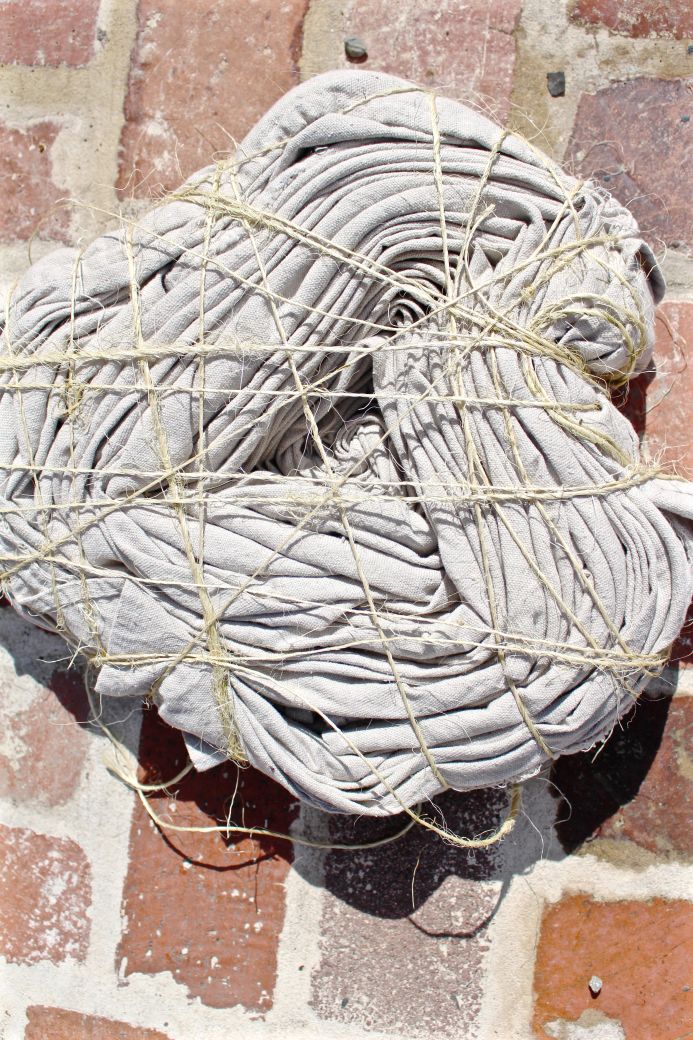
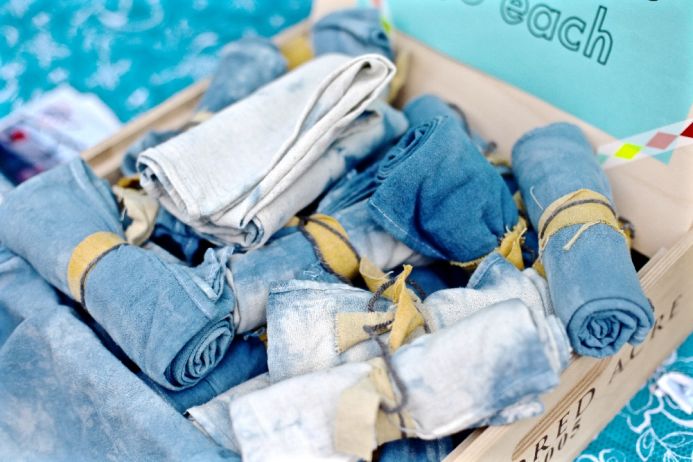
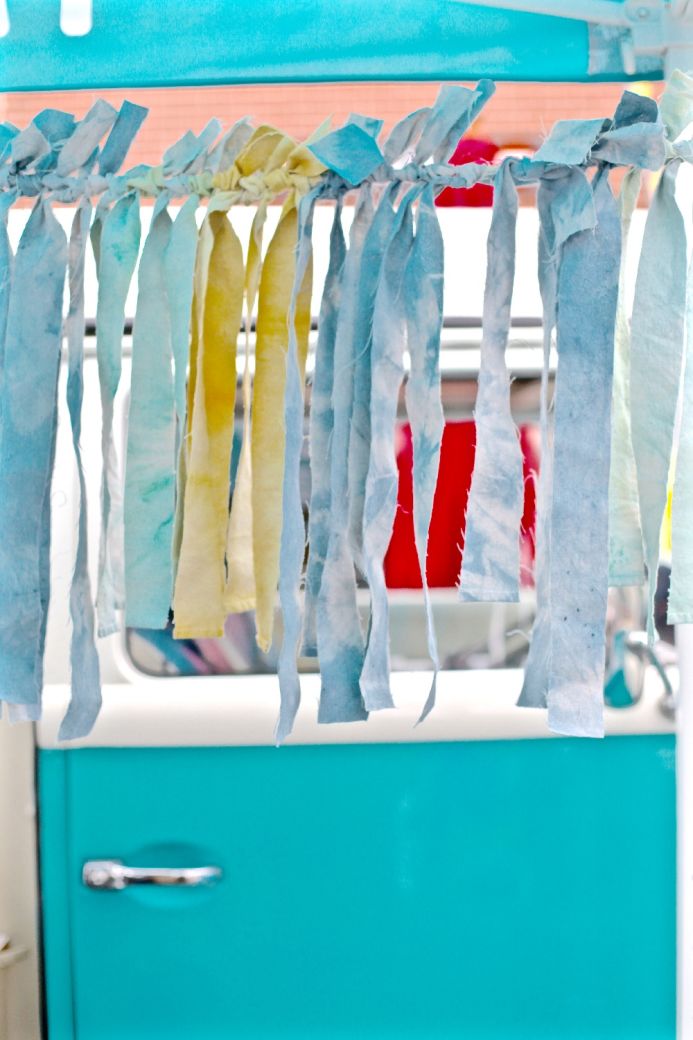
 5. Prep Fabric: While you wait for the dye, prep your fabric. You literally cannot do this wrong. Twist the fabric, and tie twine around it. Fold the fabric like an accordion and secure with twine. Or make spirals all over the fabric and secure with rubber bands. Pretty much any way you tie the fabric will make an awesome design.
DYING:
6. Check Dye: After 1 hour, take a look at your dye. You should see big, beautiful bubbles and foam on the top – these are called blooms. It will also smell really awful and sulfuric. If these signs are present, then you’re ready to dye.
7. Wet Fabric: Dip your folded fabric into the clean water and get it thoroughly wet. Squeeze off any excess water.
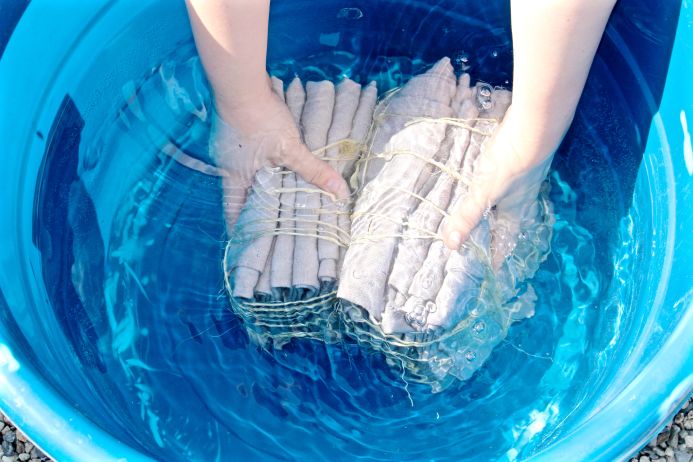
8. Dip Fabric: Very SLOWLY dip your wet fabric into the dying vat. If you dip too quickly, you will create bubbles. Leave the fabric in the vat for five minutes.

9. Expose to Sun: With your long stick, fish the fabric out of the dying vat. Make sure to wear gloves or your hands will be blue for a hot minute. At first, the fabric will be green, but exposing it to the air oxidizes the dye and turns it blue. Open the folds in the fabric without unbinding it and expose the fabric to as much sun as possible.
10. Dip Again: At this point, you could be finished and have a nice, light indigo. But if you’re looking for that deep blue, then you’ll need to repeat steps 8-9 one or two more times. Every time you dip the fabric and expose it to sun, the dye gets darker.
11. Finish Dying: Once you have the desired shade, unfold your fabric and hang it to dry overnight. You’ll want to sun to oxide all the folded parts that it didn’t get to before.

12. Wash: Now you have your beautiful indigo pieces! The last step is helping the dye stick. Unfortunately, indigo always wears off some and there’s no way to avoid it. Some people swear by soaking it in vinegar and cold water, but no matter what you do, some of the color will wear off with time. Before you put it on your body or give it as a gift, wash all of your dyed fabric in cold water with a mild detergent. This will get the initial layer of leftover indigo off so that it doesn’t come off on your hands immediately when you touch it.
13. Enjoy!! You can store your indigo dye, covered, for up to five days.

-LP Hastings
LP has always been an all-over-the-place artist, who in recent years found love in writing, photography, and filmmaking. She currently writes Trendzilla, a sustainable lifestyle and fashion column in the OC Weekly, makes jewelry and home goods under The Pod Shop, and is an assistant at Dear Handmade Life where she shoots, crafts, and produces the Dear Handmade Life podcast. LP wrote the piece and Lindsey Spiak took the photos.

Thanks for the info. Good directions.