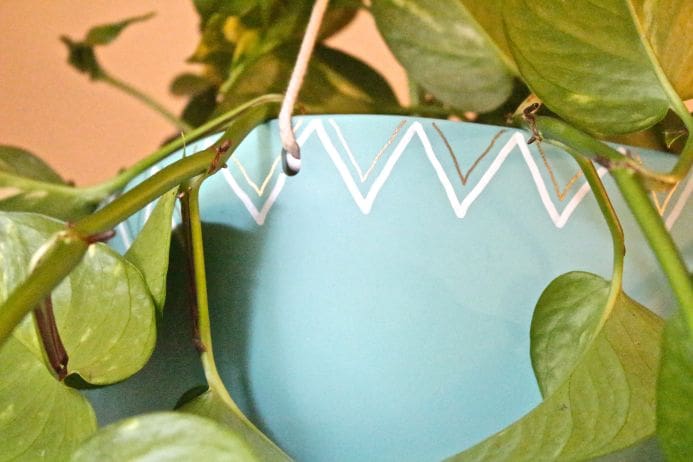
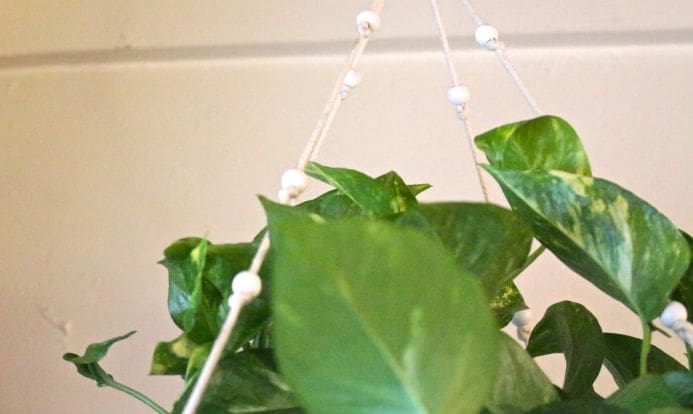
DIY Painted Pot + Macramé Hanging Plant Holder
 One of my favorite shows when I was young was Three’s Company. I was so obsessed with the show that I actually made up a dance routine that I choreographed to the theme song then ended with a handstand against our front door. Not only did I love the goofy capers Jack, Janet and Chrissy got into that always were mysteriously worked out when the credits rolled but I loved the styling on the show. From Chrissy’s knee-high socks to Janet’s leather boots to Jack’s velour sweat suits to the way their apartment was decorated I wanted to have an apartment just like theirs complete with the wicker, rattan, yellow and orange tones and, of course, tons of plants and macramé. This week’s DIY project pays homage to my childhood Three’s Company addiction and was inspired by a hanging planter that I found on sale that I couldn’t pass up. Most home stores carry hanging planters but I found mine in the garden section at Target. I added a modern touch with some geometric designs done with Sakura Pen-touch paint pens which were awesome for this project since they’re waterproof and permanent.
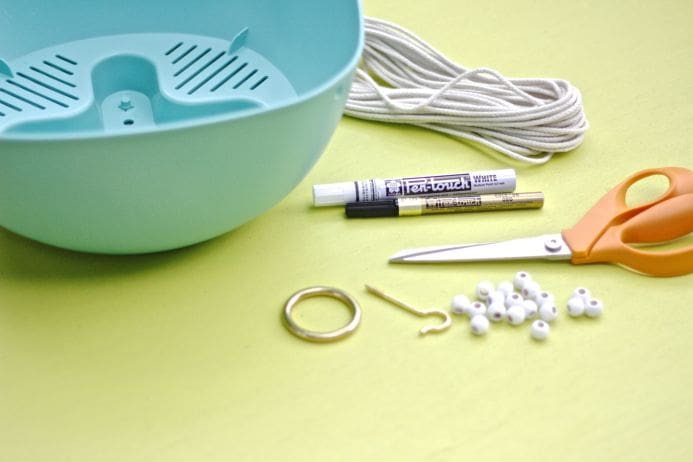 What to get:
-Rope
-Wooden beads
-Plant
-Hanging pot with a hole in each corner
-Scissors
–Sakura Pen-touch paint pens
-Gold O-ring (I got mine at the hardware store)
-Metal hook
What to do:
1. Cut your rope into two pieces that are 120 inches long each.
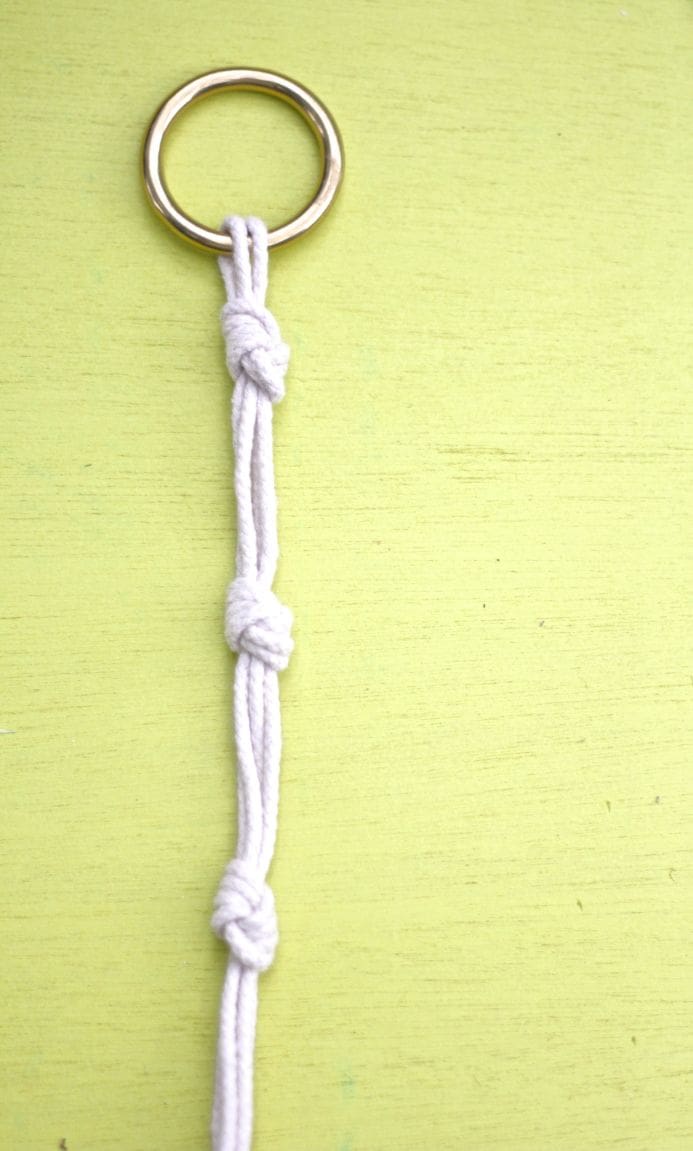
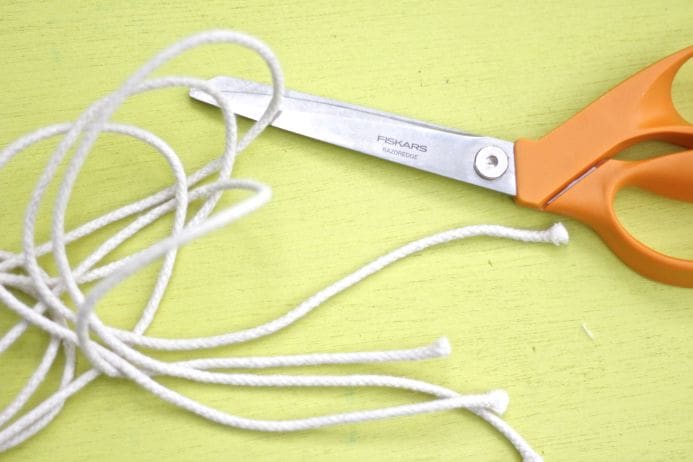 2. Thread both pieces of rope through the metal O-ring so that there are equal parts on each side of the ring.
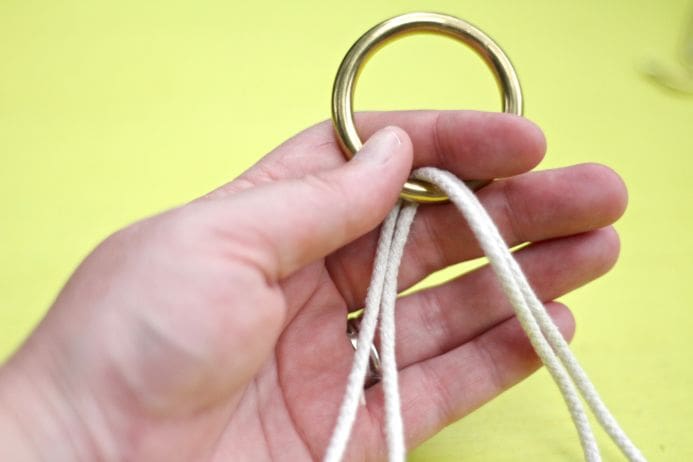 3. Tie a knot at the top just below the ring.
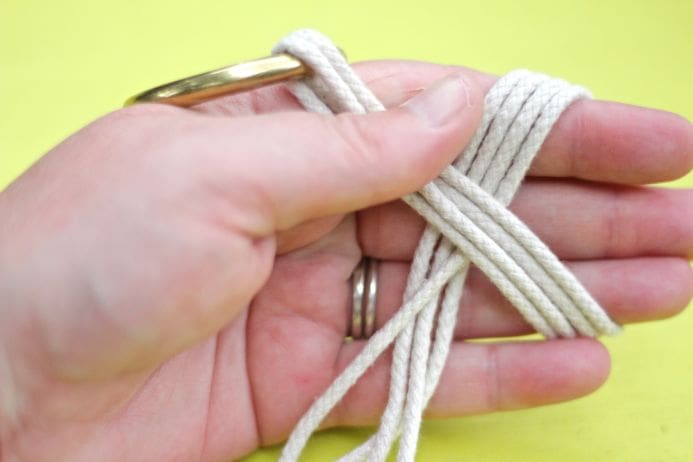
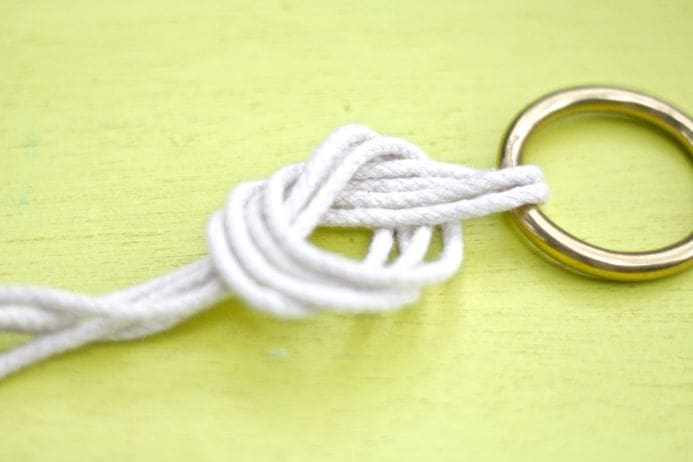
 4. Tie another knot a few inches down. (If you want your plant to hang lower add another knot or two).
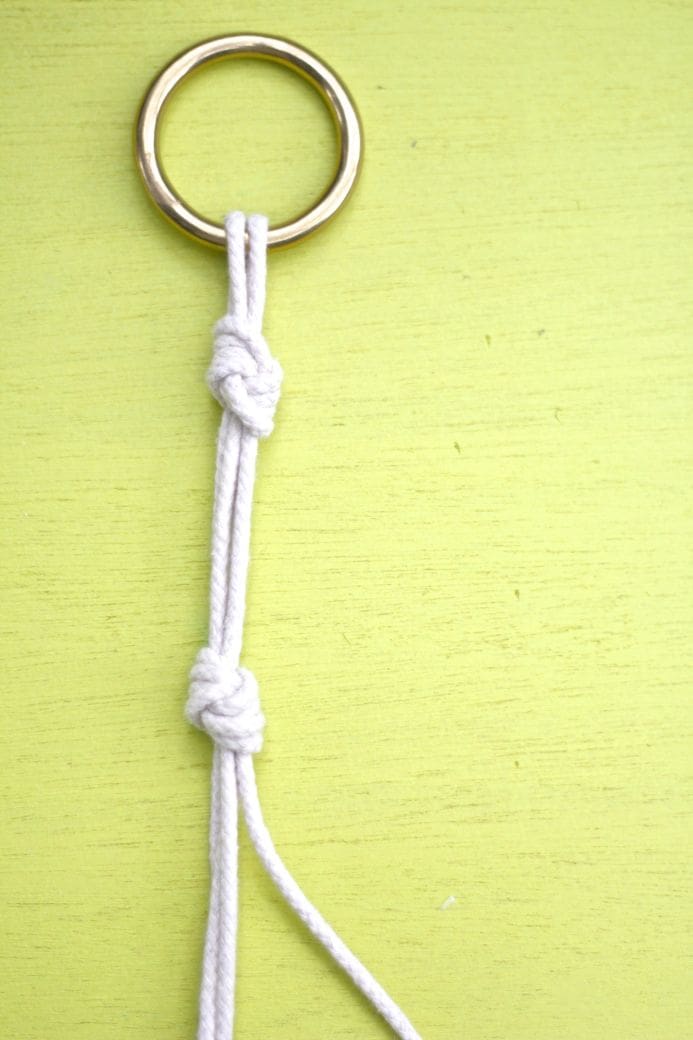
 5. Thread a wooden bead on one of the strands hanging down from the last knot and then tie a knot under the bead so that it doesn’t slip down.
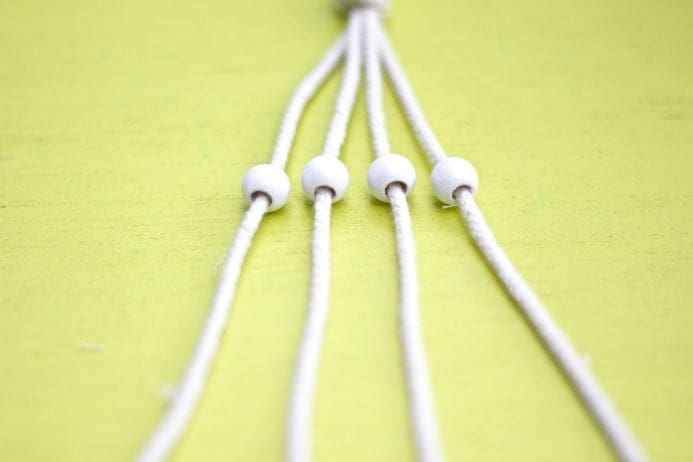
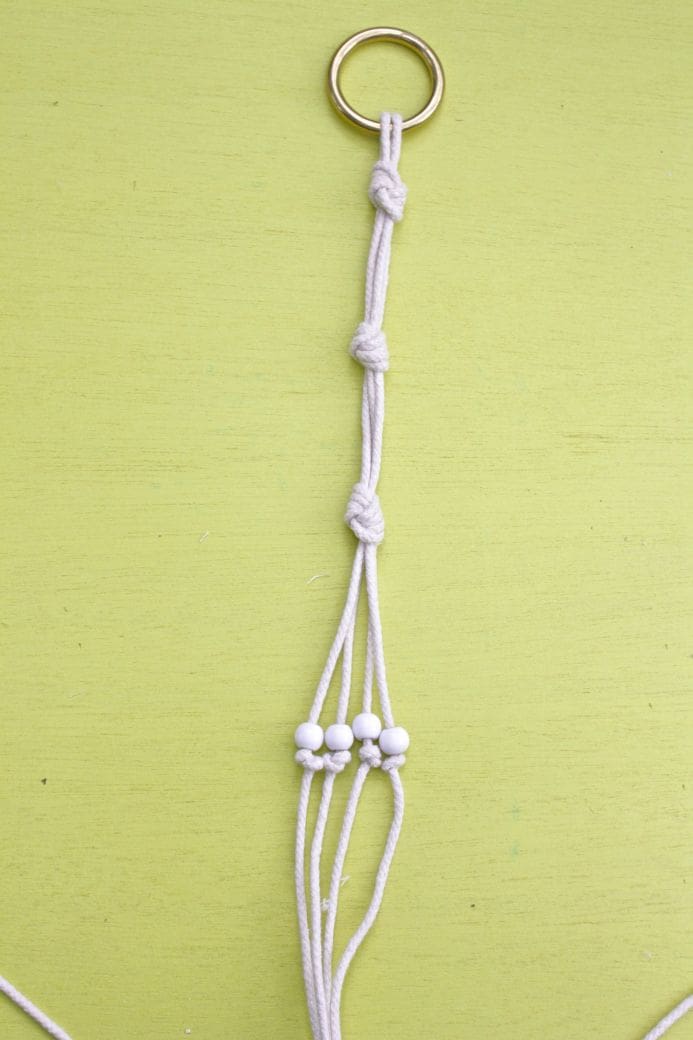 6. Repeat for the other three strands of rope coming off the center knot. (For mine holder I repeated this two more times. Repeat as desired depending on how long you want your holder to be.) *Take care to make sure your beads and knots all fall in the same place so your holder is even on all sides.
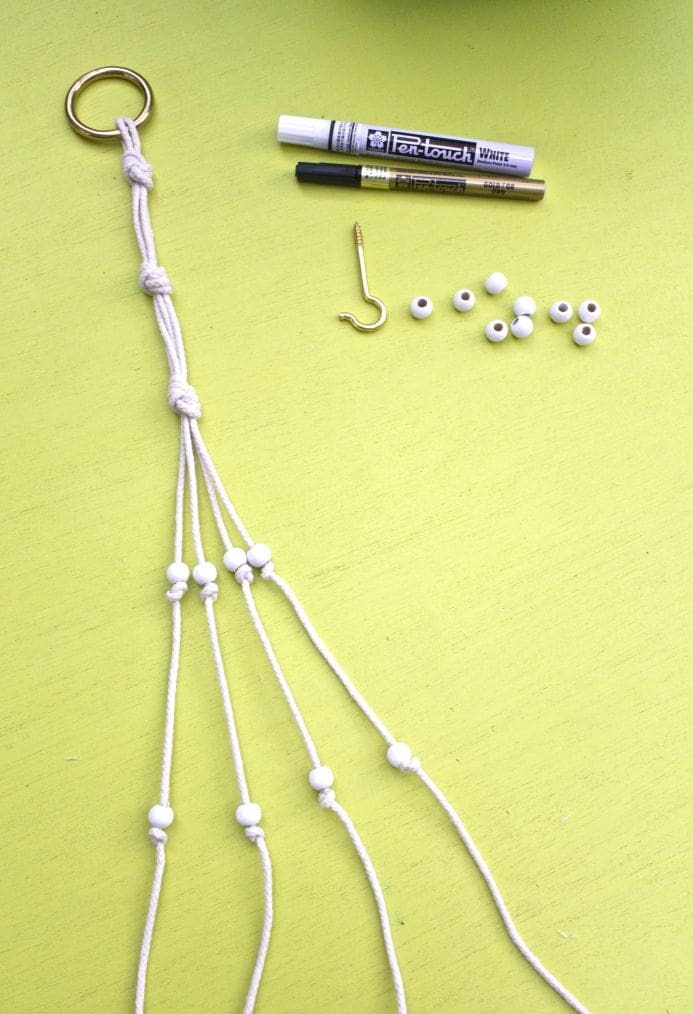 7. Thread one of the pieces hanging from the center through the hole on one corner of the planter then thread a bead through the rope and tie a few knots at the end to hold it in place. Then cut the end of the rope.
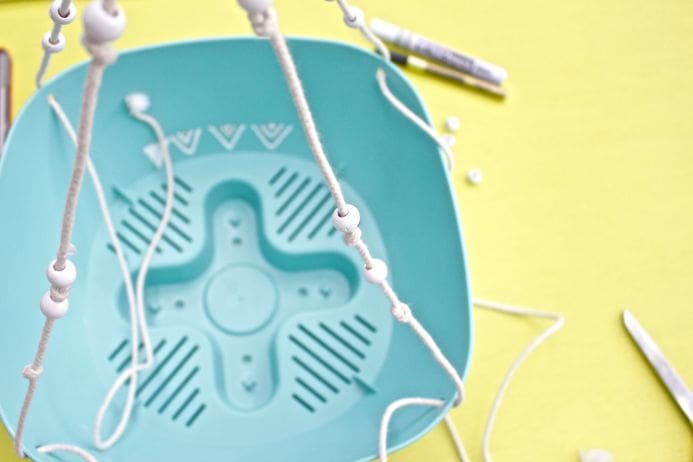
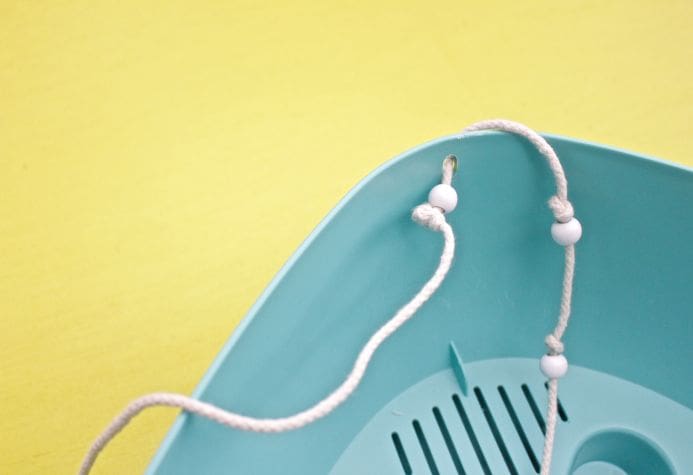 8. Repeat for the other three corners taking care to make sure that all four sides are even so that your holder doesn’t hang crooked.
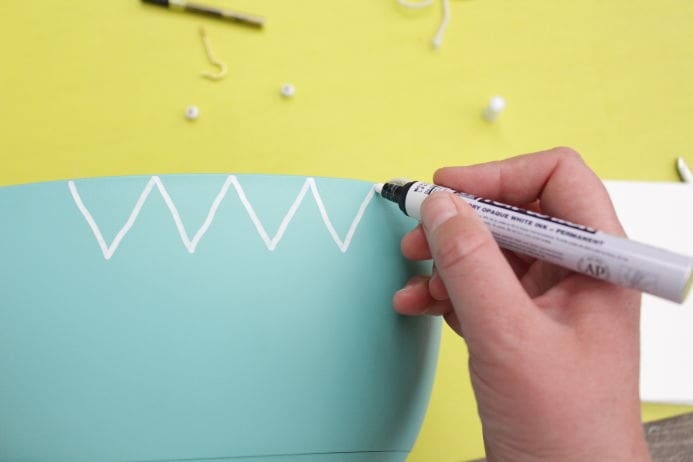
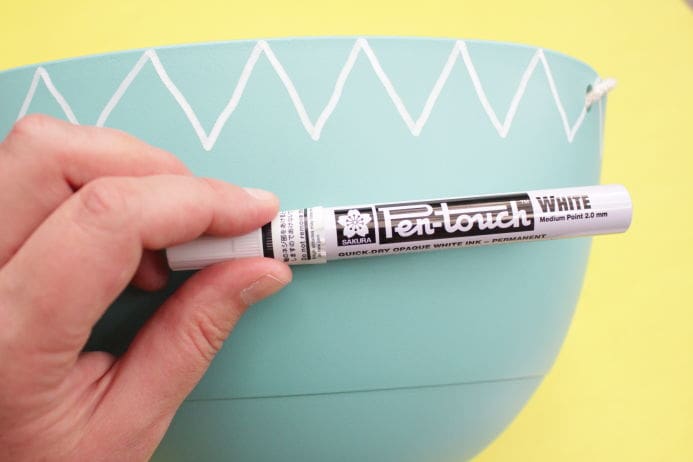
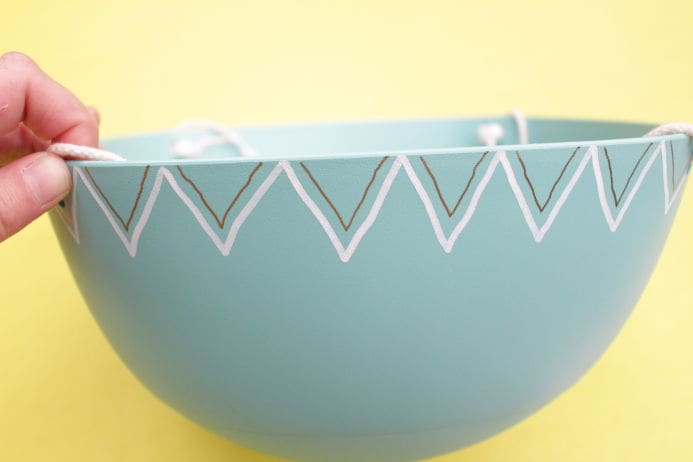
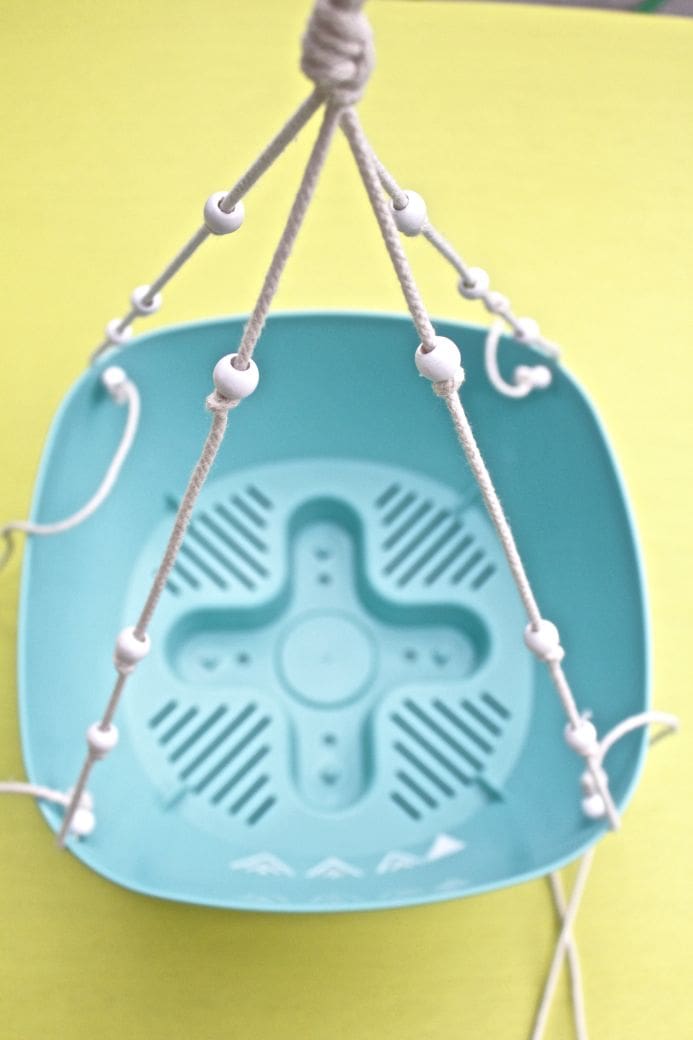 9. Using your paint pen draw a design around the edge of your planter. I choose triangles but feel free to do any design you’d like.
 10. Screw your metal hook into your ceiling and hang your plant holder.

