DIY Paper Doll Lookbook For Your Kiddo

Today’s tutorial for a DIY Paper Doll Lookbook For Your Kiddo combines my love of paper crafts, felt sewing, and bookmaking. It’s a DIY, portable paper doll lookbook featuring my daughter Sophie as the star, with lots of options for customizing outfits.
It would make a lovely gift for a child and is something that can be neatly packed up and taken along in a car ride or spread out while waiting for the food to arrive at a restaurant.
Most of the things I end up making for my daughter are things that bring me delight. I never really know until I see her use them if they are a hit or not. She is now three and a half and squealed out loud when she saw this one. (Success!) Here’s how you can make your own:
-Rebecca Pitts of Hudson + Daughter
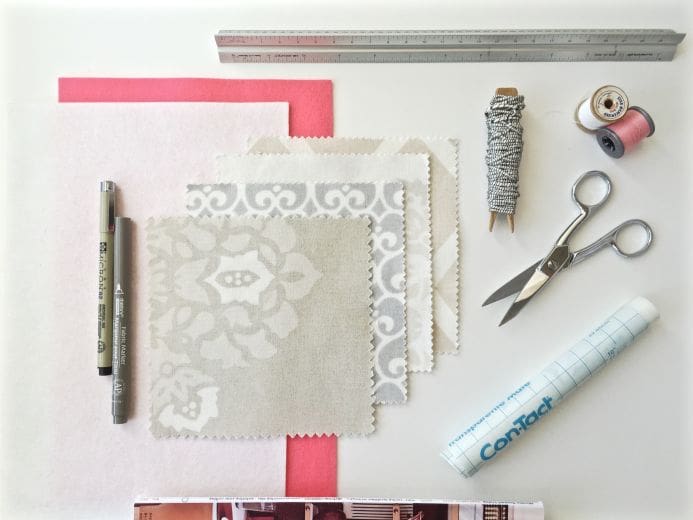
What to get:
-Contact paper
-Heavy-weight black paper (or any color of your choosing)
-Old magazines and catalogs (shown here: Boden for kids)
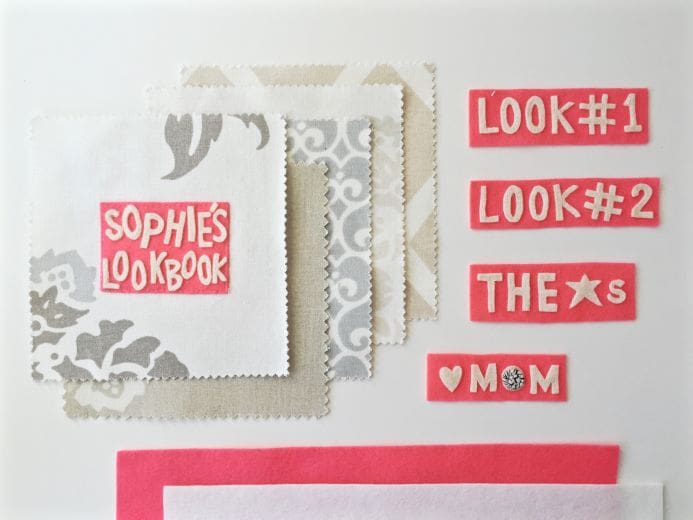
-Felt (shown here: Wollfilz felt bundle from Purl Soho)
-Fabric scraps (shown here: fabric swatches from Serena & Lily
-Ribbon (shown here: wrapped ribbon from Studio Carta)
-Pencil
-Fabric marker
-Ruler
-Good scissors for cutting fabric
-Glue
-Needle and thread
Skill:
Beginner. Basic sewing involved.
What to do:
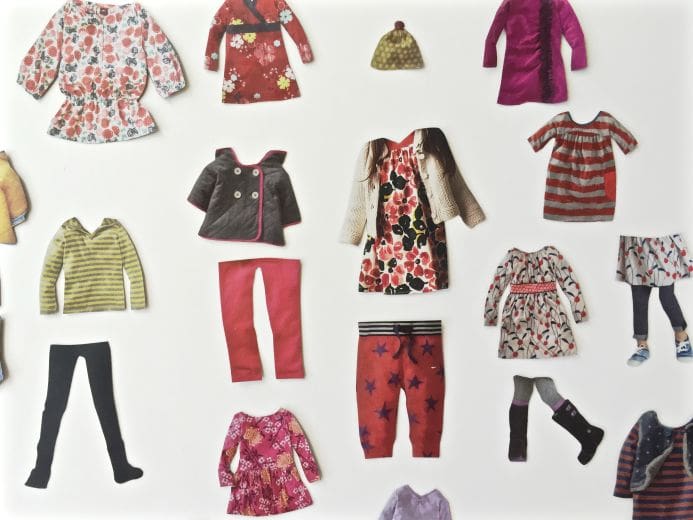
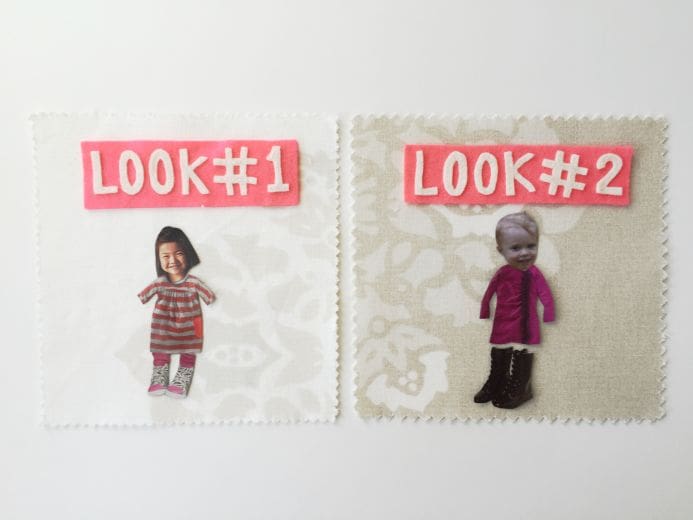
Assemble the figures.
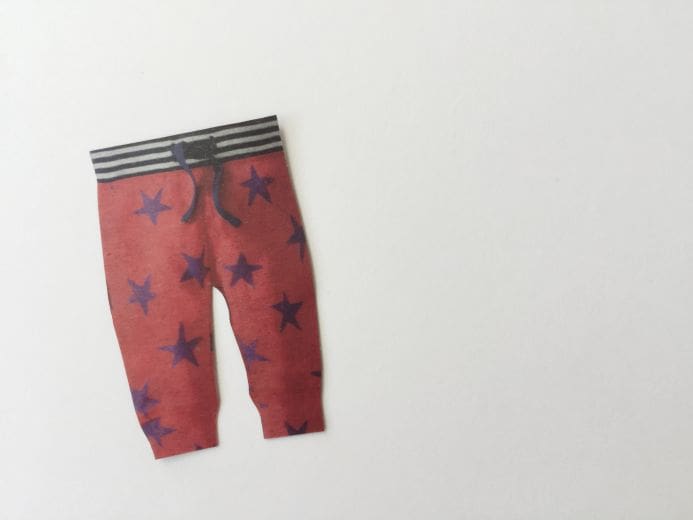
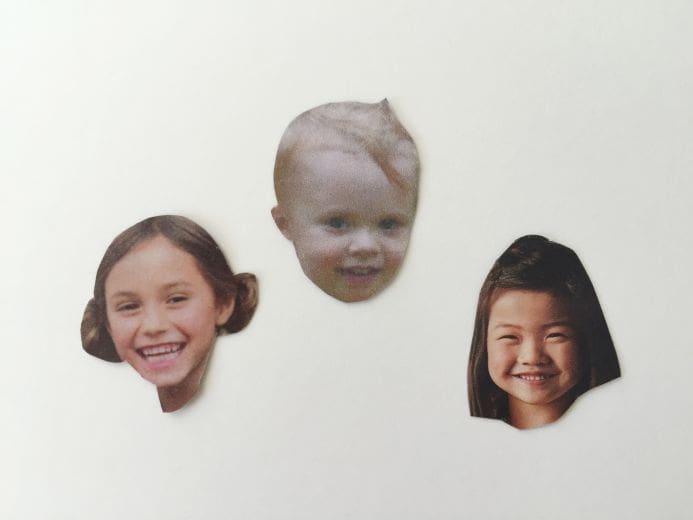
1. Cut-out outfits of similar size and shape from children’s clothing catalogs. Print a photo of your child and their friends. Cut-out and save their heads only.
2. Lie a sheet of clear contact paper flat and apply the cut-outs (image side down facing the sticky part). Apply glue to the backs of the cut-outs.
3. Next, layer the black paper to create the backing. Stick to the exposed glue. Let dry.
4. Once dry, flip over and cut around the shapes.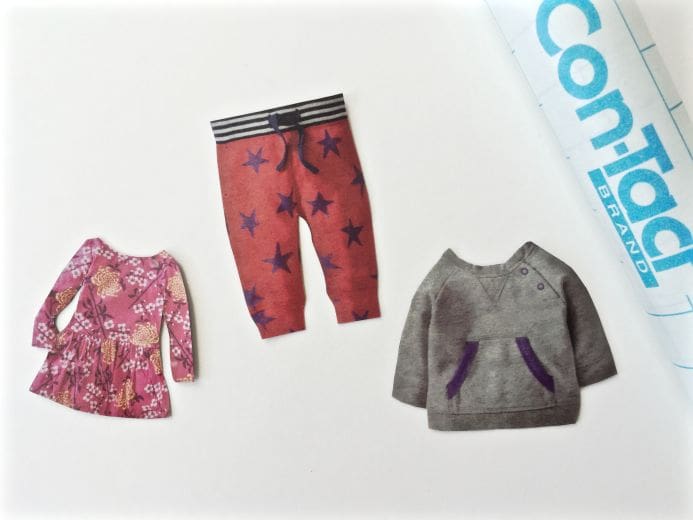

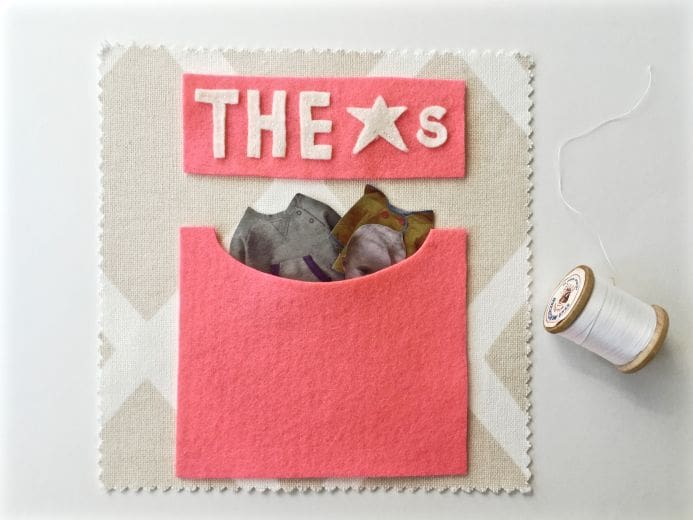
 Create your lookbook pages and felt text.
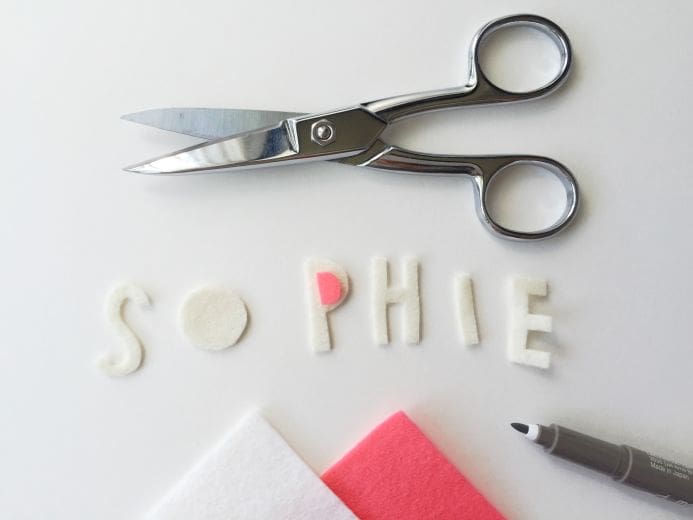
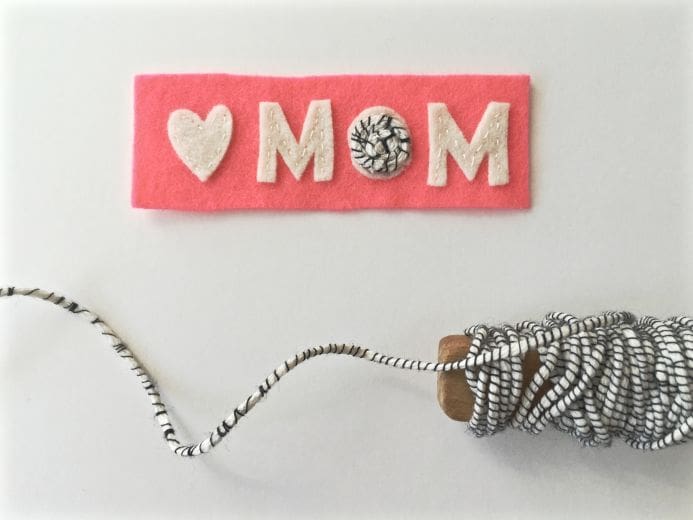
1. Sketch the words you’ll include in your lookbook on paper. Cut-out the paper letters and trace onto felt using a fabric pen. Cut-out the fabric letters and sew onto another piece of colored felt, if you’d like.
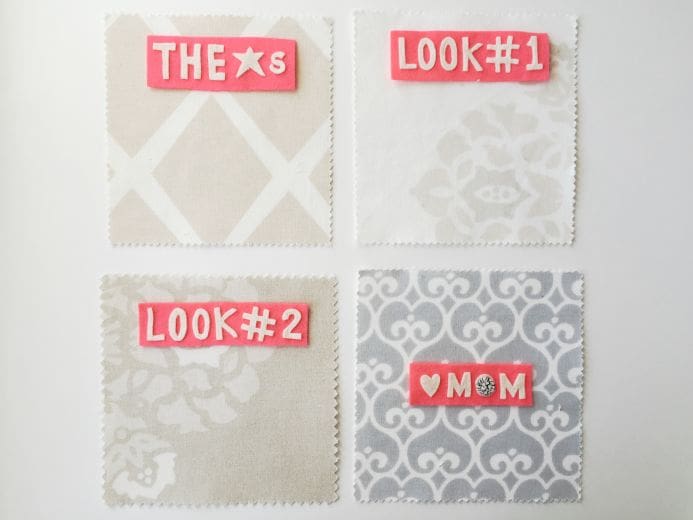
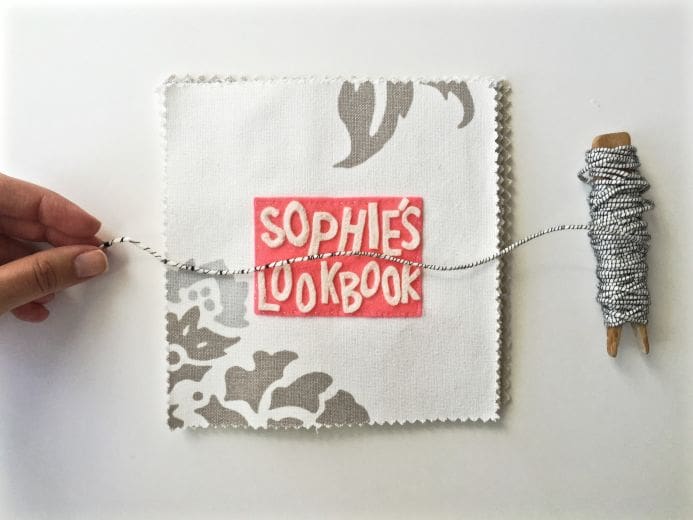
2. Assemble your fabric pages by cutting them to the same size. I used pre-cut fabric swatches from Serena & Lily.
3. Cut a pocket-shaped piece from the felt. This will be the envelope that holds all the little paper cut-outs when not in use.
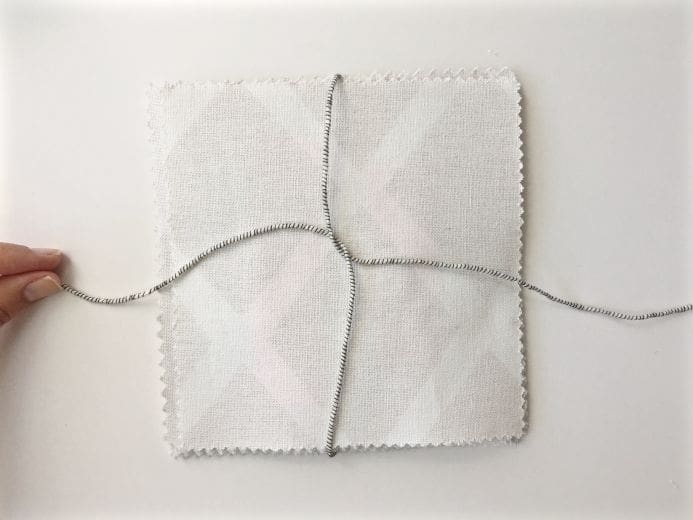
Assemble the book.
1. Sew the felt text blocks and envelope to the fabric pages. Leave some space so the kids can design their outfits.
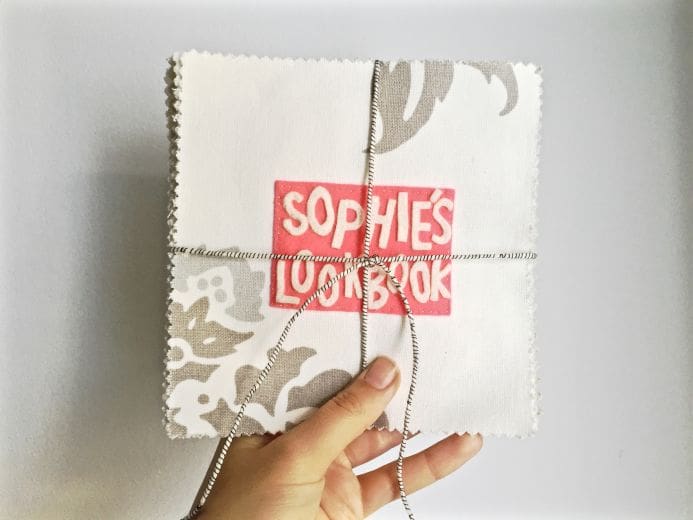
2. Assemble the pages into a book. You could make it an accordion style book or add a metal hoop in the corner. I preferred tying the book it in a bow so my daughter could lay out all of the pages at the same time.
 I hope you get a kick out of this as much as Sophie and I do! For more tutorials like this, check out the DIY posts on my blog.
-Rebecca Pitts

About Rebecca:
Rebecca Pitts is the owner and founder of Hudson + Daughter, custom nursery decor and family heirlooms for the people you love. She also shares tips, tools, and inspiration for creatives who sell their products online on her blog and in her weekly newsletter for creative entrepreneurs.


Could you put magnet strips in between layers, then they might not get lost? If the strips were put between the background square layers, and the character and clothing layers, then they would be able to stay put. I love the idea, and want to use this idea this summer with the camp we do at our museum. The kids can draw their own clothing, or whatever, and have it as a keepsake. Thank you for sharing.