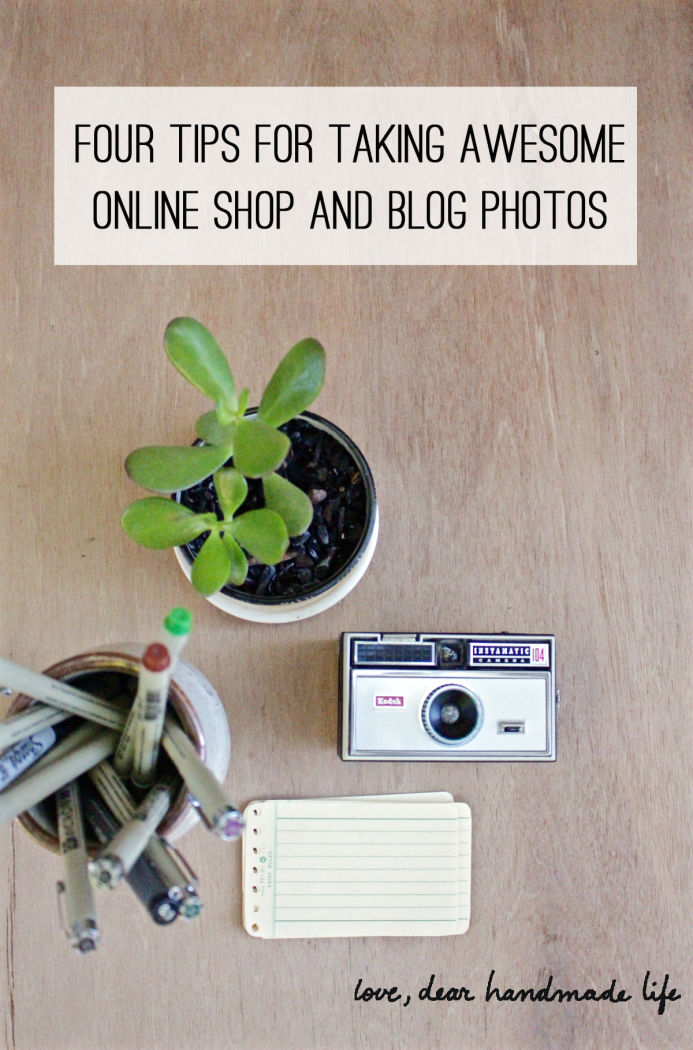
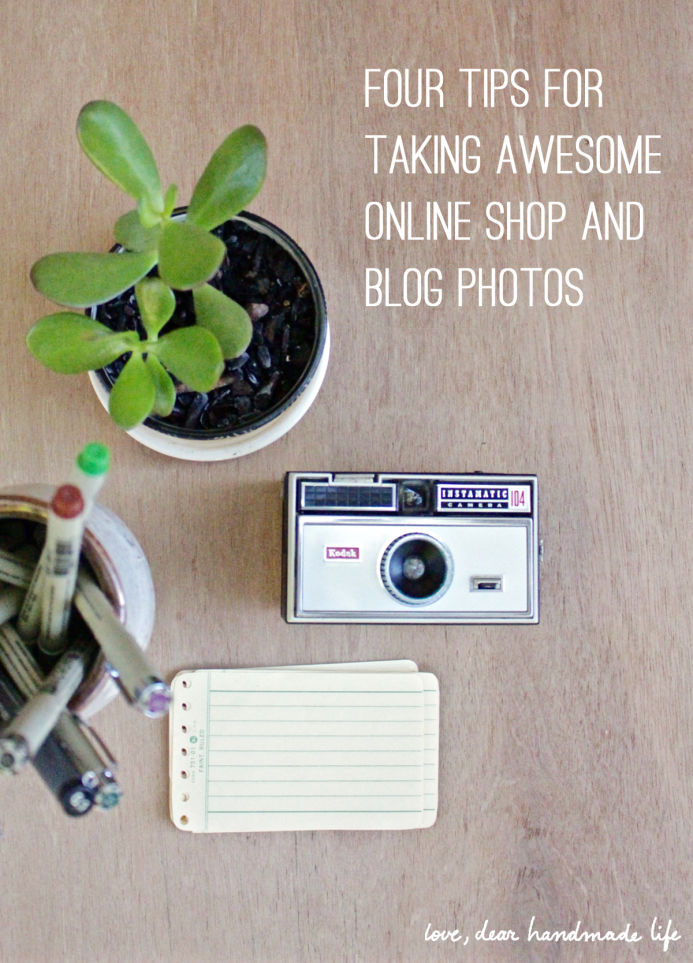
Four tips for taking awesome online shop and blog photos
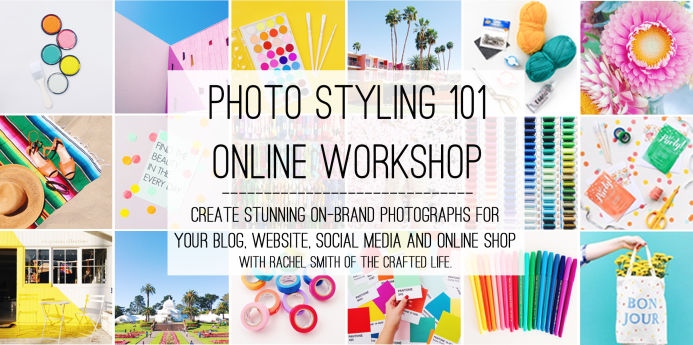
Editor’s Note: Hope you find our four tips for taking awesome online shop and blog photos helpful. If you’re inspired to learn more… Check out our Photo Styling 101 online workshop with Rachel Smith of The Crafted Life. -Nicole
In my mid-thirties I found myself single and living a very small town where pretty much every person I met was either married or younger than I was and still filled their nights with dive bar encounters that they hardly remembered the next day. Since my dive bar days were quickly coming to a close I agreed to start looking for love online. I was a bit uneasy with the whole idea but after hearing countless tales of true love that started with a click… I gave it a try. The hardest part about it was finding time to sift through hundreds of profiles of strangers. I don’t consider myself a shallow person (if you put all the people I’ve ever dated in a room you would be hard-pressed to figure out what these human beings [who shared few physical traits] had in common). Yet, the first thing I looked at as I formed an opinion as to whether or not I could potentially spend the rest of my life with a person was his photos. It wasn’t that I was looking for a gorgeous dude with a six-pack but I was looking for someone whose photos were interesting enough for me to take the time to read his profile.
Not surprisingly the way I searched for (and eventually found) love online is the same way people look for anything online. The first opinion they form about a person, brand, blog or product is based off of the images they see. If the images appeal to them then they may take the time to learn more. Entrepreneur magazine reported that “It takes less than two-tenths of a second for an online visitor to form a first opinion of your brand once they’ve perused your company’s website, according to researchers at the Missouri University of Science and Technology“. You don’t even have an entire second to capture your audience and communicate your brand!
Think about the crazy popularity of Pinterest and then consider what makes you actually click on a pin to read that recipe or see that DIY tutorial. When you’re searching for a recipe for chocolate cake with salted caramel frosting which pin image are you more likely to click on? Chances are it will be the one that’s well-lit, in focus and composed in a way that’s pleasing to your eye. The recipe for cake that’s represented by a not so great photo may be a better recipe but if the photo of it isn’t awesome, most of us will never take the time to click on it and find out just how good it is.
So, how can you keep your audience engaged for longer than two-tenths of a second? A great looking website is certainly a BIG part of it BUT your having stellar photos is just as important. Whether you’re a blogger, maker with an online shop or have a business that sells a product or service, here are four things that you should master to achieve great photos that will engage your audience. Rachel’s Photo Styling online workshop not only goes into greater depth on these points but also covers how to build a home studio on a budget, edit your photos, find your personal style and more!
1. Lighting
Your photos must be well lit. It’s best to take photos during the day with diffused light. Overcast days are ideal. If it’s not overcast, avoid the sun by heading indoors and setting up next to a window, create a light box or use a shady area. Avoid shadows or overexposed or dark photos. Using the flash creates an artificial cast of light so avoid it whenever possible too.
2. Background
Choosing the right background can make or break your photo. For product shots most people use a white background that ‘disappears’ behind the subject and doesn’t distract the viewer. However if your subject is a light color, a while background can blend in making it hard to distinguish between your subject and the background. Consider getting creative by using colored or textured backgrounds when it makes sense and makes your subject pop. We’ll have a post later this month on how to create your own backgrounds on a budget.
3. Props
Props can be an awesome addition to your photos IF they’re used correctly. Props should always compliment your subject and make sense being in the frame. For example if you’re taking a photograph of a red knit hat you made don’t include a red spatula in the photo just because it’s the same color. Props must be consistent with not only the color palette but with the subject as well. Generally speaking, less is more when it comes to props. You don’t want the viewer to be wondering which one of the objects in the photo is the subject.
4. Composition and Balance
This can be the toughest thing for newbie photographers to understand. If you have a photo that isn’t just a subject on a white background but contains other elements like props or multiple subjects, the best test to see if your photo is balanced is to close your eyes for a few seconds and then look at your photo. Does your eye travel across the photo stopping for a moment in each area to consider what you’re seeing? Or are you stuck in one spot? Sometimes creating a frame where your subject is off-center can help. When trying to achieve great composition and balance also consider if the colors, shapes and patterns are harmonious.
The ultimate test good styling any photo is to look at it and check in with your gut reaction. Do you like it or not?
The first time I went wine tasting with my husband (the guy I eventually met online) I was intimidated. I watched him swirl his wine and sniff it then roll it around his glass inspecting it closely. I whispered to him that I didn’t know what to look for or how to talk about the wine I tasted. He said there was only one question I needed to answer when critiquing wine. “Do you like it?”, he asked me. That advice goes for any artistic thing that you’re trying to accomplish. In the end, look at your photo and ask yourself if you like it. If you don’t, ask yourself why? Then pick up your camera, revisit these four tips and give it one more shot.
Want to take your online shop, website or blog photos to the next level? Check out our Photo Styling 101 online workshop with Rachel Smith of The Crafted Life.
-Nicole S.

A good picture of the products you sell can really make it more appealing to your potential customers. Most online stores are not really using high quality image and its really disappointing. It would be more convenient if they would post several high quality image of the products to help customers see the details.
Absolutely!!!
Fantastic post of the blog …