
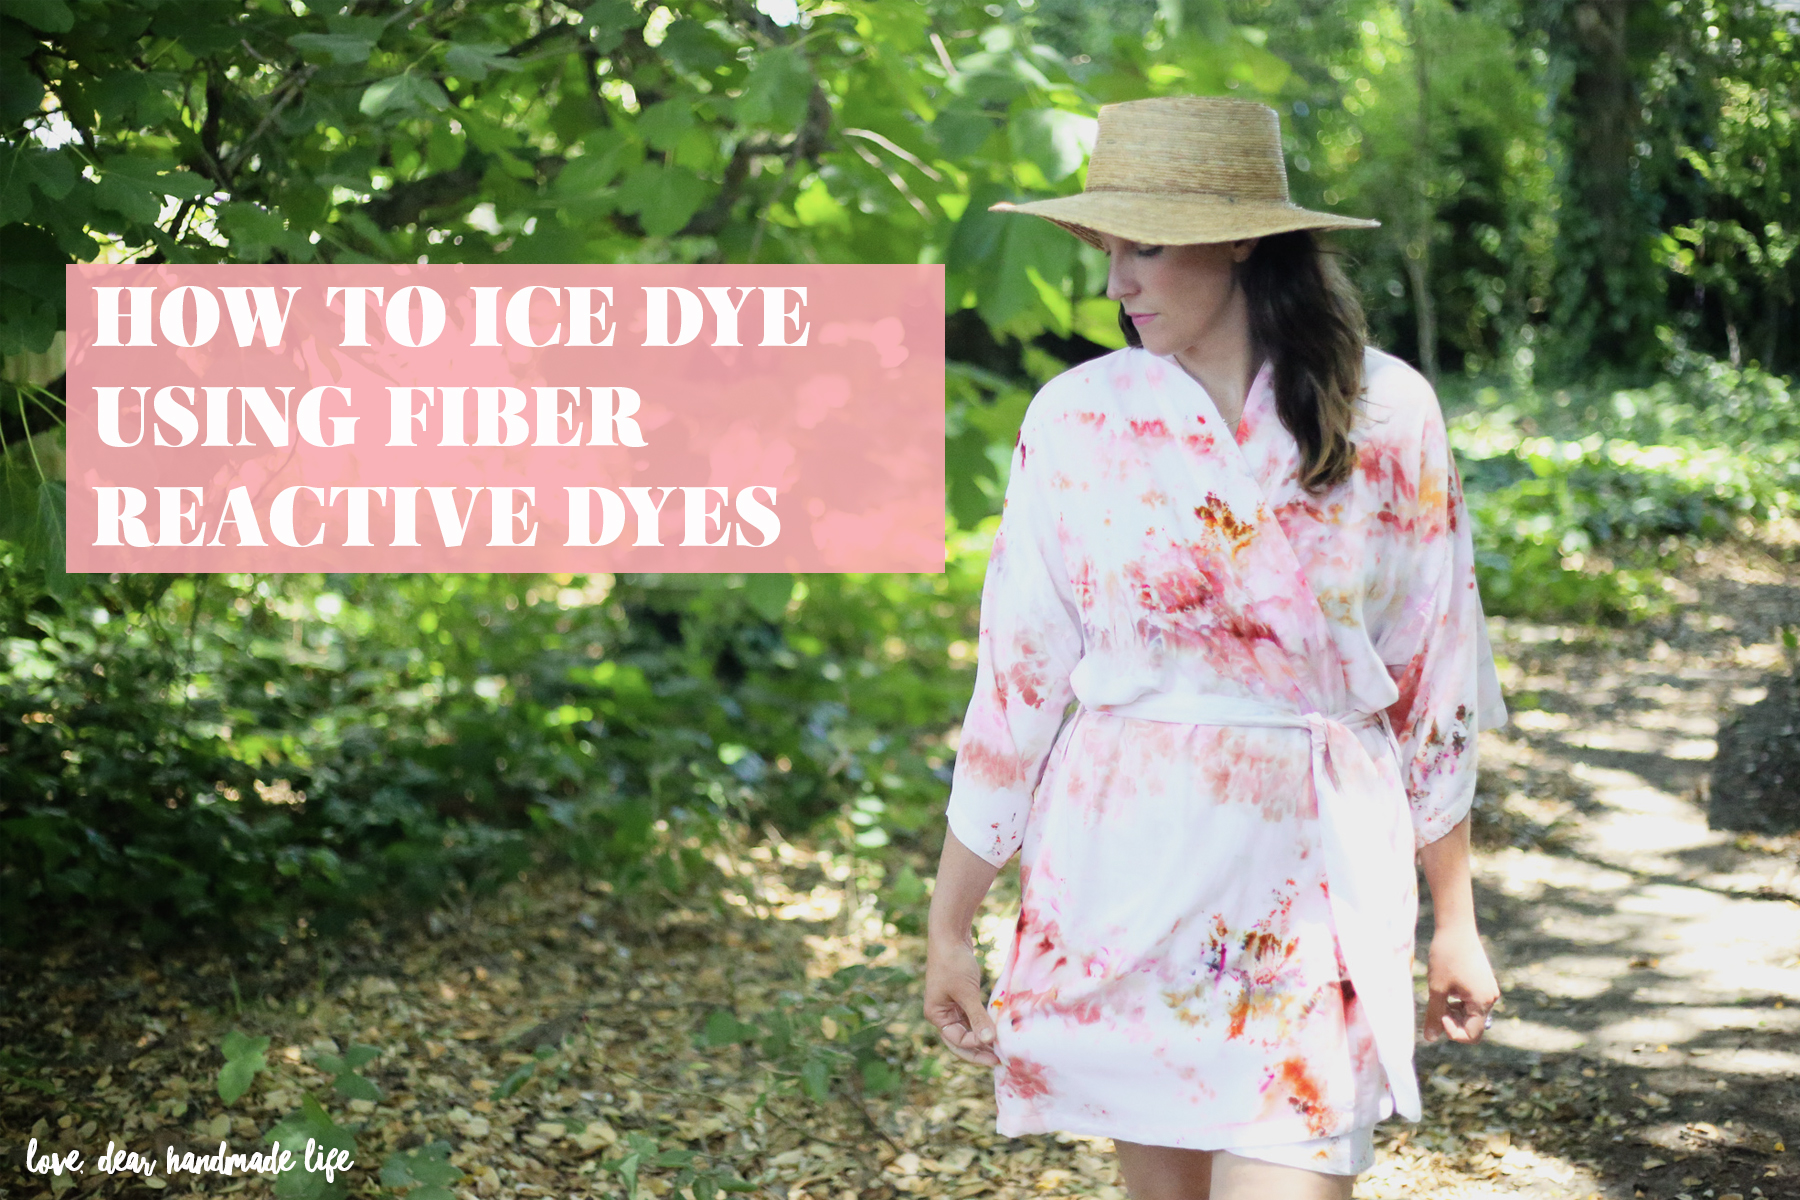
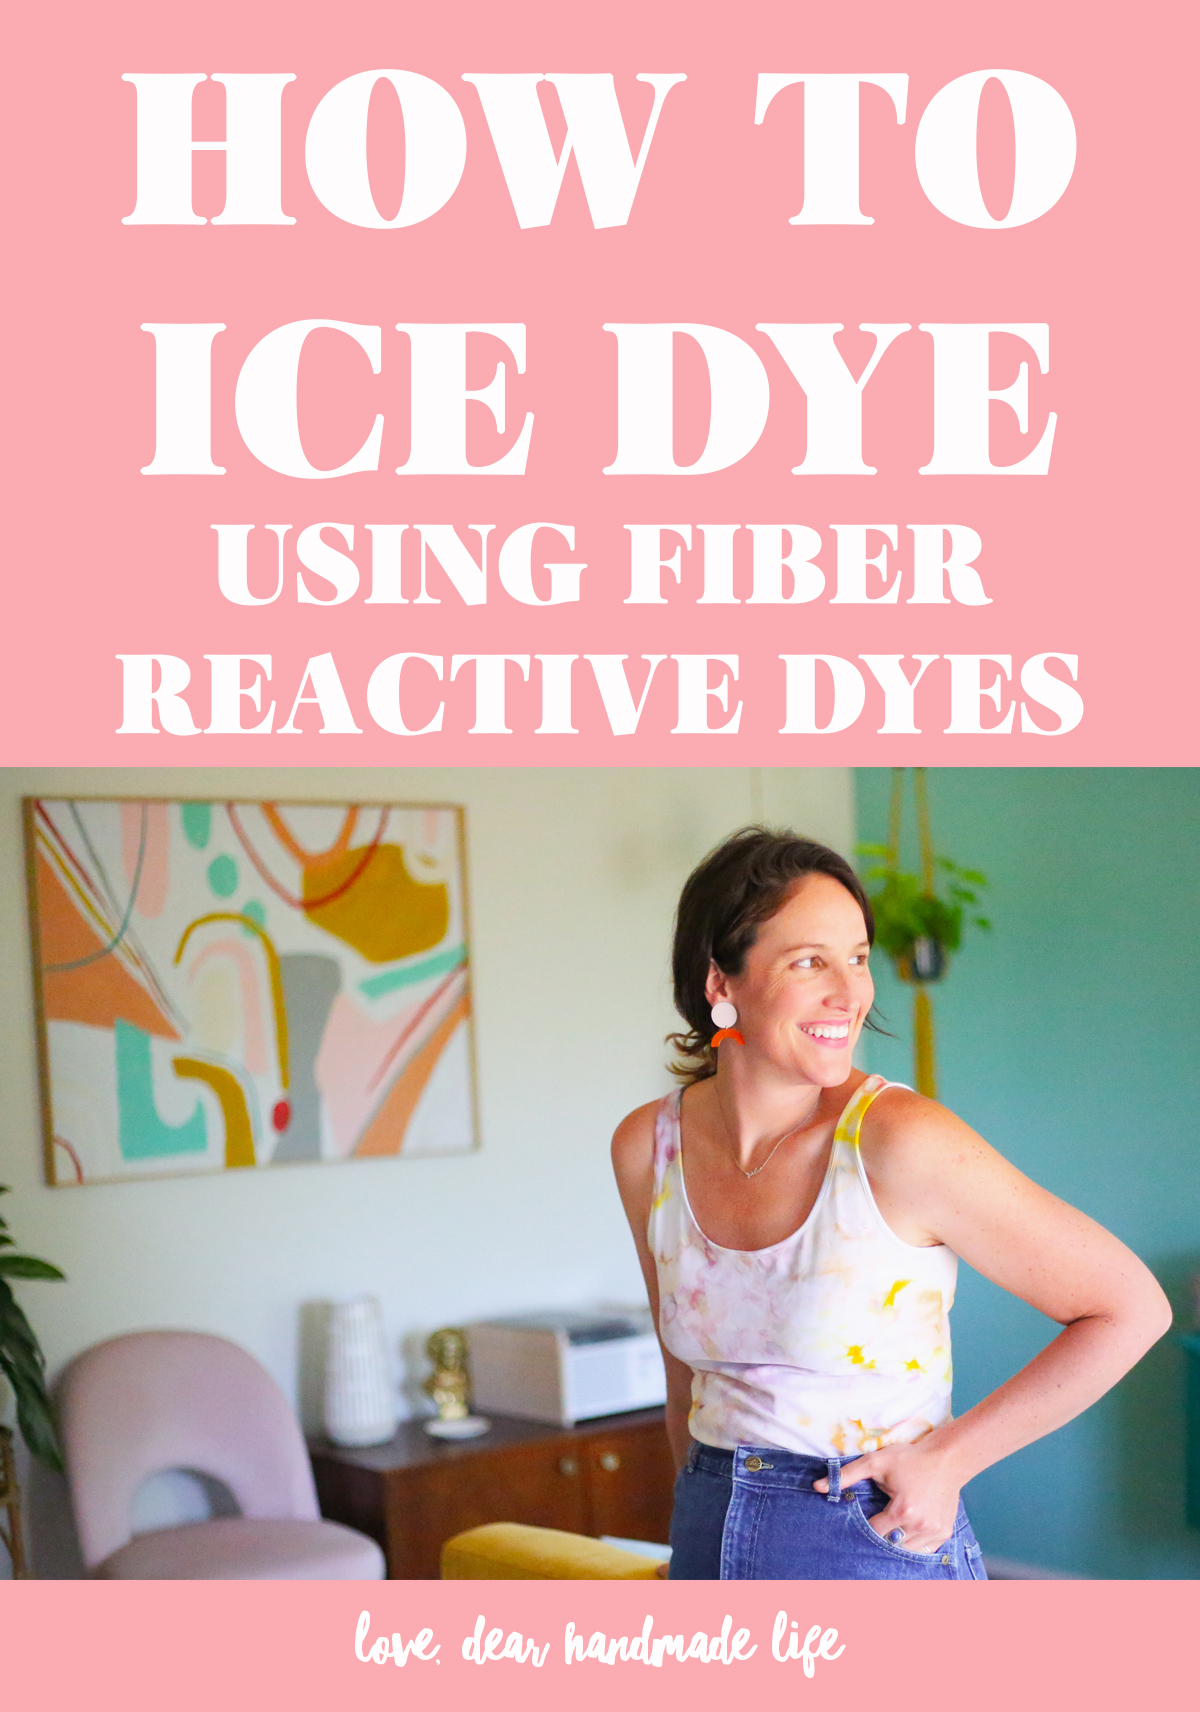
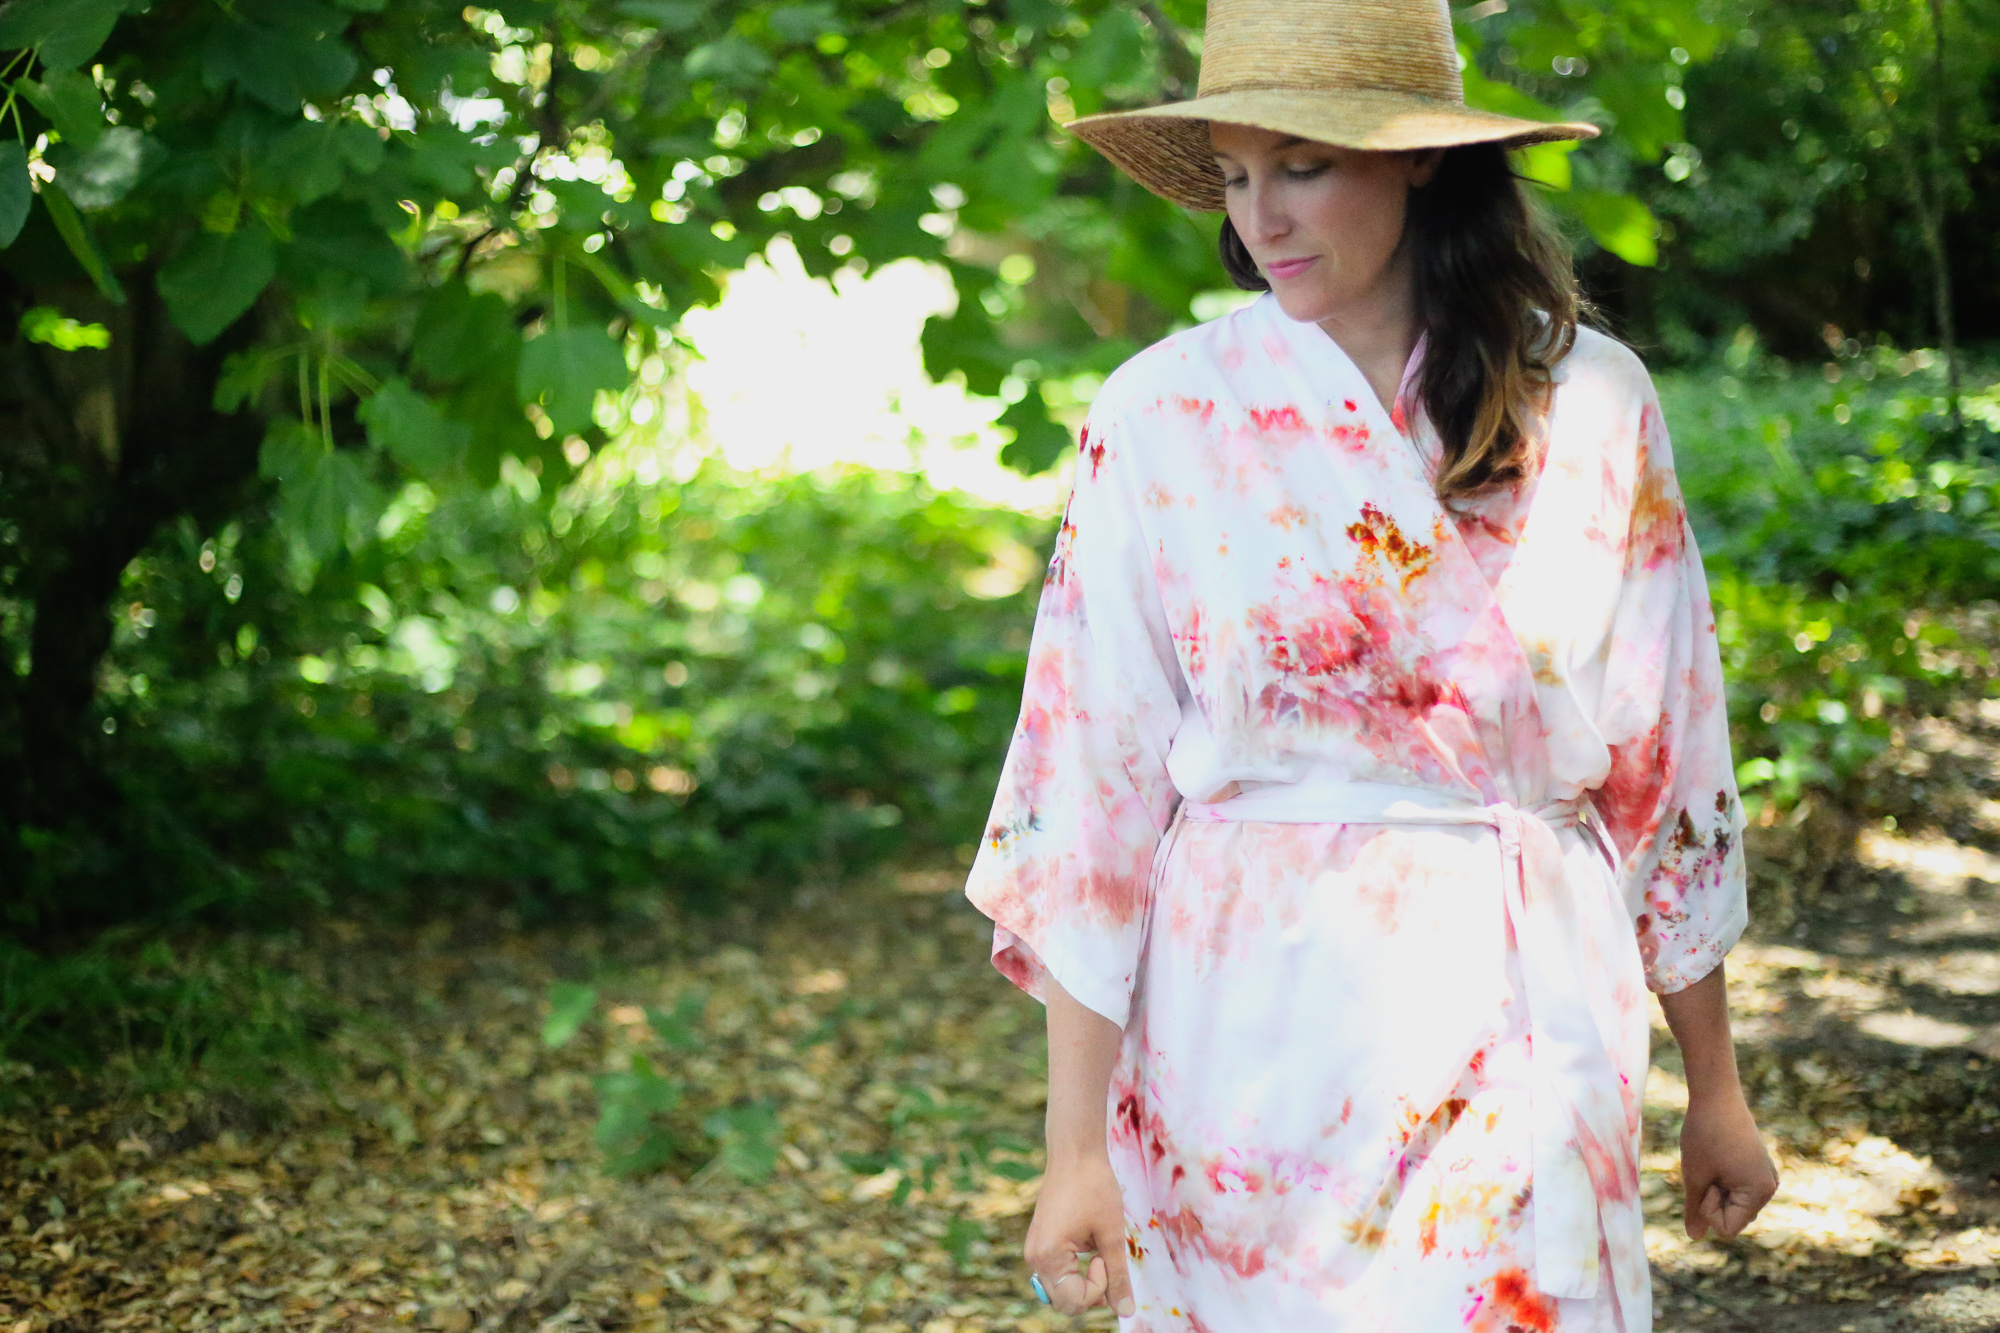
Ice Dyeing 101 Using Fiber Reactive Dyes
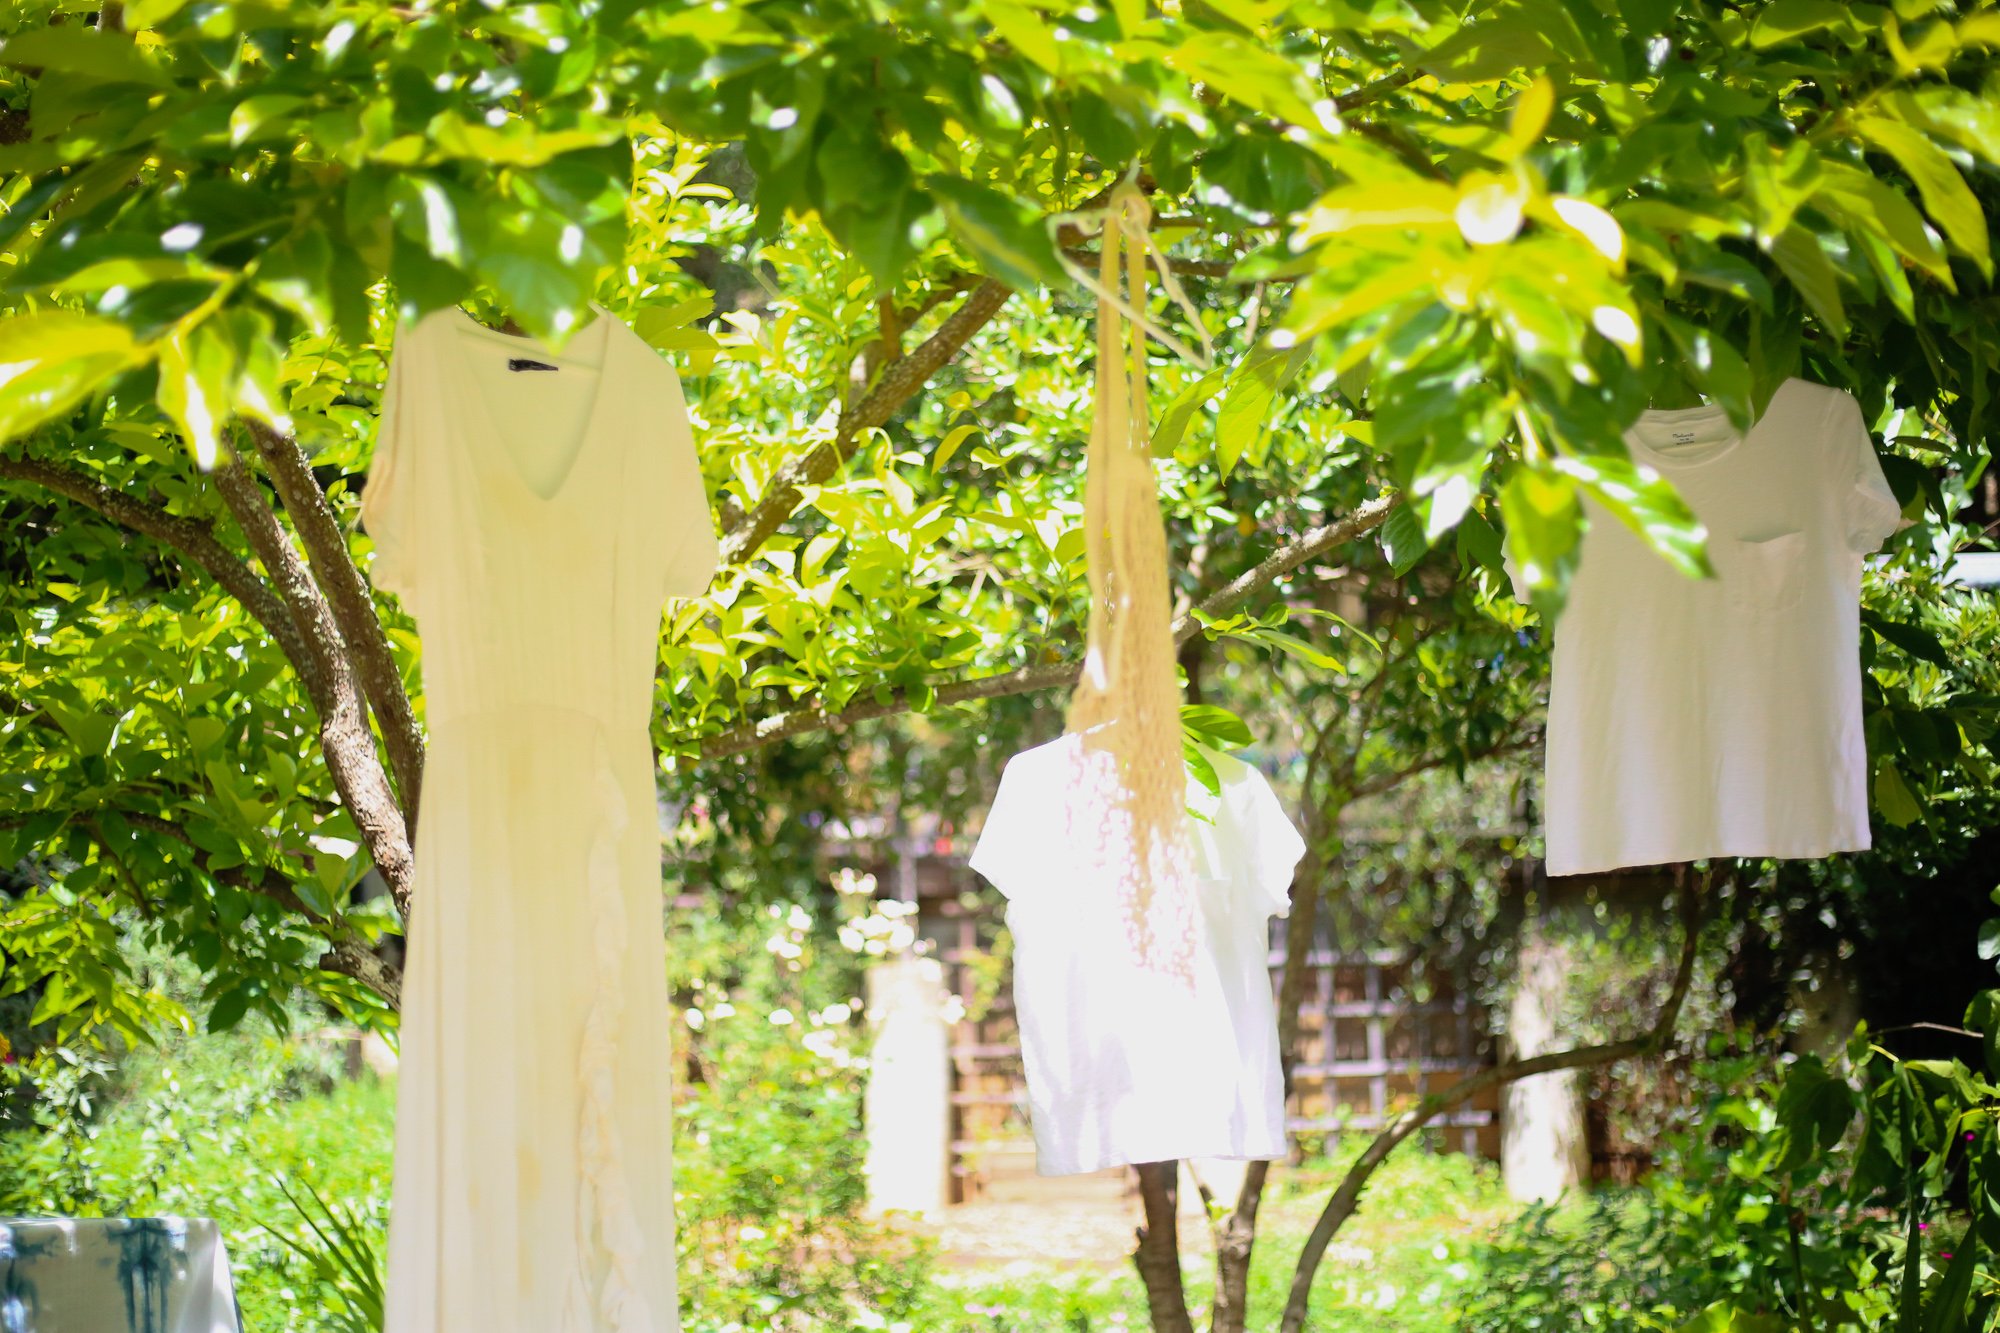
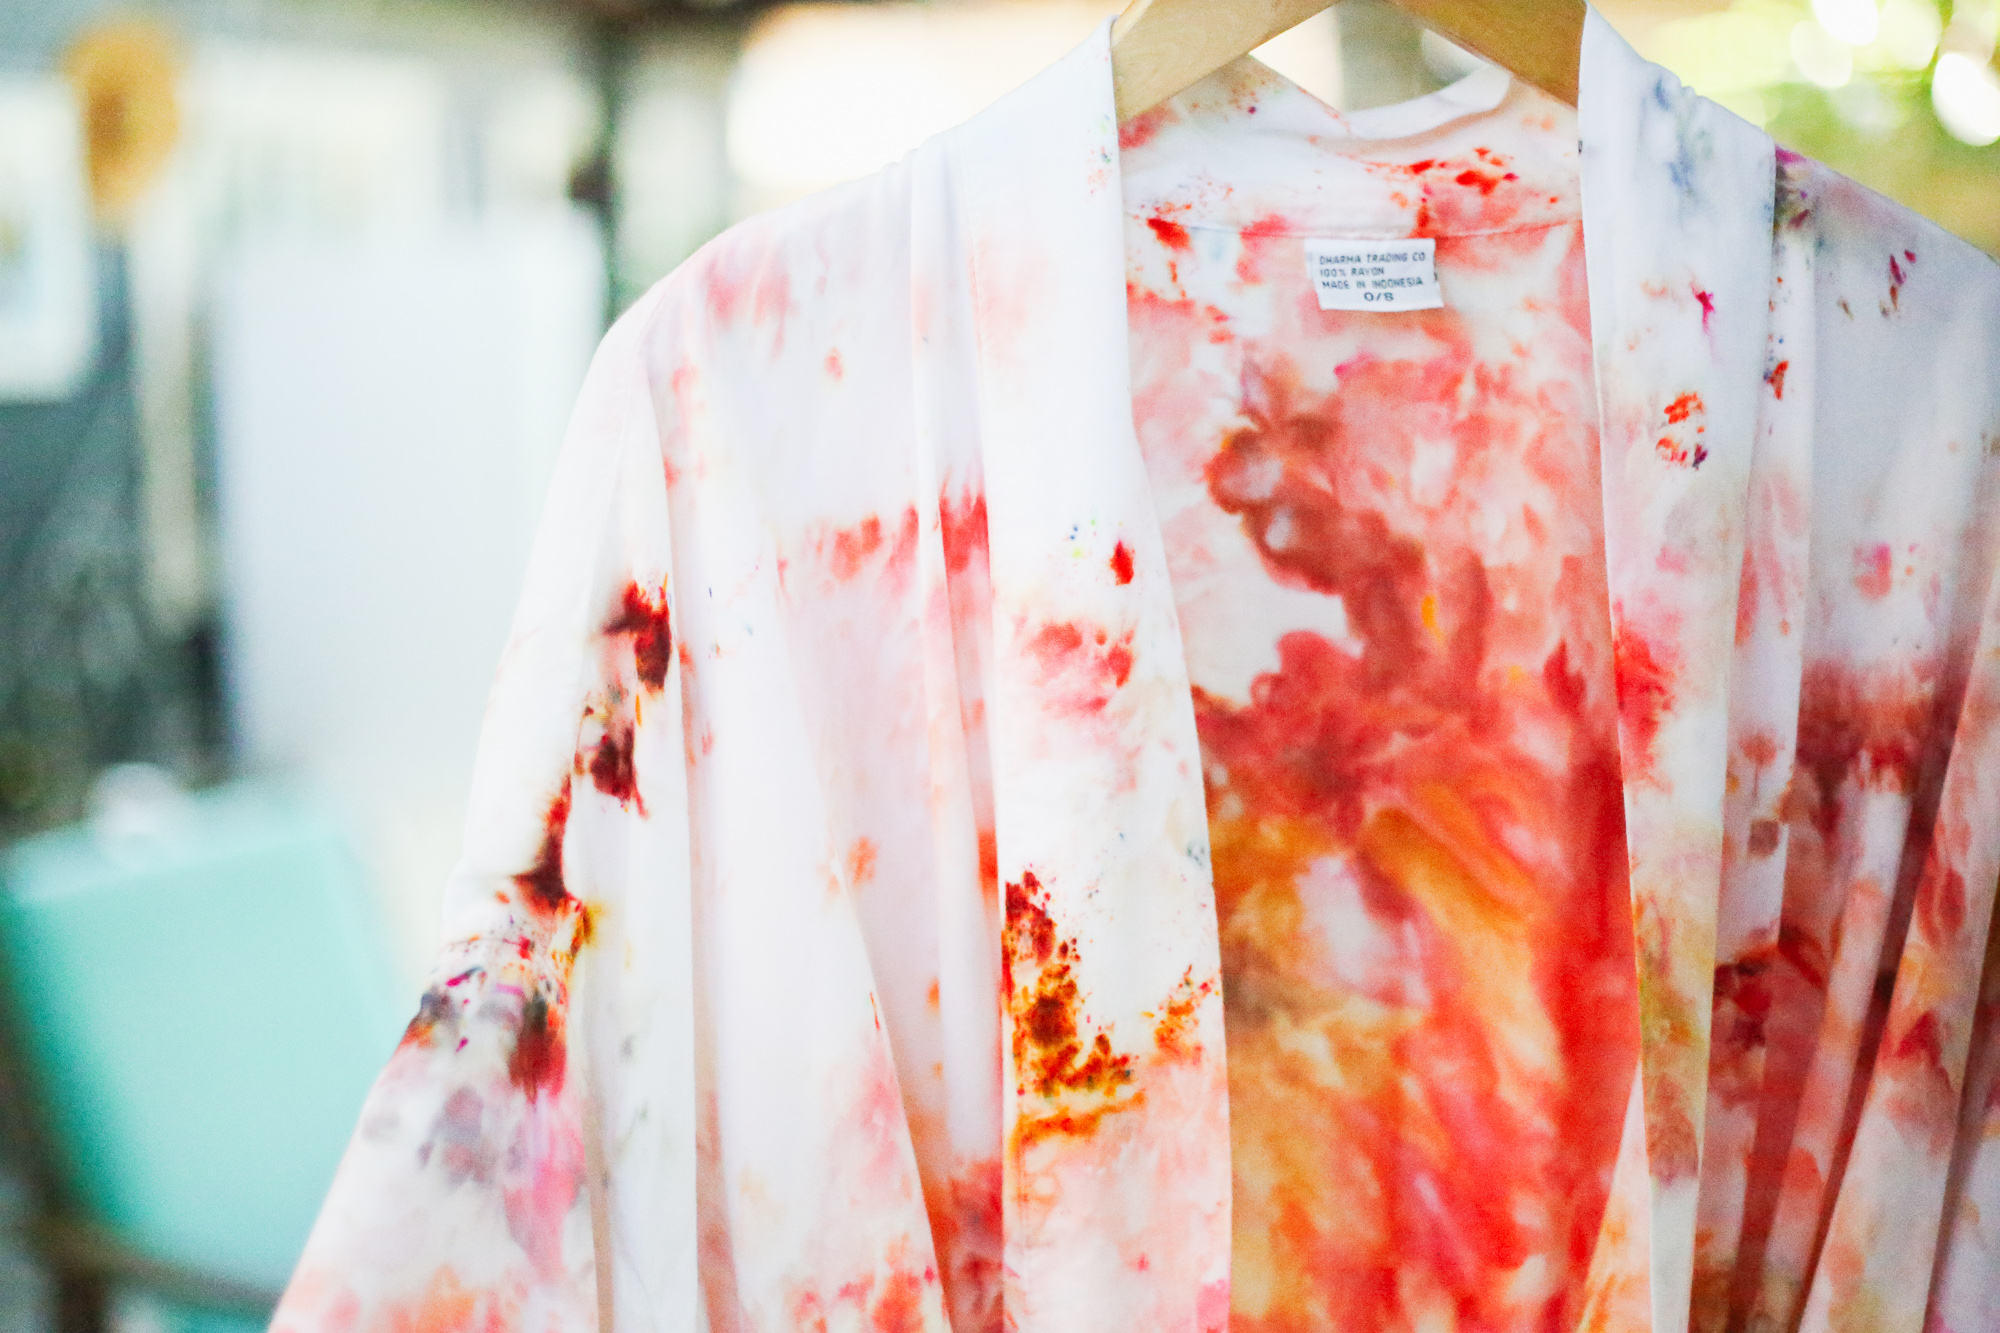
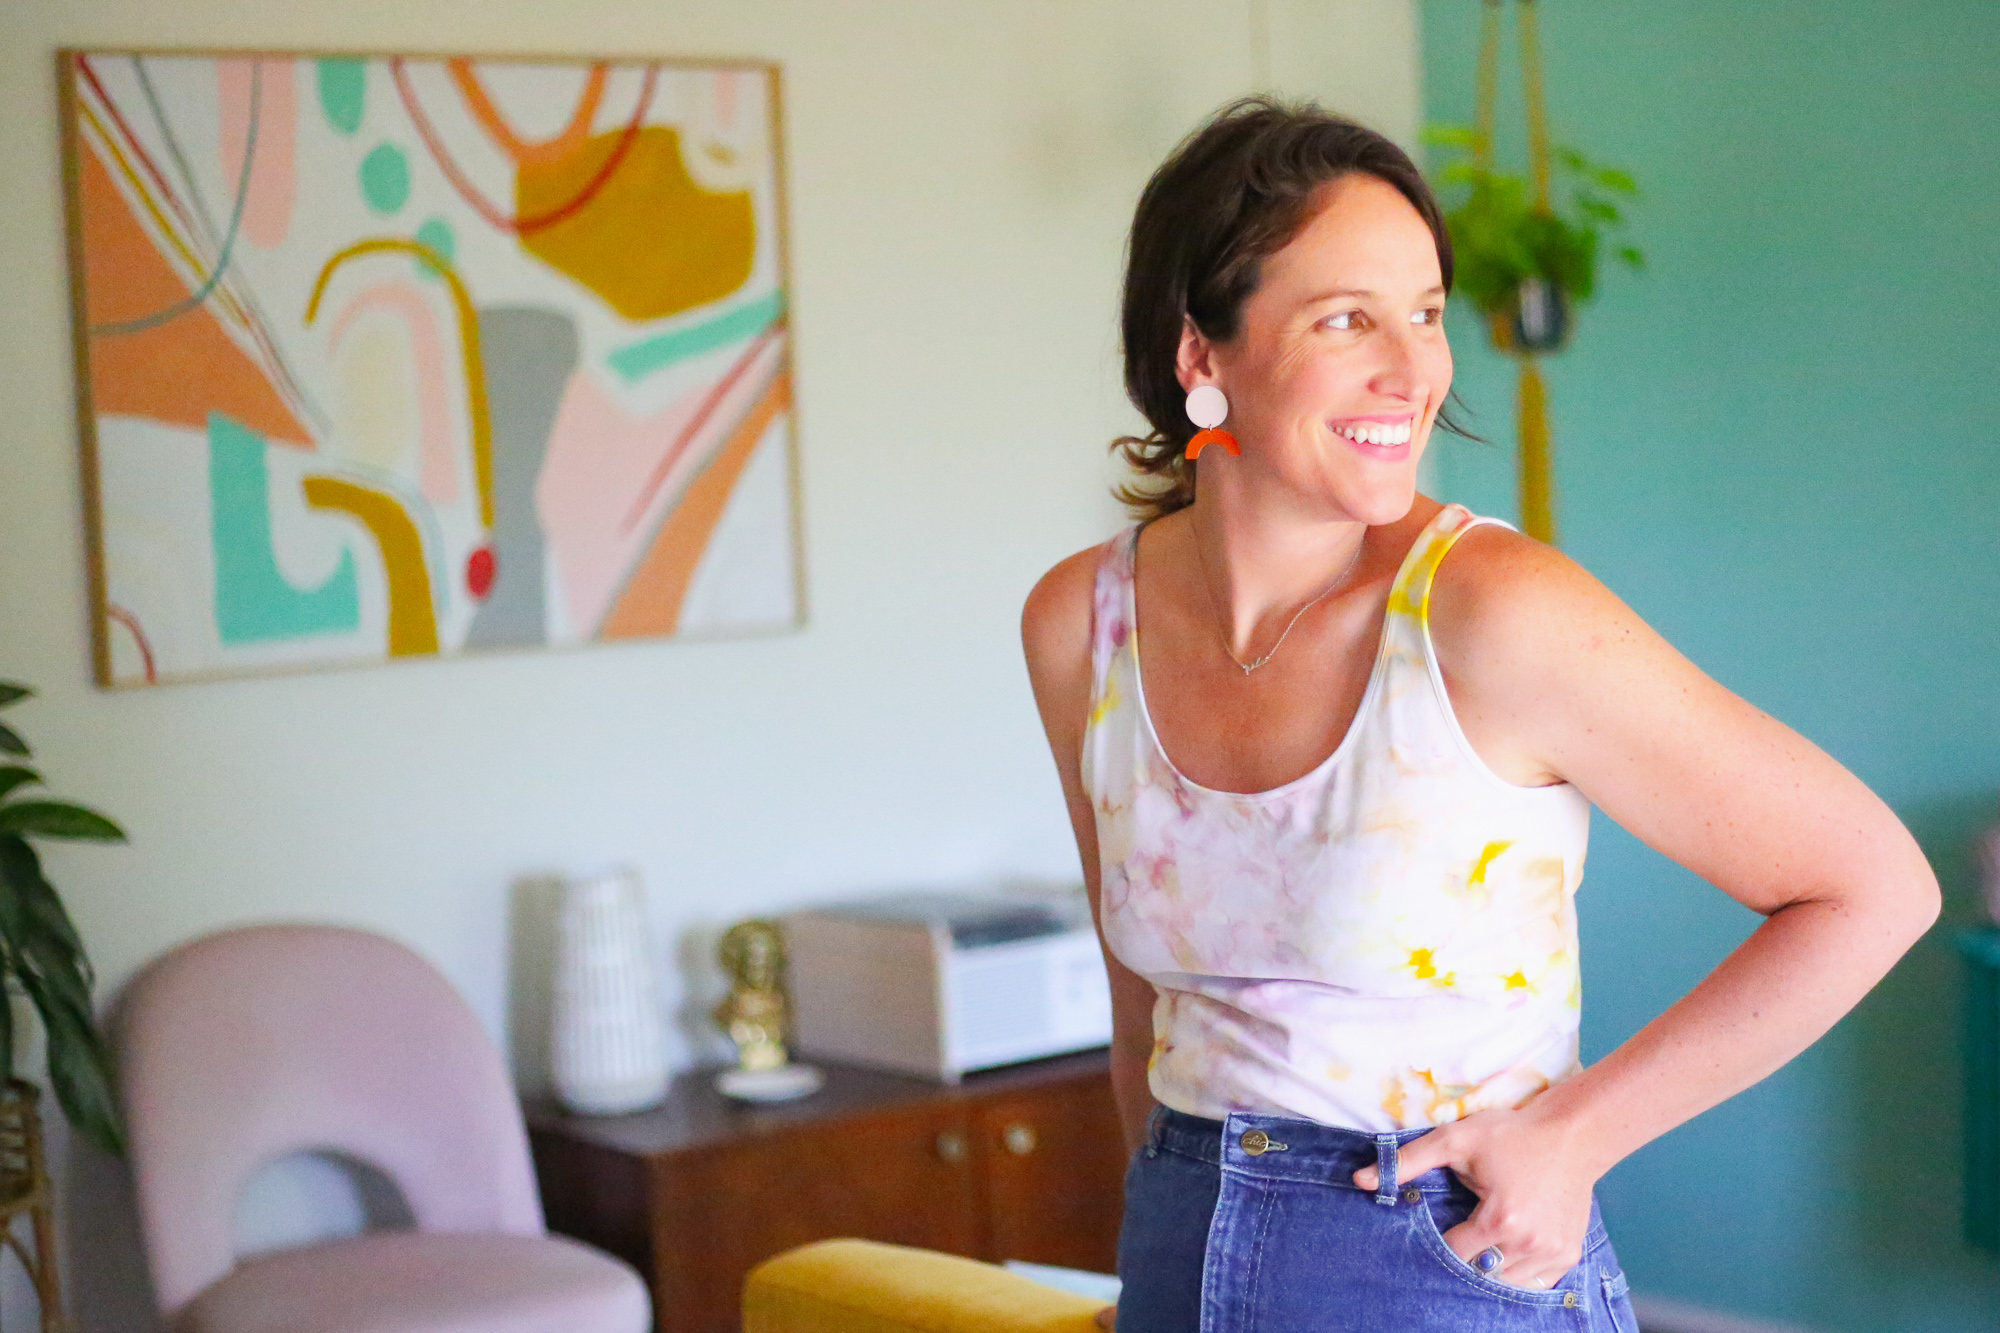
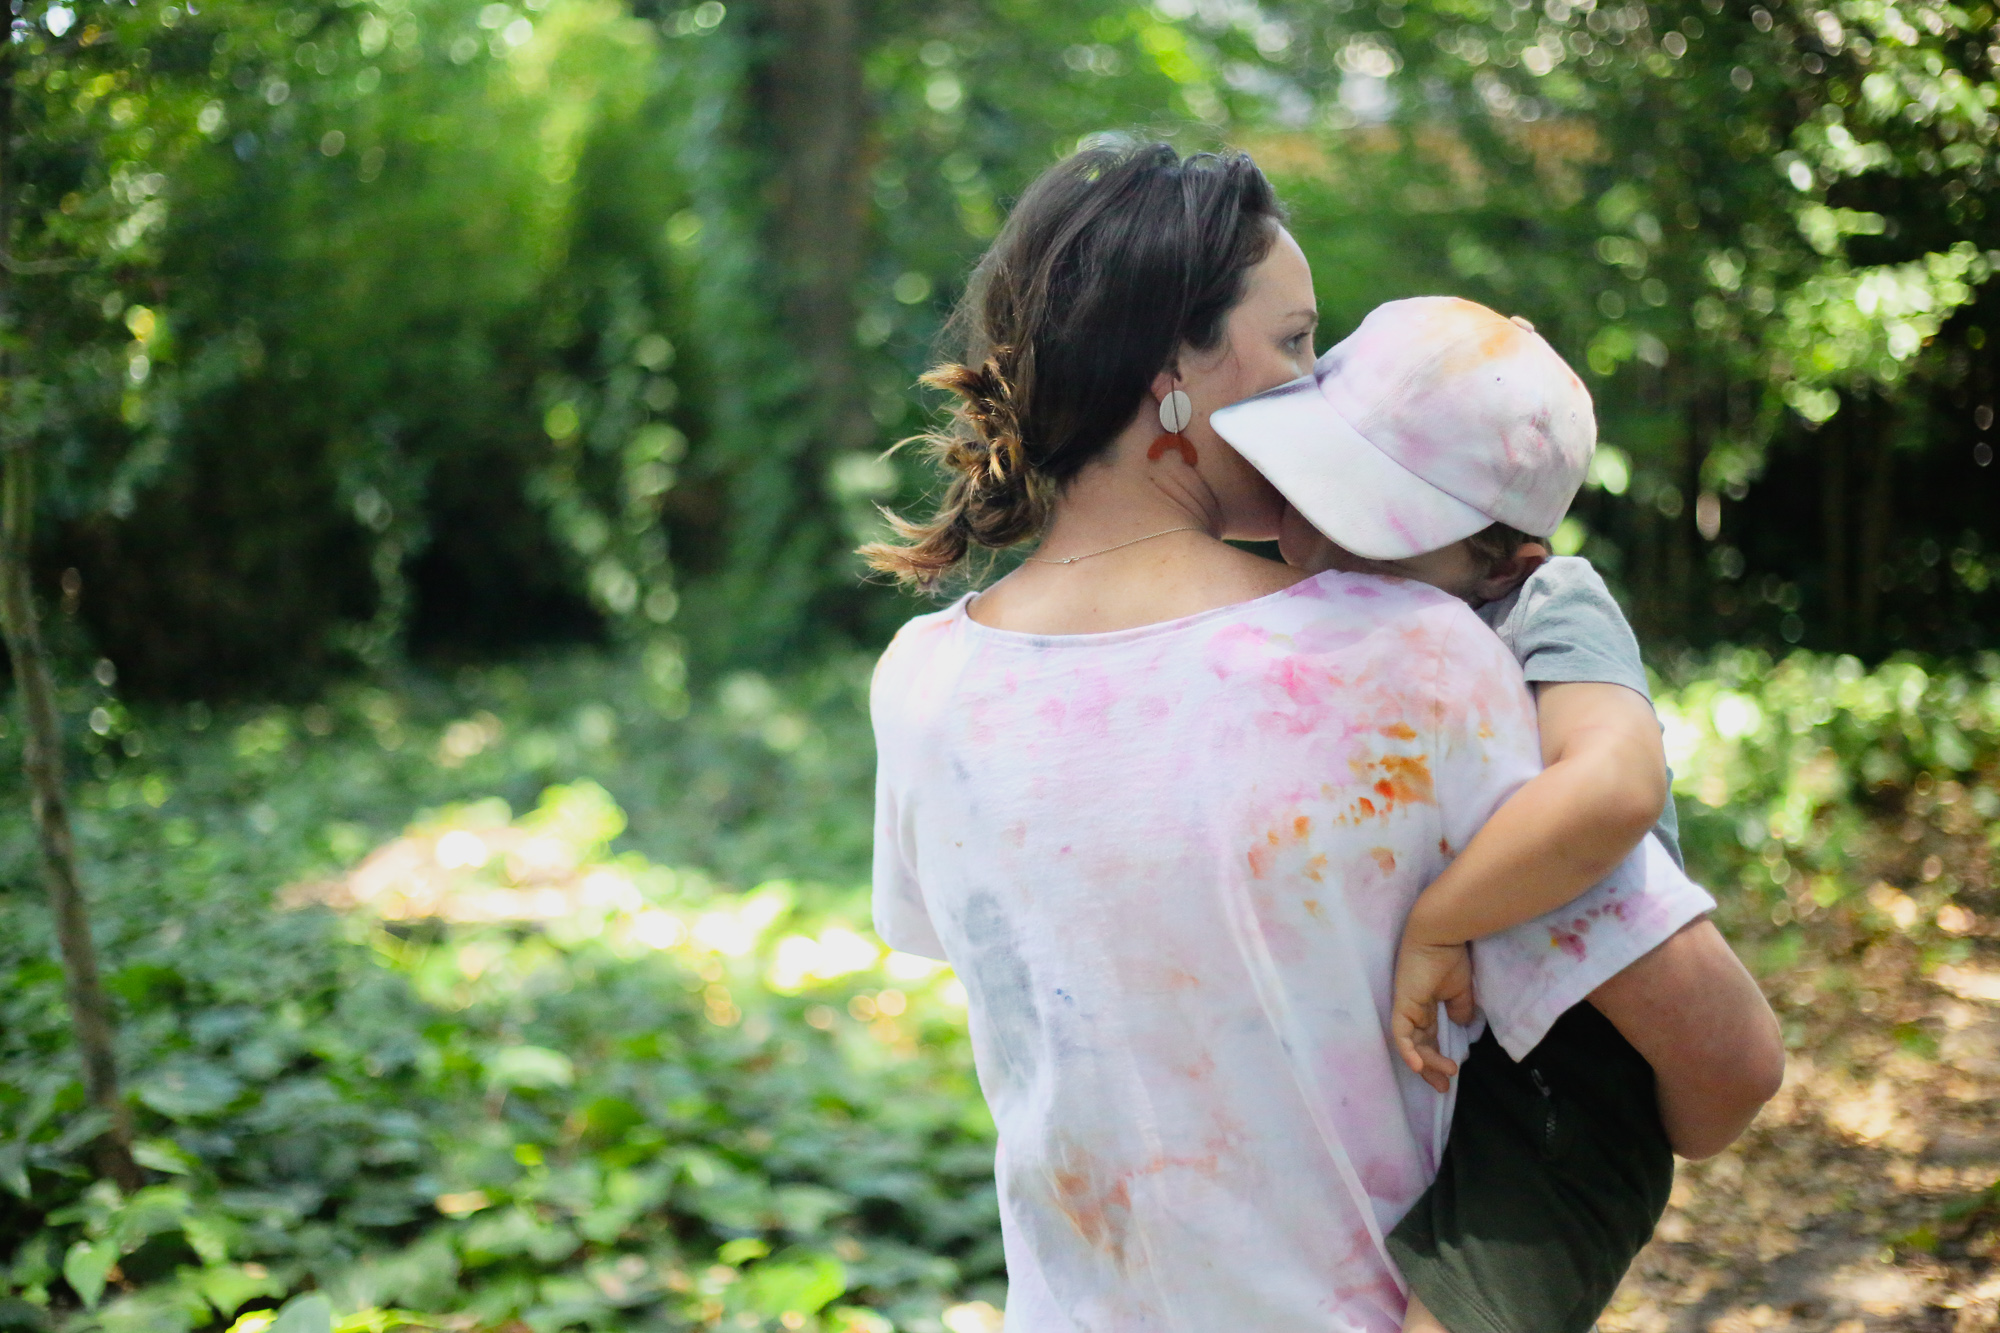
Editor’s Note: We’re excited to welcome Rebecca of Oodlebadoodle back to our blog to share her ice dyeing secrets with you. Rebecca taught an ice dyeing workshop in our Dharma Trading Co. dyeing annex classroom at our Craftcation: Business & Makers Conference last year and her students were smitten! I wasn’t able to take Rebecca’s workshop at Craftcation but she generously offered to teach Lindsey and I how to do it at Lindsey’s house recently. I loved this dyeing technique so much that we’ve actually already had a second session to dye more things! Not only does Dharma Trading Co. have all the Fiber Reactive Procion Dyes and supplies you’ll need, they have a HUGE selection of textiles and fabrics for you to dye (the robe and long dress are both from Dharma Trading Co.).
P.S. – If you’re looking to learn more about modern dyeing techniques, check out Craftcation presenter alum Anna Joyce’s new book Hand Dyed: A Modern Guide to Dyeing in Brilliant Color for You and Your Home.
-Nicole S.
 Hi! I’m Rebecca Saylor of Oodlebadoodle. As a watercolor artist and pillow maker, I’m passionate about color! I discovered the ice dye process almost 9 nine years ago but only in the last few years have worked closely with the process. Through a lot of experimentation, I’ve come up with some magical formulas to create the look of watercolor onto fabric by using Dharma Trading Co.’s beautiful array of fabric reactive dyes, the sun and ice!
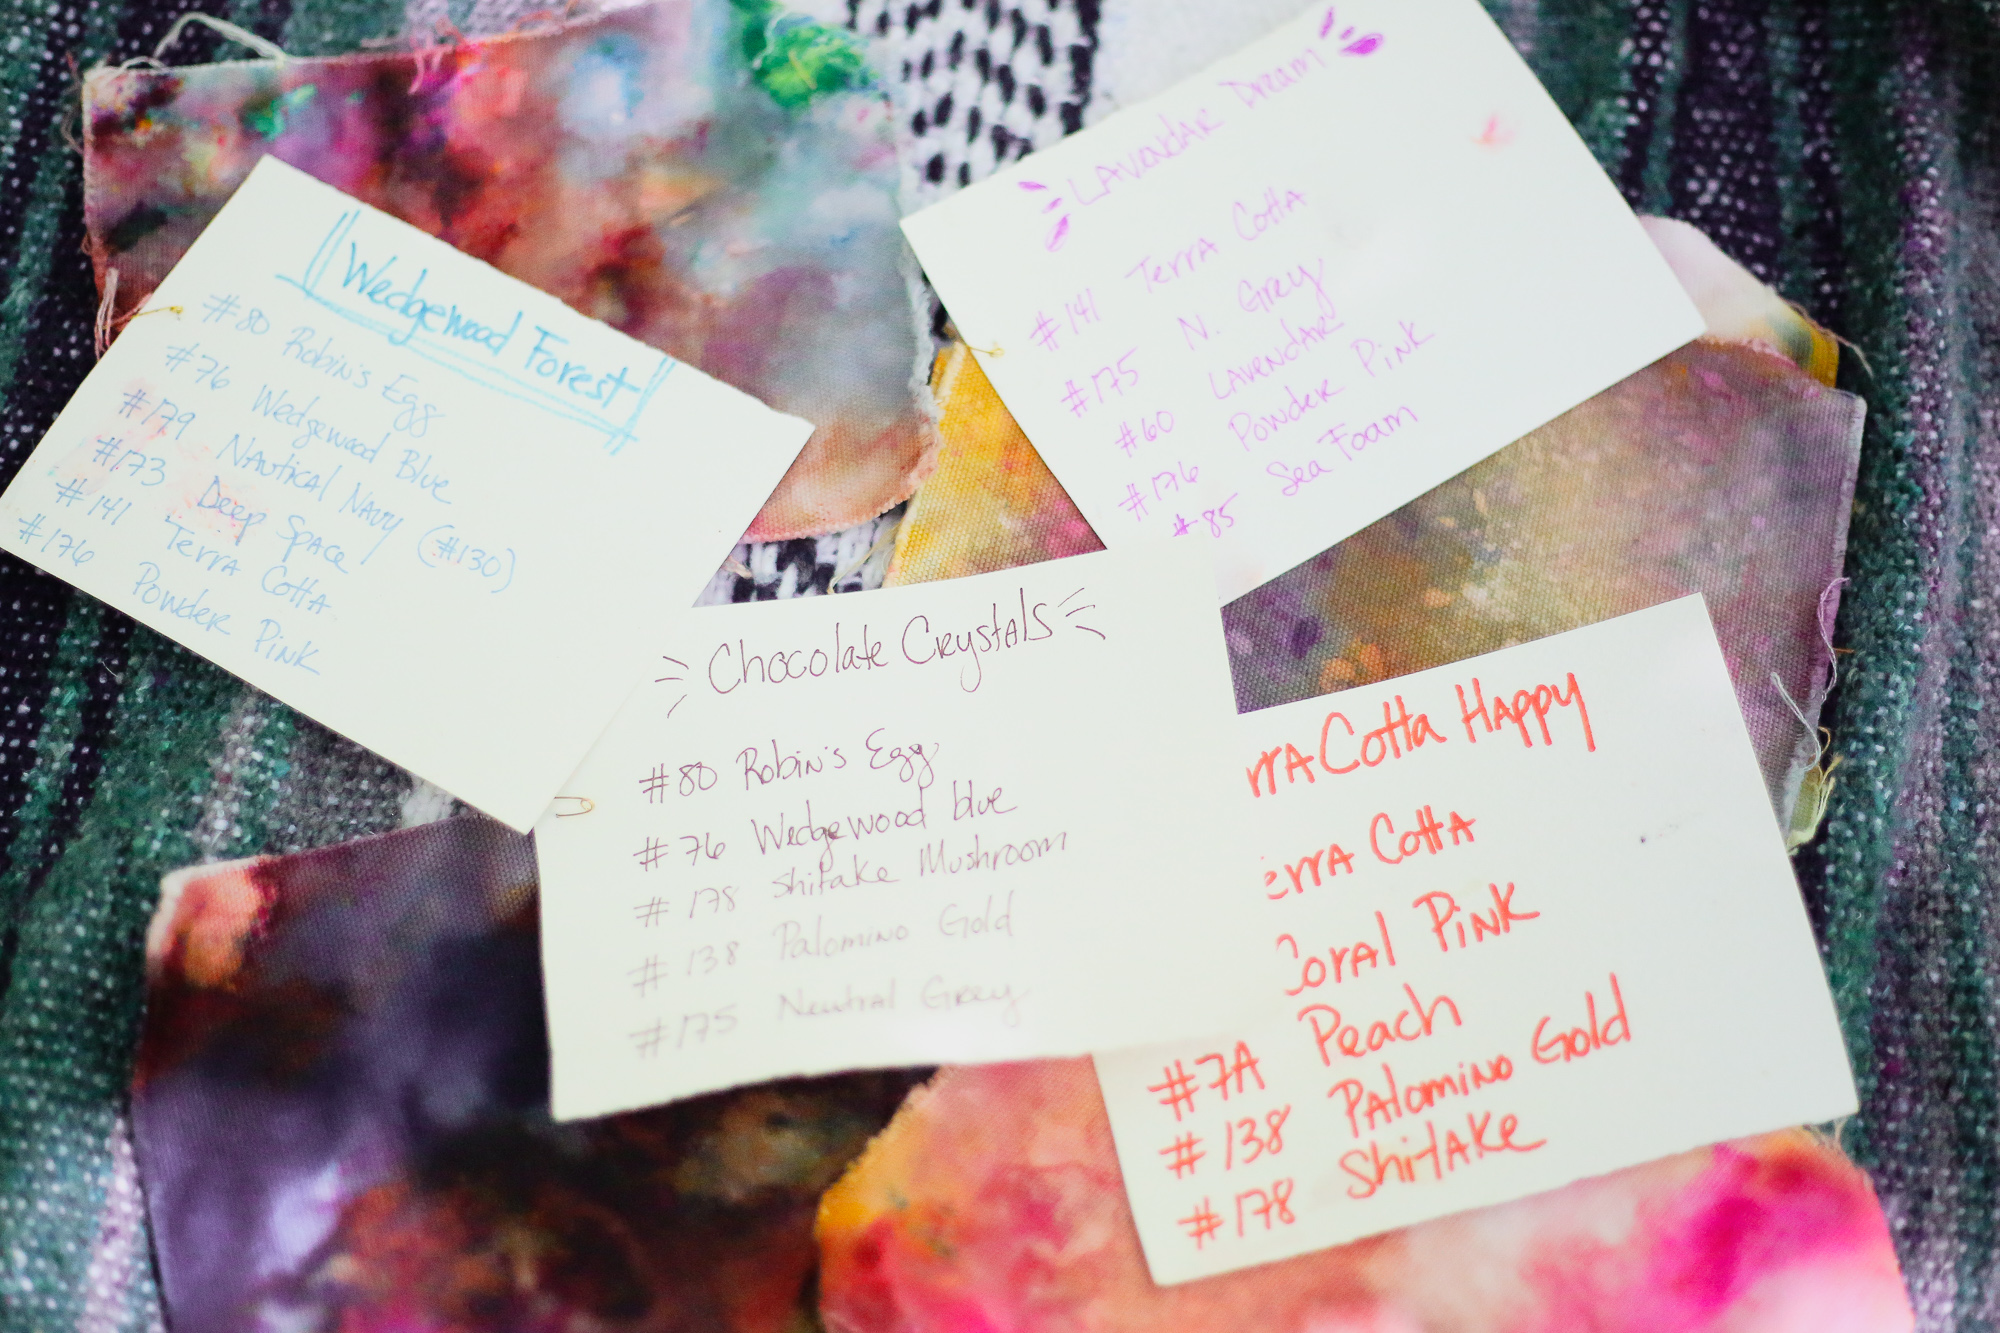
I’m excited to share my tips and tricks with you today so you can begin your own color on fabric experiments. Ice dyeing is not complicated, so it’s easy to start and it allows your creativity to go as crazy as you wish! Below is a step-by-step process of the basics. These basics will help you understand and complete an ice-dye project. As you practice and create new things, you will begin to experiment with the type of fabrics you choose to dye and the color combinations of the dye itself. I encourage you to keep a journal of your experiments and colors so that when you find the perfect color combos, you will be able to replicate them in future projects.
I’ve created a PDF for you to record your experiments. Have Fun! You can download it here.
WHAT TO GET:
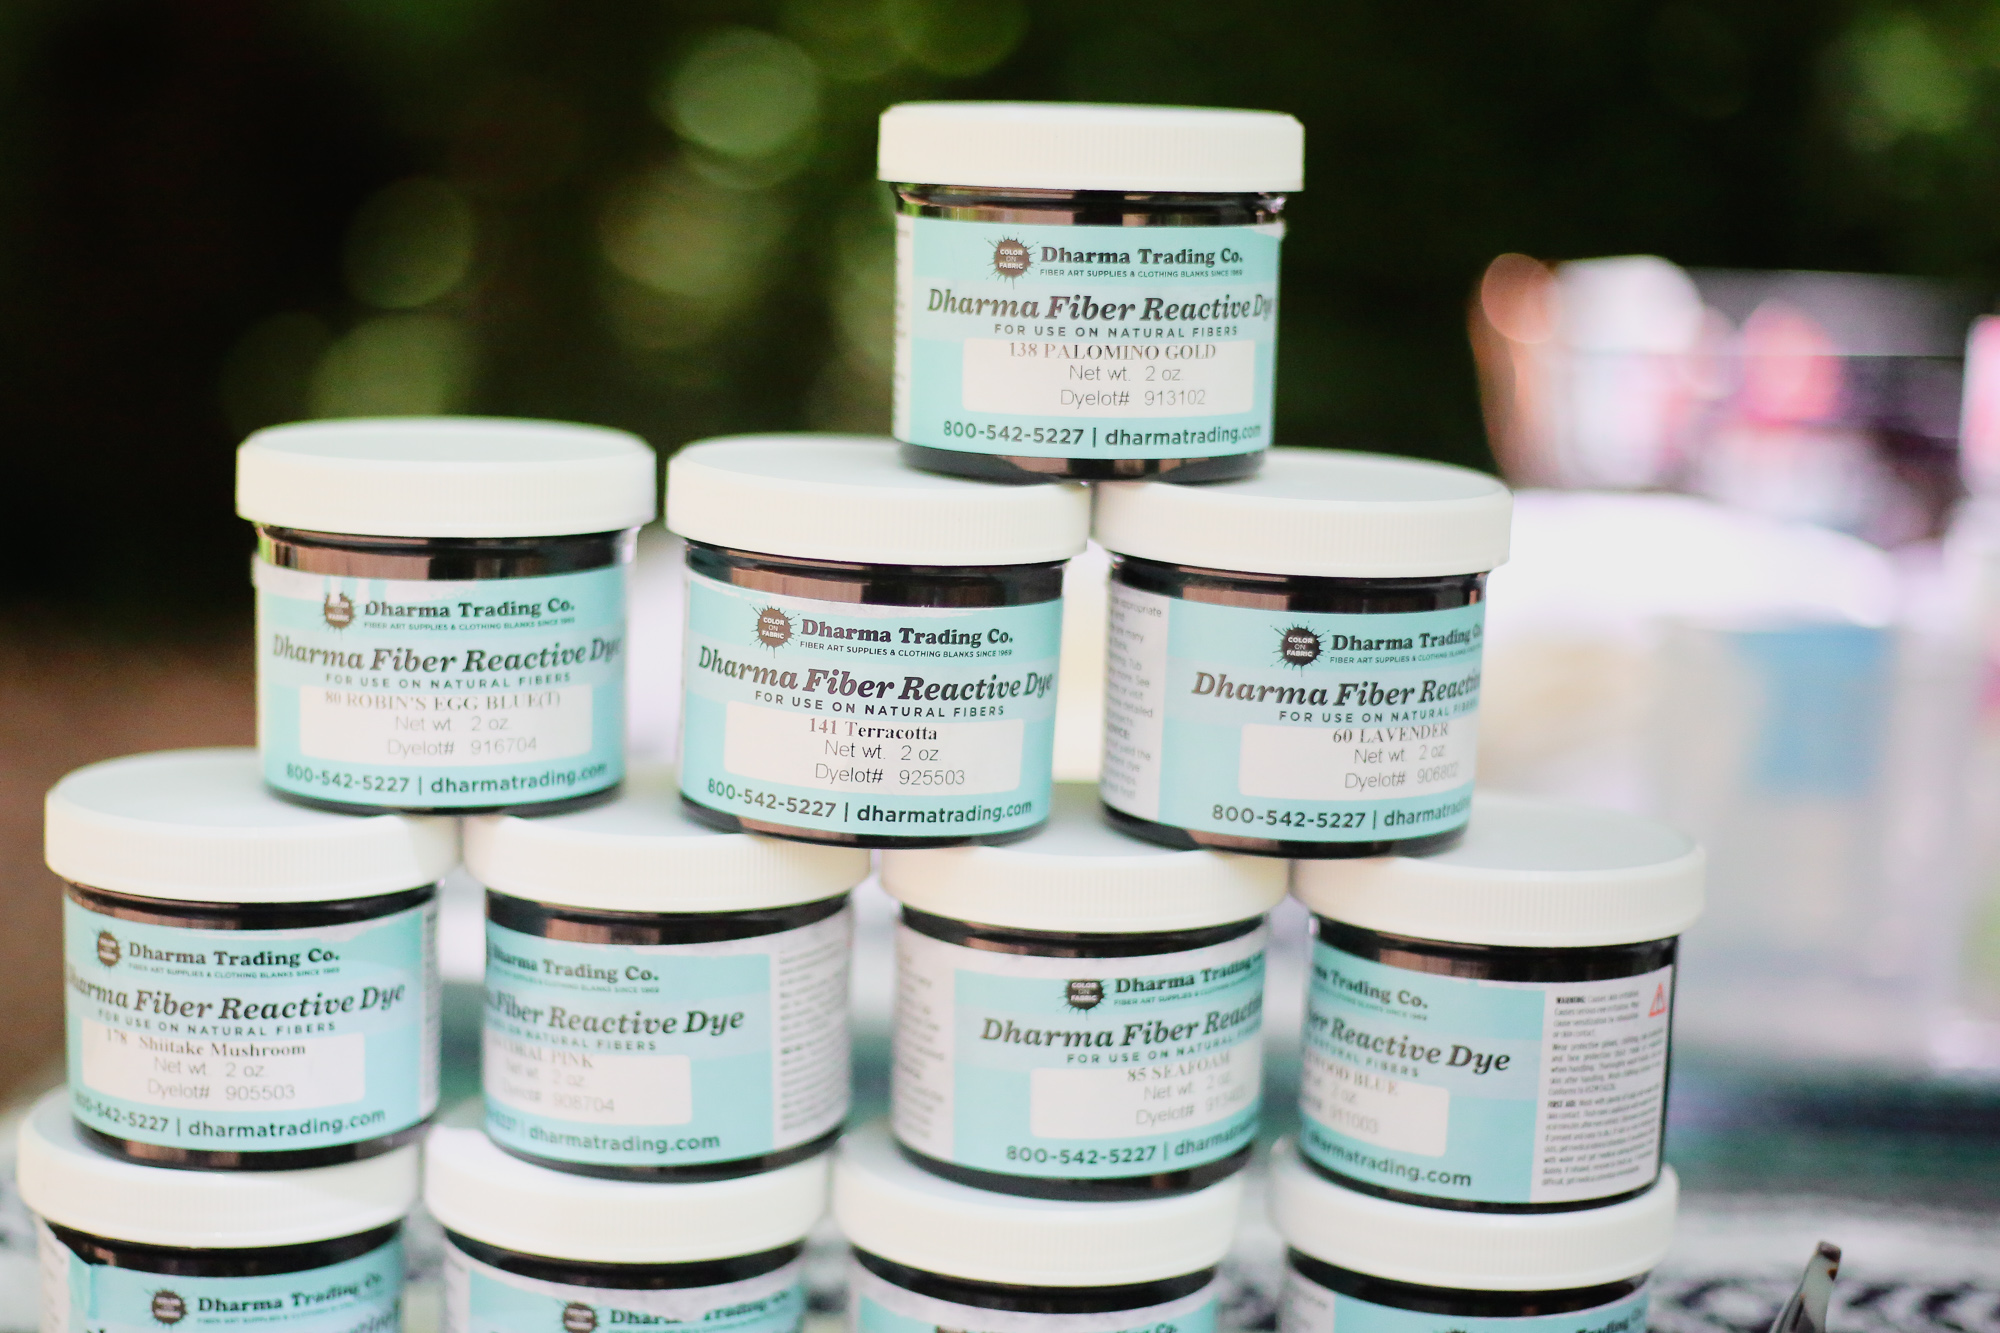
- Dharma Trading Co. Fiber Reactive Procion Dyes in your choice of colors
- Disposable Gloves
- Apron
- Dust Mask
- Eye Protection
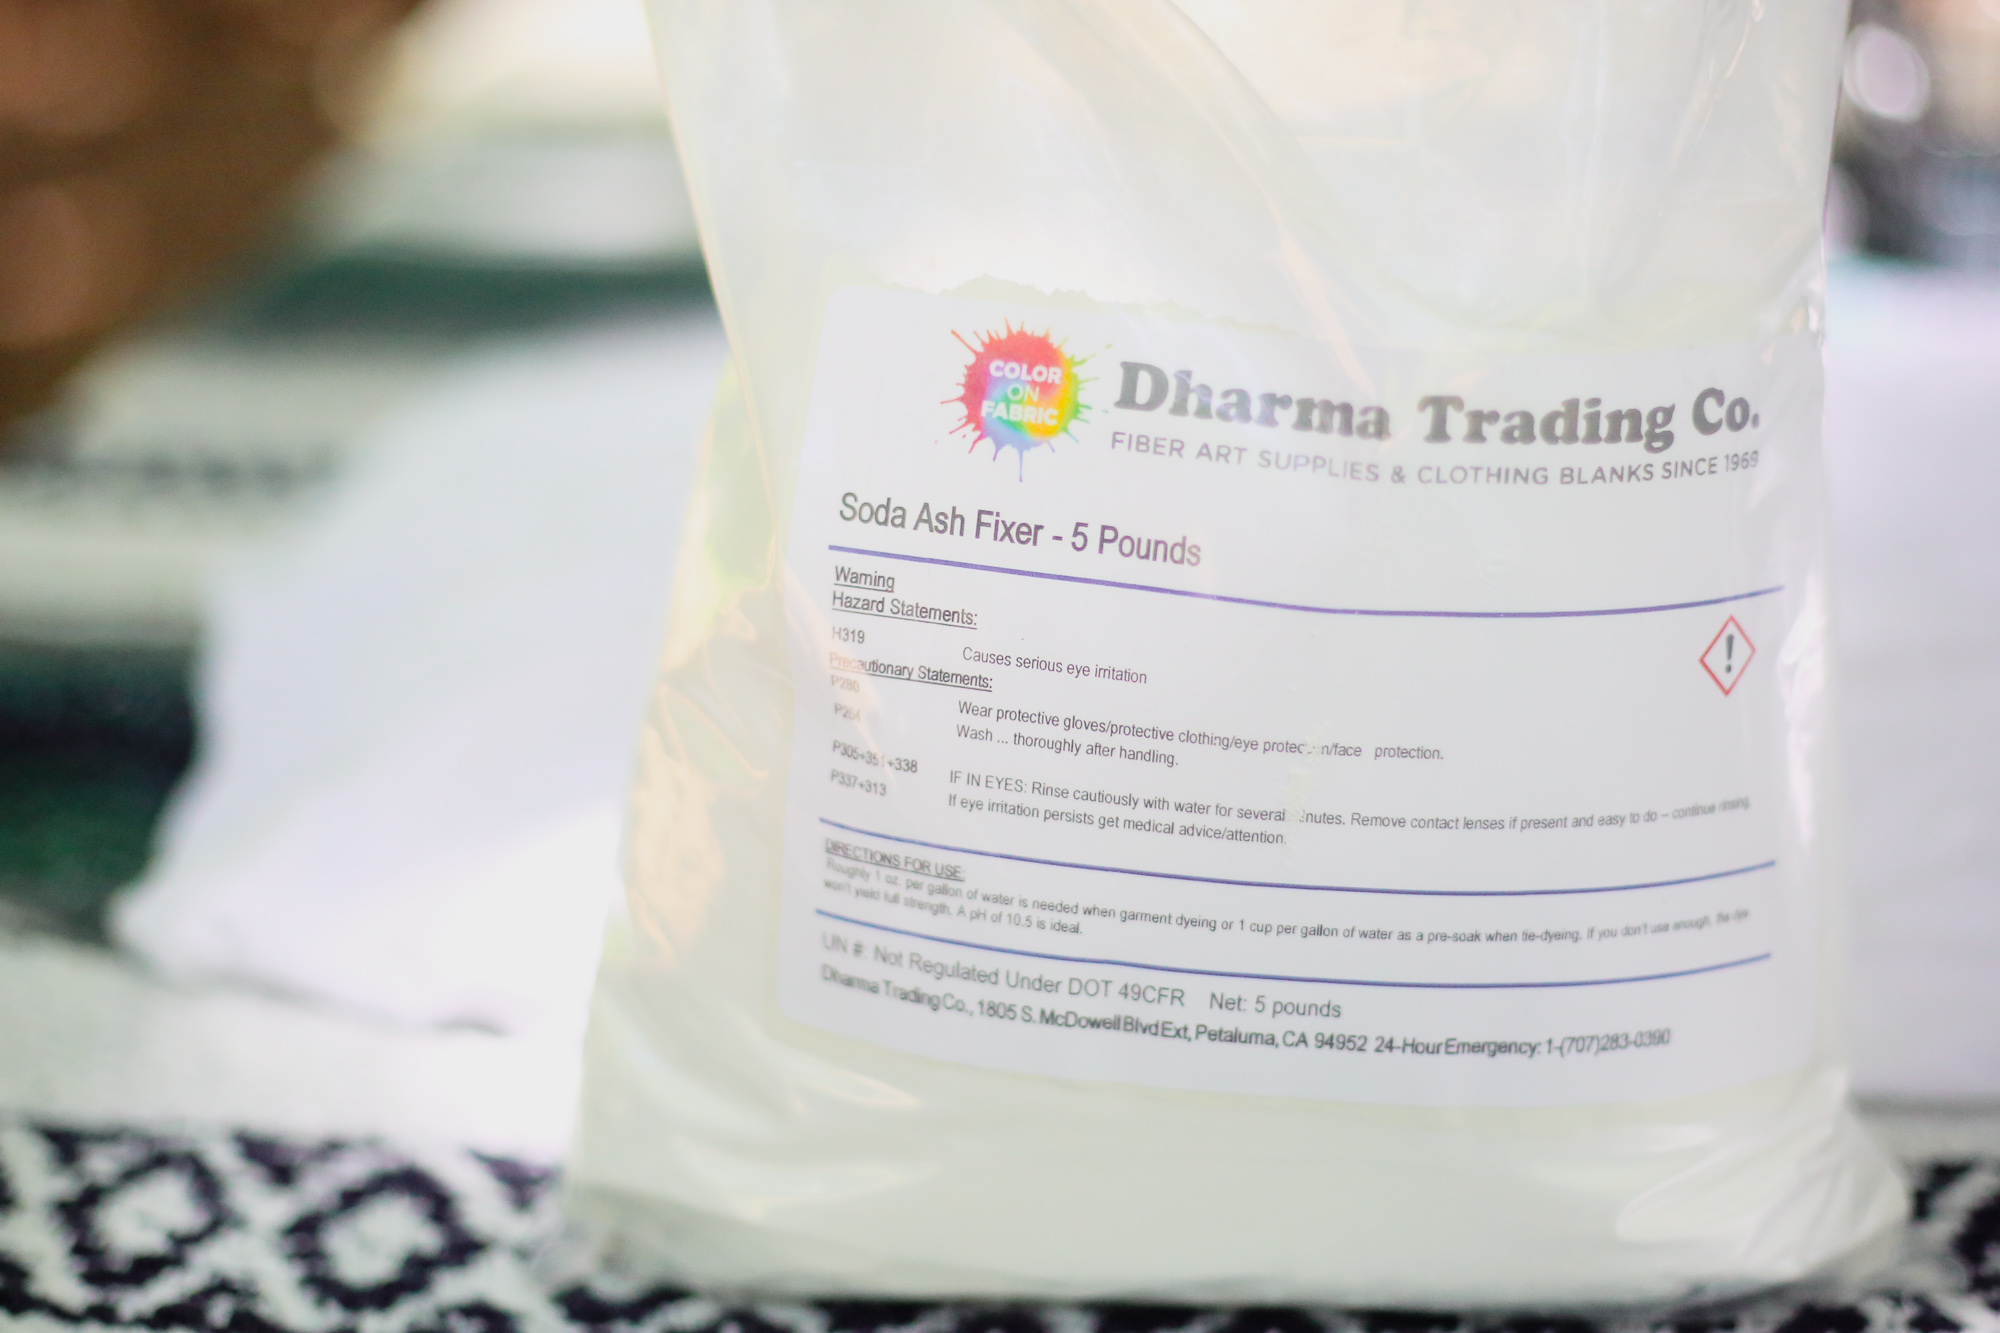
- Soda Ash Fixer
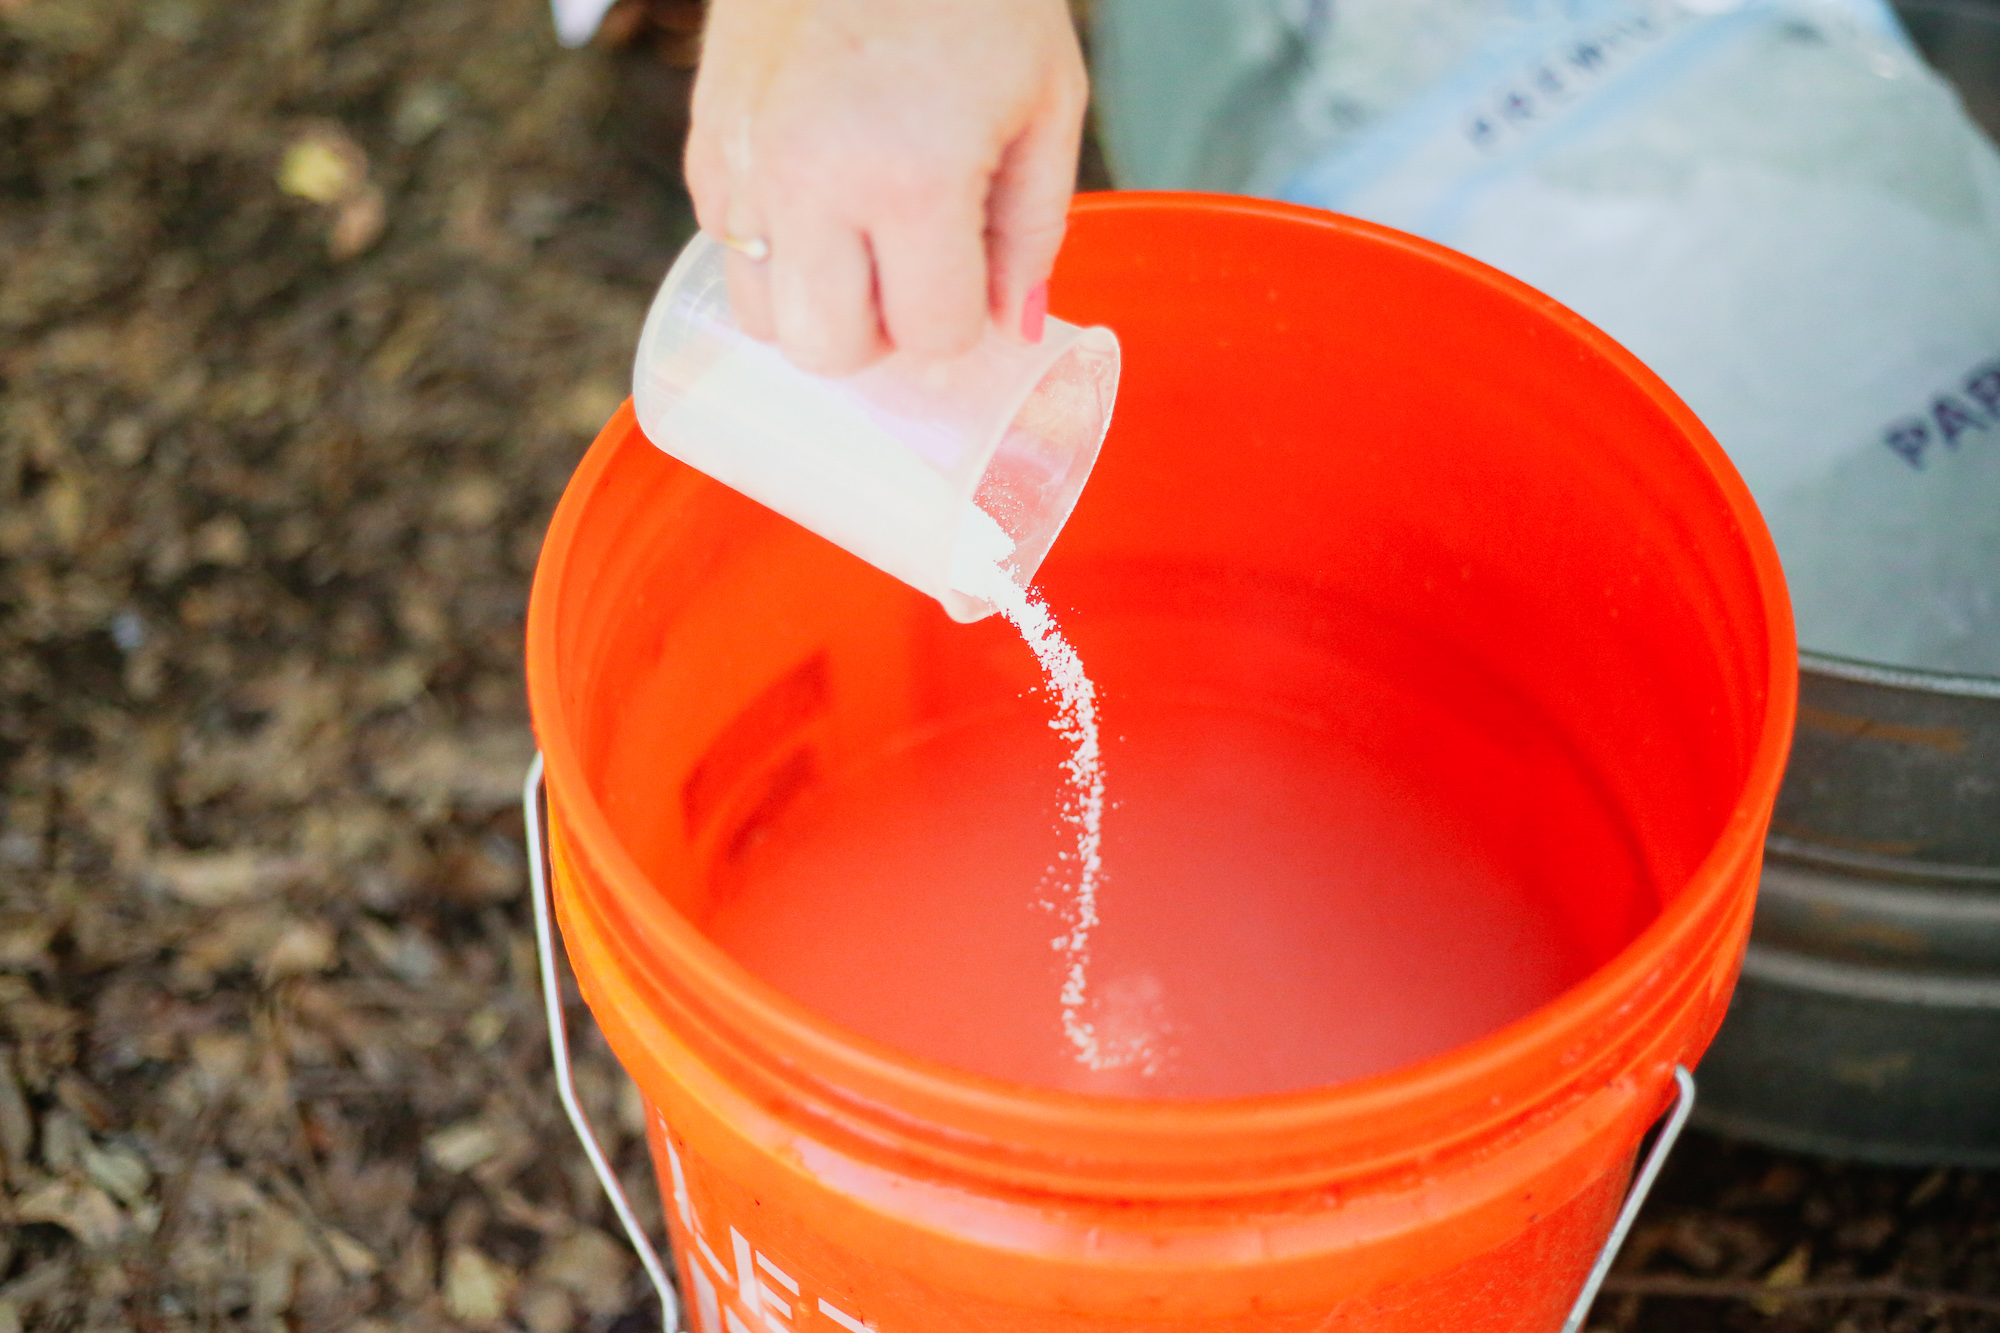
- Bucket for the prep solution
- Tarp
- Turkey Pan or other large bin not used for food
- Wire grate / bbq grate or wire shelving
- Plastic spoons
- Rubber Bands or Twine / String
WHAT TO DO/ICE DYE BASICS:
- Select your fabric / garment for the Dharma Trading Fiber Reactive Procion Dyes, you will need to work with natural fibers such as cotton, linen, wool and silk. Each type of fabric will react differently to the dyes and the ultimate outcome of your colors, so note the type of fabric on your experiment sheet for future reference.

- Prep your fabric – pre wash using a mild detergent. There is no need to dry your fabric if you are going to dye right away. If you plan to dye later, make sure to dry the fabric or it will mildew.
- While your garment is washing, prep the soaking solution – You will need 1/3 cup of soda ash mixed with 3 gallons of warm to hot water (pro-tip: use warm water to soak the soda ash – it will make the colors more vibrant and the soda ash easier to dissolve into the solution)
- Soak the garment in the warm soda ash solution for at least 20 minutes – agitate the solution every few minutes so that each garment gets thoroughly soaked with the solution.
- Prep your ice dye set up – You will need a turkey pan (or any large bin you don’t plan to cook in again) BBQ grate or wire shelf rack. Set up the pan / bin on the tarp, then the grate or wire rack on top, make sure the wire rack is heavy enough to support the weight of soaked fabric and ice.
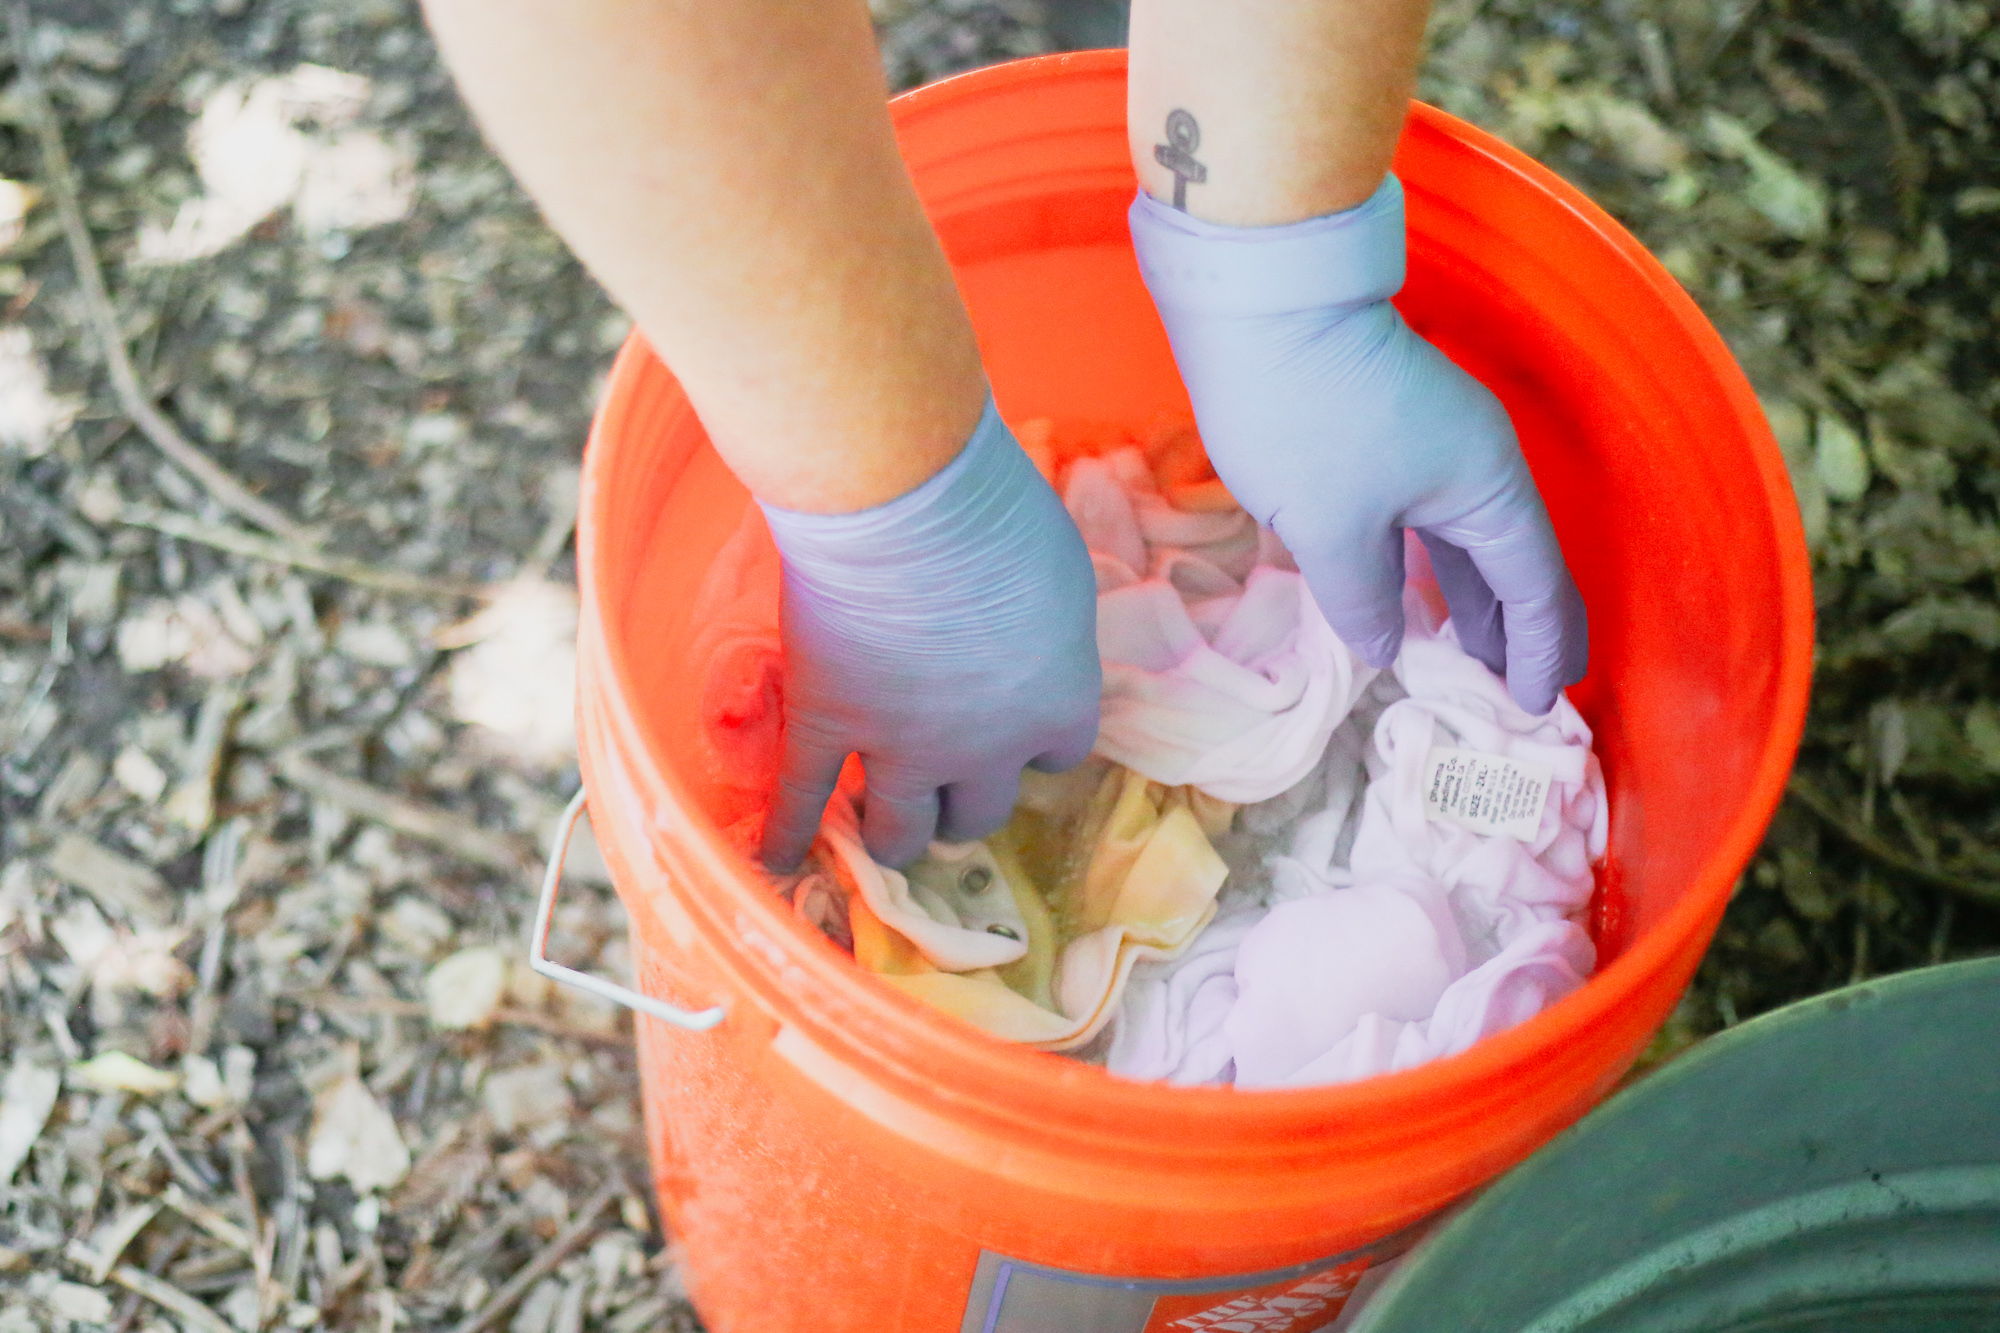
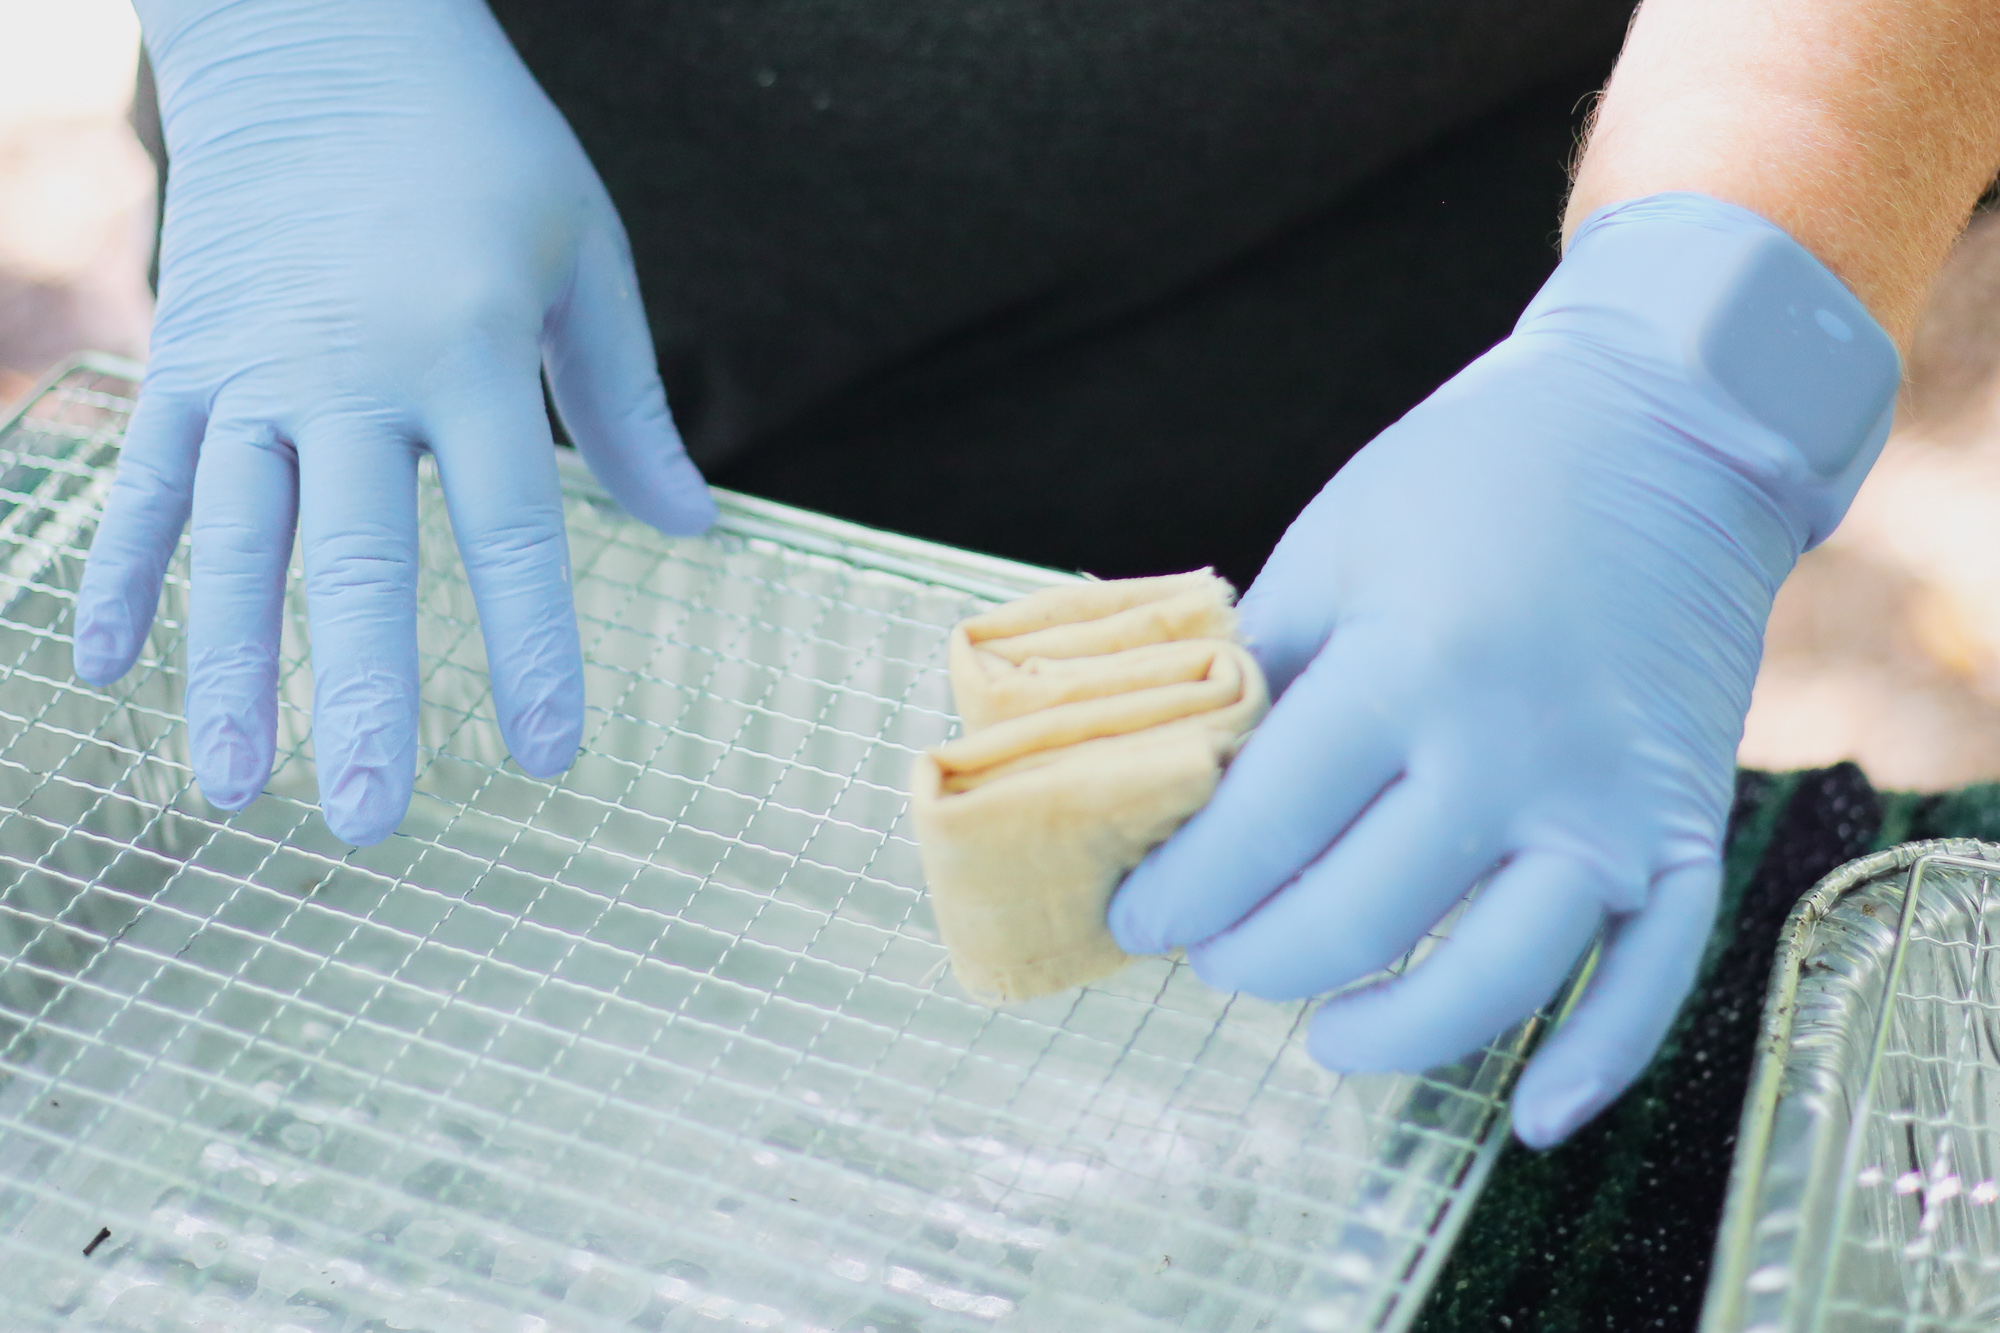
- Once the fabric is done soaking, wring out the solution (wear gloves for this part) until the fabric is slightly damp (like towel dried hair). Too much water will dilute your colors and make the final product very light.
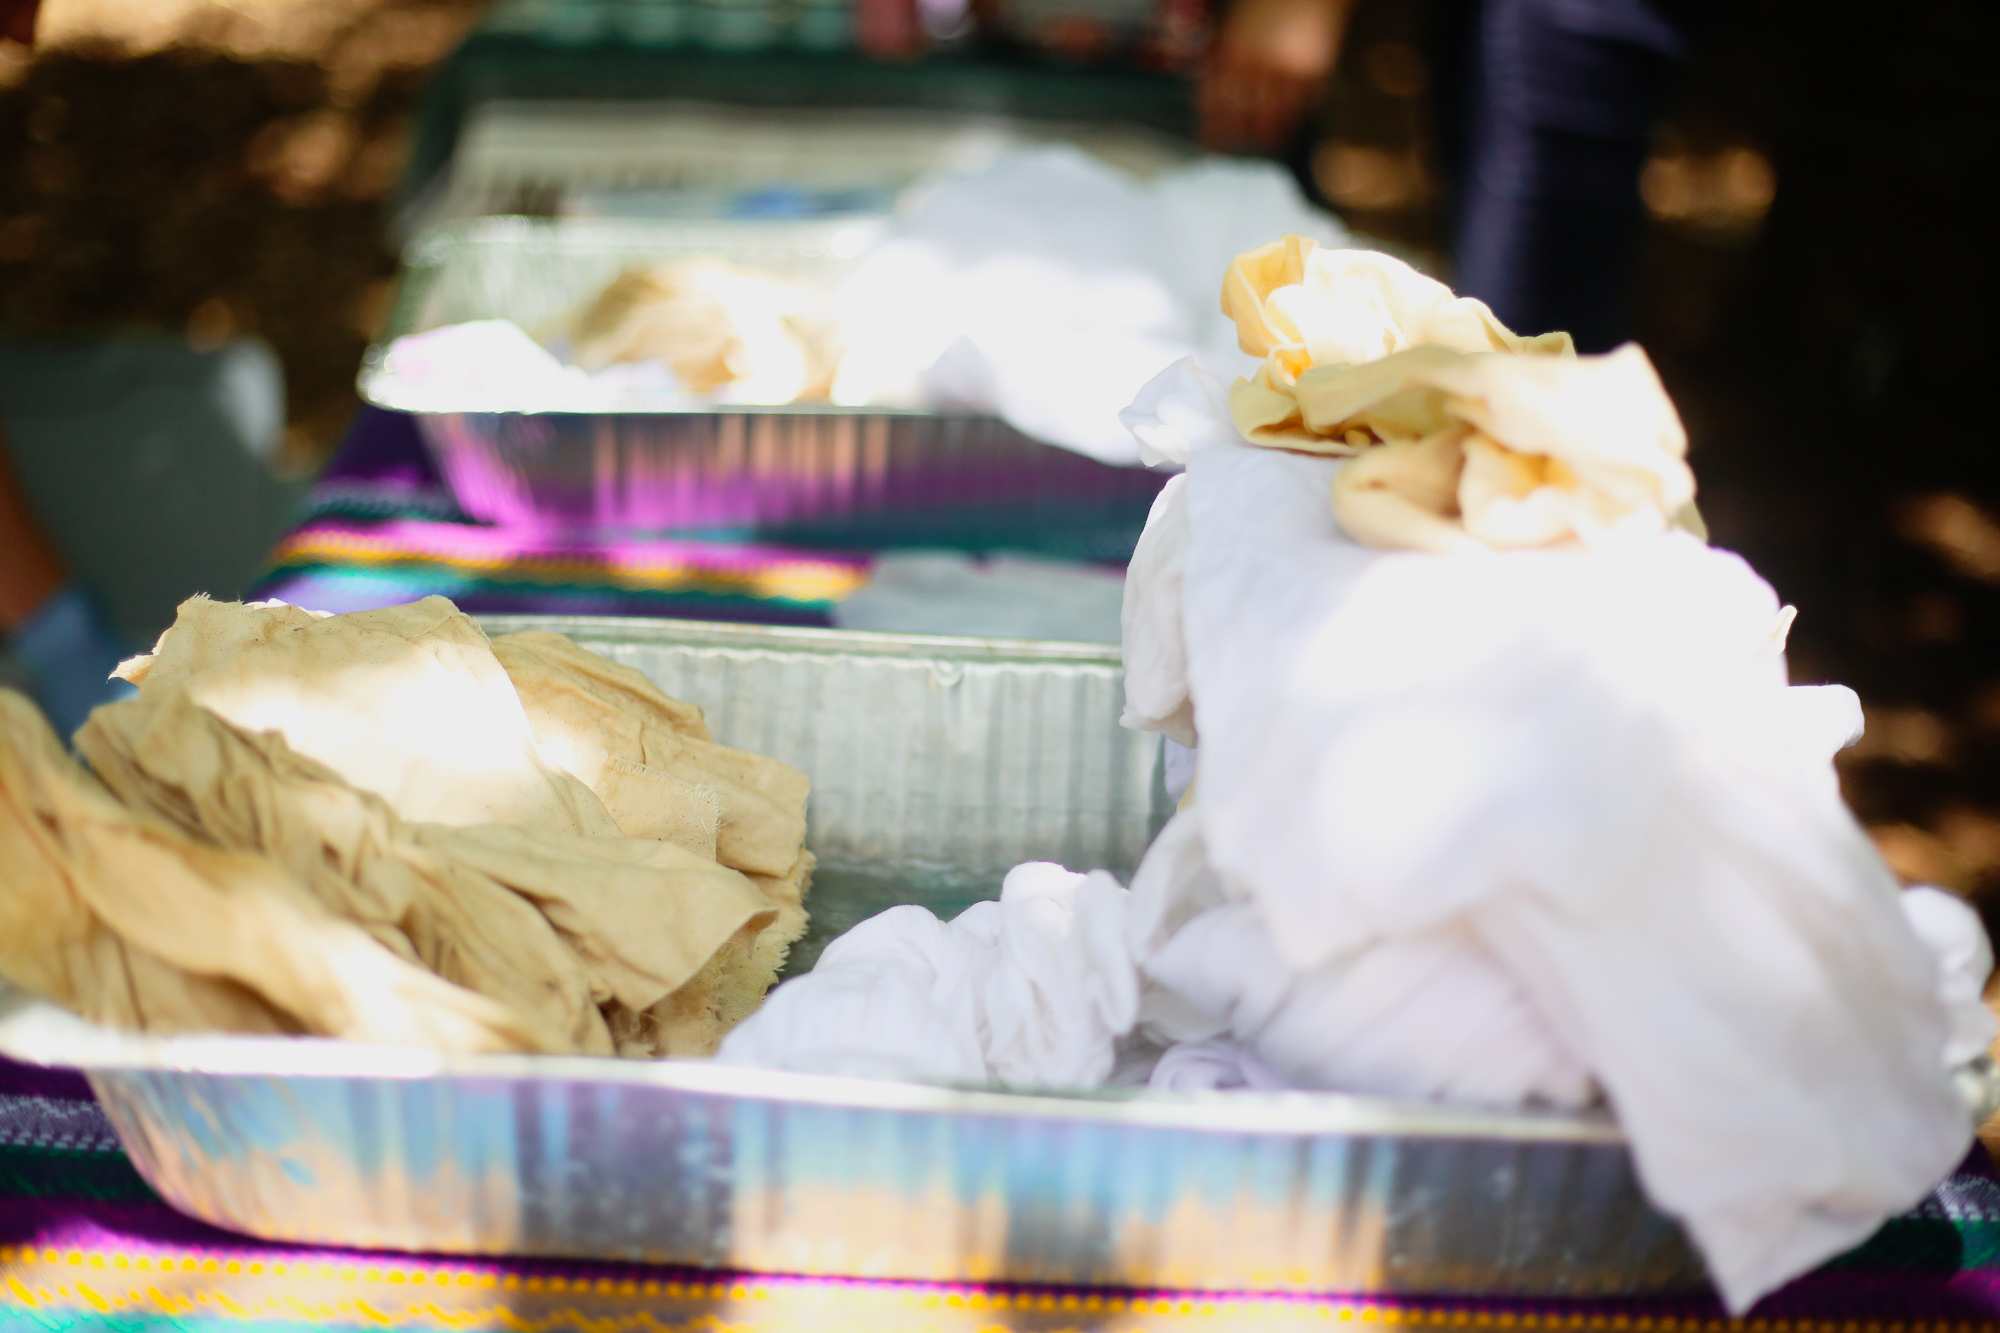
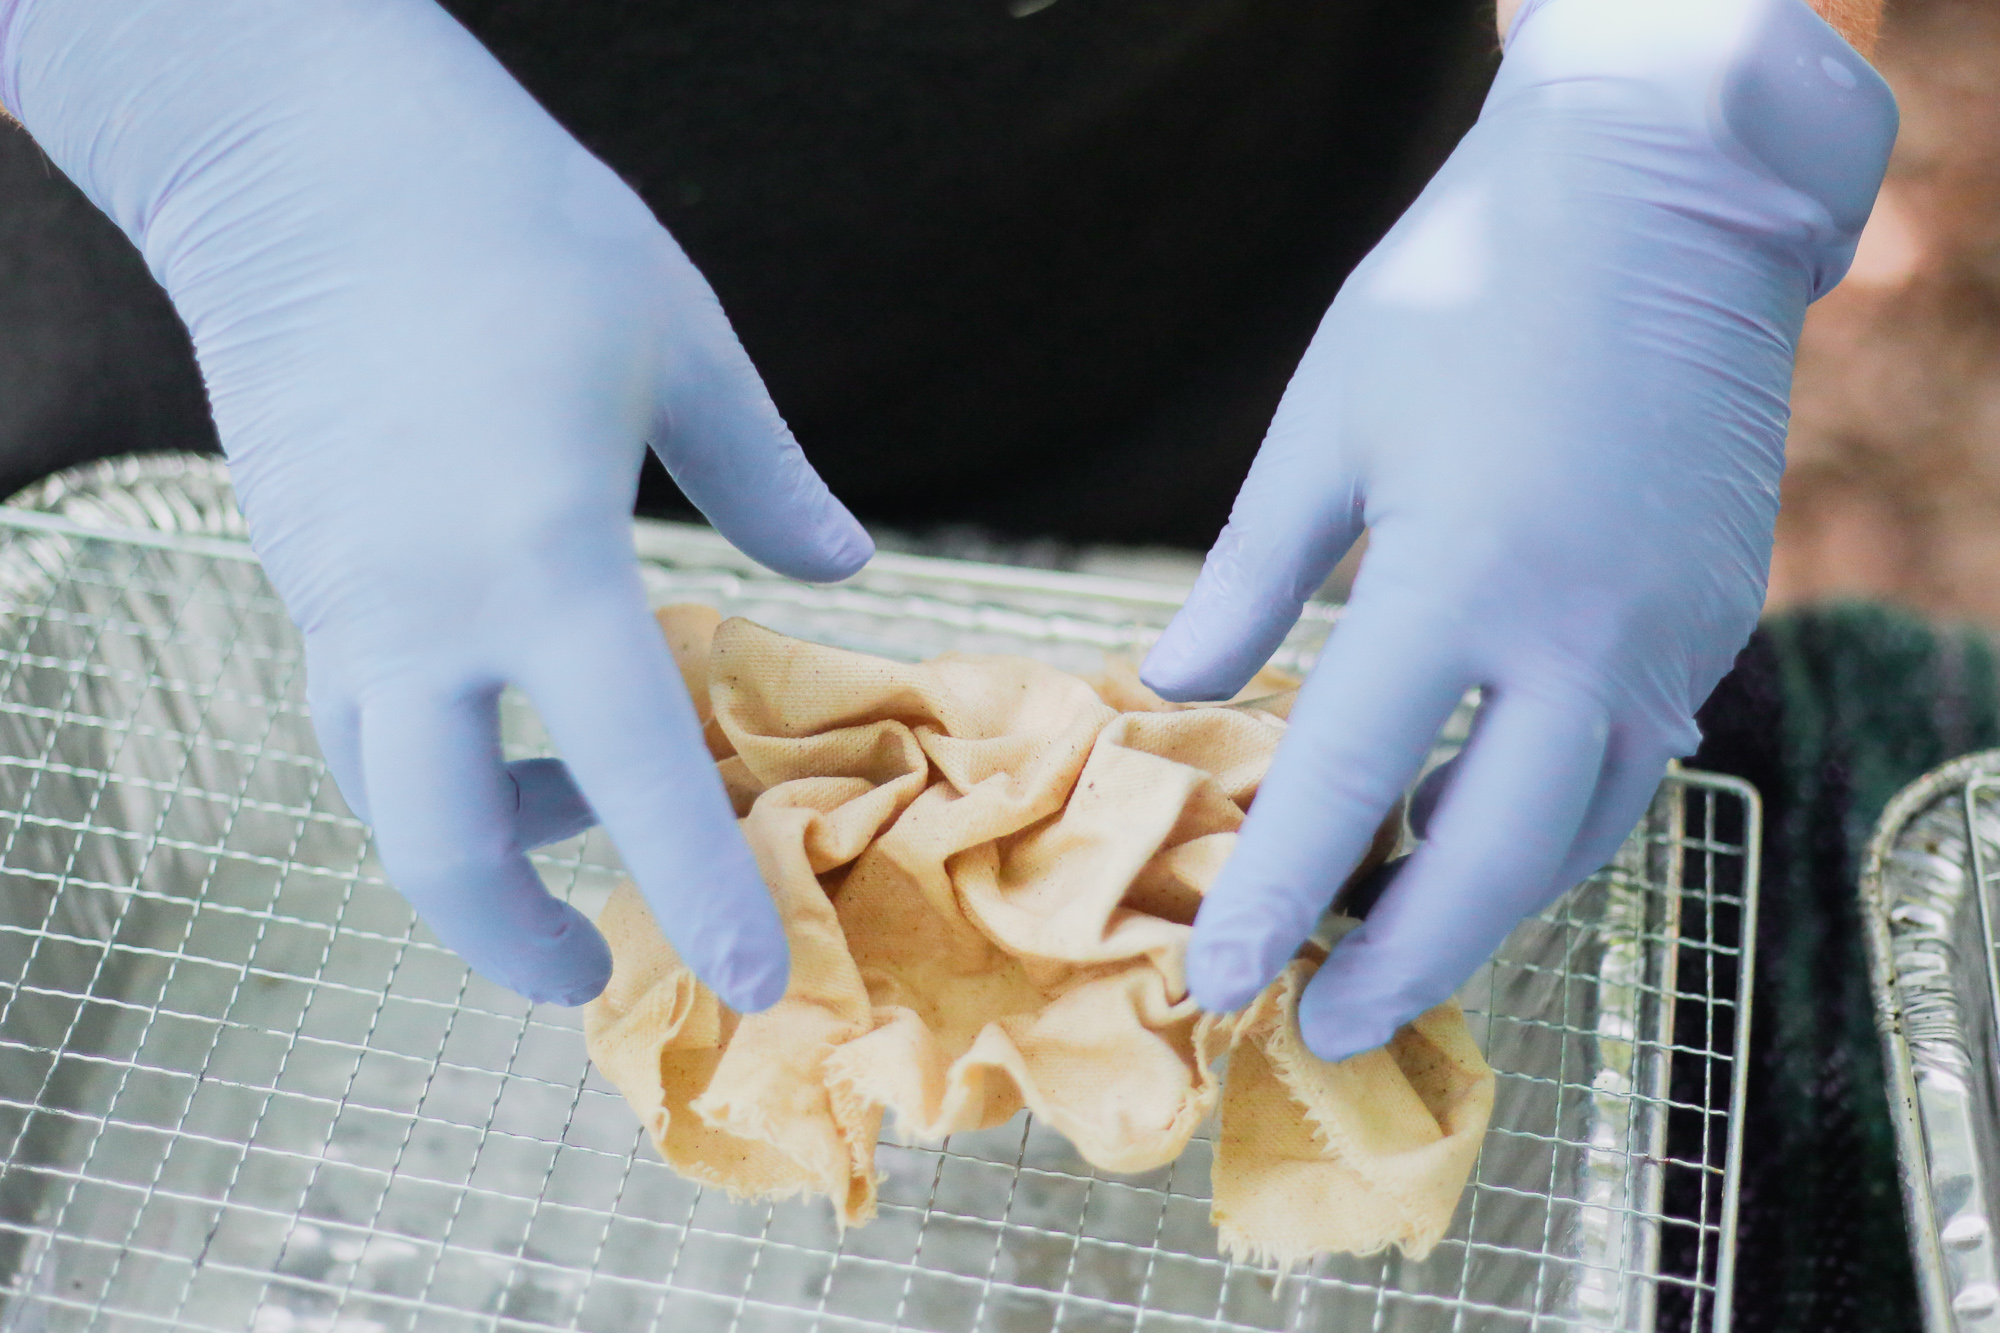
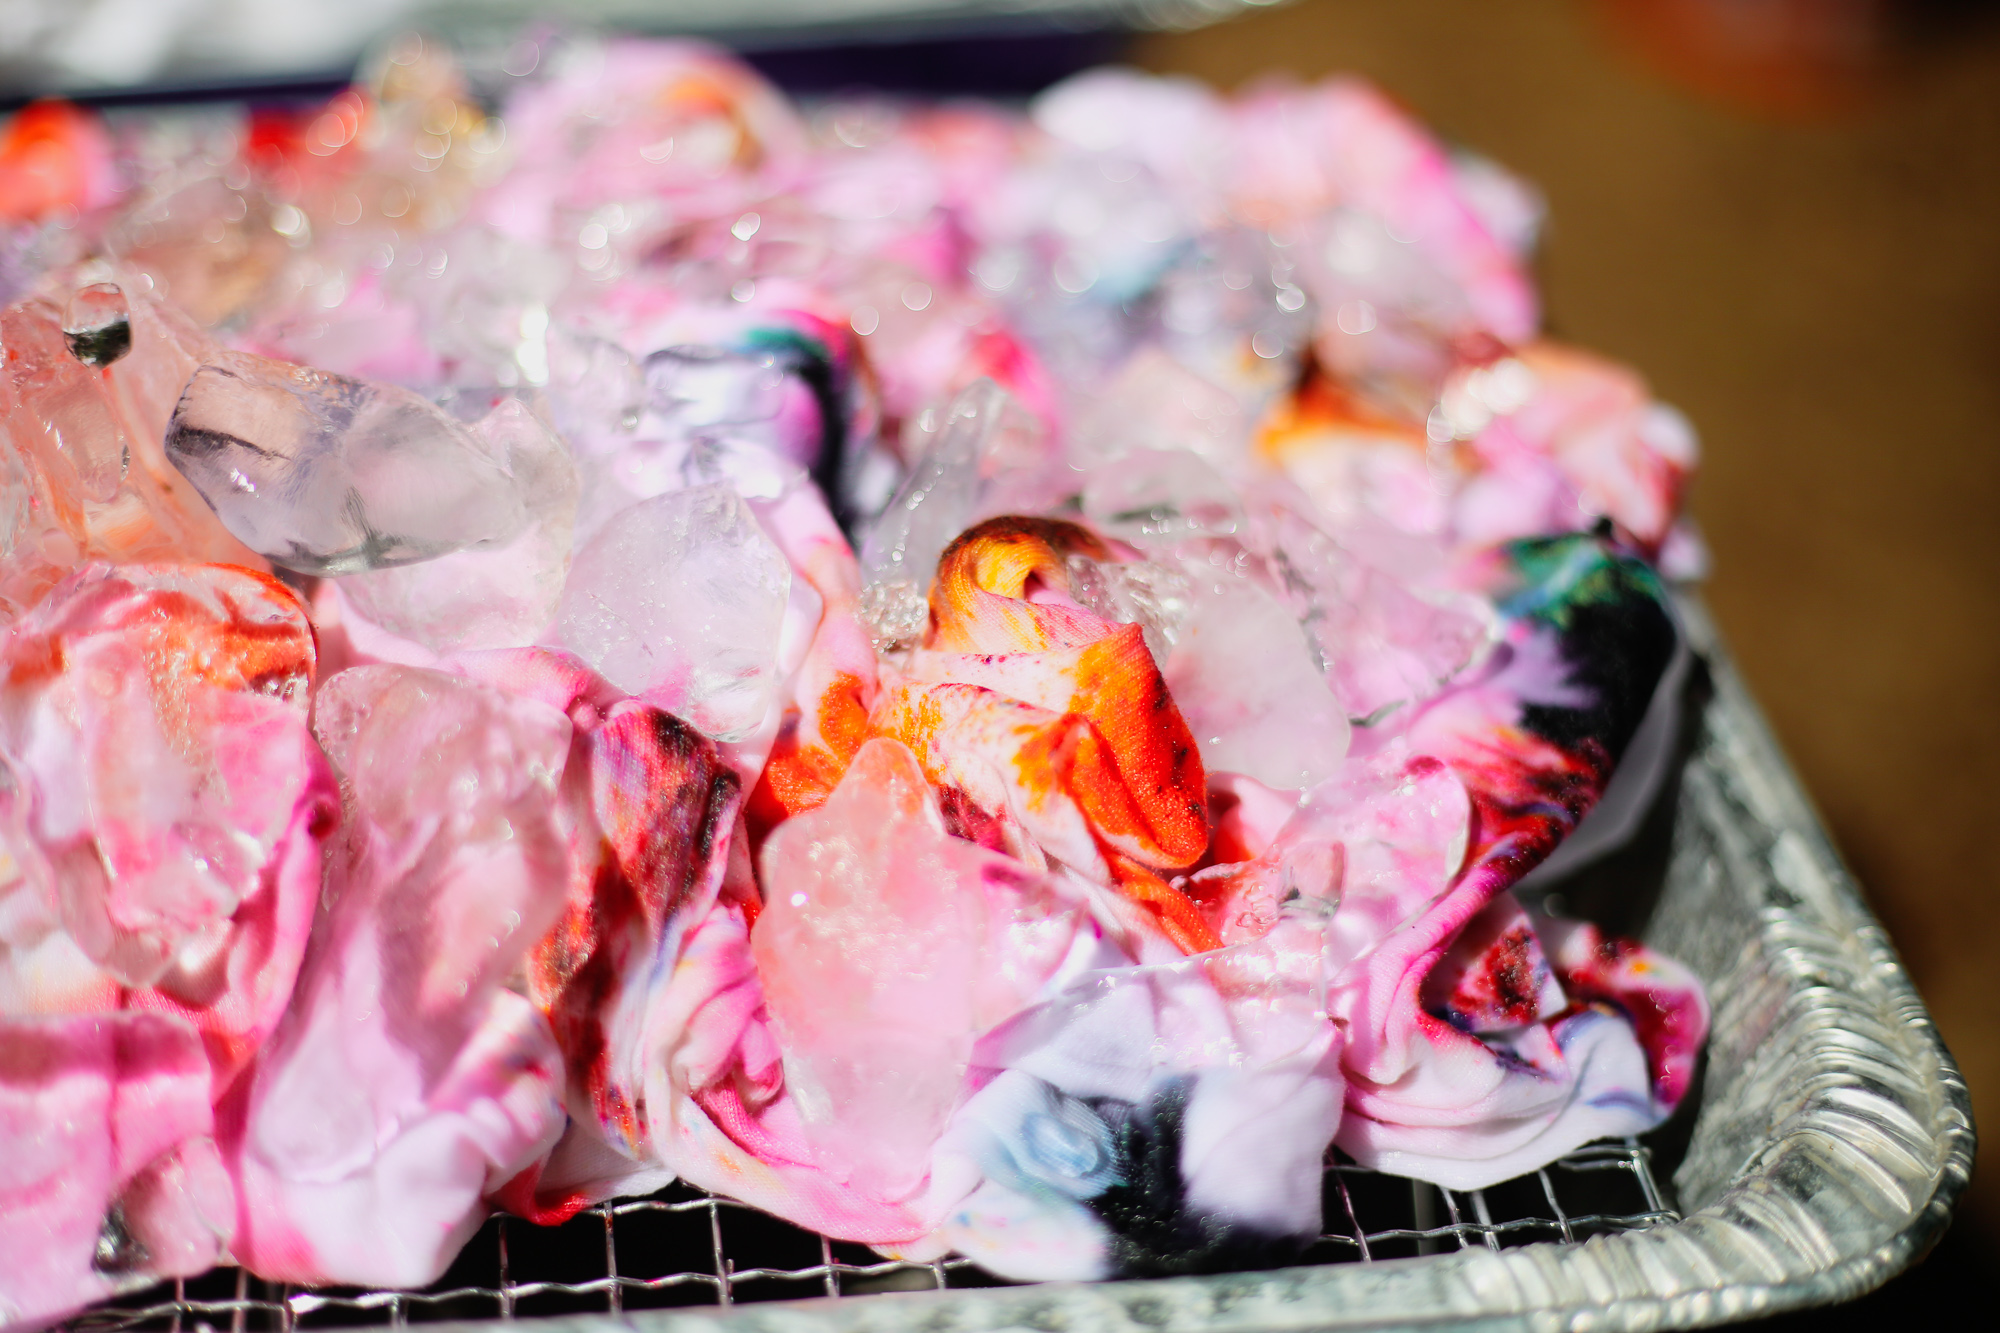
- Fold, scrunch or lay flat your piece, the tighter you fold or scrunch, the more white you will see in the final piece. You can use rubber bands or string to secure the folds. If you want very little white or no white, you can lay your fabric piece flat on the wire grate and cover it completely with ice.
- Lay your piece on top of the wire grate (the bin will be underneath) you will want to have room in between the gate and the bin for the ice to flow through once it begins the ice melting process.
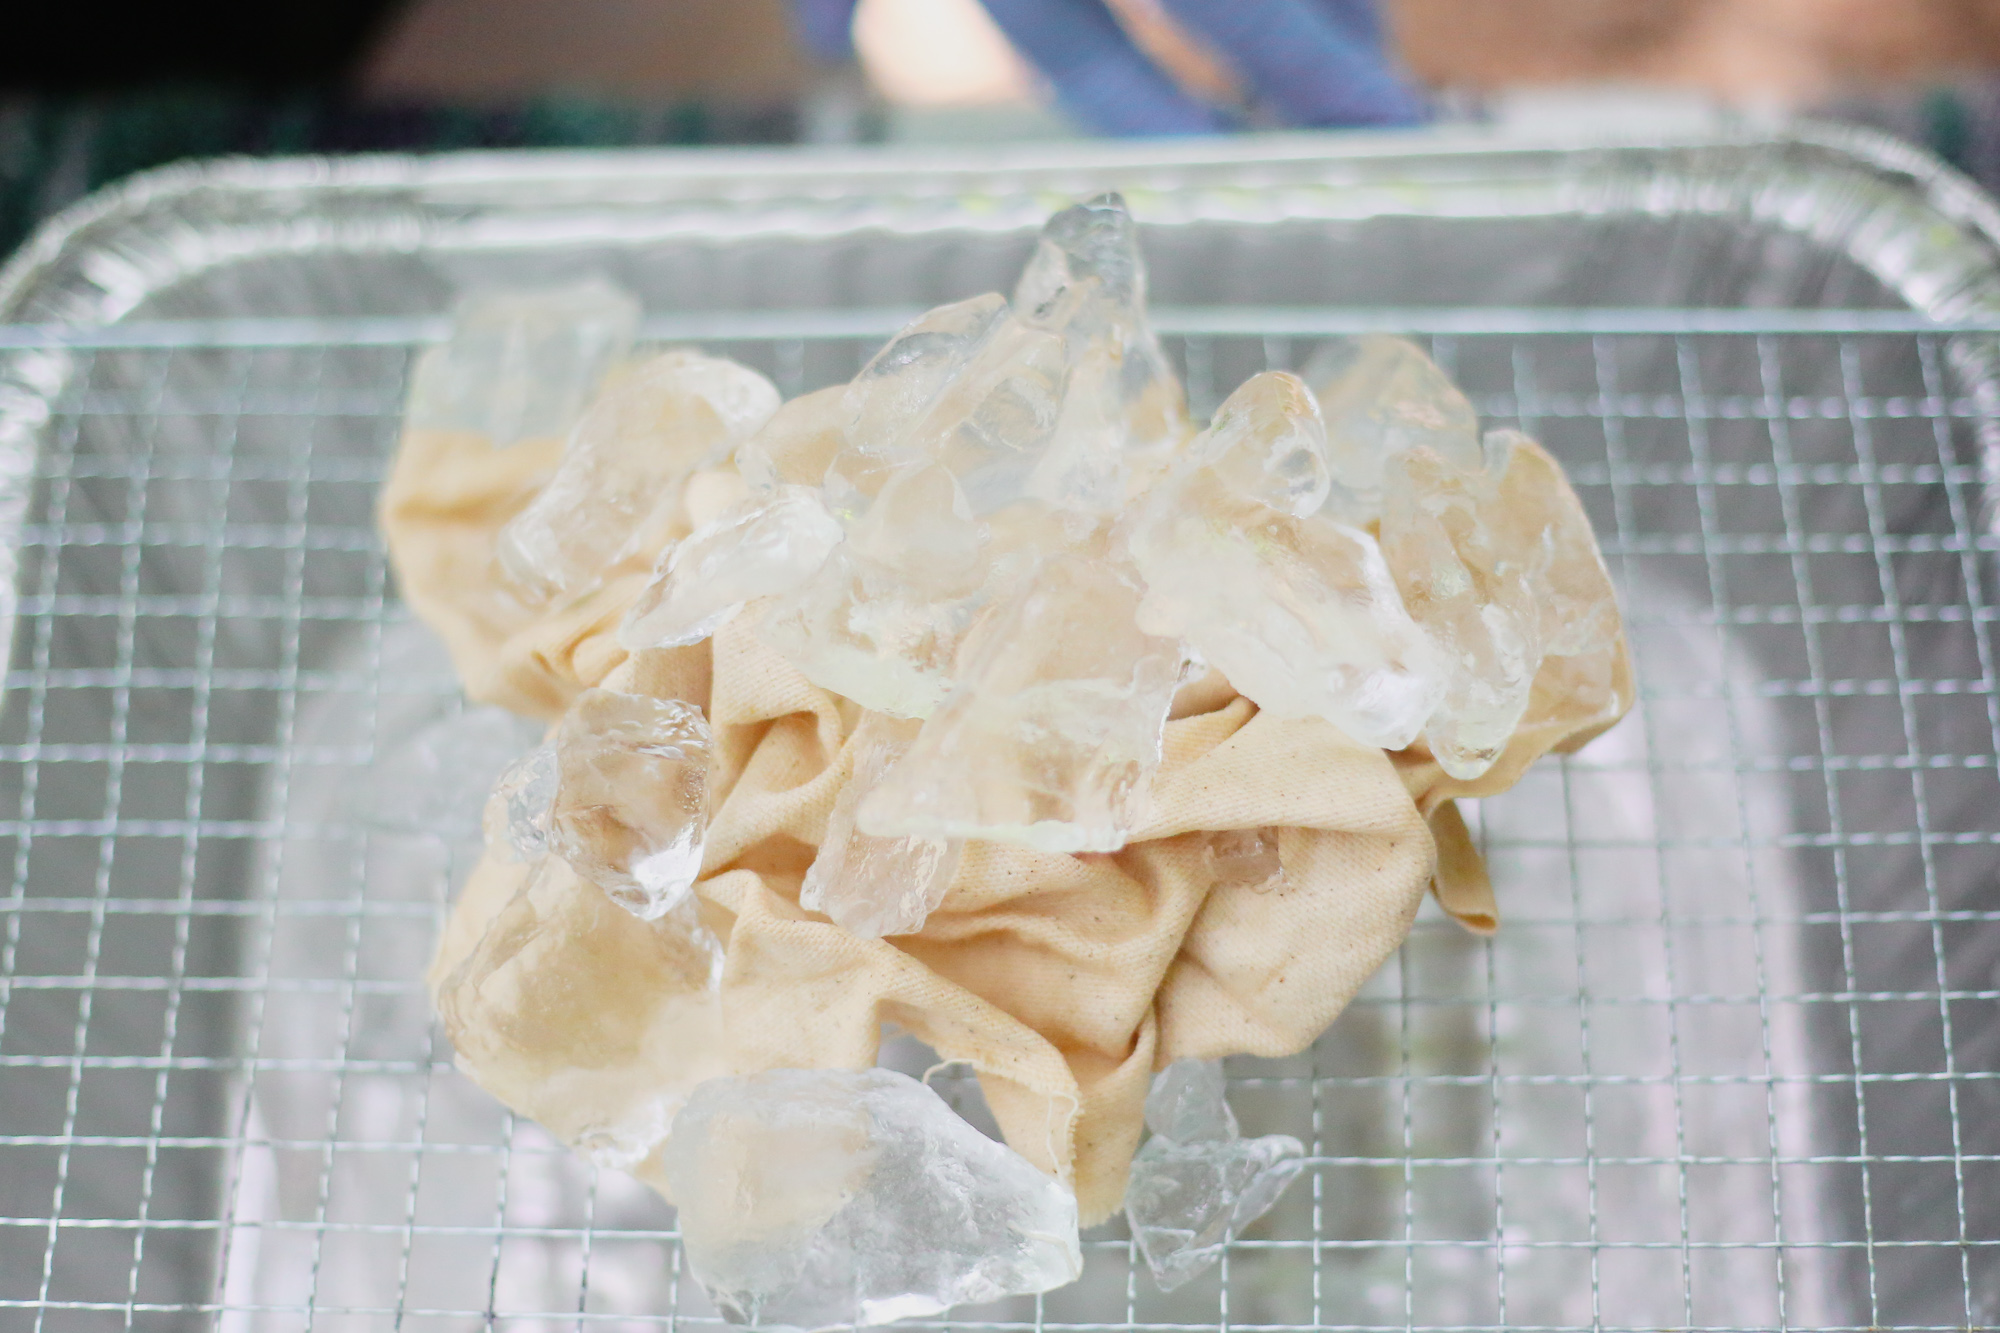
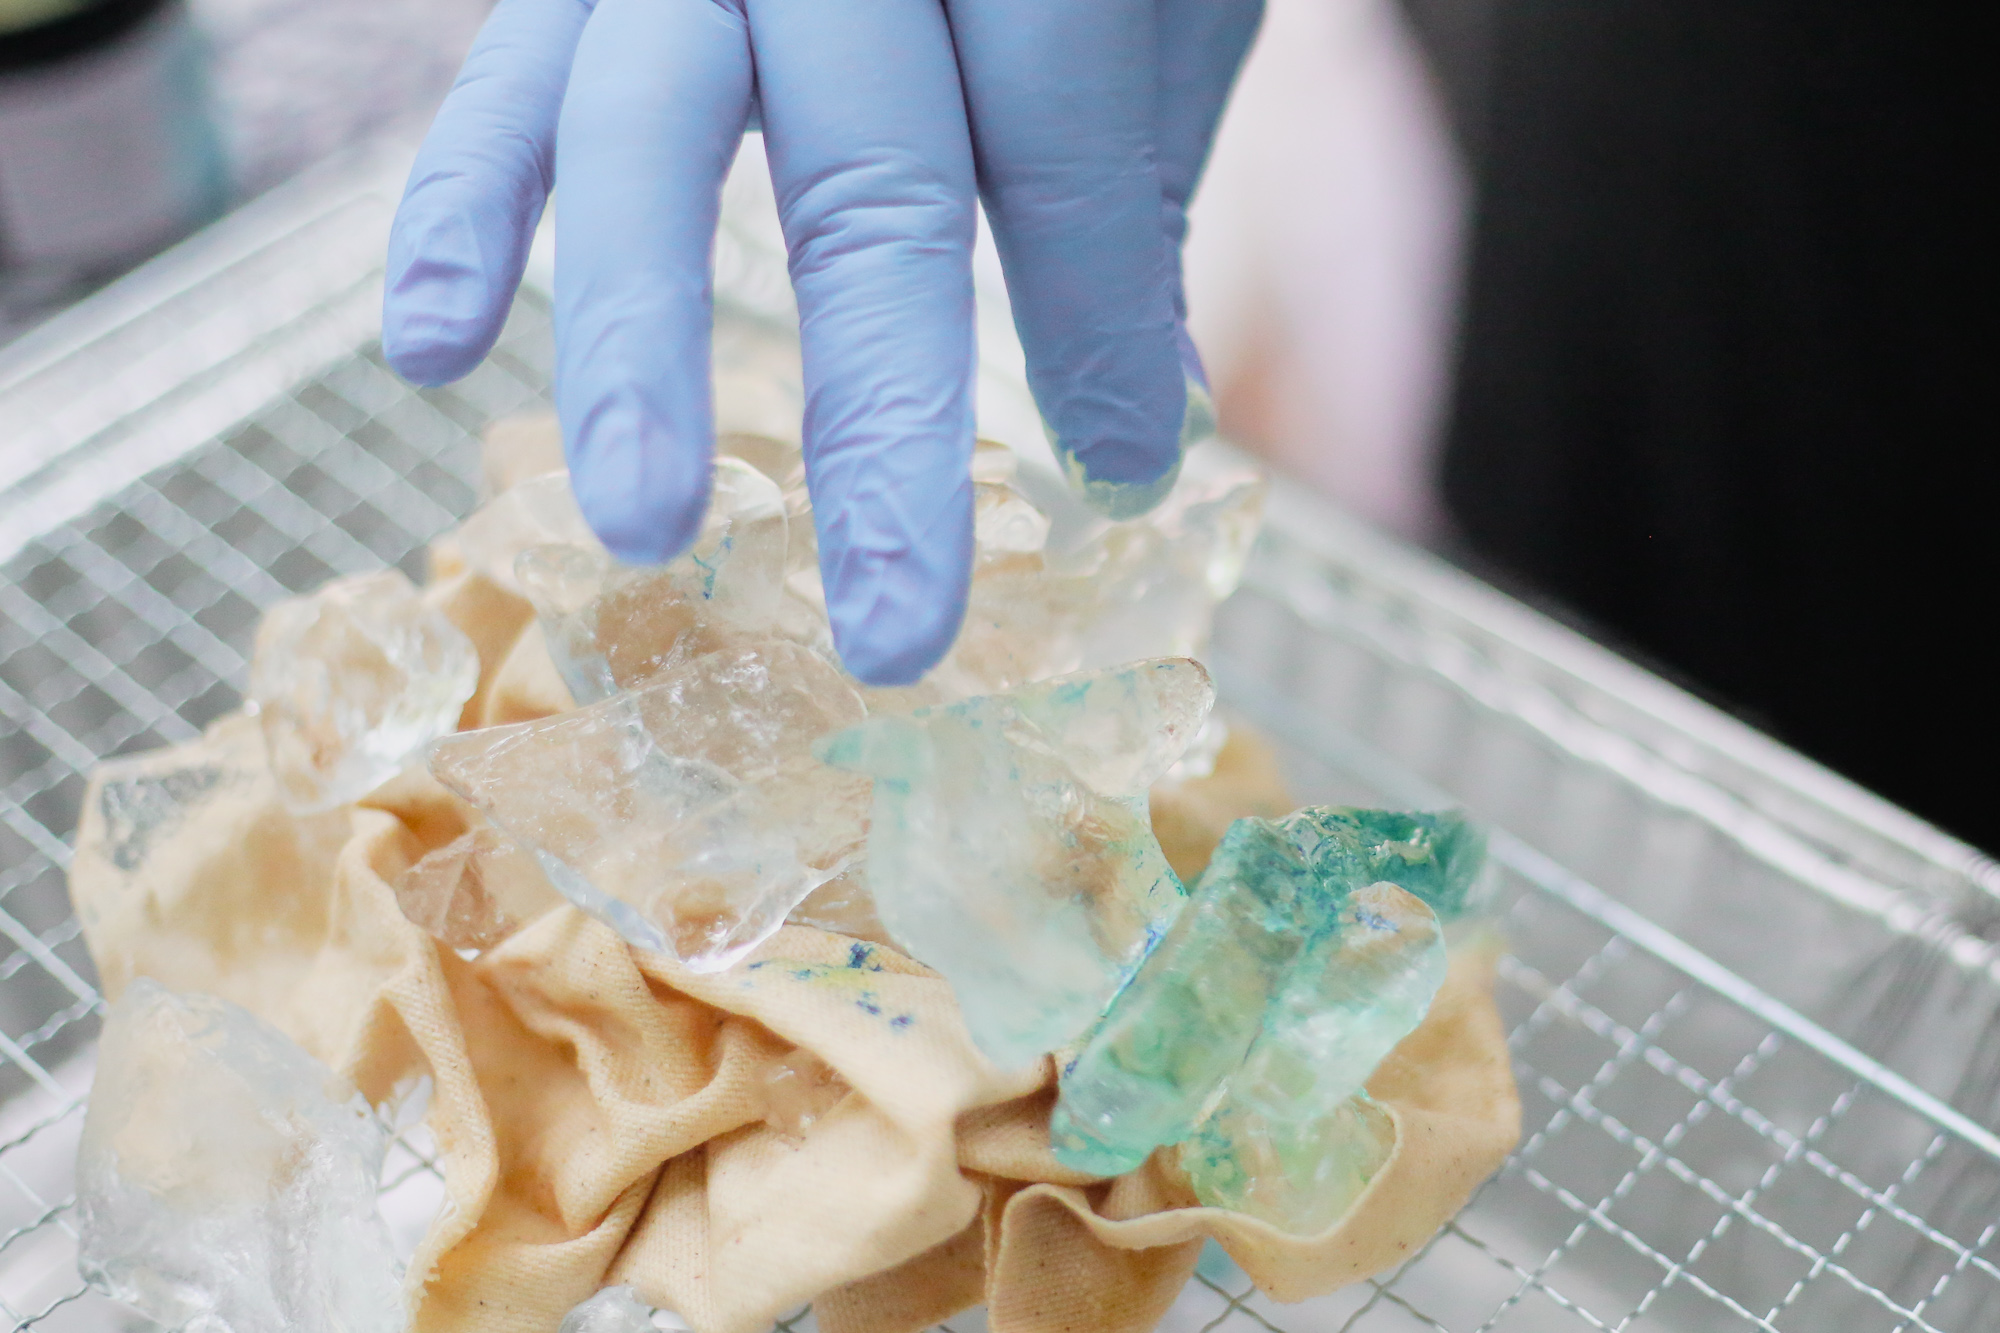
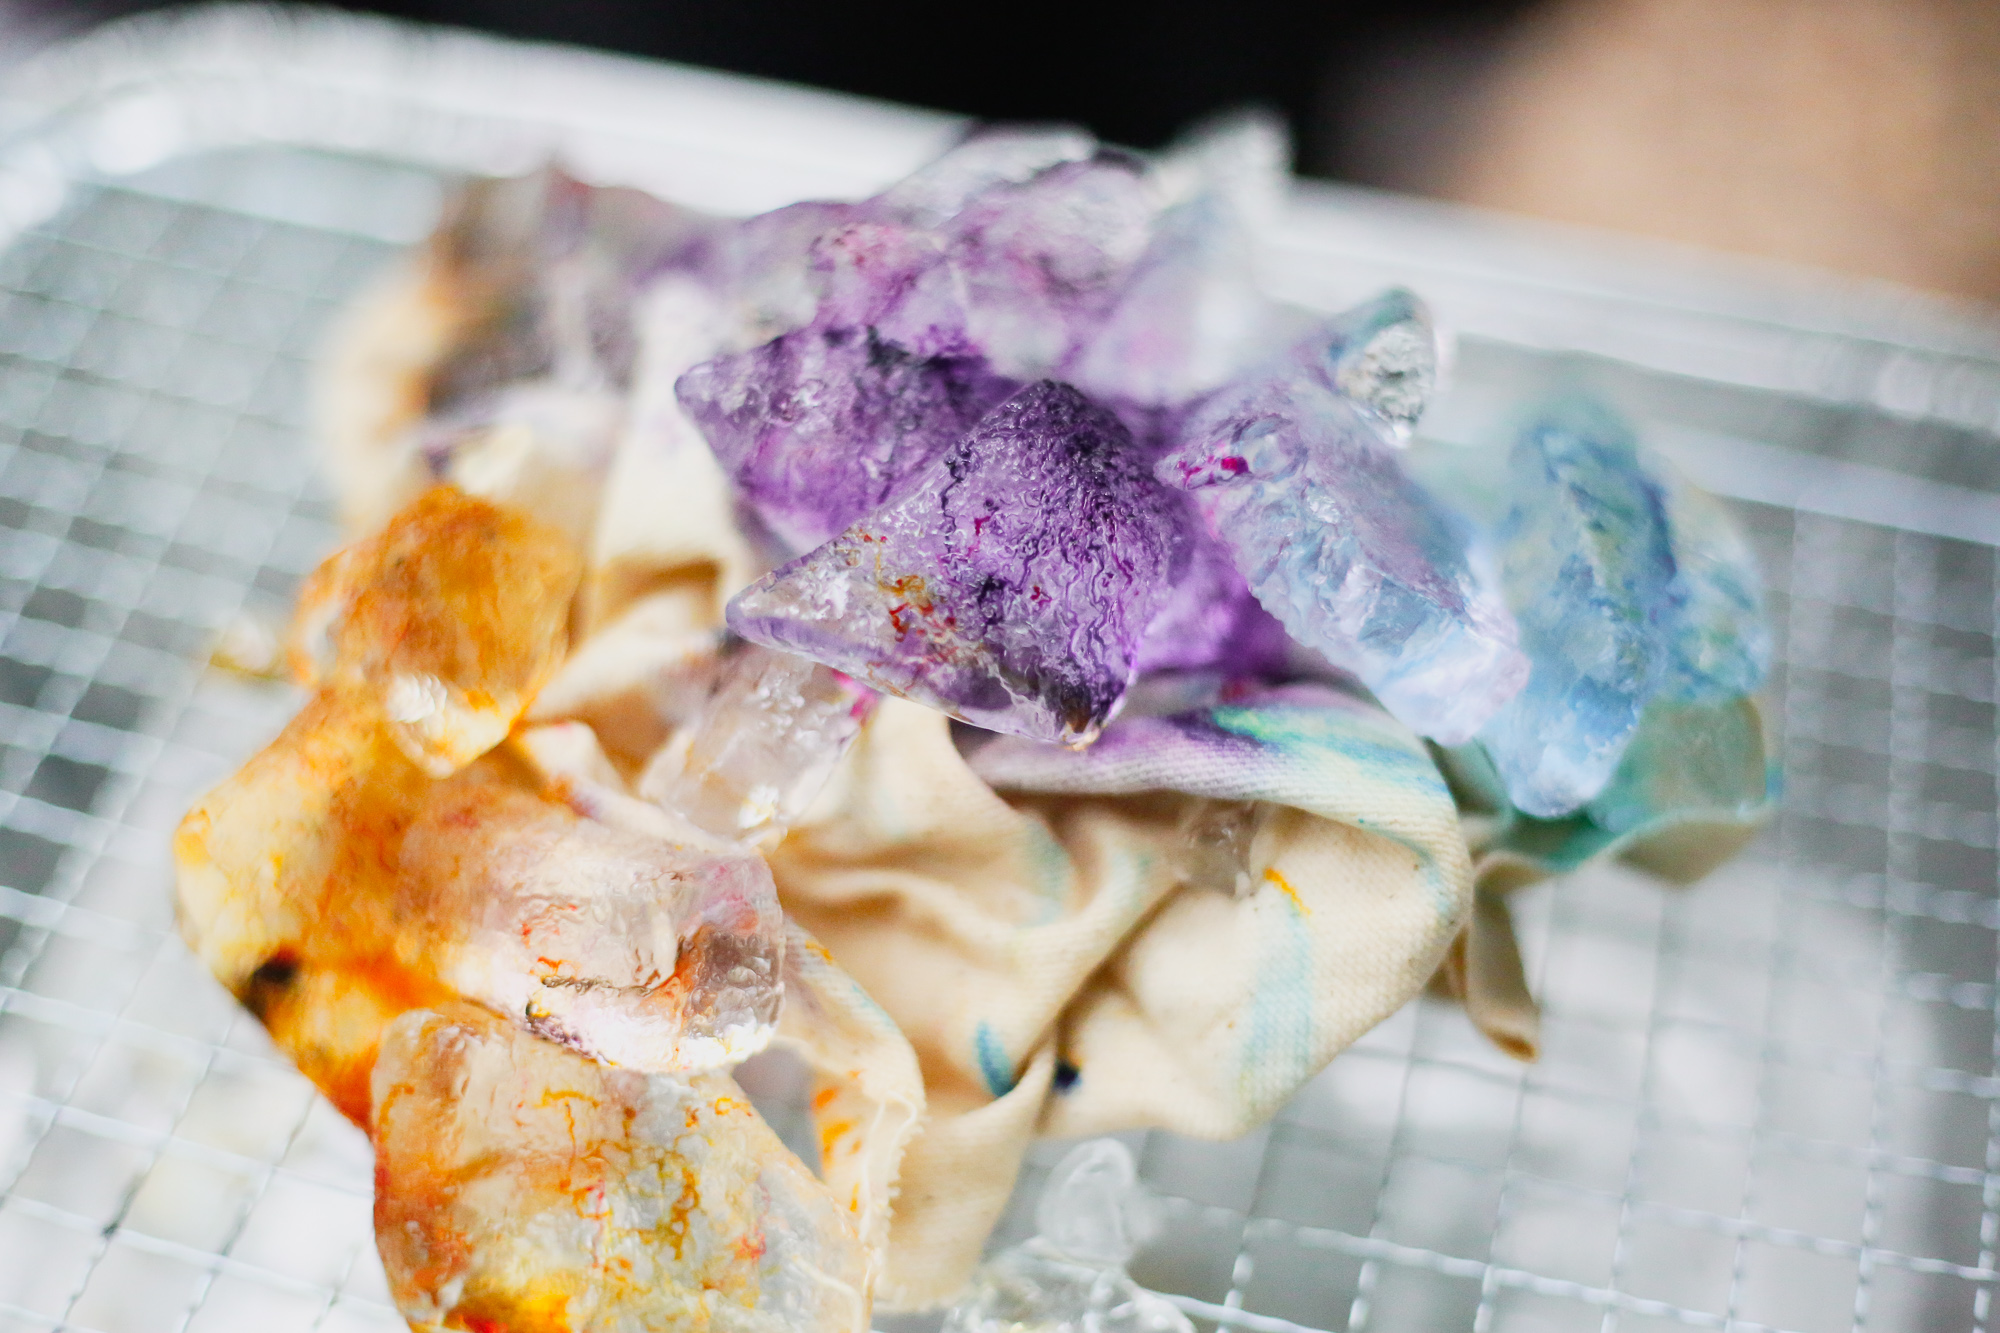
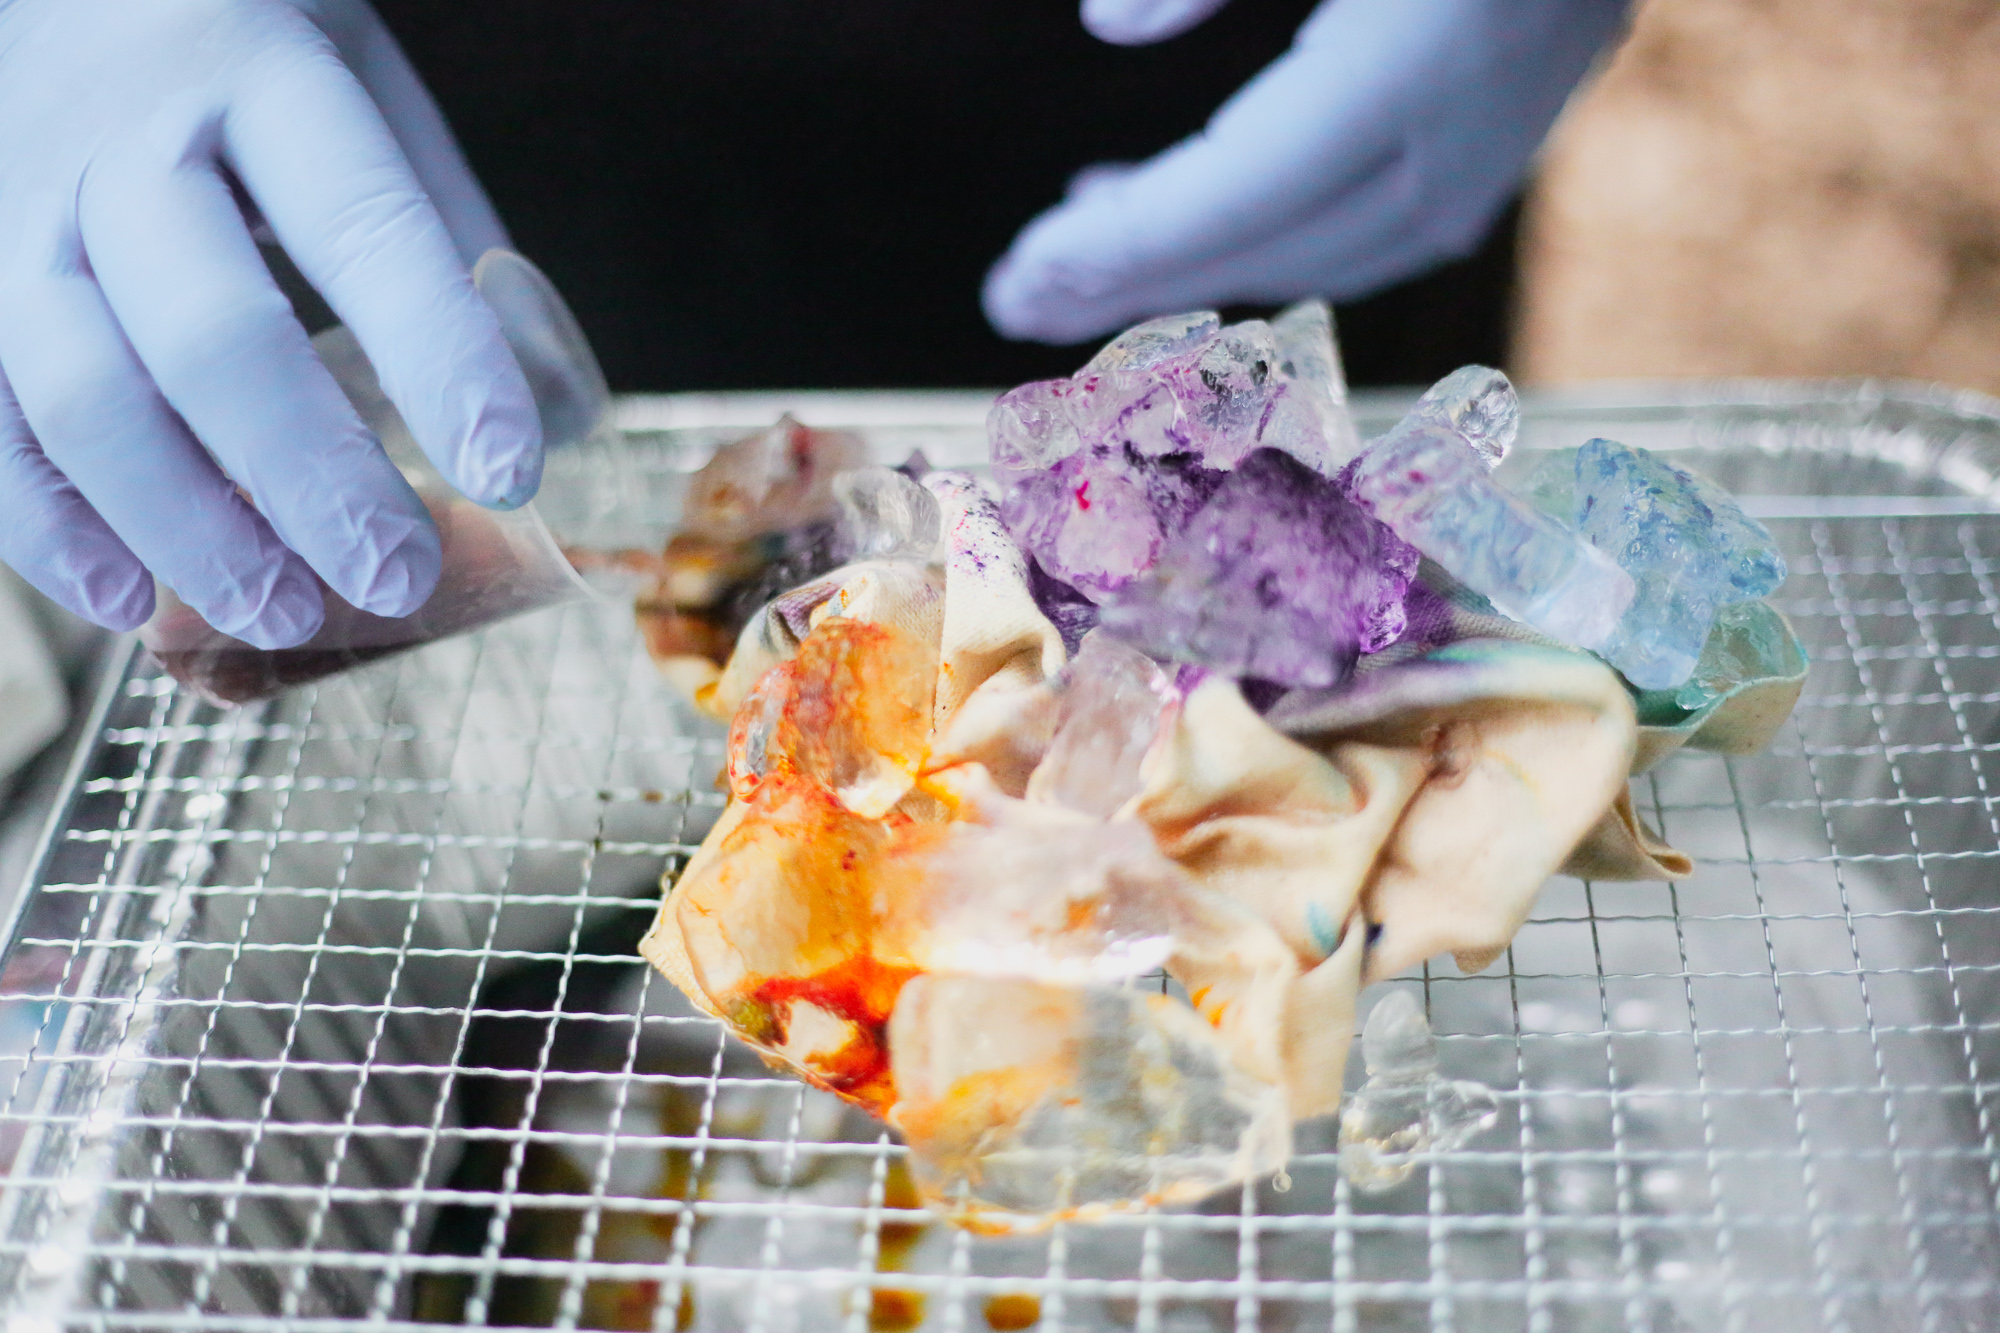
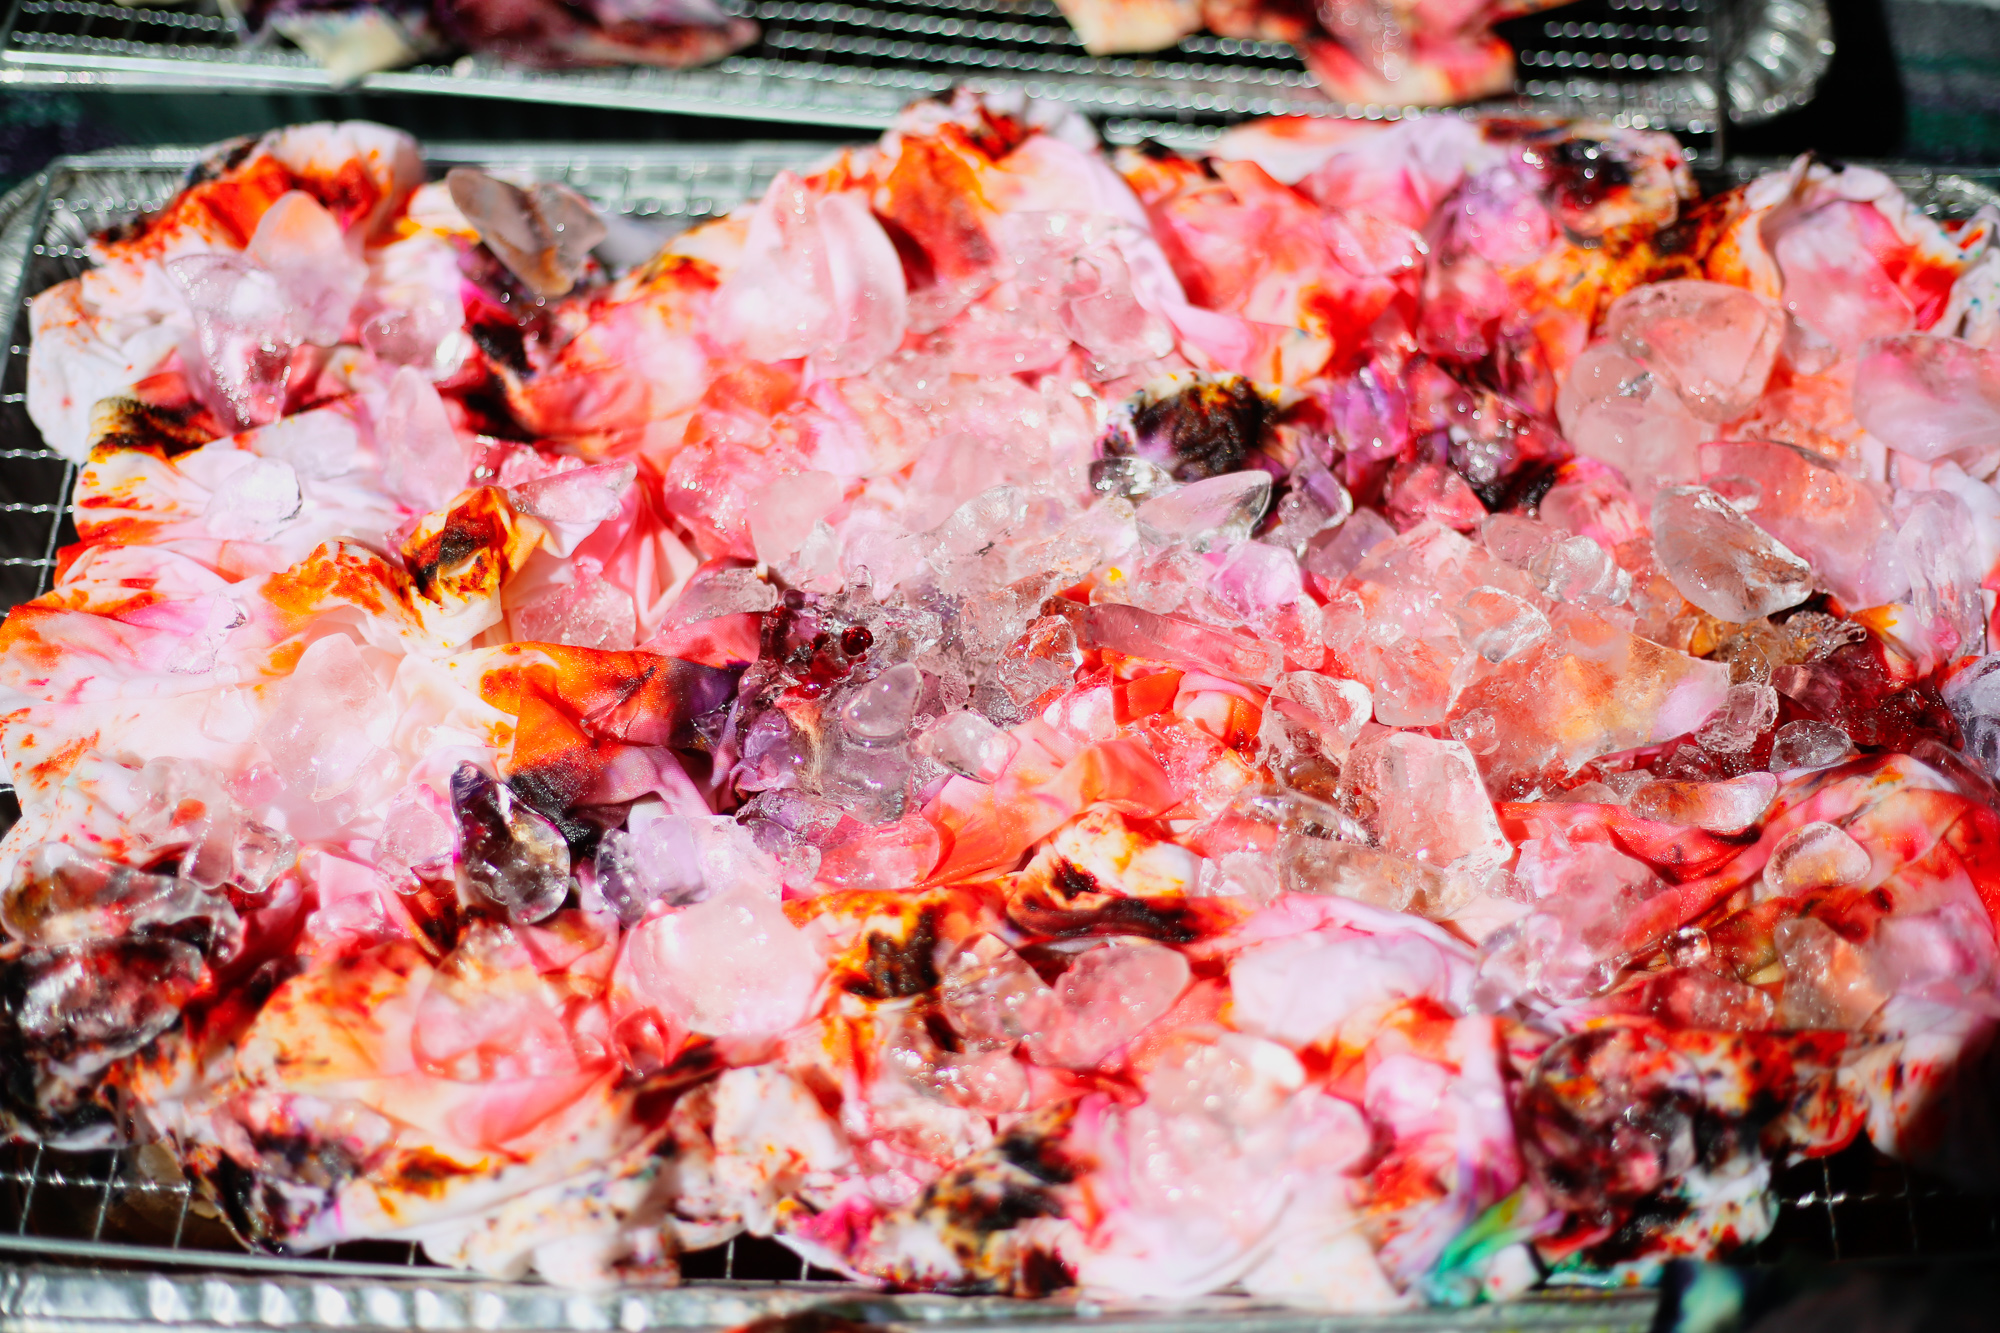
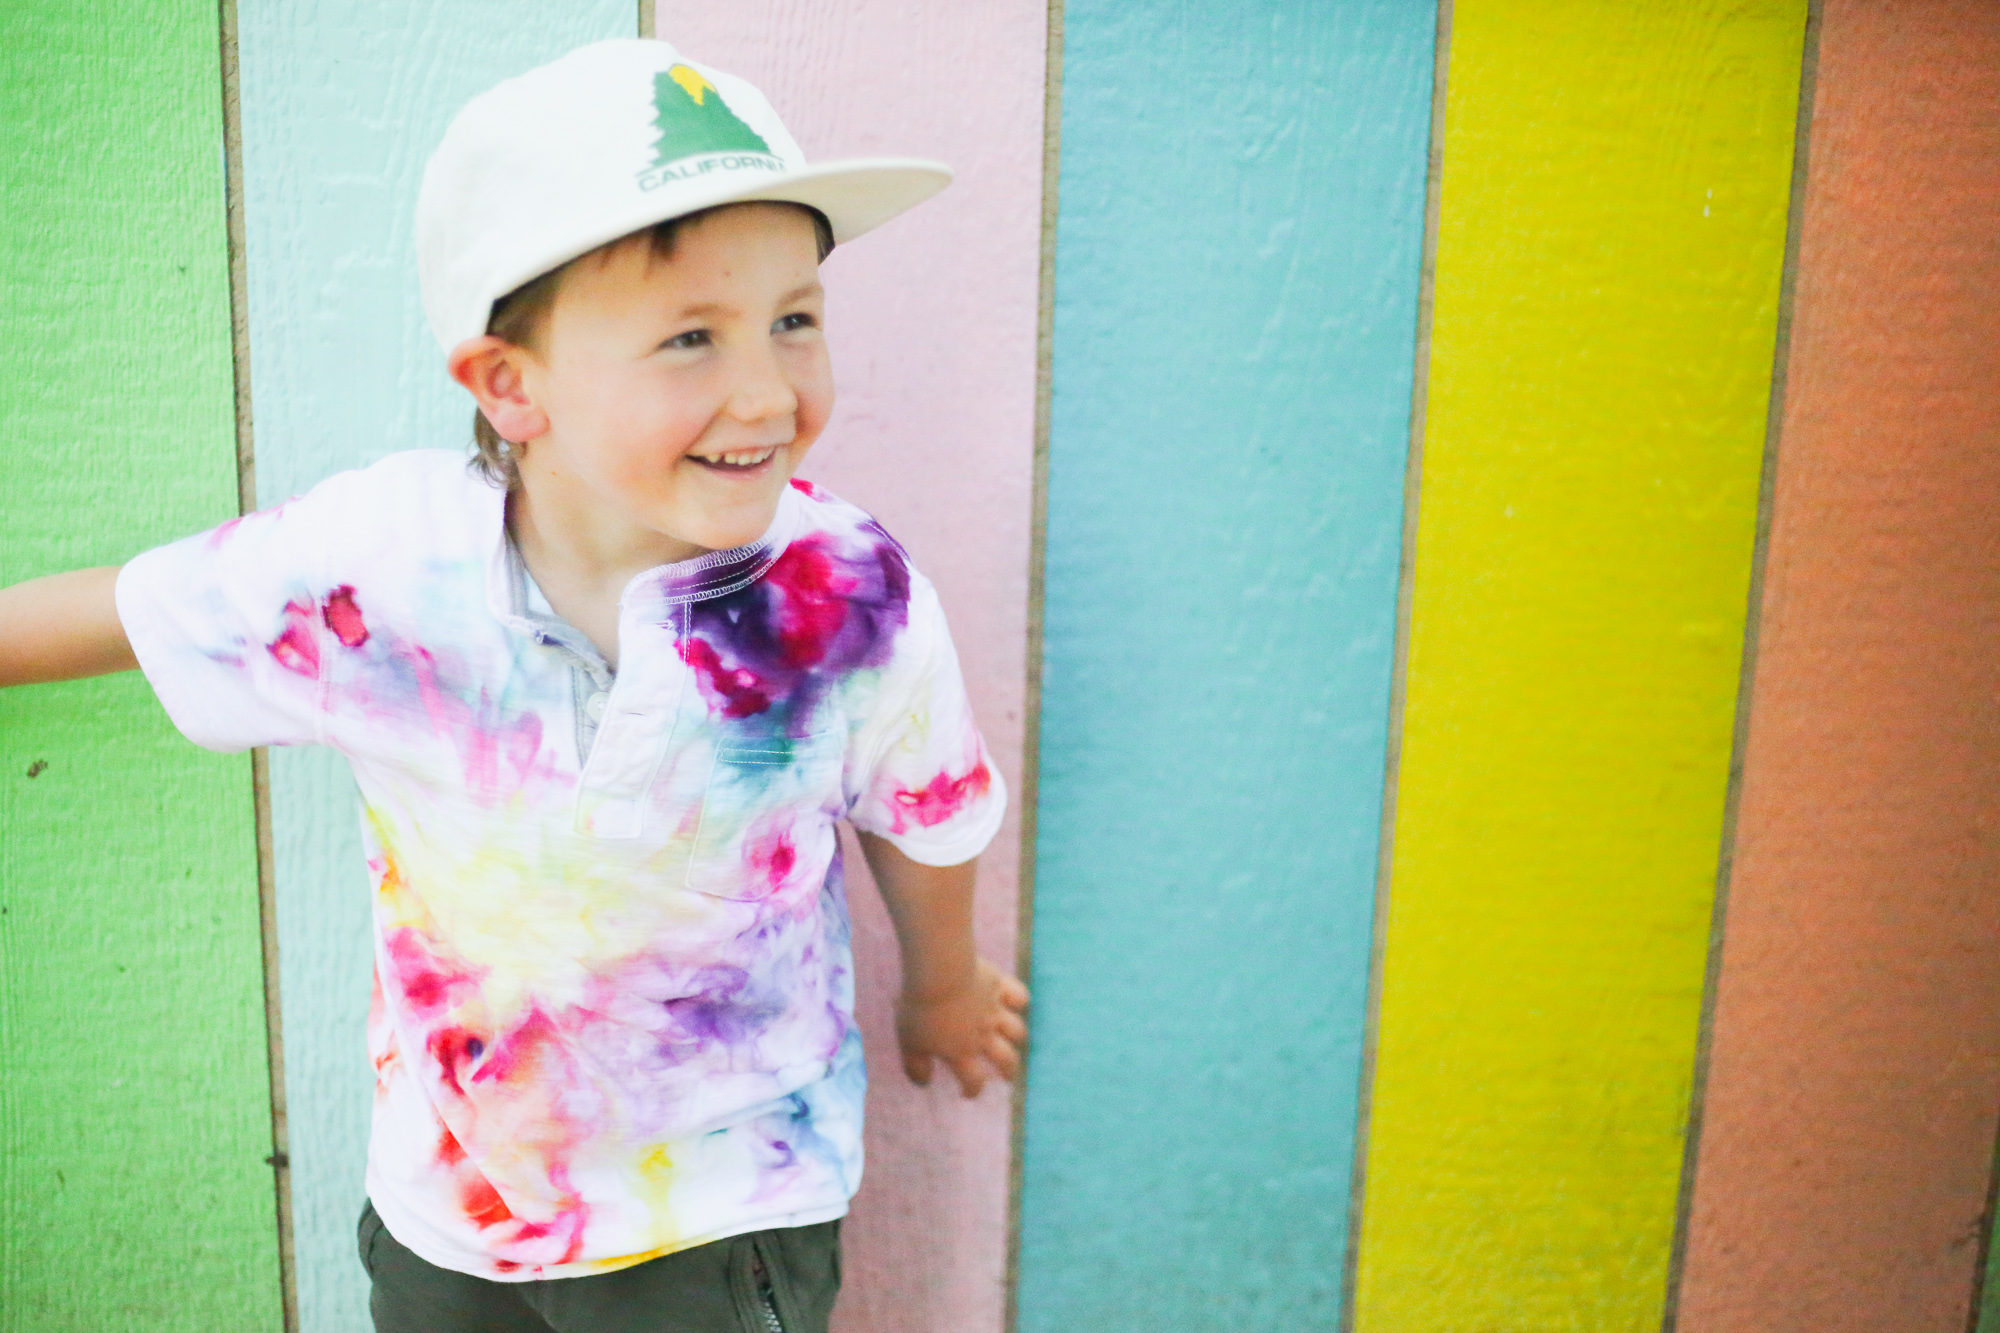
- Cover the entire piece in ice. The more ice, the more movement your colors will have. Less ice can cause “sprinkles” of the dye to remain after the dye process is complete (a great look too!) You can use any kind of ice you have on hand, experiment with different size ice cubes for different effects (don’t forget to record your experiments on your sheet).
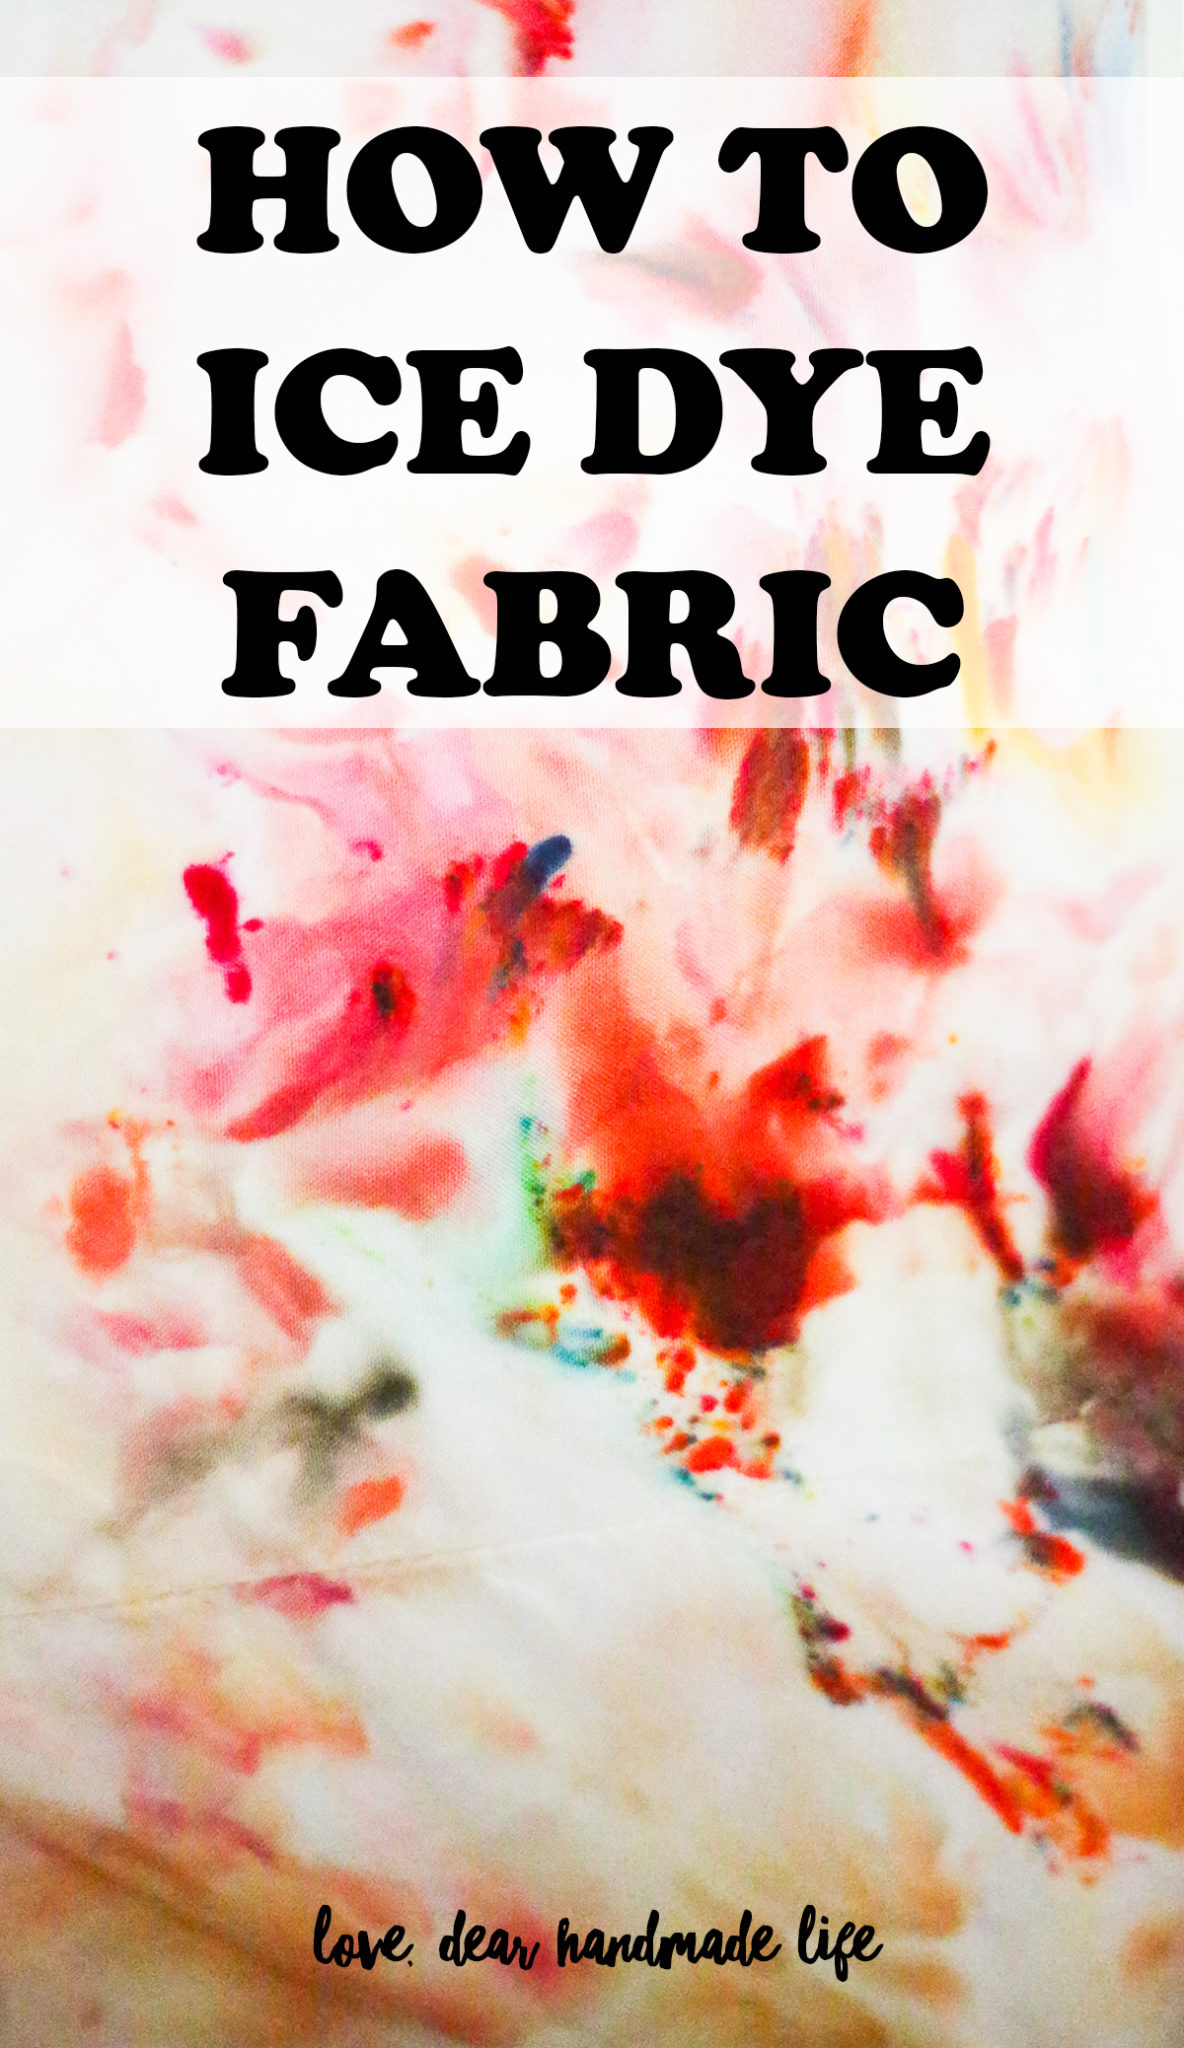
- Once you have the ice on the fabric, you can begin adding the dye. (Again, wear gloves for this part) I recommend sprinkling the dye onto your fabric with a small spoon – you should also try just sprinkling with your fingers. The lighter the color application, the lighter and dreamier your end result will be. Try to stick to only 3-4 colors per single project otherwise, your results could end up muddy. Don’t worry if it looks dark after you add the color, it will dilute with the ice and lighten when you rinse. Notes about colors: Each dye is made up of several pigments. When you sprinkle the powdered dye, you will see all the color pigments that make up the dye color – as the ice melts, some of these pigments will separate out which makes ice dying extra magical because you never know what you will get!
- Now your hard work is complete! Set your project in the sun or in a warm place. Don’t forget to lay down a tarp to catch any overflow as the ice melts. Let the ice melt completely and go enjoy another activity. Once the ice has melted, RESIST the temptation to rinse out your piece. Leave it sitting for at least 24 hours. I like to set up my ice dye projects in the late afternoon so they can sit overnight.
- Once your piece has rested for 24 hours, you can rinse out the dye into the sink until the water runs clear. (Wear your gloves whenever handling the color piece until it has been rinsed clean).
- The final step is to wash the fabric in hot water and dry it, this will set the color and you will be able to enjoy your creation for many years!
- If you aren’t happy with the results, you can bleach the fabric and dye over it again!


Rebecca’s Ice Dying class at Craftcation 2019 was one of my most favorite classes!
This workshop was SO popular! I’m so glad you enjoyed it. Do you have pics of any finished projects? We’d love to see them. Tag us on Insta: @dearhandmadelife. 🙂 xo katie mac
What colors did you use in the pictures above
I’ve tried this twice now and love the fee to but the colors don’t come out as the ones I’ve selected.
I tried with turquoise and it came out every color from blue, green, yellow etc
Then I tried black thinking it would be more likely to get my desired result (black). But it came out navy blue.
Any advice?
This is the good and bad about ice dyeing. You never know what you will get. I personally love it. I had one black that bled both purple and yellow and I was really going for an all-black ice dye look for some pillows I had made. And it acts differently on different fabrics regardless of being completely natural fibers. For me- the less I was concerned about what colors I was slapping on my work, the better they turned out 🙂
You can use more dye & let your garment sit in the melted ice dye in the bottom of your tub. Let it set for at least 24 hours (I let my garments “batch” for 48 hours to get the maximum effects from the dye. The dye in the bottom of your tub is called “muck”. I muck dye most of my garments & they come out beautifully!