
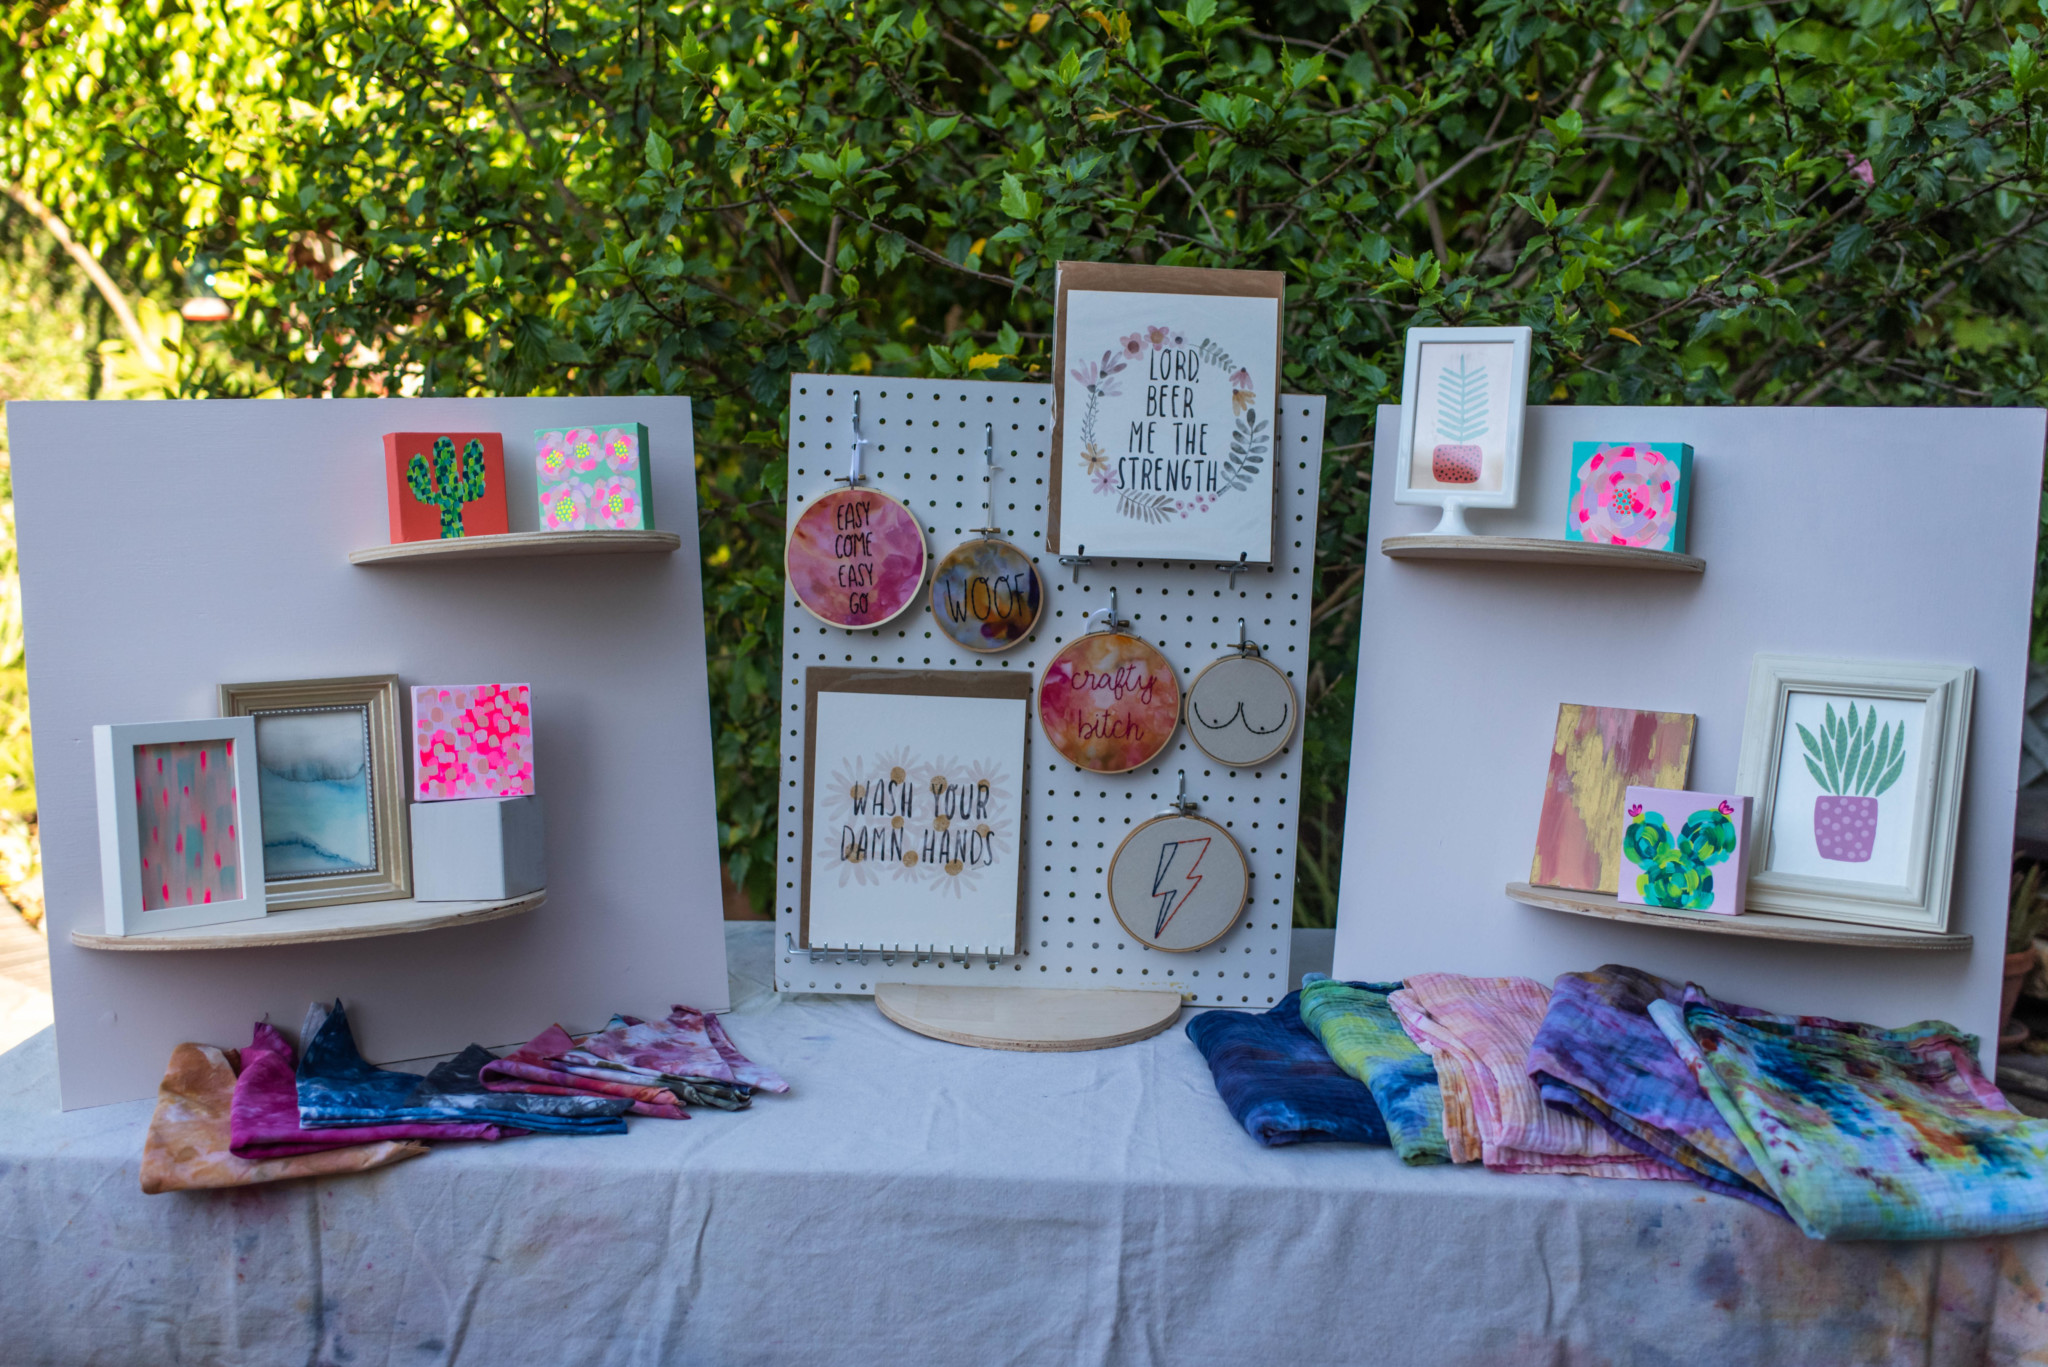
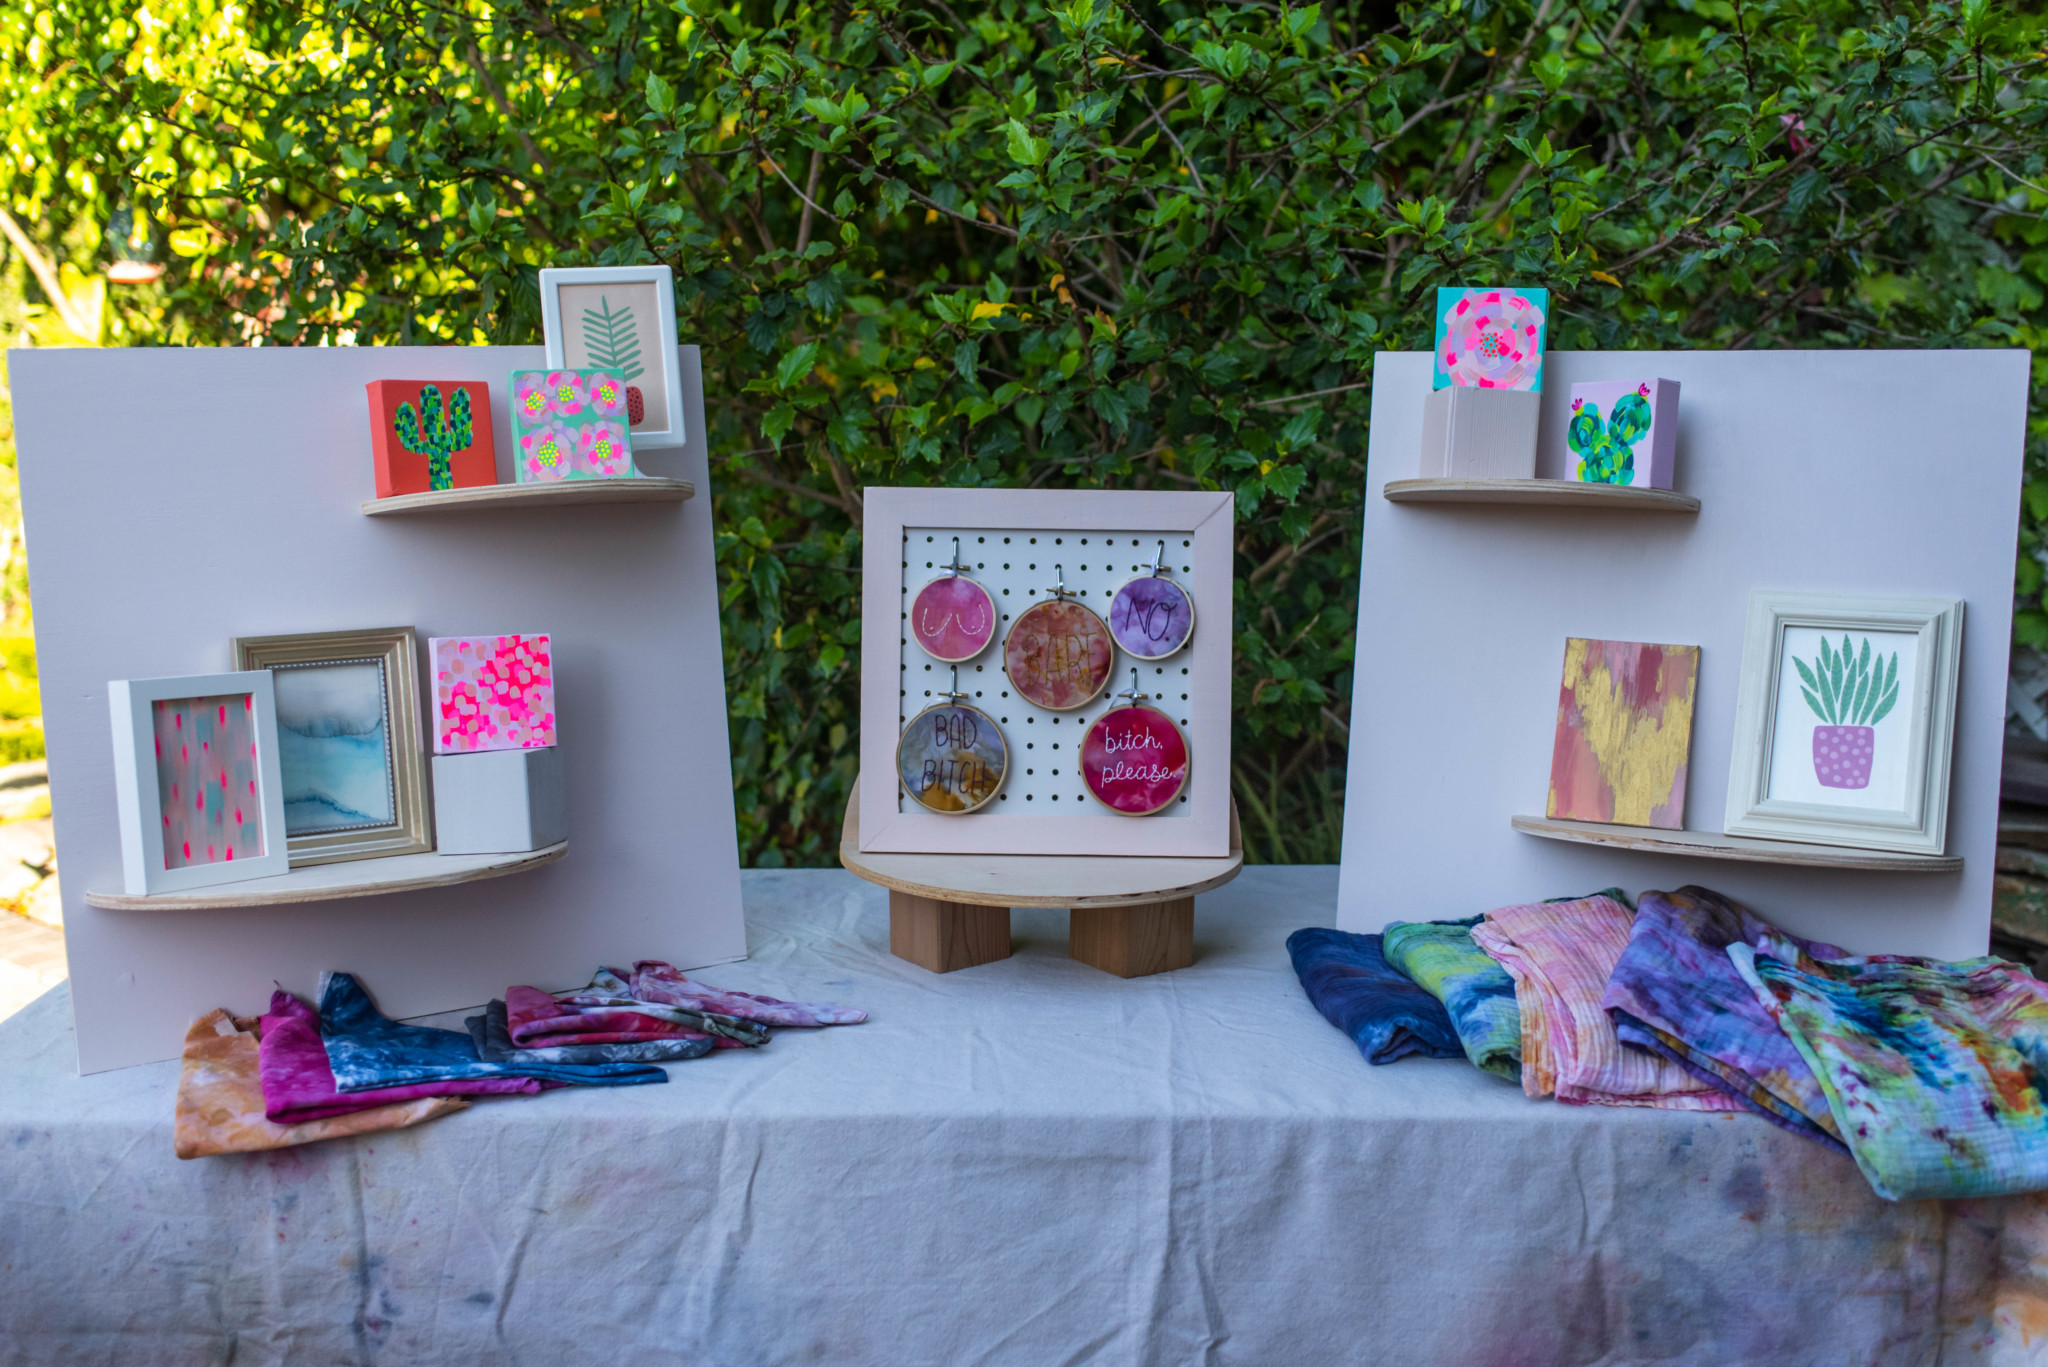
I’ve been working craft shows for around 7 years now and I’m always looking for ways to up my display game. I know adorable wooden stands have become really popular for show displays in the last few years so I really wanted to figure out how to DIY something for my own display. Your display needs might be completely different, depending on your products and the set up you already have to work with but let me show you what I did!
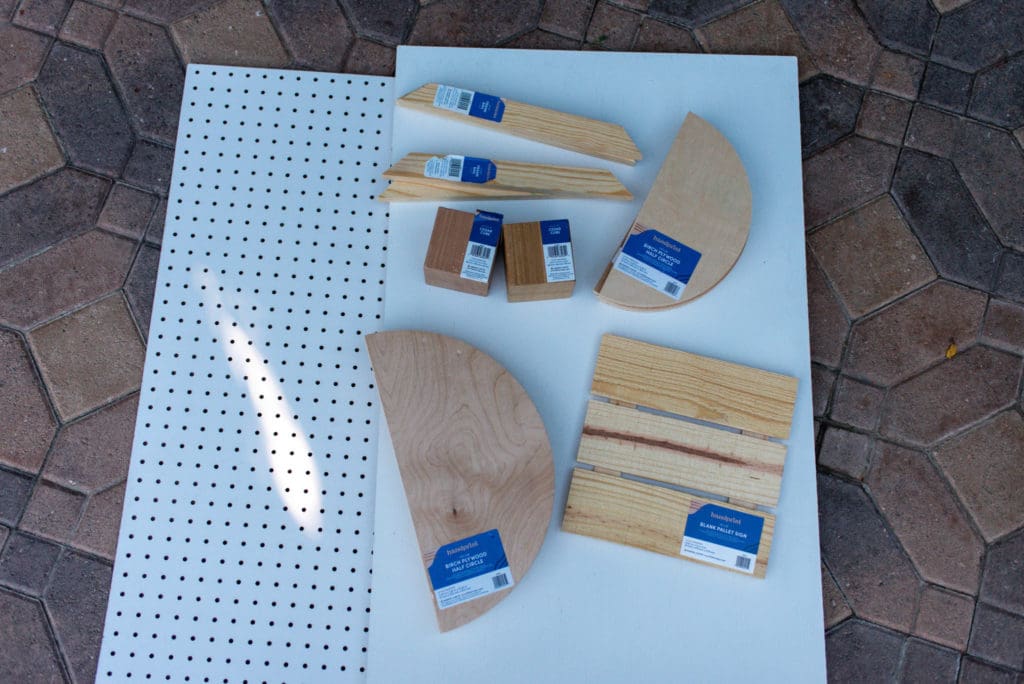
Thank you to Handprint for providing all of the wood for this project. I really love how many different options they offer and how versatile they all are. I was able to use the same materials for different applications.
Not Pictured: A friend with power tools & wood working experience to help 😉
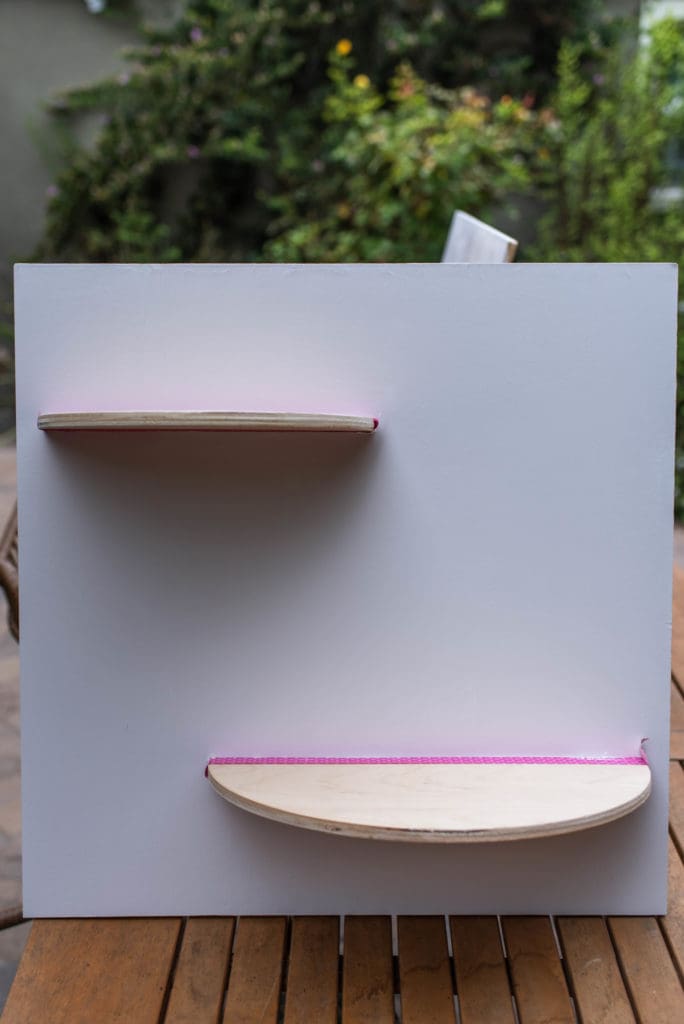
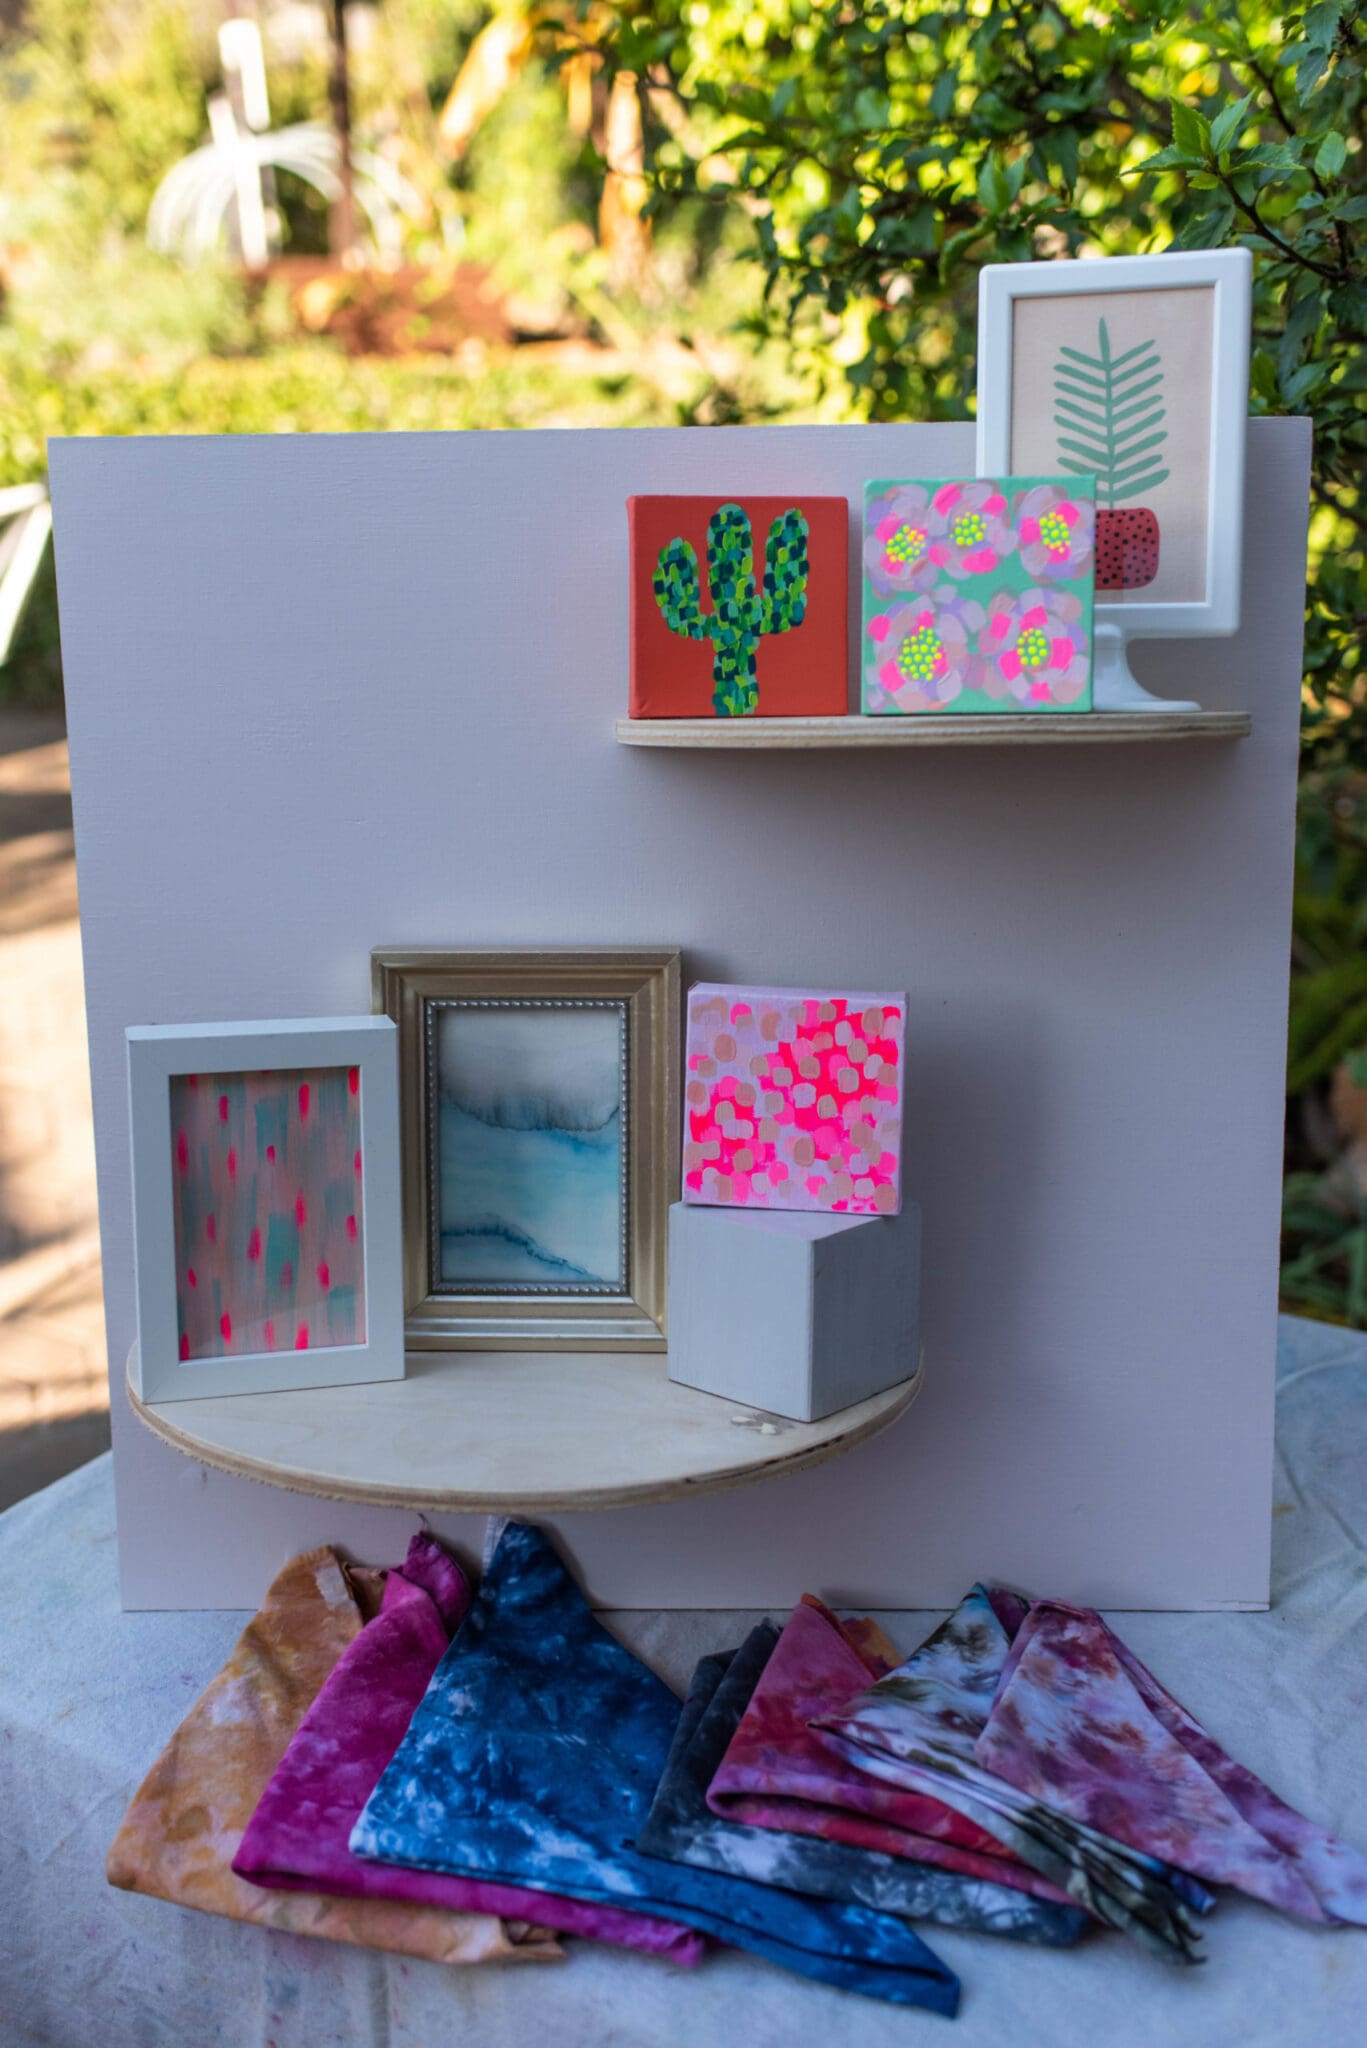
The primed plywood is HEAVY. And if you’ve ever done a craft show before, you know that you will need to pack your car strategically and have to haul everything to & from your booth at the show. So keeping that in mind, I wanted to come up with a way that made this a lot easier for transport.
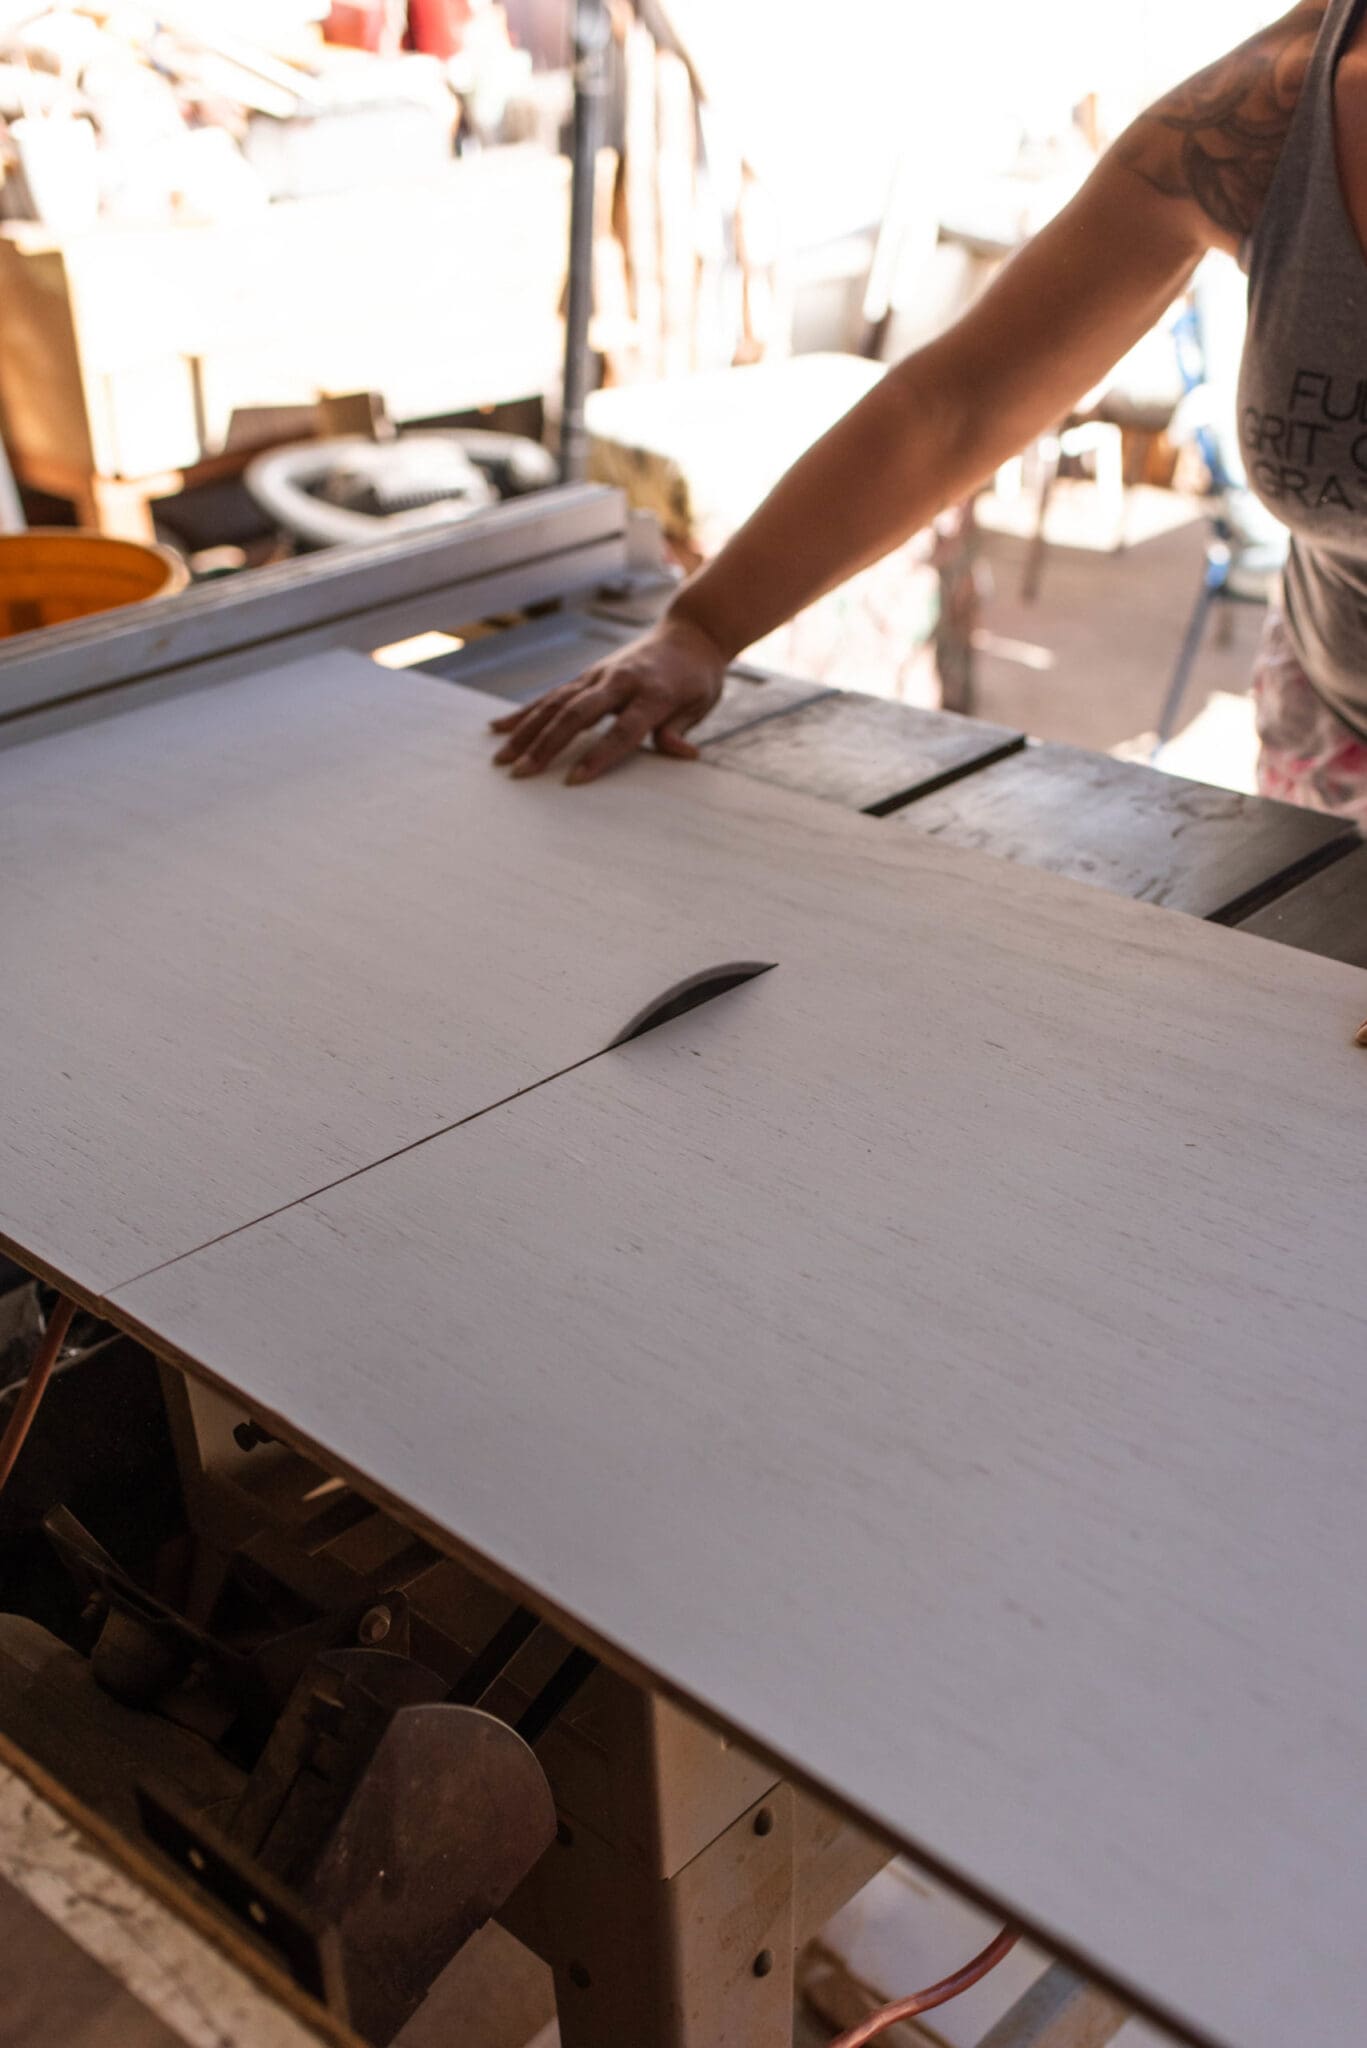
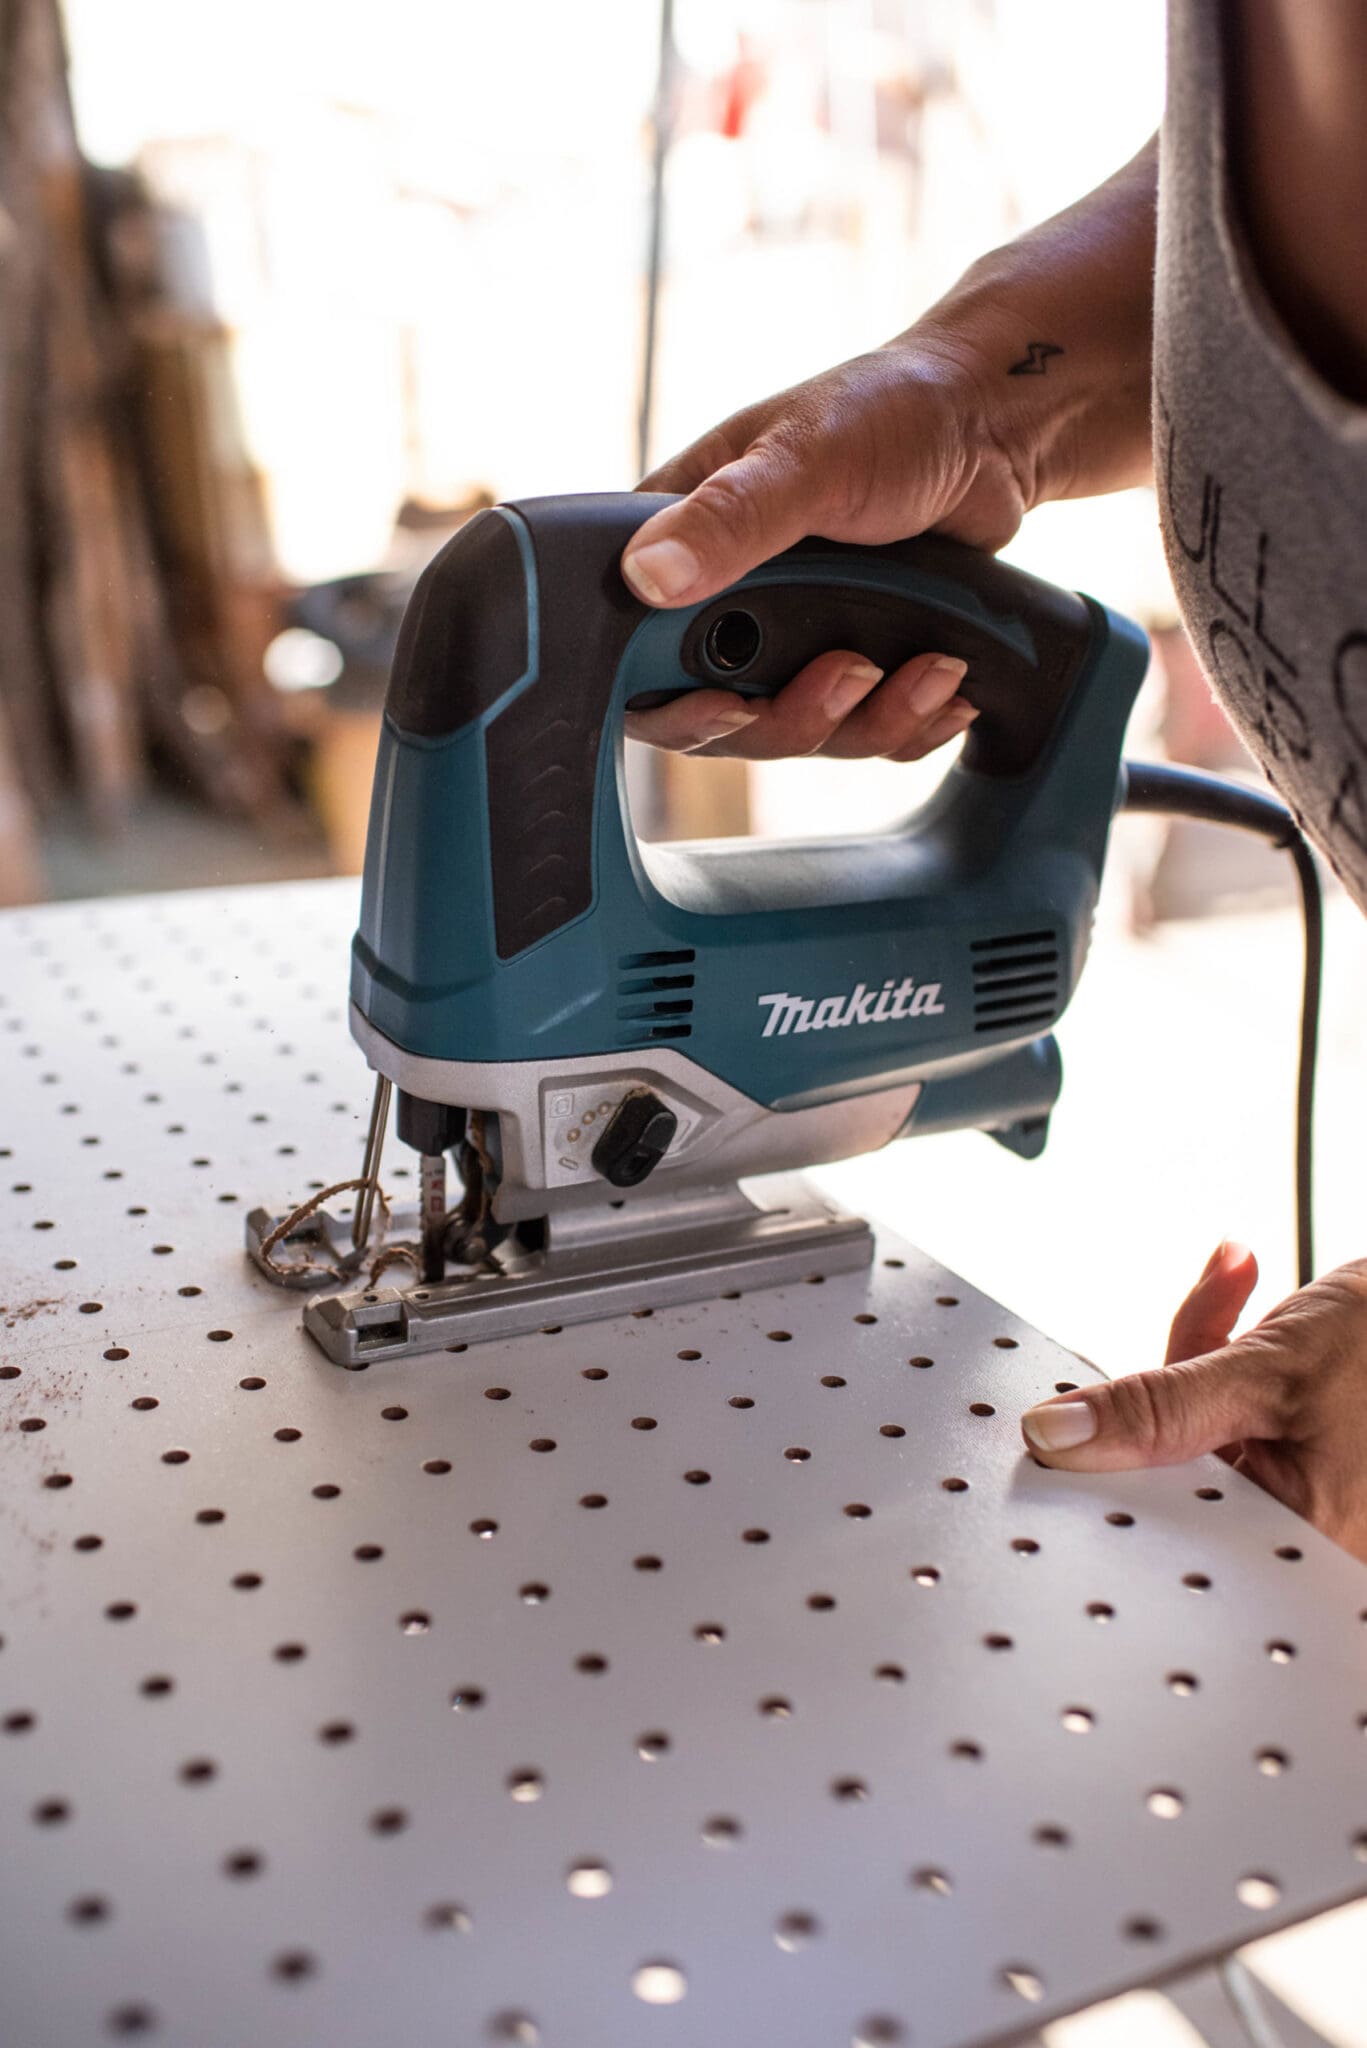
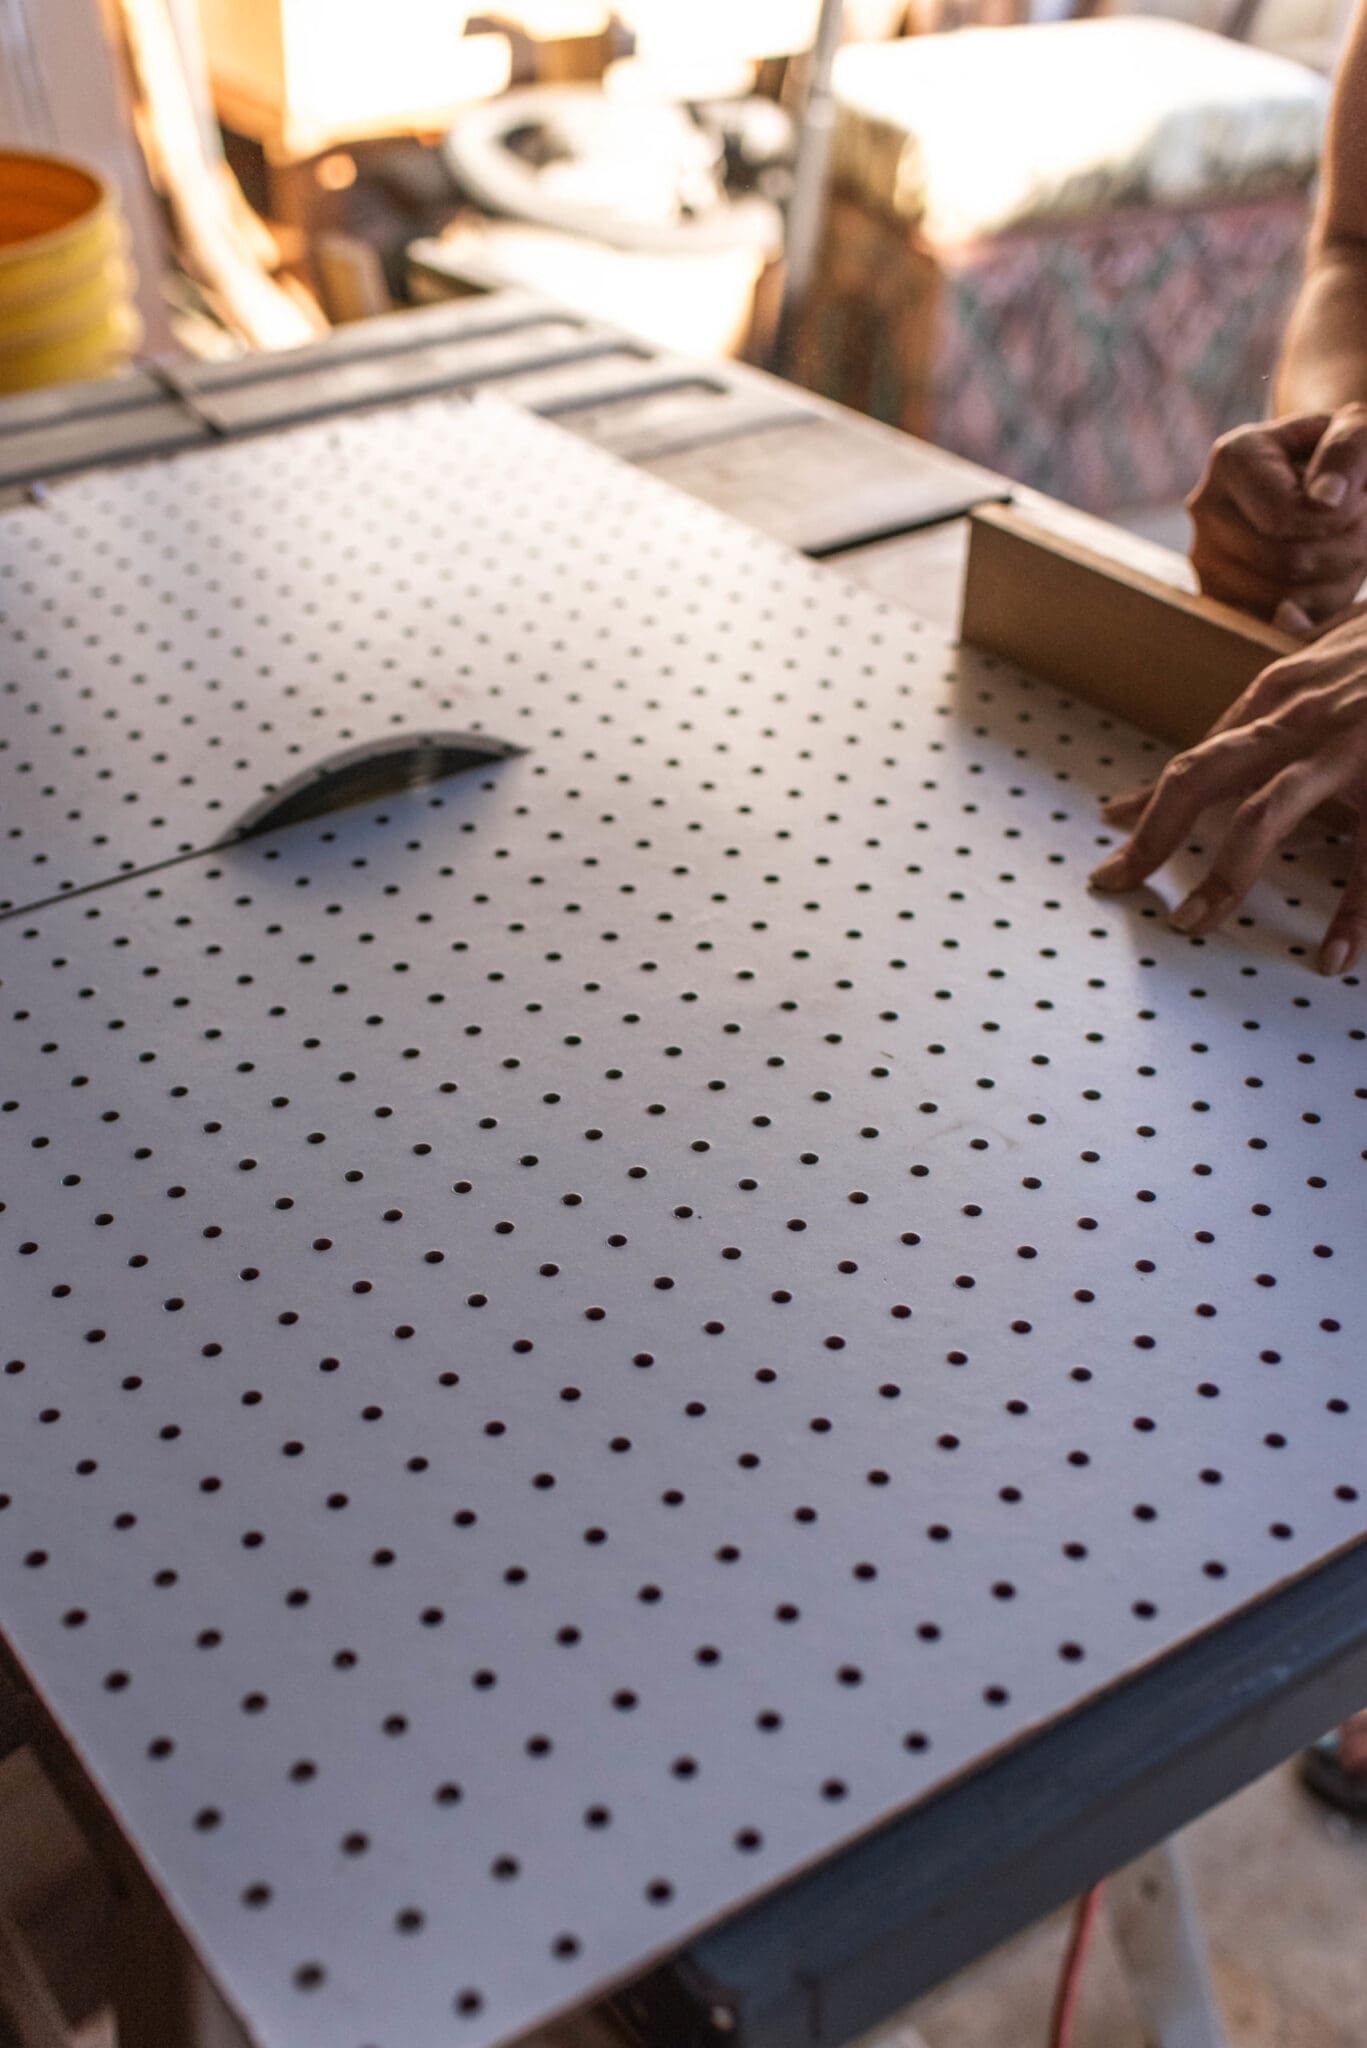
We first measured the plywood to the exact middle point, marked it and cut it in half. We used a table saw here but you could easily use a handheld jigsaw for this too.
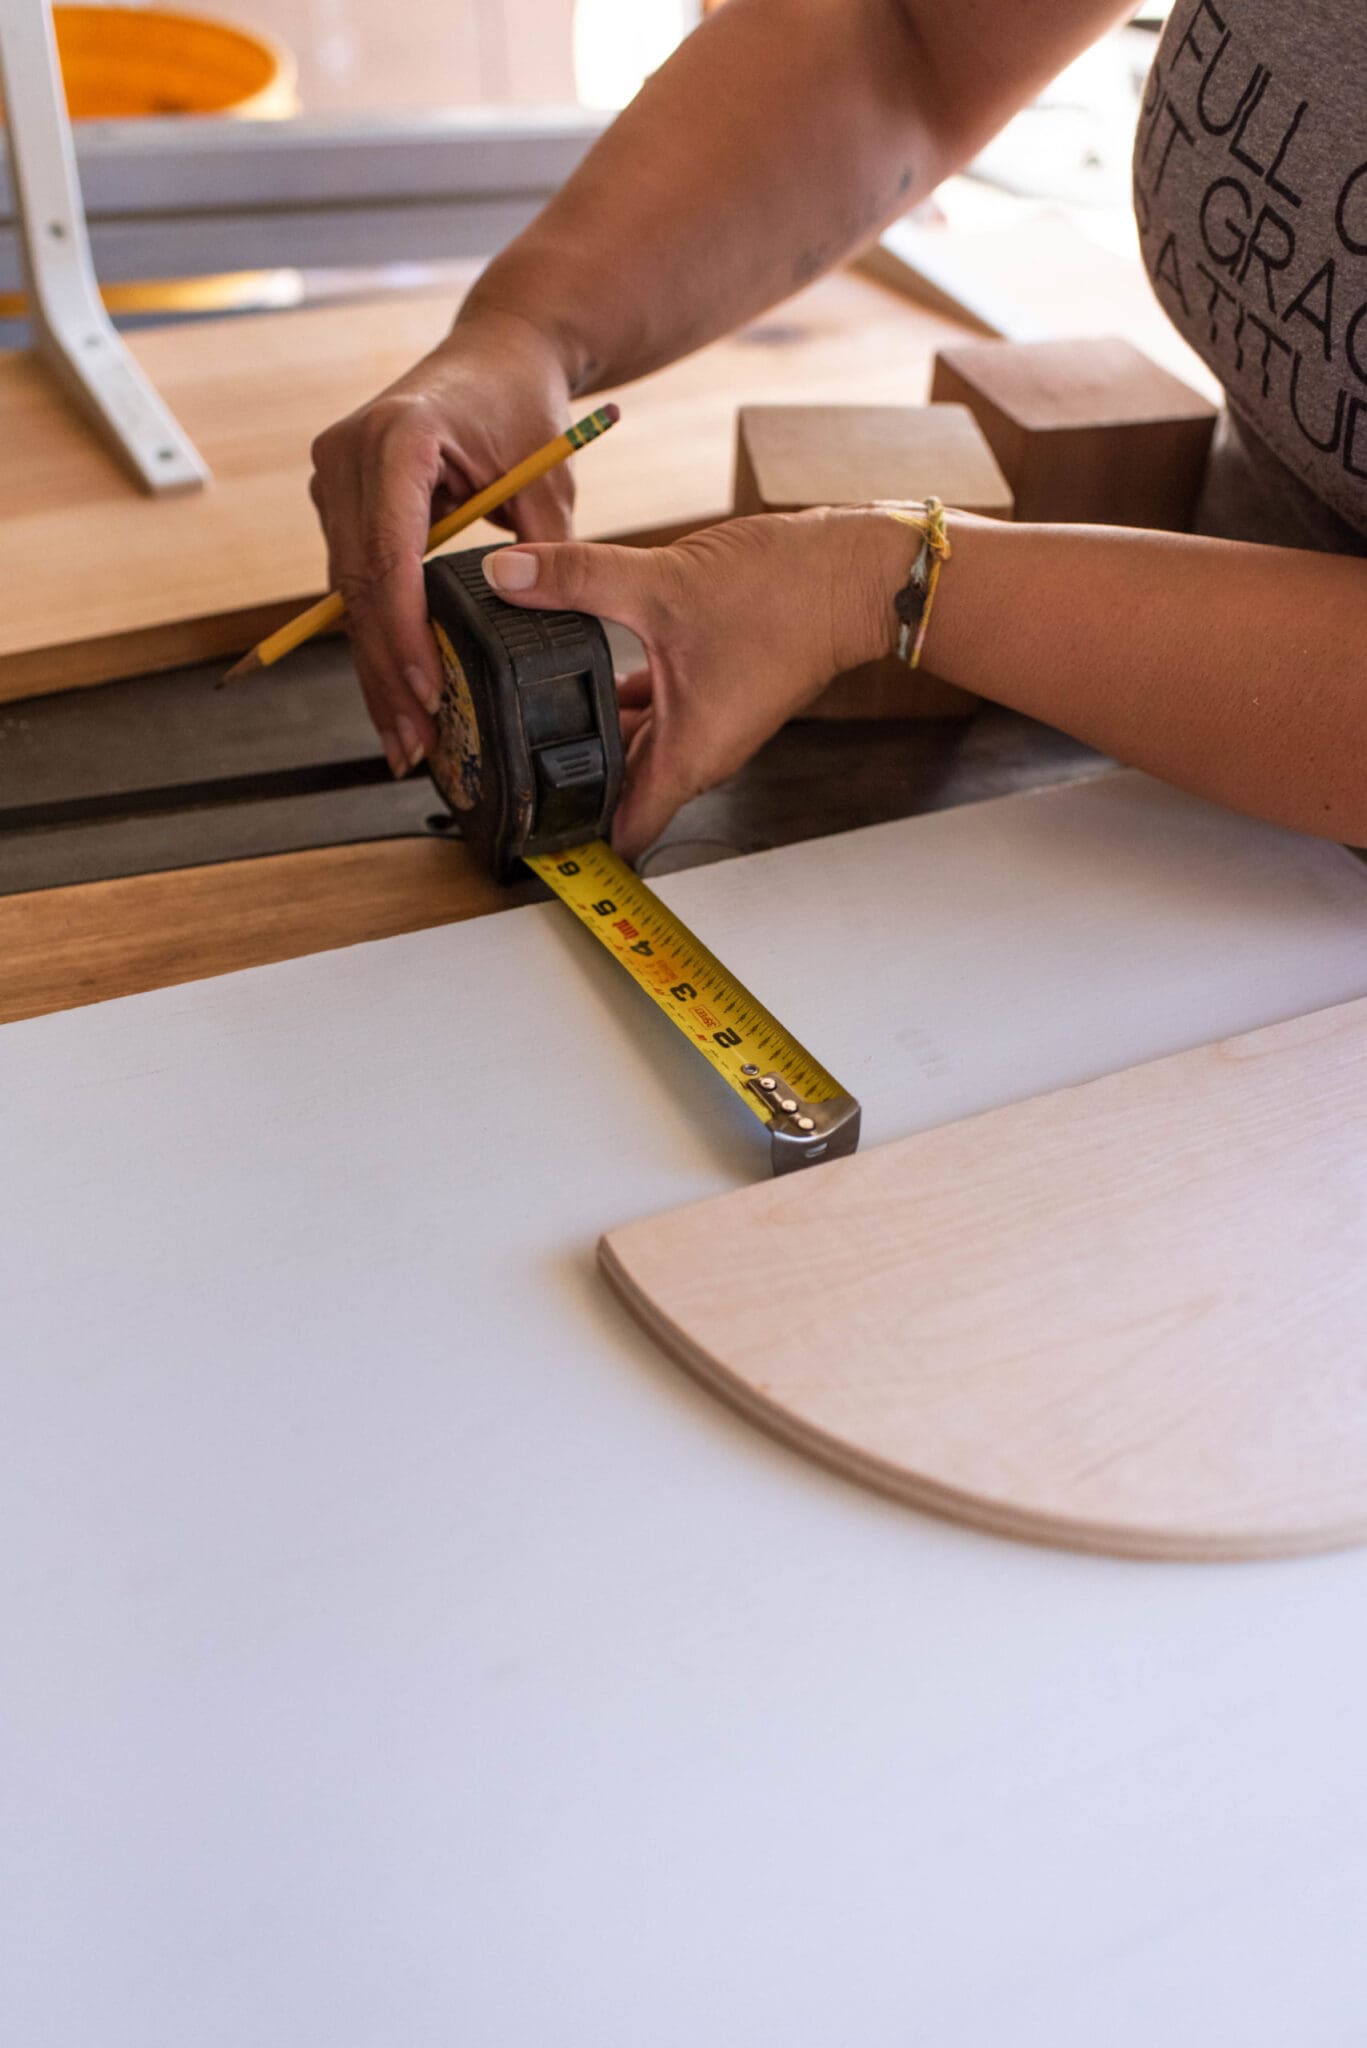
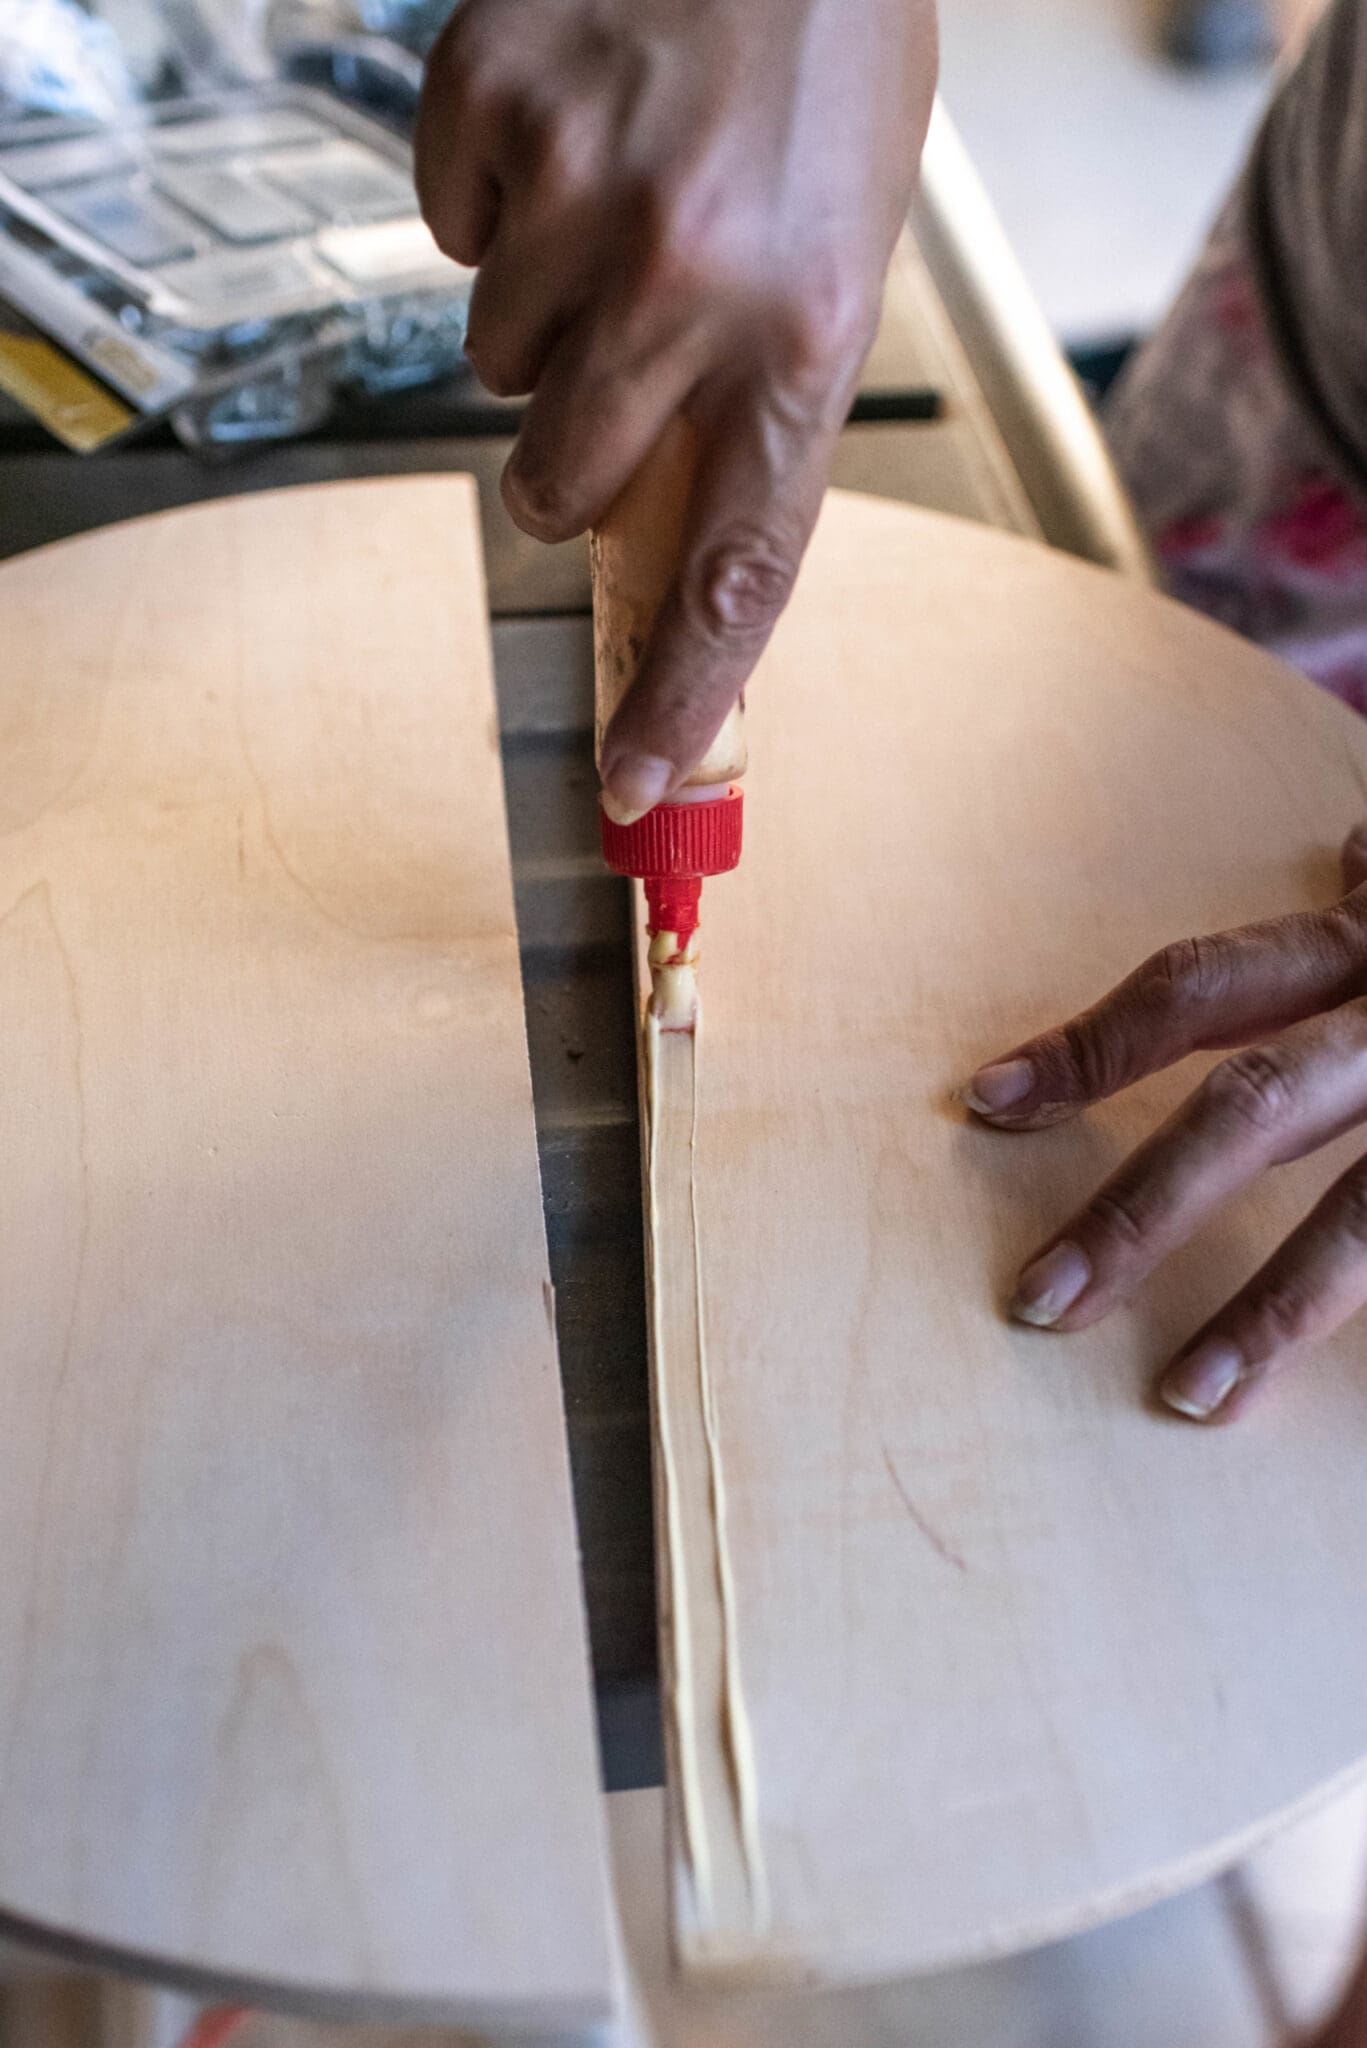
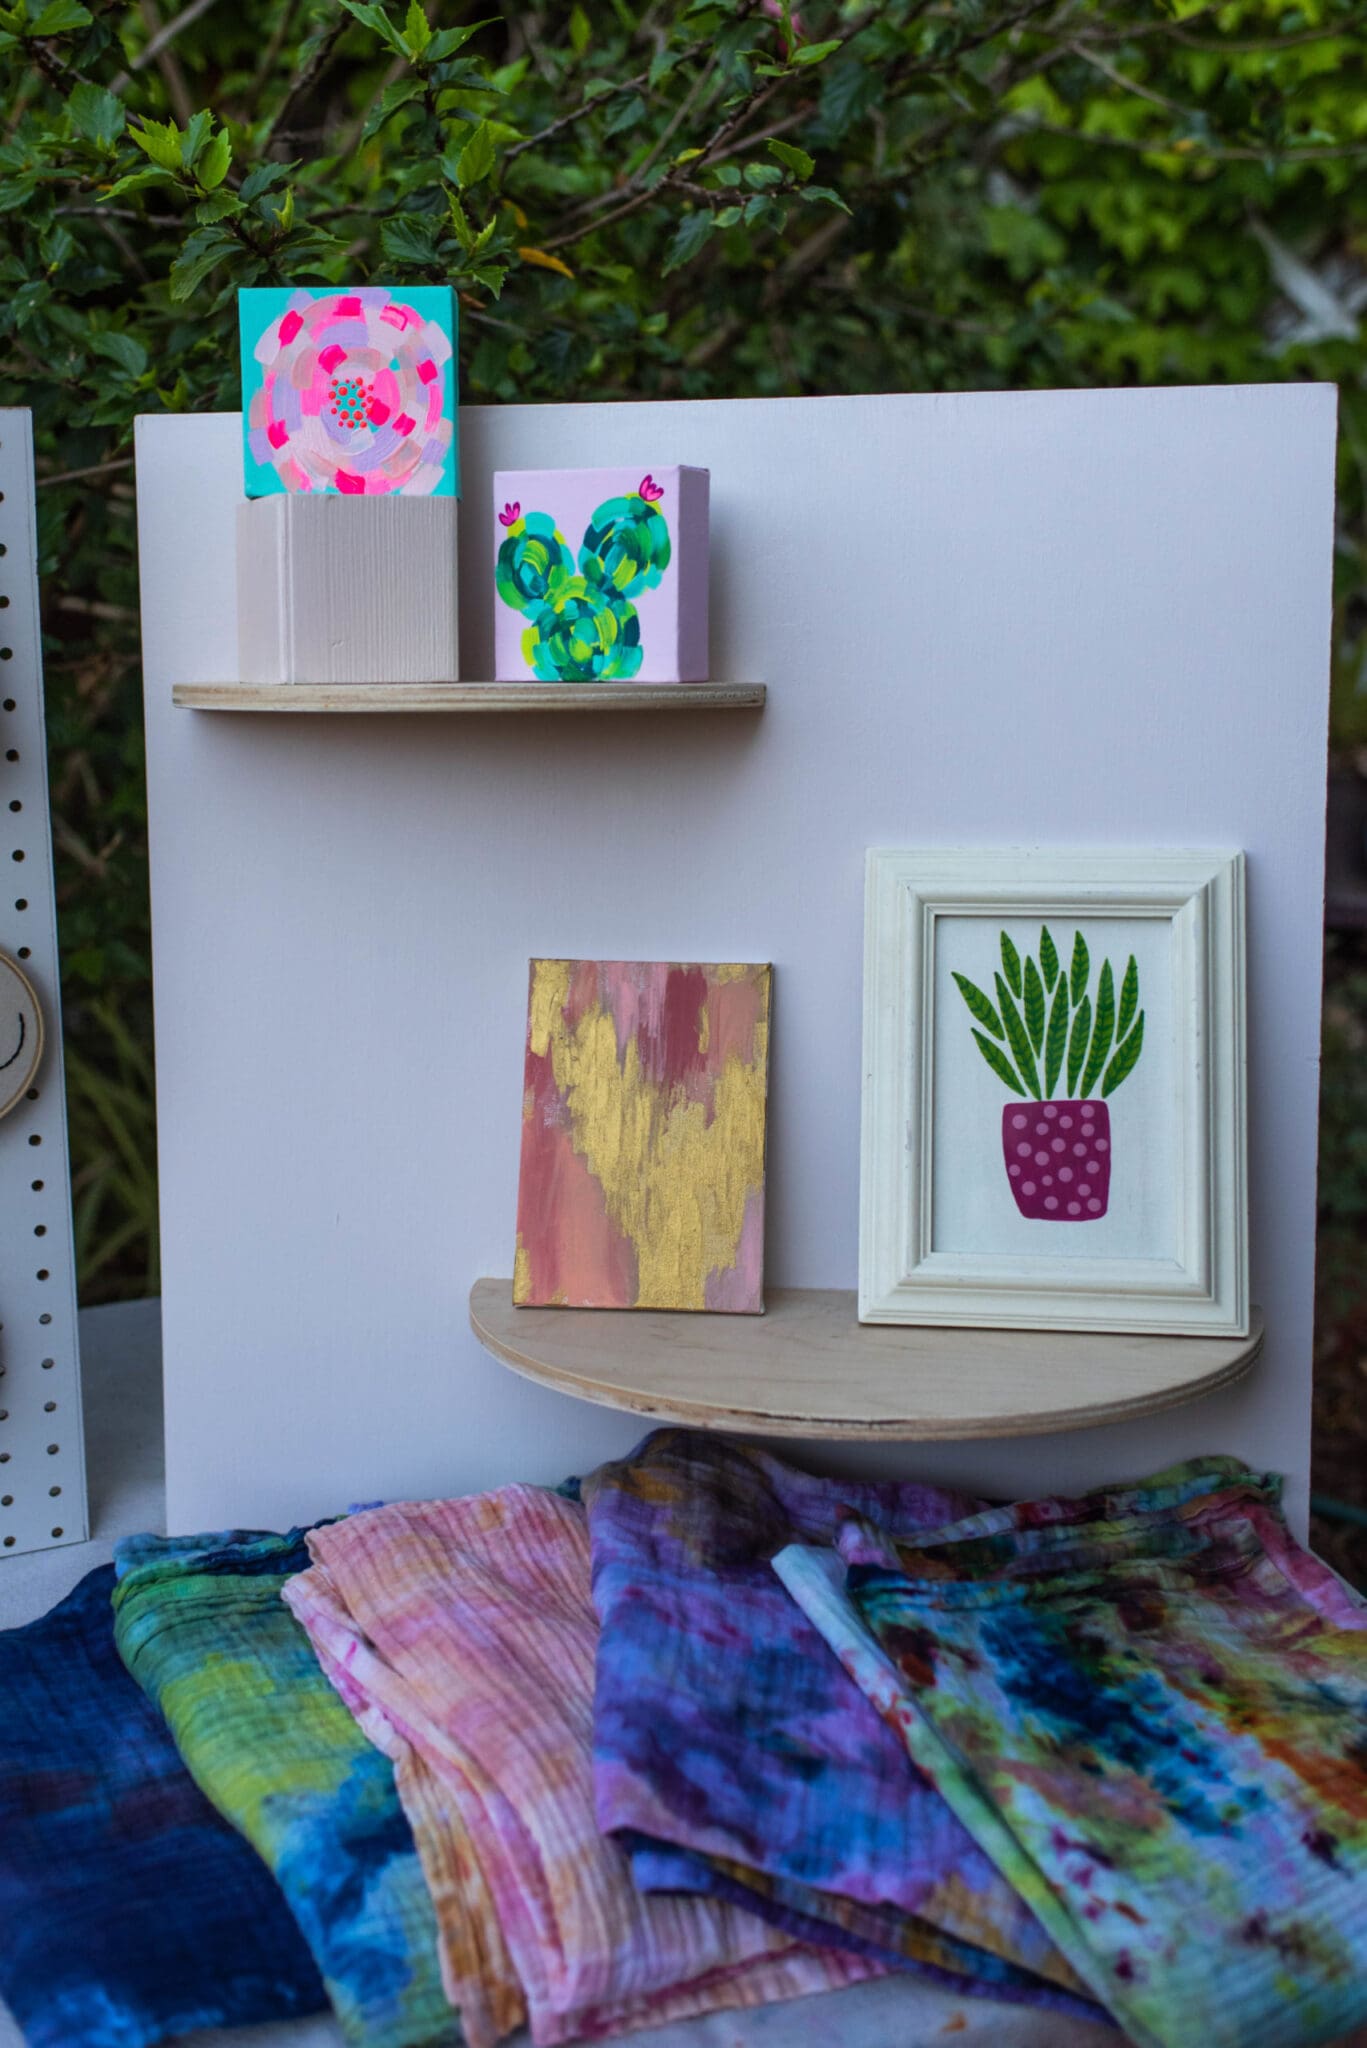
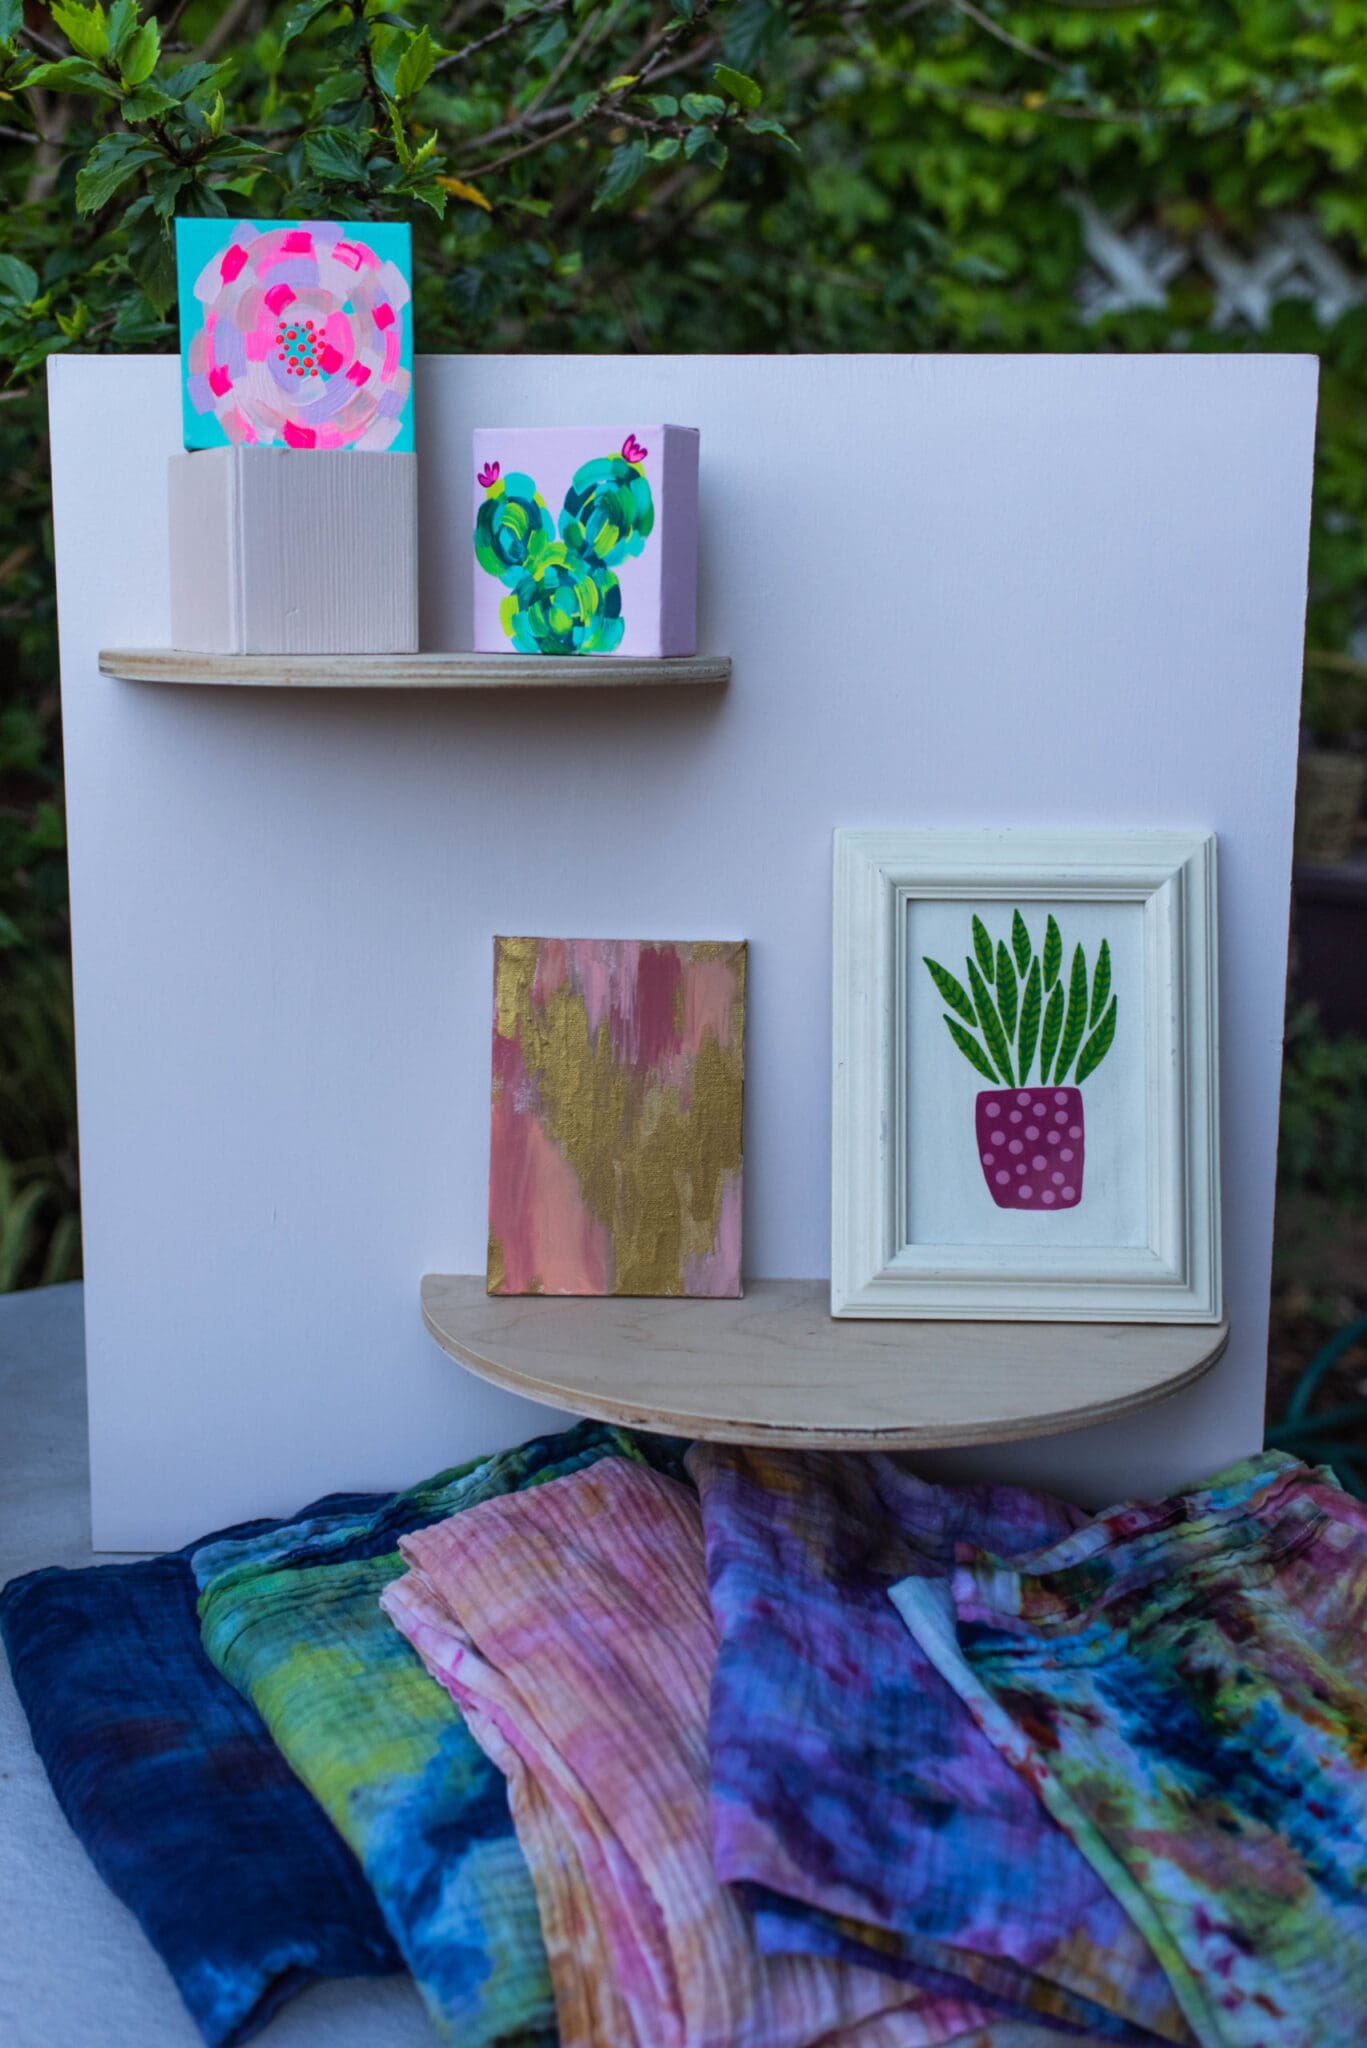
Once it was cut in half we measured again, 5 ½ inches from the top and the bottom in, and attached our birch half circles. For this we used wood glue and a nail gun. You could also used wood glue, wait for it to dry and then use your power drill and wood screws and screw it in place from the back. I wouldn’t recommend using just wood glue for this since the half circles are pretty heavy on their own and I wanted to use them as shelves.
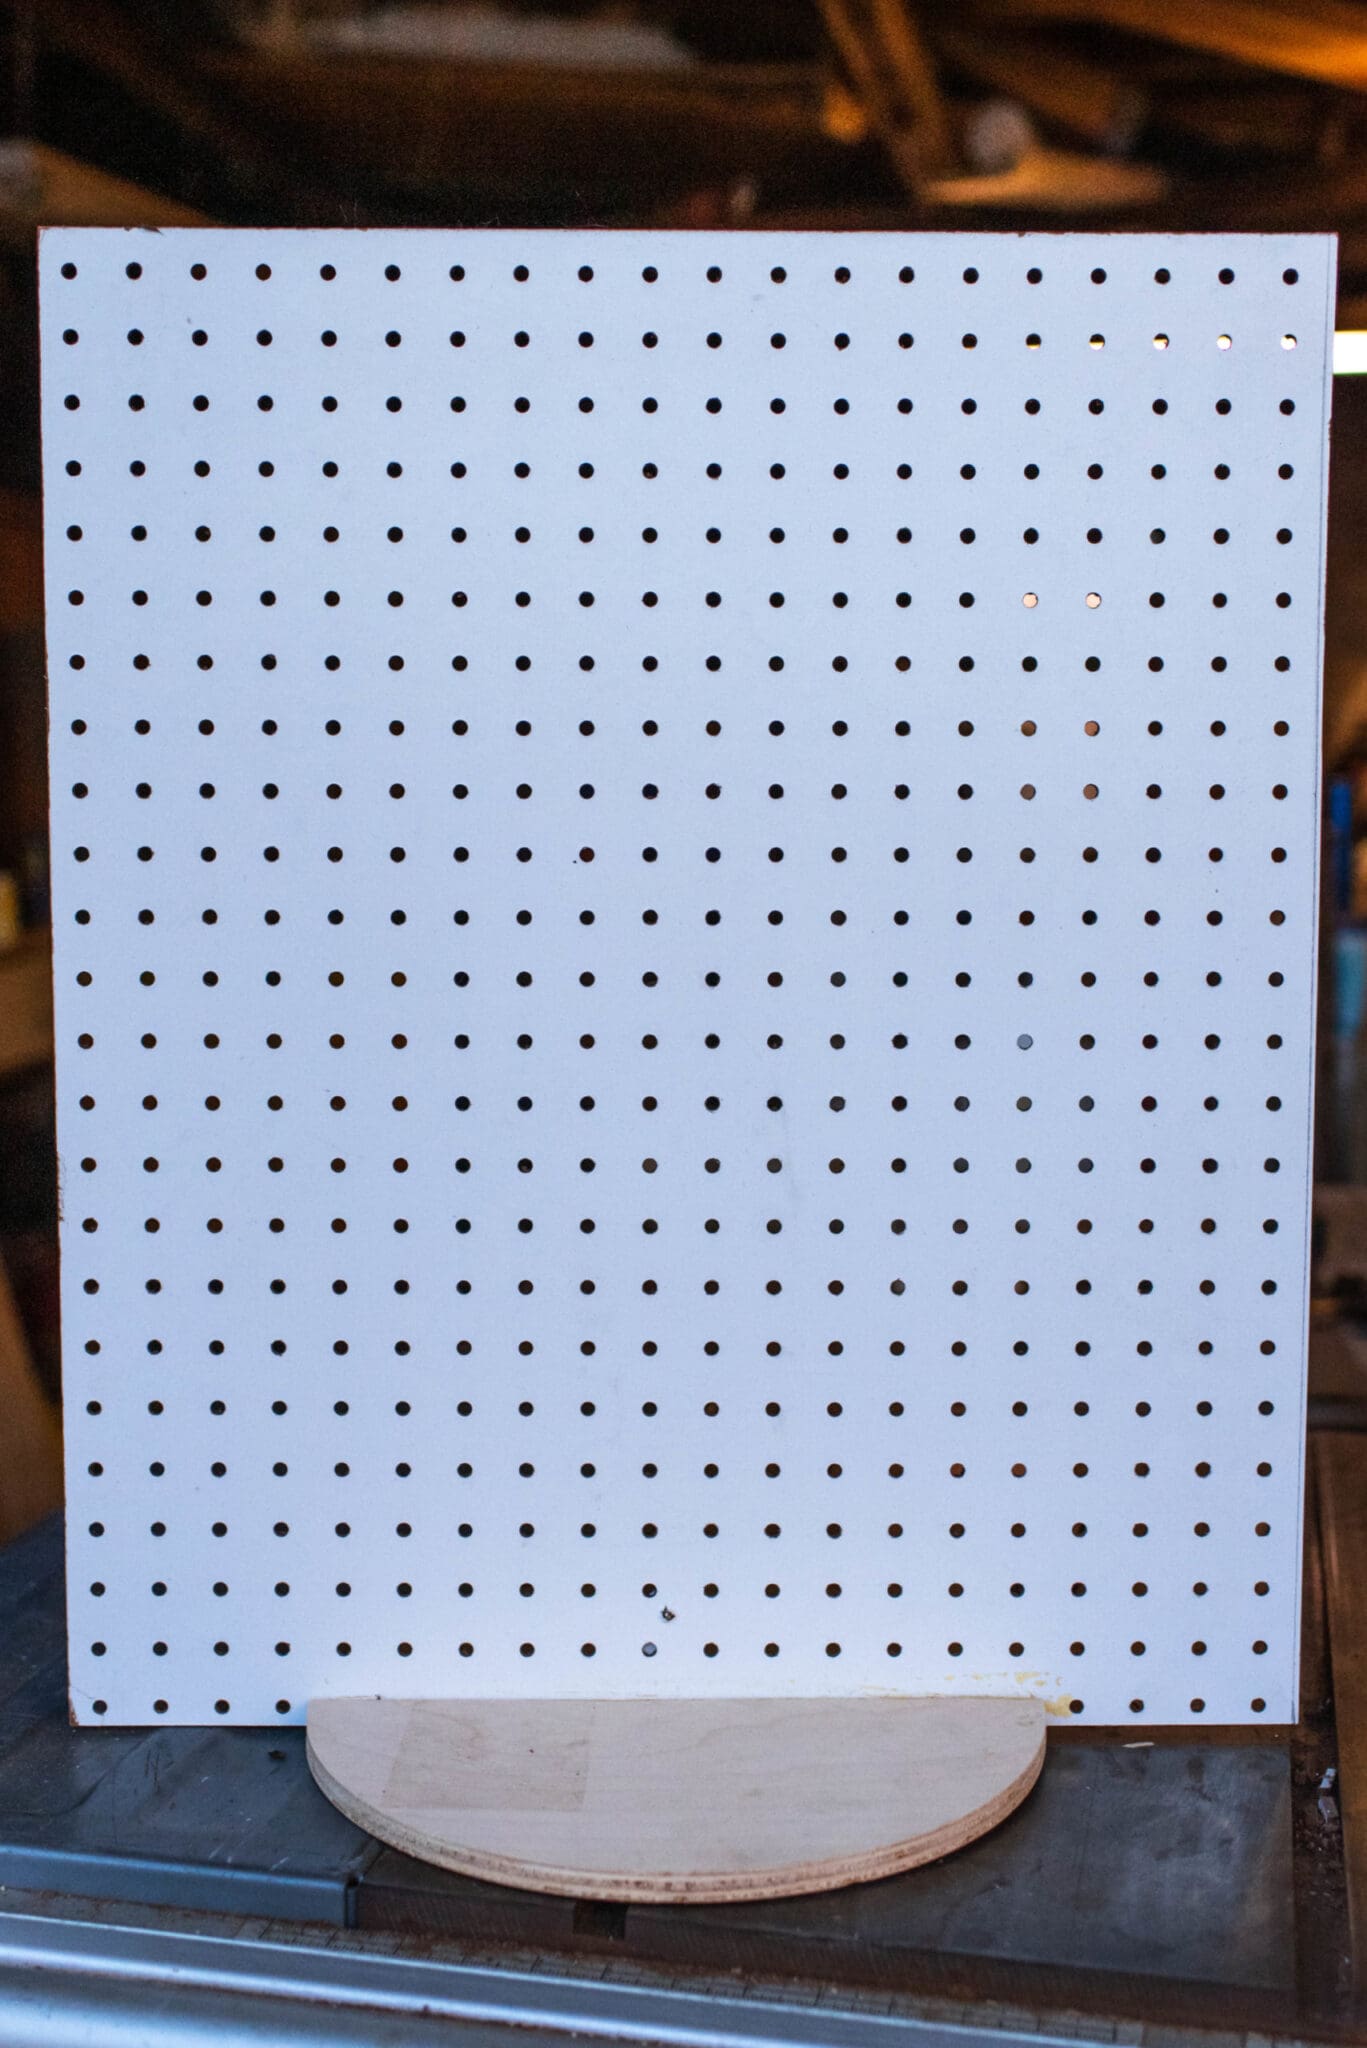
After everything is dry and securely attached, you can paint it however you like, if you like. If you want these to stand on their own, you can attach a wooden board to the back with a door hinge. The hinge will help with storage and transport so it can lay on its back and then prop up.
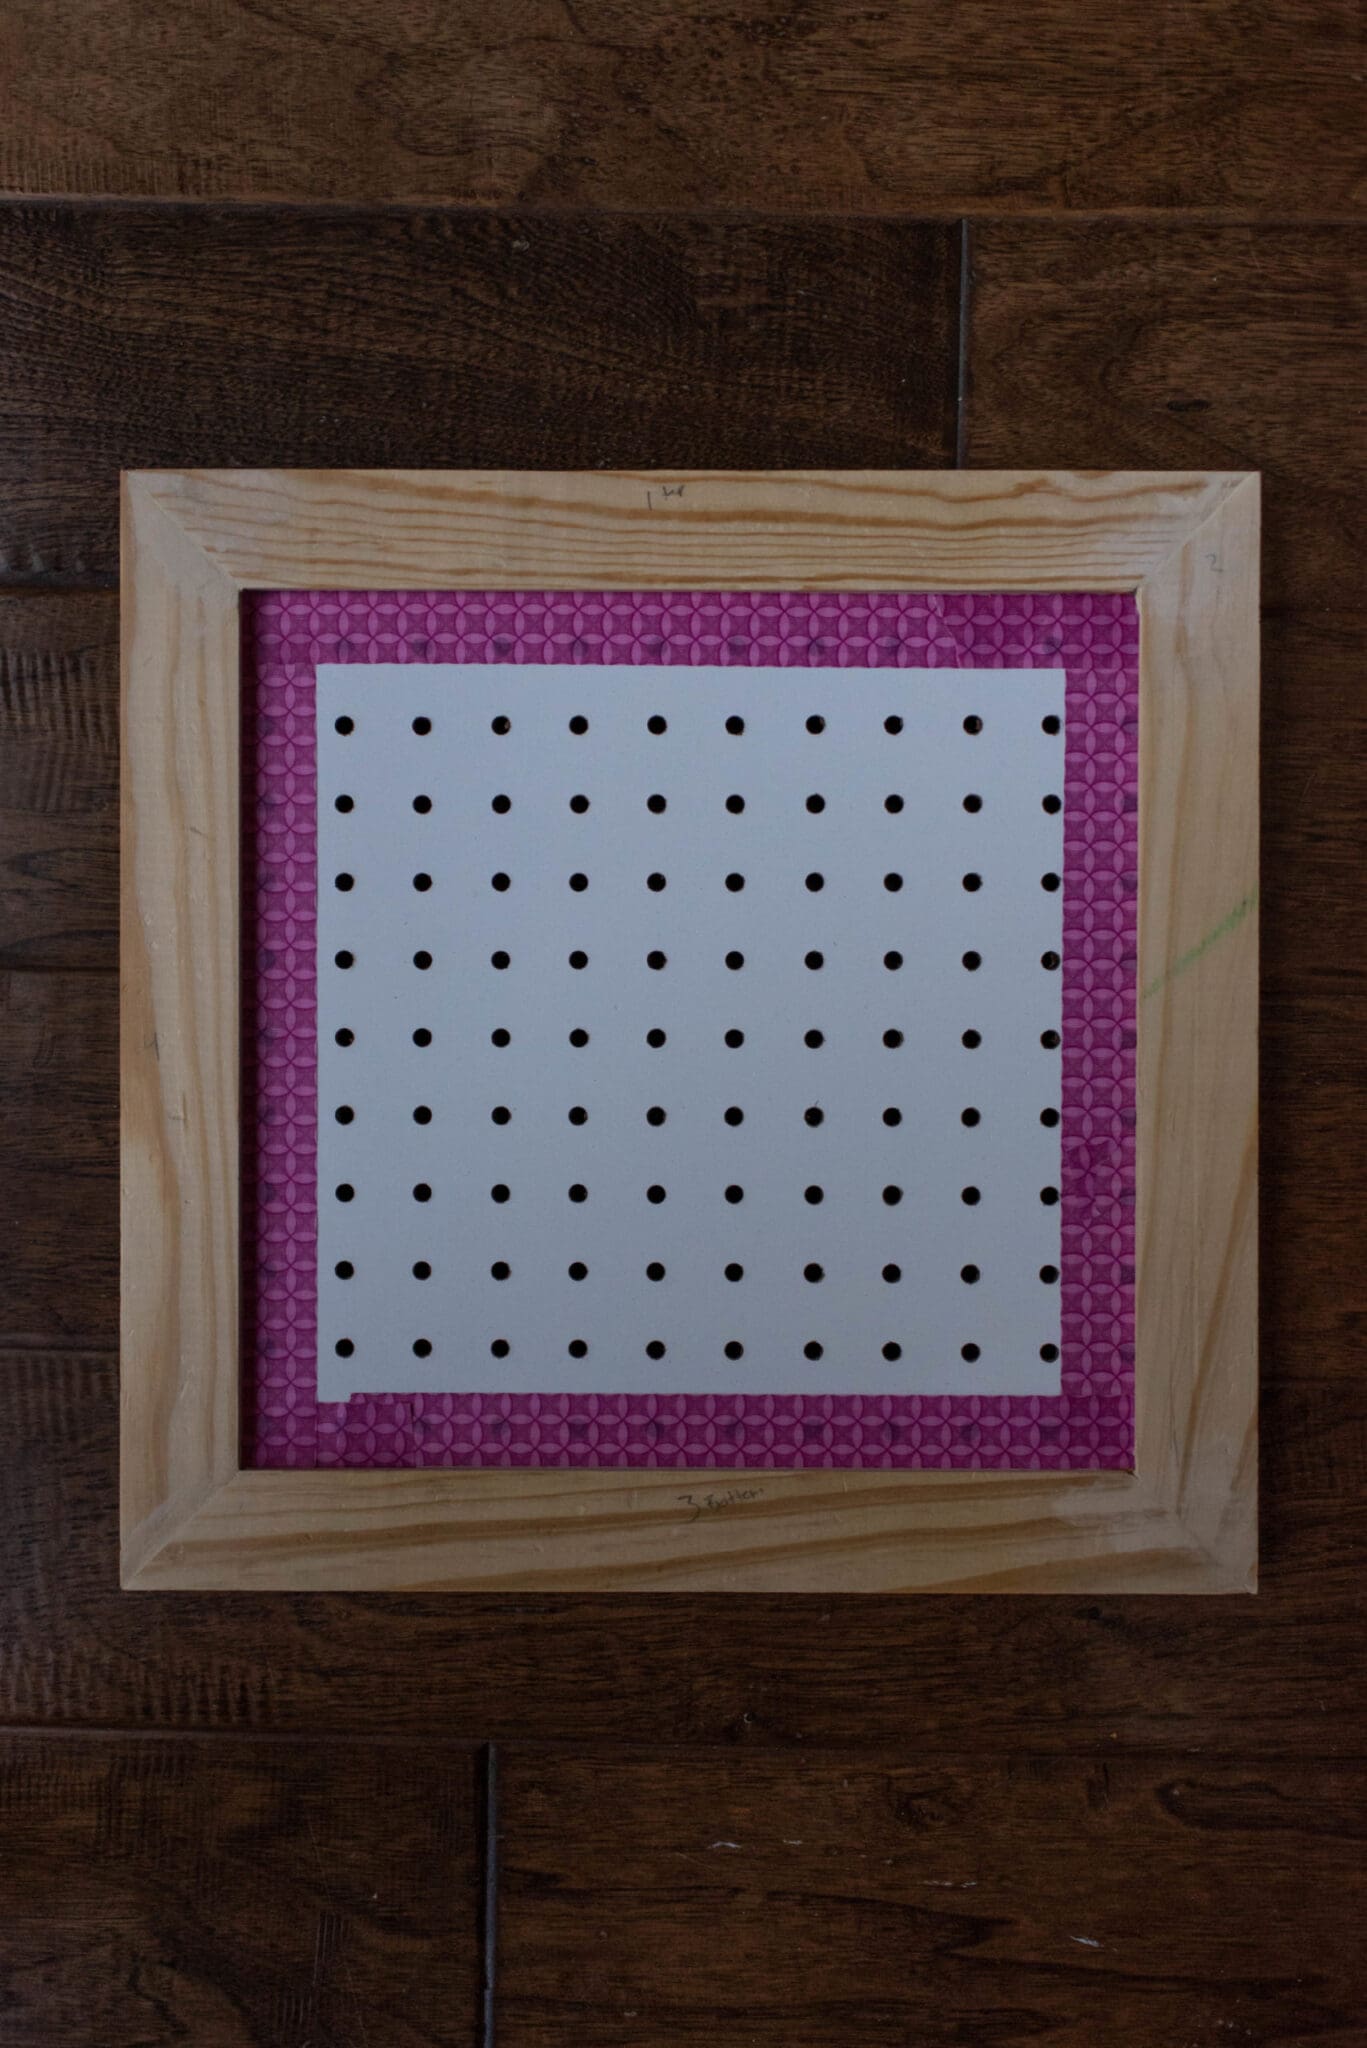
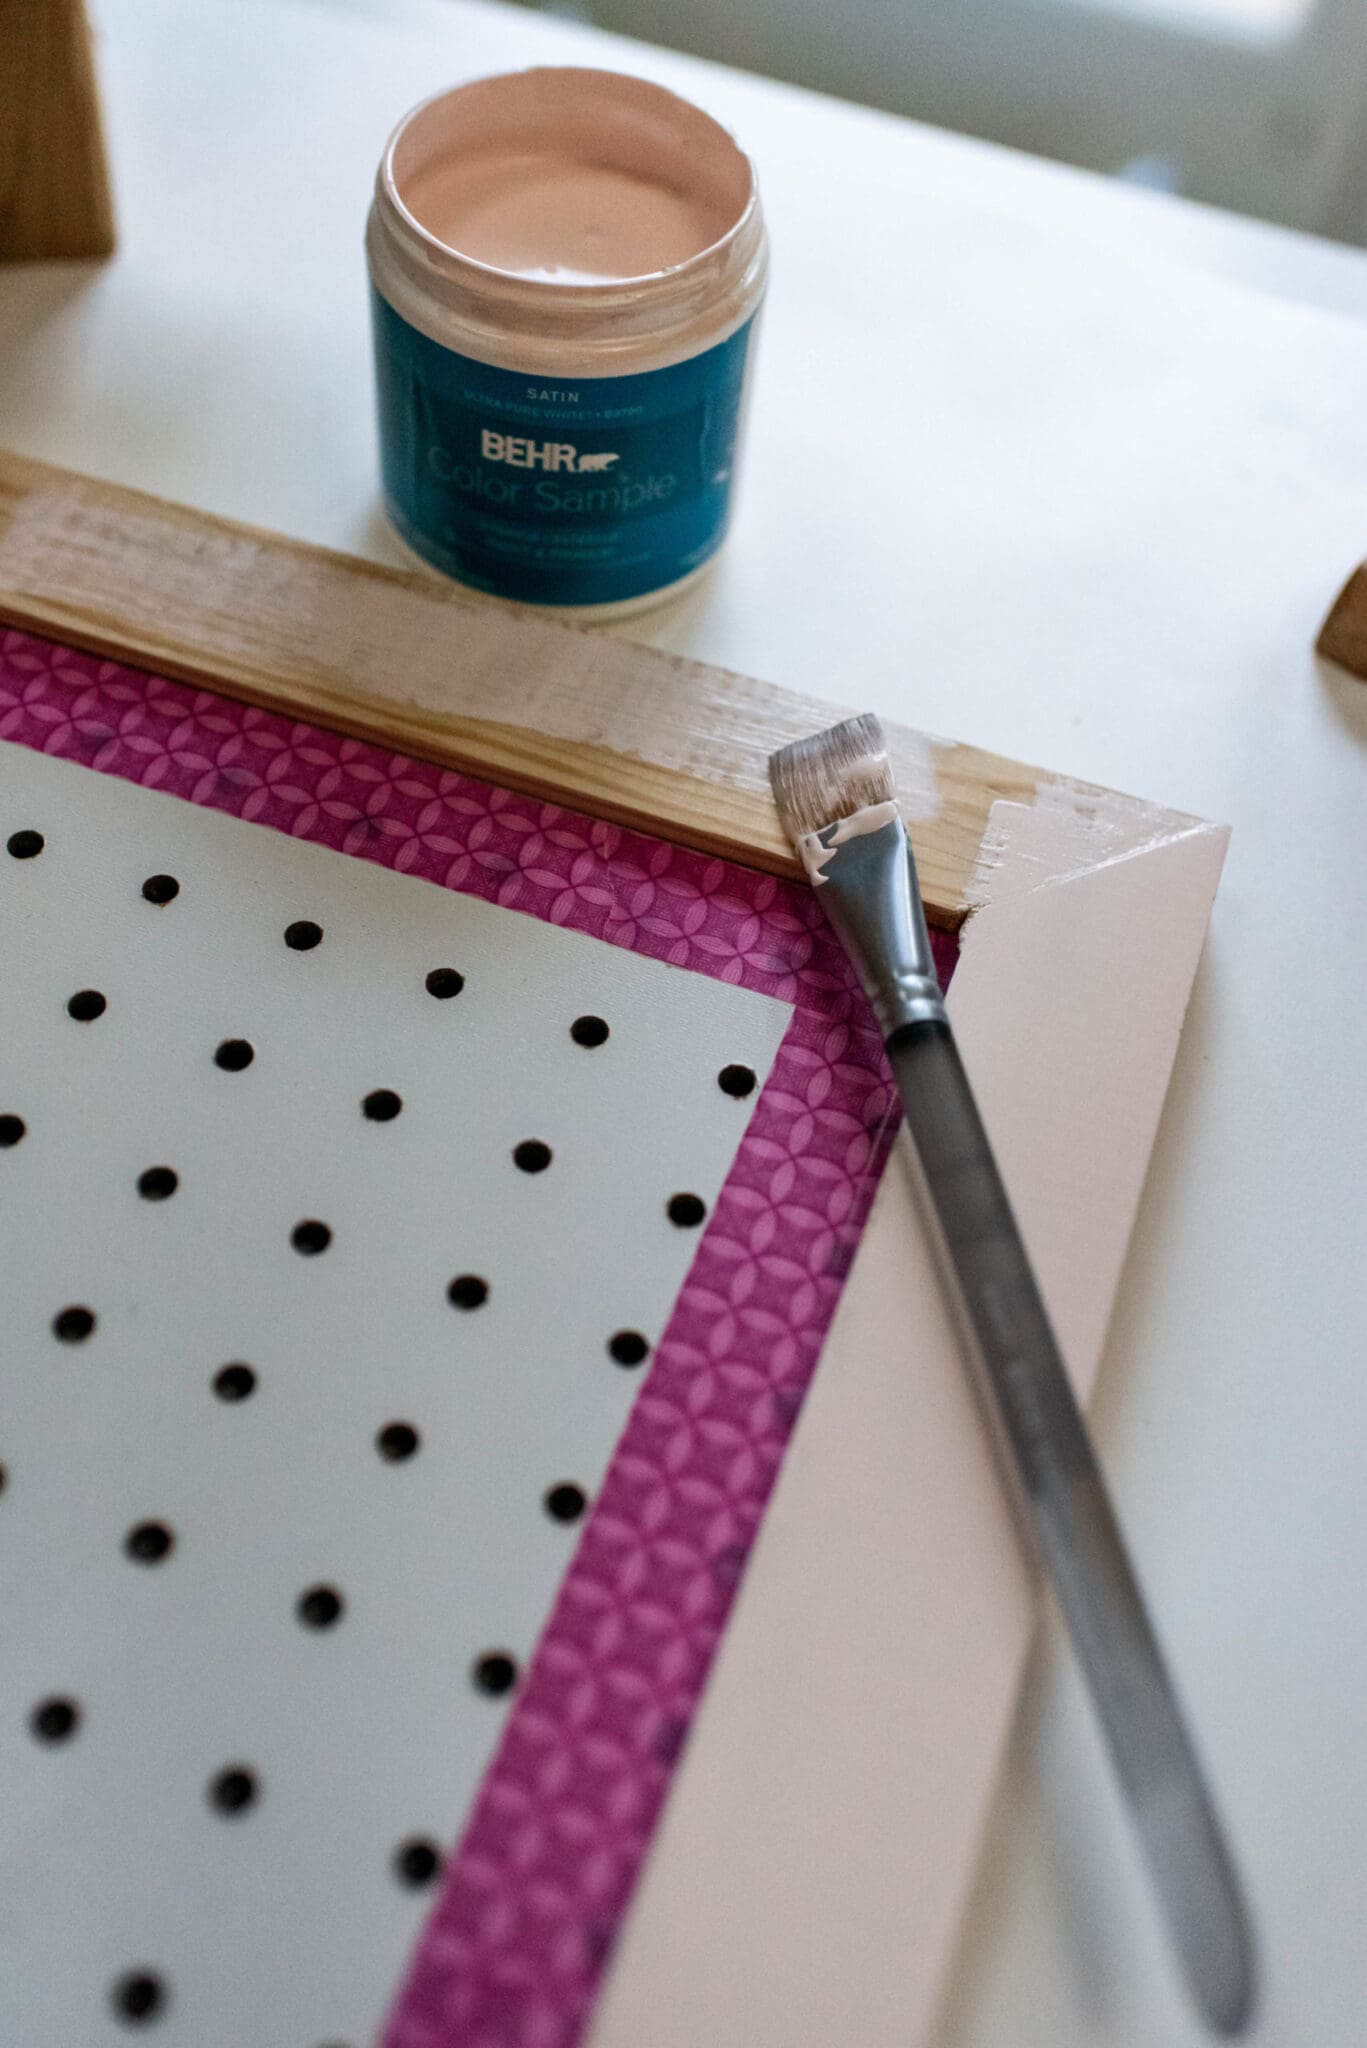
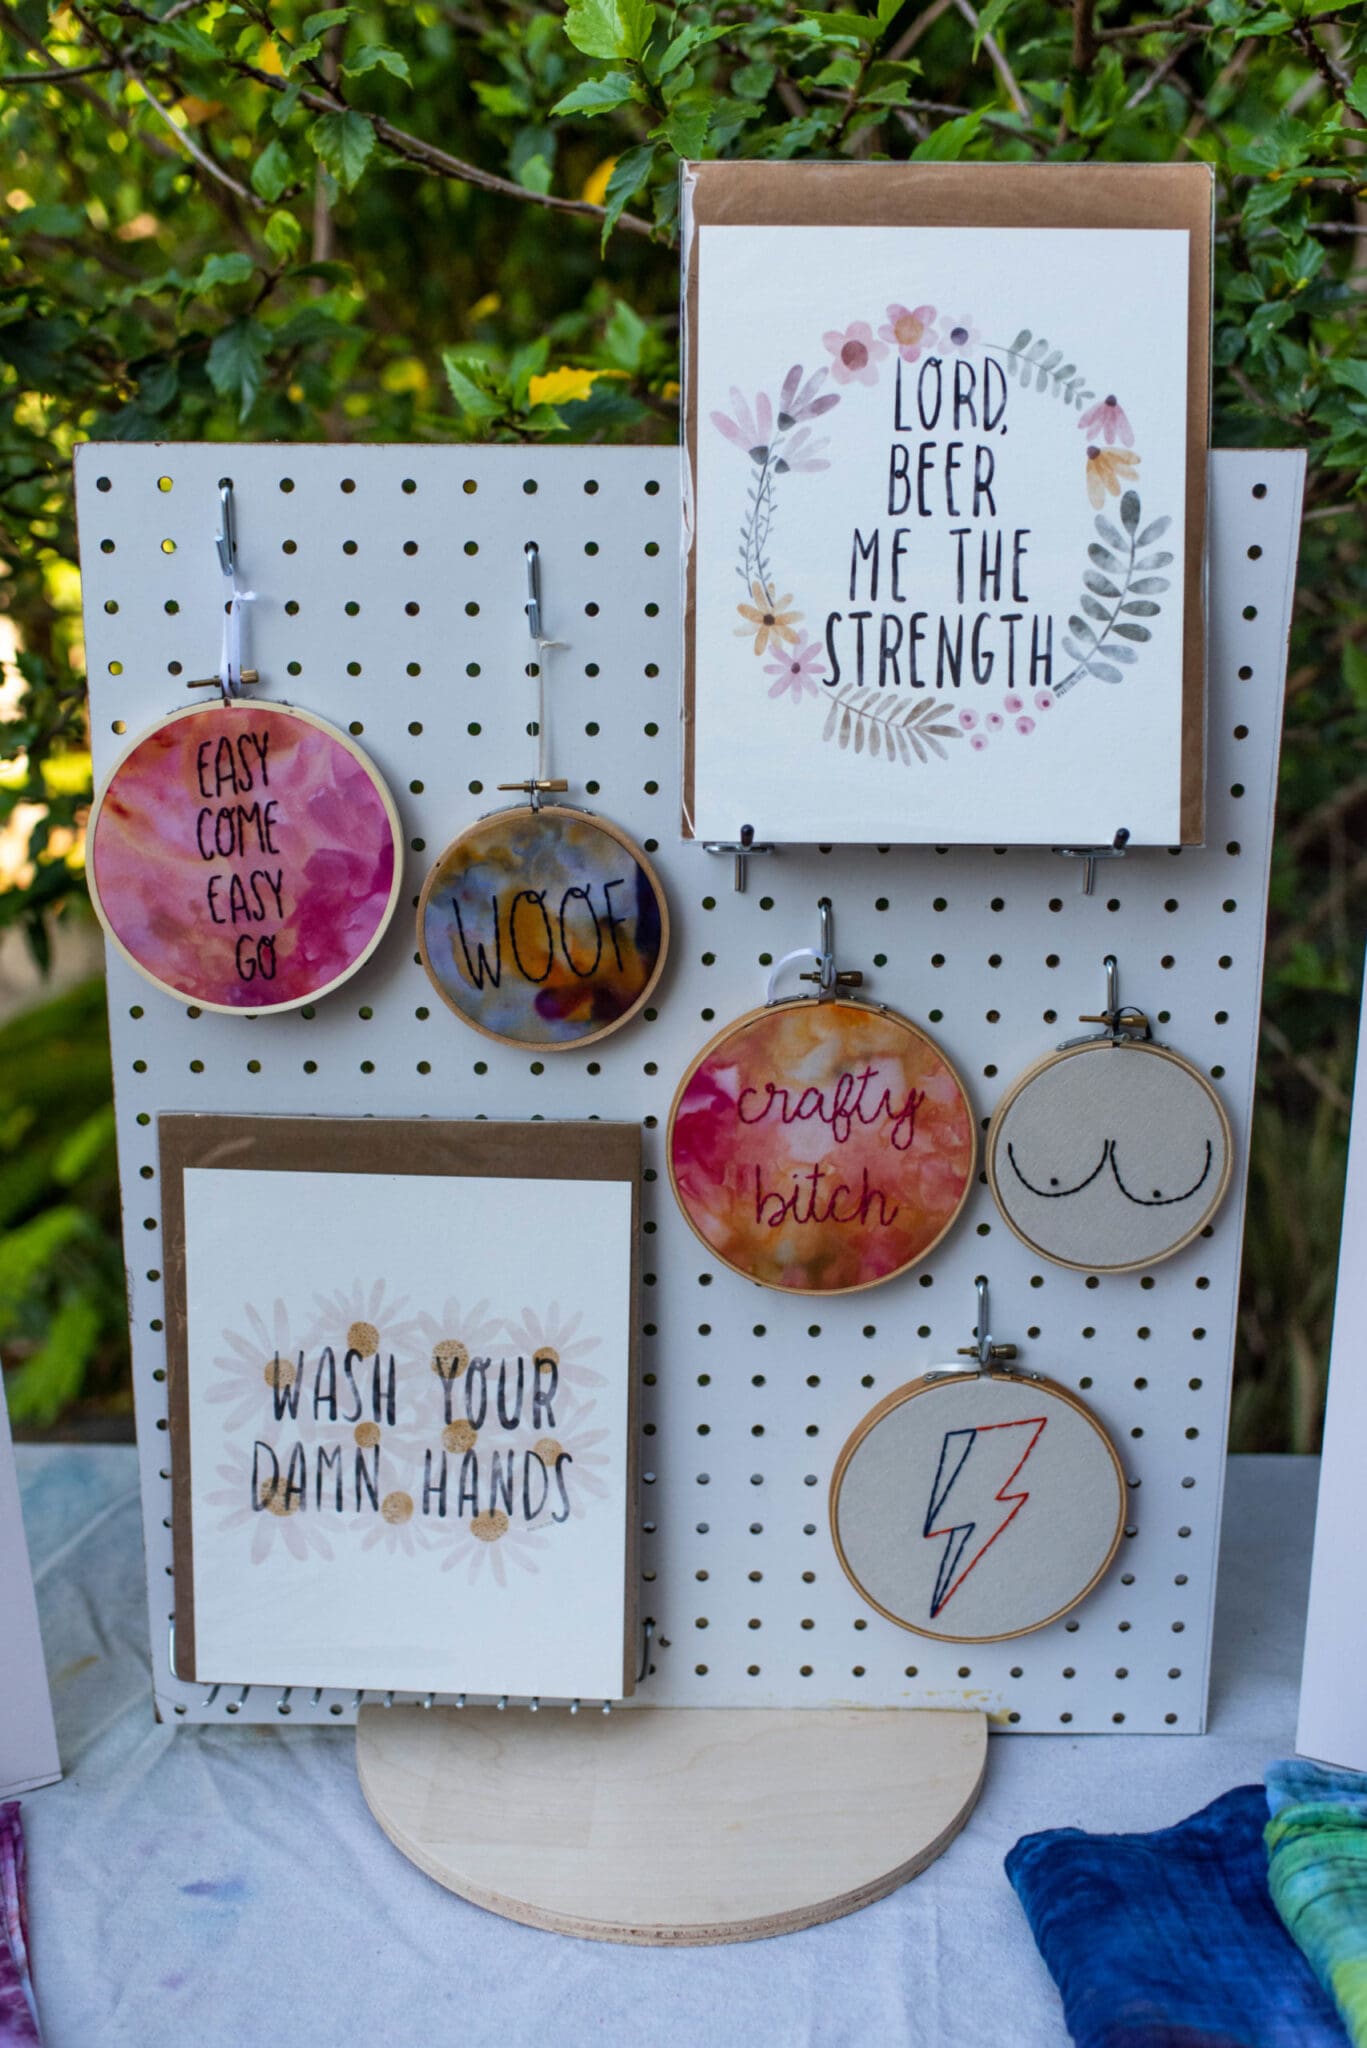
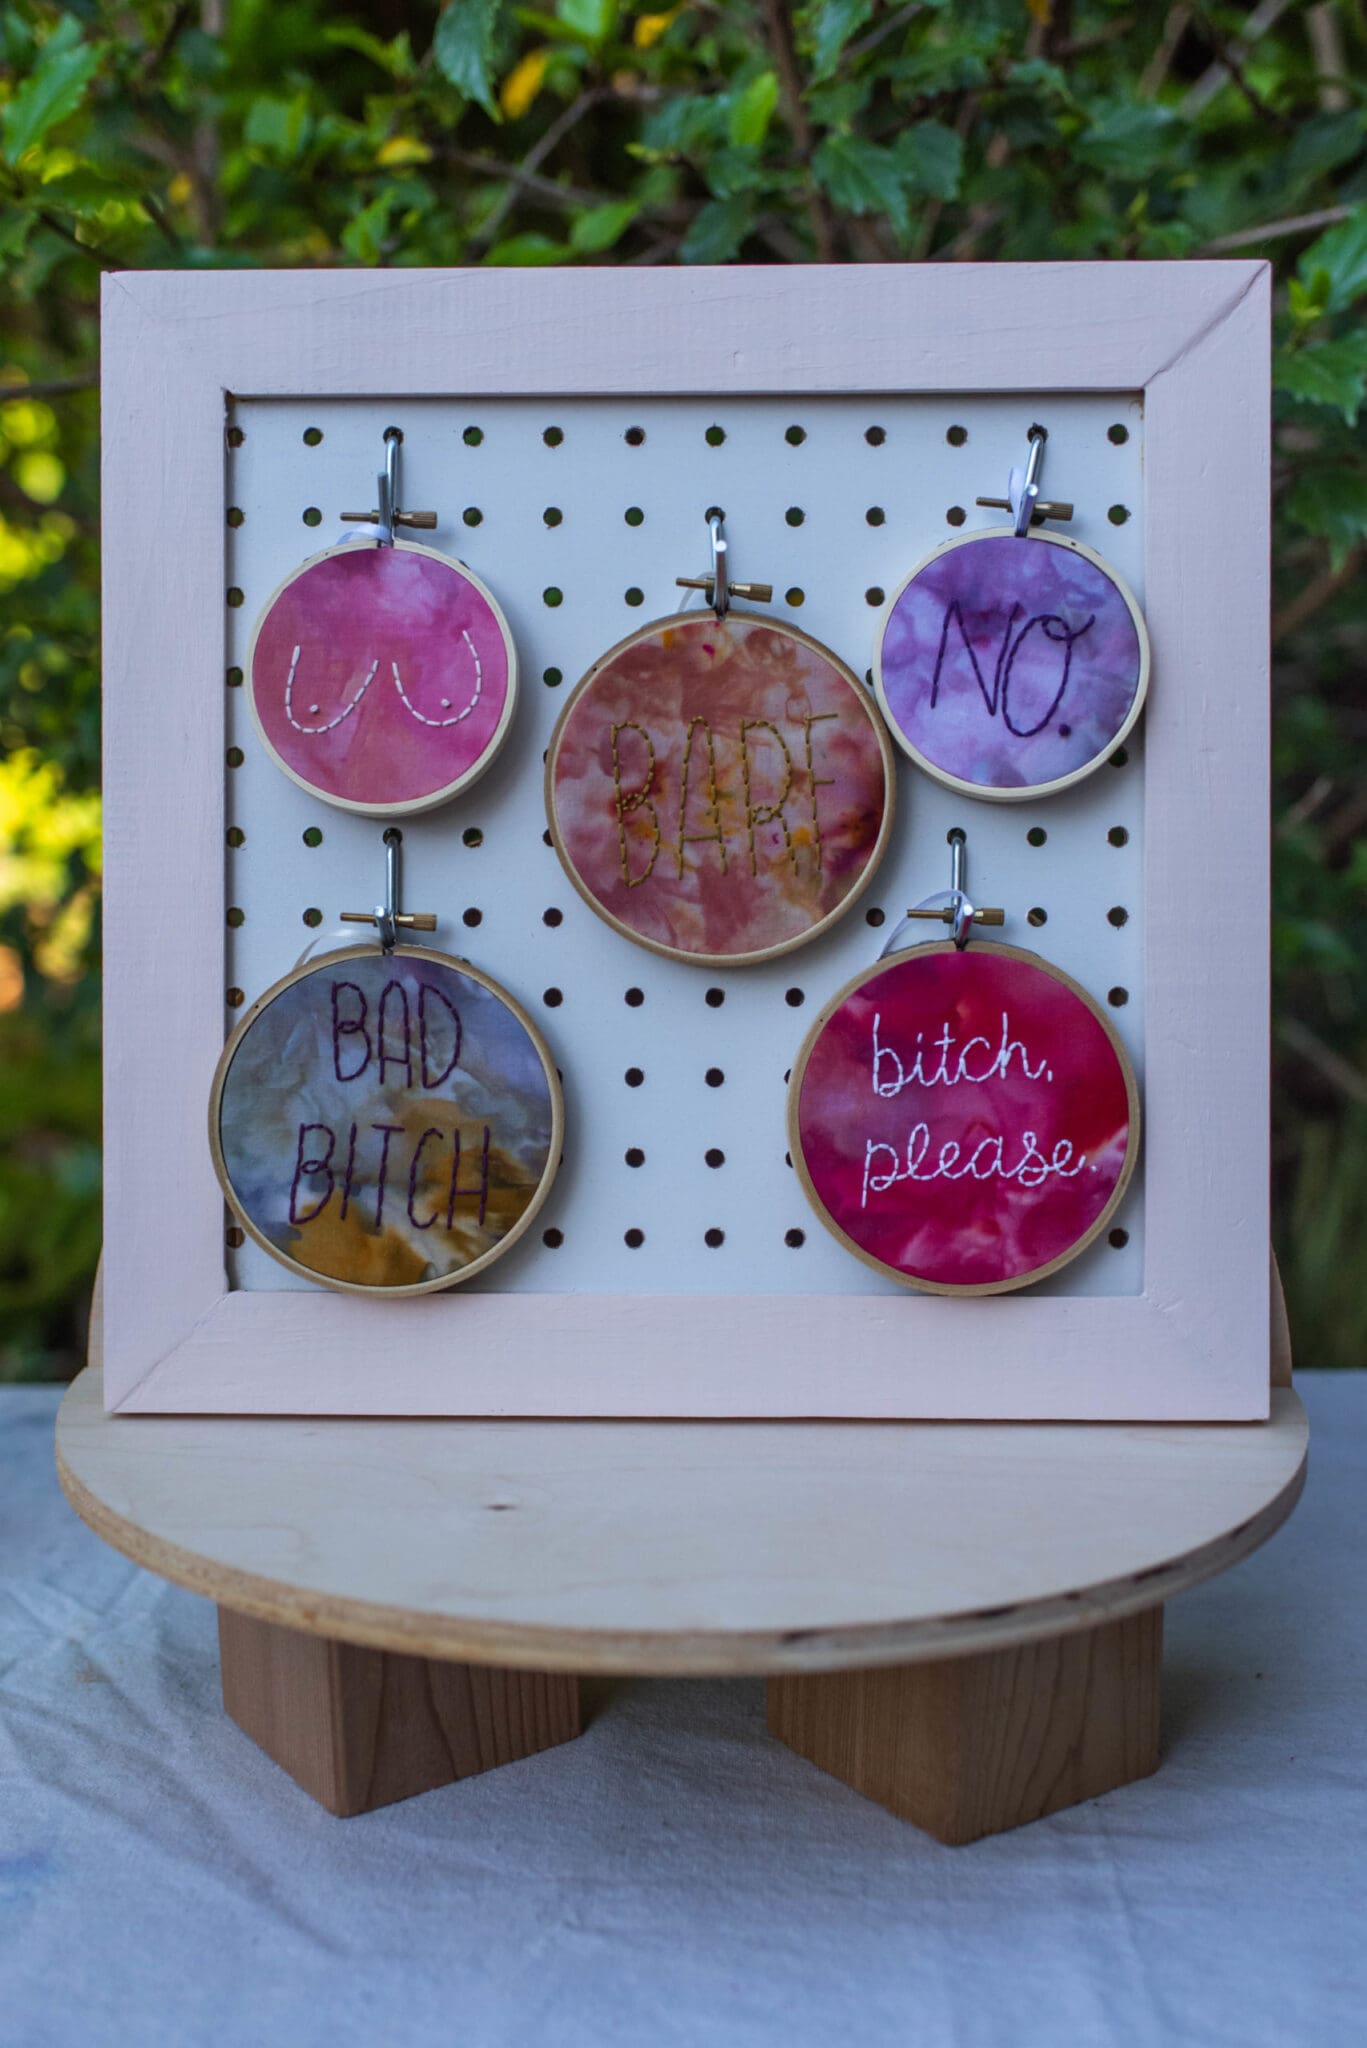
I put together the 4 frame rails to measure them and then we cut a piece of pegboard down to the size that it would fit inside the frame rails. We then used wood glue on the inside of the frame rails and glued in the pegboard on all sides. We did use a nail gun to secure it – it would most likely hold with just the wood glue but, my best friend is a perfectionist. 😉
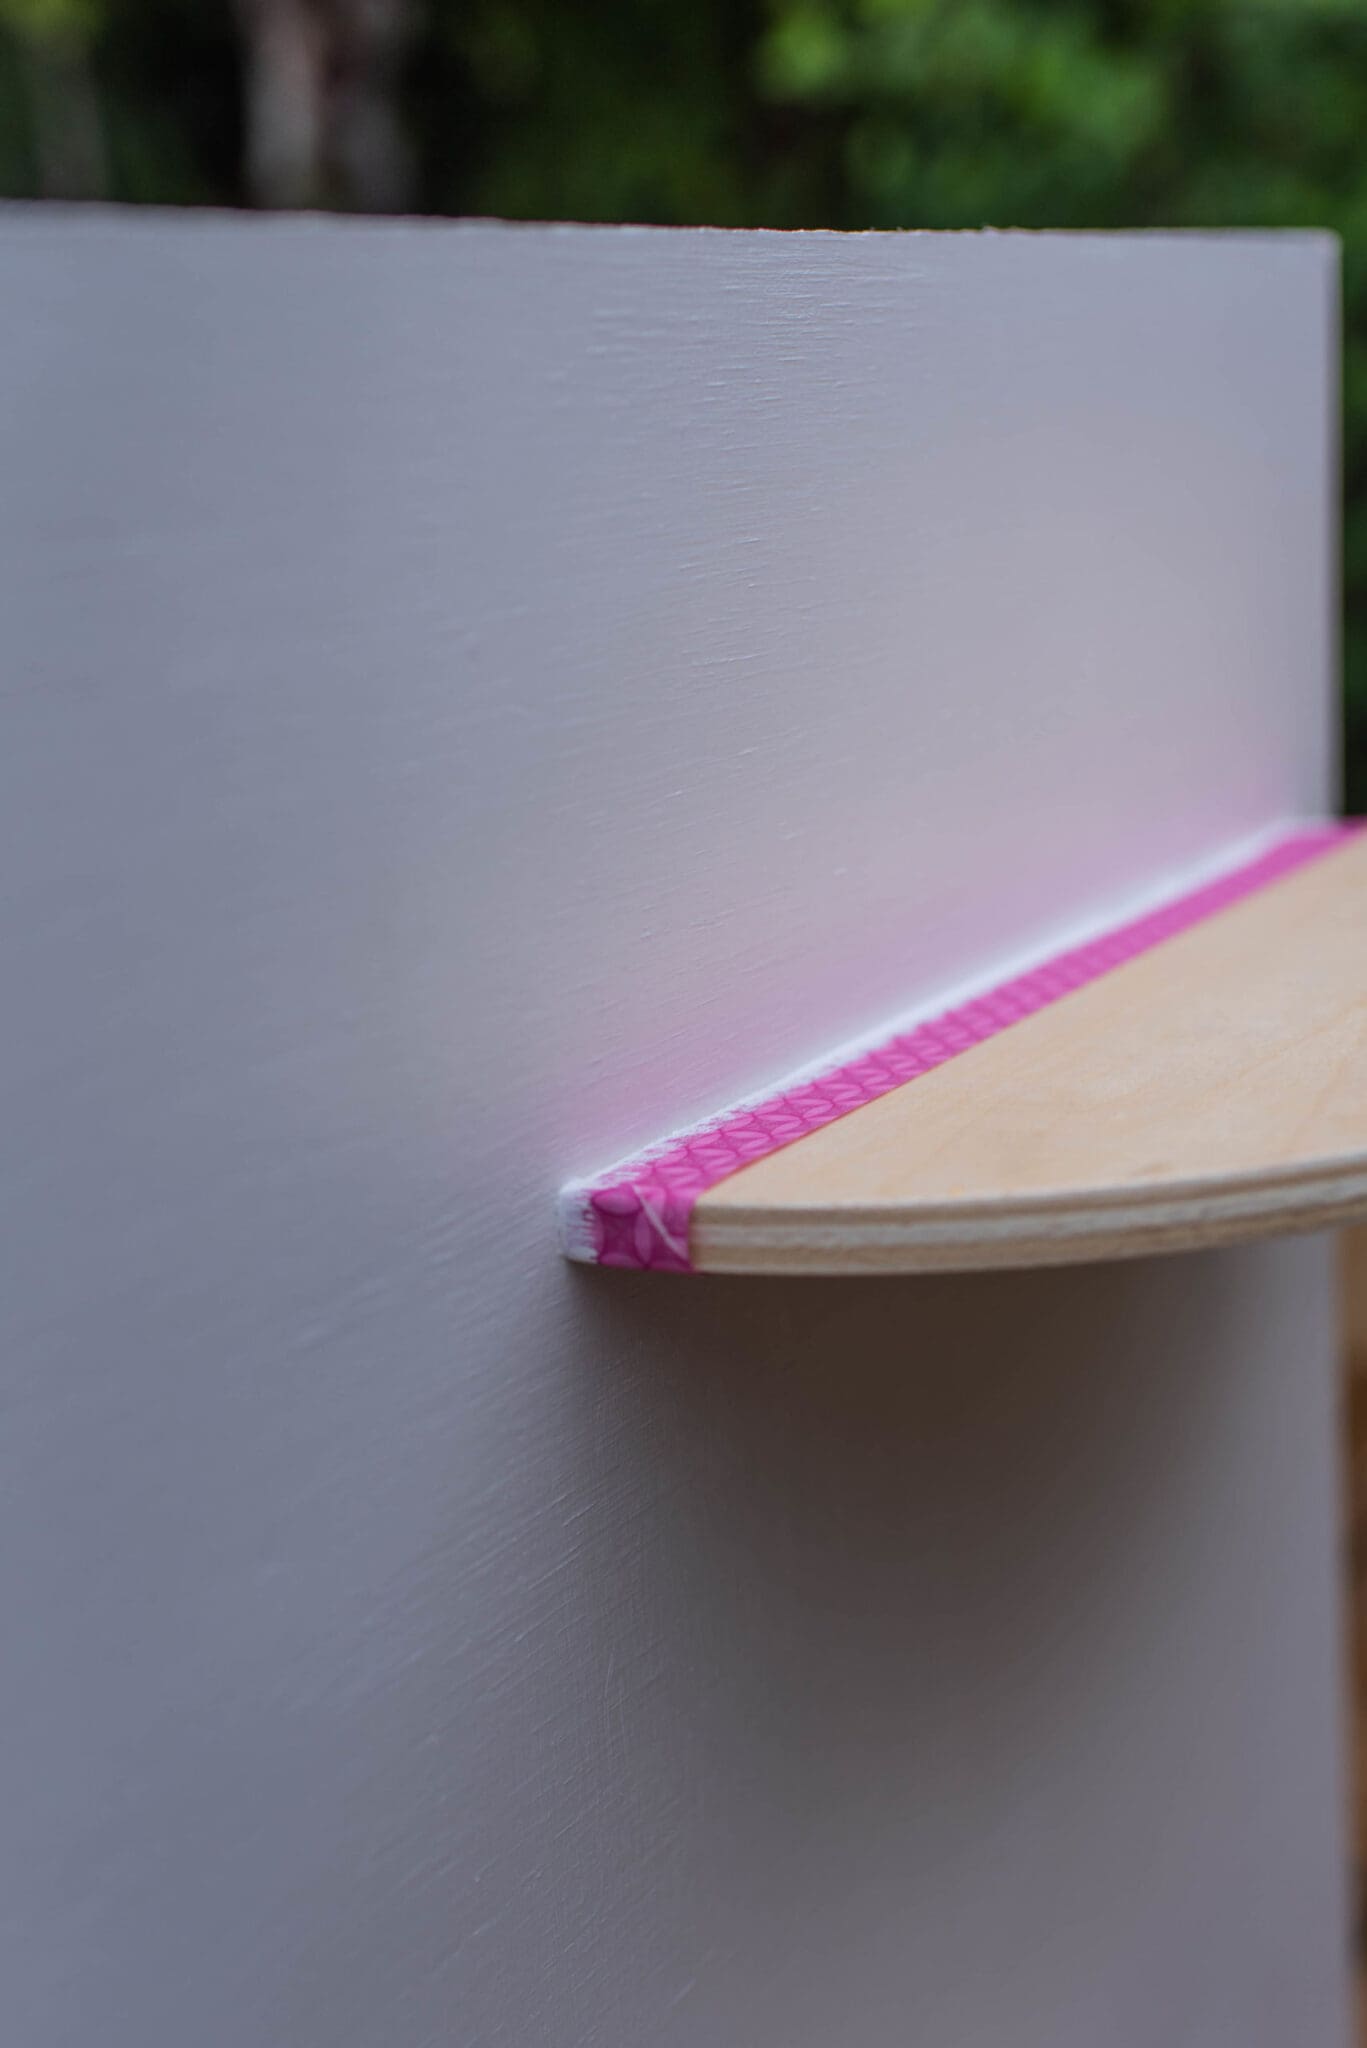
I decided after it was put together that I wanted to paint the frame so I taped off the pegboard and used a leftover interior wall paint sample here but regular acrylic paint would work here perfectly, too.
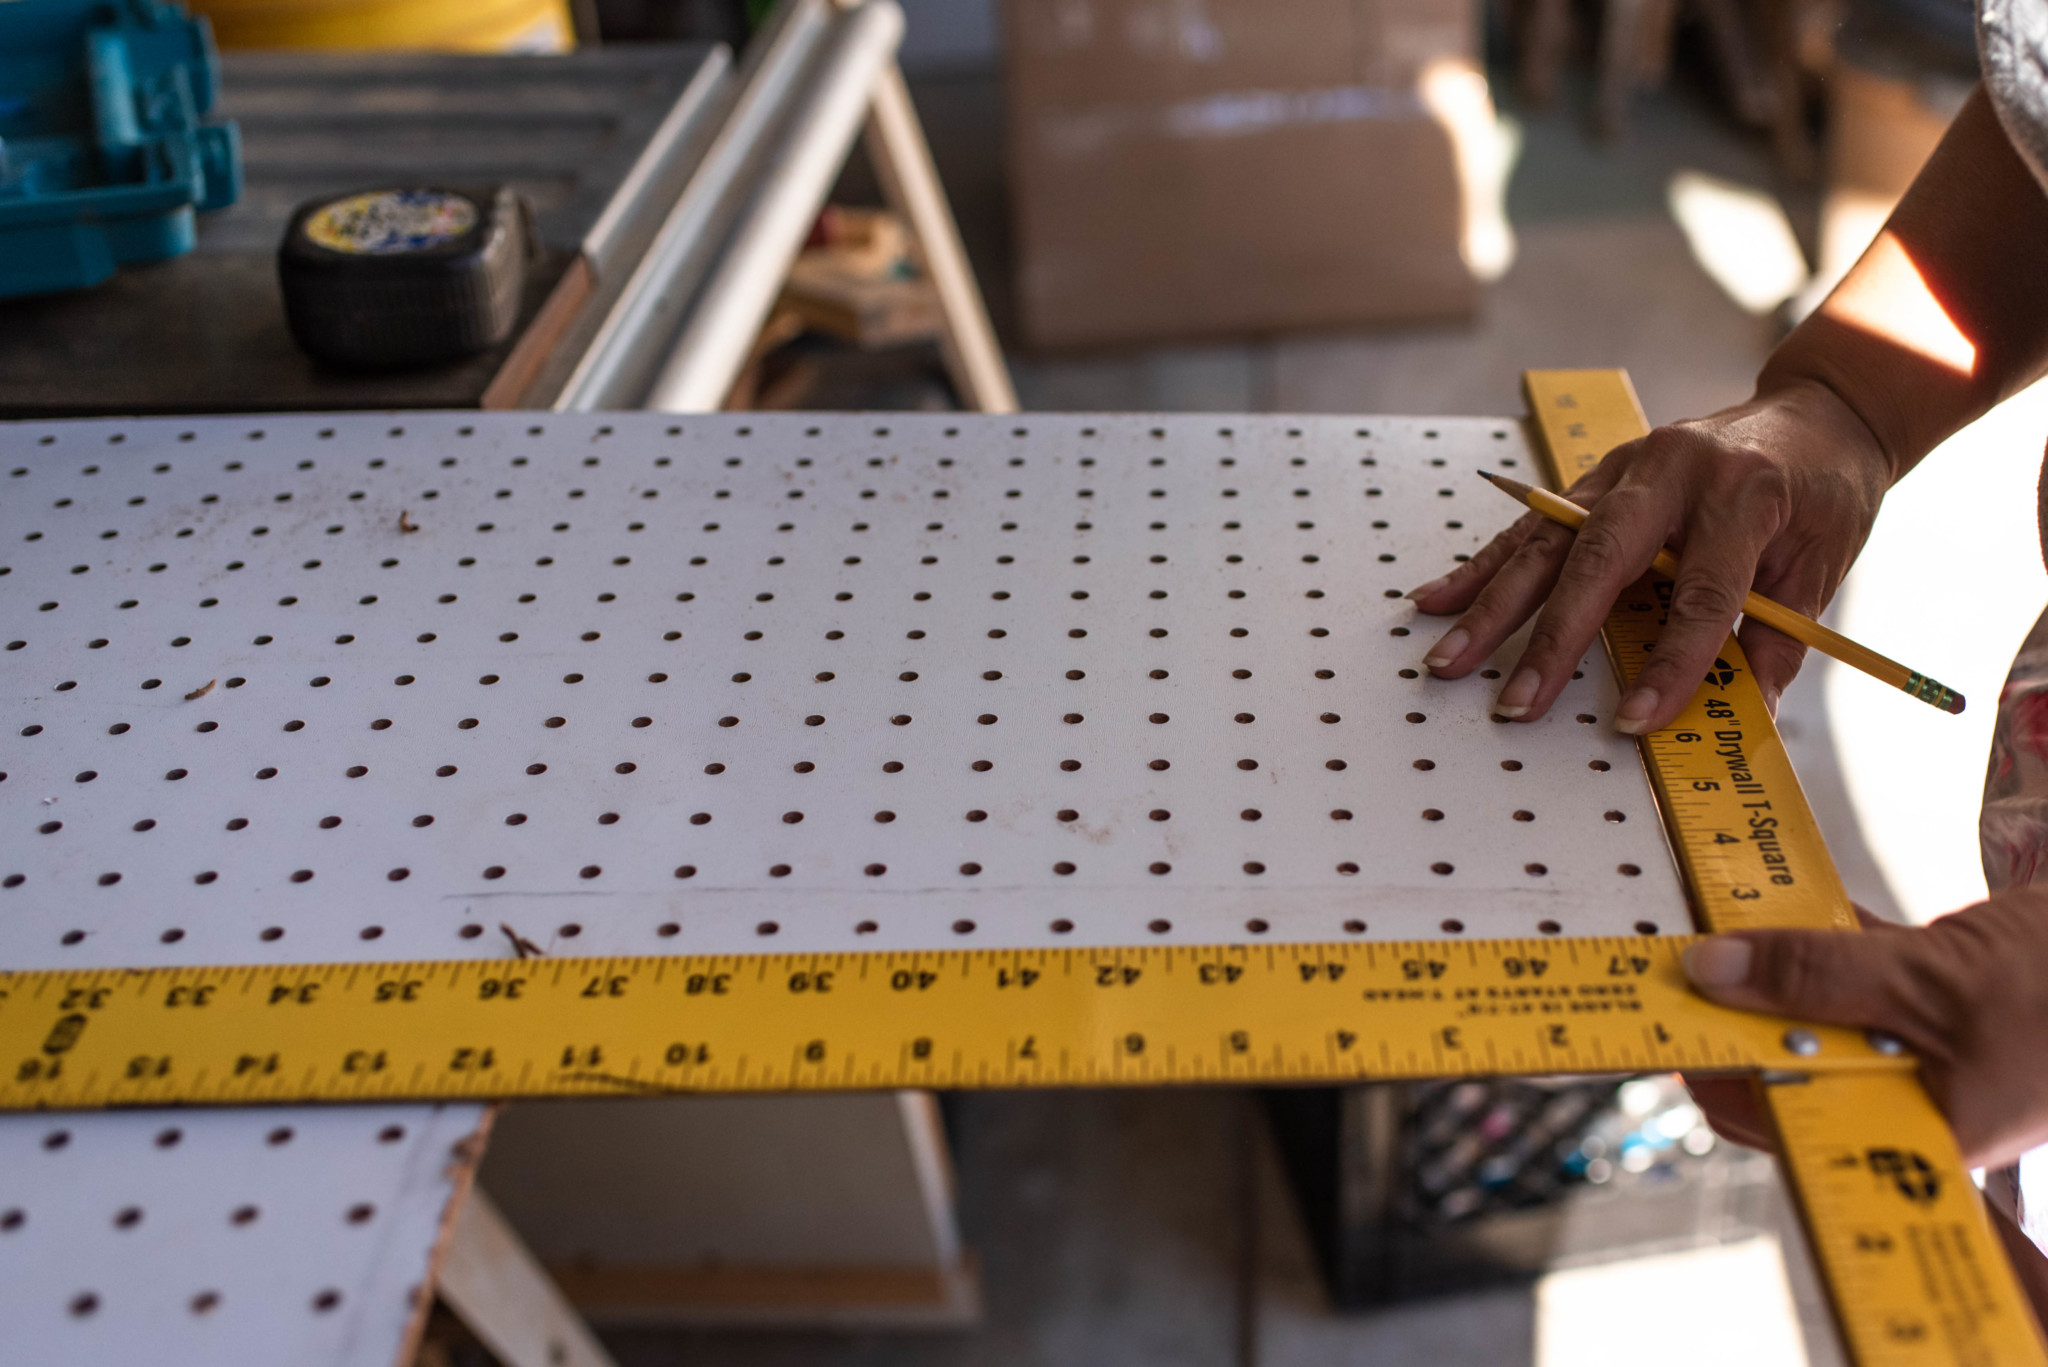
For this display, we measured the rest of the Pegboard to the size I wanted and cut it down with the table saw, but again a jigsaw could also be used for this. Then we attached 2 of the smaller birch half circles to the bottom using wood glue and I screwed in an L bracket to the back, attached to both the pegboard and the half circle.
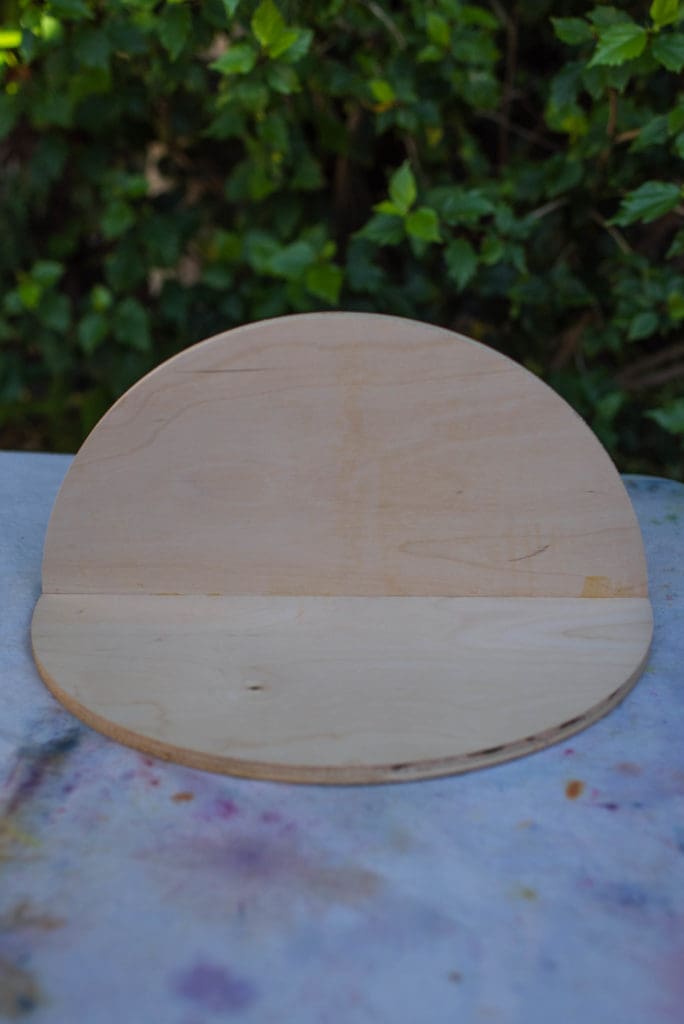
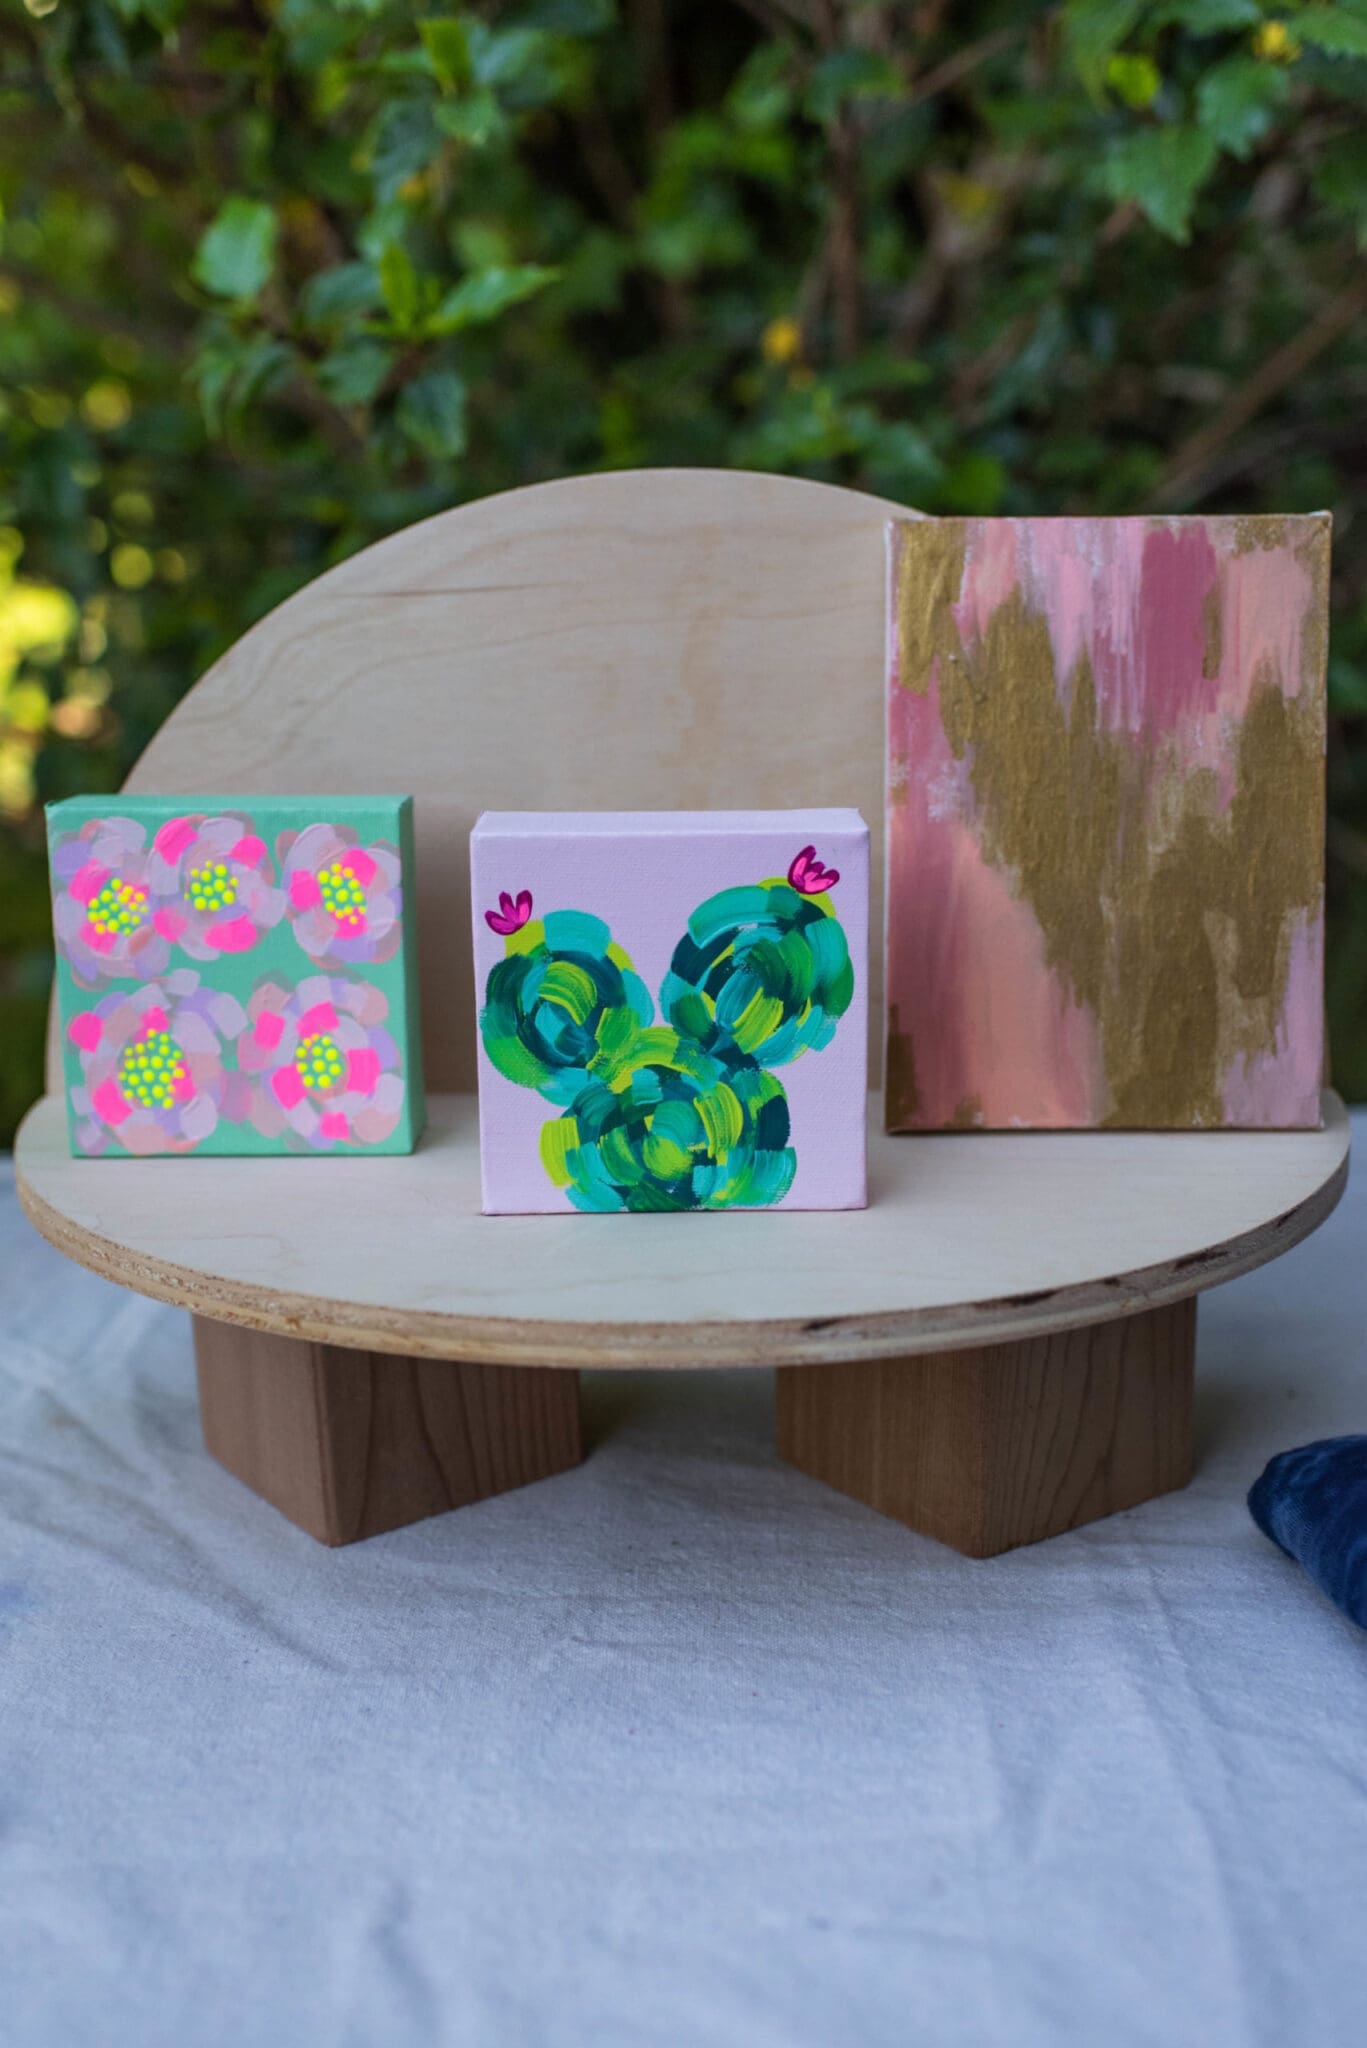
I used 2 of the larger birch half circles to make this pretty display stand. I simply used wood glue to attach them at their bottoms & then we used a nail gun to secure them. Depending on how much you would be using this and moving it around, you might be able to get away with just using the wood glue here. If you don’t have a nail gun, you could also just use a power drill and screws to secure from the back as well. I decided to leave this natural because I really liked the way it looked as is with the natural texture/color of the birch.

For the Cedar cubes, I painted two of them with some leftover interior wall paint samples & left two natural. This will just depend on what you want to use them for and the look you are going for.
I wanted to use them as cute little prop risers. You could also paint them with chalkboard paint and put your prices on them. You could gather a bunch of them and paint a word letter by letter onto them. They are so cute and there are so many possibilities for them!

Nik is a maker, day dreamer & potty mouth who loves cats, coffee and craft beer. She is a self taught hand embroiderer and will DIY pretty much anything she can get her hands on. You can see her work on Instagram @wastingthyme & @nikvphotography. She lives in Long Beach with her husband and her three awesome cats (that she can’t shut up about).
© DEAR HANDMADE LIFE 2020. ALL RIGHTS RESERVED. THIS SITE USES AFFILIATE LINKS. WE DISCLOSE ALL SPONSORED POSTS BY NAMING THE SPONSOR IN THE POST.
Get our mostly monthly emails featuring event updates, secret deals, pep talks and inspiration to make every day awesome.


