indigo dyeing made easy!
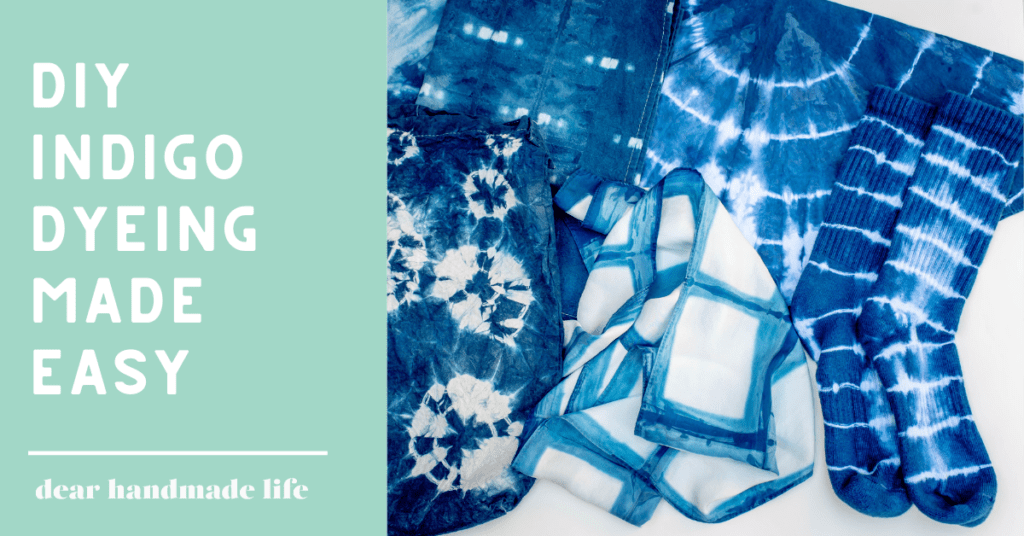
Indigo dye is one of those art forms that just always seems to be in style. It’s such a gorgeous and unique dark blue color & paired with some classic shibori techniques, you really can’t go wrong. Jacquard has made dyeing with Indigo easier than EVER with their Indigo Tie Dye Kit.
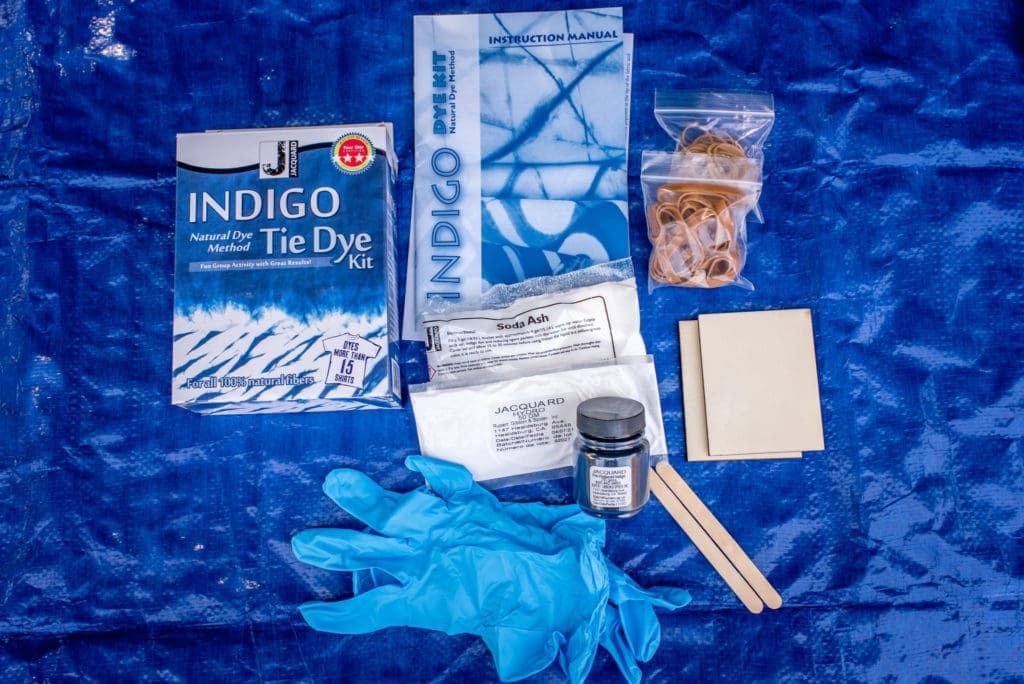
What I love so much about this Indigo Tie Dye Kit is the Instant gratification aspect of it, It doesn’t take very long for you to have a whole new project made! I also love using Indigo to dye over any clothing I had that was previously stained and it’s also a great way to transform pieces in your closet that need a refresh. I also love that this kit can dye A LOT, up to 15 yards or 5 lbs worth of fabric. This is a great excuse to gather some friends and have a dye party!
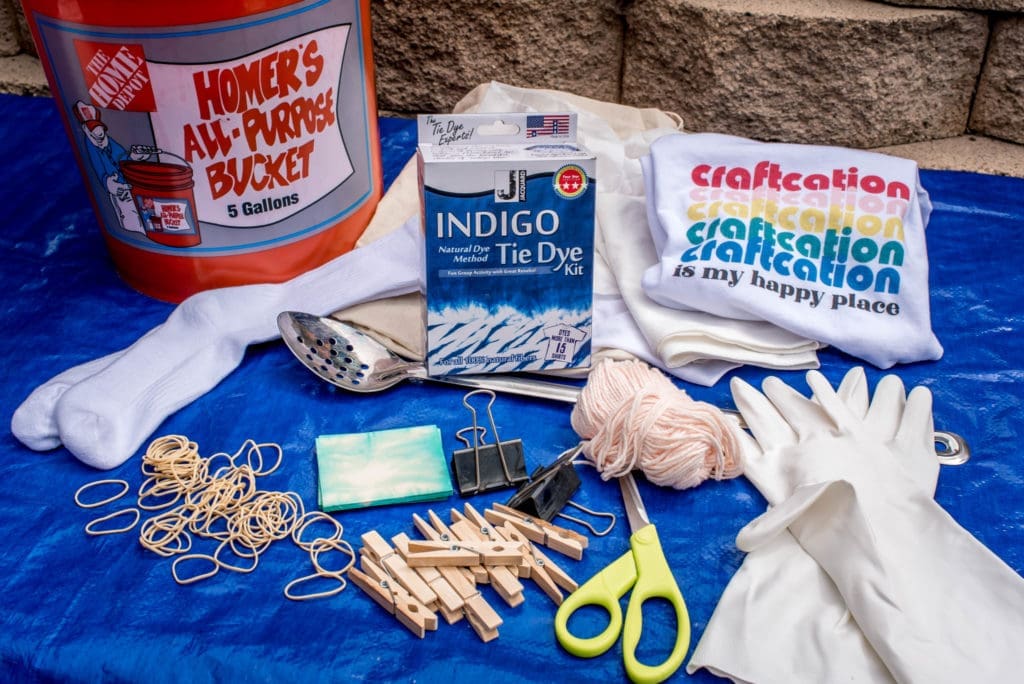
SUPPLY LIST:
- 5 Gal Bucket – I use one specifically for Indigo because the color will dye the bucket
- Indigo Tie Dye Kit from Jacquard –
- This Kit comes with everything you need for the dye bath, including gloves, However I prefer the kitchen style rubber gloves that go up your arms more.
- A long Spoon, or paint stick to stir the pot
- Natural Dyeables – Items with a high percentage of Cotton, Rayon, Silk or other natural fibers. 100% will work best but I wouldn’t use anything under 70% of the natural fiber
- A Tarp, or do this somewhere you wouldn’t mind dye spilling. Also wear something you don’t mind getting dye on!
- Scissors
FOR RESISTS:
- Rubber bands
- Clamps
- Twine or string
- Clothes pins
STEP ONE:
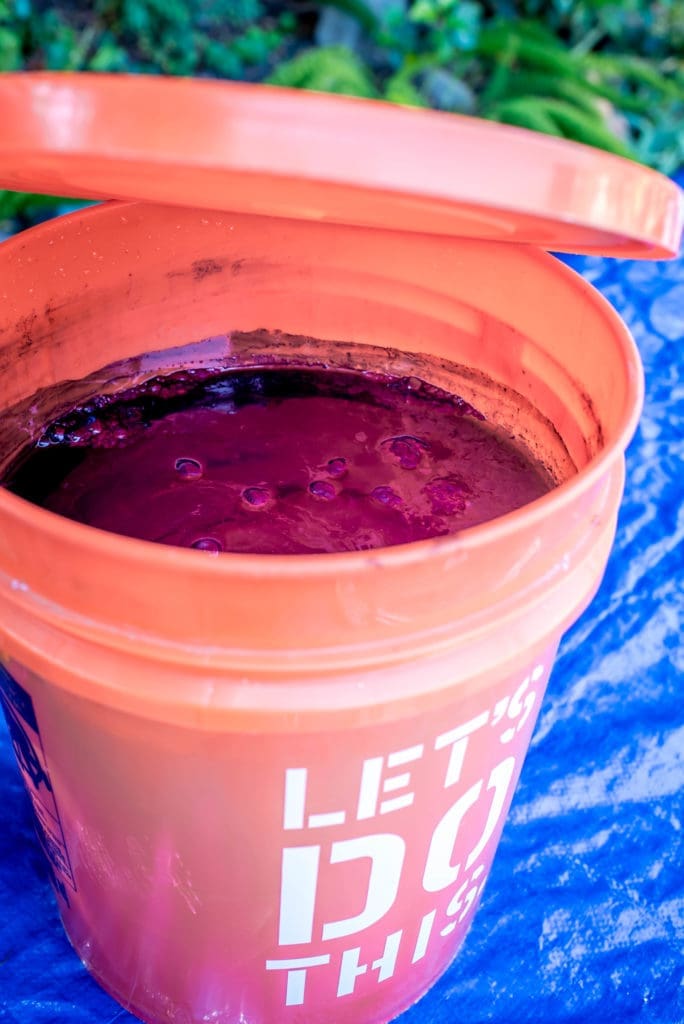
Set your dye vat up! This Indigo Tie Dye Kit makes this process super easy! I followed the instructions exactly as they are written here:
- Fill a 5 gal/18.93 L bucket with 4 gal/15.14 L warm tap water.
- Empty the Pre-reduced Indigo Dye, Soda Ash and reducing agent (Sodium Hydrosulfite) packets into the water. Stir until dissolved.
- Stir the vat in a one direction circular motion. Reverse the direction of the stirring as you drag the stir stick along the outer edge of the vat before slowly removing it. Cover the vat with a lid and allow to settle while you tie up your fabric (about 15 minutes to 1/2 hour). The liquid will become a yellow-green color.
STEP TWO:
While your dye vat is setting up, choose your resists. There are endless possibilities when it comes to coming up with a resist for Indigo Dye. Keep in mind that any time you are folding or covering up the fabric/fiber, what is not exposed to the dye will remain the color of the fabric.
I covered a variety of techniques here, including the accordion fold that you can find on the instruction booklet inside the kit. A classic Tie Dye style swirl. An accordion style fold but secured with clothespins (one of my favorites!). You can see even more options on Jacquard’s website HERE.
STEP three:
Once you’ve gotten your fabric tied up, or in whatever resist you chose, soak your items in clean water and ring them out. This step isn’t completely necessary, however it will help the fabric absorb the indigo quicker. Again, I followed the steps to dye my items exactly as they are written here:
- Remove the cover from the vat. The top of the dye bath may be covered with a thin blue skin (rather than the traditional foamy ‘flower’). Wearing gloves, gently move it to the side.
- While squeezing excess water and air out of your fabric, slowly submerge your piece into the dye vat. Once submerged gently manipulate the piece for one to several minutes.
- As you remove the piece from the vat it will slowly begin to turn blue as the oxygen in the air hits it. Let oxidize for about 20 minutes.
- Repeat steps 2 – 4 for darker shades or you can rinse, untie, and wash with a mild detergent and warm water.
- Gently stir the vat as before in a circular motion. Place lid back onto vat. The vat will keep for several days and you will be able to dye several times.
- When you are ready to dispose of the vat, empty contents down the drain. Clean up bucket and utensils with a powdered cleanser or soap.
I let all of my items oxidize once for 20 minutes and then repeated the process and let them oxidize again for another 20 minutes for a darker shade of Indigo.
STEP FOUR:
ABOUT NIK
Nik is a maker, day dreamer & potty mouth who loves cats, coffee and craft beer. She is a self taught hand embroiderer and will DIY pretty much anything she can get her hands on. You can see her work on Instagram @wastingthyme & @nikvphotography. She lives in Long Beach with her husband and her three awesome cats (that she can’t shut up about).

